Articles
How To Wire A Garage Door Sensor
Modified: December 7, 2023
Learn how to properly wire a garage door sensor with our comprehensive articles. Expert tips and step-by-step guides to ensure a safe and functional installation.
(Many of the links in this article redirect to a specific reviewed product. Your purchase of these products through affiliate links helps to generate commission for Storables.com, at no extra cost. Learn more)
Introduction
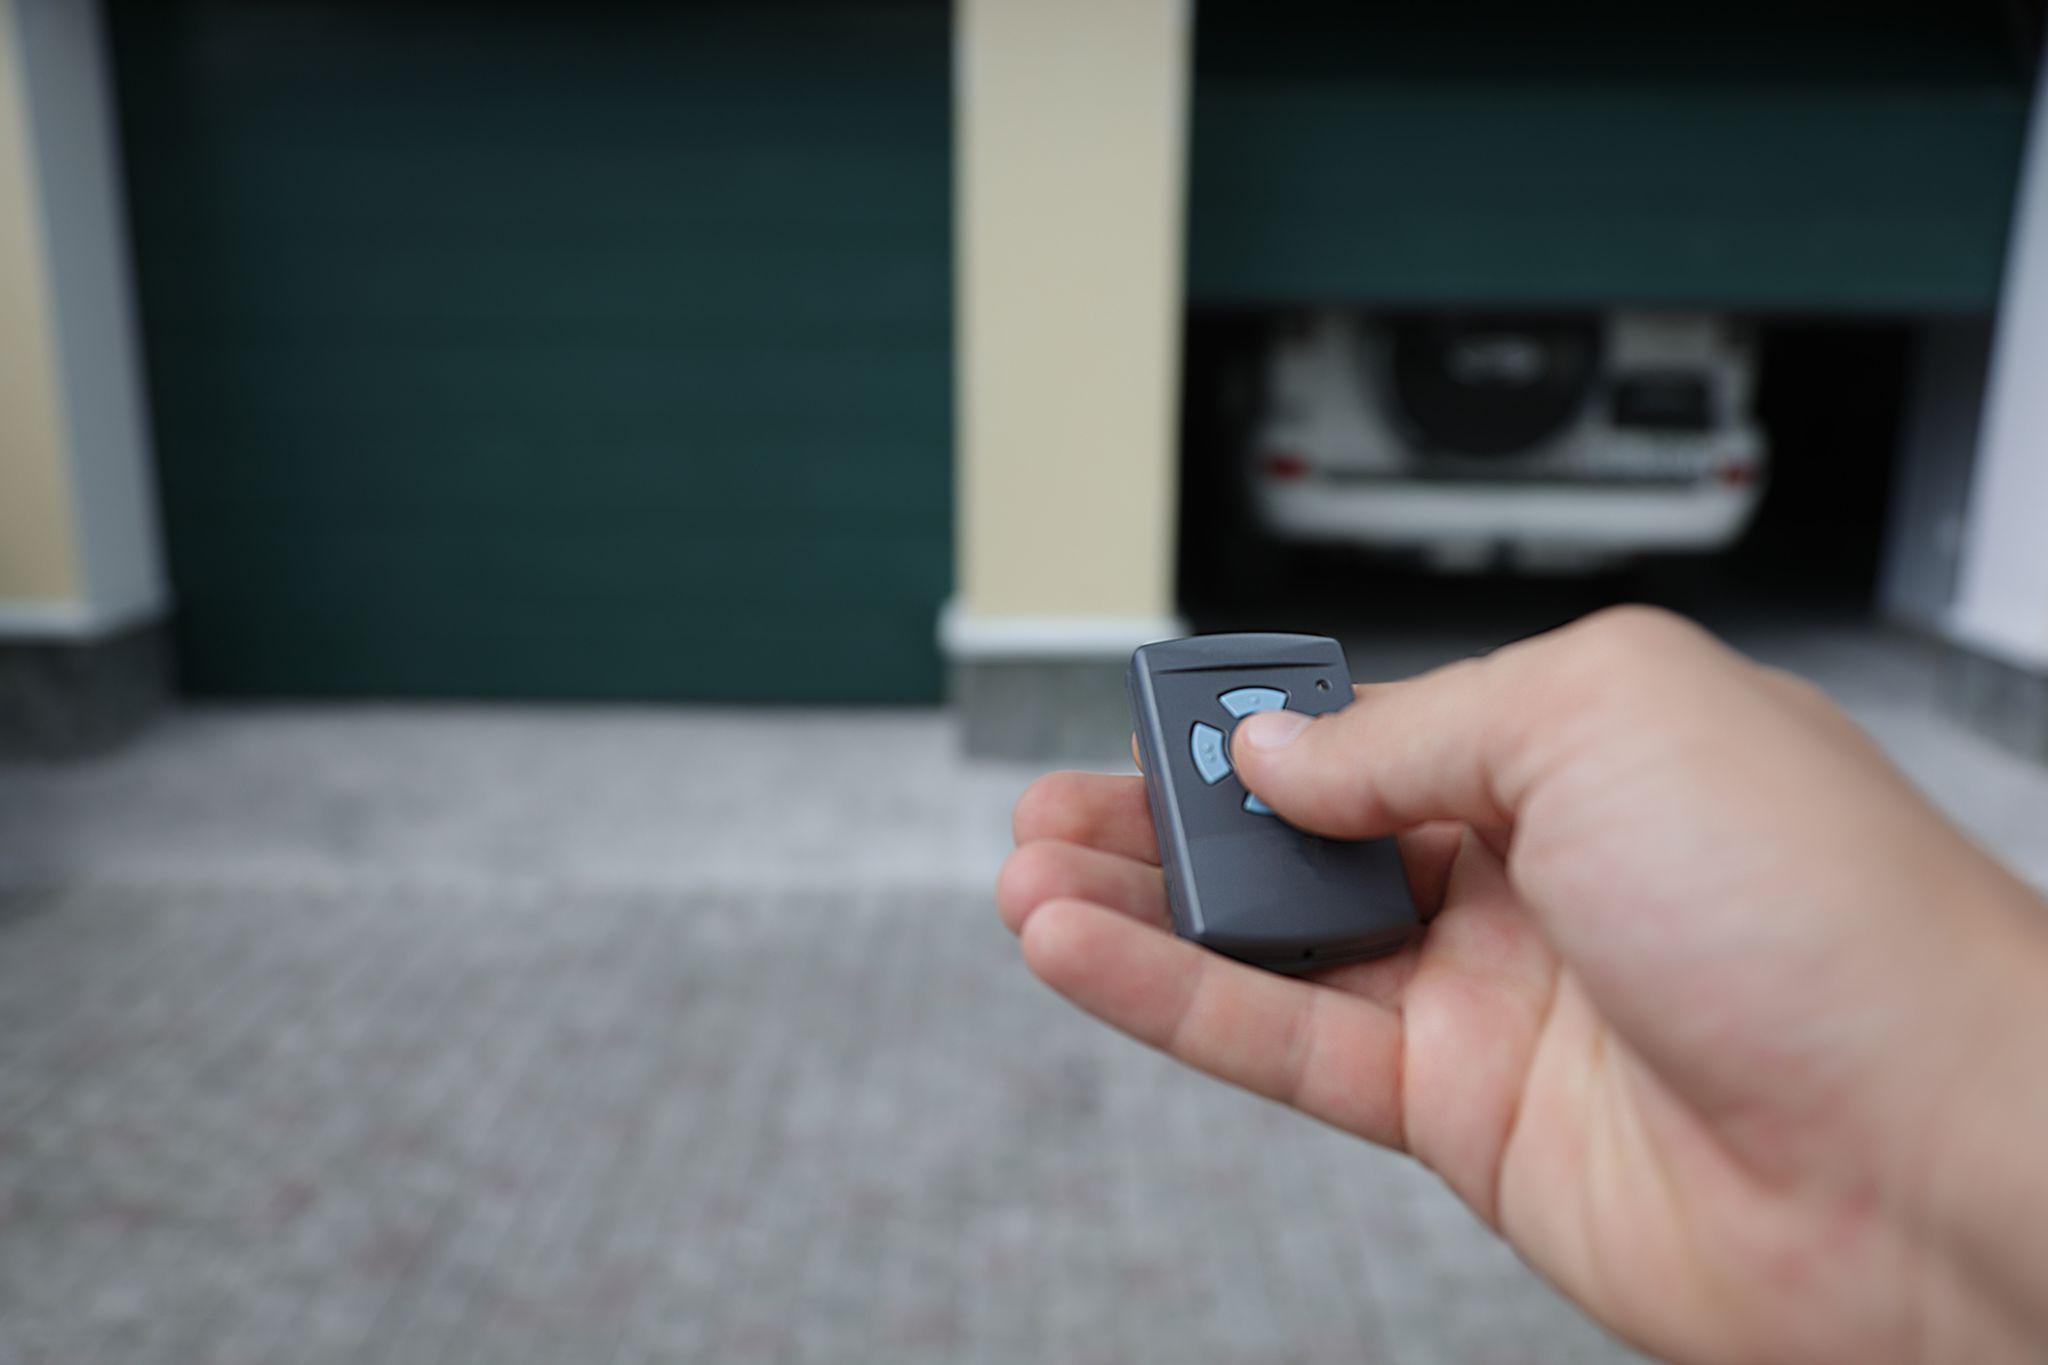
Welcome to the comprehensive guide on how to wire a garage door sensor. If you are looking to enhance the safety and security of your garage, installing a garage door sensor is a wise decision. A garage door sensor is a device that detects whether the garage door is fully closed or open. It plays a crucial role in preventing accidents and theft by ensuring that the door operates smoothly and securely.
In this step-by-step guide, we will walk you through the process of wiring a garage door sensor. We will cover all the necessary tools and materials you’ll need, as well as the specific steps to follow for a successful installation. Whether you are a seasoned DIY enthusiast or a beginner, this guide is designed to provide you with the knowledge and confidence to complete the project with ease.
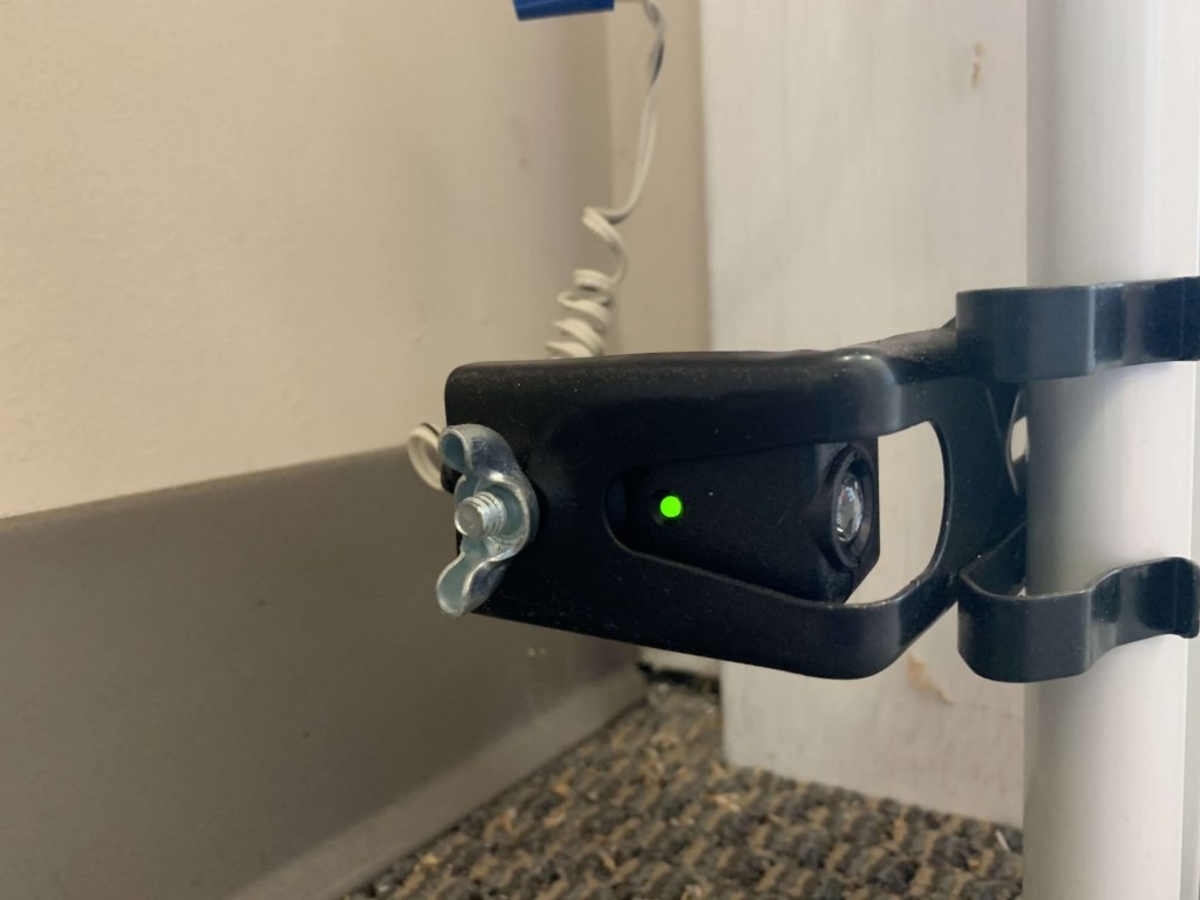
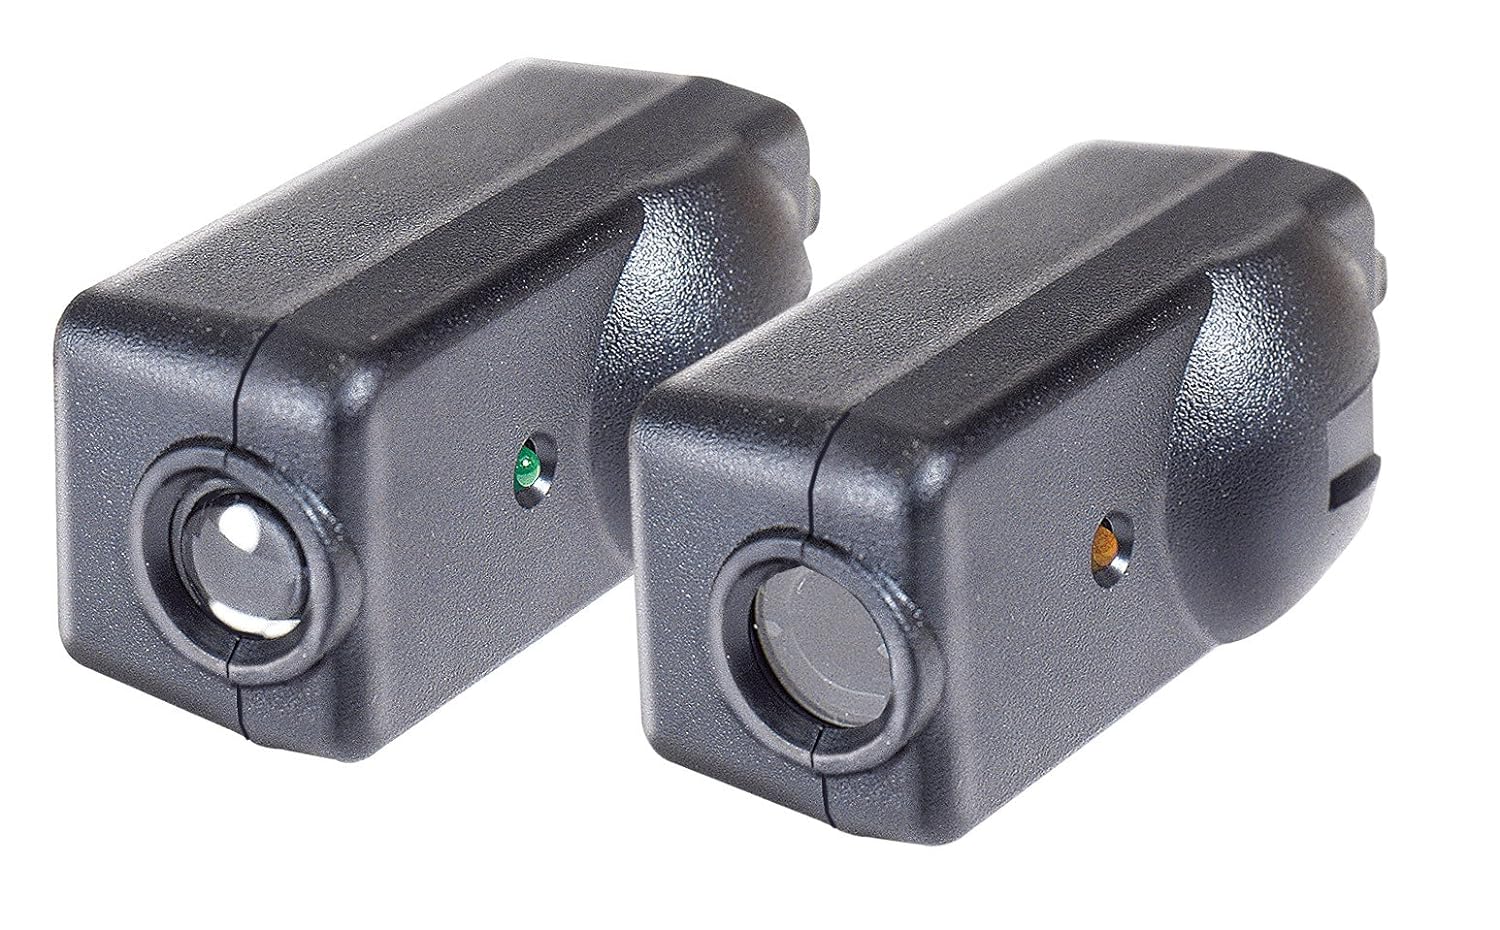
Before we dive into the details, it’s important to understand the basic parts of a garage door sensor. The sensor consists of two components: a sending unit and a receiving unit. The sending unit emits an infrared beam to the receiving unit, creating a connection. When the garage door is fully closed, the beam remains unbroken. However, if the door is obstructed while closing, the beam is interrupted, triggering the garage door opener to stop and reverse its direction.
Now that you have a good understanding of what a garage door sensor does, let’s move on to the first step: gathering the necessary tools and materials.
Key Takeaways:
- Ensure safety and security by following the step-by-step guide to wire a garage door sensor. From gathering tools to testing functionality, this comprehensive process provides peace of mind for your garage.
- Protect your family and belongings with a properly installed garage door sensor. By understanding the components and following the installation steps, you can enhance the security of your garage and prevent accidents.
Read more: How Do Garage Door Sensors Work
Step 1: Gather the necessary tools and materials
Before you begin the installation process, it’s essential to gather all the tools and materials required for the job. Having everything ready will ensure efficiency and prevent any interruptions during the installation. Here’s a list of what you’ll need:
- Garage door sensor kit: This typically includes the sending unit, receiving unit, sensor brackets, and necessary wiring.
- Wire strippers: These will be used to remove the insulation from the sensor wires.
- Screwdriver: A Phillips or flat-head screwdriver, depending on the type of screws used.
- Drill: If the sensor brackets need to be mounted, a drill will be necessary to create the holes.
- Level: To ensure that the sensor brackets are aligned correctly, a level will be handy.
- Tape measure: This will help you determine the ideal position for the sensor brackets.
- Electrical tape: It’s always a good idea to secure the connections with electrical tape for added stability.
- Cable ties: These will help keep the sensor wires neat and organized.
Once you have gathered all the necessary tools and materials, you’re ready to move on to the next step: locating the ideal position for the garage door sensor.
Step 2: Locate the ideal position for the garage door sensor
Now that you have all the tools and materials ready, it’s time to determine the best location for your garage door sensor. The correct placement is crucial for optimal performance and reliability. Here are some factors to consider when choosing the ideal position:
- Height: The sensor should be mounted around 6 inches above the ground. This ensures that it is within the range of detecting any obstructions while still being out of reach for small children or pets.
- Alignment: The sending unit and receiving unit need to be aligned properly to create an uninterrupted beam. Make sure there are no obstructions or objects in the path that could interfere with the beam.
- Distance: The distance between the sending and receiving units should be within the recommended range provided by the manufacturer. Typically, this range is around 30 feet, but it may vary depending on the specific model.
To determine the exact position for your garage door sensor, follow these steps:
- Close the garage door and mark the spot where the door touches the ground.
- Measure 6 inches above the marked spot and make a small mark on the wall.
- Using a level, draw a horizontal line at this height across the wall. This will serve as a guide for mounting the sensor brackets.
- Measure the distance between the sending and receiving units, and mark the position for both brackets on the horizontal line.
Once you have determined the placement for the sensor brackets, you’re ready to move on to the next step: installing the sensor brackets
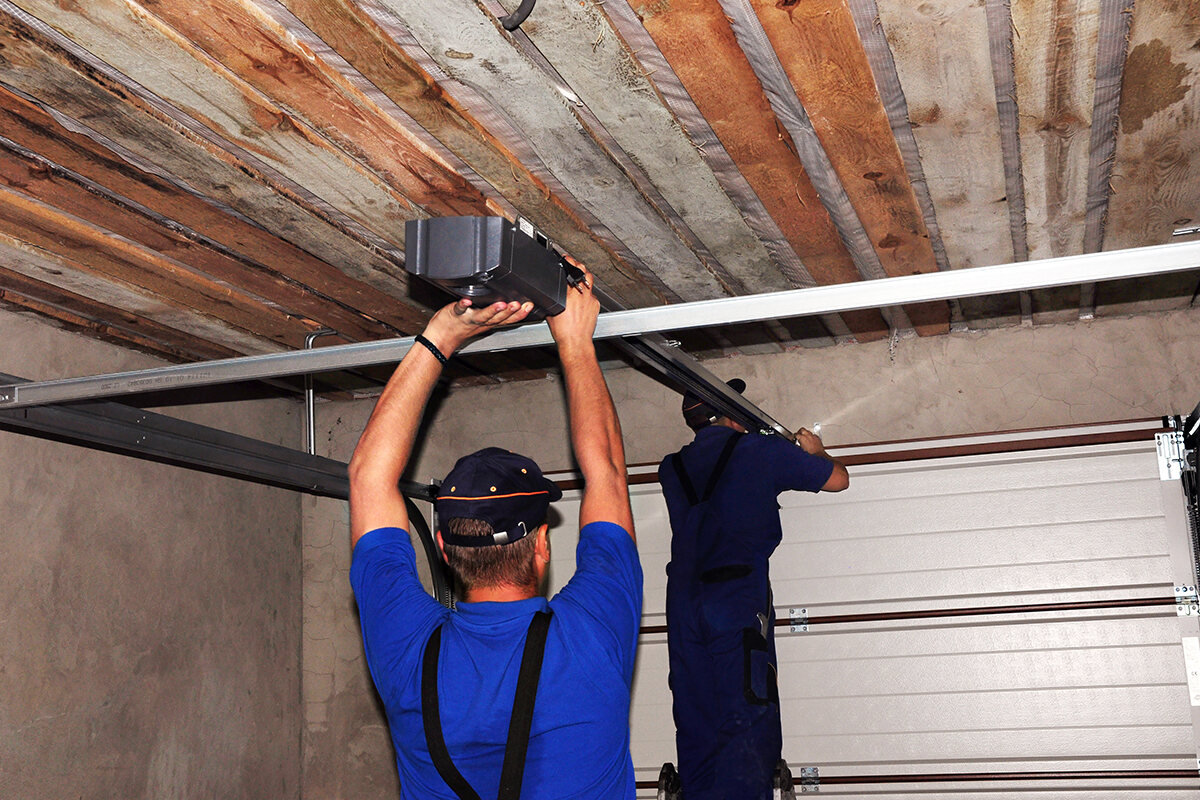
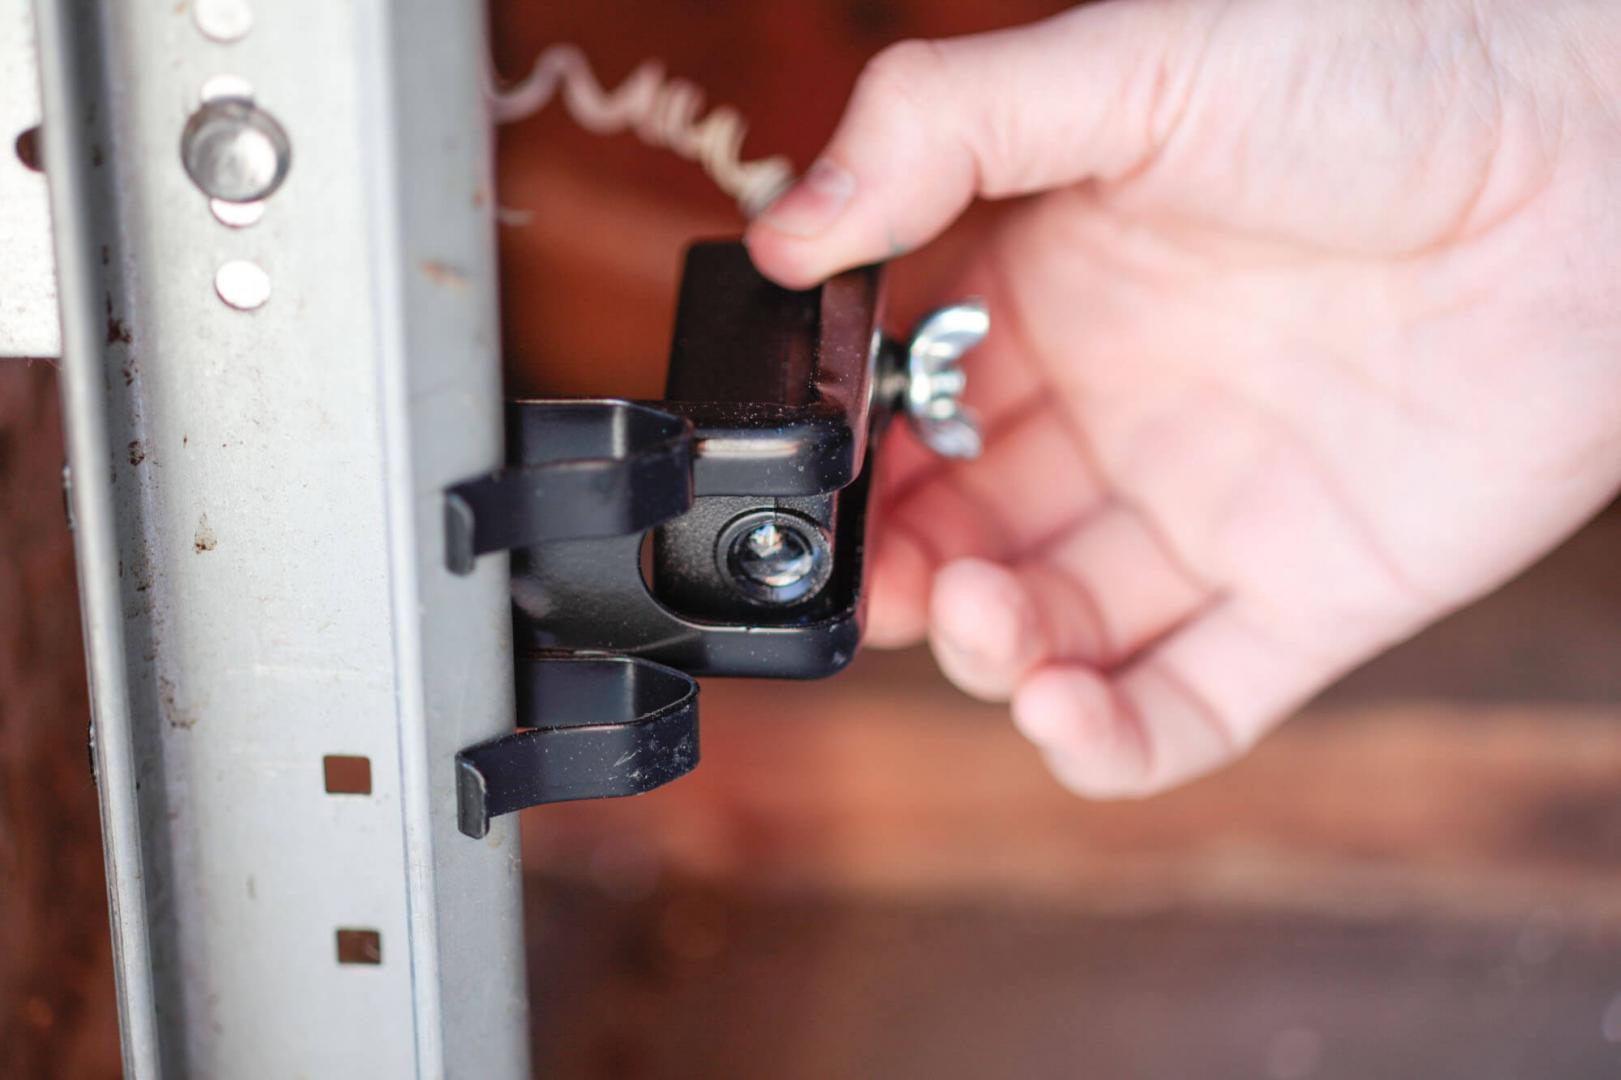
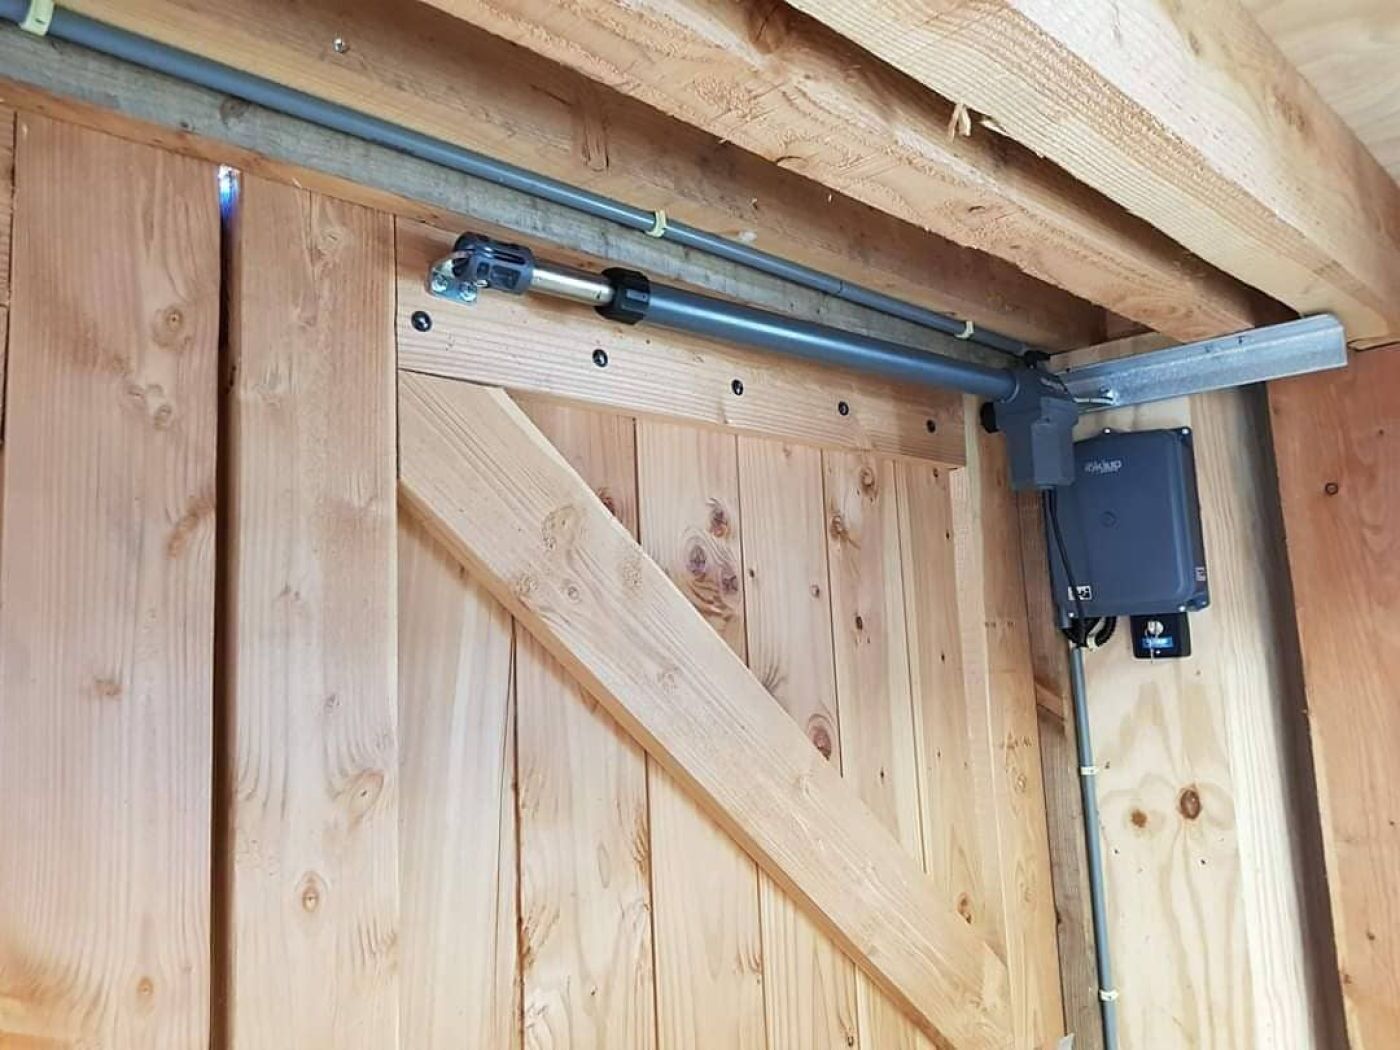
Step 3: Install the sensor brackets
With the ideal position for the garage door sensor determined, it’s time to install the sensor brackets. These brackets will securely hold the sending and receiving units in place. Follow these steps to successfully install the sensor brackets:
- Place the bracket for the sending unit on the marked position on the horizontal line. Ensure that it is level by using a level.
- Using a drill, create pilot holes for the screws that will secure the bracket to the wall.
- Align the bracket with the pilot holes and screw it into place using a screwdriver or power drill.
- Repeat the same process for the bracket of the receiving unit on the opposite side of the garage door. Make sure it is aligned with the sending unit bracket.
- Check the alignment of both brackets by using a level and adjust if necessary.
Once the sensor brackets are securely installed, you’re ready to proceed to the next step: connecting the sensor wires to the garage door opener.
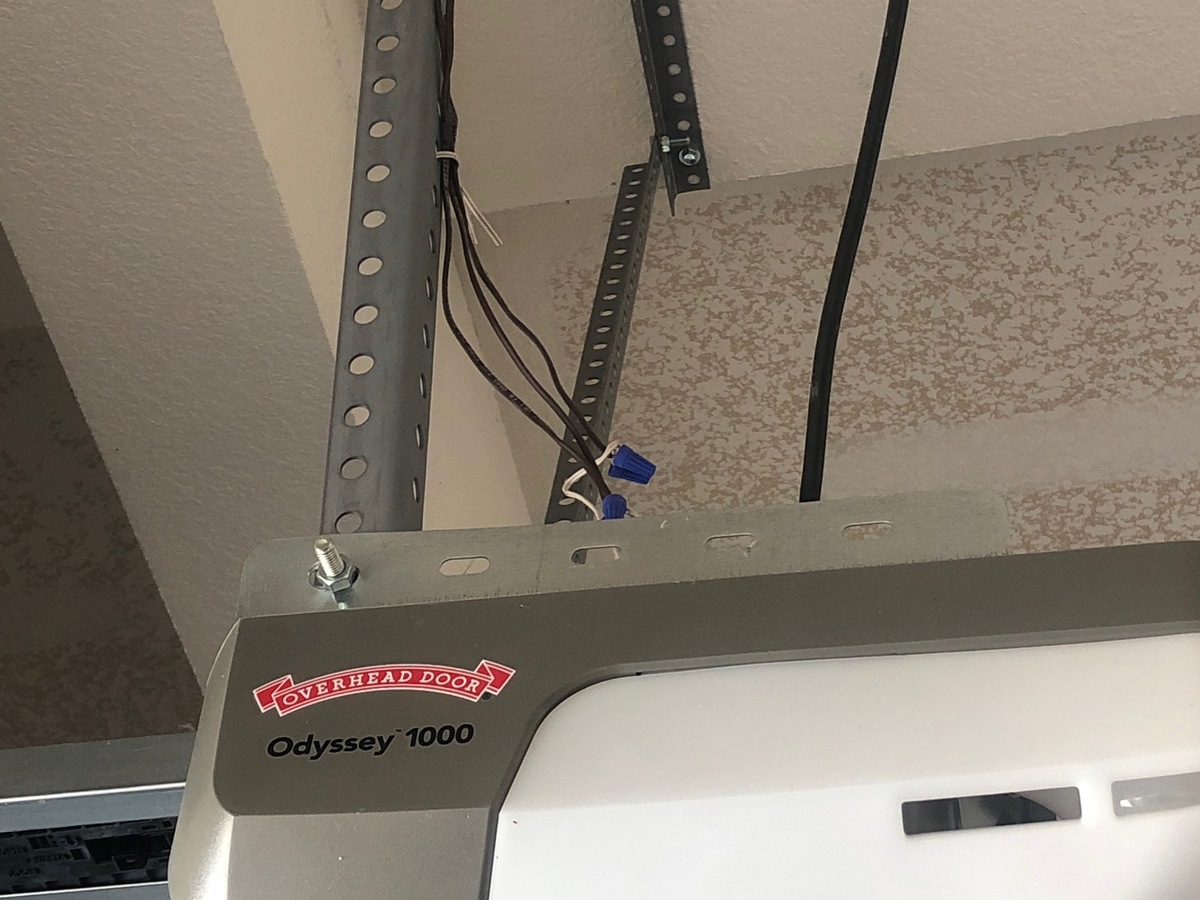
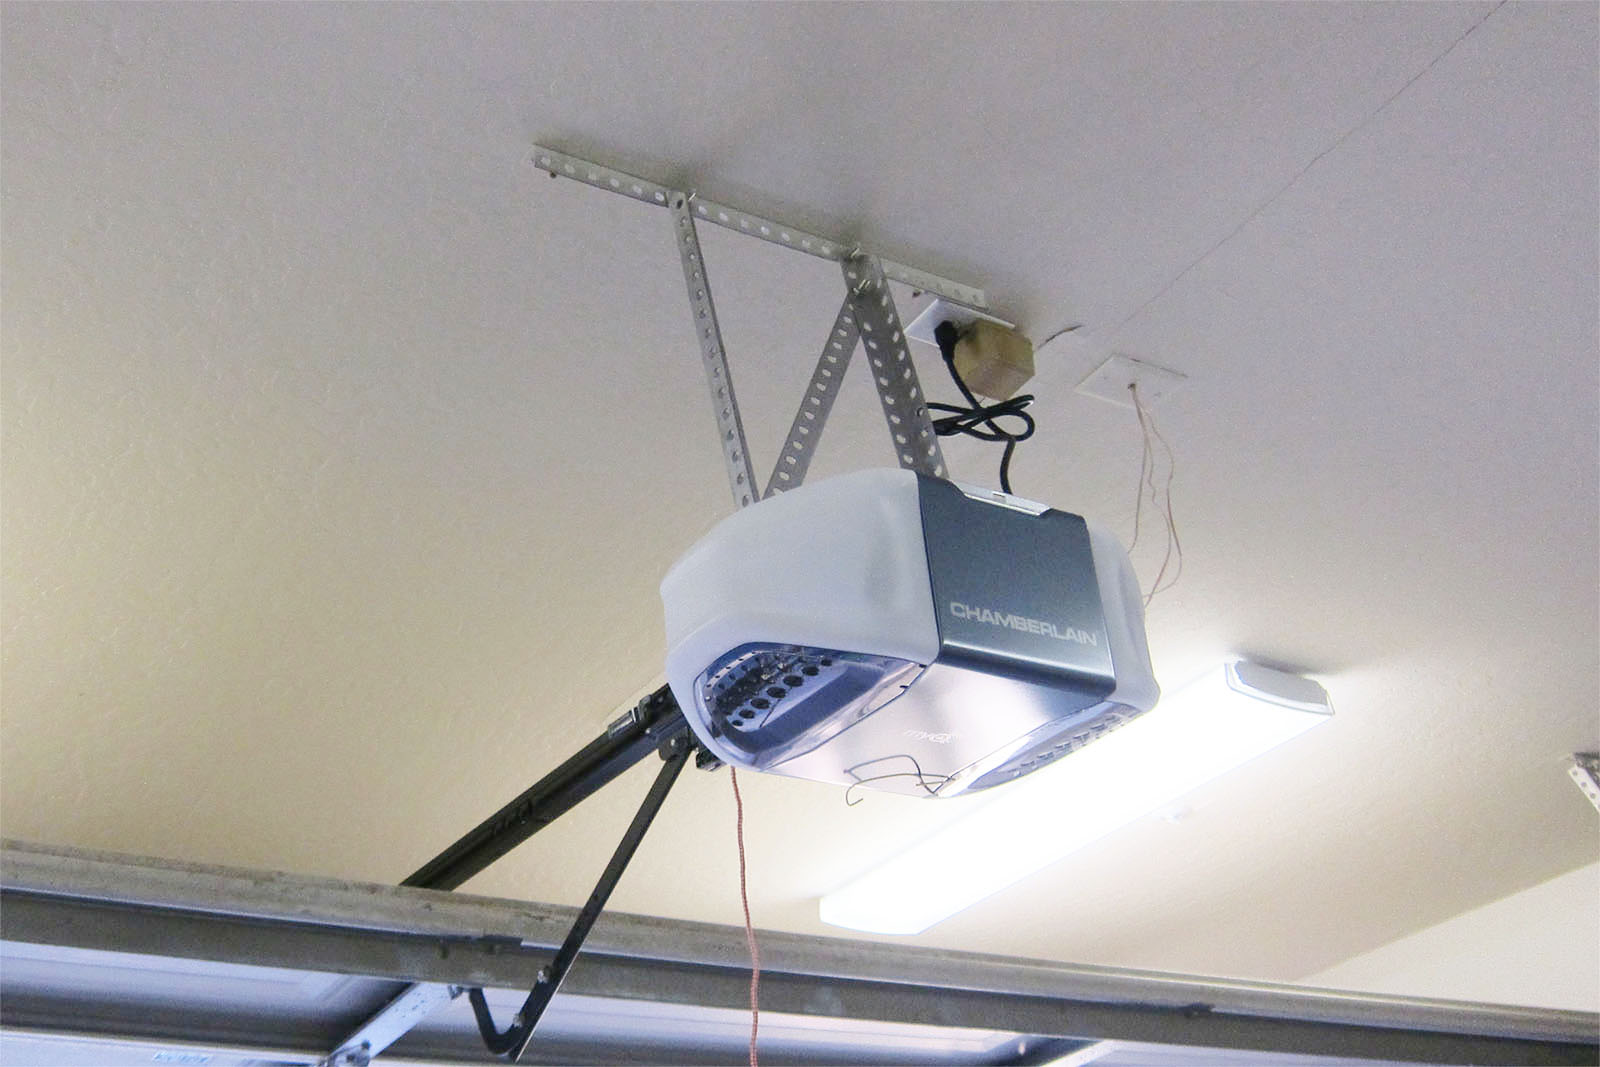
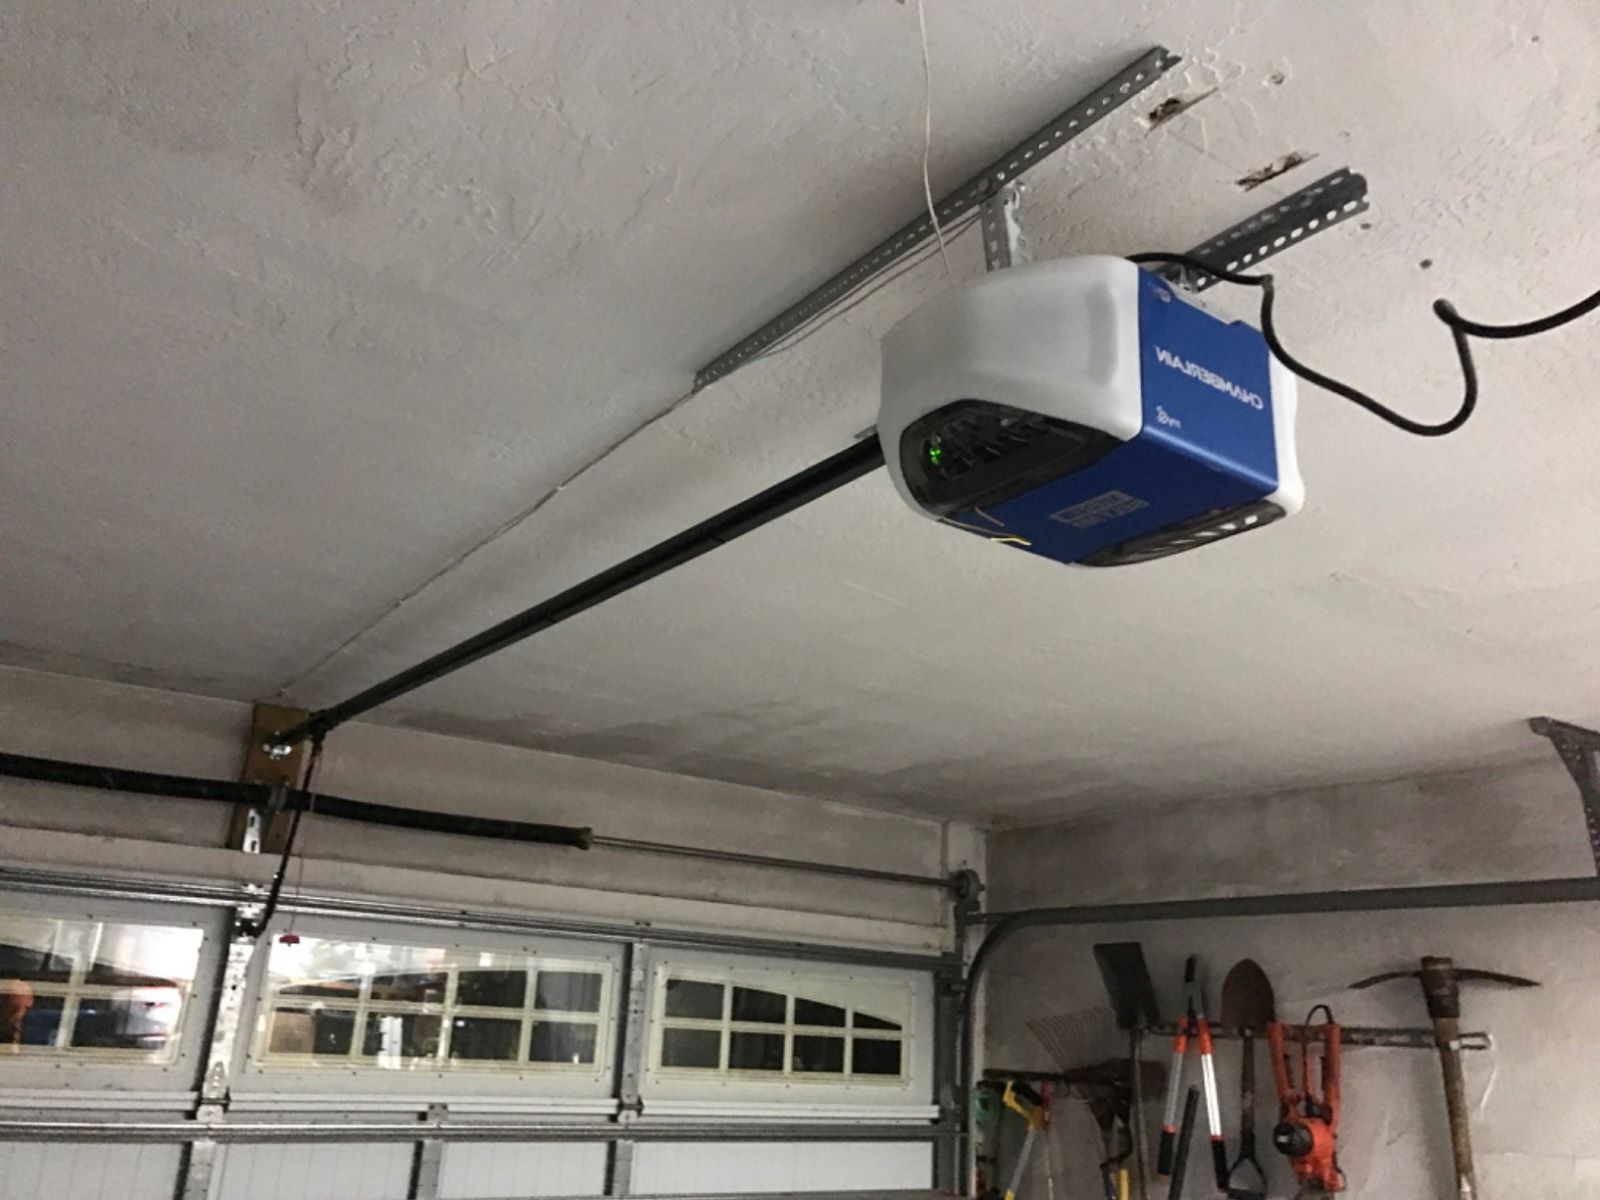
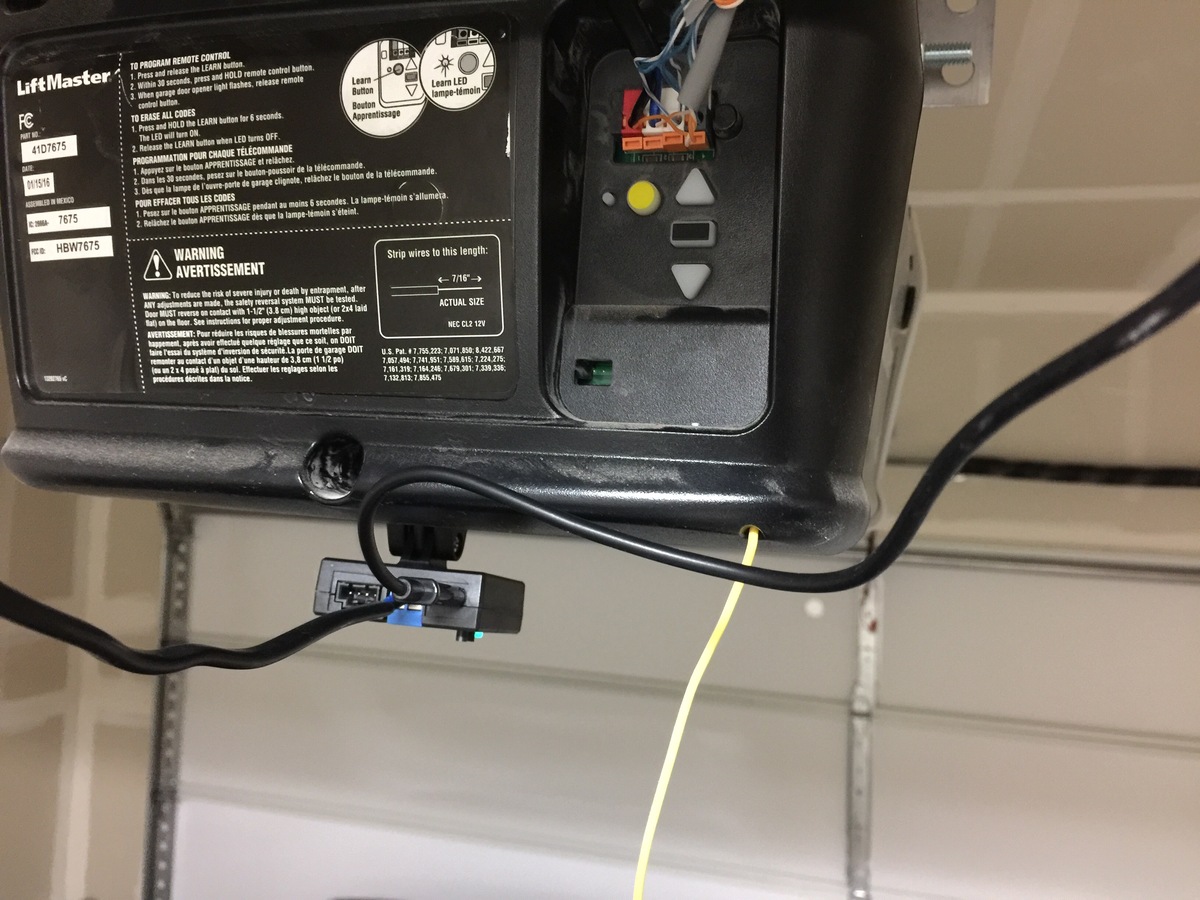
Step 4: Connect the sensor wires to the garage door opener
Now that the sensor brackets are in place, it’s time to connect the sensor wires to the garage door opener. This step is crucial as it allows the sending and receiving units to communicate with the garage door opener. Follow these steps to properly connect the sensor wires:
- Locate the terminals on the back of the garage door opener. These terminals are usually labeled as “Sensor” or “S1” and “S2”.
- Strip off a small section of insulation from the end of each sensor wire using wire strippers.
- Insert one wire from the sending unit into the terminal labeled “S1” and tighten the screw to secure the connection. Ensure that the wire is properly seated in the terminal.
- Insert the other wire from the sending unit into the terminal labeled “S2” and tighten the screw to secure the connection. Again, confirm that the wire is securely in place.
- Repeat the same process for the wires of the receiving unit. Connect one wire to the “S1” terminal and the other wire to the “S2” terminal.
It’s important to note that the color coding of the sensor wires may vary depending on the manufacturer. Typically, one wire is black or red, while the other is white or green. However, always refer to the instructions provided with your specific garage door sensor kit to ensure the correct wire placement.
Once you have successfully connected the sensor wires to the garage door opener, it’s time to secure the wires in place.
When wiring a garage door sensor, make sure to follow the manufacturer’s instructions carefully to ensure proper installation and functionality. Double-check all connections and test the sensor before completing the installation to avoid any issues later on.
Read more: How To Line Up Garage Door Sensors
Step 5: Secure the sensor wires
After connecting the sensor wires to the garage door opener, it’s crucial to properly secure them to ensure a safe and reliable installation. Securing the wires will prevent any accidental disconnections or damage and maintain a neat appearance. Here are the steps to secure the sensor wires:
- Use cable ties or zip ties to gather the sensor wires together in an organized manner. This will prevent them from dangling or getting tangled.
- Attach the cable ties around the sensor wires, leaving enough slack for the wires to move freely.
- Snip off the excess length of the cable ties using scissors or wire cutters.
- Ensure that the sensor wires are routed away from any moving parts of the garage door, such as the springs or tracks. This will prevent the wires from being pinched or damaged during operation.
- If necessary, use electrical tape to secure any loose sections of the sensor wires to the wall or other objects in the garage. This will provide added stability and prevent accidental tugging or pulling of the wires.
Remember to avoid tightening the cable ties or electrical tape too tightly. You want to secure the wires without applying excessive pressure, which could potentially damage the wires.
Once you have securely fastened and routed the sensor wires, it’s time to move on to the next step: testing the sensor functionality.
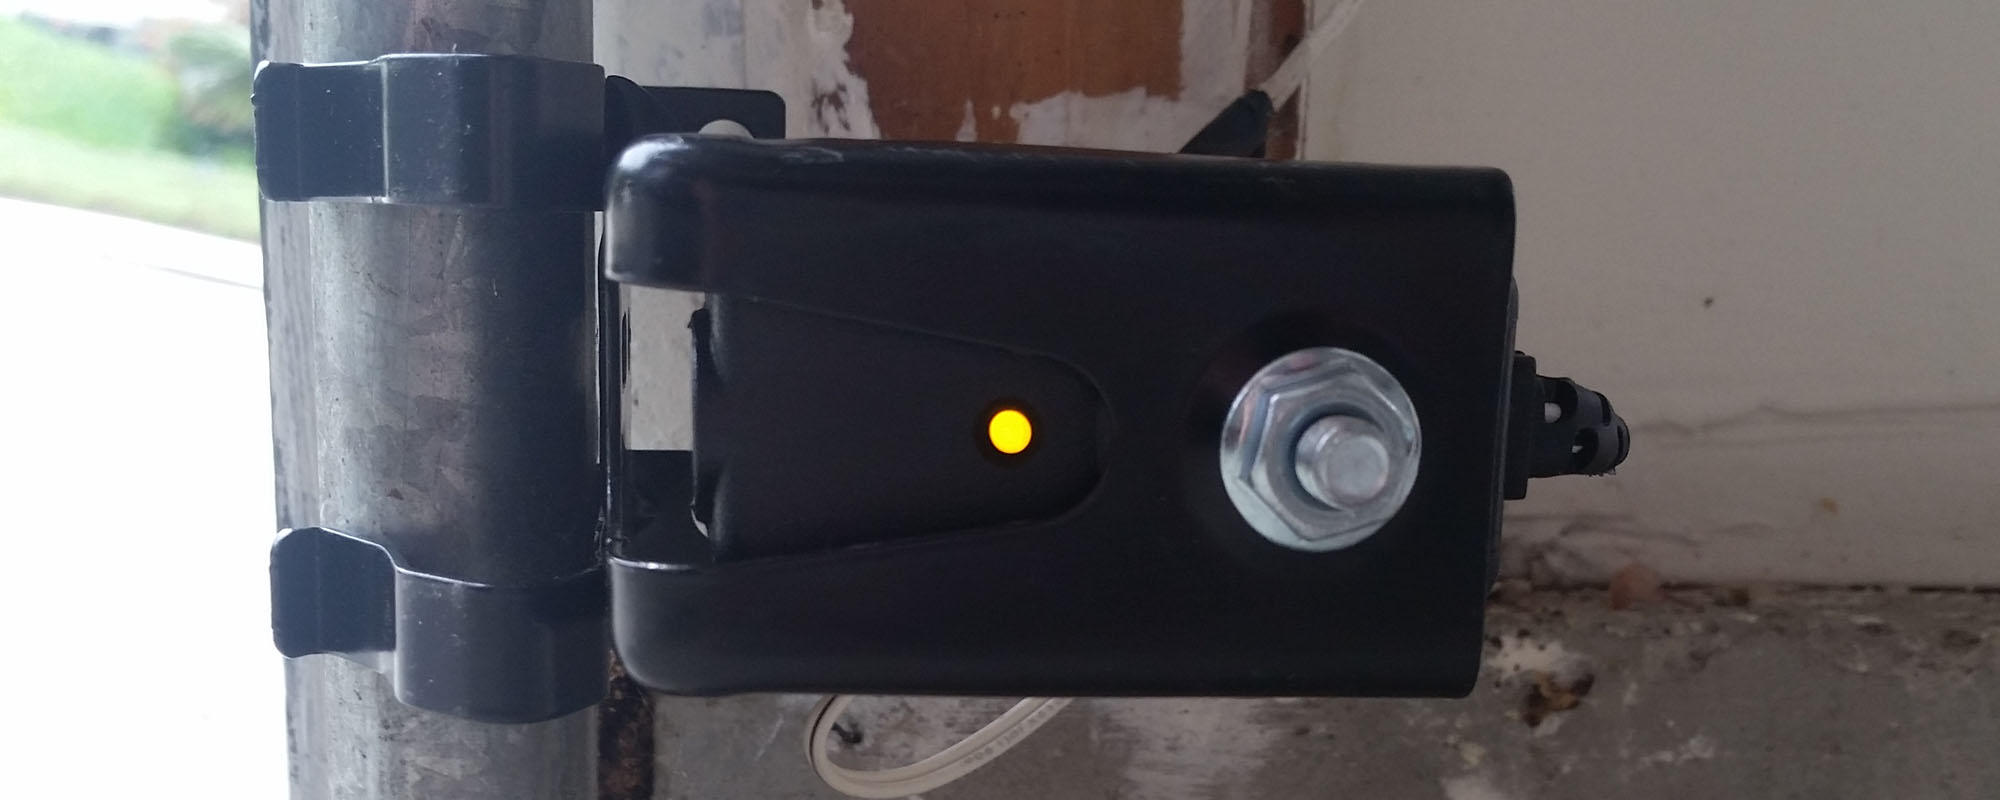
Step 6: Test the sensor functionality
Now that you have completed the installation and secured the sensor wires, it’s time to test the functionality of your garage door sensor. Testing is an important step that ensures everything is working correctly and the sensor can effectively detect any obstructions. Follow these steps to test the sensor functionality:
- Make sure the garage door is fully closed and nothing is blocking the path of the door.
- Stand outside the garage and press the button to close the garage door.
- As the garage door begins to close, wave a long object, such as a broom or pole, in front of the sensor as if it were an obstruction.
- If the sensor is functioning properly, the garage door should immediately stop closing and reverse its direction, as it detects the beam interruption.
- Repeat the test a few times to ensure consistent and reliable performance of the sensor. Make any necessary adjustments to the sensor brackets or sensor wire placement if the door does not respond as expected.
If the garage door fails to reverse its direction or exhibits any abnormalities during the test, it could indicate a problem with the sensor alignment or wiring. In this case, refer to the manufacturer’s instructions or consult a professional for further assistance.
Once you have confirmed that the sensor is functioning correctly, it’s time to finalize the installation of your garage door sensor.
Step 7: Finalize the installation
Congratulations! You have reached the final step of the garage door sensor installation process. This step involves some additional tasks to ensure a complete and professional installation. Follow these steps to finalize the installation:
- Tighten all the screws on the sensor brackets and the garage door opener to ensure they are secure.
- Double-check the alignment of the sending and receiving units to ensure the infrared beam is uninterrupted.
- Inspect the sensor wires to make sure they are not crimped, damaged, or tangled. If any issues are detected, adjust the routing or replace damaged wires as necessary.
- Coil and organize any excess sensor wire neatly using cable ties or clips. This will prevent any tripping hazards and maintain a clean appearance.
- If your garage has a power source nearby, consider connecting the garage door opener to a power supply for added convenience. Consult the manufacturer’s instructions for specific details on wiring the opener.
- Take a final test of the sensor by closing and opening the garage door multiple times to ensure consistent and reliable functionality.
- Finally, remove any tools, debris, or leftover materials from the installation area, leaving your garage neat and tidy.
With these final steps completed, your garage door sensor installation is now finished. Enjoy the enhanced safety and security provided by your new garage door sensor.
Remember to keep the user manual and warranty information in a safe place for future reference. If any issues arise or adjustments are needed, consult the manufacturer’s instructions or contact their customer support for assistance.
Thank you for following this comprehensive guide on how to wire a garage door sensor. We hope this guide has been helpful in your DIY project. Stay safe and enjoy the benefits of your newly installed garage door sensor!
Conclusion
Wiring a garage door sensor is a valuable project that enhances the safety and security of your garage. By following the step-by-step guide outlined in this article, you have learned how to install a garage door sensor with ease.
Throughout the installation process, you gathered the necessary tools and materials, located the ideal position for the sensor, installed the sensor brackets, connected the sensor wires to the garage door opener, secured the wires, tested the functionality, and finalized the installation. Each step played a crucial role in ensuring a properly functioning sensor that detects any obstructions and prevents accidents.
By installing a garage door sensor, you have taken an important step in protecting your family, vehicles, and belongings. The sensor provides an added layer of security by preventing the garage door from closing if an object or person is in its path. This helps to avoid accidents and deters potential intruders.
Remember, proper maintenance and regular testing are essential to keep your garage door sensor in optimal condition. Additionally, refer to the manufacturer’s instructions for any specific maintenance requirements or troubleshooting tips.
Now that you have successfully completed the installation, you can enjoy the peace of mind that comes with knowing your garage is secure. Whether it’s preventing accidents, deterring theft, or simply simplifying your daily routines, a garage door sensor is a worthwhile addition to any garage.
Thank you for choosing our guide on how to wire a garage door sensor. We hope you found it informative and helpful. Now go ahead and enjoy the benefits of a safer and more secure garage!
Frequently Asked Questions about How To Wire A Garage Door Sensor
Was this page helpful?
At Storables.com, we guarantee accurate and reliable information. Our content, validated by Expert Board Contributors, is crafted following stringent Editorial Policies. We're committed to providing you with well-researched, expert-backed insights for all your informational needs.


0 thoughts on “How To Wire A Garage Door Sensor”