Home>diy>Architecture & Design>How To Install A Facade
Architecture & Design
How To Install A Facade
Modified: December 7, 2023
Learn how to easily install a stunning facade on your building with our step-by-step guide. Discover the latest trends in architecture design and transform the look of your property.
(Many of the links in this article redirect to a specific reviewed product. Your purchase of these products through affiliate links helps to generate commission for Storables.com, at no extra cost. Learn more)
Introduction
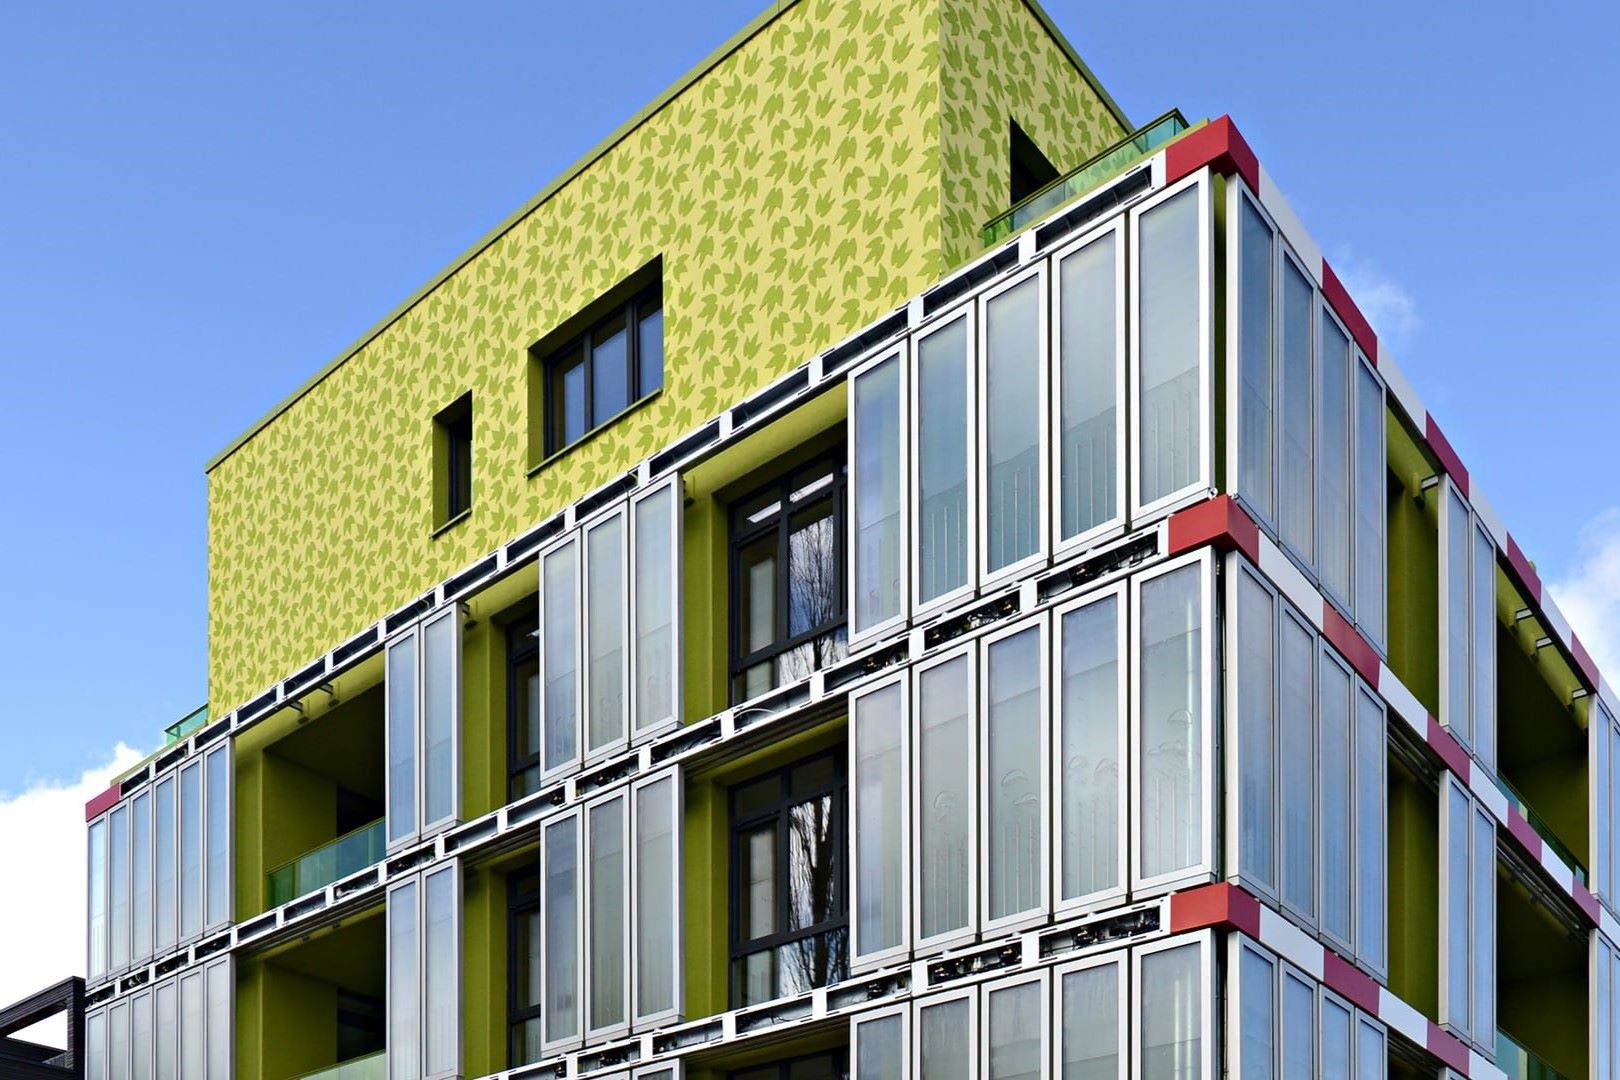
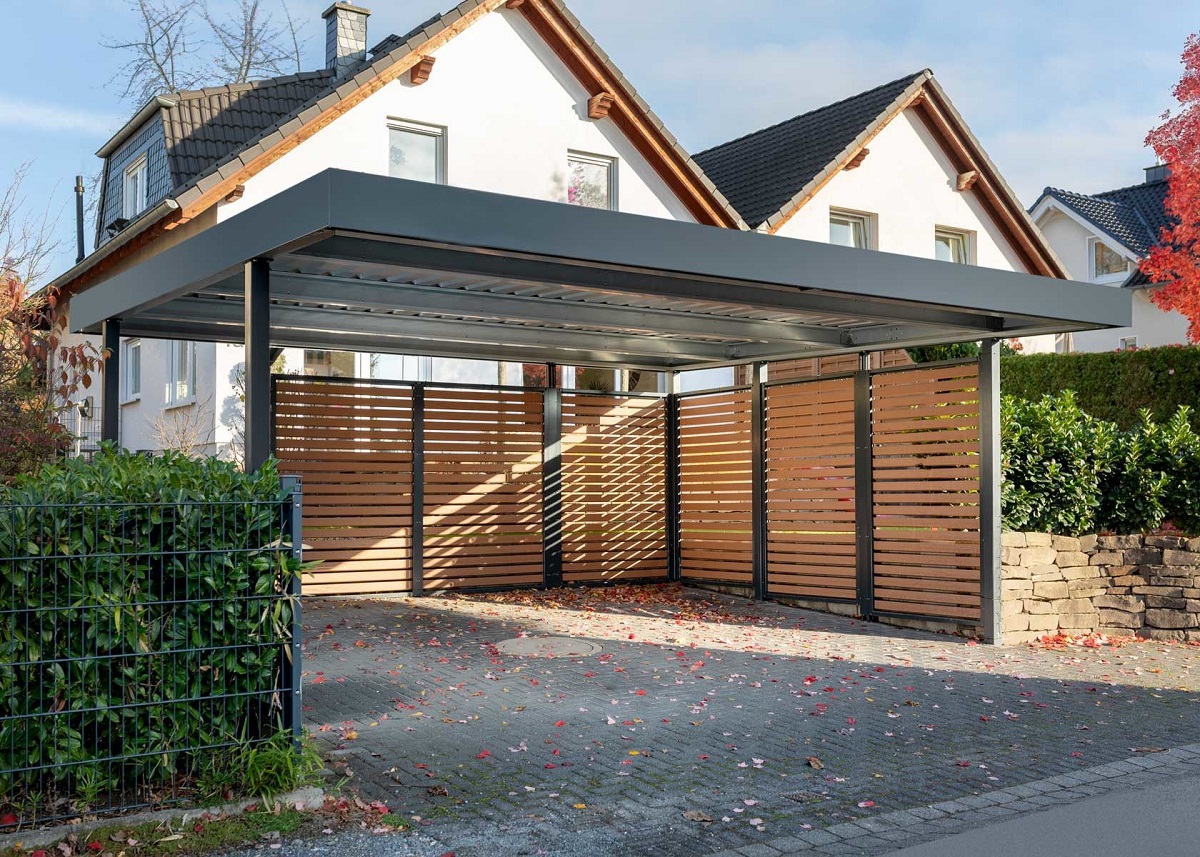
When it comes to enhancing the aesthetic appeal of a building, the facade plays a crucial role. A well-designed facade not only adds beauty to the structure but also provides protection from the elements. Over time, however, facades can become worn out or outdated, necessitating a replacement. Installing a new facade can be a complex and intricate process, requiring careful planning and execution. In this article, we will guide you through the steps involved in installing a new facade, from preparing the old facade to securing the new panels.
Before embarking on this project, it’s important to assess the condition of the current facade. If it is deteriorating or damaged, replacing it can significantly improve the overall appearance and integrity of the building. Moreover, a new facade can also enhance energy efficiency and increase property value.
Installing a new facade requires careful preparation and attention to detail. It involves several crucial steps, including removing the old facade, prepping the surface, and installing the new panels. It’s also essential to have the necessary materials and tools on hand to ensure a smooth installation process.
In this article, we will provide you with a comprehensive guide on how to install a facade. We’ll cover everything from preparing the old facade to securing the new panels, ensuring that you have all the information you need to successfully complete this project.
Key Takeaways:
- Enhancing a building’s aesthetic appeal and structural integrity through a new facade installation involves careful preparation, precise execution, and attention to detail, resulting in a visually appealing and durable exterior.
- Prioritizing safety, following manufacturer’s instructions, and adding finishing touches are crucial in ensuring a successful and long-lasting installation of a new facade, transforming the building’s appearance and increasing its value.
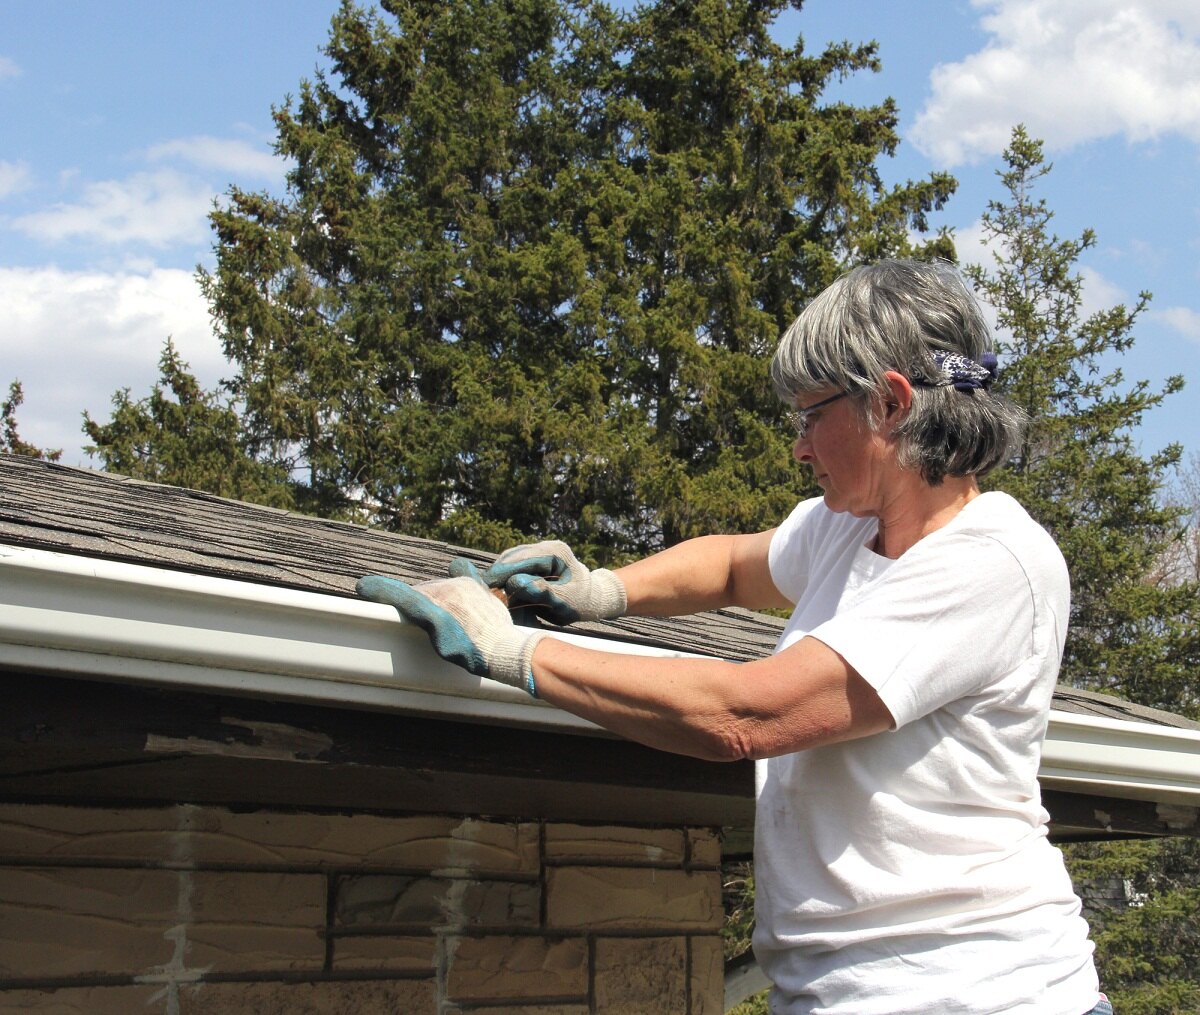
Step 1: Preparing the Old Facade
Before you can begin installing a new facade, it’s crucial to properly prepare the old facade. This step ensures that the surface is clean, free from any debris, and ready for the installation of the new panels. Here’s how to prepare the old facade:
- Clean the surface: Start by thoroughly cleaning the old facade to remove any dirt, dust, or grime. Use a gentle detergent and a soft-bristle brush or sponge to scrub the surface. Rinse it off with clean water and allow it to dry completely before moving on to the next step.
- Inspect for damage: Carefully inspect the old facade for any signs of damage, such as cracks, holes, or water damage. If you notice any issues, make the necessary repairs before proceeding with the installation of the new facade. Patching up cracks and holes and addressing water damage will ensure a solid foundation for the new panels.
- Remove any loose elements: Check for any loose elements on the old facade, such as loose nails, screws, or other fasteners. Remove them and fill the resulting holes with an appropriate filler or putty. This will ensure a smooth and even surface for the installation of the new facade.
- Consider insulation: If the old facade lacks insulation or if you’re looking to improve energy efficiency, consider adding insulation before installing the new facade. Insulation can help reduce heat loss, improve indoor comfort, and lower energy bills. Consult with a professional to determine the best insulation method for your specific building.
By properly preparing the old facade, you are setting the stage for a successful installation of the new facade. Taking the time to clean the surface, address any damage, remove loose elements, and consider insulation will ensure a durable and long-lasting result.
Step 2: Gathering Materials and Tools
Once you have prepared the old facade, you’ll need to gather the necessary materials and tools for the installation of the new facade. Having all the required items on hand before starting the project will save you time and ensure a smoother installation process. Here’s a list of the essential materials and tools you’ll need:
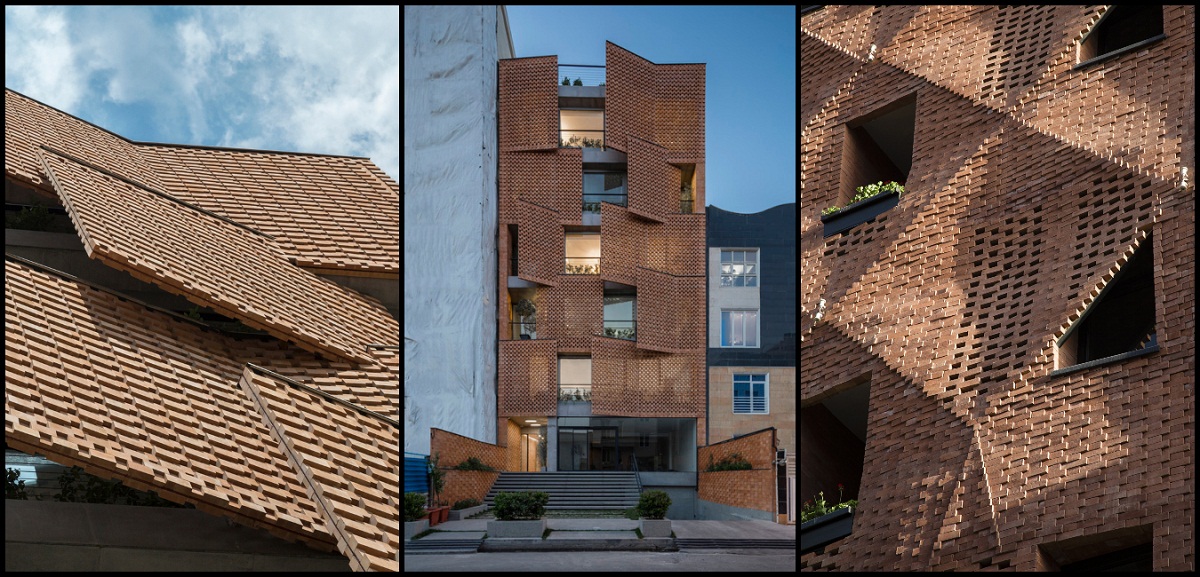
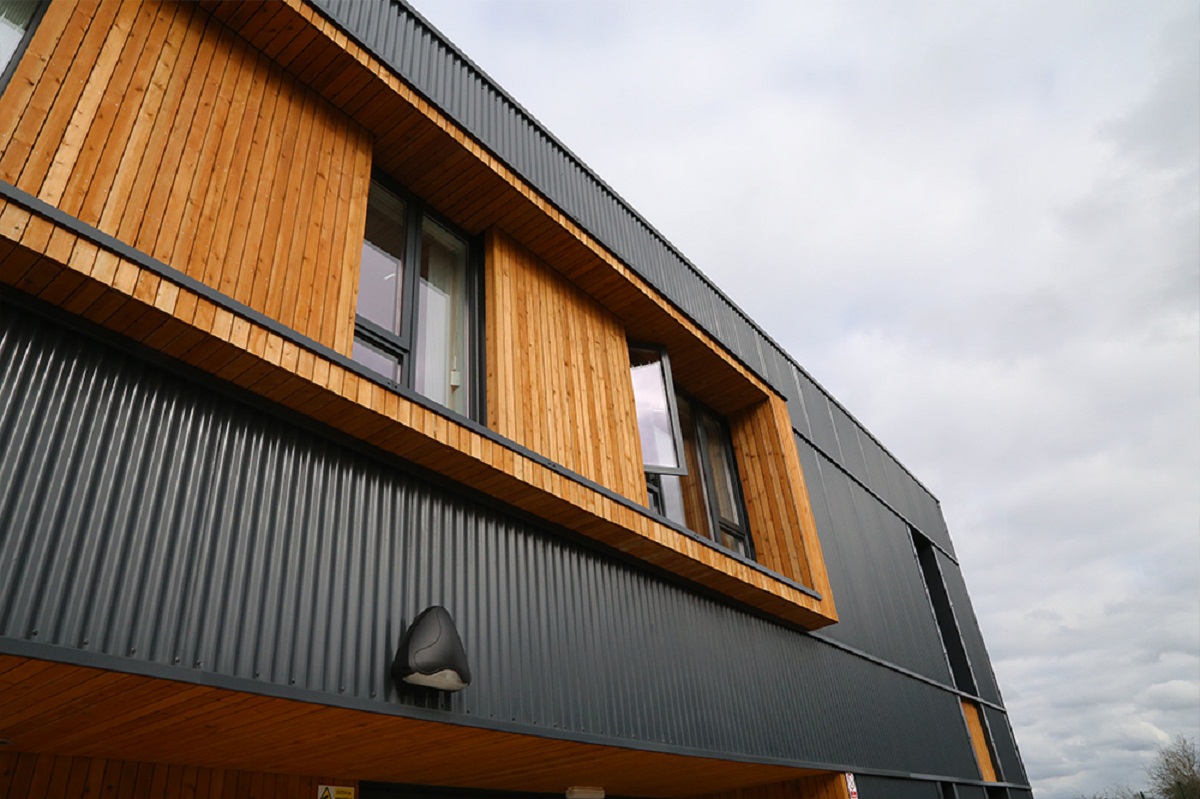
- Façade panels: The main component of a new facade is the panels. Choose the material and design that best suits your building’s aesthetic and functional needs. Common options include vinyl, brick, stone, wood, metal, or composite materials. Measure the dimensions needed for your facade and purchase panels accordingly.
- Fasteners: Depending on the type of material used for the panels, you’ll need the appropriate fasteners. This could include screws, nails, adhesive, or specialized clips. Consult the manufacturer’s instructions or seek advice from a professional to ensure you have the right fasteners for your specific facade.
- Waterproofing membrane: To protect the structure from moisture, it’s essential to install a waterproofing membrane. This membrane acts as a barrier and prevents water from seeping through the facade. Choose a high-quality waterproofing membrane that is compatible with your chosen facade material.
- Insulation materials: If you opted to add insulation during the preparation phase, make sure you have the necessary insulation materials. This may include foam panels, fiberglass batts, or spray foam insulation. Consult with a professional to determine the best insulation type and quantity for your building.
- Basic tools: You’ll need a set of basic tools including a measuring tape, level, saw, hammer, screwdriver, caulking gun, and safety equipment such as gloves and safety goggles. Having these tools readily available will make the installation process smoother.
- Additional materials: Depending on the specific requirements of your facade and the chosen materials, you may need additional items such as trim pieces, corner caps, sealants, or other finishing elements. Take the time to list out all the additional materials needed to avoid any last-minute delays or complications.
Gathering all the necessary materials and tools ahead of time will ensure that you have everything you need on hand to start the installation process. It’s crucial to choose high-quality materials to achieve a durable, functional, and visually appealing facade. Take the time to double-check your list and consult with professionals or suppliers if needed, to ensure that you have all the right items ready for the project ahead.
Step 3: Removing the Old Facade
With the materials and tools gathered, it’s time to move on to the next step: removing the old facade. Removing the existing facade is a crucial part of the installation process, as it provides a clean canvas for the new facade. Follow these steps to safely and effectively remove the old facade:
- Assess the type of facade: Different facades may have different removal methods. Determine the type of facade you are dealing with, whether it’s siding, stucco, brick, or another material. This will help you understand the best approach for removal.
- Protect yourself: Before starting the removal process, make sure to take necessary safety precautions. Wear protective gear, such as gloves, safety goggles, and a dust mask, to protect yourself from potential hazards like debris or dust.
- Start from the top: Begin by removing the topmost layer of the facade, working your way down. This approach prevents any loose debris from falling onto the sections already removed.
- Use appropriate tools: Depending on the type of facade, you’ll need specific tools for removal. For example, a pry bar and hammer might be suitable for siding, while a chisel and mallet may be needed for brick or stucco. Select the right tools for the job to ensure efficient removal without causing damage.
- Carefully remove each section: Take your time to remove each section of the old facade carefully. Use your tools to loosen the fasteners or pry the facade away from the structure. If necessary, have a partner to assist you in handling larger or heavier sections to avoid injury.
- Dispose of the old facade: Properly dispose of the removed facade materials according to local regulations. Recycle or discard them responsibly to minimize environmental impact.
Removing the old facade requires patience, attention to detail, and the appropriate tools. By following these steps, you can effectively remove the old facade and create a clean slate for the installation of the new facade.
Step 4: Prepping the Surface
Once the old facade has been removed, it’s time to prepare the surface for the installation of the new facade. Properly prepping the surface is essential for ensuring a secure and long-lasting installation. Follow these steps to prep the surface:
- Clean the surface: Thoroughly clean the exposed surface by removing any dirt, debris, or remnants of the old facade. Use a pressure washer or a hose with a high-pressure nozzle to effectively remove any stubborn grime.
- Repair and patch: Inspect the surface for any damages or imperfections, such as cracks or holes. Fill in any gaps or damaged areas with the appropriate filler or patching compound. Smooth out the surface to create an even and solid base for the new facade.
- Inspect for moisture: Check for any signs of moisture or water damage on the surface. It’s crucial to address any underlying moisture issues to prevent future damage to the new facade. If necessary, consult a professional to identify and resolve any moisture-related concerns.
- Apply a water barrier: To protect the underlying structure from moisture, apply a high-quality water barrier or waterproofing membrane. This barrier acts as an added layer of protection against water infiltration and ensures the longevity of the new facade.
- Level the surface: Use a level to ensure that the surface is even and plumb. This step is crucial for achieving a seamless and professional-looking installation. Make any necessary adjustments to create a level surface.
- Consider insulation: If you’re planning to add insulation to improve energy efficiency, now is the time to install it. Follow the manufacturer’s instructions and properly position the insulation layers on the surface. Secure them in place using appropriate adhesive or fasteners.
By thoroughly prepping the surface, you’re setting the foundation for a successful installation of the new facade. Taking the time to clean the surface, repair any damage, address moisture concerns, apply a water barrier, level the surface, and consider insulation will ensure a smooth and durable installation process.
When installing a facade, make sure to properly prepare the surface by cleaning and repairing any damage. This will ensure a smooth and durable installation.
Read more: What Is A Facade?
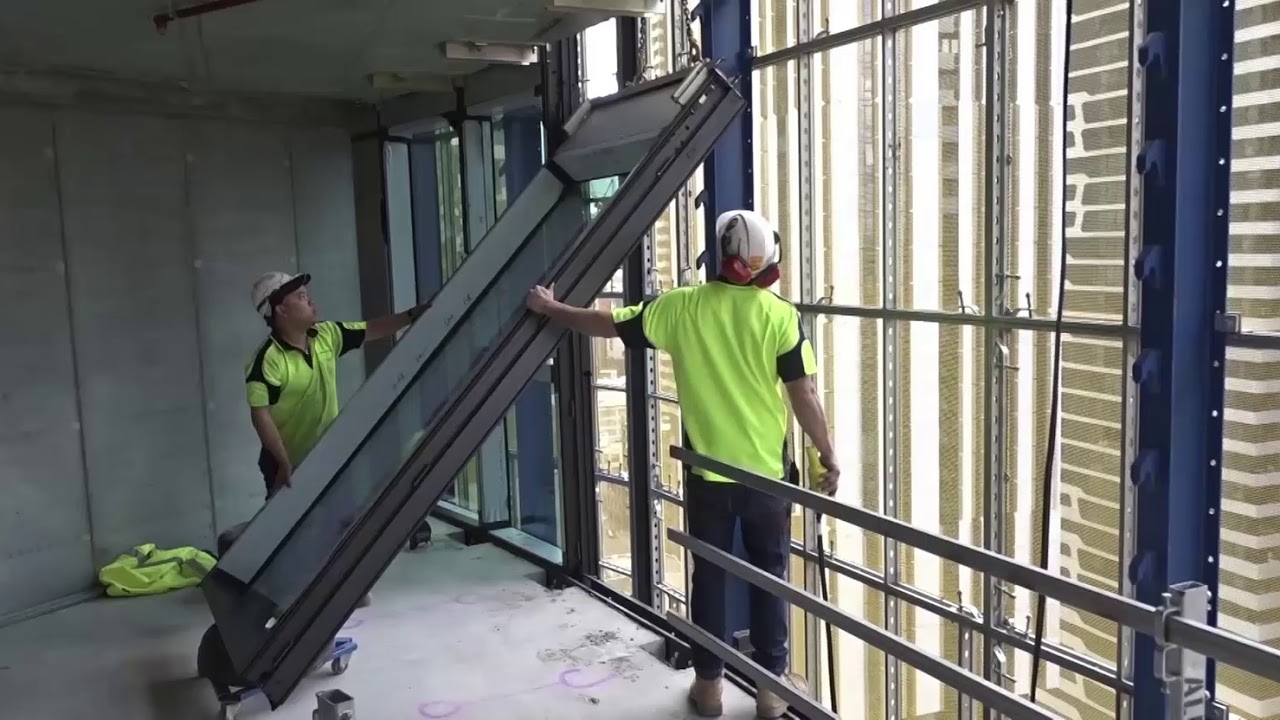
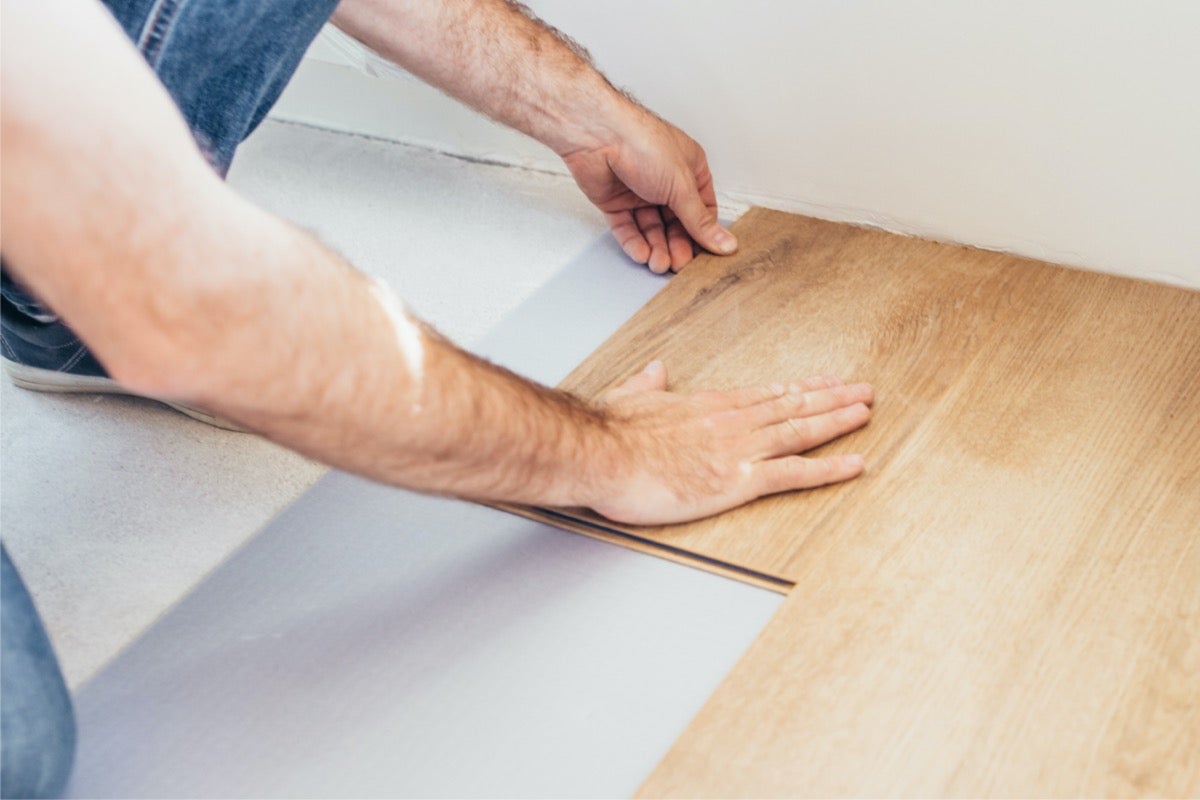
Step 5: Installing the New Facade
Now that the surface is prepped and ready, it’s time to move on to the exciting part – installing the new facade. The installation process will vary depending on the type of facade material you’ve chosen, but the general steps remain similar. Here’s a guide to help you with the installation:
- Refer to manufacturer’s instructions: Before starting the installation, carefully read and familiarize yourself with the manufacturer’s instructions for your chosen facade material. These instructions will provide specific guidelines and recommendations for a successful installation.
- Start from the bottom: Begin the installation from the bottom of the surface, working your way up. This prevents any water from seeping behind the panels and ensures a secure installation.
- Position the first panel: Place the first panel on the bottom of the surface, ensuring that it is level and aligned correctly. Use a level and measuring tape to double-check the positioning.
- Secure the panel: Depending on the facade material, follow the manufacturer’s instructions on how to secure the panel in place. This may involve using screws, nails, adhesive, or specialized clips. Ensure that the panel is firmly attached and properly aligned.
- Continue with subsequent panels: Repeat the process of positioning and securing each subsequent panel, working your way up the surface. Maintain consistent spacing between panels for a balanced and visually appealing facade.
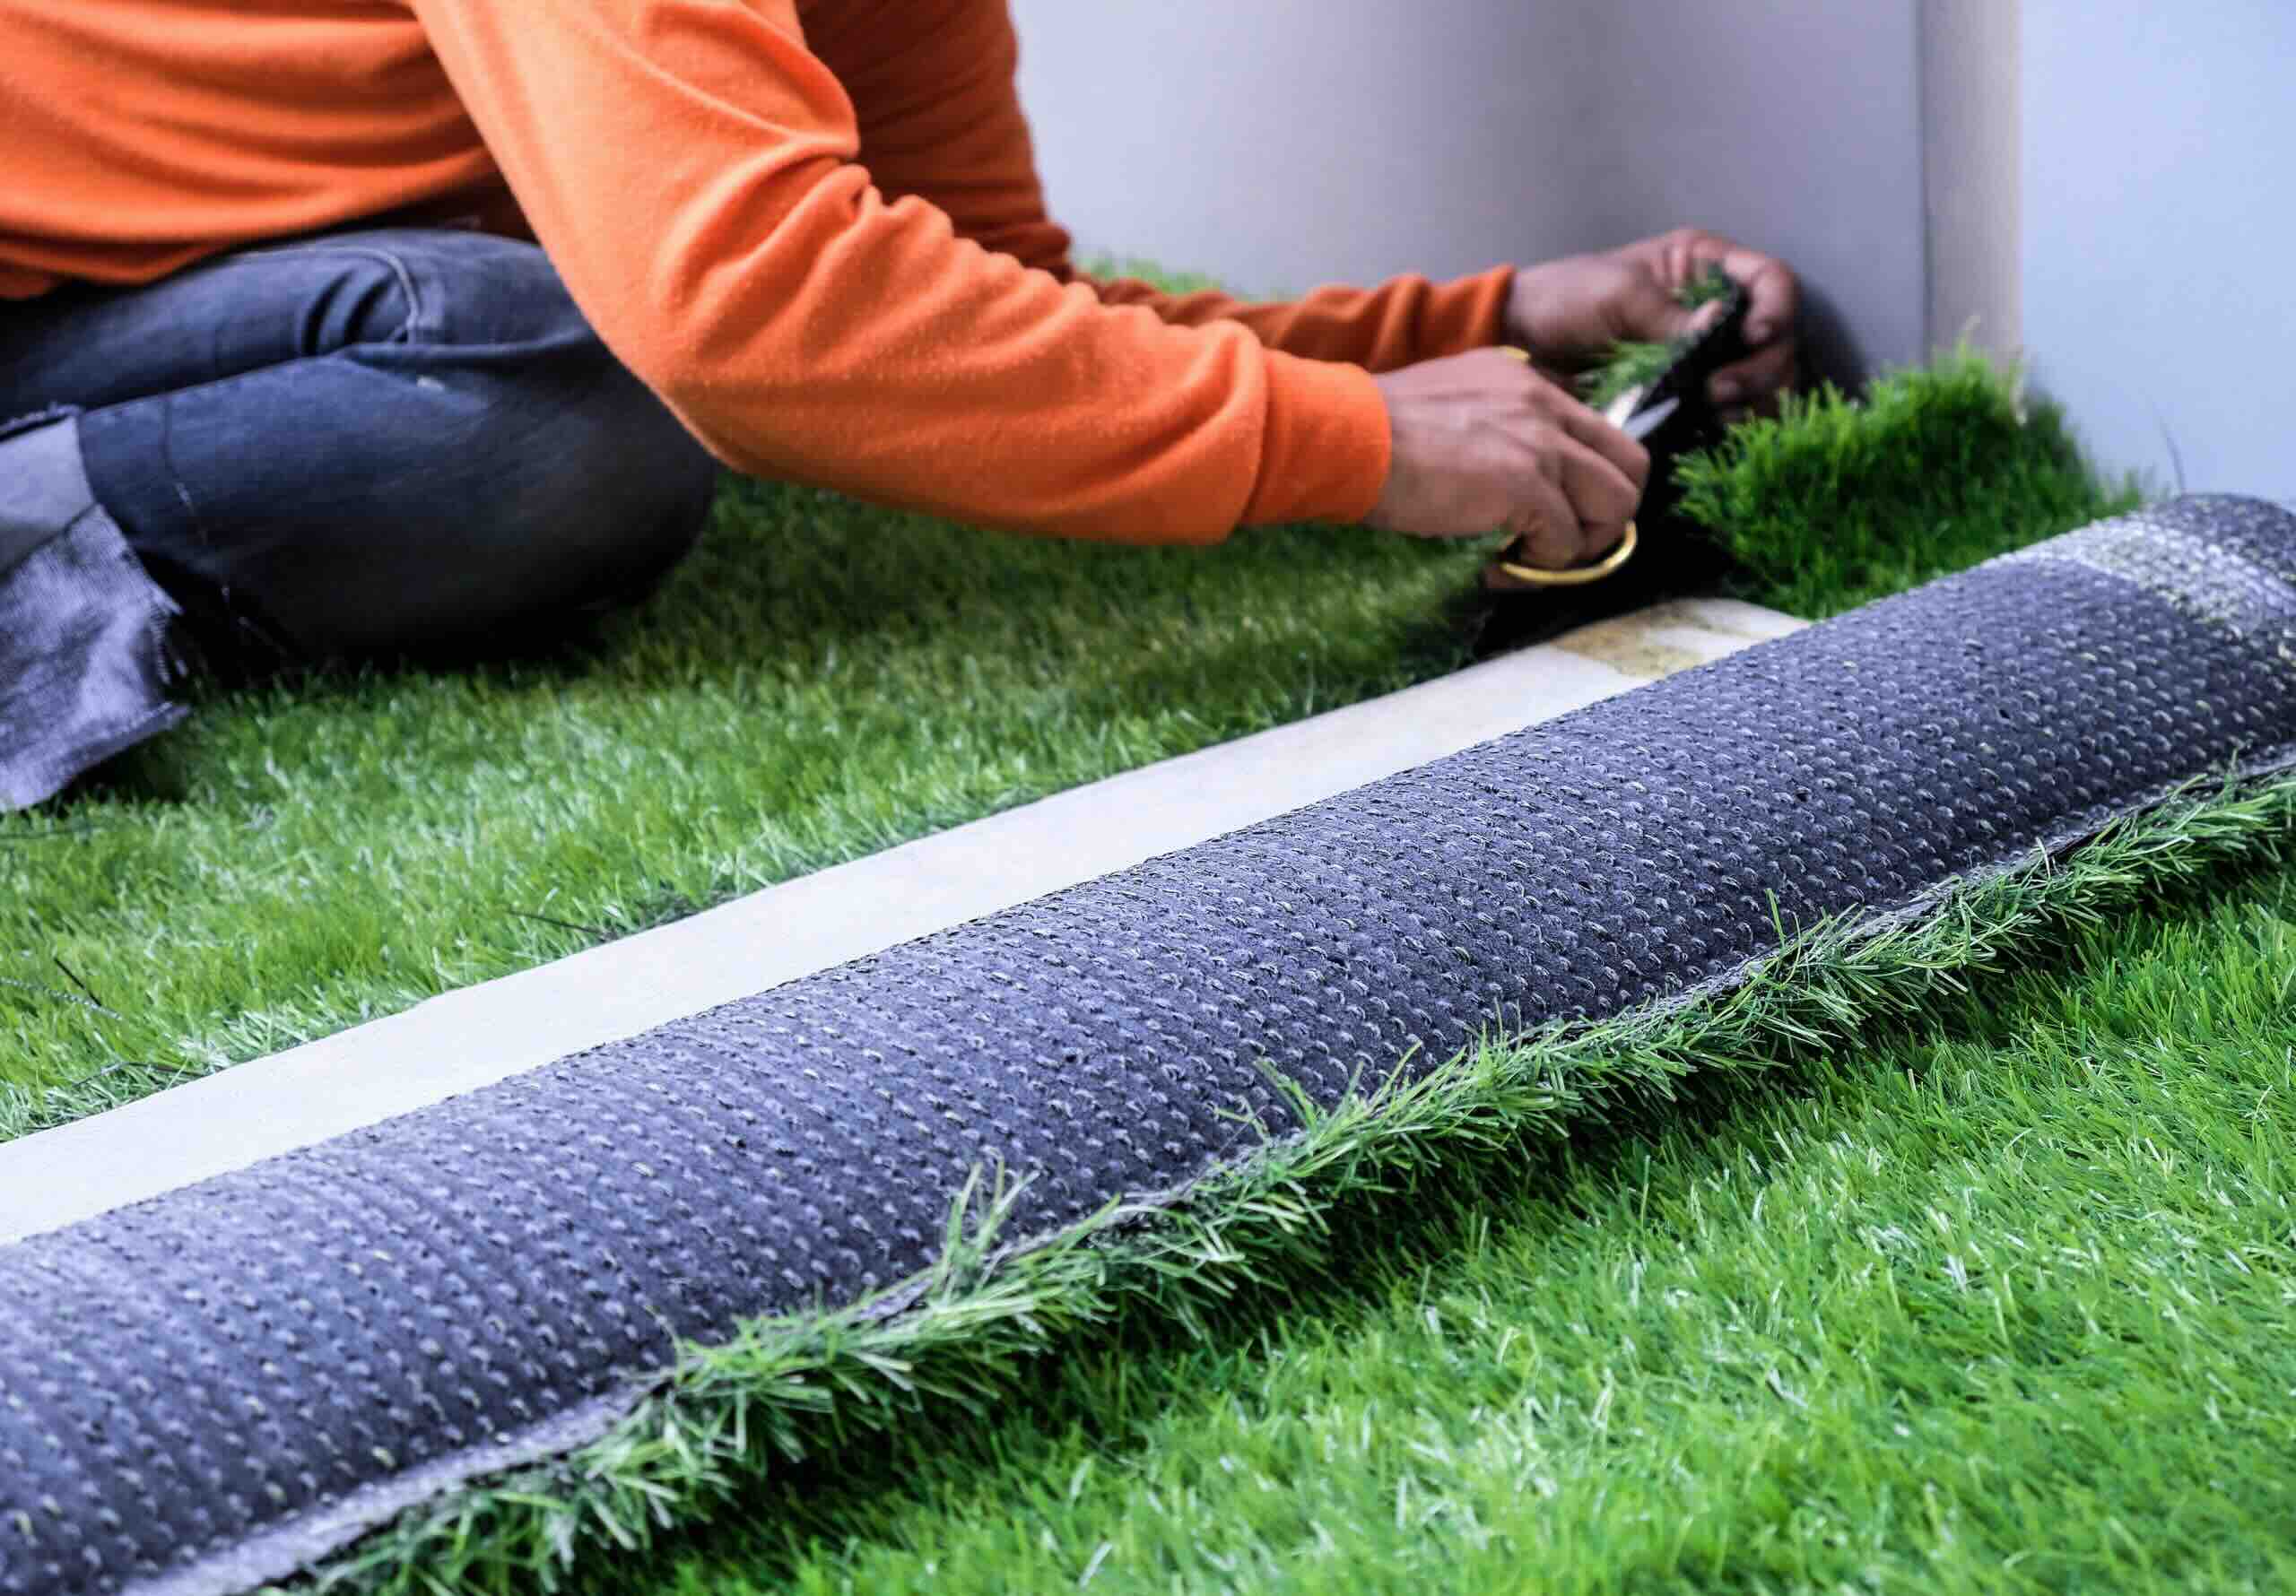
- Make necessary cuts: As you approach corners, windows, doors, or other architectural features, you may need to make cuts to the panels to ensure a proper fit. Use appropriate cutting tools and follow the manufacturer’s guidelines to make accurate and clean cuts.
- Check for level and alignment: Regularly check for levelness and alignment as you progress with the installation. Adjust as needed to maintain a cohesive and visually pleasing facade.
- Apply trim and accessories: Once the panels are installed, consider adding any necessary trim pieces and accessories to enhance the aesthetic and functionality of the facade. This may include corner caps, window or door trim, or decorative elements.
During the installation process, it’s crucial to work carefully and precisely to achieve a professional finish. Take your time and follow the manufacturer’s instructions closely to ensure a secure and visually pleasing installation of the new facade.
Step 6: Securing the Facade Panels
Once the new facade panels are installed, the next step is to secure them firmly in place. This ensures the stability and durability of the facade over time. Follow these steps to properly secure the facade panels:
- Verify the alignment: Double-check the alignment and positioning of each panel to ensure they are level and properly aligned with one another. Make any necessary adjustments to achieve a uniform and cohesive look.
- Secure with fasteners: Depending on the recommended method for your specific facade material, secure the panels in place using the appropriate fasteners. This could involve screws, nails, clips, or adhesive, as specified by the manufacturer’s instructions.
- Follow recommended spacing: Maintain the recommended spacing between panels as instructed by the manufacturer. This ensures proper expansion and contraction of the materials, especially in changing weather conditions.
- Inspect for gaps or loose areas: After securing the facade panels, inspect the entire surface for any gaps or areas that may appear loose. These could potentially compromise the integrity of the facade. If any gaps or loose areas are found, address them promptly by re-securing or adjusting the panels.
- Consider additional reinforcement: Depending on the size and weight of the facade panels, as well as the specific requirements of your building, you may need to consider additional reinforcement. This could involve installing additional support beams, brackets, or anchors to ensure the facade is securely attached to the structure.
- Ensure proper sealing: Finally, check for any gaps or openings between the panels or at the joints. Apply an appropriate sealant to create a watertight and airtight seal, preventing any moisture infiltration or drafts.
By properly securing the facade panels, you are ensuring the stability and longevity of the new facade. Following these steps will help maintain the integrity of the installation and protect against potential issues in the future.
Step 7: Finishing Touches
With the facade panels securely in place, it’s time to add the finishing touches to complete the installation. These final steps will enhance the overall appearance and functionality of the new facade. Here’s what you need to do for the finishing touches:
- Trim and moldings: Install any trim pieces and moldings that are required to give the facade a polished and professional look. This could include corner trims, window surrounds, or decorative moldings.
- Sealant and caulking: Apply a high-quality sealant or caulking compound to seal any gaps or joints between the panels. This will provide added protection against water infiltration and improve the overall weather resistance of the facade.
- Paint or finish: If desired, apply a fresh coat of paint or finish to the facade panels. This will not only enhance the visual appeal but also provide an additional layer of protection against the elements.
- Clean up: Dispose of any leftover materials, tools, and debris from the installation process. Clean the surrounding area to ensure a tidy and professional finish.
- Inspect for any issues: Take the time to thoroughly inspect the newly installed facade. Look for any signs of damage, loose panels, or other issues that may need to be addressed. Promptly resolve any issues to ensure the longevity and functionality of the facade.
- Maintenance recommendations: Familiarize yourself with the specific maintenance requirements for your chosen facade material. Follow the recommended maintenance guidelines, such as cleaning procedures or periodic inspections, to ensure the facade remains in optimal condition.
By completing these finishing touches, you will transform the newly installed facade into a visually appealing and functional feature of your building. Taking the time to add trim, seal gaps, apply a protective finish, and perform a thorough inspection will ensure a beautiful and long-lasting facade.
Conclusion
Installing a new facade is a significant undertaking that can greatly enhance the appearance and value of a building. By following the steps outlined in this guide, you can successfully replace an old facade with a new one, creating a fresh and visually appealing exterior. Taking the time to prepare the old facade, gather the necessary materials and tools, remove the old facade, prep the surface, install the new panels, secure them firmly, and add the finishing touches will result in a durable and beautiful facade.
Throughout the installation process, it is important to prioritize safety and attention to detail. Be knowledgeable about the specific requirements of your chosen facade material and follow the manufacturer’s instructions closely. Double-check the alignment, secure the panels properly, and address any gaps or loose areas. Take the time to properly seal the panels and apply a protective finish, if desired.
Remember to consult professionals or experts if you have any questions or concerns during the installation process. They can provide valuable advice and guidance based on their expertise and experience. And once the new facade is installed, be sure to adhere to the recommended maintenance guidelines to ensure its longevity and optimal performance.
By investing in a new facade and completing the installation with care and precision, you can transform the appearance of your building, increase its value, and enjoy the benefits of a functional and visually appealing exterior for years to come.
Frequently Asked Questions about How To Install A Facade
Was this page helpful?
At Storables.com, we guarantee accurate and reliable information. Our content, validated by Expert Board Contributors, is crafted following stringent Editorial Policies. We're committed to providing you with well-researched, expert-backed insights for all your informational needs.


0 thoughts on “How To Install A Facade”