Articles
How To Align Chamberlain Garage Door Sensors
Modified: October 28, 2024
Looking for articles on how to align Chamberlain garage door sensors? Find step-by-step instructions and expert tips to ensure proper alignment for optimal performance.
(Many of the links in this article redirect to a specific reviewed product. Your purchase of these products through affiliate links helps to generate commission for Storables.com, at no extra cost. Learn more)
Introduction
Welcome to this comprehensive guide on how to align Chamberlain garage door sensors. If you own a Chamberlain garage door opener, you know how important it is for the sensors to be properly aligned. These sensors play a crucial role in ensuring the safety and functionality of your garage door system.
Chamberlain garage door sensors are designed to detect obstructions and prevent the door from closing if something or someone is in its path. They work by emitting an invisible beam between the sensors, and if the beam is interrupted, the door will not close. This is an essential safety feature that protects your belongings and prevents accidents.
However, if the sensors are misaligned, they may not function correctly, causing the door to stop or reverse unnecessarily. This can be frustrating and can compromise the security and convenience of your garage door system. That’s why it’s important to know how to align Chamberlain garage door sensors properly.
In this guide, we will walk you through the step-by-step process of aligning Chamberlain garage door sensors. We will also provide you with troubleshooting tips and additional recommendations to ensure a successful alignment.
Before we dive into the alignment process, let’s go over the tools and materials you will need to complete the task.
Key Takeaways:
- Properly aligning Chamberlain garage door sensors is crucial for safety, smooth operation, security, and damage prevention. Follow the step-by-step process and troubleshooting tips to ensure optimal sensor functionality.
- Regular maintenance, periodic testing, and seeking professional assistance if needed are essential for maintaining the safety and reliability of Chamberlain garage door sensors. Consider upgrading to newer sensor models for improved functionality.
Understanding Chamberlain Garage Door Sensors
Before we get into the nitty-gritty of aligning Chamberlain garage door sensors, let’s take a moment to understand how these sensors work and why proper alignment is crucial.
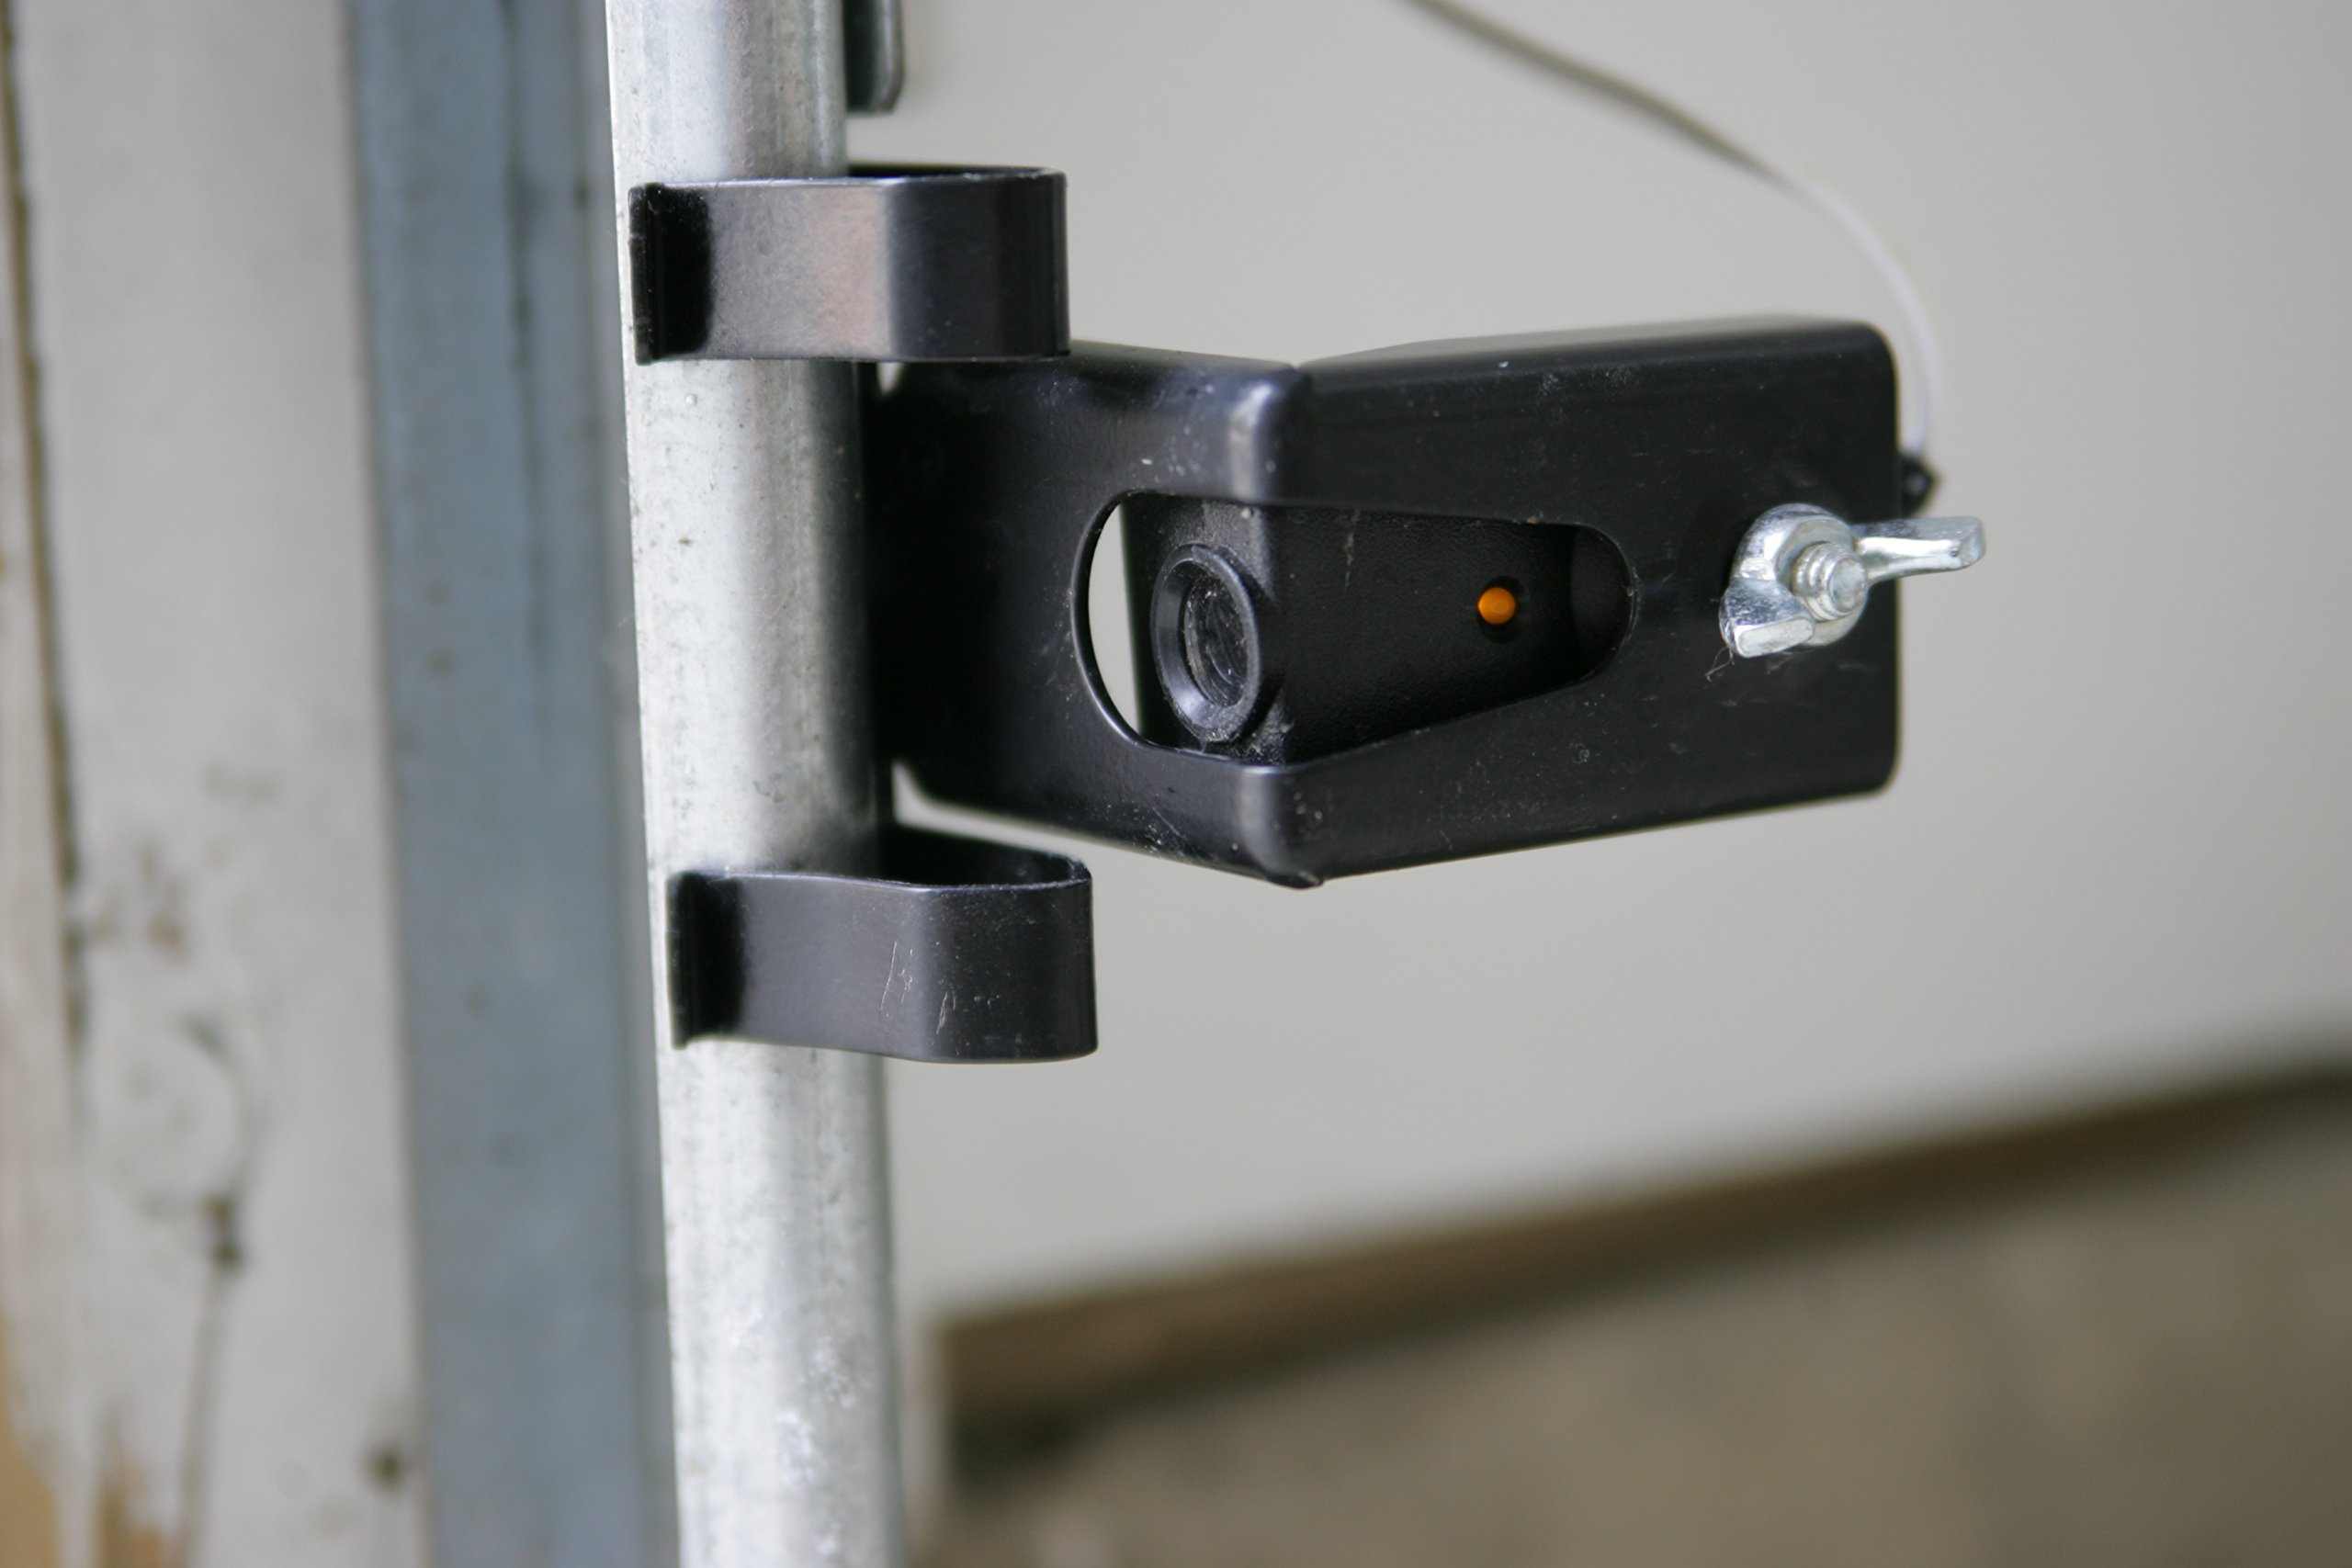
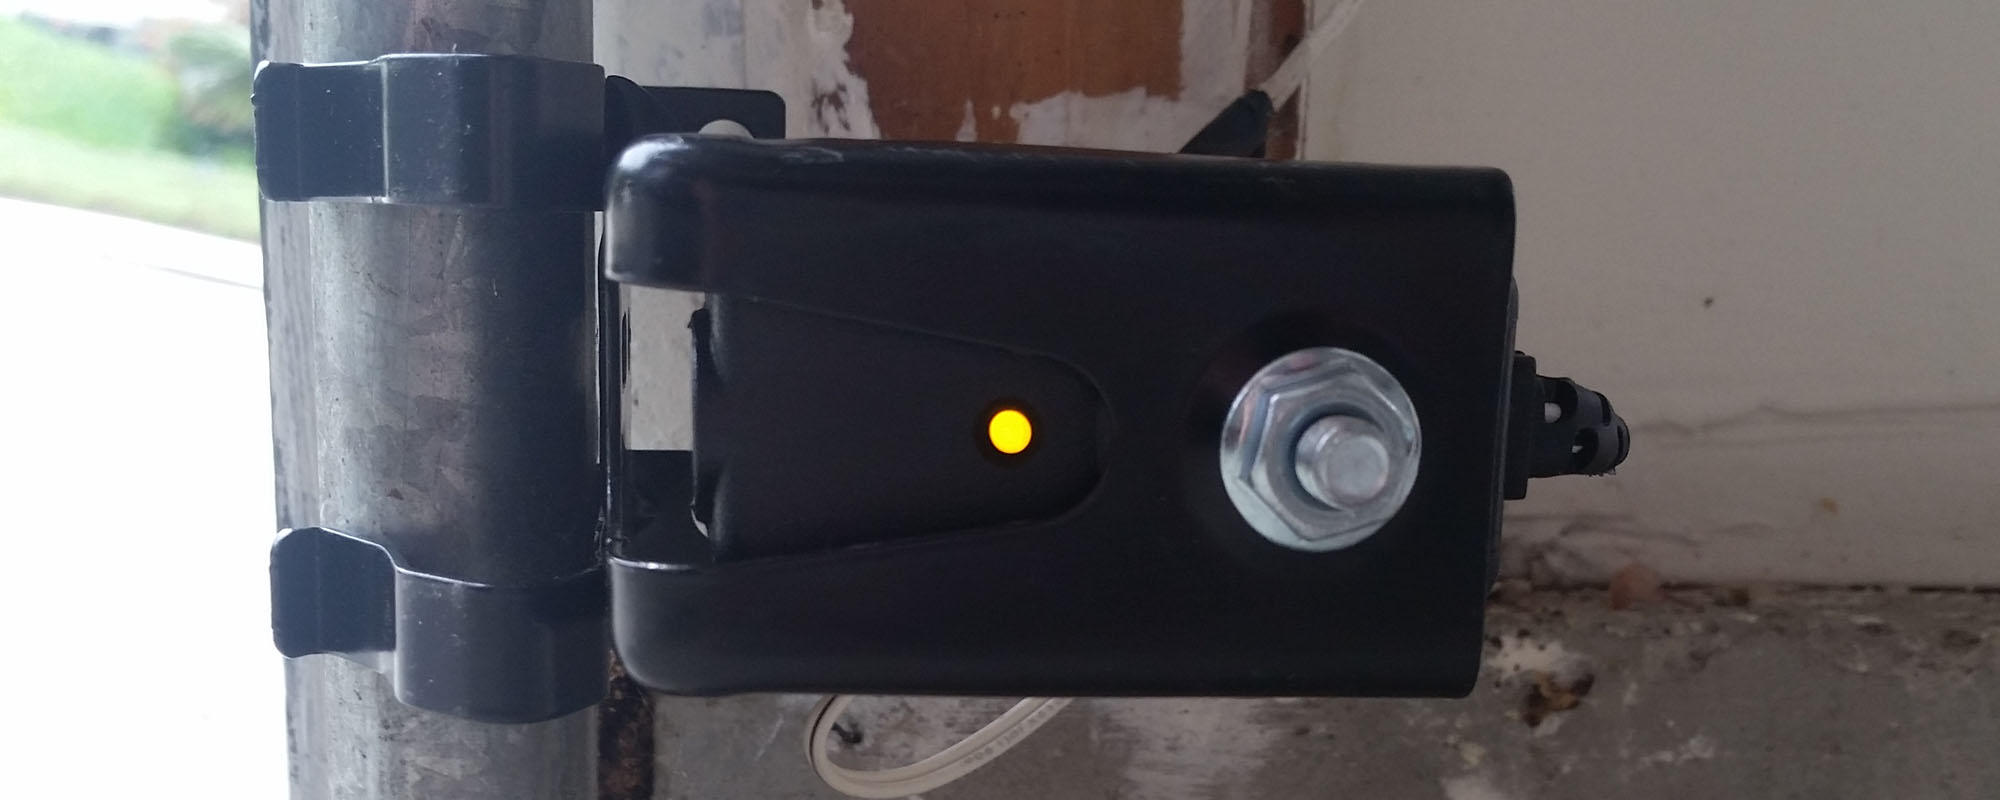
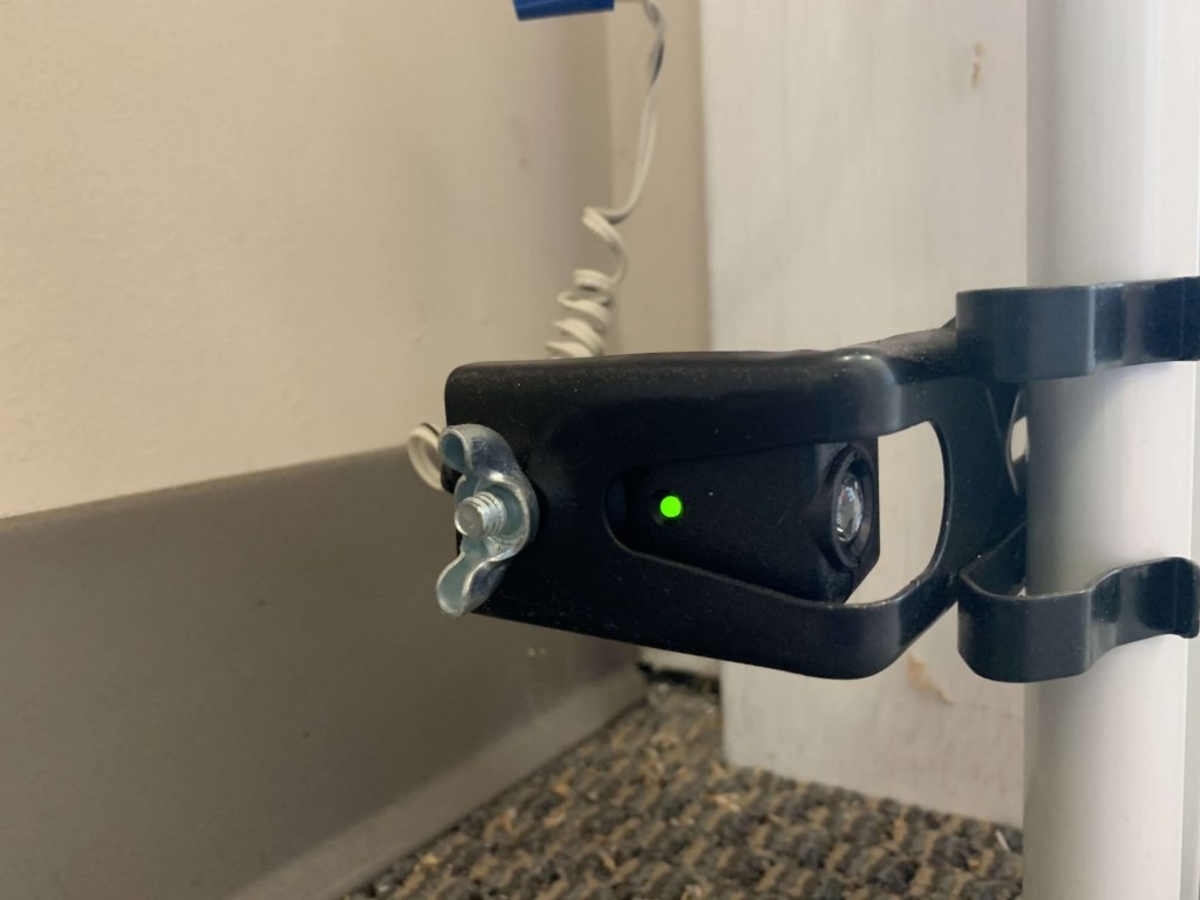
Chamberlain garage door sensors consist of a transmitter and a receiver, which are mounted on opposite sides of the garage door, near the floor. The transmitter emits an invisible beam of light, and the receiver detects the presence of this beam. When the garage door is closing, if an obstruction breaks the beam, the receiver signals the garage door opener to stop or reverse, preventing any accidents or damage.
The proper alignment of these sensors is essential for several reasons:
- Safety: The main purpose of garage door sensors is to ensure the safety of you, your family, and your belongings. By properly aligning the sensors, you ensure that the door will not close if there is an obstruction in its path, reducing the risk of accidents or injuries.
- Smooth Operation: Misaligned sensors can cause unnecessary interruptions in the operation of the garage door. They may trigger the door to stop or reverse unexpectedly, leading to frustration and inconvenience. Proper alignment ensures the smooth operation of the garage door system.
- Security: Garage doors serve as an entry point to your home. Misaligned sensors can compromise the security of your property by allowing unauthorized access. Proper alignment ensures that the door closes securely without any gaps or vulnerabilities.
- Prevent Damage: When a garage door closes on an object or person, it can cause significant damage to both the door and the obstruction. Proper alignment of the sensors prevents the door from closing on any objects, reducing the risk of damage.
Now that we understand the importance of proper alignment let’s move on to the tools and materials you will need for this task.
Tools and Materials Needed
Before you can start aligning your Chamberlain garage door sensors, you will need to gather a few tools and materials. Having the right equipment will make the alignment process smoother and more efficient. Here’s a list of what you’ll need:
List of tools:
- Stepladder or sturdy stool: An adjustable stepladder or a sturdy stool will allow you to reach the sensors comfortably. Make sure it is stable and secure before using it.
- Screwdriver: Depending on the sensor model, you may need a screwdriver to adjust the sensor brackets. Check the manufacturer’s instructions for the exact type of screwdriver required.
- Tape measure: A tape measure will help you ensure that the sensors are properly aligned both horizontally and vertically.
- Level: A small level will help you determine whether the sensors are aligned horizontally. This ensures that the beam is emitted straight across.
- Pencil or marker: You’ll need a pencil or marker to mark the desired position of the sensors during alignment.
Recommended materials:
- Clean cloth or mild cleaning solution: It is a good idea to clean the sensor lenses to ensure clear visibility. Use a clean cloth and mild cleaning solution to gently wipe the lenses, removing any dust or debris.
- Electrical tape or zip ties: These can be useful for securing the sensor wires and preventing them from hanging loose or getting tangled.
Gather these tools and materials before you begin the alignment process. Having everything ready will save you time and make the process more efficient. With the right tools at hand, let’s move on to the next steps: preparing for alignment.
Preparing for Alignment
Before you start aligning your Chamberlain garage door sensors, it’s important to take some safety precautions and ensure the functionality of the sensors. Follow these steps to prepare for the alignment process:
Safety precautions:
- Disconnect the power: To avoid any accidents or electrical issues, unplug the garage door opener or turn off its power supply. This will prevent the door from accidentally closing while you are working on the sensors.
- Wear safety goggles: When working with tools and adjusting the sensor brackets, it’s important to protect your eyes from any debris that may come loose. Wear safety goggles to ensure your safety.
- Secure the ladder or stool: If you’re using a stepladder or a stool to reach the sensors, make sure it is stable and secure. Place it on a flat surface, and if necessary, have someone support the ladder to prevent it from tipping over.
Checking sensor functionality:
- Inspect the sensor lenses: Take a close look at the lenses of the sensors. Make sure they are clean and free from any dirt, dust, or debris that could interfere with the beam’s visibility. If needed, use a clean cloth and mild cleaning solution to wipe the lenses gently.
- Check for any obstructions: Look for any physical obstructions that may be blocking the sensors’ beam. Remove any objects such as boxes, tools, or debris that could interfere with the alignment process.
- Test the sensor functionality: With the power still disconnected, perform a test to ensure that the sensors are working correctly. Place an object, such as a broomstick or a cardboard box, between the sensor beams and attempt to close the garage door. The door should not close. If it does, the sensors may need adjustment or replacement.
By taking these safety precautions and ensuring that the sensors are functioning properly, you are ready to proceed with aligning your Chamberlain garage door sensors. Let’s move on to the step-by-step process of alignment.
Make sure the sensors are aligned and facing each other directly. Use a level to ensure they are at the same height and adjust as needed. Keep the lenses clean for proper function.
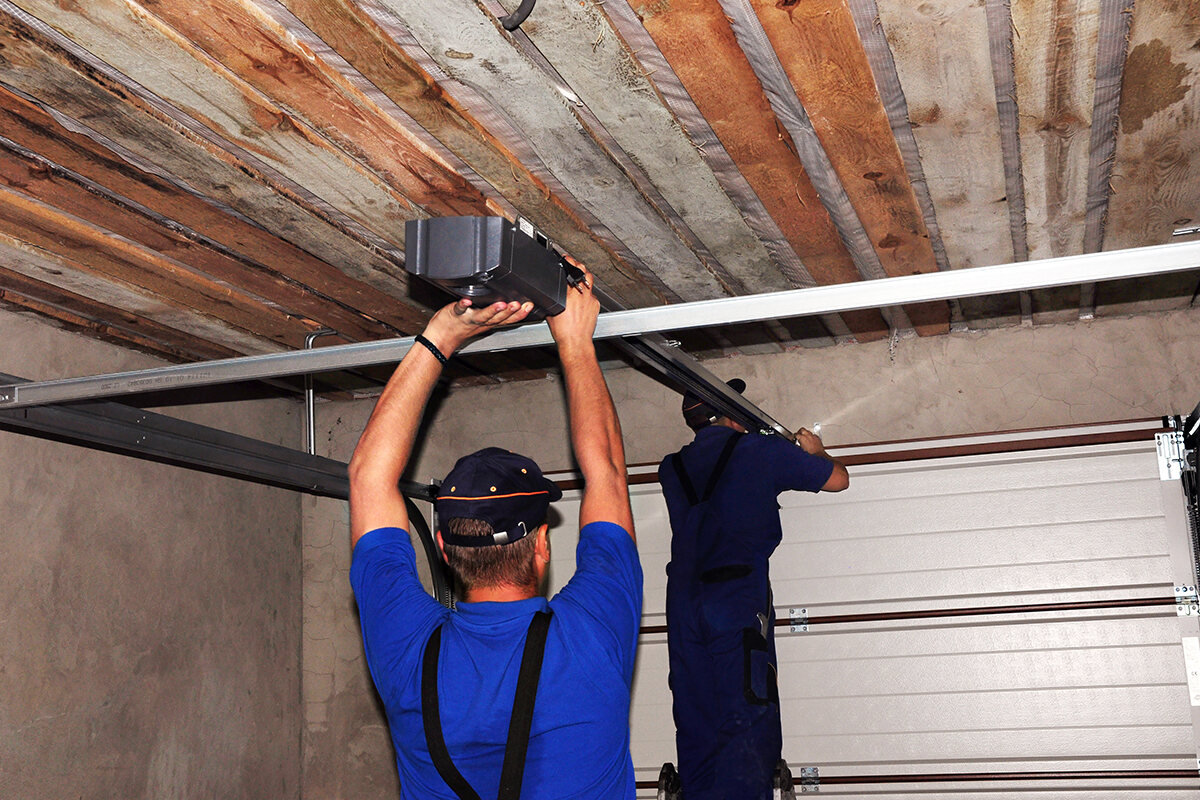
Steps to Align Chamberlain Garage Door Sensors
Aligning your Chamberlain garage door sensors requires a step-by-step approach to ensure accurate and precise alignment. Follow these steps to align your sensors properly:
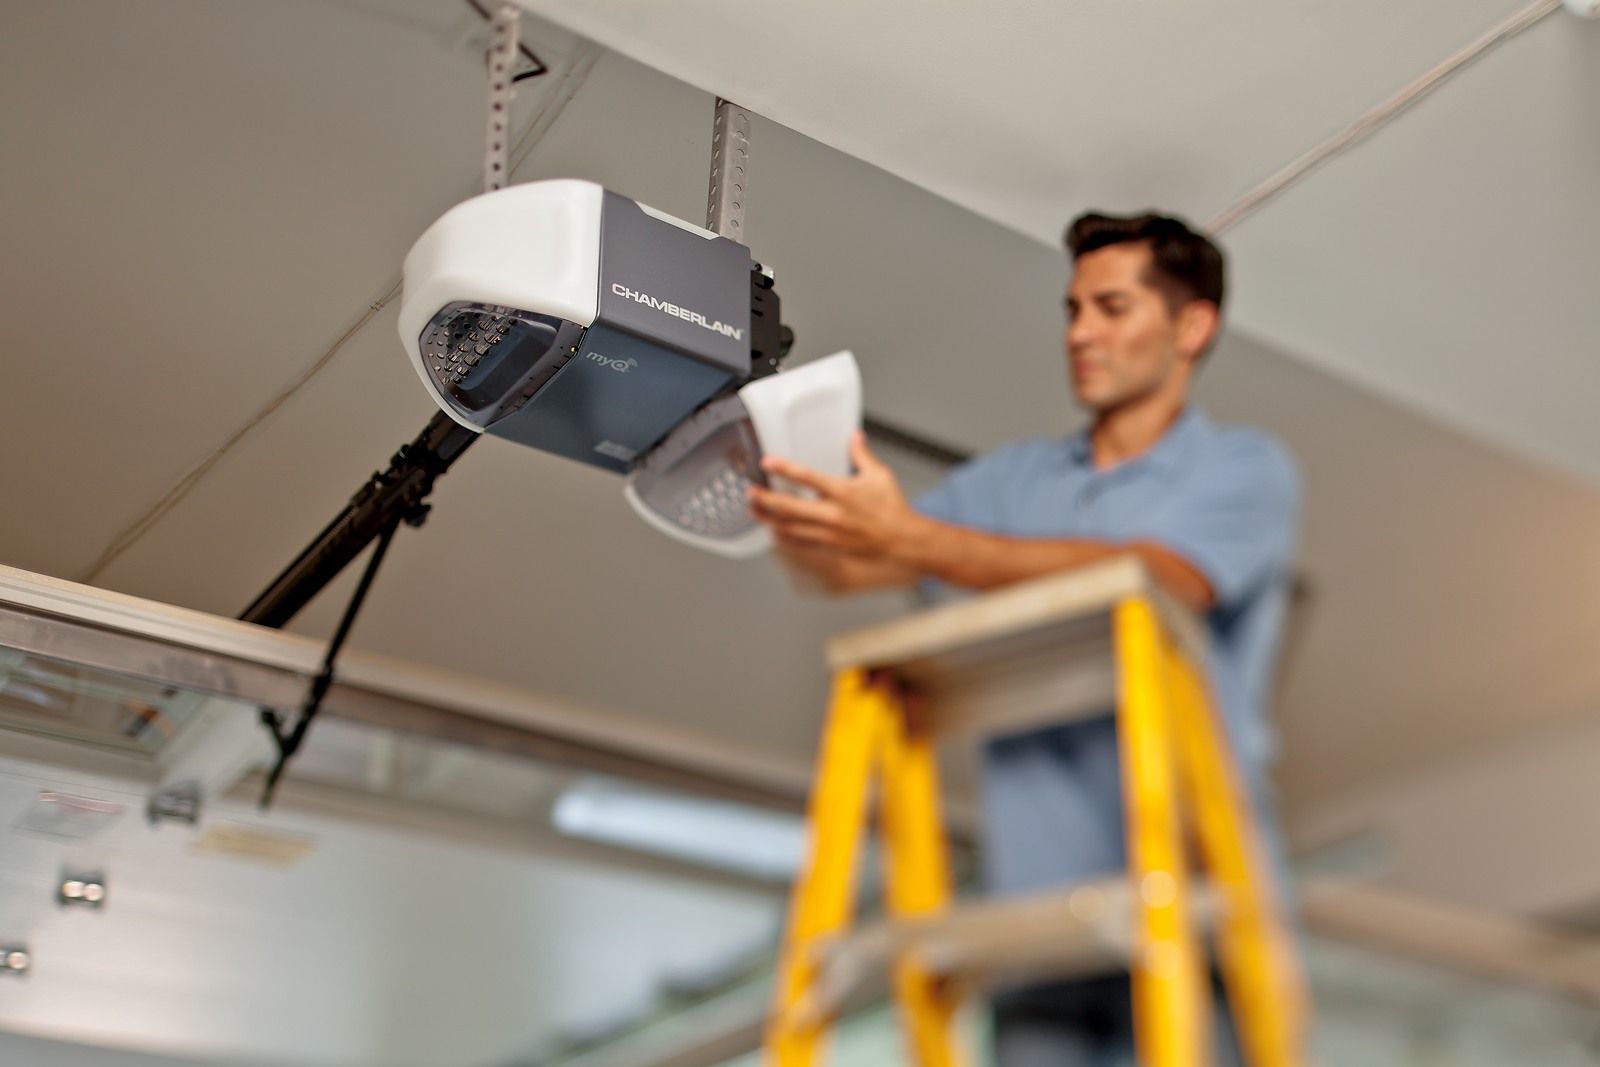
Step 1: Identifying the sensors and their positions
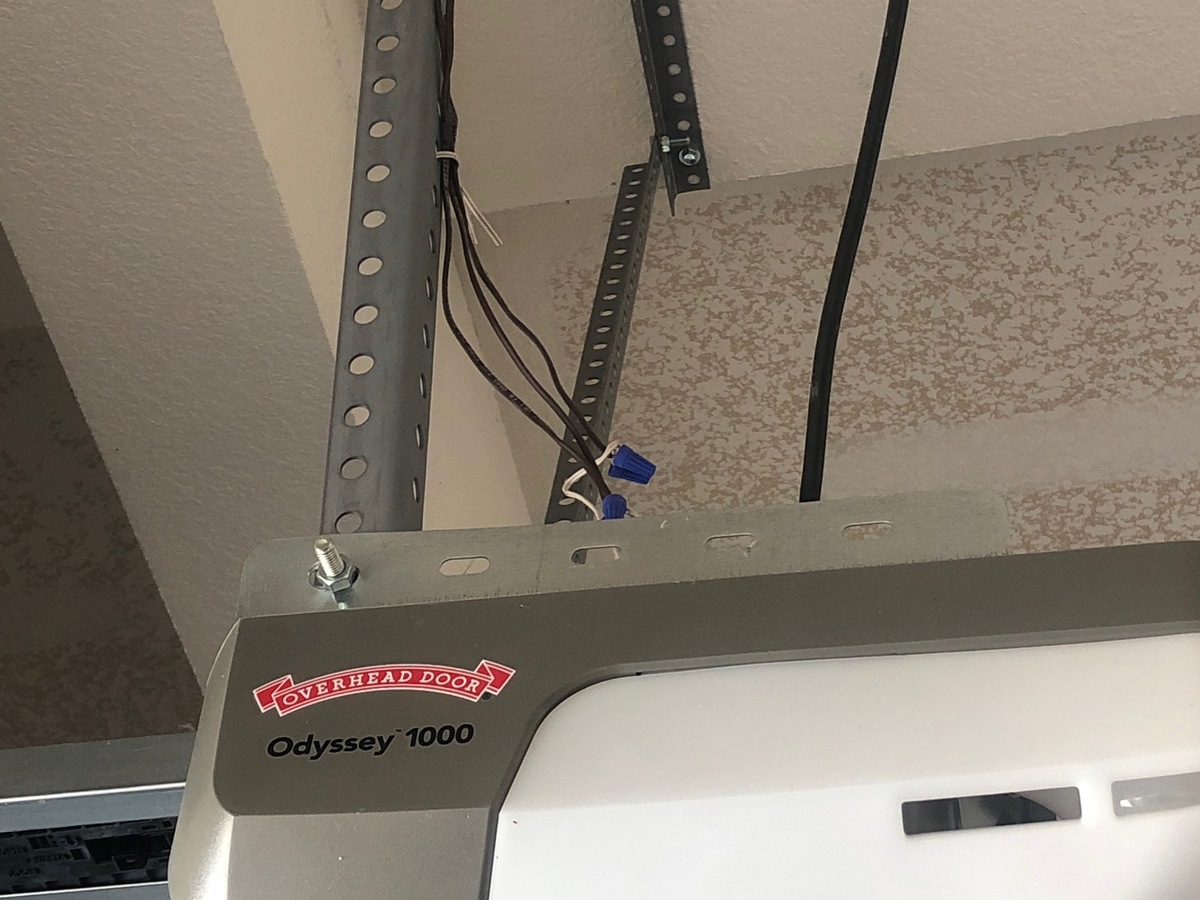
The first step is to locate the sensors on either side of your garage door. Typically, the sensors are mounted a few inches above the floor. Identify the transmitter (normally on the left side) and the receiver (usually on the right side). It’s important to know which sensor is which for the alignment process.
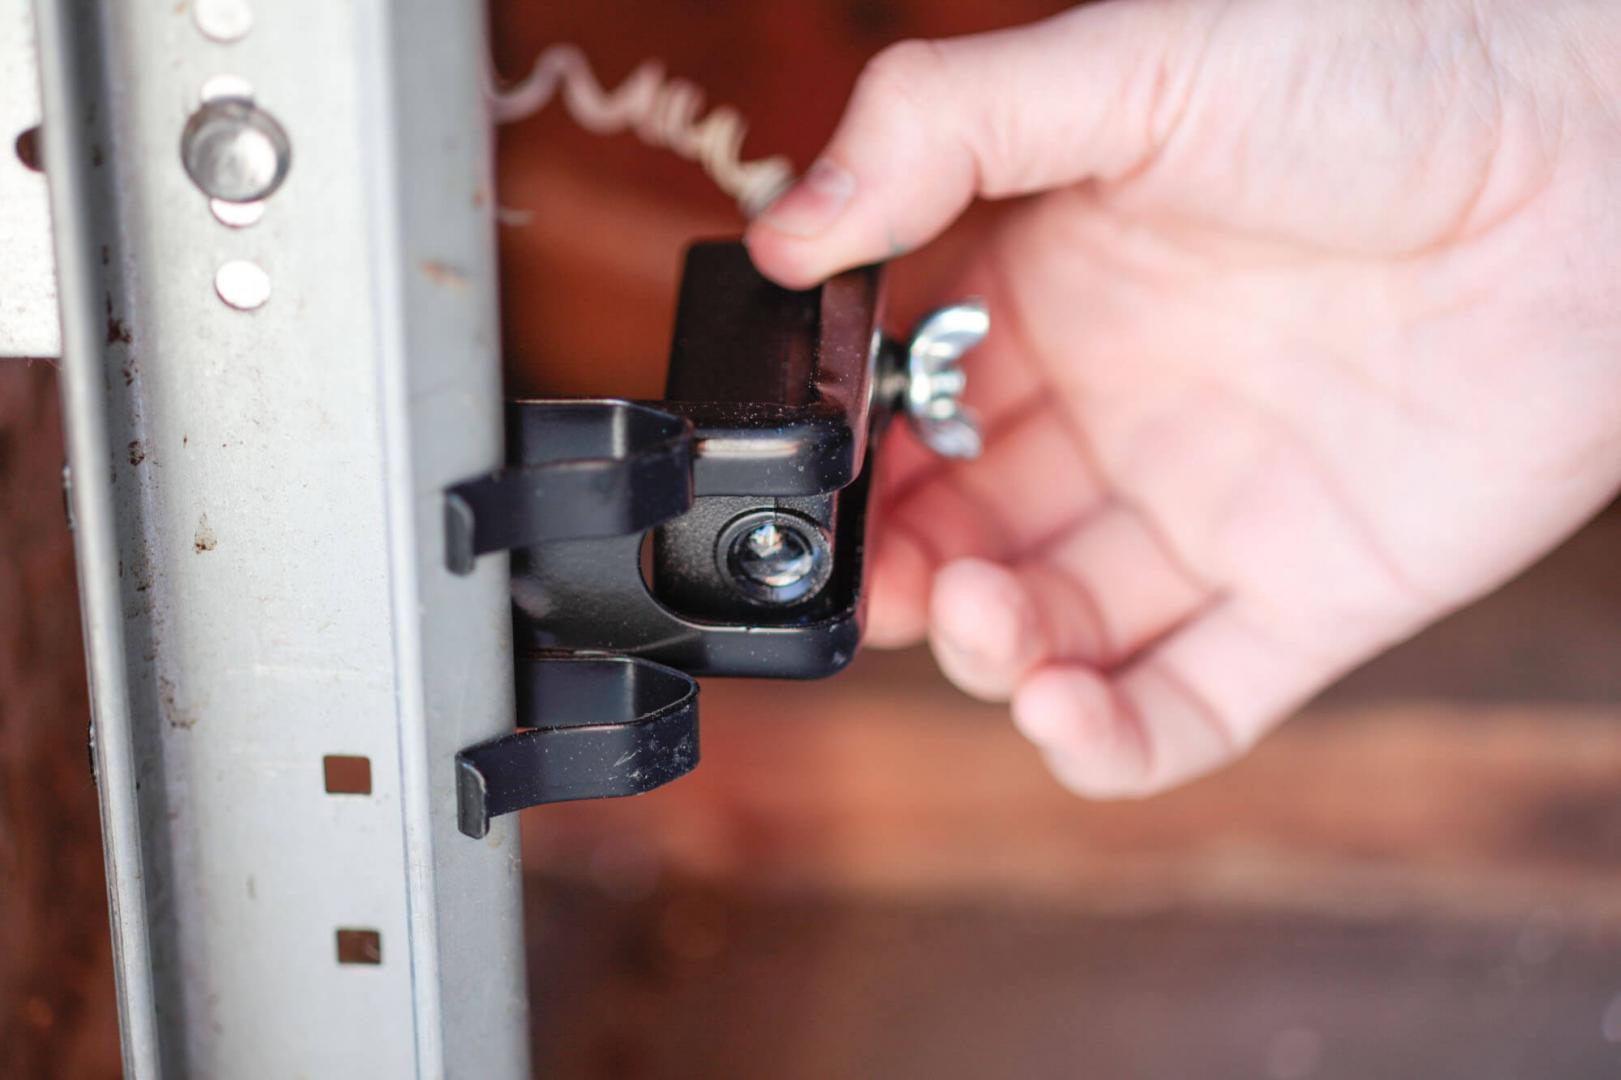
Step 2: Adjusting the sensor brackets
Using a screwdriver, adjust the sensor brackets if necessary. Loosen the screws holding the sensors in place and move them slightly to align them with the desired position. Make sure the sensors are level and securely tightened once they are aligned.
Step 3: Aligning the sensors horizontally
Using a tape measure, ensure that the sensors are aligned horizontally. Measure the distance from the floor to each sensor, ensuring that they are the same height. Make any necessary adjustments to the sensor brackets to achieve the desired alignment. Use a level to ensure that the sensors are straight and not tilted.
Step 4: Aligning the sensors vertically
Measure the distance between the sensors vertically. There should be no more than six inches between them. If the distance is greater, adjust the sensor brackets accordingly to bring them closer together. Ensure that they are still level and securely fastened.
Step 5: Testing the sensor alignment
Reconnect the power to the garage door opener and perform a test. Close the garage door and observe the sensors. The LED lights on the sensors should both be solid or blinking simultaneously, indicating that they are properly aligned. If one or both lights are flashing intermittently or not illuminating at all, the alignment may need further adjustment.
Periodically test the alignment by placing an object in the path of the door to interrupt the beam. The door should stop or reverse immediately upon obstruction detection. If the door does not respond correctly, repeat the alignment process or seek professional assistance.
By following these steps, you can ensure that your Chamberlain garage door sensors are correctly aligned, providing enhanced safety and functionality for your garage door system.
Read more: How To Wire Chamberlain Garage Door Opener
Troubleshooting Tips
During the alignment process of Chamberlain garage door sensors, you may encounter some common issues that can hinder successful alignment. Here are a few troubleshooting tips to help you overcome these challenges:
Common issues and potential solutions:
- Intermittent LED lights: If the LED lights on the sensors are flashing intermittently or not illuminating at all, it indicates a problem with the sensor alignment. Check the alignment of the sensors and ensure that they are securely fastened. Adjust the brackets if necessary, ensuring the sensors are level and in the desired position.
- Misaligned beam: If the garage door closes when there is no obstruction present or fails to close when there is one, it suggests a misaligned beam. Check the horizontal and vertical alignment of the sensors using a level and tape measure. Make the necessary adjustments to align the beam properly.
- Loose or damaged wiring: Examine the sensor wiring for any signs of damage, such as fraying or loose connections. Ensure that the wires are securely connected to both the sensors and the garage door opener. Replace any damaged wiring and use electrical tape or zip ties to secure the wires in place.
- Obstruction in the sensor path: If the sensors are obstructed by dirt, debris, or spider webs, it can disrupt the beam and affect alignment. Clean the sensor lenses and the surrounding area to remove any obstructions. Use a clean cloth or mild cleaning solution to wipe the sensors gently.
If despite troubleshooting these issues, you are still unable to align your Chamberlain garage door sensors, you may need to consider resetting the sensors.
Resetting the sensors:
If you have tried all the troubleshooting tips mentioned above and the alignment still proves to be unsuccessful, resetting the sensors can often resolve the issue. To reset the Chamberlain garage door sensors, follow these simple steps:
- Disconnect the power to the garage door opener.
- Remove any obstacles or debris that may be blocking the sensor beams.
- Unplug the sensor cables from the motor unit of the garage door opener.
- Wait for about 30 seconds before reconnecting the sensor cables.
- Reconnect the power to the garage door opener.
- Test the sensor alignment by closing the garage door and ensuring it stops or reverses upon detecting an obstruction.
If the reset process is successful, you can proceed with the alignment steps mentioned earlier in this guide. In case the problem persists, it may be necessary to consult a professional for further assistance.
By troubleshooting common issues and resetting the sensors if needed, you can overcome obstacles during the alignment process and ensure the proper functioning of your Chamberlain garage door sensors.
Additional Tips and Recommendations
When aligning your Chamberlain garage door sensors, consider the following additional tips and recommendations to ensure a smooth and successful alignment:
- Regular maintenance: It’s a good practice to regularly clean the sensor lenses and surrounding area to prevent dust and debris buildup. This will ensure clear visibility and optimal sensor performance.
- Check for loose connections: While aligning the sensors, inspect all wiring connections to ensure they are snug and secure. Loose connections can lead to intermittent functionality or sensor misalignment.
- Proper sensor positioning: Ensure that the sensors are positioned at the correct height, typically 4-6 inches above the floor. This will provide efficient obstruction detection and prevent false triggers.
- Test the alignment periodically: After aligning the sensors, periodically test their alignment by closing the garage door and interrupting the beam with an object. This will help you ensure consistent and reliable sensor functionality.
- Seek professional assistance if needed: If you encounter persistent issues with sensor alignment or are unsure about the process, it’s recommended to seek professional help from a garage door technician or Chamberlain representative. They can provide expert guidance and ensure the proper functioning of your sensors.
- Consider upgrading to newer sensors: If you find that your Chamberlain garage door sensors are old or experiencing frequent issues, consider upgrading to newer sensor models. Newer sensors often provide improved functionality and reliability.
Keep these additional tips and recommendations in mind as you align your Chamberlain garage door sensors. By following these guidelines, you can maintain the safety, security, and smooth operation of your garage door system.
With proper alignment and regular maintenance, your Chamberlain garage door sensors will continue to provide reliable performance for years to come.
Conclusion
Aligning your Chamberlain garage door sensors is a crucial step in ensuring the safety, functionality, and security of your garage door system. By following the step-by-step process outlined in this guide and considering the additional tips and recommendations, you can align the sensors properly and enjoy a smooth and reliable operation.
Understanding how Chamberlain garage door sensors work and the importance of proper alignment is essential in maintaining the safety of your family and belongings. These sensors detect obstructions and prevent the door from closing if there is an object or person in the way, reducing the risk of accidents and damage.
Before beginning the alignment process, it’s important to take safety precautions, such as disconnecting the power and wearing safety goggles. Checking the functionality of the sensors by inspecting the lenses and performing tests ensures that they are in working order before starting the alignment.
The step-by-step process includes identifying the sensors and their positions, adjusting the sensor brackets, aligning the sensors horizontally and vertically, and testing the sensor alignment. Troubleshooting tips and the option of resetting the sensors can help overcome common issues during the alignment process.
Additional tips and recommendations, such as regular maintenance, checking for loose connections, and periodic testing, allow you to maintain optimal sensor performance. Seeking professional assistance and considering sensor upgrades are also recommended if persistent alignment issues arise or if your sensors are outdated.
With proper alignment and adherence to these guidelines, you can ensure the proper functioning and longevity of your Chamberlain garage door sensors.
Remember, safety should always be a priority when working with garage doors and their components. If you are unsure about any aspect of aligning your garage door sensors or encounter complex issues, it’s best to seek professional help from a garage door technician or Chamberlain representative.
By following the recommendations in this guide, you can have peace of mind knowing that your Chamberlain garage door sensors are correctly aligned, providing enhanced safety and convenience for your garage door system.
Frequently Asked Questions about How To Align Chamberlain Garage Door Sensors
Was this page helpful?
At Storables.com, we guarantee accurate and reliable information. Our content, validated by Expert Board Contributors, is crafted following stringent Editorial Policies. We're committed to providing you with well-researched, expert-backed insights for all your informational needs.
0 thoughts on “How To Align Chamberlain Garage Door Sensors”