Home>Interior Design>Ceiling Painting Mistakes: Errors Experts Urge You To Avoid
Interior Design
Ceiling Painting Mistakes: Errors Experts Urge You To Avoid
Modified: September 1, 2024
Avoid common ceiling painting mistakes and errors in interior design. Get expert tips to ensure a flawless ceiling paint job and perfect aesthetics.
(Many of the links in this article redirect to a specific reviewed product. Your purchase of these products through affiliate links helps to generate commission for Storables.com, at no extra cost. Learn more)
Introduction
Welcome to the world of interior design, where every detail matters, including the often-overlooked aspect of ceiling painting. When it comes to creating the perfect ambiance in a room, the ceiling plays a crucial role. A well-painted ceiling can enhance the overall aesthetic appeal of any space, while a poorly executed job can instantly diminish the impact of even the most carefully designed interiors.
Unfortunately, many homeowners and even some professionals fall victim to common ceiling painting mistakes that can compromise the final outcome. To ensure that your ceiling painting project achieves the desired result, it is important to be aware of these errors and take steps to avoid them.
In this article, we will explore nine common ceiling painting mistakes that experts urge you to avoid. By understanding these pitfalls and implementing the necessary precautions, you can turn your ceiling from a mundane surface into a captivating focal point.
Key Takeaways:
- Achieving a flawless ceiling paint job requires proper surface preparation, the right type of paint, and the use of suitable tools. Prioritize safety, take your time, and consider lighting to create a visually appealing space.
- Regular cleaning and maintenance are essential to preserve the beauty of your painted ceiling. Avoid common mistakes, prioritize safety, and invest in proper lighting to enhance the overall aesthetic appeal of your space.
Mistake 1: Poor Surface Preparation
One of the most crucial steps in any painting project, including ceiling painting, is proper surface preparation. Neglecting this step can lead to a range of issues such as peeling paint, uneven coverage, and a shorter lifespan for your paint job.
Before you begin painting your ceiling, it is essential to thoroughly clean the surface to remove any dust, dirt, grease, or other contaminants. Use a mild detergent and water solution to wipe down the ceiling, and make sure to rinse away any residue. Additionally, patch up any cracks, holes, or imperfections with a suitable patching compound and sand them smooth once dry.
Another crucial aspect of surface preparation is ensuring that the ceiling is completely dry. Moisture trapped beneath the paint can cause blistering or peeling later on. Allow sufficient time for the ceiling to dry completely, especially if you have recently repaired any water damage or leaks.
By taking the time to properly prepare the surface, you create a clean and smooth canvas for your paint, ensuring better adhesion and a more professional-looking finish.
Remember, a little extra effort during the preparation stage can go a long way in achieving a flawless and long-lasting ceiling paint job.
Mistake 2: Using the Wrong Type of Paint
Choosing the right type of paint for your ceiling is essential for achieving a successful painting project. Using the wrong type of paint can result in poor adhesion, uneven coverage, and an unsatisfactory final appearance.
When it comes to ceiling painting, it is recommended to use paints specifically formulated for ceilings. These types of paints are designed to have a flat or matte finish, which helps to minimize any imperfections and reduce glare. They are also typically formulated to have better coverage and hide any surface blemishes.
Avoid using wall paints on your ceiling, as they are not designed to withstand the unique conditions and requirements of the upper surface. Wall paints often have a higher sheen, which can highlight any flaws or unevenness on the ceiling. Additionally, wall paints may not have as good adhesion or coverage on the typically porous surface of a ceiling.
When selecting a ceiling paint, consider factors such as the color, quality, and any specific requirements you may have. It is also worth considering using a paint with a reflective or light-reflecting property to help brighten the room and give the illusion of a higher ceiling.
Consult with paint experts or professionals to ensure you choose the right type of paint for your specific ceiling. They can guide you on the best options available and provide valuable recommendations based on the unique characteristics of your ceiling.
Remember, using the correct type of paint designed for ceilings is a crucial step in achieving a flawless finish that will enhance the overall aesthetic appeal of your space.
Mistake 3: Skipping Primer
Priming the ceiling before applying paint is a crucial step that many homeowners often overlook in their haste to finish the painting project quickly. However, skipping this important step can lead to a range of issues, including poor paint adhesion, uneven coverage, and a shorter lifespan for your paint job.
Primer serves as a preparatory layer that helps to create a smooth and uniform surface for the paint to adhere to. It also seals the surface, preventing any stains or discoloration from bleeding through the final coat of paint.
Before applying primer, make sure to clean and prepare the surface as mentioned earlier. Once the surface is dry, apply a high-quality primer specifically designed for ceilings. Use a brush or roller to evenly coat the entire ceiling, following the directions provided by the manufacturer.
Primer not only helps to improve the adhesion and durability of the paint but also ensures better coverage and color consistency. It acts as a barrier between the surface and the paint, allowing the paint to adhere more effectively and reducing the number of coats needed for full coverage.
Don’t forget, primer is especially important when painting over surfaces with significant color variations or imperfections. It helps to create an even base, preventing any underlying issues from showing through the final paint job.
By taking the time to prime your ceiling before painting, you can ensure a smoother and longer-lasting finish, ultimately enhancing the overall visual impact of your space.
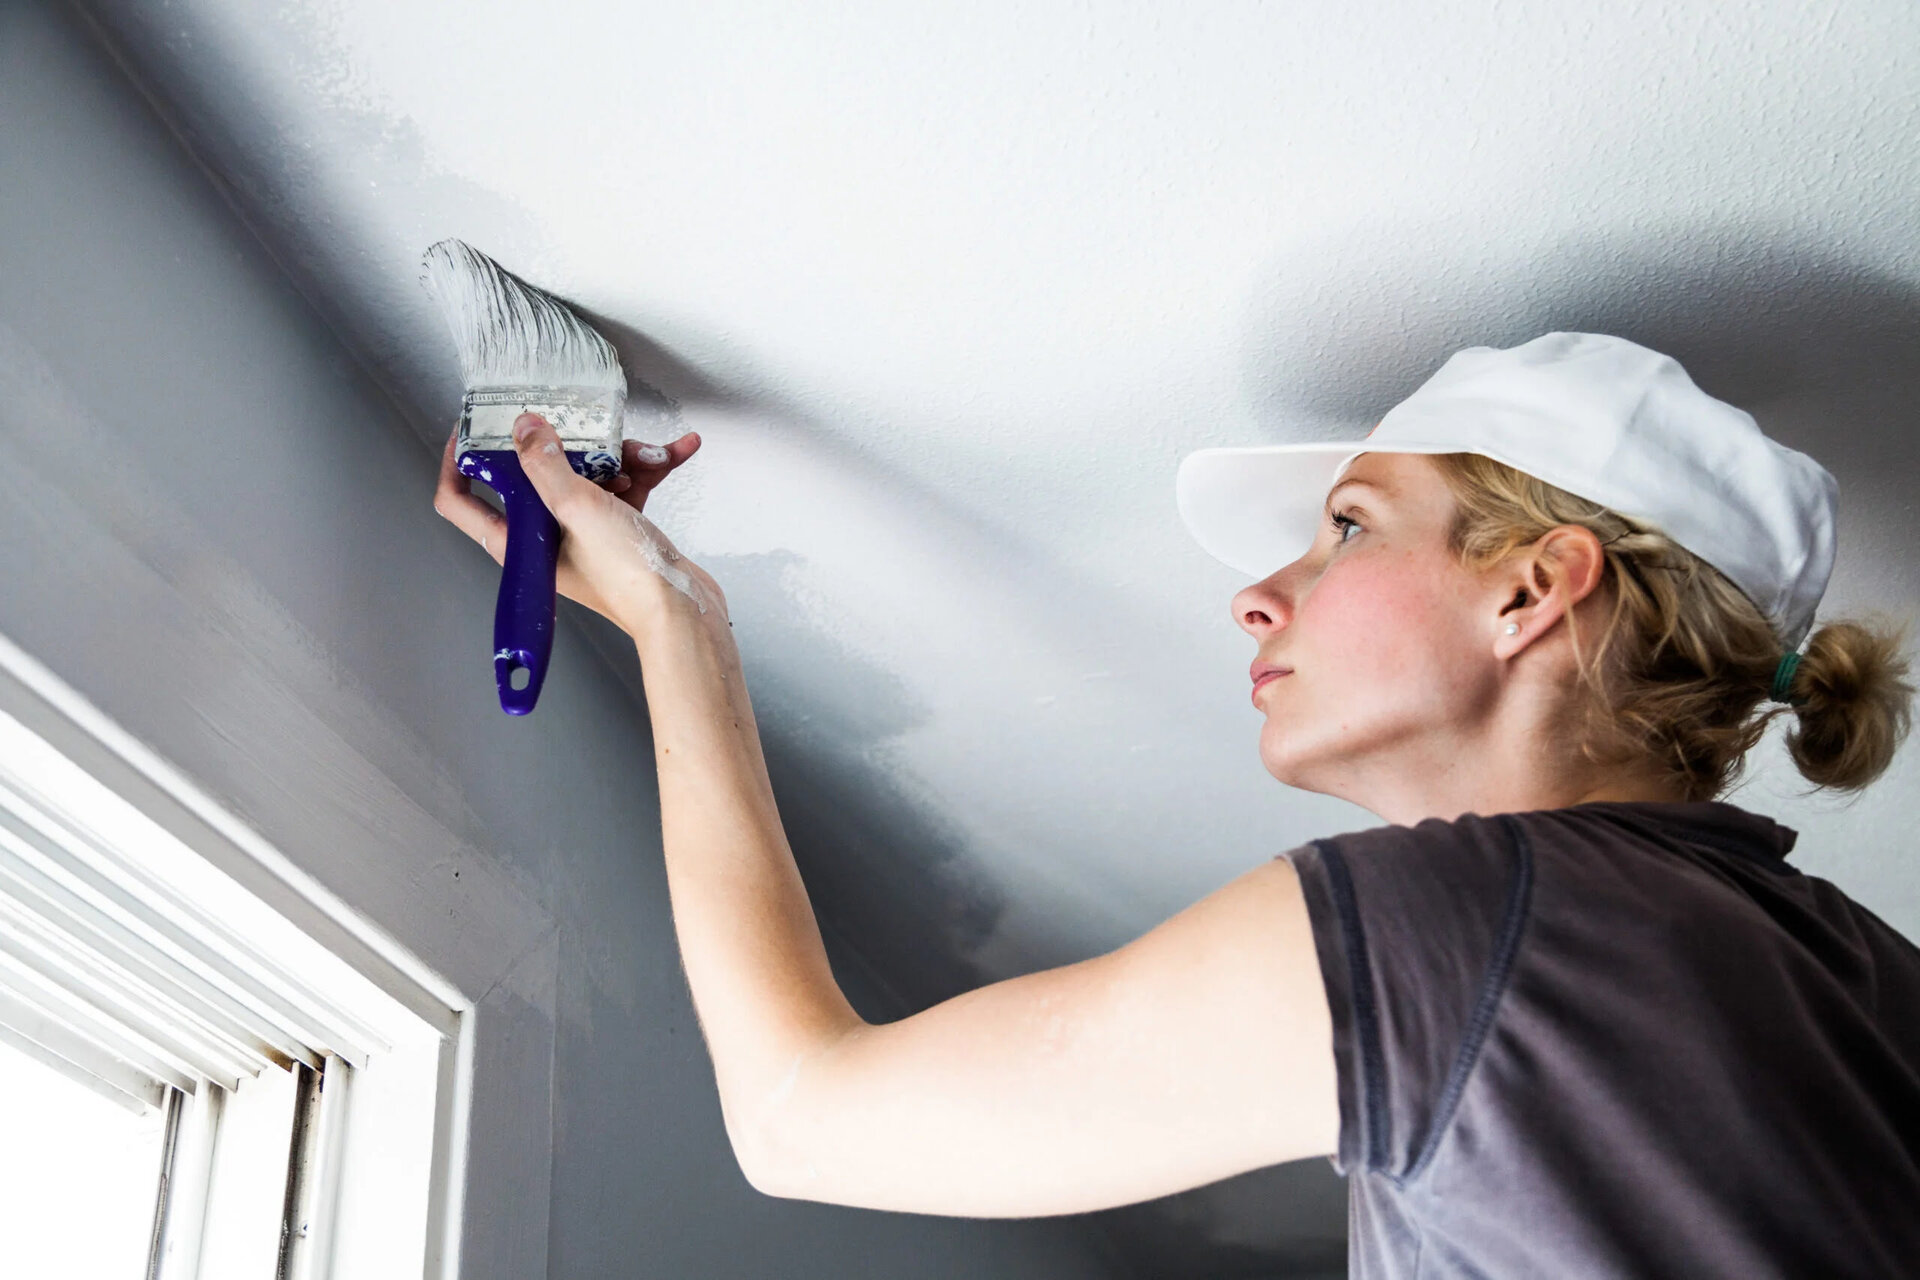
Mistake 4: Not Using the Proper Tools
Using the proper tools for your ceiling painting project is vital to achieve a professional-looking finish. Many individuals make the mistake of using inadequate or incorrect tools, resulting in uneven coverage, streaks, and frustration.
When it comes to painting a ceiling, consider investing in the following essential tools:
- A sturdy and adjustable ladder or scaffolding: These will help you safely reach and navigate the ceiling without straining yourself.
- Roller frame and extension pole: Choose a roller frame and extension pole that are compatible with each other. This will allow you to cover a larger surface area of the ceiling without needing to constantly move the ladder.
- High-quality paint roller: Opt for a roller specifically designed for ceilings. Look for a roller with a medium to long nap, as this will help to evenly distribute the paint and ensure better coverage.
- Paint tray or bucket: Use a shallow paint tray or a sturdy bucket with a grid to hold and evenly distribute the paint.
- Brushes: Have a variety of brushes on hand for cutting-in corners and edges where the roller cannot reach.
- Dropsheets or plastic sheeting: Protect your floors and furniture by covering them with dropsheets or plastic sheeting to avoid accidental paint splatters or drips.
- Painter’s tape: Use painter’s tape to mask off areas that you want to keep paint-free, such as trim or light fixtures.
By using the proper tools, you can ensure smoother application, better control, and a more efficient painting process. This will ultimately result in a professional-looking and uniform finish for your ceiling painting project.
Mistake 5: Ignoring Safety Precautions
When it comes to any home improvement project, including ceiling painting, safety should always be a top priority. Ignoring safety precautions can lead to accidents, injuries, and potential damage to your property.
Here are some key safety precautions to keep in mind when painting your ceiling:
- Protective clothing: Wear appropriate protective clothing, including long sleeves, long pants, and shoes with non-slip soles to minimize the risk of injury from spills or falls.
- Eye and respiratory protection: If you are working with spray paint or using products with strong fumes, wear goggles and a mask to protect your eyes and respiratory system.
- Ventilation: Ensure that the area you are working in is well-ventilated. Open windows and use fans to improve airflow and minimize the inhalation of paint fumes.
- Sturdy ladder or scaffolding: Use a stable and secure ladder or scaffolding that is appropriate for the height of your ceiling. Make sure to follow the manufacturer’s instructions for safe use.
- Ceiling fixtures: Before starting your project, turn off the power to any ceiling fixtures or cover them securely to avoid the risk of electric shock.
- Chemical handling: If you are working with paint strippers or other chemical substances, read and follow the manufacturer’s instructions carefully. Use gloves and work in a well-ventilated area.
- Emergency equipment: Have a fire extinguisher and a first aid kit readily available in case of accidents or injuries.
Remember, it is always better to prioritize safety and take the necessary precautions to ensure a smooth and incident-free ceiling painting project.
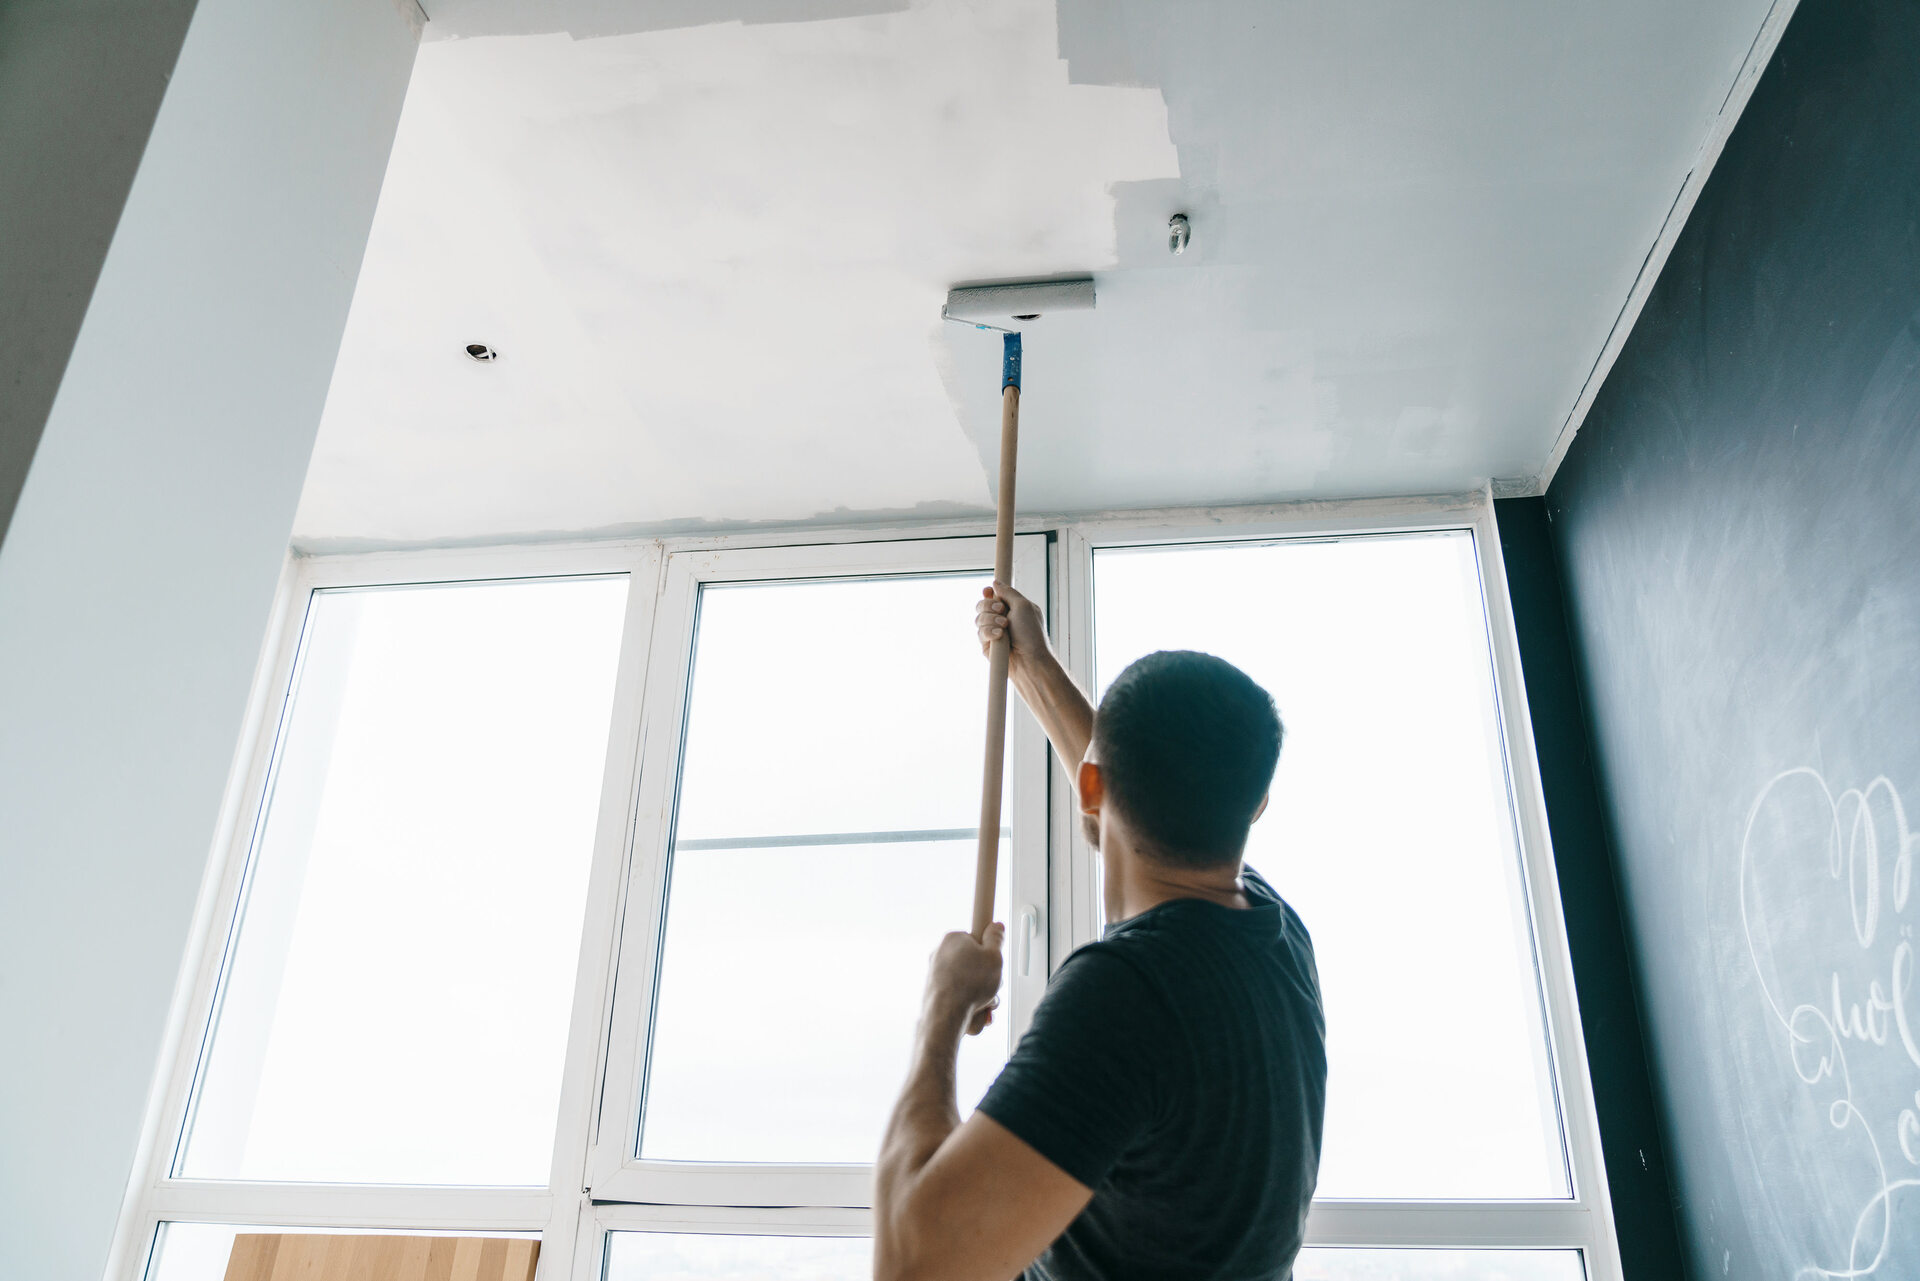
When painting a ceiling, be sure to use the right type of paint and a high-quality roller to avoid streaks and uneven coverage. It’s also important to properly prepare the surface by cleaning and priming it beforehand.
Mistake 6: Rushing the Painting Process
One of the most common mistakes when it comes to ceiling painting is rushing through the process. While it may be tempting to finish the job quickly, rushing can result in subpar results and dissatisfaction with the final outcome.
Here are a few reasons why rushing the painting process is a mistake:
Inadequate surface preparation: Rushing through the surface preparation steps can lead to a poor paint adhesion and a less durable finish. Take the time to thoroughly clean, patch, and prime the ceiling before applying paint.
Uneven coverage: Applying paint too quickly and without proper technique can result in uneven coverage. This can leave visible streaks or patches on the ceiling. Take your time to ensure that the roller or brush evenly distributes the paint for a smooth and consistent appearance.
Dripping and splattering: When rushing, it’s easy to accidentally splatter or drip paint onto surfaces that you didn’t intend to paint, such as walls, trim, or furniture. Avoid this by using proper techniques, such as loading the roller with an appropriate amount of paint and using painter’s tape to mask off areas.
Touch-ups and redoing: Rushing through the painting process often results in the need for touch-ups or even completely redoing certain areas. This can be time-consuming and frustrating. Taking your time and applying paint with care can help minimize the need for touch-ups.
Remember, painting is a step-by-step process that requires patience and attention to detail. Take your time, follow proper techniques, and allow sufficient drying time between coats. By avoiding the temptation to rush, you can ensure a high-quality and long-lasting paint job.
Mistake 7: Inconsistent or Uneven Coverage
One of the most frustrating mistakes in ceiling painting is achieving inconsistent or uneven coverage. This can result in a patchy appearance and diminish the overall visual appeal of your space. Fortunately, there are steps you can take to avoid this common pitfall.
Here are some tips to ensure consistent and even coverage when painting your ceiling:
- Proper paint application technique: Use smooth and even strokes with your roller or brush to apply the paint. Avoid pressing too hard on the roller or brush, as this can result in excess paint being applied in some areas. Work systematically and paint in sections to maintain a consistent rhythm.
- Overlap strokes: To achieve uniform coverage, overlap each stroke slightly with the previous one. This will help blend the paint and fill in any gaps or streaks. Be mindful not to overlap too much, as this can lead to excessive buildup and a thicker coat of paint.
- Use the right amount of paint: Excess paint on your roller or brush can result in drips, streaks, or uneven coverage. Before applying the paint, make sure to remove any excess by lightly rolling or brushing it on a paint tray grid. Apply paint in thin, even layers, allowing each coat to dry before applying the next.
- Ensure proper lighting: Inadequate lighting can make it difficult to detect areas with inconsistent coverage. Make sure the room is well-lit, either with natural sunlight or artificial lighting, to help identify any spots that may need additional touch-ups.
- Take your time: Rushing through the painting process can lead to uneven coverage. Allow each coat of paint to dry completely before applying the next. Patience is key in achieving consistent and uniform coverage on your ceiling.
By paying attention to these tips and working methodically, you can avoid the frustration of inconsistent or uneven coverage. The end result will be a beautifully painted ceiling that enhances the overall aesthetic of your space.
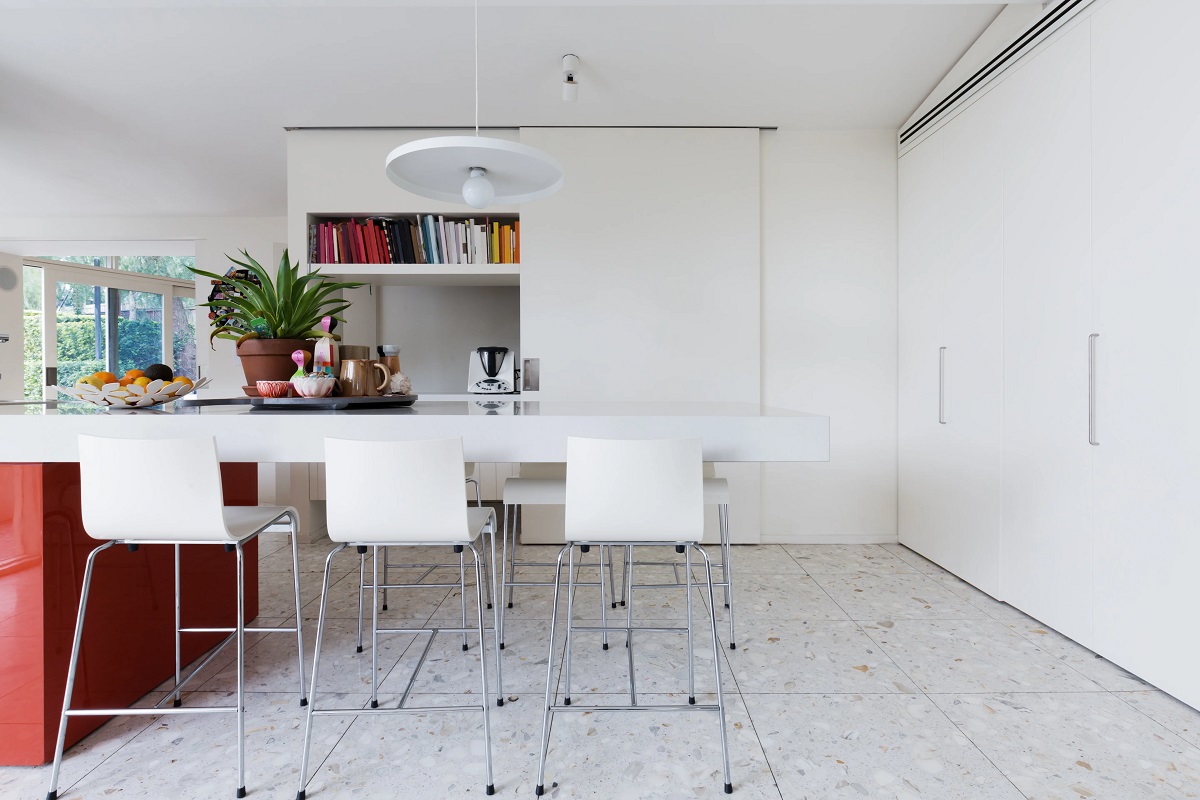
Mistake 8: Overlooking the Importance of Lighting
When it comes to ceiling painting, many people tend to overlook the importance of lighting in the overall visual impact of a room. Light can greatly influence the perception of color, texture, and even the size of a space. Not considering lighting can lead to disappointing results and a mismatch between your desired outcome and the actual appearance of your ceiling.
Here are some key considerations to keep in mind regarding lighting when painting your ceiling:
- Natural Light: Take note of the natural light that enters the room throughout the day. Different hues and intensities of natural light can affect how the paint color on your ceiling appears. Consider whether you want to enhance or offset the natural light in the space when choosing your ceiling paint color.
- Artificial Lighting: The type and positioning of artificial lighting fixtures can greatly impact how your ceiling appears. Different light sources emit varying color temperatures, which can alter the perception of your chosen paint color. Consider the type of lighting fixtures and light bulbs you have in the room and how they may interact with your ceiling paint.
- Ceiling Height: Light plays a crucial role in how we perceive the height of a room. Lighter-colored ceilings tend to create a sense of openness and height, while darker-colored ceilings can make a room feel more intimate but potentially smaller. Consider the effect you want to achieve with your ceiling paint in relation to the overall ceiling height and the mood you want to create in the space.
- Reflectivity: Some ceiling paints have reflective properties, which can help bounce light around the room and create a brighter and more spacious feel. Consider whether you want to use a paint with reflective characteristics to maximize the impact of lighting in your space.
- Test Swatches: To truly understand how lighting will affect your chosen paint color, it is essential to test swatches on the actual ceiling. Apply small patches of paint and observe how they look under different lighting conditions throughout the day and evening. This will help you make an informed decision about the final color choice.
By considering the role of lighting and how it interacts with your ceiling paint, you can achieve a more harmonious and pleasing overall effect in your space.
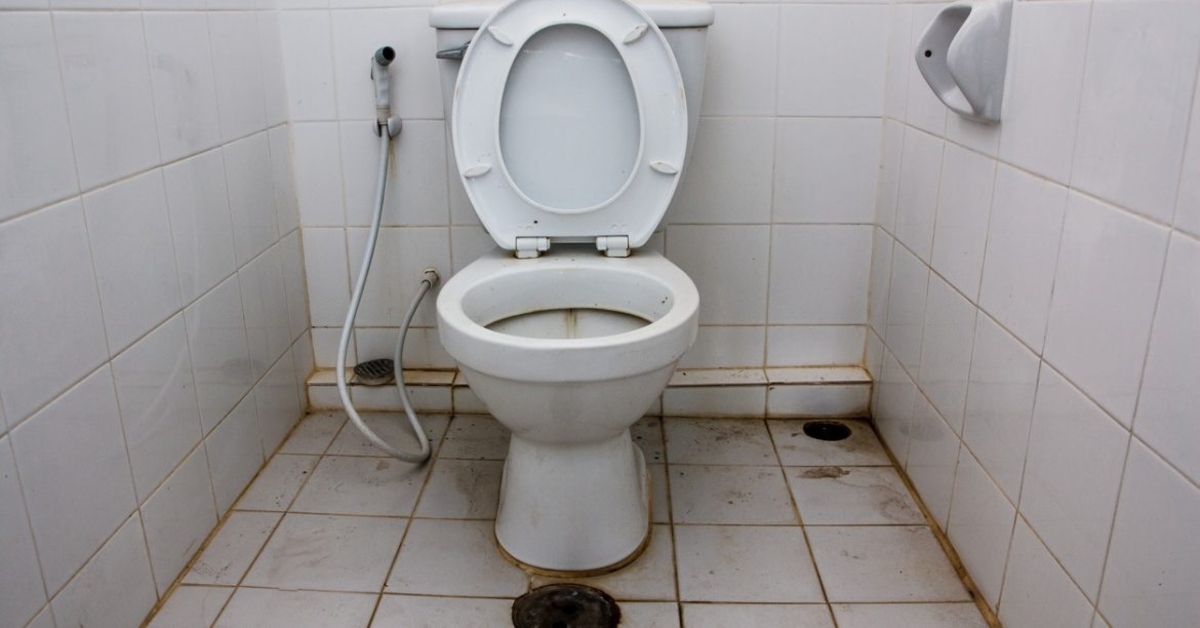
Mistake 9: Neglecting Proper Cleaning and Maintenance
Once you have completed your ceiling painting project, it is important not to neglect proper cleaning and maintenance. Over time, dust, dirt, and other particles can accumulate on the surface, compromising the appearance and longevity of your beautifully painted ceiling.
Here are some key cleaning and maintenance tips to ensure your painted ceiling stays in great condition:
- Regular Dusting: Dust your ceiling regularly to prevent the buildup of dirt and dust particles. Use a long-handled duster or a soft cloth to gently remove any surface dust. Avoid using abrasive materials or applying excessive pressure, as this can damage the paint.
- Gentle Cleaning: If your ceiling needs more than a simple dusting, you can gently clean it using a mild detergent or cleaning solution mixed with water. Use a soft sponge or cloth dampened with the cleaning solution to wipe away any stains or marks. Again, be careful not to apply excessive pressure that could damage the paint.
- Avoid Harsh Chemicals: When cleaning your ceiling, avoid using harsh chemicals, bleach, or abrasive cleaners, as these can strip away the paint or cause discoloration. Stick to mild detergents and cleaning solutions specifically recommended for painted surfaces.
- Repair Any Damage: If you notice any chipping, peeling, or damage to the paint on your ceiling, it is important to address it promptly. Repair any imperfections using a suitable patching compound and sand it smooth once dry. This will help maintain the integrity and appearance of your painted ceiling.
- Be Mindful of Moisture: Moisture can cause paint to peel or bubble, so be cautious in areas prone to high humidity, such as bathrooms or kitchens. Use exhaust fans or open windows to promote airflow and reduce moisture buildup. If you notice any signs of moisture damage, address the underlying issue and consider repainting the affected area.
By implementing proper cleaning and maintenance practices, you can extend the lifespan and beauty of your painted ceiling. Regular care and attention will ensure that your ceiling continues to enhance the overall aesthetic appeal of your space for years to come.
Conclusion
When it comes to ceiling painting, avoiding common mistakes can make a significant difference in the final outcome of your project. By taking the time to properly prepare the surface, using the right type of paint, and following proper techniques, you can achieve a flawless and professional-looking finish on your ceiling.
It is essential to prioritize safety precautions, use the proper tools, and take your time throughout the painting process. Rushing or neglecting important steps can result in subpar results that may require additional time and effort to correct. By investing in proper lighting and considering the impact it has on your ceiling, you can create a harmonious and visually appealing space.
Don’t forget to maintain your painted ceiling through regular cleaning and addressing any damage promptly. By caring for your ceiling, you can ensure that it remains beautiful and vibrant for years to come.
So, whether you’re embarking on a DIY project or seeking professional services, avoiding these common ceiling painting mistakes will allow you to create a stunning and inviting space that reflects your unique style and personality.
Frequently Asked Questions about Ceiling Painting Mistakes: Errors Experts Urge You To Avoid
Was this page helpful?
At Storables.com, we guarantee accurate and reliable information. Our content, validated by Expert Board Contributors, is crafted following stringent Editorial Policies. We're committed to providing you with well-researched, expert-backed insights for all your informational needs.


0 thoughts on “Ceiling Painting Mistakes: Errors Experts Urge You To Avoid”