Home>Interior Design>How To Change The Time On An Oven
Interior Design
How To Change The Time On An Oven
Modified: December 7, 2023
Learn how to change the time on your oven with our simple step-by-step guide. Upgrade your interior-design skills and never have the wrong time displayed again.
(Many of the links in this article redirect to a specific reviewed product. Your purchase of these products through affiliate links helps to generate commission for Storables.com, at no extra cost. Learn more)
Introduction
Changing the time on an oven is a necessary task that often gets overlooked. Whether you’ve recently moved into a new home, experienced a power outage, or simply want to adjust the clock for daylight saving time, knowing how to change the time on your oven is essential. Properly setting the time ensures accurate cooking durations and allows you to plan your meals accordingly.
In this article, we will walk you through a step-by-step guide on how to change the time on an oven. Whether you have a traditional oven with knobs or a modern digital oven, we’ve got you covered. So let’s dive in and get your oven’s clock set correctly!
Key Takeaways:
- Master the art of changing your oven’s time with our step-by-step guide. Enjoy precise cooking durations and perfectly timed meals every time!
- Whether it’s a traditional oven or a modern digital one, locating the control panel and accessing the clock function is the first step to ensuring your oven’s clock is set correctly.
Read more: How To Change Time On Cuisinart Toaster Oven
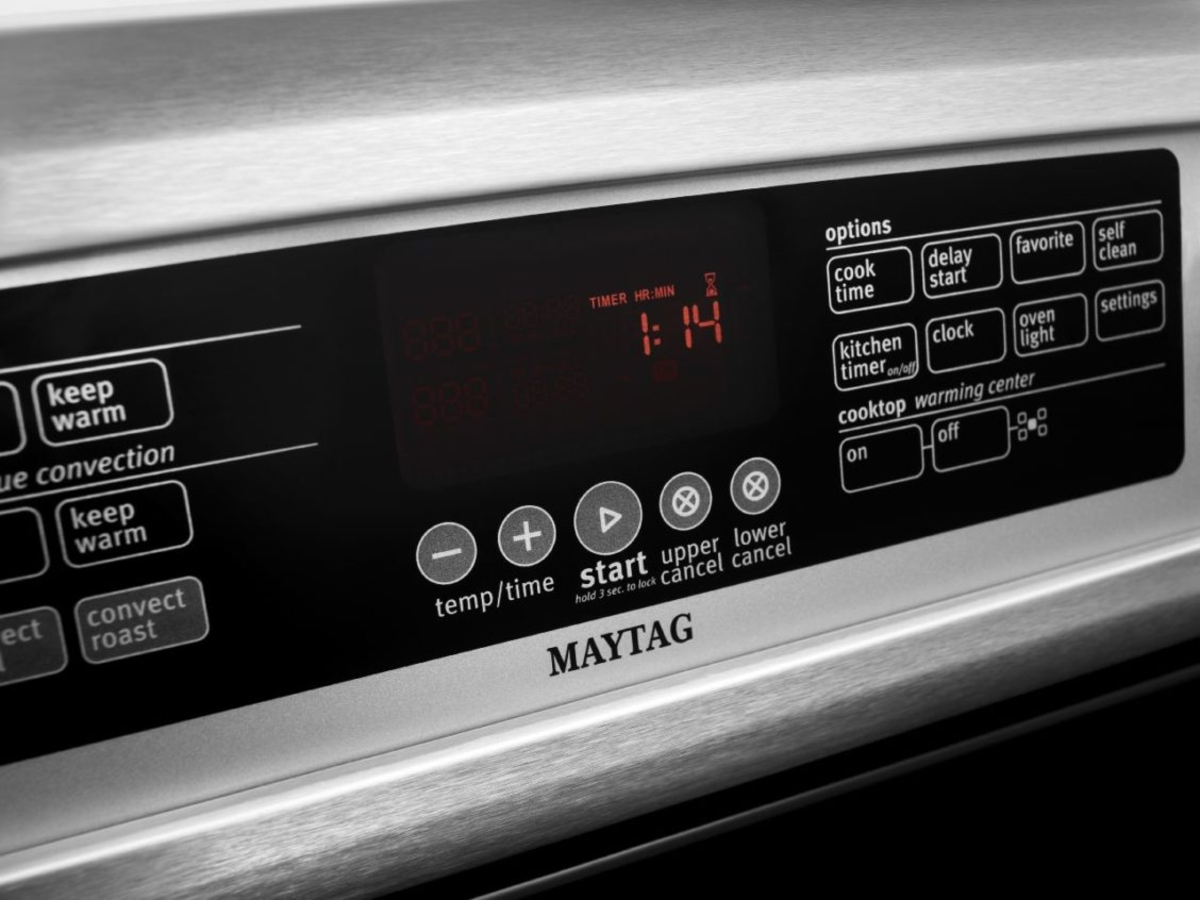
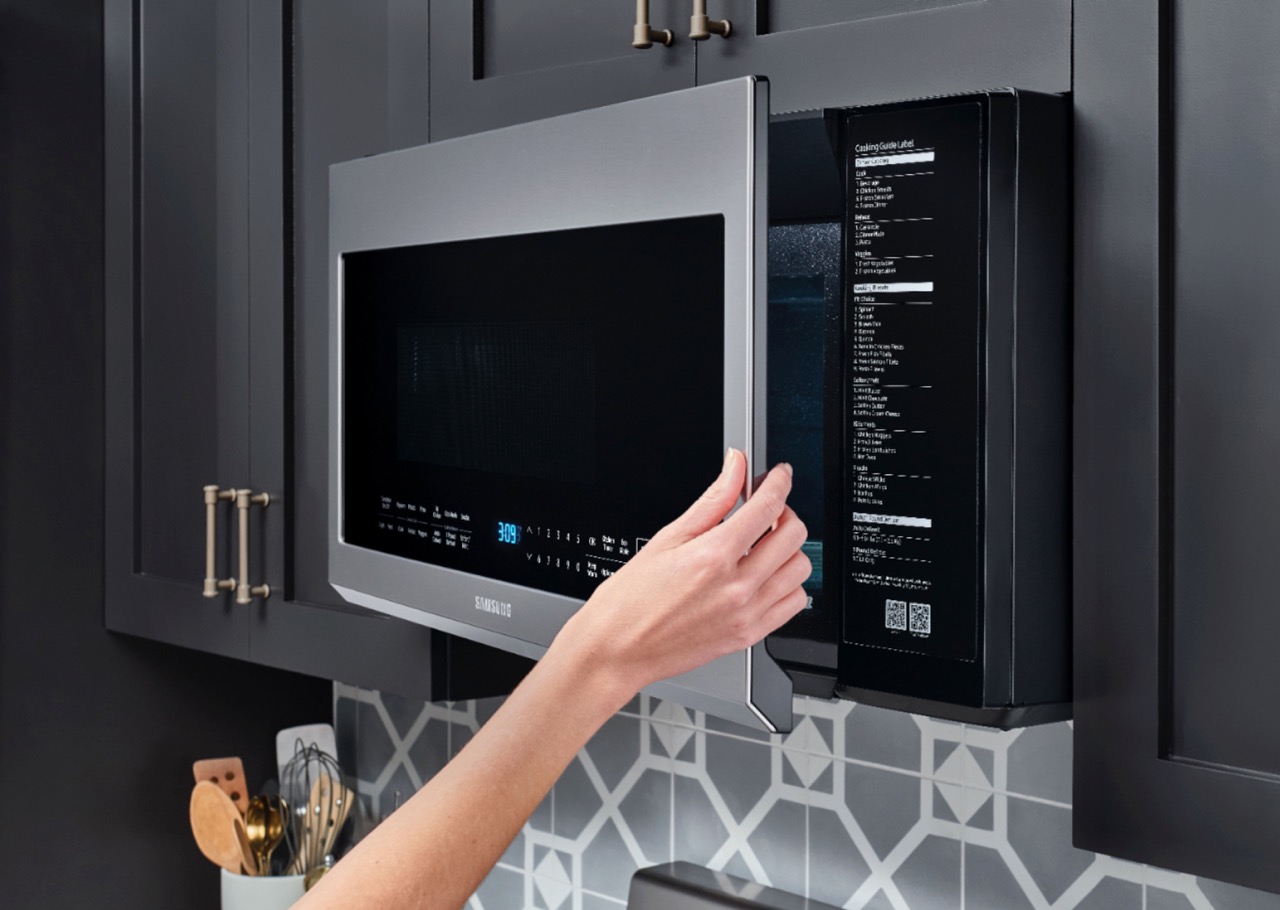
Step 1: Locate the control panel
The first step in changing the time on your oven is to locate the control panel. Depending on the make and model of your oven, the control panel may be located on the front, top, or side of the appliance. It could be a physical panel with buttons and knobs or a digital display with touch-sensitive controls.
If your oven has physical buttons and knobs, look for a dedicated “Clock” or “Time” button on the control panel. This button is typically labeled and easily identifiable. In some cases, you may need to press a combination of buttons or turn a knob to access the clock function.
If your oven has a digital display, look for a menu button or a settings icon. Press this button to access the oven’s settings menu, where you can find the clock adjustment option.
Take a moment to familiarize yourself with the control panel and its layout before moving on to the next step. This will ensure you can easily find the necessary buttons or icons to change the time on your oven.
Once you have located the control panel and are ready to proceed, move on to the next step.
Step 2: Access the clock function
Now that you have located the control panel of your oven, it’s time to access the clock function. This step will slightly differ depending on whether you have a traditional oven with physical buttons and knobs or a modern digital oven.
If you have a traditional oven with buttons and knobs, look for the dedicated “Clock” or “Time” button mentioned in the previous step. Press this button to access the clock function. If you don’t see a specific button labeled for the clock, look for a button or knob that allows you to cycle through different settings until you find the clock function.
For digital ovens, press the menu button or the settings icon on the control panel. This will bring up the oven’s settings menu. From there, navigate through the menu options until you find the clock function. It may be labeled as “Clock,” “Time,” or something similar.
Take your time to explore the control panel and make sure you find the correct option to access the clock function. Note that the exact steps may vary slightly depending on the oven model, so consult the user manual if you need specific instructions for your appliance.
Once you have found and accessed the clock function, you are ready to move on to the next step and adjust the time settings.
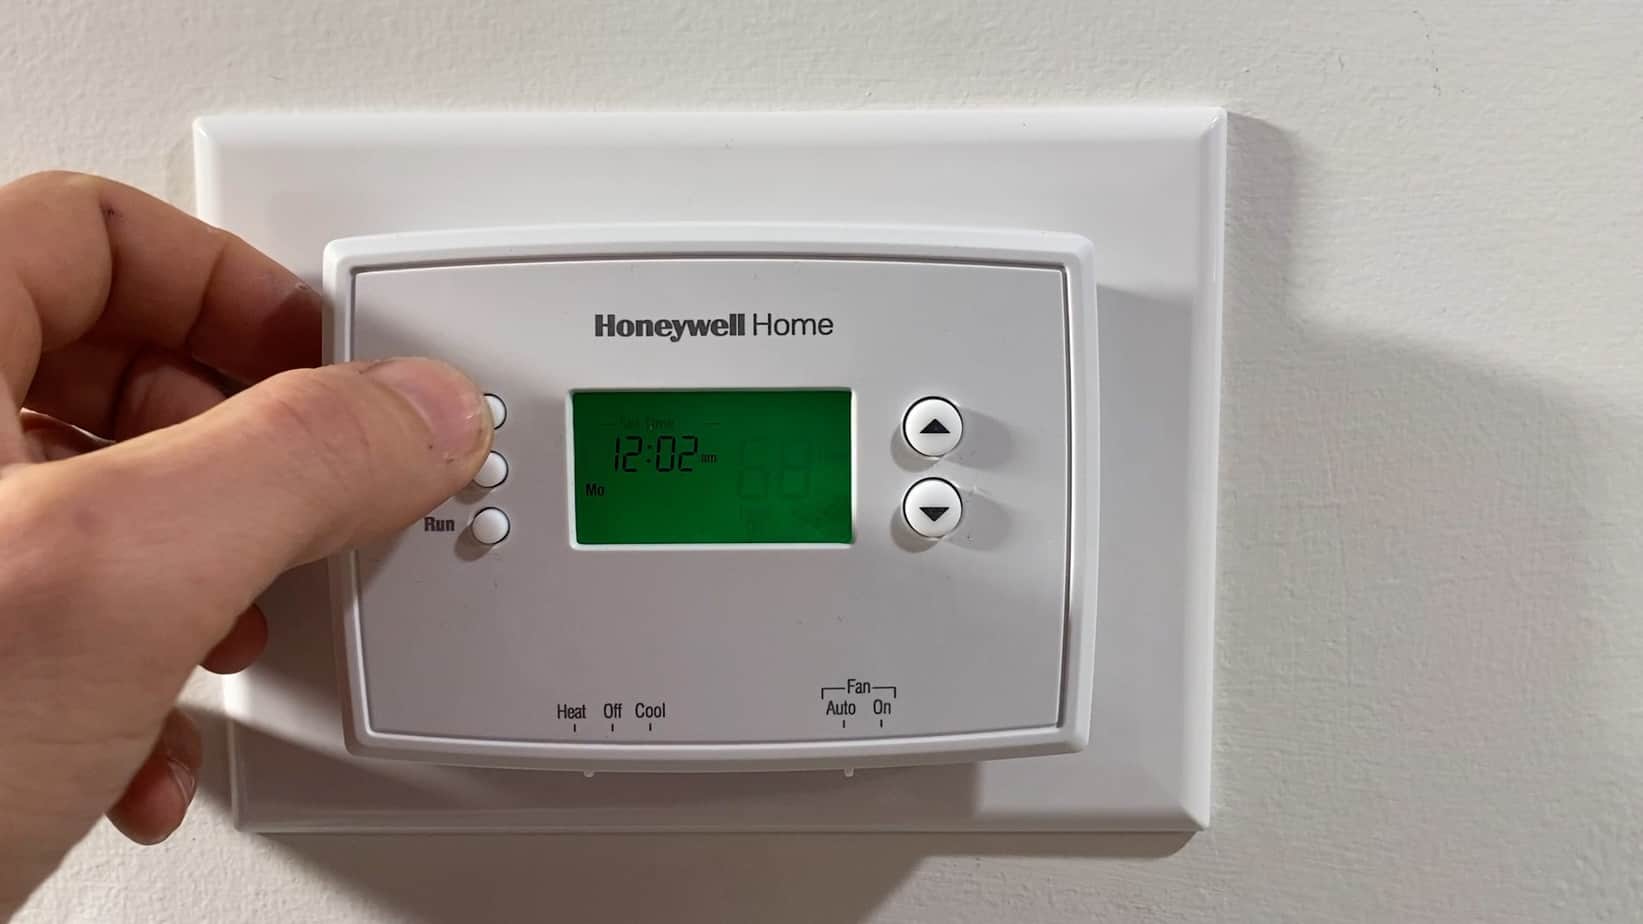
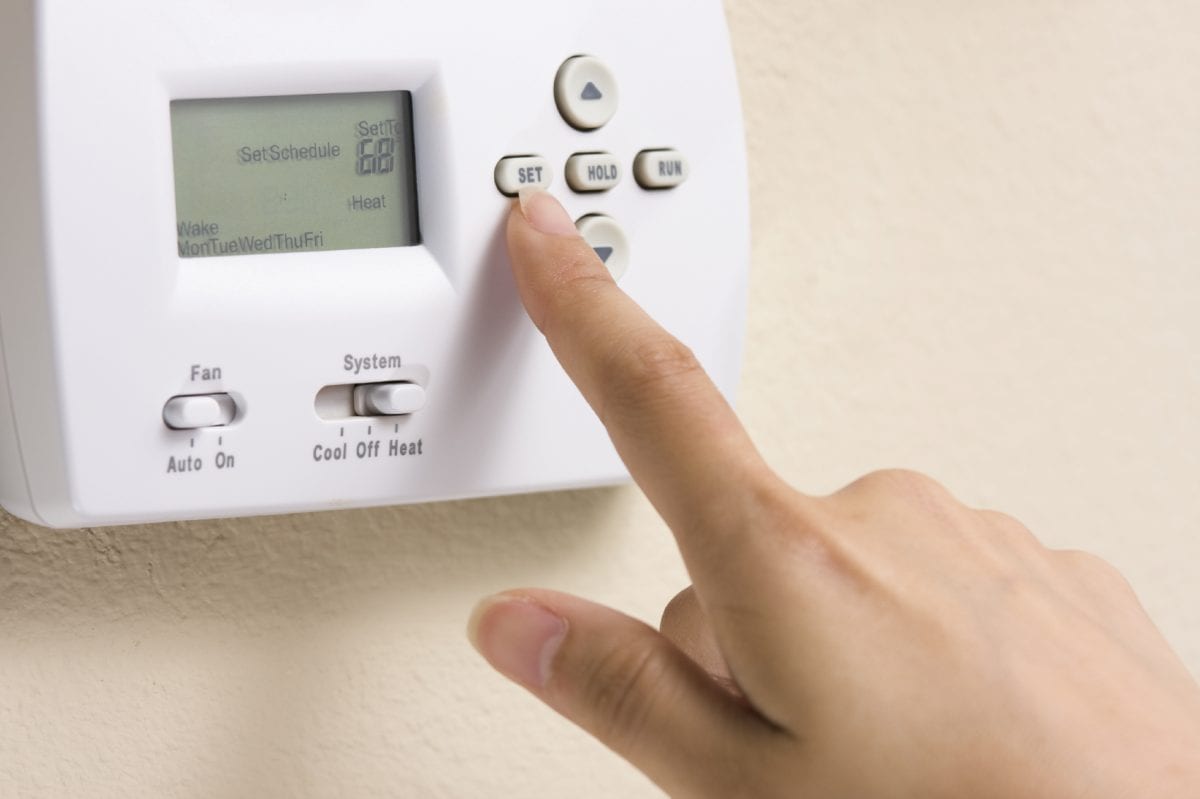
Step 3: Adjust the time settings
With the clock function accessed on your oven, it’s time to adjust the time settings. Depending on the type of oven you have, the process may vary slightly.
If you have a traditional oven with buttons and knobs, you will usually see two buttons or knobs labeled “Increase” and “Decrease.” These buttons allow you to adjust the time up or down. Simply press the “Increase” button to move the time forward or the “Decrease” button to move it backward. Some ovens may require you to press and hold the buttons to make time adjustments.
For digital ovens, you may see a numerical keypad or a touch-sensitive area where you can input the time. Use the keypad or touch-sensitive controls to enter the desired time. Some digital ovens may also have up and down arrows to adjust the time in increments.
Regardless of the type of oven you have, make sure to adjust both the hour and minute settings to the correct time. Take your time to accurately set the time so that your oven’s clock displays the correct time.
If your oven has the option for a 12-hour or 24-hour time display, select the appropriate format according to your preference. The option to switch between these formats is typically available in the clock settings.
Once you have adjusted the time settings to your desired settings, you can move on to the next step to save the changes.
Before changing the time on your oven, make sure to consult the user manual for specific instructions. Typically, you can press the clock button, use the arrow keys to adjust the time, and then press the clock button again to save the changes.
Step 4: Save the changes
After adjusting the time settings on your oven, it’s important to save the changes to ensure that the updated time is retained. The process of saving the changes may vary depending on the oven model and type.
For traditional ovens with buttons and knobs, look for a “Save” or “Set” button after making the necessary time adjustments. Press this button to confirm and save the changes you made to the clock. In some cases, simply exiting the clock function or returning to the main display will automatically save the changes.
For digital ovens, saving the changes is typically done by pressing a “Save” or “OK” button on the control panel. Some ovens may have a separate button labeled “Confirm” or “Apply” to save the clock settings.
Make sure to follow the instructions provided by the oven manufacturer to ensure that the changes are properly saved. If in doubt, consult the user manual for your specific oven model.
Once you have saved the changes, you can proceed to the final step to verify that the updated time is displaying correctly on your oven’s clock.
Read more: How To Change Alexa Time Settings
Step 5: Verify the updated time
Now that you’ve adjusted and saved the time settings on your oven, it’s time to verify that the updated time is displaying correctly. This step will ensure that your oven’s clock is accurately reflecting the current time, allowing you to plan your cooking activities accordingly.
Take a moment to locate the clock display on your oven. It could be a digital display or analog clock, depending on the type of oven you have. Look for the hour and minute indicators to confirm that the time is set correctly.
If the time is not displaying as expected, double-check the previous steps to ensure that you accurately adjusted and saved the time settings. If correction is needed, go back to the clock function and make the necessary adjustments. Remember to save the changes after making any adjustments.
If you’re still facing difficulties with updating the time or if the clock is not functioning properly, consult the user manual for troubleshooting tips or contact the manufacturer’s customer support for assistance.
Once you have verified that the updated time is displaying correctly on your oven’s clock, you can be confident that your cooking activities will be timed accurately.
Remember that changing the time on your oven may be necessary when daylight saving time begins or ends. It’s a good practice to adjust the clock accordingly to ensure that your cooking times align with the actual time.
Congratulations! You have successfully learned how to change the time on your oven. Now you can enjoy precise cooking durations and a properly functioning oven clock.
Conclusion
Changing the time on your oven is a simple yet important task for any home cook. By following the step-by-step guide outlined in this article, you can easily adjust the time settings on your oven and ensure that your cooking activities are properly timed.
Whether you have a traditional oven with buttons and knobs or a modern digital oven with touch-sensitive controls, locating the control panel and accessing the clock function is the first step. From there, adjusting the time settings using the designated buttons or input methods will allow you to set the correct time.
It is crucial to save the changes you made to the clock settings to ensure that the updated time is retained. This can be done by pressing the appropriate “Save” or “OK” button on your oven’s control panel.
Lastly, take a moment to verify that the updated time is displaying correctly on your oven’s clock. This final step will ensure that your cooking activities are timed accurately.
Remember, it may be necessary to adjust the time on your oven during daylight saving time changes or if you have experienced a power outage. Keeping your oven’s clock synchronized with the actual time will ensure that your cooking durations are accurate.
Now that you’ve mastered the art of changing the time on your oven, you can confidently plan your meals and enjoy perfectly cooked dishes every time. Happy cooking!
Frequently Asked Questions about How To Change The Time On An Oven
Was this page helpful?
At Storables.com, we guarantee accurate and reliable information. Our content, validated by Expert Board Contributors, is crafted following stringent Editorial Policies. We're committed to providing you with well-researched, expert-backed insights for all your informational needs.


0 thoughts on “How To Change The Time On An Oven”