Articles
How To Change Curtains
Modified: September 1, 2024
Learn how to change curtains with our comprehensive articles. Discover step-by-step guides, helpful tips, and expert advice.
(Many of the links in this article redirect to a specific reviewed product. Your purchase of these products through affiliate links helps to generate commission for Storables.com, at no extra cost. Learn more)
Introduction
Welcome to our guide on how to change curtains! Updating your curtains can give any room a fresh new look and create a whole new atmosphere. Whether you are replacing worn-out, outdated curtains or simply want to change the style of your window treatments, this step-by-step tutorial will guide you through the process.
Changing curtains may seem like a daunting task, but fear not! With a little patience, careful measurements, and the right tools, you’ll be able to transform your windows in no time. So, let’s get started!
Before we begin, it’s important to note that the steps outlined below are general guidelines and may vary depending on your specific curtain style and window type. Always refer to the instructions provided by the curtain manufacturer for any specific requirements. Additionally, make sure to take necessary safety precautions when using tools or working at heights.
Now, let’s dive into the steps involved in changing curtains:
Key Takeaways:
- Transform your room with ease by following our step-by-step guide to changing curtains. From measuring to styling, create a fresh new look for your windows and enhance the atmosphere of your space.
- Embrace the opportunity to showcase your personal style and creativity through curtain selection, installation, and styling. Enjoy the process of revamping your windows and creating beautiful focal points in your home.
Read more: How Often Should You Change Shower Curtains
Step 1: Measure the Window
Before you head out to choose new curtains, it’s crucial to measure your window properly. This ensures that you select the right size curtains that will fit your window perfectly. Here’s how to do it:
- Start by using a measuring tape to measure the width of the window. Measure from one side of the window frame to the other, taking note of the measurement in inches or centimeters.
- Next, measure the height of the window. Again, measure from the top of the window frame to the bottom, noting the measurement.
- If you have multiple windows in the same room, make sure to measure each one individually. Windows may vary in size even within the same room.
- Consider the curtain rod or track placement. Determine whether you want the curtains to hang inside the window frame or extend beyond it. This will impact the width measurement you choose for your curtains.
Once you have these measurements, add a few inches or centimeters to both the width and height to ensure the curtains provide sufficient coverage and a neat appearance. This additional measurement, also known as the “fullness,” allows the curtains to gather and create a more luxurious look.
Keep in mind that different curtain styles and designs may require specific measurements. For instance, if you are opting for floor-length curtains, measure from the top of the window frame to the desired length. If you prefer shorter curtains, be sure to measure the intended drop accurately.
By measuring your window correctly, you’ll be ready to find curtains that not only fit but also complement your overall room design. So, let’s move on to the next step: choosing the curtains!
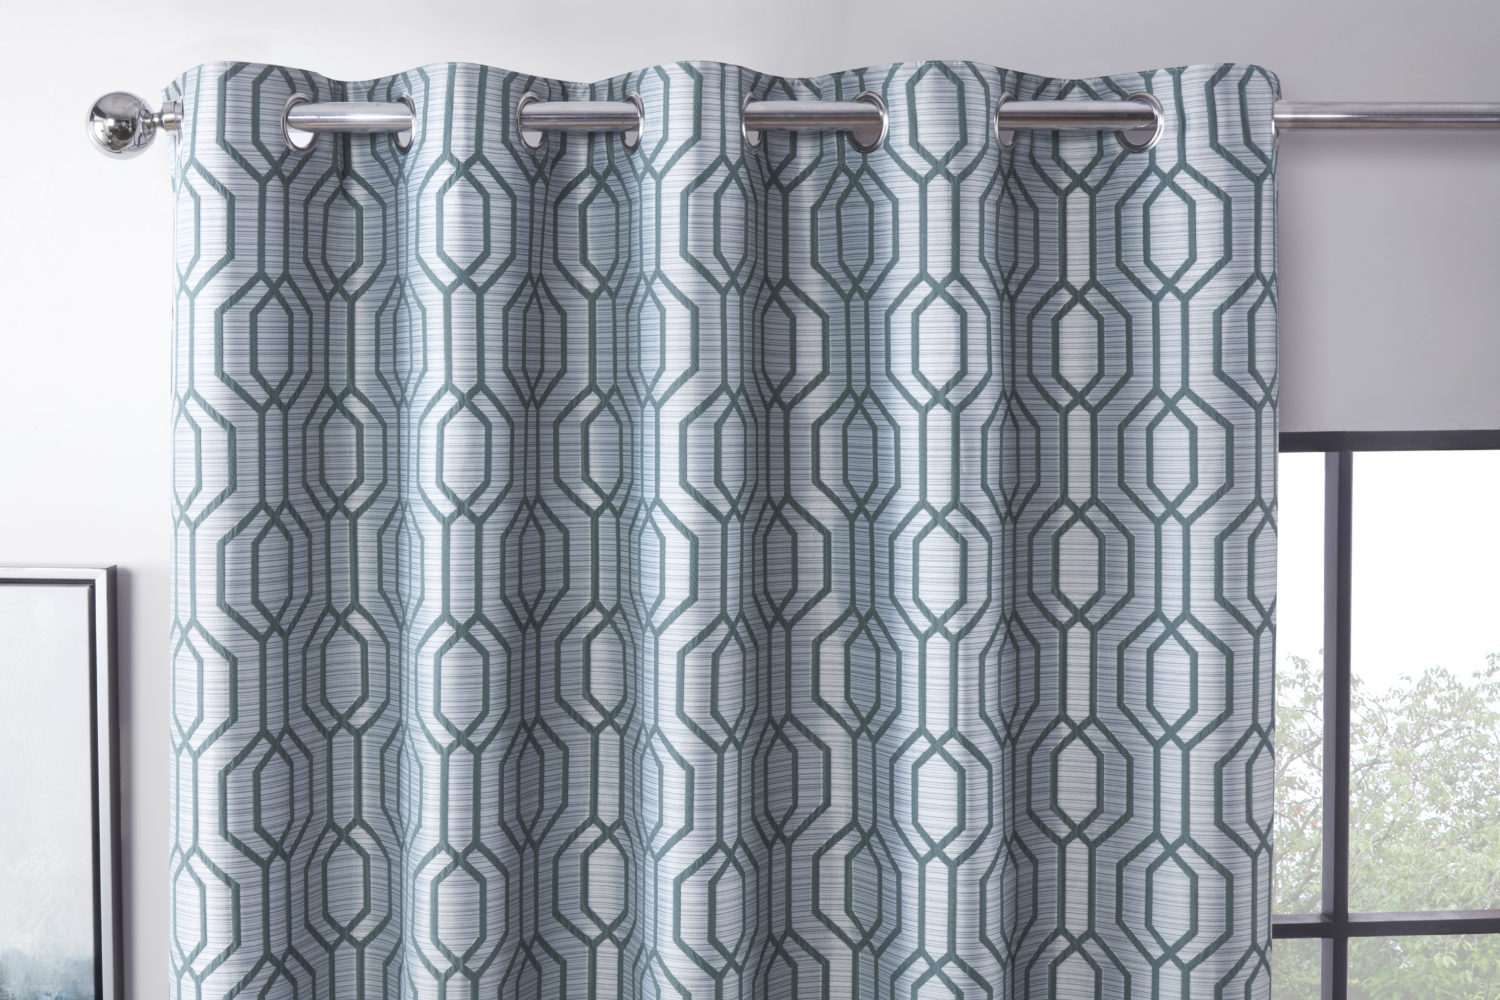
Step 2: Choose the Curtains
Now that you have the measurements, it’s time to choose the perfect curtains for your window. Consider the following factors when making your selection:
- Style: Decide on the style of curtains that will suit the overall aesthetic of your room. Are you looking for something more traditional and elegant, or do you prefer a modern and minimalist look? Consider the fabric, color, and pattern options available.
- Functionality: Think about the purpose of the curtains. Do you need them to block out sunlight and provide privacy, or are they purely decorative? If you want more control over light filtration and privacy, consider opting for curtains with blackout or thermal lining.
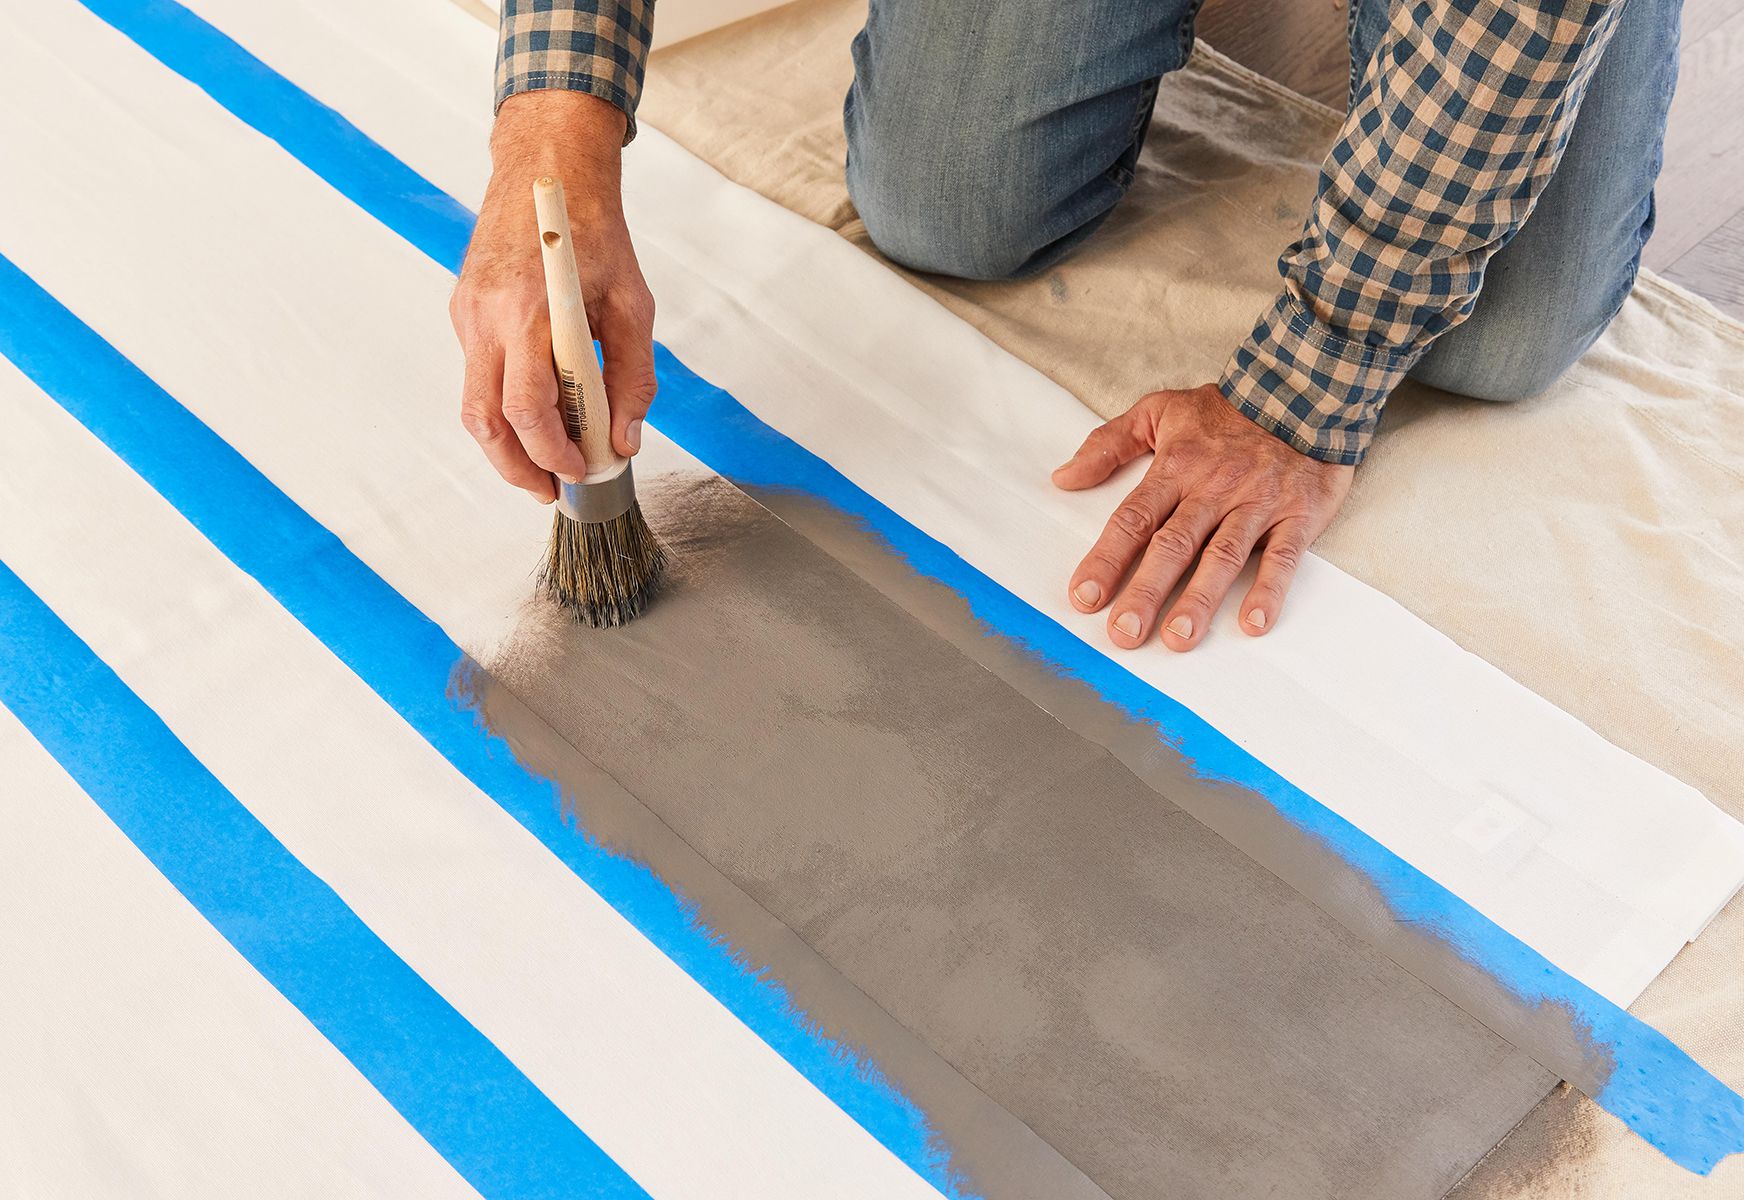
- Fabric: Choose a fabric that complements the style of your room while also being functional. Lightweight fabrics like cotton or linen work well for a breezy and casual feel, while heavier fabrics like velvet or jacquard can add a touch of luxury and warmth.
- Length: Determine the desired length of your curtains based on your measurement of the window. Decide whether you want the curtains to skim the floor, pool gracefully, or end just below the window sill. Remember to account for any curtain rod or track placement in your measurements.
- Hardware: Consider the type of curtain rod or track you will use. Ensure it complements the overall design and is suitable for the weight and style of your chosen curtains. Select finials or decorative rod ends that enhance the look.
Take your time shopping around and exploring different options. Look for inspiration online or visit home decor stores to see various curtain styles firsthand. Once you’ve made your choice, you’re ready to move on to the next step: removing the old curtains.
Step 3: Remove the Old Curtains
Now that you’ve chosen your new curtains, it’s time to remove the old ones. Follow these steps to properly take down your existing window treatments:
- Start by gathering all the necessary tools. You may need a ladder or step stool, a screwdriver, and a pair of pliers.
- Carefully inspect the curtain rods or tracks to determine how the curtains are attached. Most curtain rods have brackets that hold them in place, while curtain tracks may have hooks or clips.
- For curtain rods, locate the bracket screws and use a screwdriver to unscrew them. Keep track of the screws so you can reuse them for the new curtains. Once the brackets are loose, gently slide the rod out of the brackets.
- If your curtains are attached to a track system, look for hooks or clips along the track. Use pliers to release the hooks or squeeze the clips to detach the curtains.
- Once the curtains are detached from the rods or tracks, carefully remove any curtain rings or hooks that may be attached to them.
- Take down any valances or pelmets, if applicable. These are usually mounted separately above the curtains and may require unscrewing or removing brackets.
- Finally, remove any wall hooks, screws, or nails that were holding the curtain hardware in place. Fill any holes left behind with putty or wall filler, and touch up the paint if necessary.
It’s important to handle the old curtains with care to avoid damaging them. If you plan to donate or recycle them, make sure to clean them properly and fold them neatly before storing or giving them away.
With the old curtains successfully removed, it’s time to prepare the window for the installation of your new curtains. Let’s move on to the next step!
When changing curtains, measure the length and width of your window before purchasing new ones. This will ensure a proper fit and a polished look.
Step 4: Prepare the Window
Before you install your new curtains, it’s essential to prepare the window properly. This ensures a smooth and secure installation. Follow these steps to get your window ready:
- Clean the Window: Start by cleaning the window and the surrounding area. Remove any dirt, dust, or debris using a mild cleaning solution and a soft cloth. This will provide a clean surface for the new curtains.
- Inspect the Hardware: Check the condition of the curtain rods or tracks and their associated brackets. Ensure that they are secure and in good working order. If any parts are damaged or loose, repair or replace them as needed.
- Consider Reinforcements: If you are installing heavy or long curtains, you may need to reinforce the window frame or wall. Use wall anchors or additional brackets to provide extra support for the weight of the curtains.
- Decide on Mounting Placement: Determine whether you want to mount the curtain hardware on the window frame or directly on the wall. Consider the aesthetic and functional factors that will influence your decision, such as the size of the window and the space available.
- Measure and Mark: Use a measuring tape to mark the placement of the curtain hardware. Ensure it is level and aligns with your desired curtain length and fullness. Use a pencil or a removable marker to make the markings on the wall or window frame.
- Check for Obstructions: Look out for any obstacles that may interfere with the installation, such as window locks, handles, or electrical outlets. Make sure your curtain hardware will not obstruct or hinder their functionality.
- Prepare the Installation Tools: Gather the necessary tools for installing the curtain hardware, such as a drill, screws, wall anchors, and a level. Make sure you have everything you need within reach before proceeding.
By properly preparing the window, you are ensuring that your new curtains will be installed securely and in the precise location you desire. Now that you’re ready, let’s move on to the exciting part: installing the new curtains!
Read more: How Often Should You Change A Shower Curtain
Step 5: Install the New Curtains
Now comes the exciting part – it’s time to install your new curtains! Follow these steps to ensure a successful installation:
- Gather your Tools: Make sure you have all the necessary tools and hardware for installing your curtains, such as a drill, screws, wall anchors, and a level.
- Position the Hardware: Using the markings you made in the previous step, position and attach the curtain rod brackets or track clips onto the wall or window frame. Ensure that they are level and securely attached.
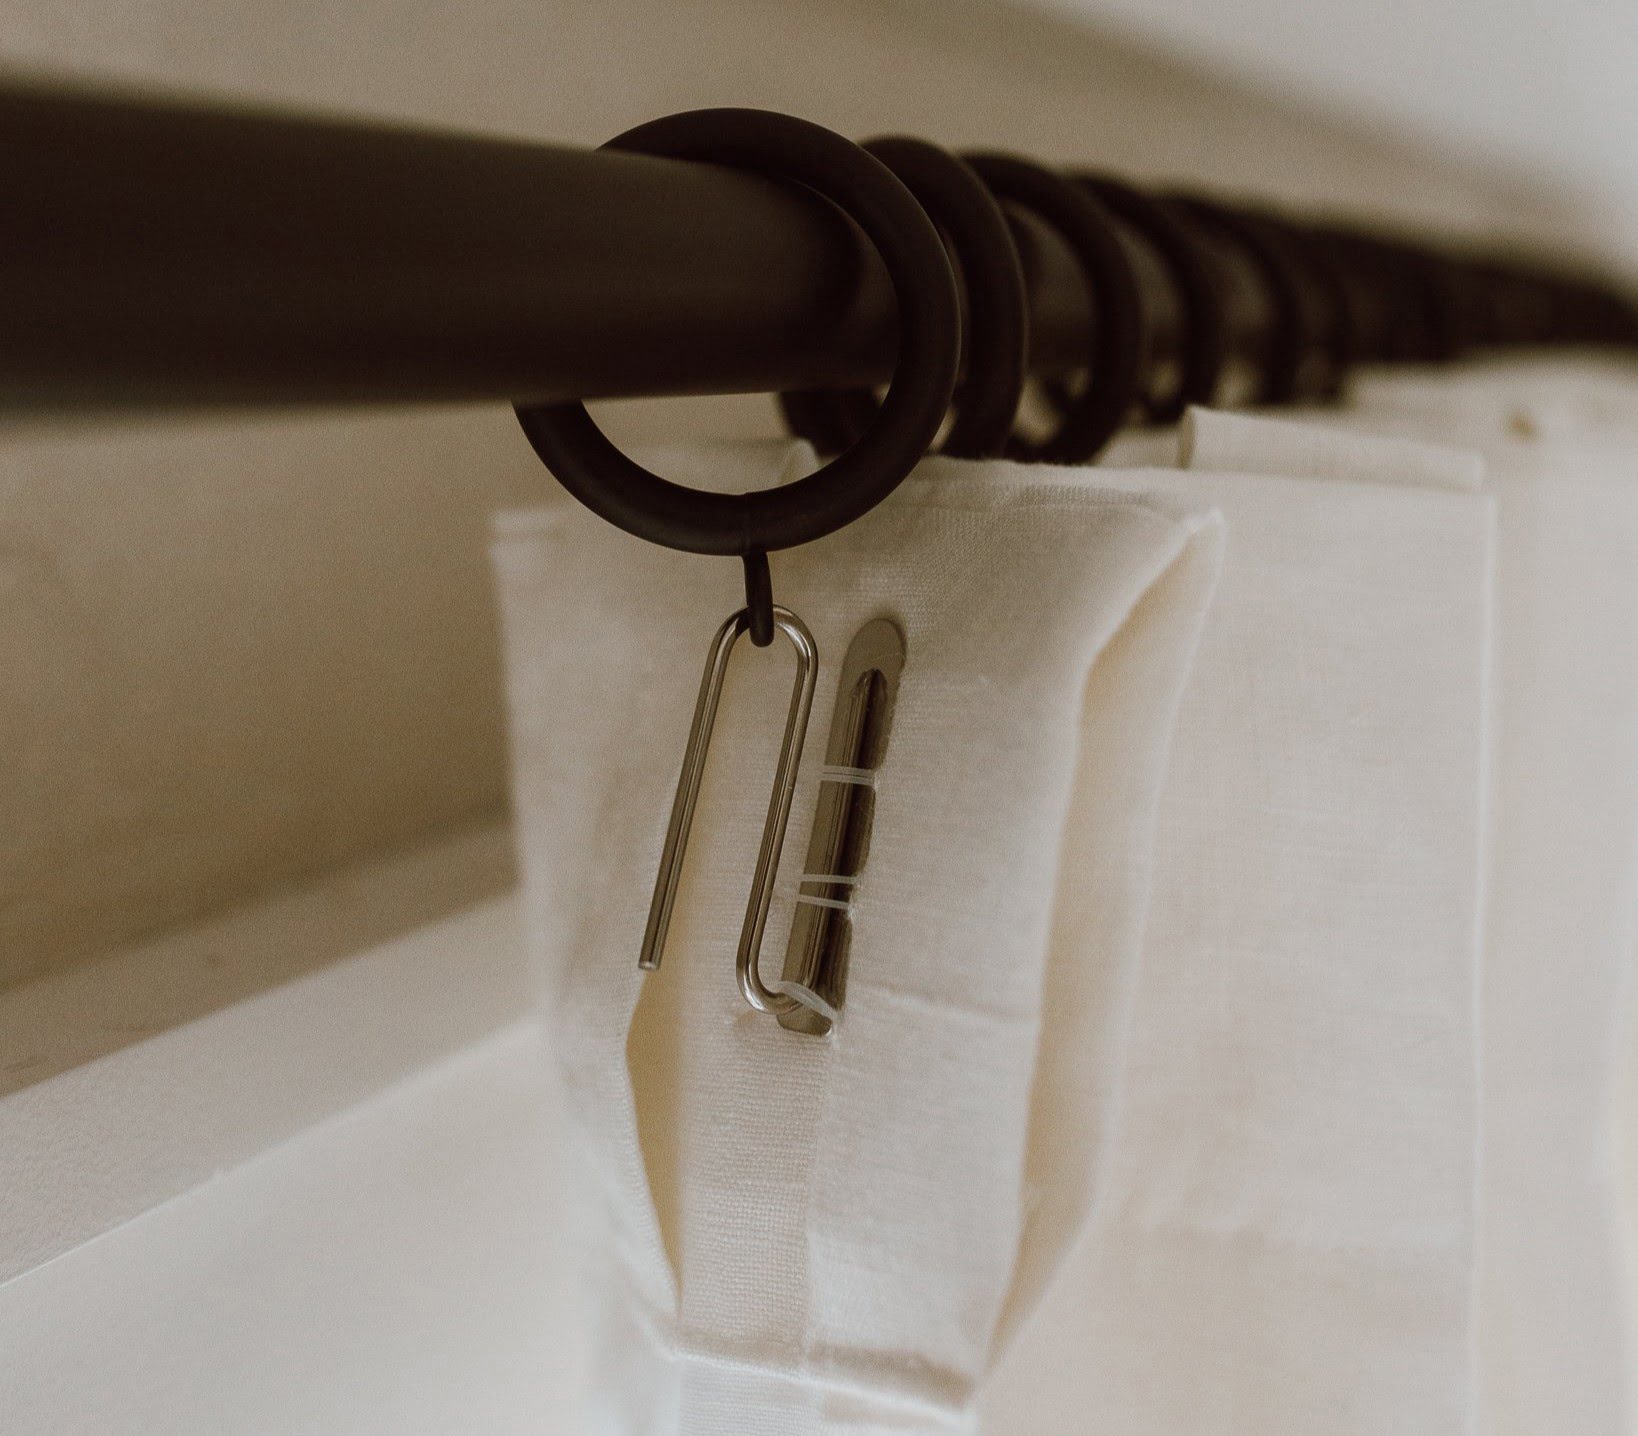
- Attach the Curtain Rod or Track: Slide the curtain rod into the brackets or attach the curtain track hooks onto the clips. Make sure it is well-supported and properly aligned.
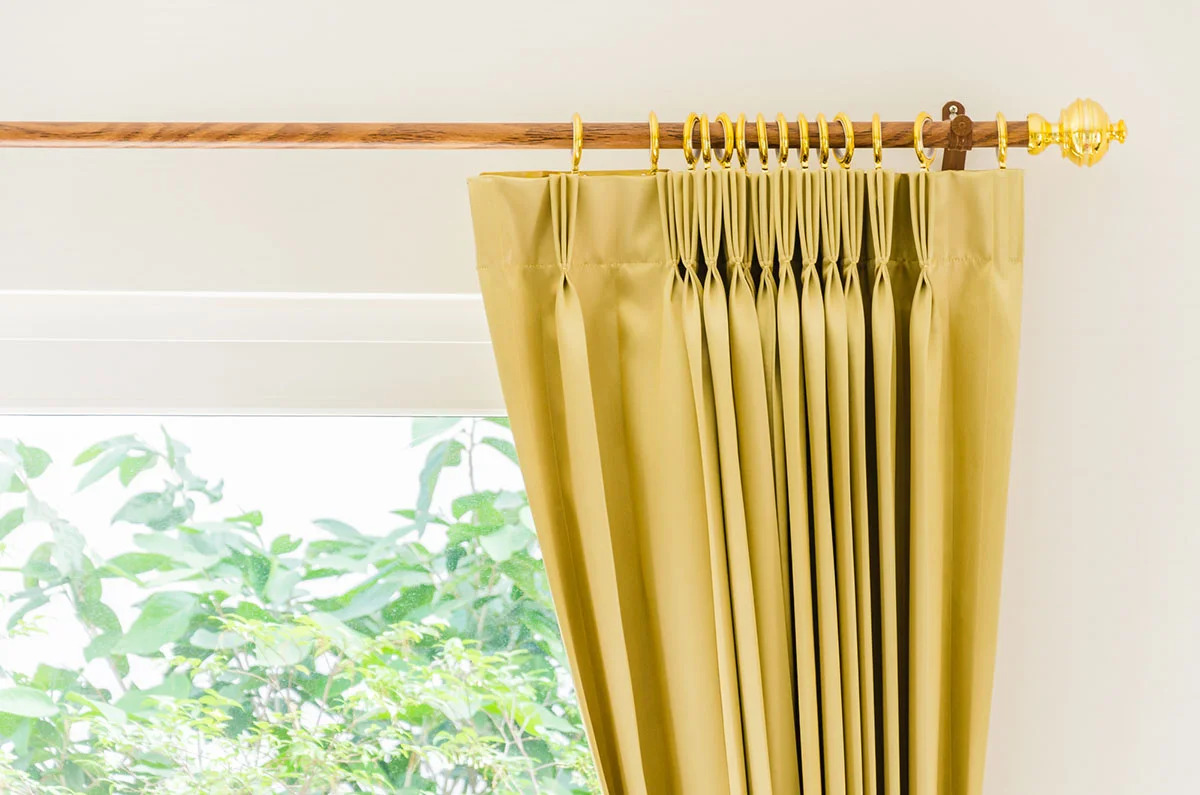
- Hang the Curtains: Carefully hang the curtains onto the curtain rod or track. Adjust them so that they hang evenly and reach the desired length. Ensure that the curtains are spread evenly across the rod or track.
- Secure the Curtains: If your curtains have hooks, make sure they are securely fastened onto the rings or eyelets of the curtains. This will ensure that the curtains stay in place when opening and closing them.
- Test the Movement: Gently open and close the curtains to ensure that they glide smoothly along the track or rod. Make any necessary adjustments to ensure proper movement.
- Check the Appearance: Step back and assess the overall appearance of the curtains. Ensure that they are properly positioned, hang evenly, and create the desired effect for your room.
Remember to follow any additional instructions or guidelines provided by the curtain manufacturer for your specific type of curtains. They may have specific recommendations on installation, care, and maintenance.
With your new curtains installed, you’re almost done! The final step is to adjust and style the curtains to achieve the desired aesthetic. Let’s move on to the last step.
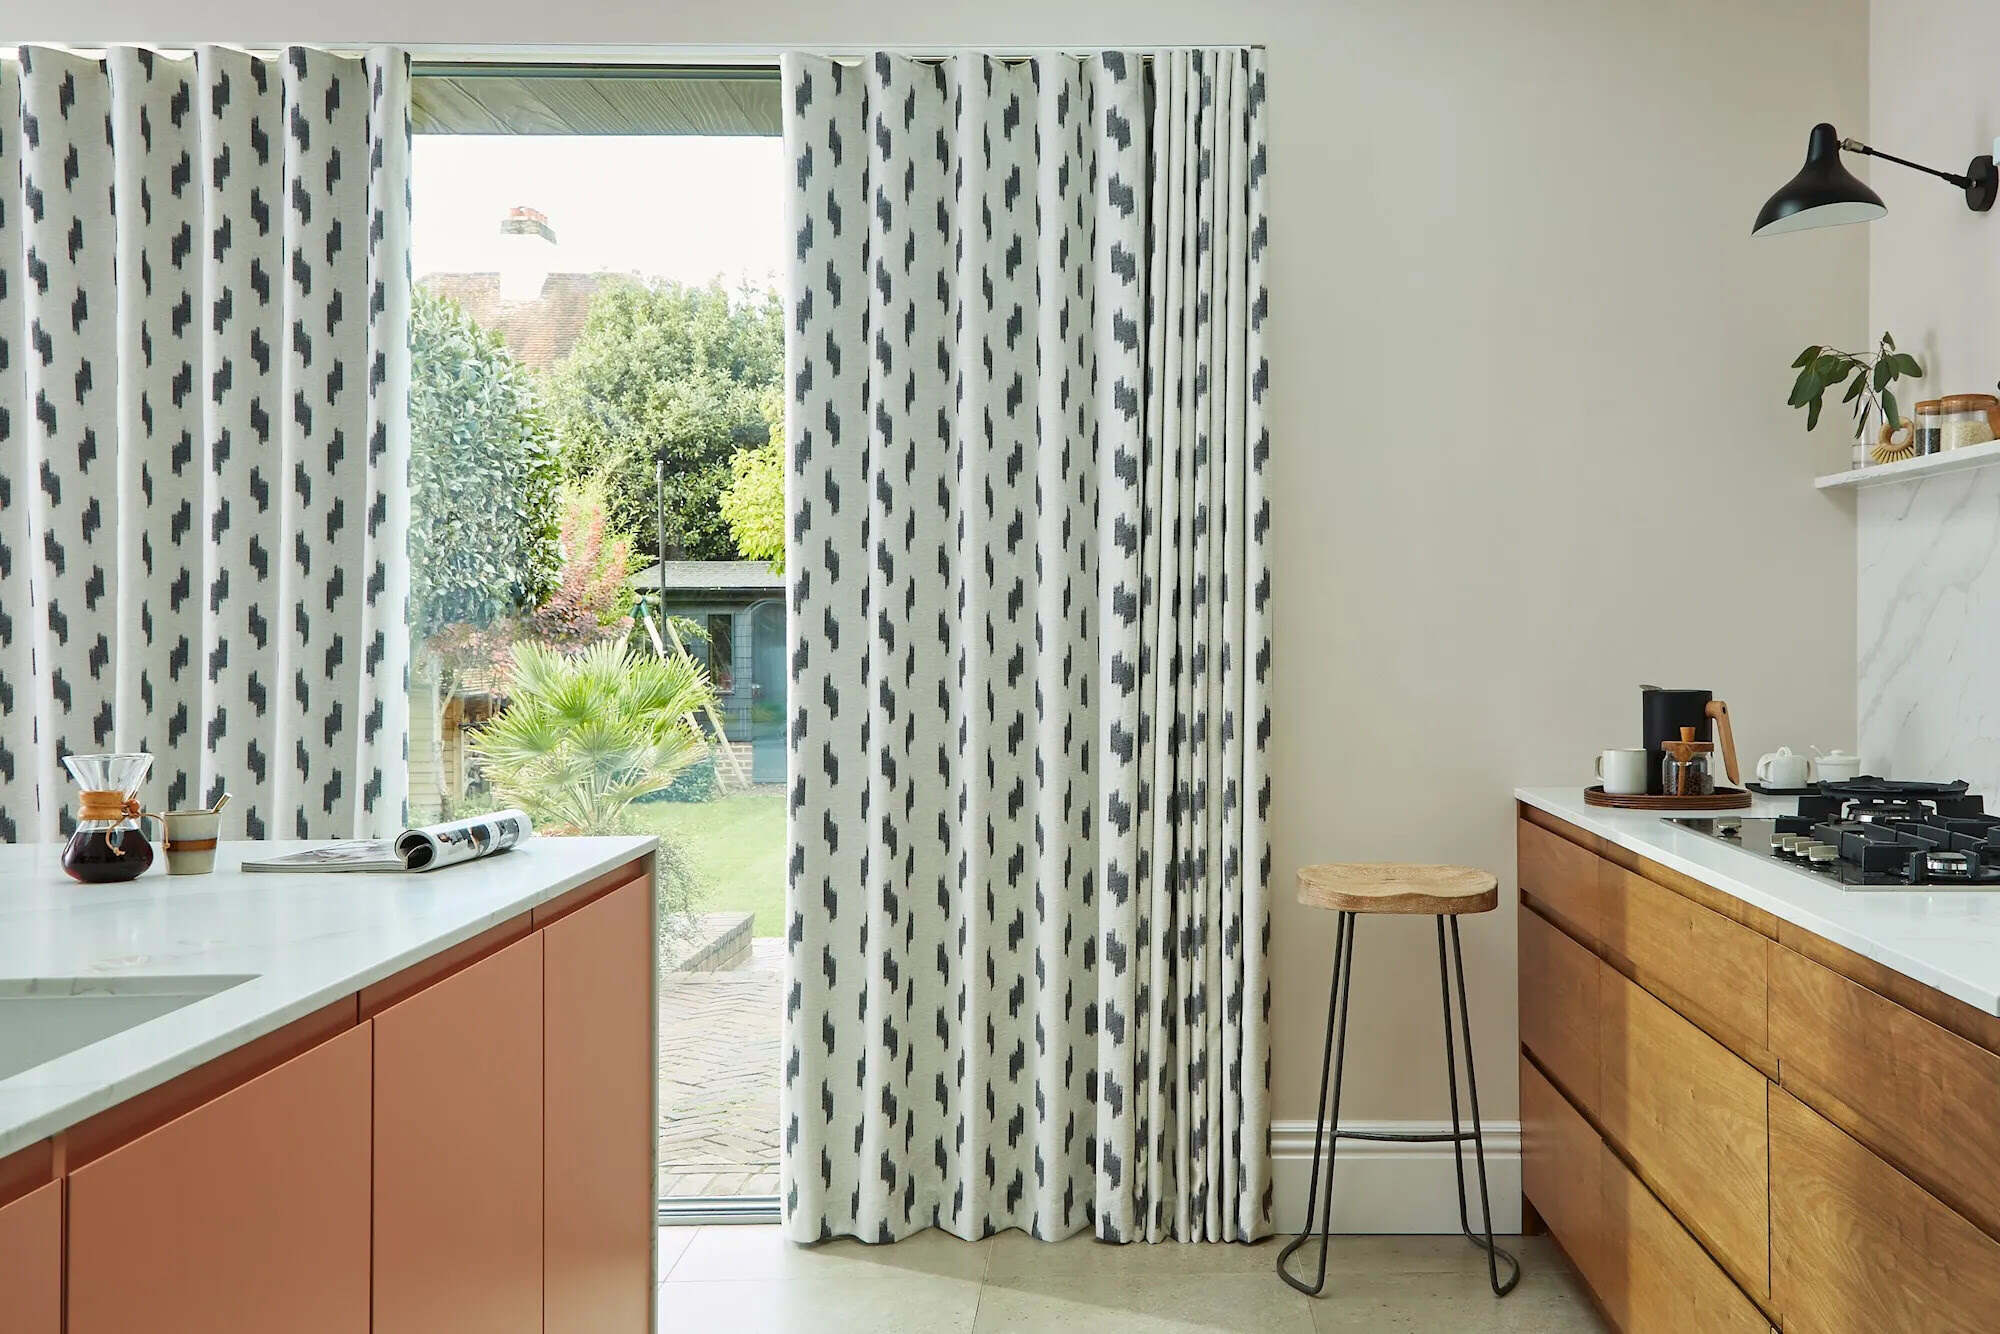
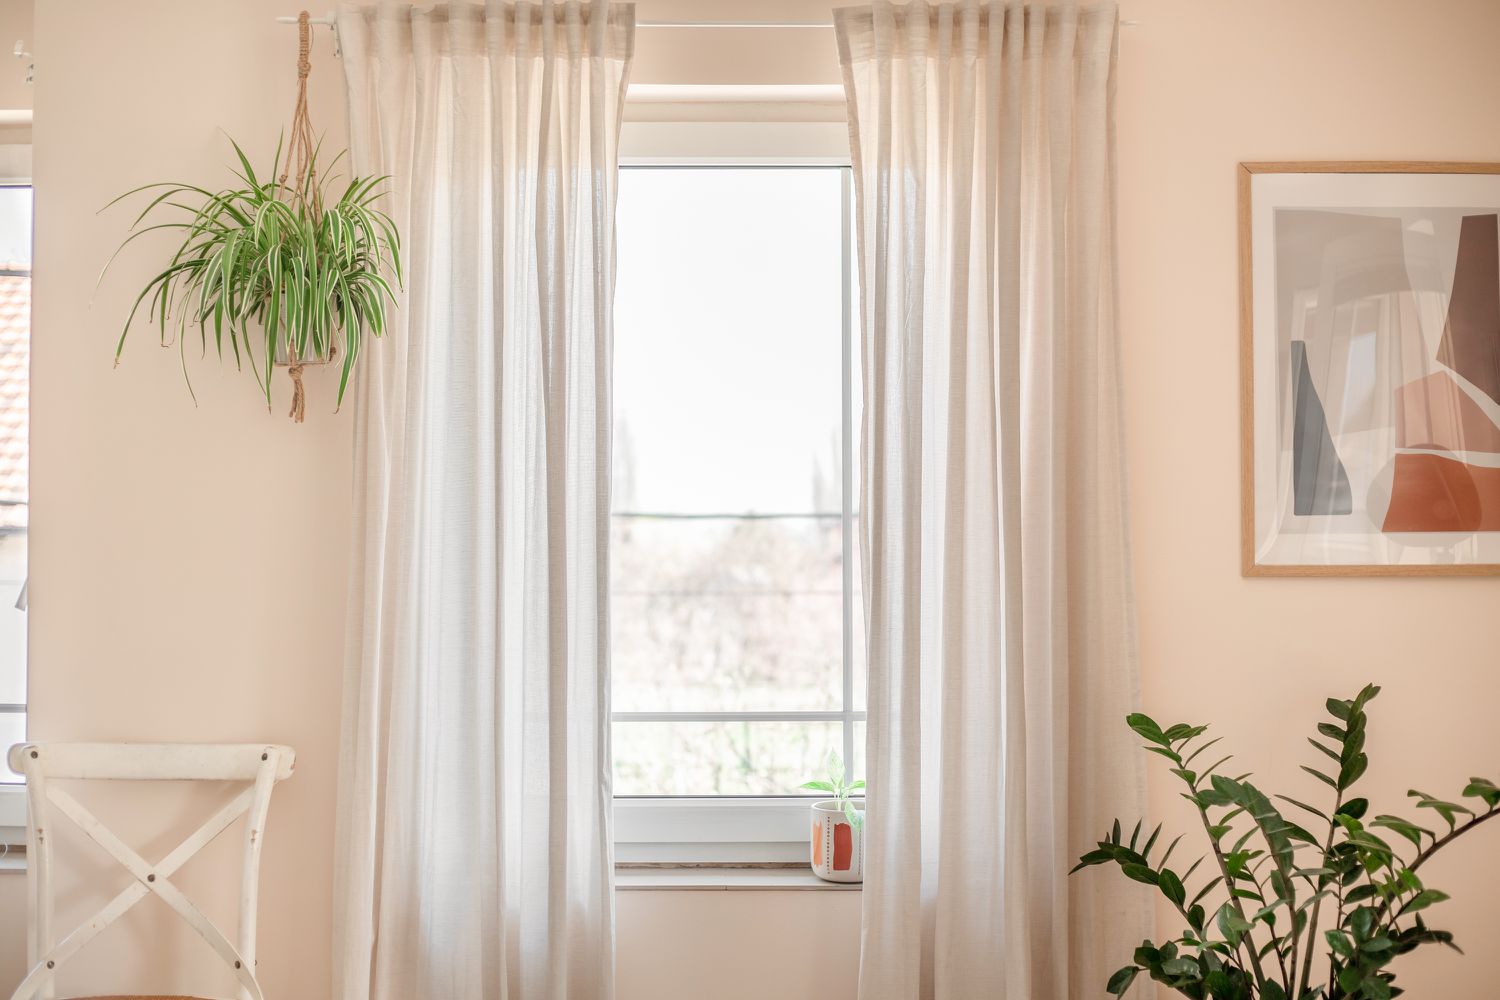
Step 6: Adjust and Style the Curtains
Congratulations on installing your new curtains! Now it’s time to add the finishing touches and style them to perfection. Follow these tips to adjust and style your curtains for a polished look:
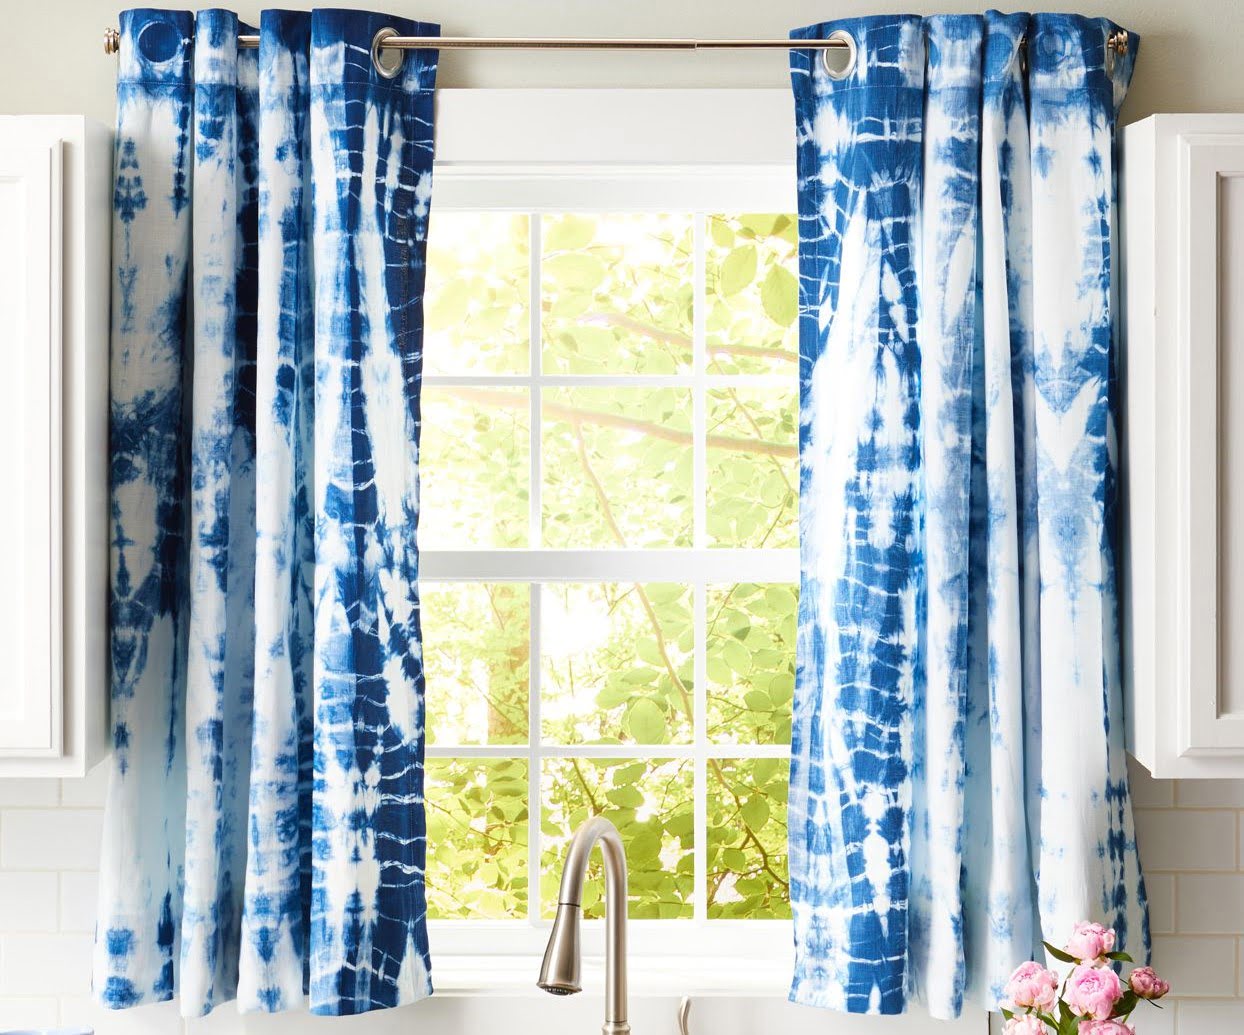
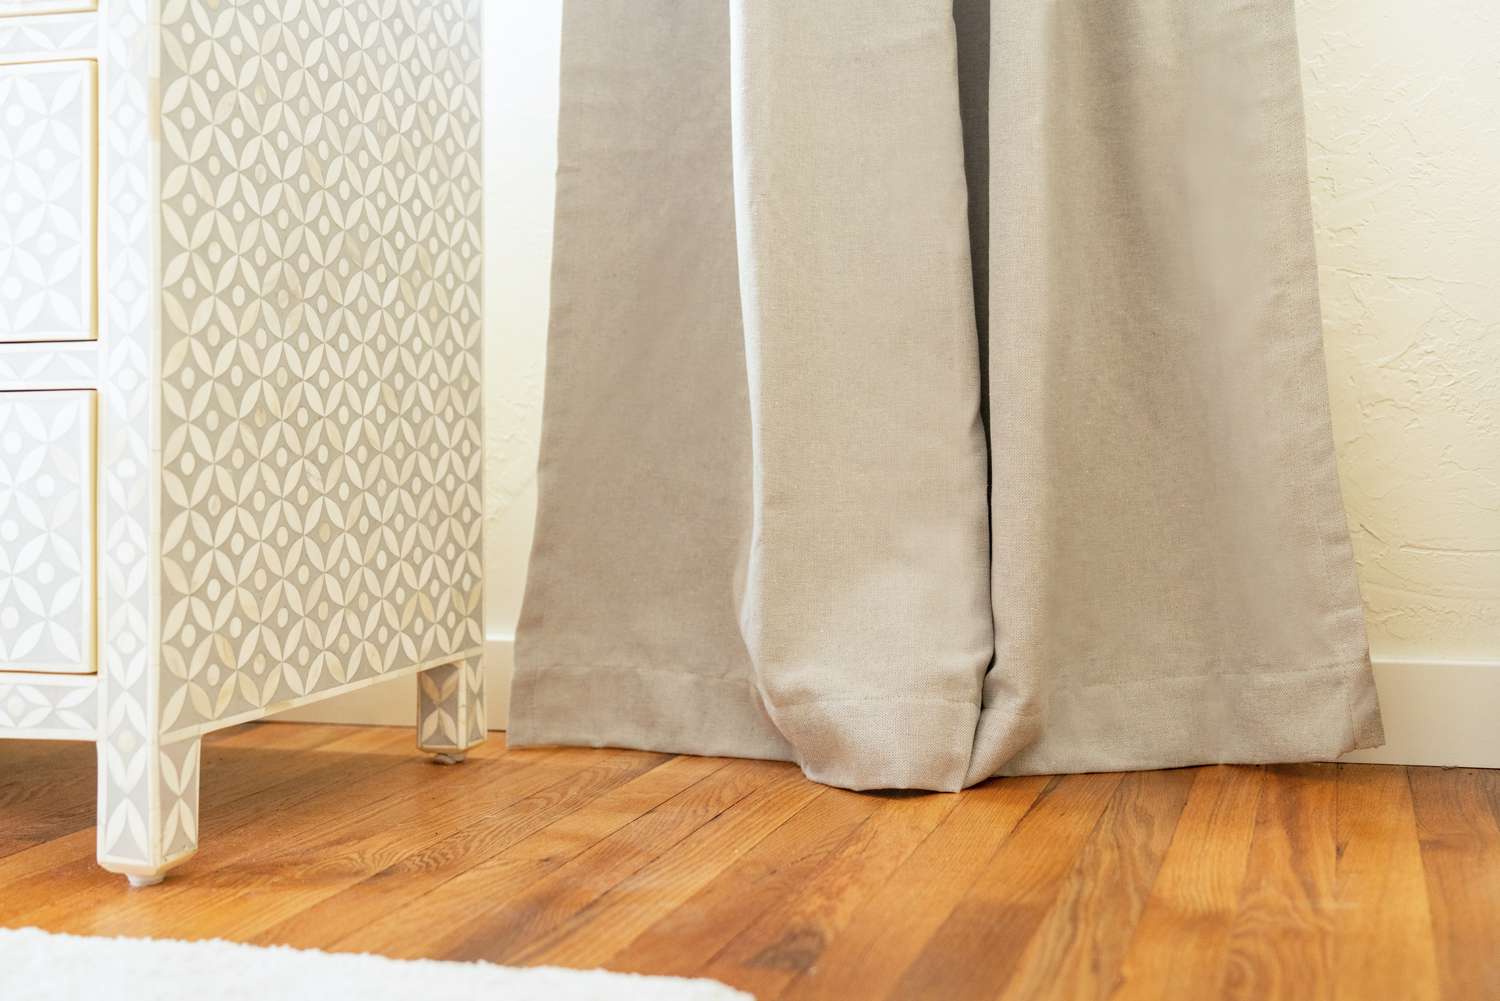
- Ensure Proper Length: Adjust the length of your curtains to achieve the desired effect. Floor-length curtains should just brush the floor, while curtains that end just below the windowsill should have a clean and neat appearance.
- Add Fullness: Create a more luxurious look by adding fullness to your curtains. You can do this by spreading the fabric evenly across the rod or track, using additional curtain panels, or opting for curtains with a natural drape.
- Experiment with Tiebacks: Consider using tiebacks to hold your curtains in place and add a touch of elegance. Experiment with different tieback styles, such as fabric or rope ties, to find the look that complements your curtains and room design.
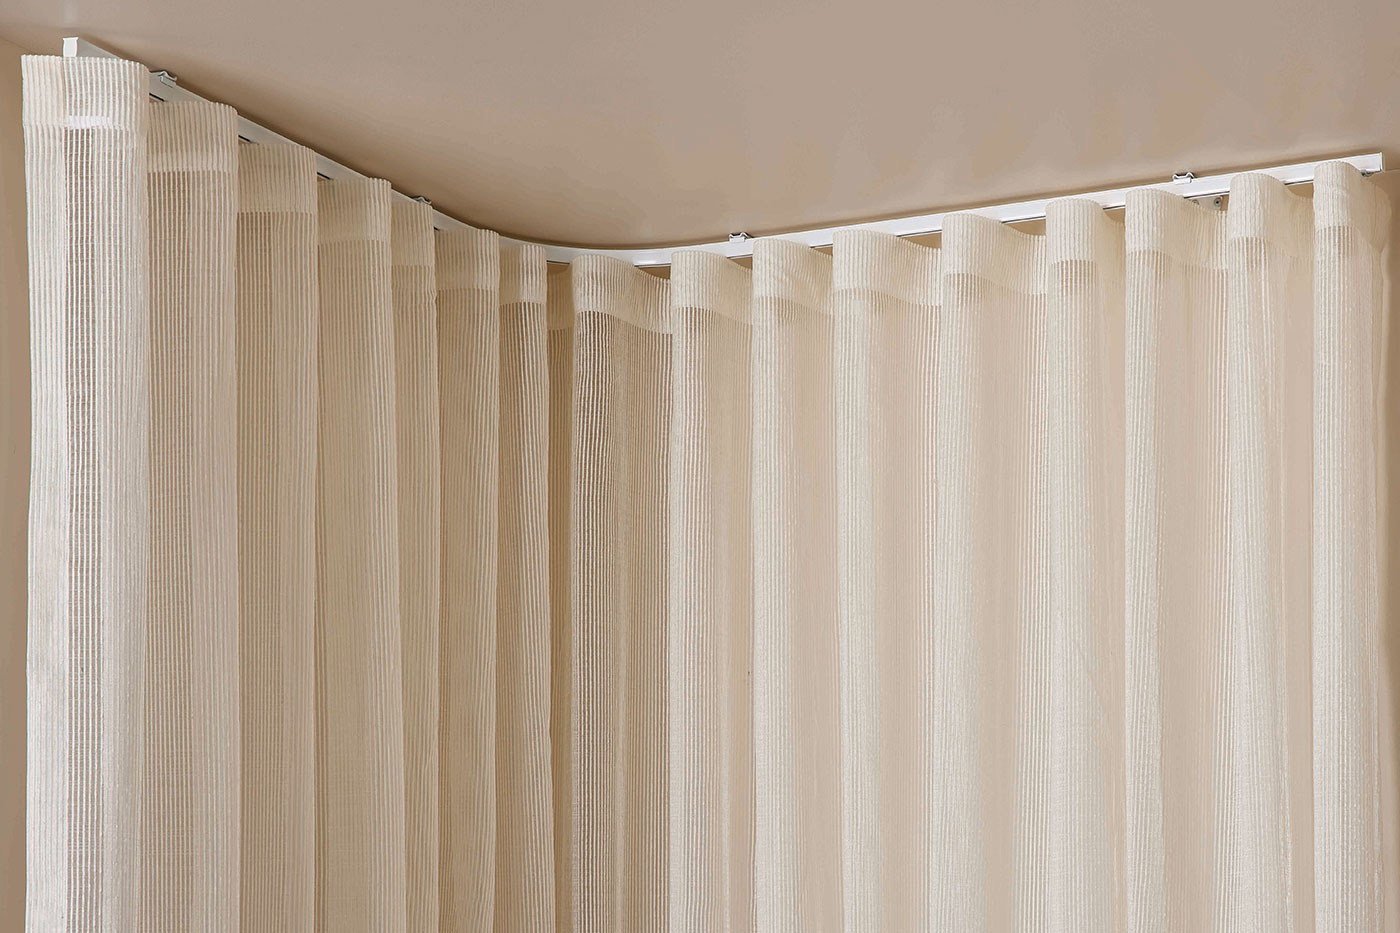
- Try Different Hanging Styles: Play around with different hanging styles to find the one that suits your curtains best. You can opt for a classic, evenly gathered look, or try a more casual and relaxed style by allowing the curtains to hang with loose folds.
- Add Valances or Top Treatments: If you want to enhance the look of your curtains even further, consider adding valances or top treatments. These decorative fabric accents can add depth and sophistication to your window treatment.
- Accessorize: Don’t forget to accessorize and complement your curtains with curtain rods, finials, or decorative tiebacks. Choose hardware that matches or enhances the style of your curtains and room décor.
- Step Back and Assess: Step back and take a look at the overall appearance of your curtains. Make any necessary adjustments to ensure that they hang evenly, create the desired effect, and enhance the beauty of your room.
Remember, curtains are not just functional window coverings but also an opportunity to add style and personality to your space. Take the time to explore different styling options and experiment until you achieve the desired look.
Congratulations once again on successfully changing your curtains! By following these steps, you’ve given your room a fresh new look and created a welcoming atmosphere. Enjoy your revamped windows and the added beauty they bring to your home!
Remember to refer back to this guide whenever you decide to change your curtains in the future, or share it with friends and family who might need some assistance. Happy decorating!
Conclusion
Changing curtains is a fantastic way to update the look and feel of any room. By following the step-by-step guide we’ve provided, you can successfully change your curtains and transform your windows with ease.
We began by emphasizing the importance of measuring your windows accurately to ensure the perfect fit. Then, we explored the process of choosing the right curtains by considering factors such as style, functionality, fabric, length, and hardware.
Next, we covered the necessary steps to remove the old curtains, including detaching the curtain rods or tracks, taking down any valances or pelmets, and preparing the window for the installation of the new curtains. We put emphasis on cleaning the window, inspecting the hardware, and marking the placement of the curtain hardware.
Afterward, we delved into the exciting stage of installing the new curtains. We discussed attaching the curtain rod or track, hanging the curtains, securing them properly, and testing their movement. Attention to detail during installation ensures a secure and visually appealing result.
Lastly, we explored the final step of adjusting and styling the curtains to achieve the desired aesthetic. We discussed adjusting the length, adding fullness, experimenting with tiebacks, trying different hanging styles, adding valances or top treatments, and accessorizing with curtain rods and finials.
Remember, changing curtains is an opportunity to not only enhance privacy and control light but also to showcase your personal style and creativity. Curtain selection, installation, and styling are crucial elements in achieving a cohesive and stunning room design.
We hope this comprehensive guide has provided you with the knowledge and confidence to embark on your curtain-changing journey. Enjoy the process, and have fun exploring different curtain styles and designs to transform your windows into beautiful focal points of your home!
Happy curtain changing!
Frequently Asked Questions about How To Change Curtains
Was this page helpful?
At Storables.com, we guarantee accurate and reliable information. Our content, validated by Expert Board Contributors, is crafted following stringent Editorial Policies. We're committed to providing you with well-researched, expert-backed insights for all your informational needs.


0 thoughts on “How To Change Curtains”