
Articles
How To Change Oven Light Bulb
Modified: August 26, 2024
Learn how to easily change the oven light bulb in a few simple steps. Our informative articles provide all the guidance you need.
(Many of the links in this article redirect to a specific reviewed product. Your purchase of these products through affiliate links helps to generate commission for Storables.com, at no extra cost. Learn more)
Introduction
Having a functional oven is essential for every kitchen, as it allows you to whip up delicious meals and treats. However, like any other appliance, ovens may encounter minor issues from time to time. One common problem that many oven owners face is a burnt-out light bulb.
The oven light bulb not only illuminates the interior of the oven but also helps you monitor the progress of your cooking or baking. When the bulb burns out, it can be quite frustrating not being able to see clearly inside the oven. Luckily, replacing an oven light bulb is a simple task that you can do yourself.
In this article, we will guide you through the step-by-step process of changing an oven light bulb. Whether you have a gas or electric oven, the process is relatively similar. So gather your tools and let’s get started!
Key Takeaways:
- Easily replace your oven light bulb by following simple steps and ensuring safety. Enjoy improved visibility and continue creating delicious meals with a well-lit oven.
- Prioritize safety, take your time, and follow the step-by-step guide to change your oven light bulb. Restore proper lighting and keep an eye on your culinary creations.
Read more: How To Change A Light Bulb
Tools and Materials Needed
Before you begin the process of changing your oven’s light bulb, gather the following tools and materials:
- A screwdriver (flathead or Phillips, depending on your oven’s design)
- A new oven light bulb (make sure it is compatible with your oven model)
- A clean cloth or towel
- Optional: Safety gloves (to protect your hands from broken glass, if necessary)
It’s essential to have the right tools and materials at hand to ensure a smooth and efficient light bulb replacement process. Once you have everything ready, you can proceed with the steps to change the oven light bulb.
Step 1: Prepare the Oven
Before you start working on changing the oven light bulb, it’s important to ensure the oven is turned off and cool. This will help prevent any accidental burns or injuries while handling the bulb. Follow these steps to prepare the oven:
- Turn off the oven: Make sure the oven is completely turned off and not in use. If it was recently used, give it enough time to cool down before proceeding.
- Unplug the oven: If your oven is plugged into an electrical outlet, it’s a good idea to unplug it for added safety. This will minimize the risk of any electrical mishaps during the bulb replacement.
- Clean the oven: Use a clean cloth or towel to wipe down the interior of the oven, removing any loose debris or grease. This will provide better visibility and ensure a cleaner environment while replacing the bulb.
By taking the time to properly prepare your oven, you create a safer and more manageable environment for replacing the light bulb. Once you have completed these steps, you can move on to accessing the light bulb.
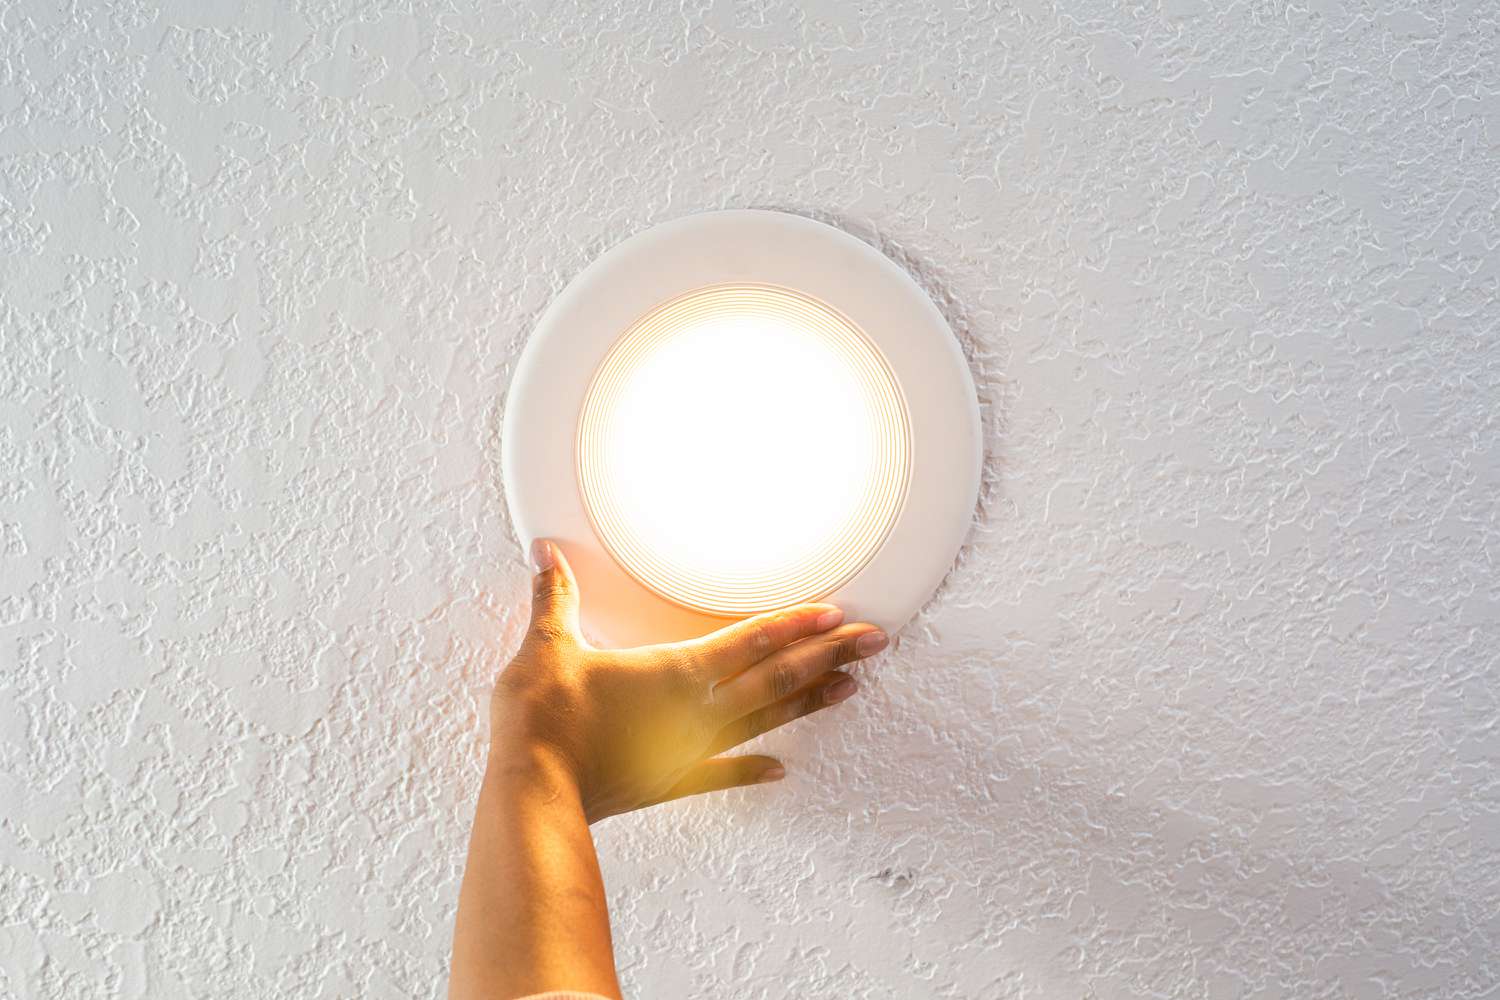
Step 2: Access the Light Bulb
With the oven prepared and the necessary precautions taken, you can now move on to accessing the light bulb. Follow these steps to access the bulb:
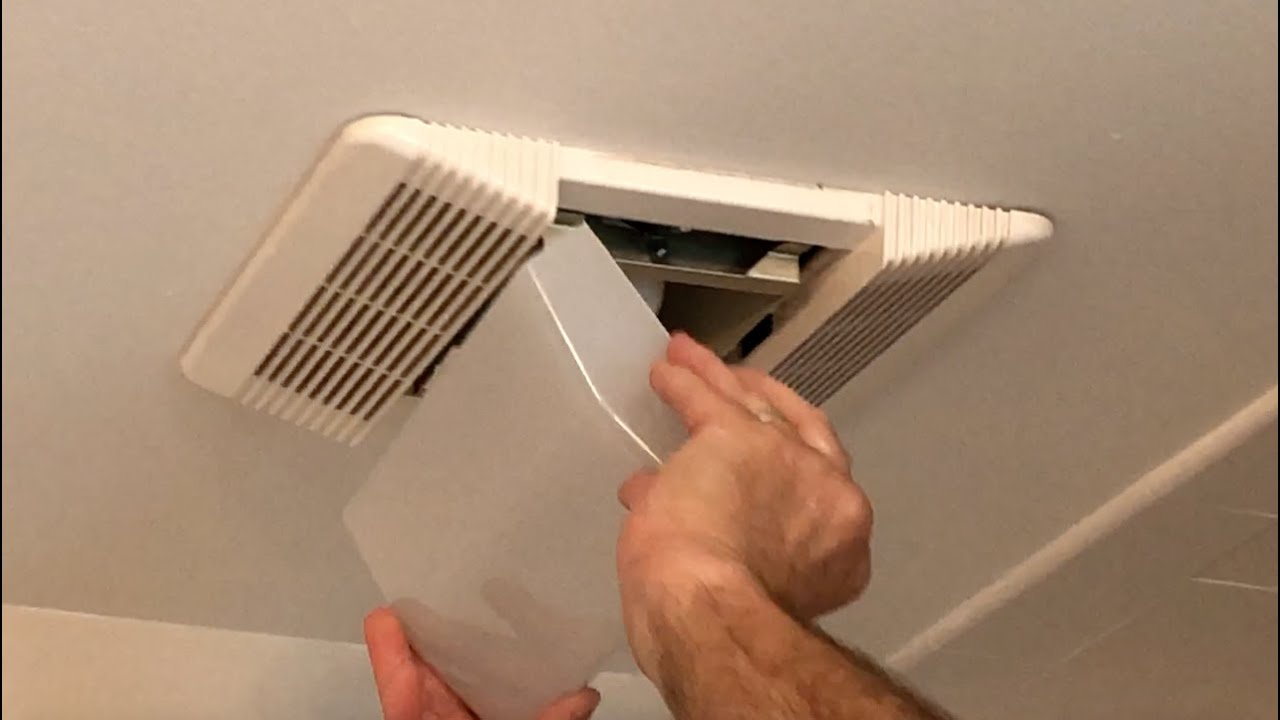
- Locate the light bulb cover: Depending on the model of your oven, the light bulb may be covered by a removable cover. Look for a small panel or cover on the side or back interior of the oven.
- Remove the light bulb cover: Use a screwdriver (either flathead or Phillips, depending on the type of screws) to carefully remove the screws securing the light bulb cover. Set the screws aside in a safe place to prevent them from getting lost.
- Take off the light bulb cover: Once the screws are removed, gently lift or slide off the light bulb cover to reveal the bulb. Be cautious as the cover may have sharp edges.
It’s important to proceed with care and attention while removing the light bulb cover. By doing so, you can safely access the light bulb without causing any damage to the oven or yourself. With the cover removed, you can now move on to the next step: removing the old bulb.
Step 3: Remove the Old Bulb
Now that you have accessed the light bulb, it’s time to remove the old bulb from the oven. Follow these steps to remove the old bulb:
- Inspect the bulb: Take a moment to examine the old bulb to ensure it is completely cool. If it was recently in use, give it enough time to cool down before handling it.
- Wear safety gloves (optional): If you prefer an added layer of protection, you can wear safety gloves to protect your hands from any potential broken glass.
- Unscrew the old bulb: Carefully grip the base of the light bulb and gently twist it counterclockwise to loosen and remove it from the socket. Be cautious not to exert too much force to avoid breaking the bulb or damaging the socket.
- Dispose of the old bulb: Once the old bulb is removed, place it in a safe container or wrap it in a cloth to prevent any accidental cuts from broken glass. Dispose of it properly following your local regulations for disposing of light bulbs.
With the old bulb successfully removed, you can now proceed to the next step: replacing it with a new bulb.
Before changing the oven light bulb, make sure to turn off the power to the oven to avoid any electrical hazards. Use a screwdriver to remove the cover and then carefully unscrew the old bulb and replace it with a new one of the same wattage.
Read more: How To Change A Brake Light Bulb
Step 4: Replace with a New Bulb
With the old bulb removed, it’s time to replace it with a new one. Follow these steps to install the new bulb:
- Get the new bulb ready: Take out the new oven light bulb from its packaging and ensure that it matches the specifications of your oven model. Verify that it is the correct size and wattage recommended by the manufacturer.
- Insert the new bulb: Hold the new bulb by its base and carefully align the threads with the socket. Gently twist the bulb clockwise until it is securely seated in the socket. Be cautious not to overtighten, as this could damage the bulb or socket.
- Test the bulb: Once the new bulb is in place, test it by turning on the oven or using the designated light bulb switch. If the bulb illuminates, congratulations! You have successfully installed the new oven light bulb. If it doesn’t turn on, double-check the bulb placement and ensure it is correctly screwed into the socket.
By following these steps, you can easily replace the old bulb with a new one, restoring light to your oven. Once you have confirmed that the new bulb is working correctly, you can proceed to reassembling the oven.
Step 5: Test the New Bulb
After replacing the old bulb with a new one, it’s crucial to test the functionality of the new bulb. Follow these steps to ensure that the new bulb is working properly:
- Close the oven door: Make sure the oven door is fully closed before proceeding.
- Turn on the oven light: Depending on your oven model, you can either turn on the oven light using a designated switch or by turning on the oven itself. Consult your oven’s manual for specific instructions.
- Observe the light bulb: Pay attention to the new bulb and check if it illuminates when the oven light is turned on. Verify that the light is bright and provides sufficient visibility within the oven.
- Check for any issues: While the new bulb is illuminated, inspect the socket and surrounding area for any signs of overheating or abnormalities. Make sure there are no unusual smells or sounds coming from the bulb or oven.
By testing the new bulb, you can ensure that it is functioning correctly and providing adequate lighting for your oven. If you encounter any issues during this step, such as the bulb not illuminating or any abnormal behavior, refer to the oven’s manual or seek professional assistance.
Step 6: Reassemble the Oven
Now that you have successfully tested the new bulb and confirmed its functionality, it’s time to reassemble the oven. Follow these steps to reassemble the oven:
- Turn off the oven light: Before proceeding, make sure to turn off the oven light or switch off the oven, depending on your oven model.
- Replace the light bulb cover: Carefully place the light bulb cover back into position over the bulb. Align the screw holes with the corresponding slots or openings on the oven’s interior.
- Secure the light bulb cover: Retrieve the screws that were set aside during the removal of the light bulb cover. Use a screwdriver to tighten them securely, but be careful not to overtighten and damage the cover.
- Double-check the cover placement: Ensure that the light bulb cover is properly aligned and securely in place. Confirm that there are no gaps or loose edges.
With the oven reassembled and the new bulb securely in place, you have successfully completed the process of changing the oven light bulb. Now, you can enjoy improved visibility inside your oven and continue to create delicious meals and treats with ease.
Conclusion
Changing an oven light bulb may seem like a daunting task, but with the right tools and a step-by-step approach, it becomes a simple and manageable process. By following the steps outlined in this guide, you can easily replace the old bulb with a new one and restore proper lighting to your oven.
Remember to always prioritize safety by ensuring that the oven is turned off and cool before starting the bulb replacement process. Take your time to access the light bulb, remove the old bulb, and carefully install the new one. Testing the functionality of the new bulb is crucial to ensure it illuminates correctly.
Reassembling the oven and securing the light bulb cover properly is the final step in this process. By following these steps, you can successfully change the oven light bulb and enjoy improved visibility while cooking or baking.
If you have any doubts or concerns about the process, consult your oven’s manual or seek professional assistance. It’s important to prioritize your safety and the proper functioning of your oven.
With a new light bulb installed, you’ll have a well-lit oven that allows you to keep an eye on your culinary creations. So don’t let a burnt-out bulb dim your cooking experience—take action, change the oven light bulb, and let your culinary skills shine!
Frequently Asked Questions about How To Change Oven Light Bulb
Was this page helpful?
At Storables.com, we guarantee accurate and reliable information. Our content, validated by Expert Board Contributors, is crafted following stringent Editorial Policies. We're committed to providing you with well-researched, expert-backed insights for all your informational needs.


0 thoughts on “How To Change Oven Light Bulb”