
Articles
How To Change A Sink
Modified: March 1, 2024
Learn how to change sink with easy-to-follow articles. Upgrade your plumbing skills and complete your DIY project successfully.
(Many of the links in this article redirect to a specific reviewed product. Your purchase of these products through affiliate links helps to generate commission for Storables.com, at no extra cost. Learn more)
Introduction
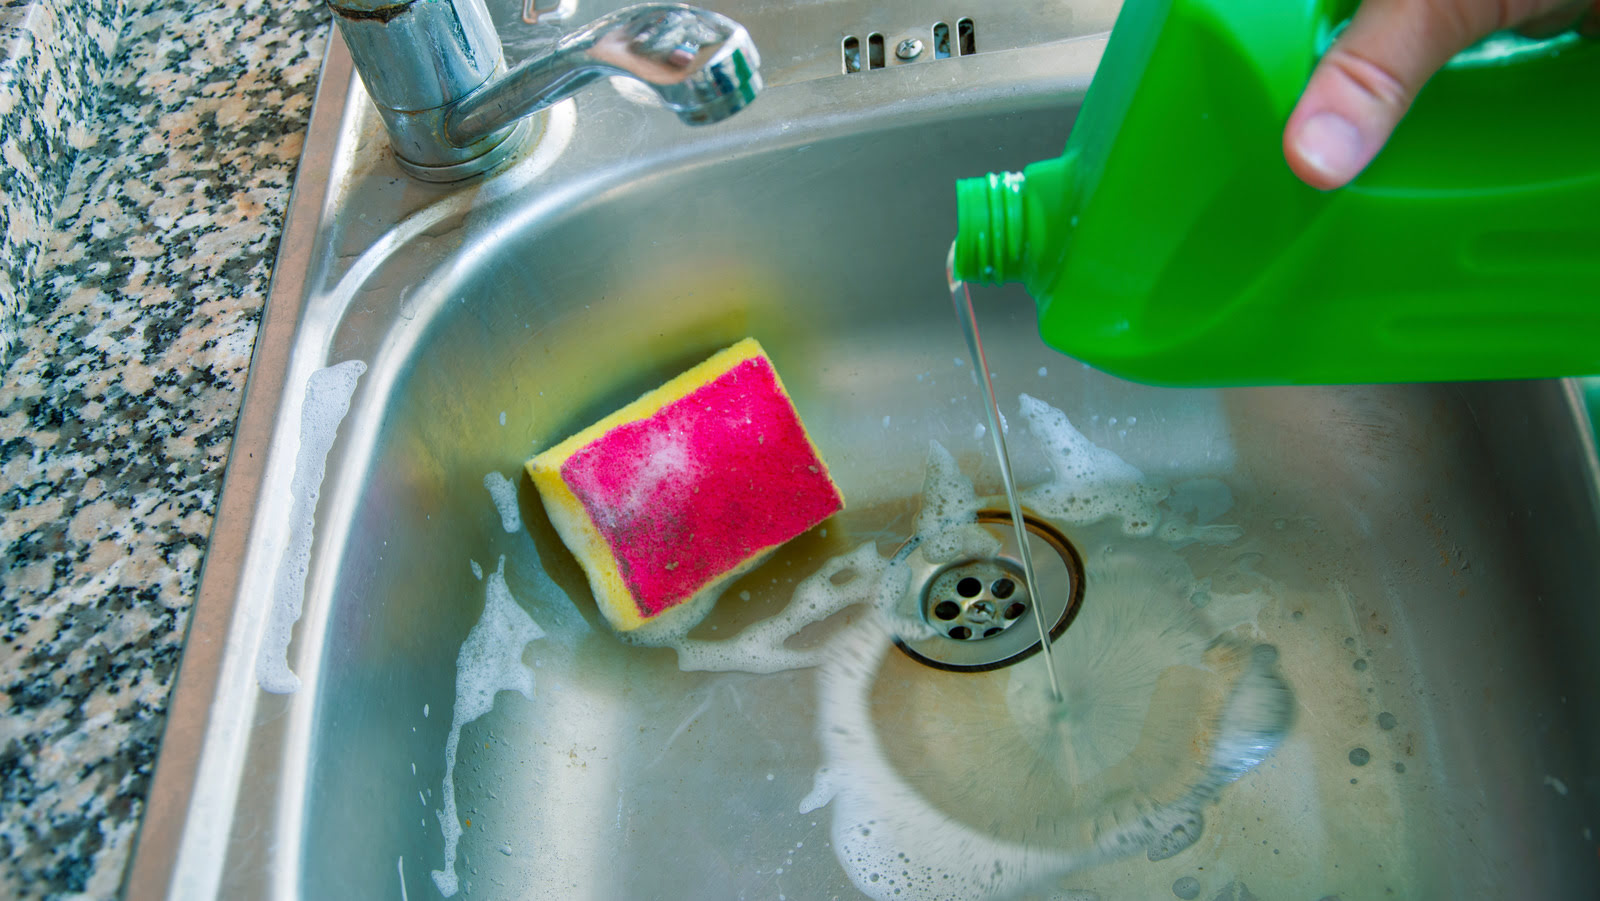
Welcome to our comprehensive guide on how to change a sink! Whether you’re looking to upgrade your kitchen or bathroom, replacing a sink can be a rewarding DIY project that can transform the look and functionality of the space. However, it can also be a daunting task if you’re not familiar with the process.
With the right tools, materials, and guidance, you can successfully change a sink and enjoy the satisfaction of completing a home improvement project on your own. In this article, we will walk you through the step-by-step process of changing a sink, providing helpful tips and insights along the way.
Before we dive into the details, it’s important to note that the specific steps and requirements may vary depending on the type of sink you have and the specific installation instructions provided by the manufacturer. It’s always a good idea to consult the manufacturer’s guidelines and seek professional assistance if you’re unsure about any aspect of the installation.
Now, let’s gather our tools and materials and get ready to give your kitchen or bathroom a fresh new look!
Key Takeaways:
- Upgrade your kitchen or bathroom by changing a sink with the right tools and materials. Follow step-by-step instructions to ensure a smooth and rewarding DIY project.
- Pay attention to detail, double-check your work, and take necessary precautions to prevent water damage when changing a sink. Enjoy the satisfaction of a job well done and a fresh new look!
Read more: How To Change Under Sink Water Filter
Tools and Materials Needed
Before you begin the process of changing a sink, it’s essential to gather all the necessary tools and materials. Having everything on hand will make the installation process smoother and more efficient. Here’s a list of the tools and materials you’ll need:
- Adjustable wrench
- Plumber’s tape
- Screwdriver
- Bucket or basin
- Silicone sealant
- Hacksaw
- Pipe cutter
- Putty knife
- Plumbing tape
- Channel locks
- Plunger
- Teflon tape
- Old towels or rags
- New sink and faucet
- New drain assembly and P-trap
- Supply lines
- Plastic drain pipe
- Plumber’s putty
- Rubber gloves
It’s important to note that the tools and materials required may vary depending on the specific sink installation and any additional features or requirements. Be sure to check the manufacturer’s instructions for any specific tools or materials recommended for your sink.
Before you begin the installation process, make sure you have all the necessary items. This will save you time and frustration, allowing the installation to proceed smoothly.
Now that we have everything we need, let’s move on to the first step of changing a sink, which is preparing and gathering supplies.
Step 1: Prepare and Gather Supplies
Before diving into the process of changing a sink, it’s important to properly prepare and gather all the necessary supplies. This step ensures a smooth and organized installation process. Here’s what you need to do:
- Read the instructions: Carefully read the manufacturer’s instructions that came with your new sink. These instructions will provide you with crucial information specific to your sink model, including any special tools or materials you may need and the recommended installation steps.
- Measure and plan: Measure the dimensions of your existing sink to ensure that the new sink will fit properly. Make note of any additional features or accessories you might want to add, such as a soap dispenser or a garbage disposal. This will help you gather all the necessary parts before starting the installation.
- Gather tools and materials: As mentioned before, gather all the tools and materials you’ll need for the installation. Refer to the “Tools and Materials Needed” section above to make sure you have everything on hand. This will save you time and prevent any interruptions during the installation process.
- Clear the area: Clear out the space under the sink and remove any items that may obstruct your work area. This includes cleaning supplies, pipes, and any stored items. Having a clear workspace will make it easier to navigate and complete the installation.
- Protect the surroundings: Lay down old towels or rags on the floor or countertops surrounding the sink area. This will prevent any potential damage in case of spills or accidental drops during the installation process.
By properly preparing and gathering supplies, you’ll set yourself up for success when it comes to changing your sink. The next step is to turn off the water supply, which we’ll cover in detail in the next section.
Step 2: Turn off the Water Supply
Before you can start removing the old sink, it’s important to turn off the water supply to prevent any leaks or water damage. Here’s how you can do it:
- Locate the shut-off valves: Underneath the sink, you’ll find shut-off valves for both the hot and cold water supply. These valves are usually in the form of small knobs or levers.
- Turn off the hot water valve: Turn the knob or lever of the hot water valve clockwise (to the right) until it stops. This will shut off the water supply to the hot water line.
- Turn off the cold water valve: Repeat the same process for the cold water valve, turning it clockwise until it stops. This will shut off the water supply to the cold water line.
- Test the water supply: Once you’ve turned off the shut-off valves, turn on the faucets to ensure that the water supply has been successfully shut off. There should be no water flowing from the faucets when the valves are closed.
It’s important to note that in some cases, older sinks may not have individual shut-off valves. In such situations, you will need to turn off the main water supply to your entire home. This can usually be done by locating the main shut-off valve, which is typically found near the water meter or in the basement.
Turning off the water supply is a crucial step in the sink-changing process as it prevents any potential water damage or flooding. Now that the water supply is turned off, you’re ready to move on to the next step, which is to disconnect the plumbing.
Step 3: Disconnect the Plumbing
Now that the water supply is turned off, it’s time to disconnect the plumbing connections to remove the old sink. Follow these steps to disconnect the plumbing:
- Place a bucket or basin underneath the sink: To catch any water or debris that may flow out during the disconnection process, place a bucket or basin underneath the sink. This will help keep your work area clean and prevent any mess.
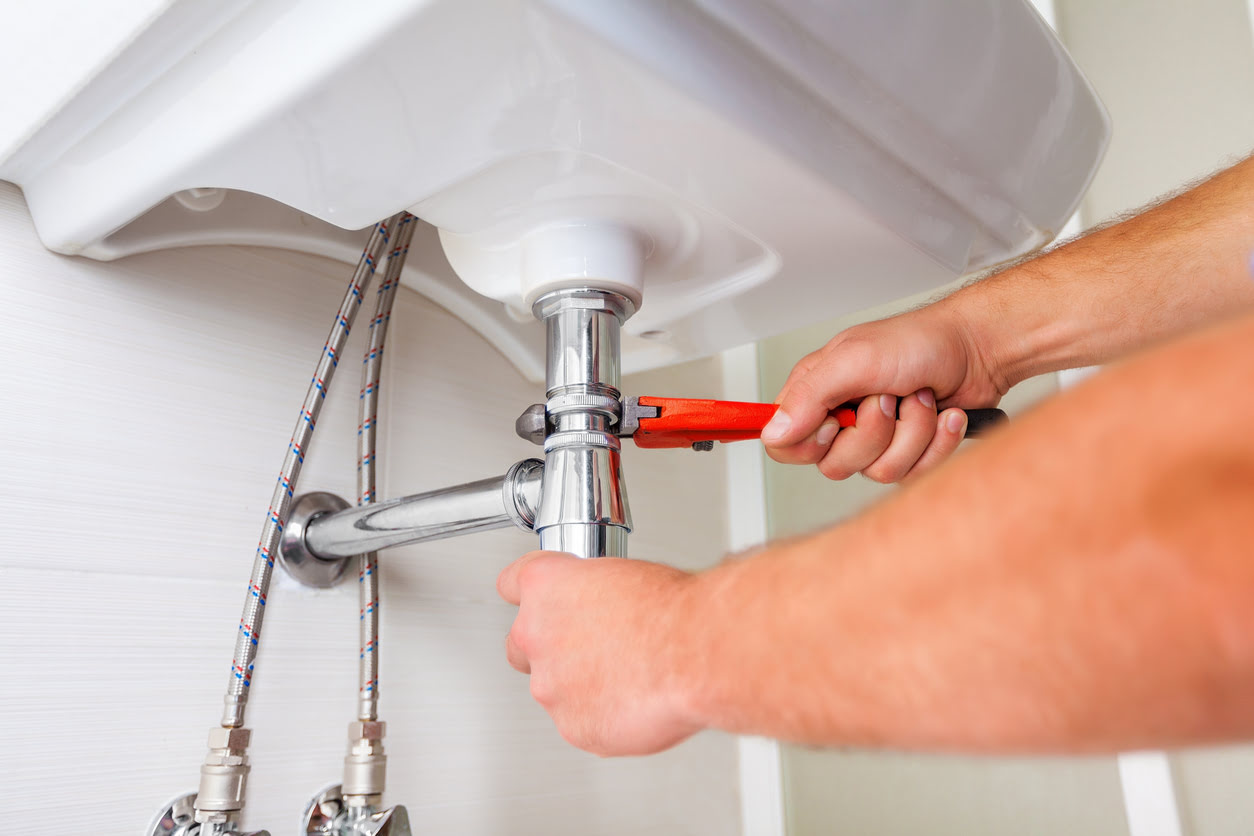
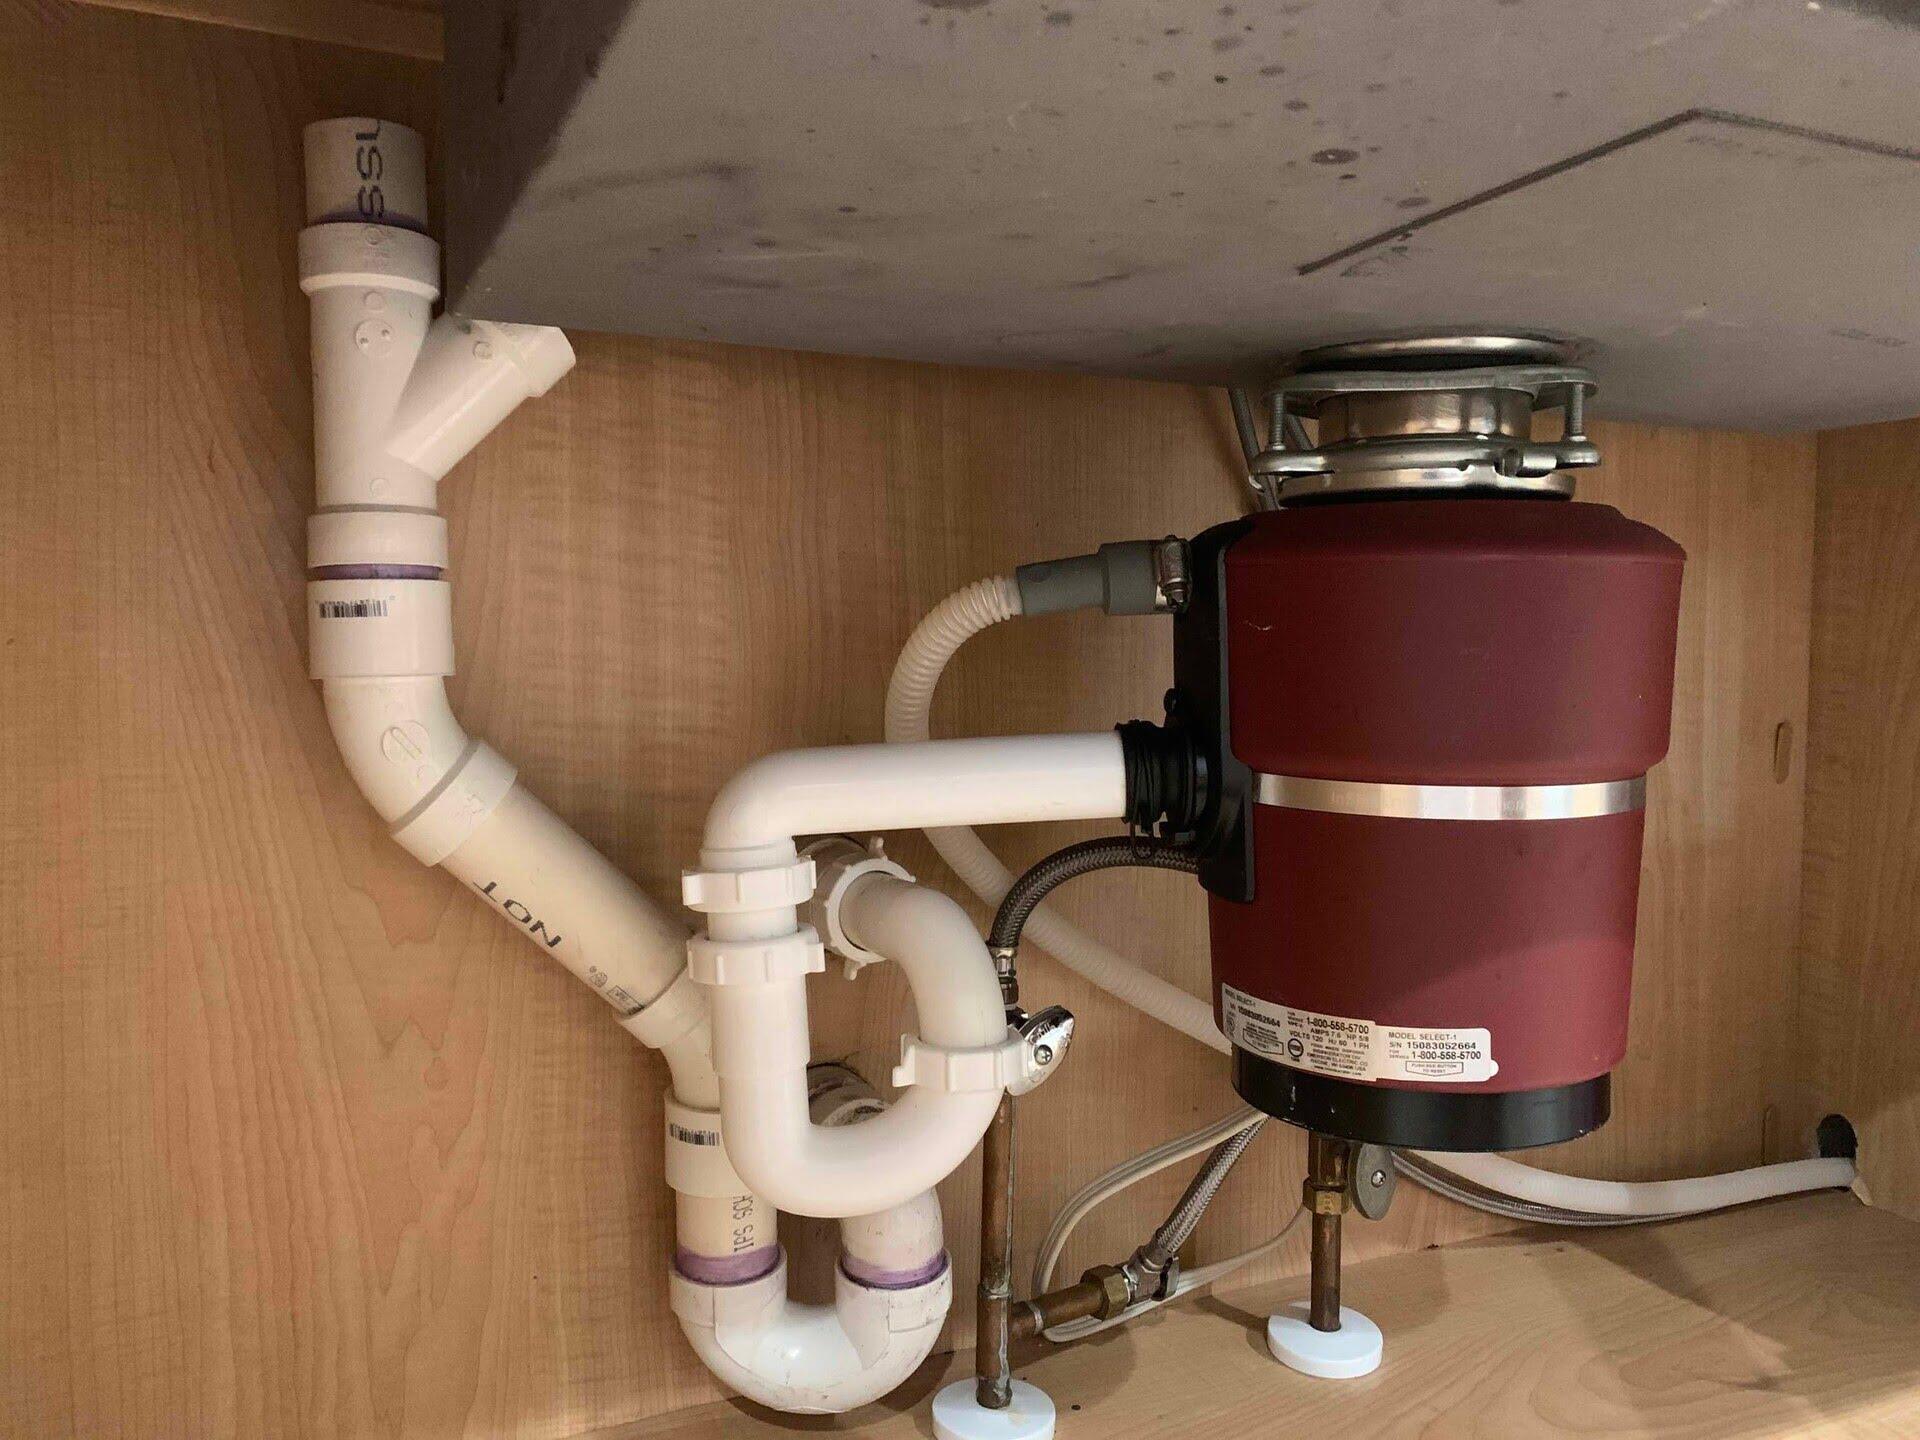
- Disconnect the P-trap: The P-trap is the curved pipe underneath the sink that traps debris and prevents sewer gases from entering your home. Loosen the slip nuts on both ends of the P-trap using a pair of channel locks or pliers. Once loose, carefully remove the P-trap and empty its contents into the bucket or basin.
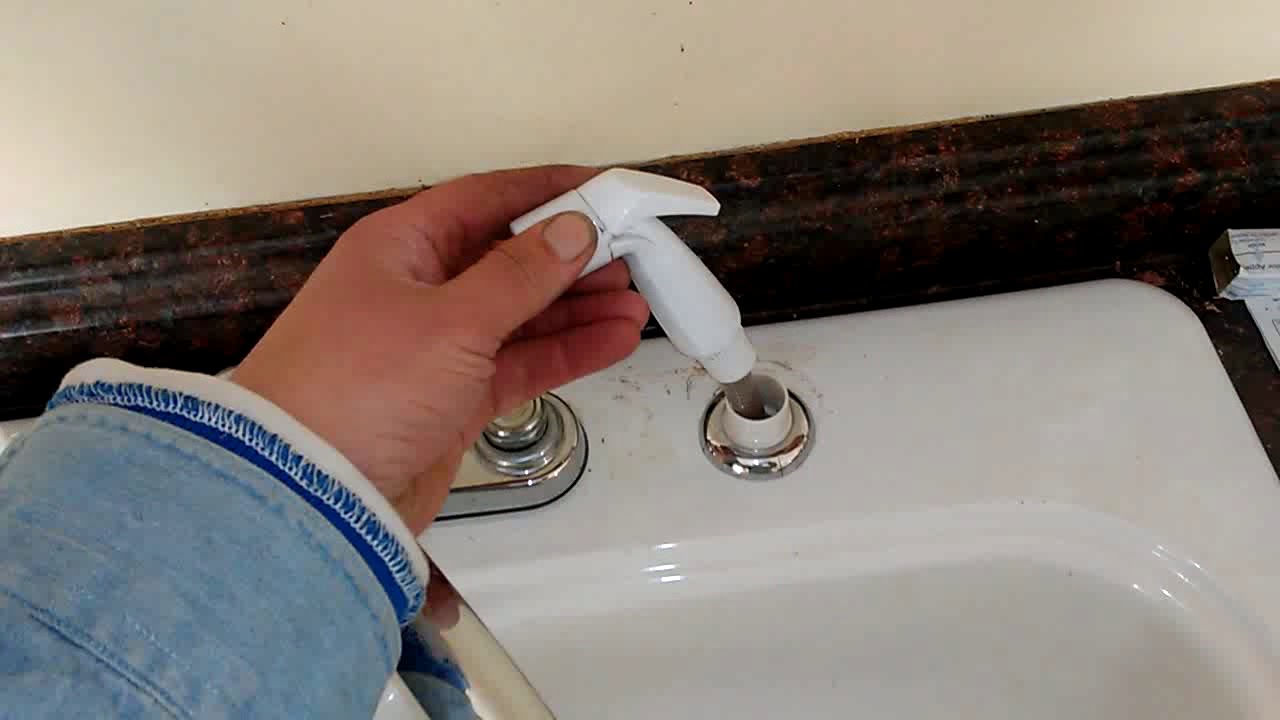
- Disconnect the water supply lines: With the P-trap removed, locate the connections between the water supply lines and the faucet. Use an adjustable wrench to loosen and disconnect the nuts connecting the supply lines to the faucet. Again, place the loose ends of the supply lines into the bucket or basin to collect any remaining water or debris.
- Disconnect the drain assembly: Underneath the sink, you’ll find the drain assembly, which includes the drain pipe and the pop-up drain stopper mechanism. Use a screwdriver to disconnect the drain assembly from the sink by removing the screws or bolts that secure it in place. This will free the drain assembly, allowing you to remove the old sink.
- Remove any additional connections: Depending on the specific installation, there may be additional connections or brackets holding the sink in place. Carefully inspect the underside of the sink and remove any remaining connections that are securing it in position. This could include clamps, brackets, or adhesive.
By disconnecting the plumbing connections, you’ll be able to remove the old sink without any obstructions. Once you’ve successfully disconnected the plumbing, you’re ready to move on to the next step, which is removing the old sink.
Read more: How To Change Plumbing To Add A Second Sink
Step 4: Remove the Old Sink
With the plumbing disconnected, it’s time to remove the old sink. Follow these steps to remove the old sink safely and efficiently:
- Clear the surrounding area: Before attempting to remove the sink, make sure the surrounding area is clear and free of any objects or accessories. This will prevent any accidents or damage to the sink or surrounding surfaces during the removal process.
- Release the sink clips or brackets: Most sinks are secured to the countertop with clips or brackets. If your sink has clips, locate them underneath the sink rim and use a screwdriver or pliers to loosen and remove them. If your sink is held in place with brackets underneath, use a screwdriver to remove the screws and release the sink from the brackets.
- Carefully lift the sink: Once the sink is no longer secured to the countertop, carefully lift it straight up to detach it from the countertop surface. It’s advisable to have an extra pair of hands to assist you in lifting the sink, especially if it’s large or heavy.
- Inspect the drain and clean the area: After removing the sink, inspect the drain hole in the countertop. Remove any debris or residue that may have accumulated in the area to ensure a clean installation for the new sink.
It’s important to handle the old sink with care to prevent any damage or injury. Depending on the material of the sink, it may be fragile or heavy, so take your time and use caution when lifting and removing it from the countertop.
Once the old sink is removed, you’re ready to move on to the next step, which is installing the new sink. But before that, you may want to take a moment to clean the area and prepare it for the installation of the new sink.
When changing a sink, make sure to turn off the water supply and disconnect the plumbing carefully. Measure the new sink and ensure it fits the existing cutout before installation.
Step 5: Install the New Sink
With the old sink removed, it’s time to install the new sink. Follow these steps to ensure a successful installation:
- Prepare the new sink: Before placing the new sink into position, make sure it is clean and free of any dust or debris. Carefully inspect the sink for any defects or damage that may have occurred during transportation or storage.
- Apply silicone sealant: Apply a thin bead of silicone sealant along the edge of the sink cutout on the countertop. This will create a watertight seal and prevent any water from leaking into the cabinet below.
- Position the sink: Carefully lower the new sink into the prepared cutout on the countertop. Make sure the sink is centered and aligned with the edges of the countertop. Press down firmly to ensure a proper seal with the silicone sealant.
- Secure the sink: Depending on the sink type and manufacturer’s instructions, you may need to secure the sink to the countertop using clips, brackets, or adhesive. Follow the specific instructions provided by the manufacturer to properly secure the sink in place.
- Connect the drain assembly: If the new sink came with a drain assembly, follow the manufacturer’s instructions to install it. This may involve attaching the drain pipe, gasket, and pop-up drain stopper mechanism. Ensure that all connections are tight and secure.
- Connect the water supply lines: Attach the water supply lines to the faucet, following the manufacturer’s instructions. Use an adjustable wrench to tighten the connections, ensuring that they are snug but not over-tightened, as this may cause damage.
It’s important to carefully follow the manufacturer’s instructions throughout the sink installation process to ensure a proper fit and prevent any issues in the future. Taking your time and double-checking your work will help create a clean and functional installation.
With the new sink securely in place, it’s time to move on to the next step, which is reconnecting the plumbing.
Step 6: Reconnect the Plumbing
Now that the new sink is installed, it’s time to reconnect the plumbing for a fully functioning sink. Follow these steps to ensure proper reconnection:
- Reattach the drain assembly: If you removed the drain assembly during the sink removal process, it’s time to reattach it to the new sink. Follow the manufacturer’s instructions to properly align and secure the drain assembly to the sink. Ensure that all connections are tight and leak-free.
- Reconnect the P-trap: Take the P-trap that you removed earlier and reattach it to the drain assembly. Use the slip nuts to secure the P-trap in place. Make sure the connections are tight, but do not over-tighten, as this can cause leaks.
- Connect the water supply lines: Attach the water supply lines to the corresponding hot and cold water valves on the faucet. Use an adjustable wrench to tighten the connections, ensuring they are snug and leak-free. Double-check that the connections are secure before proceeding.
- Check for leaks: Once all the plumbing connections are made, turn on the water supply by opening the shut-off valves. Carefully inspect all the connections for any signs of leaks. If you notice any leaks, tighten the connections or add plumbing tape as necessary to stop the leaks.
It’s important to be thorough when reconnecting the plumbing to ensure a proper and leak-free connection. Take your time and check each connection carefully before moving on to the next step.
With the plumbing reconnected successfully, it’s time to move on to turning on the water supply and checking for any further leaks or issues.
Step 7: Turn on the Water Supply
Now that the plumbing is reconnected and all the connections have been checked for leaks, it’s time to turn on the water supply and ensure everything is working as intended. Follow these steps to turn on the water supply:
- Double-check the shut-off valves: Before turning on the water supply, double-check that the shut-off valves are fully open. Turn the knobs or levers counterclockwise (to the left) until they cannot be turned any further.
- Slowly turn on the water supply: Turn on the water supply by gradually opening the shut-off valves. This gradual approach prevents sudden water pressure surges that could potentially damage the plumbing connections.
- Check for leaks: Once the water supply is turned on, carefully inspect all the plumbing connections for any signs of leaks. Watch for any drips or water pooling around the connections. If you notice any leaks, tighten the connections or make adjustments as needed.
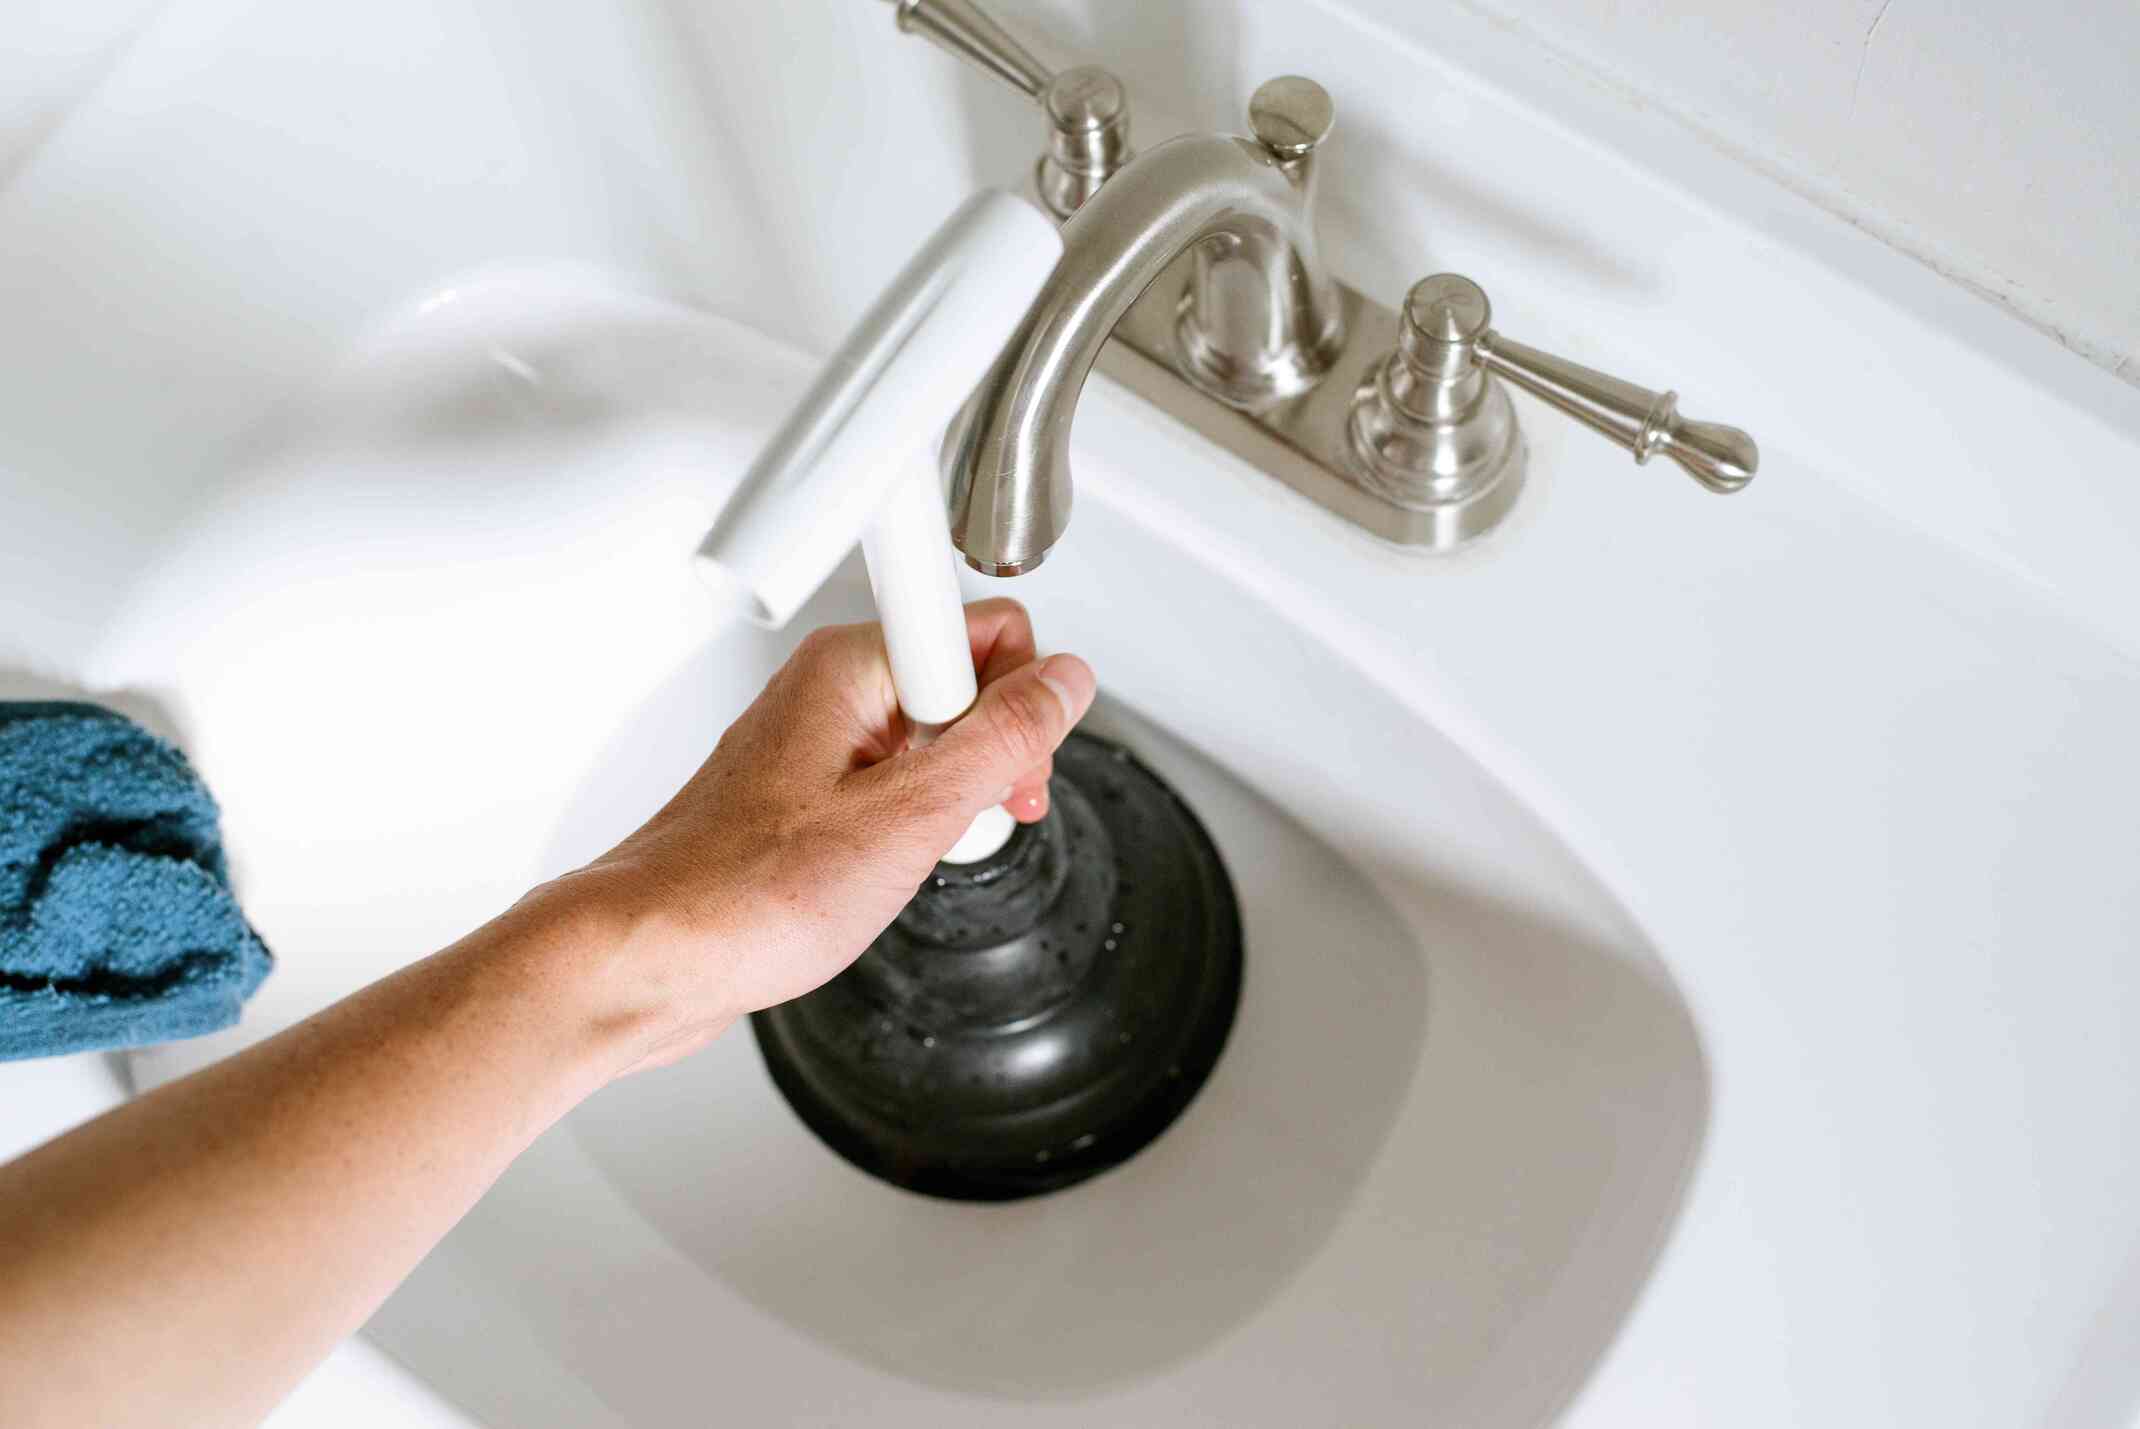
- Test the faucet and drain: Turn on the faucet and let the water run to ensure both hot and cold water are flowing correctly. As the water runs, check for any leaks around the faucet or drain area. Also, observe the drainage to ensure it’s working properly and there are no clogs or slow draining.
It’s essential to be patient and thorough during this step to identify and address any potential issues with the water supply or drainage system. Early detection and resolution of leaks will prevent any water damage and ensure the proper functioning of your new sink.
If you notice any leaks or other issues during this step, take the necessary steps to rectify them. This may involve tightening connections, adding plumbing tape, or seeking professional assistance if the issue persists.
With the water supply turned on and everything functioning properly, it’s time for the final step – checking for leaks one last time before concluding the installation process.
Step 8: Check for Leaks
The final step in the sink installation process is to thoroughly check for any leaks. Even after turning on the water supply and inspecting the connections, it’s important to conduct a final check to ensure there are no hidden leaks. Follow these steps to check for leaks:
- Inspect all connections: Take a close look at all the plumbing connections, including the supply lines, drain assembly, and P-trap. Run your fingers along each connection to feel for any moisture or signs of leaking.
- Check for drips or pooling: Carefully observe the area underneath the sink and around the plumbing connections. Look for any signs of dripping water or pooling. Pay close attention to the connections and the area around the sink rim.
- Test the faucet and drain: Turn on the faucet at both hot and cold settings and let the water run for a few minutes. Watch the connections and drain area closely for any signs of leaks. Additionally, check for proper drainage and ensure there are no blockages or slow draining that could indicate a problem.
- Address any leaks: If you notice any leaks or issues during the inspection, take immediate action to address them. This may involve re-tightening connections, adding plumbing tape, or seeking professional assistance if necessary.
It’s important to be thorough in checking for leaks to prevent any potential water damage and ensure the integrity of your newly installed sink. Even a small leak can lead to significant issues in the long run if left unaddressed.
If you find any leaks or suspect a problem, it’s advised to rectify the issue before using the sink regularly. Properly sealing all connections and ensuring leak-free plumbing will give you peace of mind and help maintain the longevity of your sink.
Congratulations on successfully changing your sink! With the plumbing checked and no leaks detected, you can now enjoy your upgraded kitchen or bathroom.
Conclusion
Changing a sink may seem like a daunting task at first, but with the right tools, materials, and guidance, it can be a rewarding DIY project. By following the step-by-step instructions provided in this guide, you can confidently replace your old sink and enjoy a fresh new look in your kitchen or bathroom.
Throughout the process, it’s important to pay attention to detail and double-check your work to ensure a proper and leak-free installation. Take the time to gather all the necessary tools and materials before starting, and always refer to the manufacturer’s instructions for specific guidelines related to your sink model.
Remember to turn off the water supply before disconnecting the plumbing and take necessary precautions to prevent any water damage. Carefully remove the old sink and install the new one, ensuring a secure fit and proper alignment. Be diligent in reconnecting the plumbing, checking for leaks, and making any necessary adjustments to ensure a smooth running sink.
By following these steps and taking the time to complete each task carefully, you can successfully change a sink and transform the look and functionality of your space. Enjoy the satisfaction of a job well done and the enhanced beauty and convenience that comes with a new sink.
As with any home improvement project, if you encounter any difficulties or are unsure about any aspect of the installation process, it’s always best to seek professional assistance. They have the expertise and knowledge to handle any challenges that may arise.
Happy sink changing!
Frequently Asked Questions about How To Change A Sink
Was this page helpful?
At Storables.com, we guarantee accurate and reliable information. Our content, validated by Expert Board Contributors, is crafted following stringent Editorial Policies. We're committed to providing you with well-researched, expert-backed insights for all your informational needs.


0 thoughts on “How To Change A Sink”