Articles
How To Clean A Kitchen Tile Floor
Modified: March 24, 2024
Discover helpful articles on how to effectively clean kitchen tile floors and maintain their shine. Explore expert tips and tricks for long-lasting cleanliness.
(Many of the links in this article redirect to a specific reviewed product. Your purchase of these products through affiliate links helps to generate commission for Storables.com, at no extra cost. Learn more)
Introduction
Having a clean and sparkling kitchen tile floor not only enhances the overall appearance of your kitchen but also ensures a healthy and hygienic environment. Over time, kitchen tile floors can accumulate dirt, stains, and grime, making them look dull and uninviting. Properly cleaning your kitchen tile floor is essential for maintaining its beauty and prolonging its lifespan.
In this article, we will guide you through the step-by-step process of cleaning your kitchen tile floor efficiently and effectively. From gathering the necessary supplies to implementing the best cleaning techniques, we will cover all aspects to help you achieve a spotless and vibrant floor.
Key Takeaways:
- Keep your kitchen tile floor sparkling by gathering the necessary supplies, preparing the area, and using targeted cleaning methods to remove stains and grime. Regular maintenance ensures a vibrant and hygienic environment.
- Achieve a spotless kitchen tile floor by sweeping, mopping, and adding finishing touches. Proper drying and periodic deep cleaning will preserve the floor’s beauty and longevity, creating a fresh and inviting kitchen space.
Read more: How To Clean Floor Tile Grout
Supplies Needed
Before you begin the cleaning process, it is essential to gather all the necessary supplies. Here are the items you will need:
- Microfiber mop or a soft-bristle brush
- Broom or vacuum cleaner with a soft brush attachment
- Bucket
- Warm water
- Mild detergent or tile cleaner
- White vinegar
- Old towels or mop pads for drying
- Protective gloves for sensitive skin
Having these supplies readily available will ensure that you can clean your kitchen tile floor without any interruptions or delays.
Preparing the Area
Before you start cleaning your kitchen tile floor, it is important to prepare the area to ensure a smooth and effective cleaning process. Here are the steps to follow:
- Clear the Floor: Remove any furniture, rugs, or other objects from the kitchen tile floor. This will give you unobstructed access and prevent any potential damage to the items.
- Sweep or Vacuum: Use a broom or vacuum cleaner with a soft brush attachment to remove loose dirt, dust, and debris from the floor. Pay close attention to corners and hard-to-reach areas.
- Spot Test: If you are using a new cleaning product, it is always a good idea to perform a spot test in an inconspicuous area of the floor. This will ensure that the cleaner does not cause any discoloration or damage.
- Protect Baseboards: Place protective towels or tape along the baseboards or any other areas that may come into contact with water or cleaning solutions. This will prevent any potential damage or staining.
By taking these preparatory steps, you will create a clean and safe environment for the actual cleaning process, ensuring optimal results.
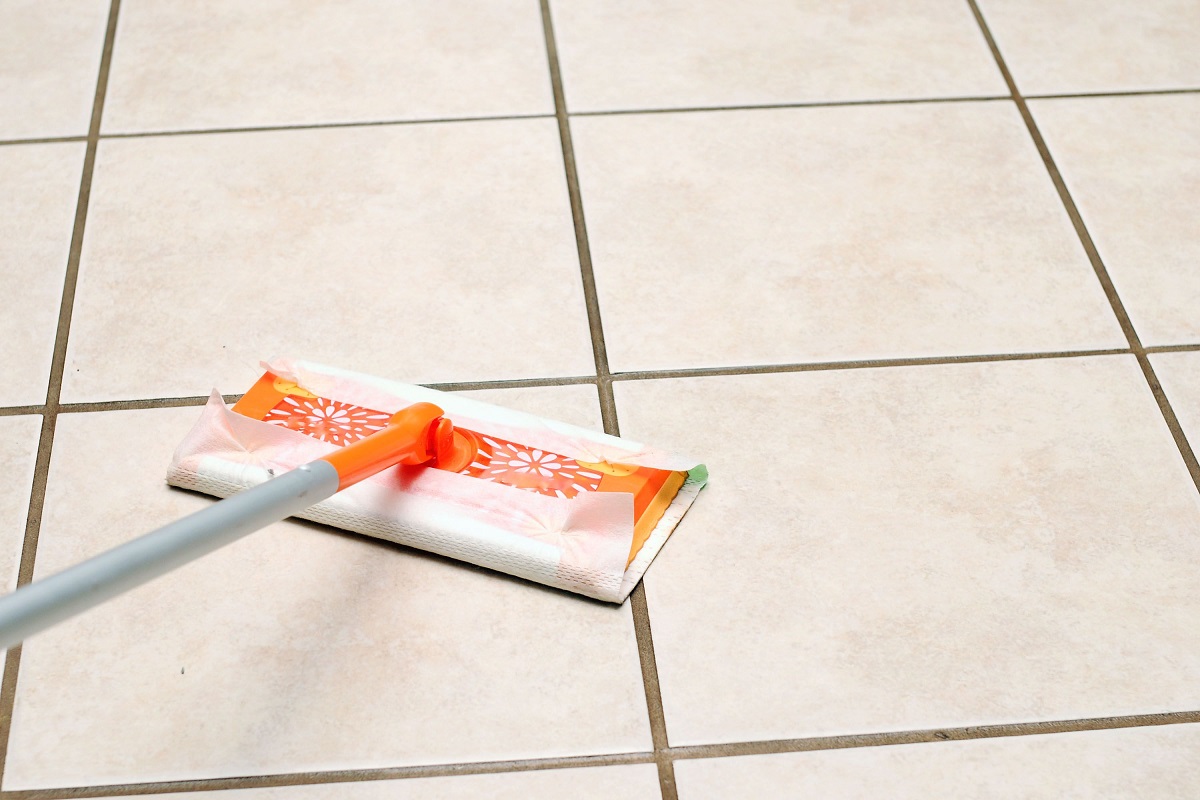
Sweeping and Vacuuming
Once you have prepared the area, it’s time to remove loose dirt and debris from the kitchen tile floor. This step is essential as it prevents the dirt from scratching the surface during the cleaning process. Here’s how to effectively sweep and vacuum your floor:
- Choose the Right Tools: Use a broom with soft bristles or a vacuum cleaner with a soft brush attachment. Hard bristles can potentially scratch the tile surface.
- Start from the Farthest Corner: Begin sweeping or vacuuming from the farthest corner of the room and work your way towards the exit. This will prevent you from stepping on the clean areas.
- Paying Attention to Edges and Corners: Use a smaller brush or attachment to clean the edges and corners of the kitchen tile floor. These areas tend to accumulate more dirt and dust.
- Remove Large Debris: If you come across any large debris, such as food particles or spills, pick them up by hand or use a dustpan and brush.
By regularly sweeping or vacuuming your kitchen tile floor, you can prevent the accumulation of dirt and debris, keeping it looking cleaner for longer.
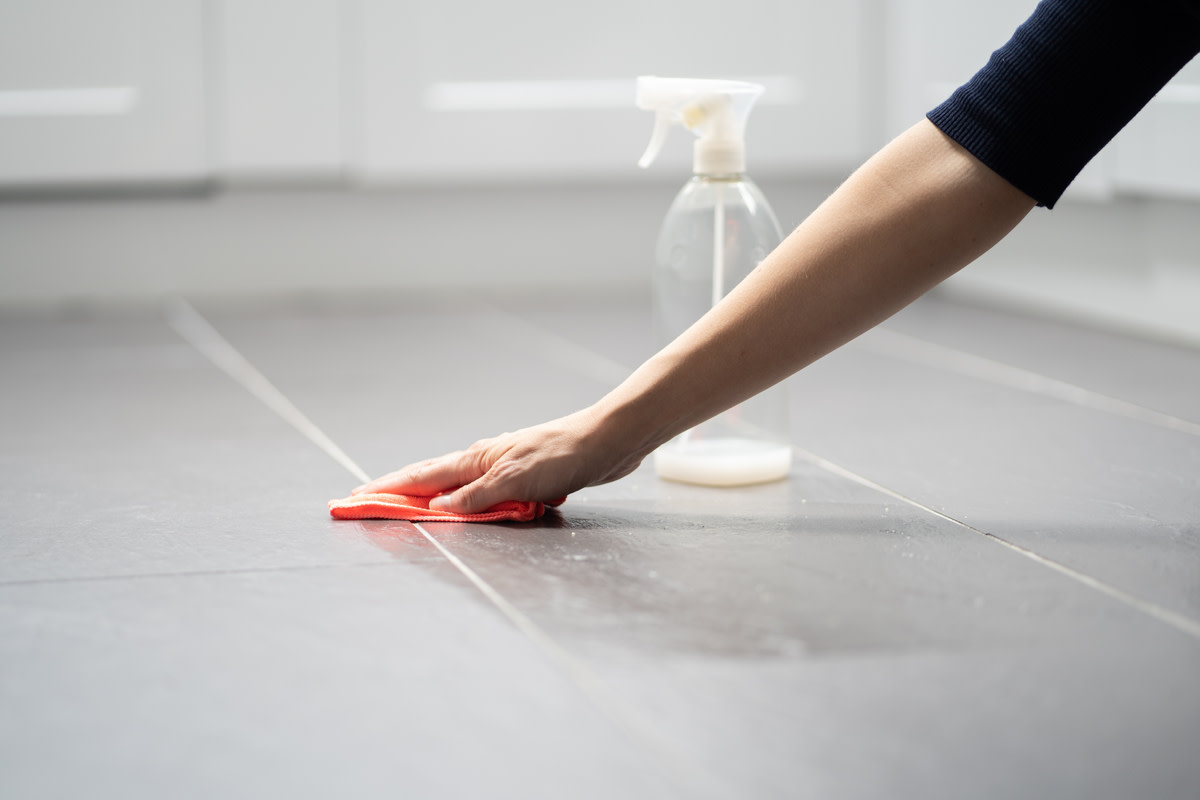
Use a mixture of warm water and mild dish soap to clean kitchen tile floors. Avoid using harsh chemicals that can damage the tiles. A microfiber mop or cloth is effective for cleaning and drying the floor.
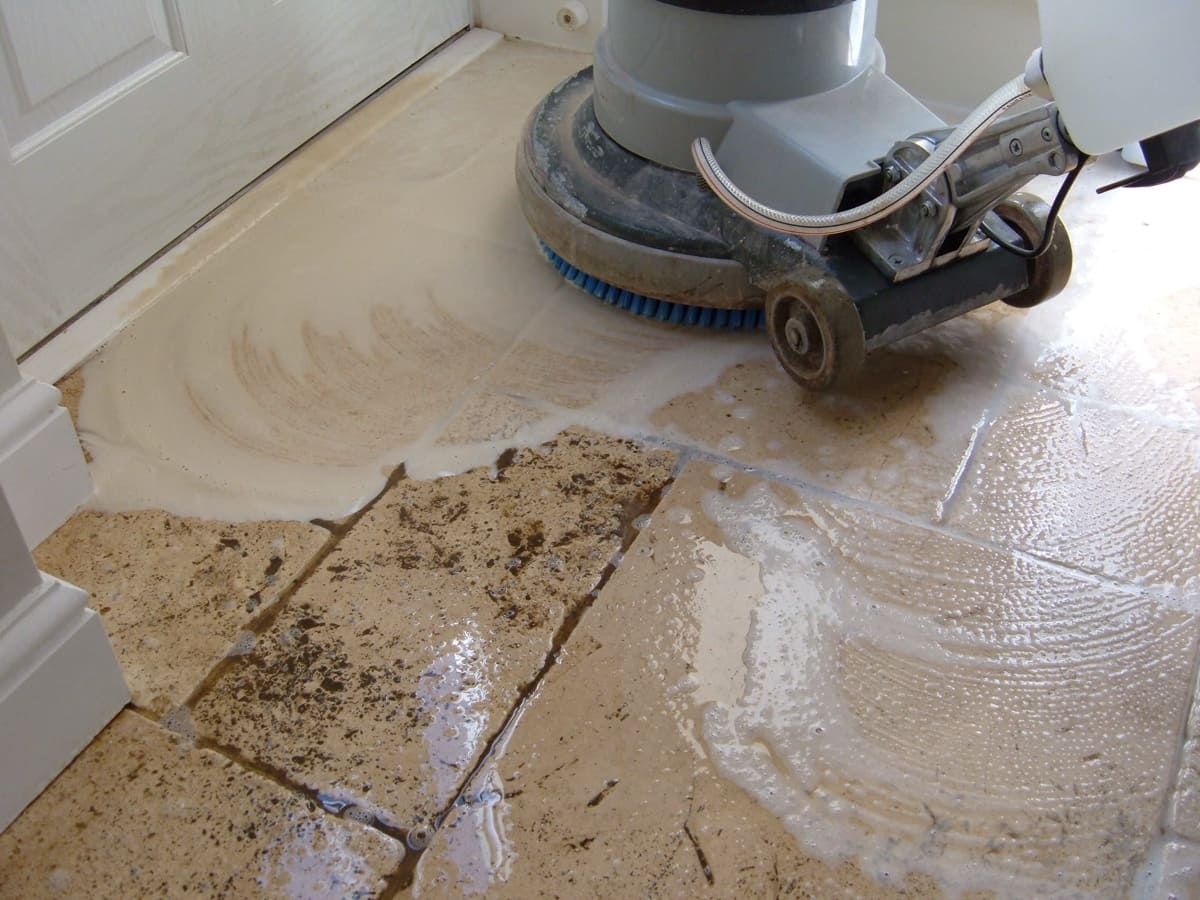
Removing Stains and Built-up Grime
Over time, kitchen tile floors can develop stubborn stains and built-up grime that require a more targeted approach to cleaning. Here are some effective methods for removing stains and grime from your kitchen tile floor:
- Spot Treat Stains: For small, localized stains, create a mixture of warm water and mild detergent. Apply the solution directly to the affected area and let it sit for a few minutes. Gently scrub the stain with a soft-bristle brush or sponge until it is removed. Rinse the area with clean water and pat dry.
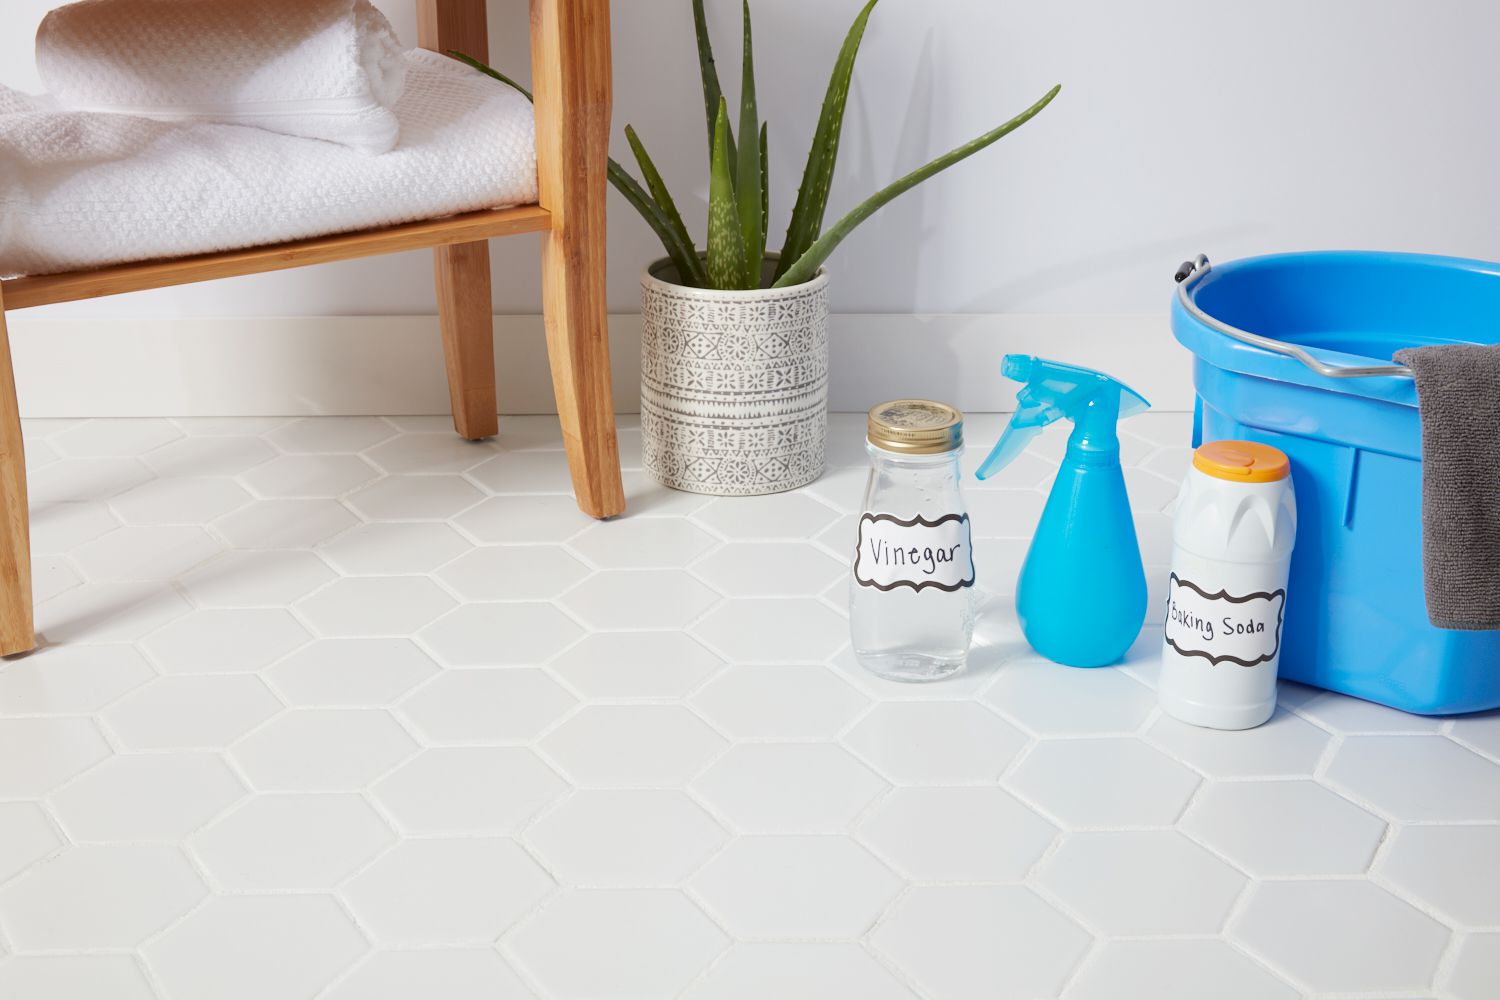
- Tackle Tough Stains: For tougher stains like grease or oil, mix equal parts white vinegar and warm water. Apply the solution to the stain and scrub it using a soft brush. Vinegar has natural acidic properties that can help break down stubborn stains. Rinse the area thoroughly and dry it.
- Address Grout Lines: Grout lines can become discolored over time. Create a paste of baking soda and water and apply it to the grout lines. Allow it to sit for a few minutes, then scrub with a small brush. Rinse the area and dry it.
- Use Commercial Cleaners: If natural remedies don’t yield satisfactory results, you can try using a commercial tile cleaner specifically designed for kitchen floors. Follow the manufacturer’s instructions for application and always test the cleaner in a small, inconspicuous area first.
Remember to work on stains and grime in small sections, thoroughly rinsing and drying each area before moving on to the next. Patience and gentle scrubbing are key to preserving the integrity of your kitchen tile floor.
Read more: How To Clean Shower Floor Tile
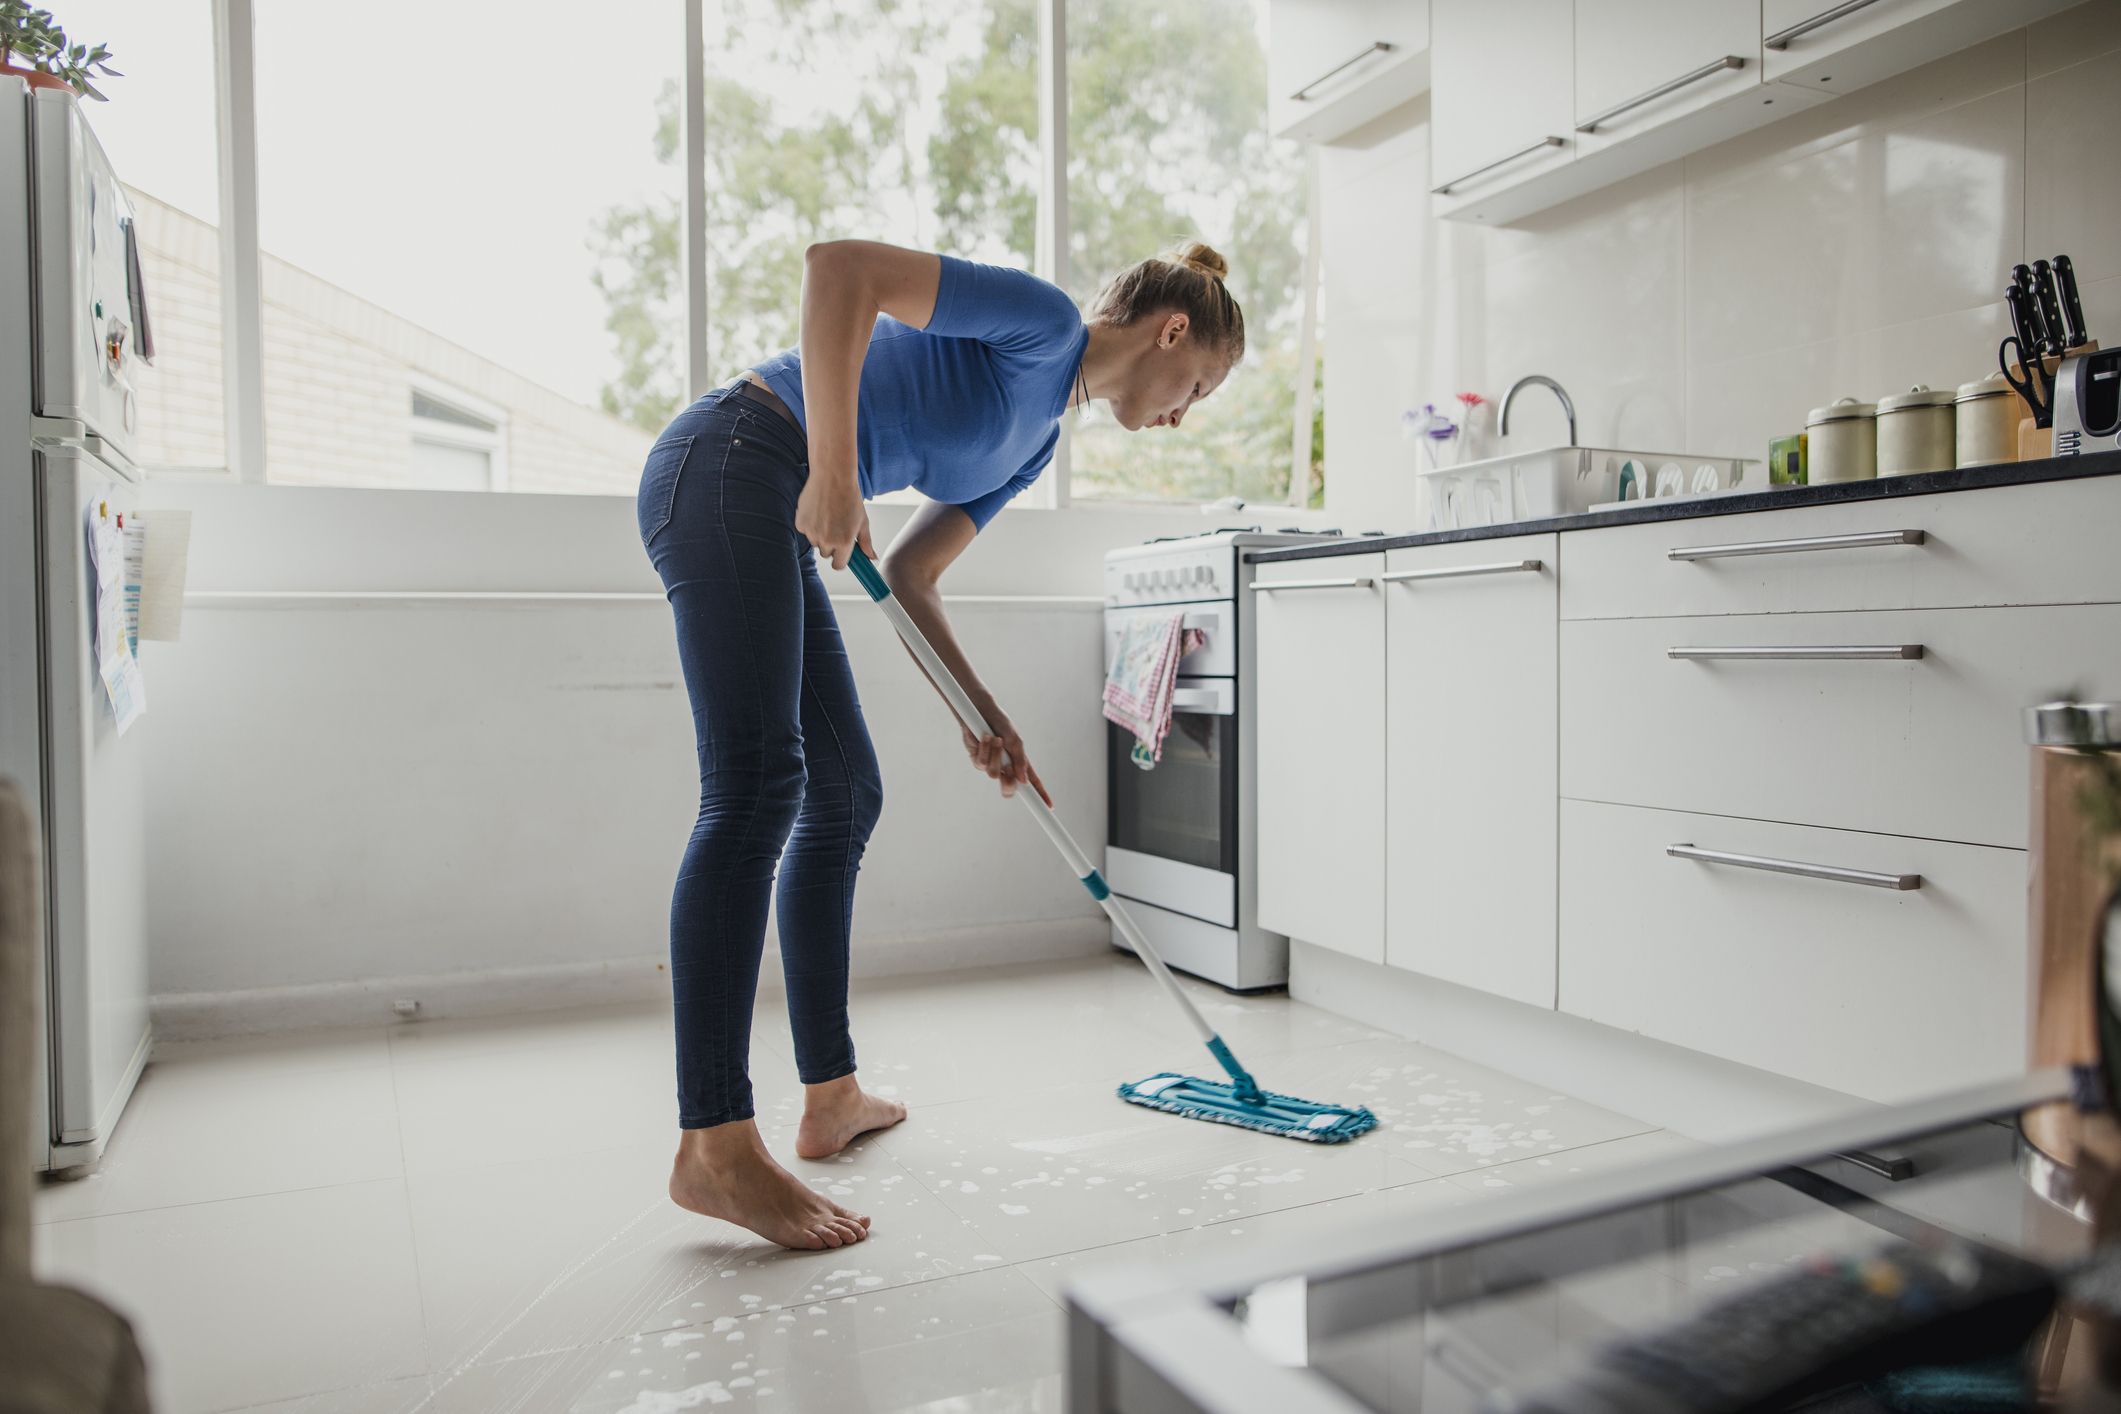
Mopping the Floor
After removing stains and built-up grime, it’s time to give your kitchen tile floor a thorough mop. Mopping helps to remove any remaining residue and leaves your floor looking fresh and clean. Follow these steps for effective mopping:
- Fill a bucket with warm water: Fill a bucket with warm water, leaving enough space for the mop to be dipped into it.
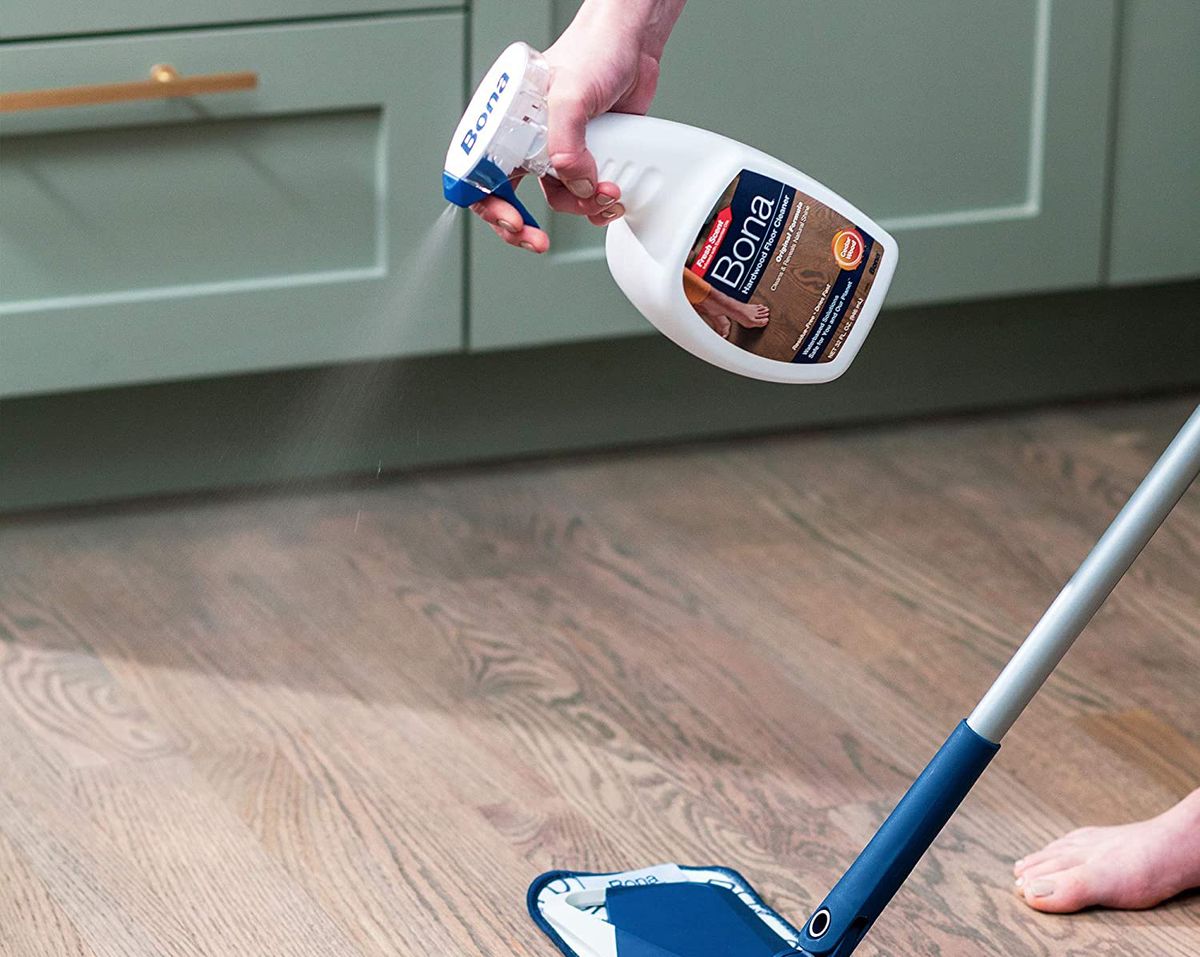
- Add detergent or tile cleaner: Depending on the level of dirtiness, add a small amount of mild detergent or a tile cleaner specifically designed for your tile type. Follow the instructions on the packaging for the correct dilution ratio.
- Dip the mop: Dip your microfiber mop or a soft-bristle brush mop into the cleaning solution, making sure it is saturated but not dripping.
- Wring out excess water: Wring out the mop to remove excess water. You want the mop to be damp but not soaking wet, as excessive water can damage the grout and cause it to weaken over time.
- Mop the floor: Starting from one corner of the kitchen, begin mopping in overlapping motions. Work your way across the entire floor, making sure to cover the entire surface area.
- Change the mop water if necessary: If the water in the bucket becomes too dirty, replace it with fresh cleaning solution to avoid spreading dirt and grime across the floor.
Remember to pay attention to any specific instructions provided by the tile manufacturer for cleaning and maintaining your specific tile type.
Drying and Finishing Touches
Once you’ve finished mopping your kitchen tile floor, it’s important to properly dry it and add some finishing touches to enhance its appearance. Follow these steps for optimal drying and finishing:
- Remove excess water: Use old towels or mop pads to soak up any excess water on the floor. Gently press them against the surface to absorb the moisture.
- Air dry: Allow the floor to air dry naturally for a few minutes. Make sure to keep the area well-ventilated to speed up the drying process.
- Inspect for streaks or residue: After the floor has dried, inspect it for any streaks or residue left behind. If you notice any, dampen a clean cloth with water and gently wipe the affected area.
- Polish the tiles (optional): If you desire extra shine, you can use a tile polish or a vinegar and water mixture (in a 1:1 ratio) to restore the luster of your kitchen tile floor. Use a mop or clean cloth to gently apply the solution and buff the tiles for a glossy finish.
- Replace furniture and rugs: Once the floor is completely dry and polished (if desired), you can return the furniture and rugs to their original positions. Make sure to use furniture pads or coasters to prevent scratching or damaging the tiles.
Regular maintenance and periodic deep cleaning will help preserve the cleanliness and beauty of your kitchen tile floor. Remember to follow the manufacturer’s recommendations for cleaning frequency and specific care instructions to ensure its longevity.
Conclusion
Cleaning your kitchen tile floor is a necessary task to maintain its beauty and hygiene. By following the step-by-step process outlined in this article, you can achieve a sparkling and spotless floor that complements your entire kitchen. Remember to gather all the necessary supplies, prepare the area, sweep or vacuum the floor, and tackle any stains or grime before mopping. Additionally, ensure the floor is properly dried and add finishing touches for an extra touch of shine.
Regular cleaning and maintenance of your kitchen tile floor will not only keep it looking its best but also extend its lifespan. By removing dirt, stains, and built-up grime, you can prevent potential damage and maintain a clean and healthy environment in your kitchen.
So, roll up your sleeves, gather your supplies, and give your kitchen tile floor the cleaning it deserves. Enjoy the satisfaction of stepping into a sparkling, fresh, and inviting kitchen every day!
Frequently Asked Questions about How To Clean A Kitchen Tile Floor
Was this page helpful?
At Storables.com, we guarantee accurate and reliable information. Our content, validated by Expert Board Contributors, is crafted following stringent Editorial Policies. We're committed to providing you with well-researched, expert-backed insights for all your informational needs.


0 thoughts on “How To Clean A Kitchen Tile Floor”