Home>Storage Ideas>Kitchen Storage>How To Clean A Stainless Steel Sink: 5 Steps To A Streak-free Shine
Kitchen Storage
How To Clean A Stainless Steel Sink: 5 Steps To A Streak-free Shine
Modified: February 23, 2024
Learn how to clean your stainless steel sink with these 5 steps for a streak-free shine. Find more kitchen storage ideas for a clutter-free space.
(Many of the links in this article redirect to a specific reviewed product. Your purchase of these products through affiliate links helps to generate commission for Storables.com, at no extra cost. Learn more)
Introduction
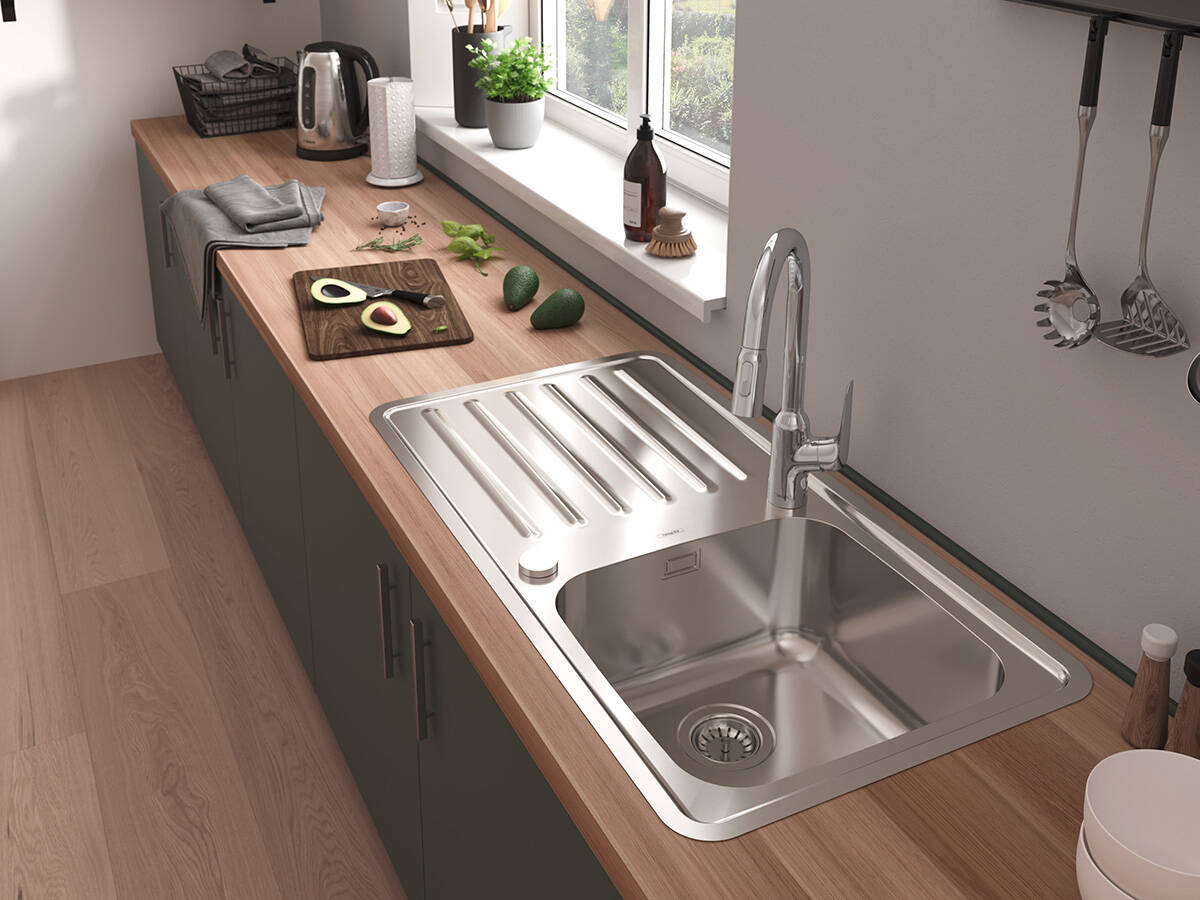
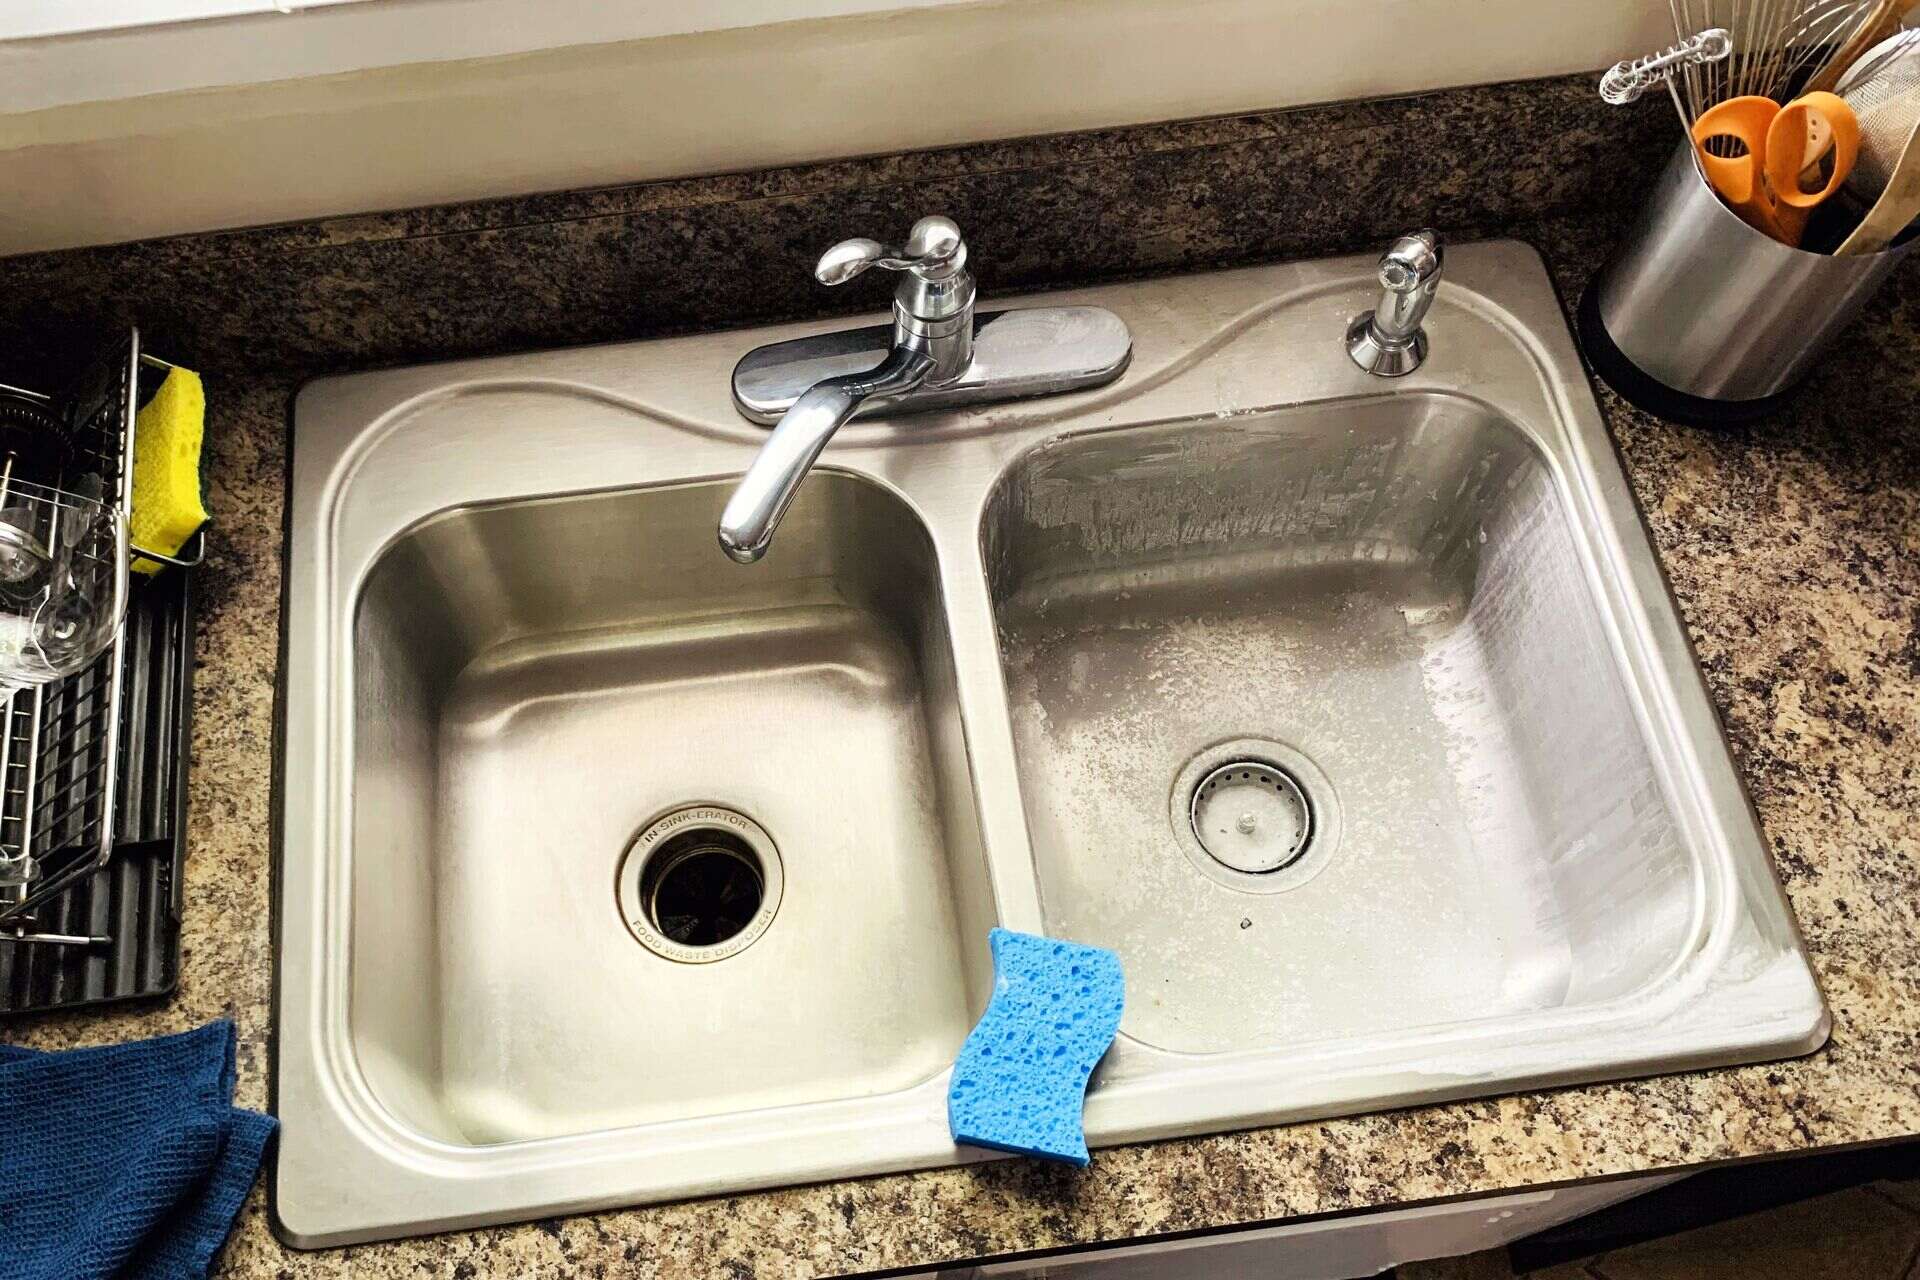
Welcome to our comprehensive guide on how to clean a stainless steel sink! If you have a beautiful stainless steel sink in your kitchen, you know how it can add a touch of elegance and sophistication to the space. However, stainless steel sinks are prone to showing smudges and water spots, which can dull their shine over time. That’s why regular cleaning is essential to keep your stainless steel sink looking its best.
Cleaning a stainless steel sink may seem like a daunting task, but with the right supplies and techniques, you can achieve a streak-free shine that will make your sink gleam. In this article, we will walk you through five easy steps to clean your stainless steel sink effectively.
Before we begin, it’s important to note that different cleaning methods may be required depending on the level of dirt and stains on your sink. Always follow the manufacturer’s instructions for your specific stainless steel sink, and test any cleaning solutions in a small, inconspicuous area before applying them to the entire sink surface.
Now, let’s dive into the step-by-step process of cleaning a stainless steel sink!
Key Takeaways:
- Achieve a streak-free shine for your stainless steel sink by following 5 easy steps, using gentle cleaning solutions and non-abrasive tools. Regular maintenance will keep your sink looking elegant and pristine.
- Gather the necessary supplies, rinse, apply a cleaning solution, scrub gently, and thoroughly rinse and dry your stainless steel sink to maintain its beauty and functionality. Follow manufacturer’s instructions for optimal care.
Read more: How To Shine Stainless Steel Sink
Step 1: Gather the necessary supplies
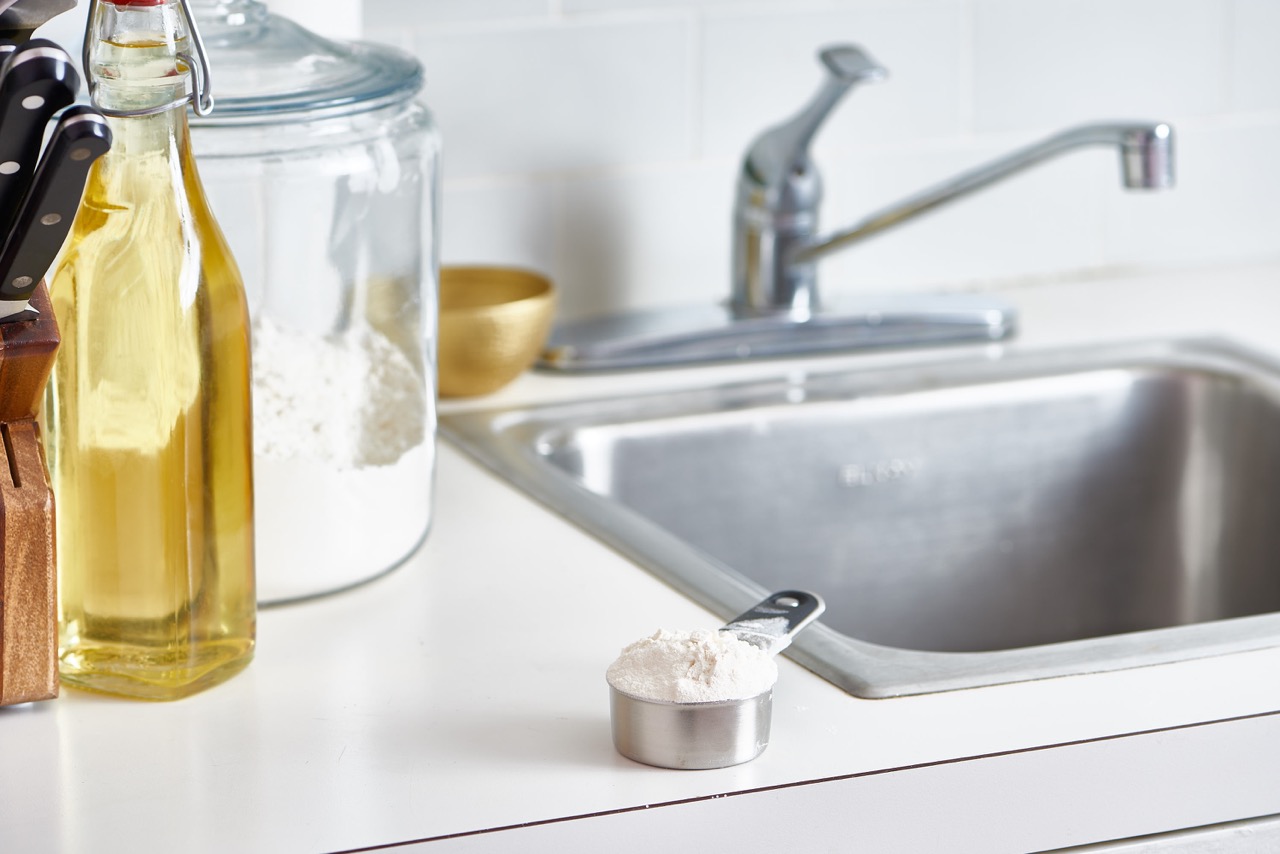
Before you begin cleaning your stainless steel sink, it’s important to gather all the necessary supplies. Having everything ready will make the cleaning process smoother and more efficient. Here are the supplies you will need:
- Dish soap or mild detergent: Choose a gentle dish soap or mild detergent that is specifically formulated for use on stainless steel surfaces. Avoid using abrasive cleaners or harsh chemicals, as they can scratch or damage the sink.
- Non-abrasive sponge or soft cloth: Look for a non-abrasive sponge or soft cloth that won’t scratch the stainless steel surface. Microfiber or cotton cloths are ideal choices for gentle and effective cleaning.
- Vinegar: White vinegar is a natural and eco-friendly cleaner that can help remove stains and mineral deposits from your stainless steel sink.
- Baking soda: Baking soda is a versatile cleaning agent that can help eliminate odors and provide gentle scrubbing power.
- Olive oil or baby oil: Olive oil or baby oil can be used to add shine and polish to your stainless steel sink after cleaning.
- Toothbrush or small brush: A toothbrush or small brush can be useful for getting into hard-to-reach areas and removing stubborn grime.
- Soft towels or paper towels: Have soft towels or paper towels on hand to dry the sink and prevent water spots.
- Rubber gloves: Rubber gloves will protect your hands from harsh cleaning solutions and hot water.
Once you have gathered all the necessary supplies, you are ready to move on to the next step of cleaning your stainless steel sink. Remember, using the right tools and products will help you achieve optimal results without causing any damage to your sink’s finish.
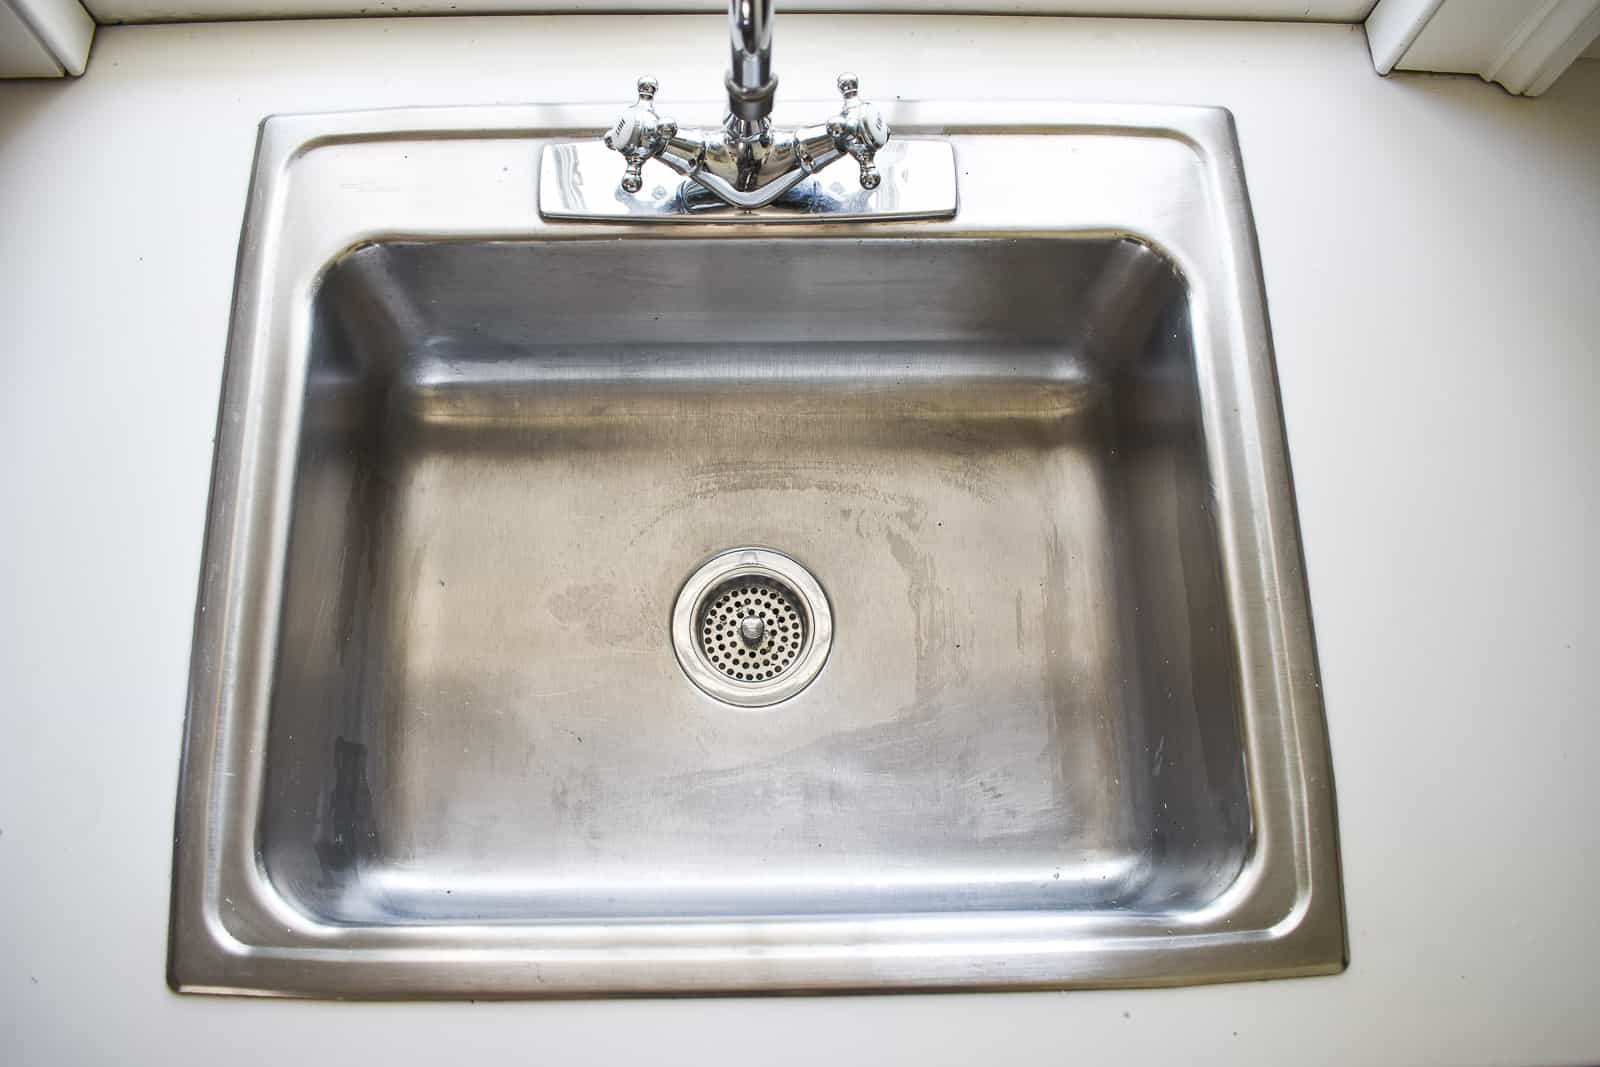
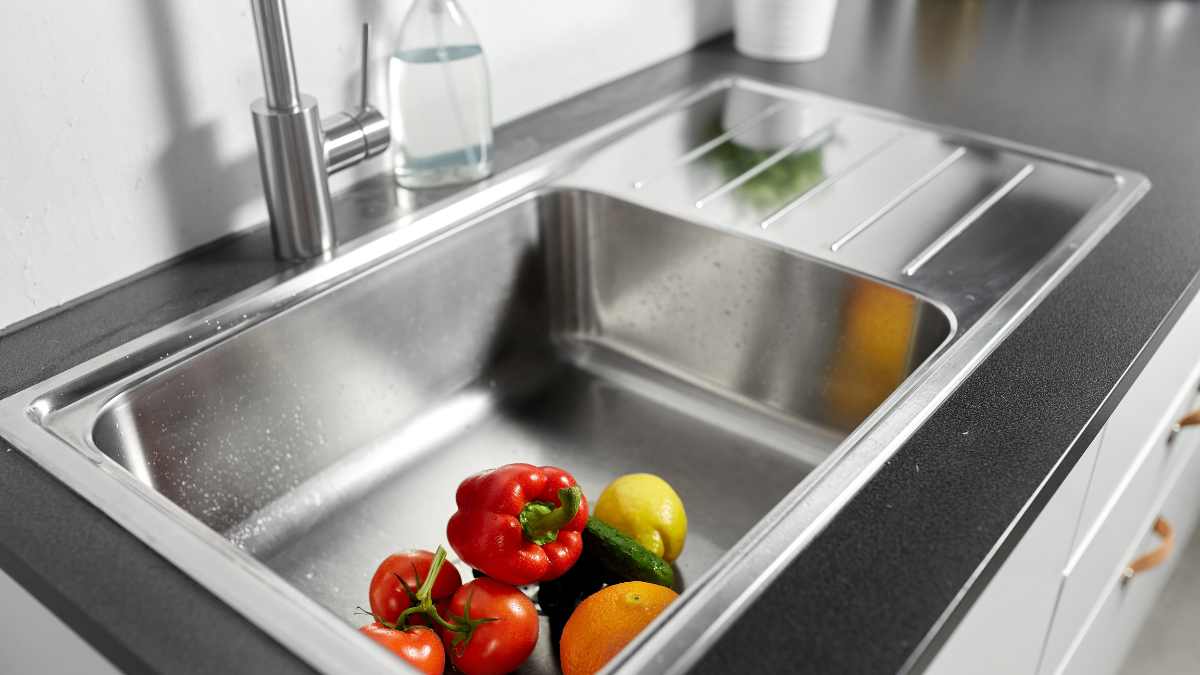
Step 2: Rinse the sink with warm water
Now that you have all the supplies ready, it’s time to start cleaning your stainless steel sink. The first step is to rinse the sink with warm water. This will help remove any loose dirt and debris.
Here’s how to properly rinse your sink:
- Make sure the sink is empty of any dishes or utensils.
- Turn on the faucet and adjust the water to a warm temperature.
- Use your hand or a cup to collect some water and pour it over the entire sink surface.
- With a gentle stream of warm water, rinse the sink thoroughly, paying special attention to the areas around the drain and edges.
- Continue rinsing until you no longer see any debris or particles coming off the sink.
By rinsing the sink with warm water, you are effectively preparing the surface for the next step of the cleaning process. This will help loosen any dirt and make it easier to remove during the scrubbing stage.
Once you have rinsed the sink, pat it dry with a soft towel or paper towel to remove any excess water. This will prevent water spots from forming and ensure a streak-free shine.
Now that your sink is rinsed and dry, it’s time to move on to the next step: applying a cleaning solution.
Step 3: Apply a cleaning solution
With the sink rinsed and ready, it’s time to apply a cleaning solution to remove any stubborn stains or build-up. There are several effective cleaning solutions you can use for stainless steel sinks, including dish soap, vinegar, and baking soda.
Here’s how to apply a cleaning solution to your sink:
- Dish soap: Squirt a small amount of dish soap or mild detergent onto a damp sponge or cloth. Rub the soap onto the surface of the sink, working it into a lather. Make sure to cover the entire surface and pay special attention to any areas with stains or grease.
- Vinegar: If your sink has mineral deposits or stubborn stains, you can use white vinegar as a natural cleaning agent. Fill a spray bottle with vinegar and spray it directly onto the sink surface. Let it sit for a few minutes to allow the vinegar to break down the stains, then proceed to the next step.
- Baking soda paste: For tough stains or odors, you can create a baking soda paste. Mix a small amount of baking soda with water to form a paste. Apply the paste to the sink, focusing on the stained areas. Let the paste sit for a few minutes before moving on to the next step.
Choose the cleaning solution that best suits your needs and the level of dirt or stains on your sink. Remember to always use non-abrasive cleaners to avoid scratching the stainless steel surface.
By applying a cleaning solution, you are actively breaking down dirt, grime, and stains on the sink surface, making it easier to scrub them away. Now, it’s time to move on to the next step: scrubbing the sink with a non-abrasive sponge.
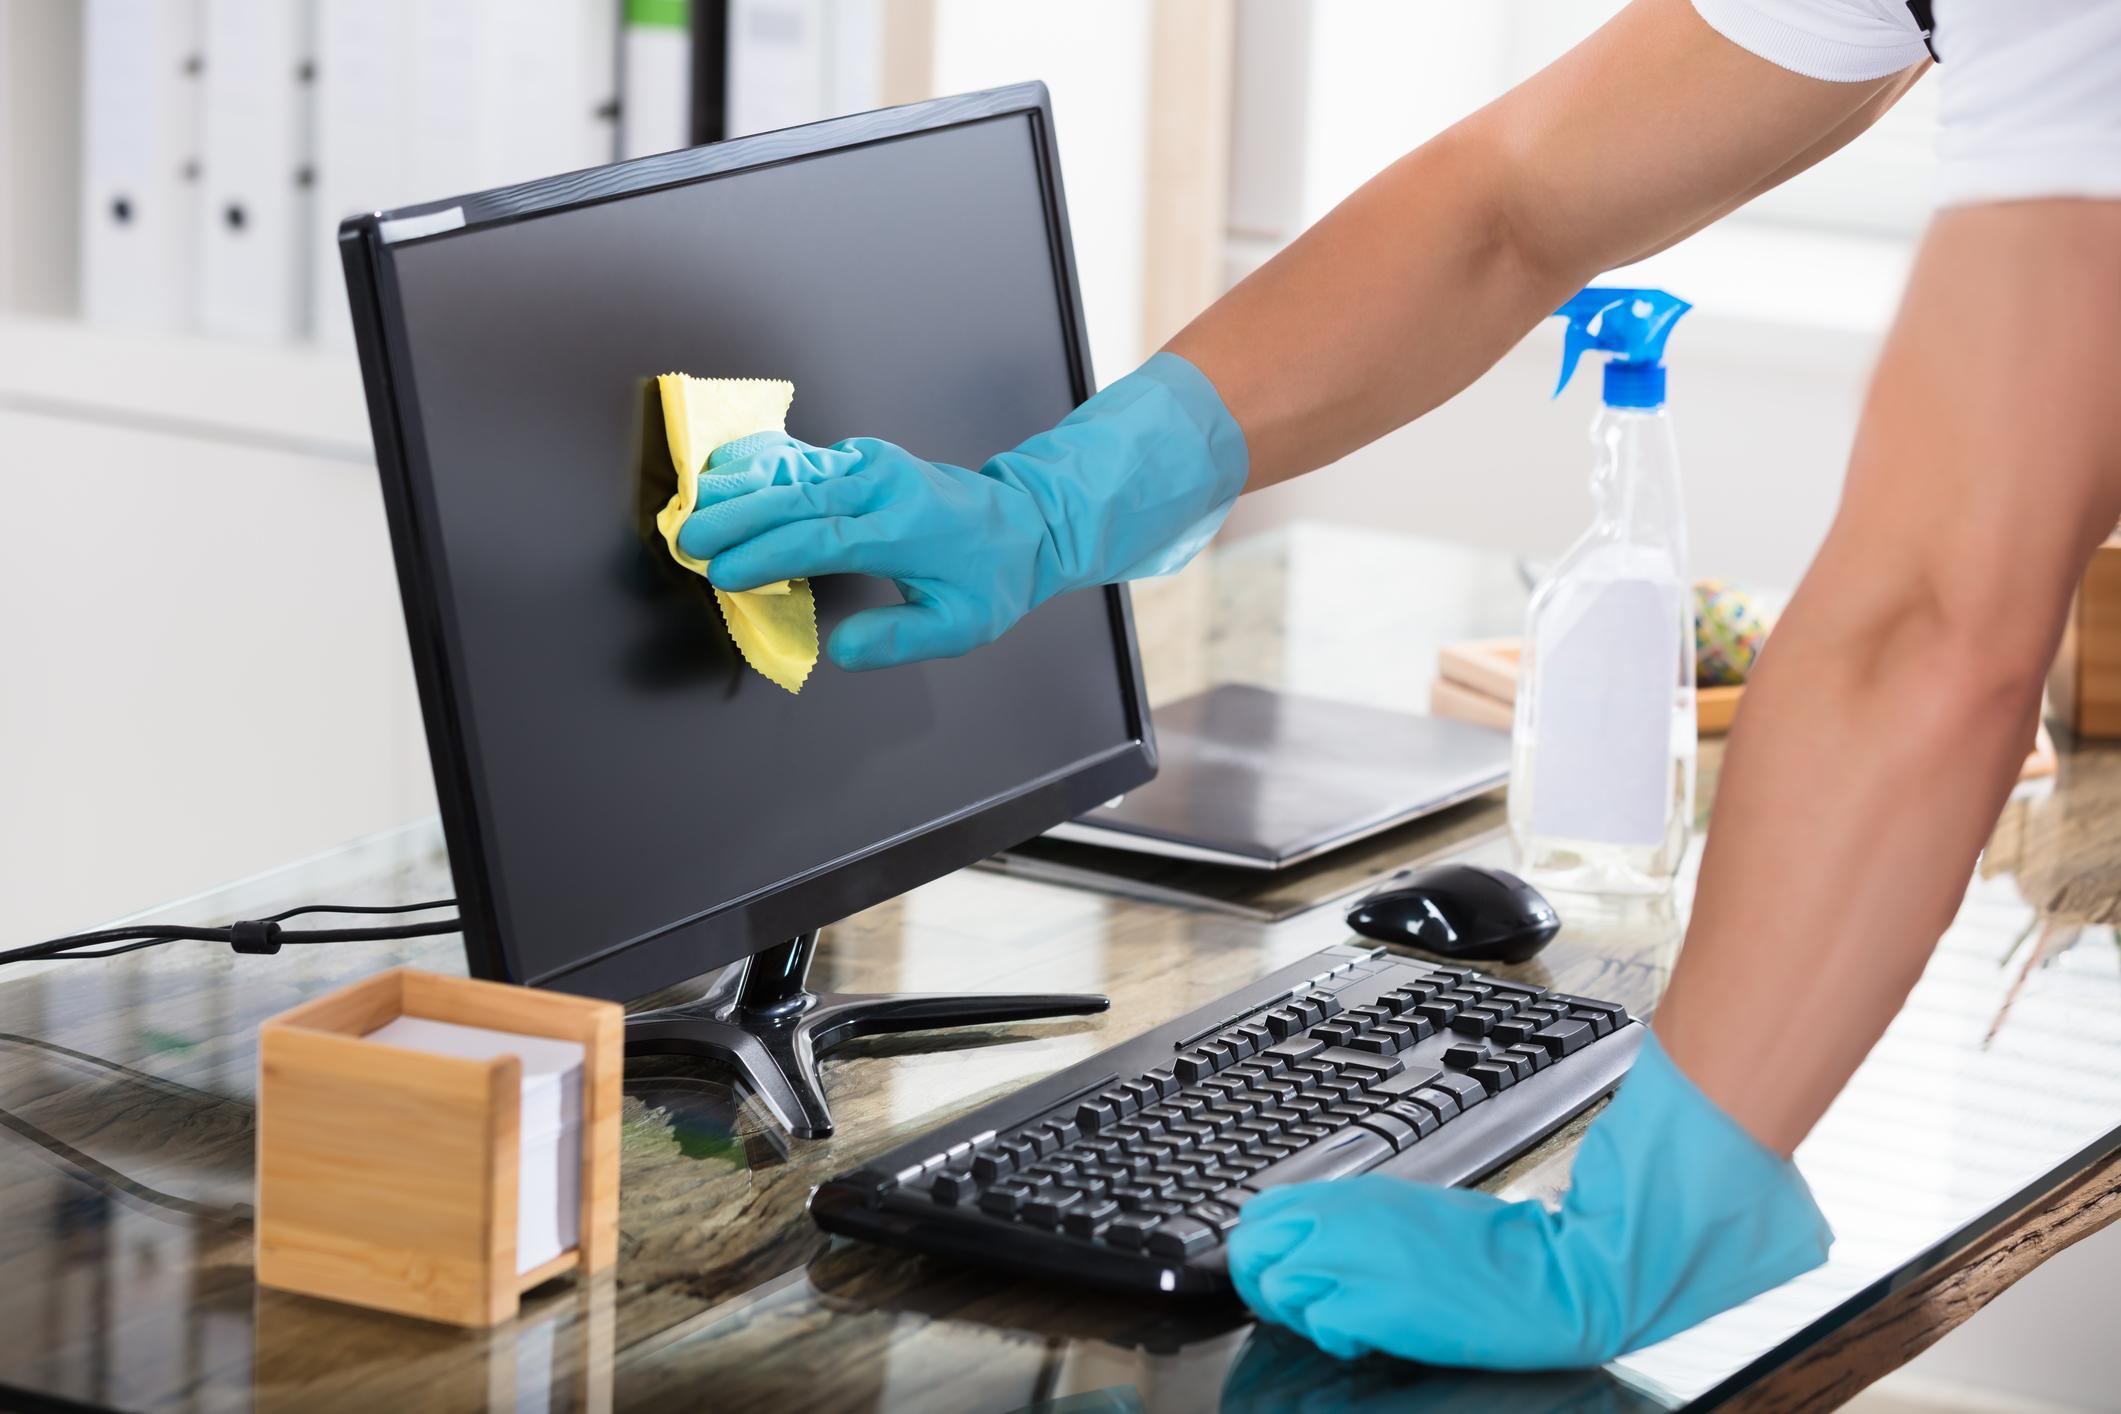
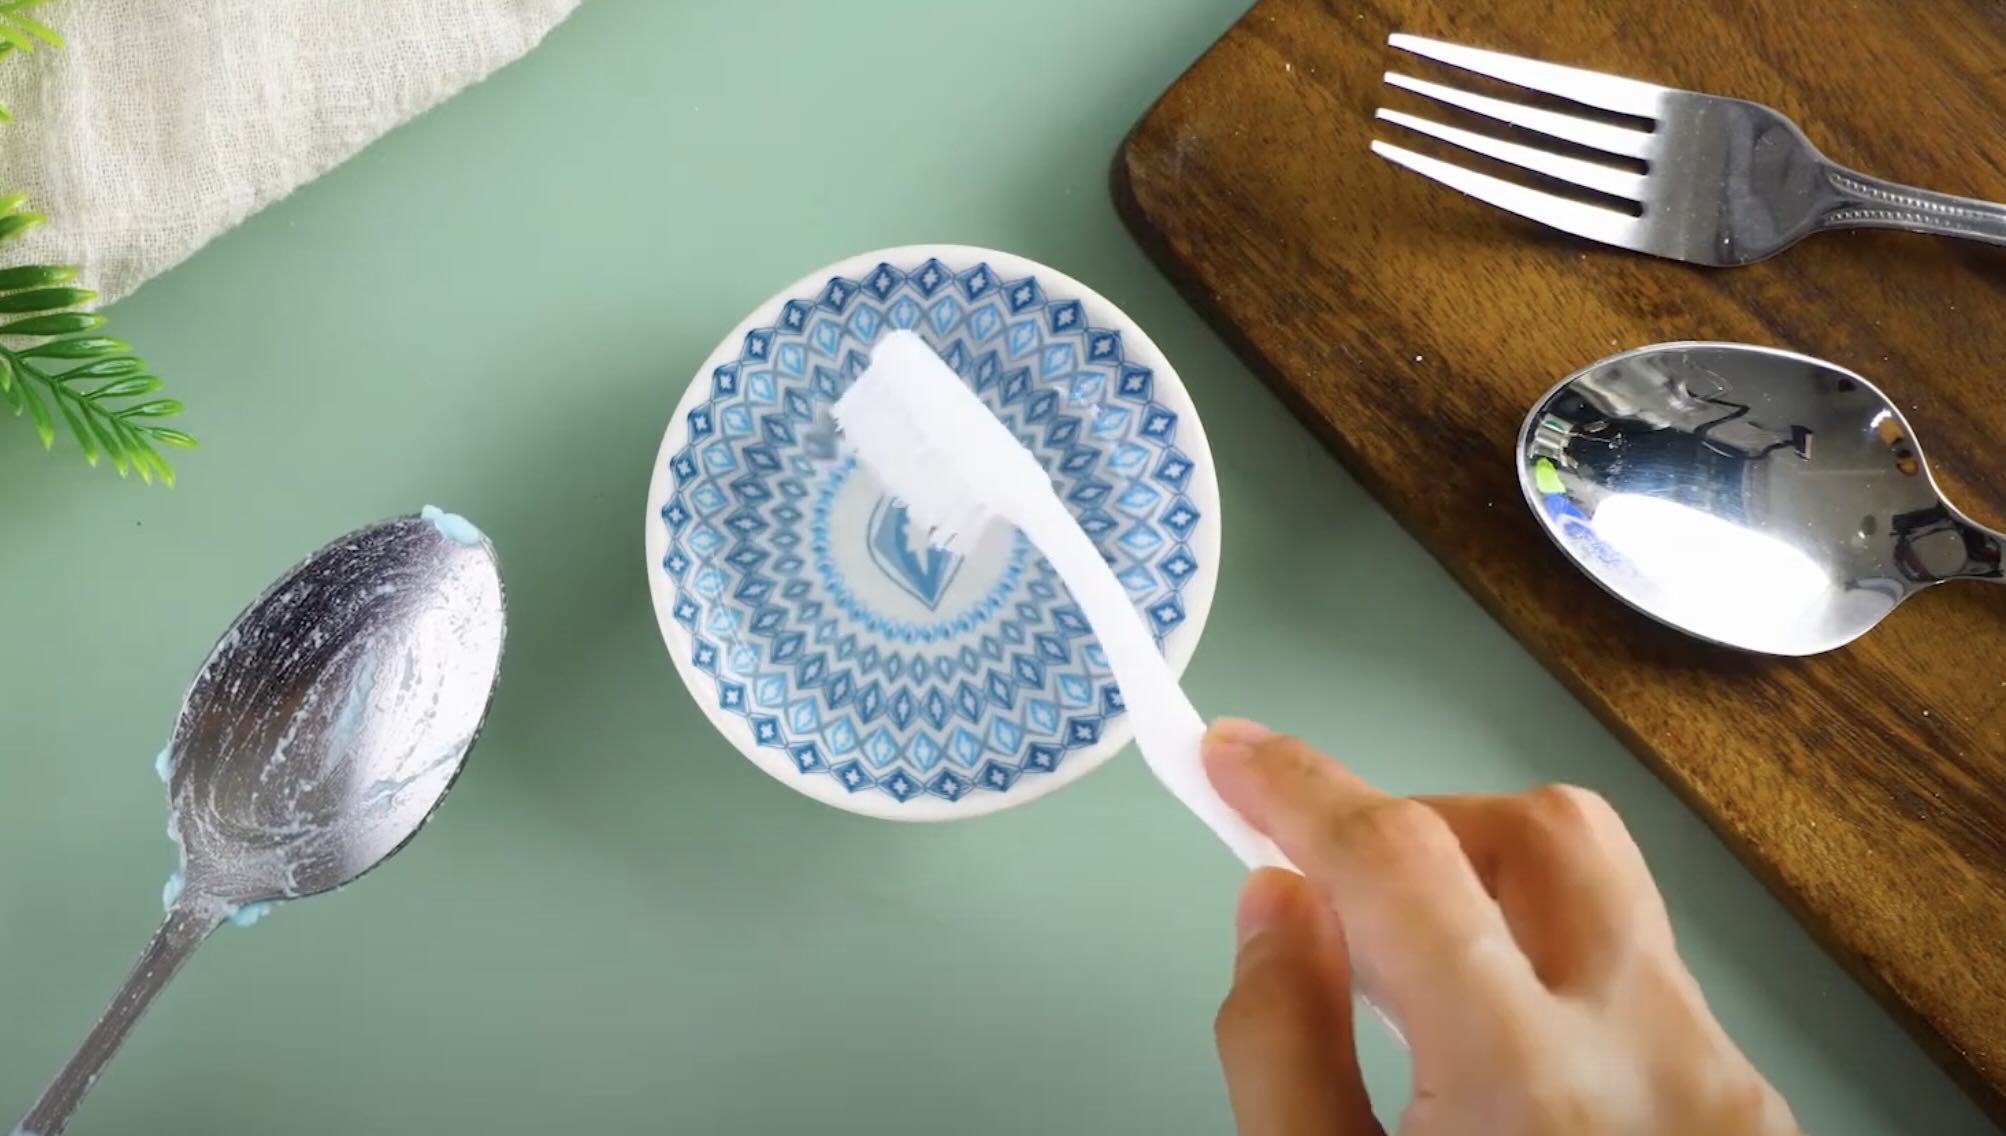
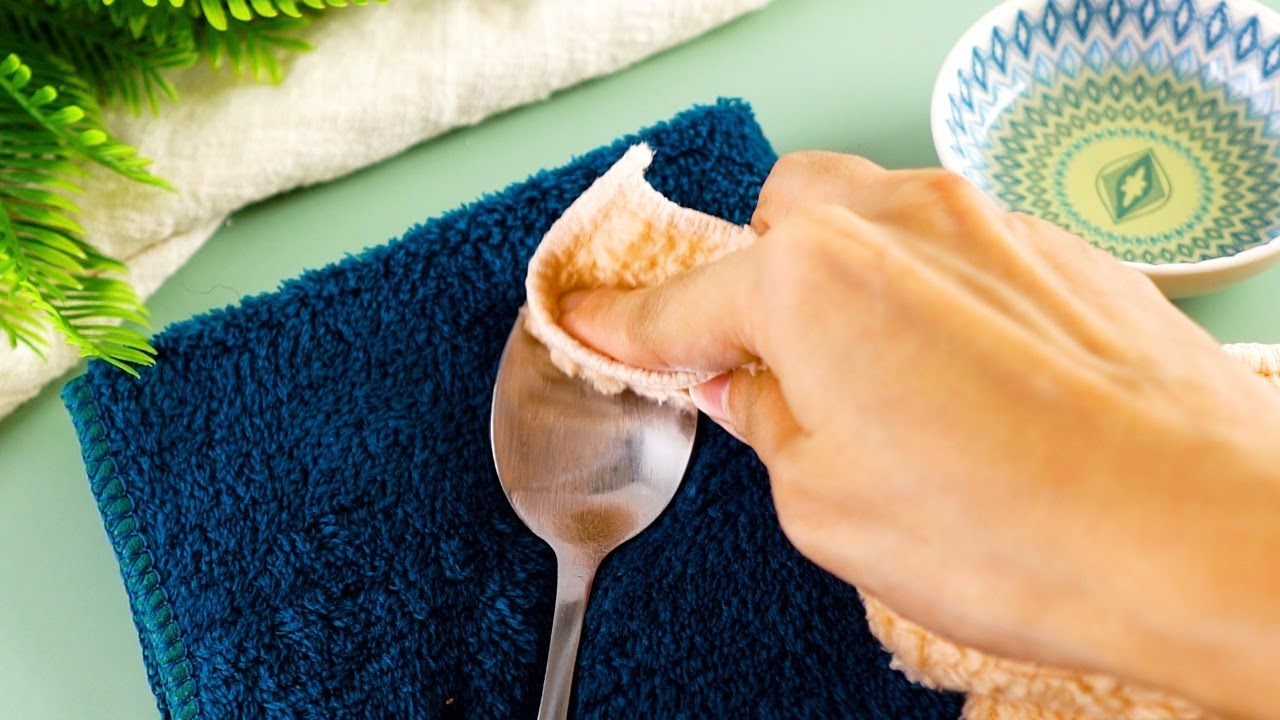
After cleaning your stainless steel sink, dry it with a microfiber cloth to prevent water spots and achieve a streak-free shine.
Step 4: Scrub the sink with a non-abrasive sponge
Now that you have applied a cleaning solution to your stainless steel sink, it’s time to scrub away any remaining dirt, stains, and build-up. For this step, you will need a non-abrasive sponge or soft cloth.
Here’s how to effectively scrub your sink:
- Take your non-abrasive sponge or cloth and start scrubbing the sink in circular motions. Pay extra attention to areas with stains or residue.
- If you are using a baking soda paste, use the scrubbing action to gently work the paste into the stains. The baking soda will help to lift and remove the stains effectively.
- Ensure that you scrub the sides of the sink and the edges thoroughly. These areas are often neglected but can accumulate dirt and grime over time.
- For stubborn stains or hard-to-reach areas, use a toothbrush or a small brush to get into crevices and corners.
- Continue scrubbing until you are satisfied with the cleanliness of your sink. Keep in mind that patience and persistence are key to achieving a sparkling clean result.
While scrubbing, make sure to maintain a gentle but firm pressure. Avoid using excessive force or harsh scrubbing pads, as they can scratch or damage the stainless steel surface.
Once you have finished scrubbing, rinse the sink thoroughly with warm water to remove any leftover cleaning solution or residue. This will ensure that your sink is left spotless and ready for the final step: rinsing and drying.
With your sink now scrubbed and cleaned, it’s time to move on to the final step: rinsing and drying the sink thoroughly.
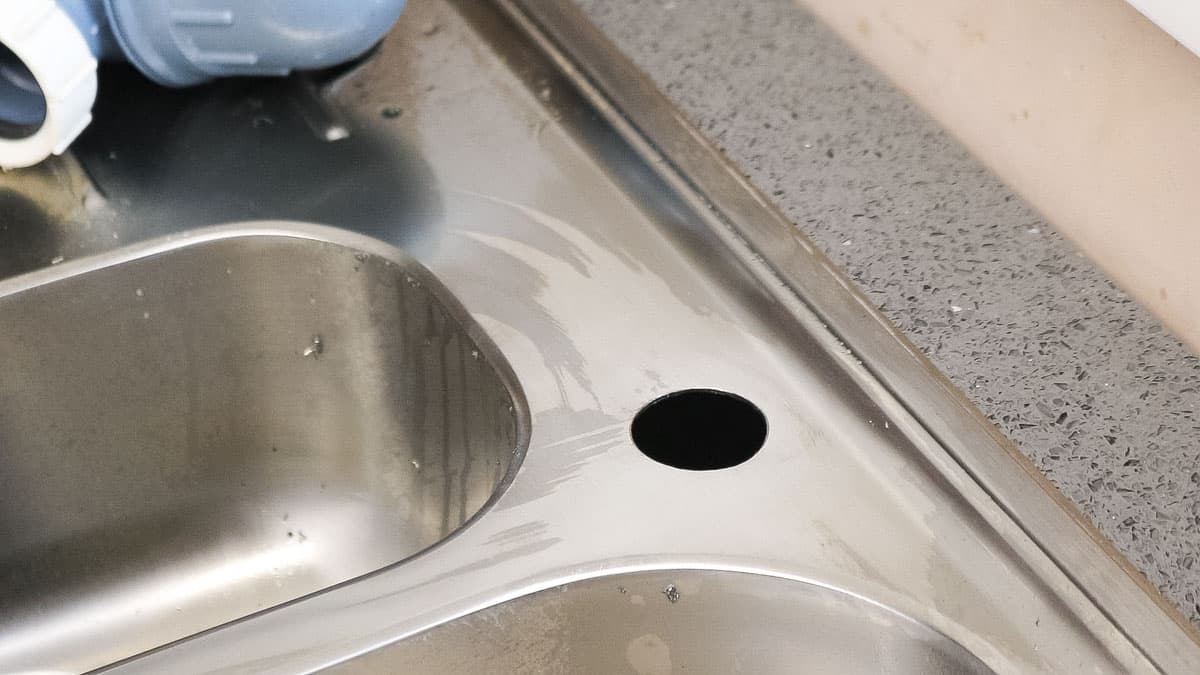
Step 5: Rinse and dry the sink thoroughly
After scrubbing your stainless steel sink, it’s important to rinse off any remaining cleaning solution and dry the surface thoroughly. This will help prevent water spots and ensure a streak-free shine.
Follow these steps to rinse and dry your sink effectively:
- Turn on the faucet and use warm water to thoroughly rinse the sink. Make sure to rinse all areas, including the sides, edges, and bottom of the sink.
- Ensure that there are no traces of the cleaning solution or residue left on the sink surface. Rinse until the water runs clear.
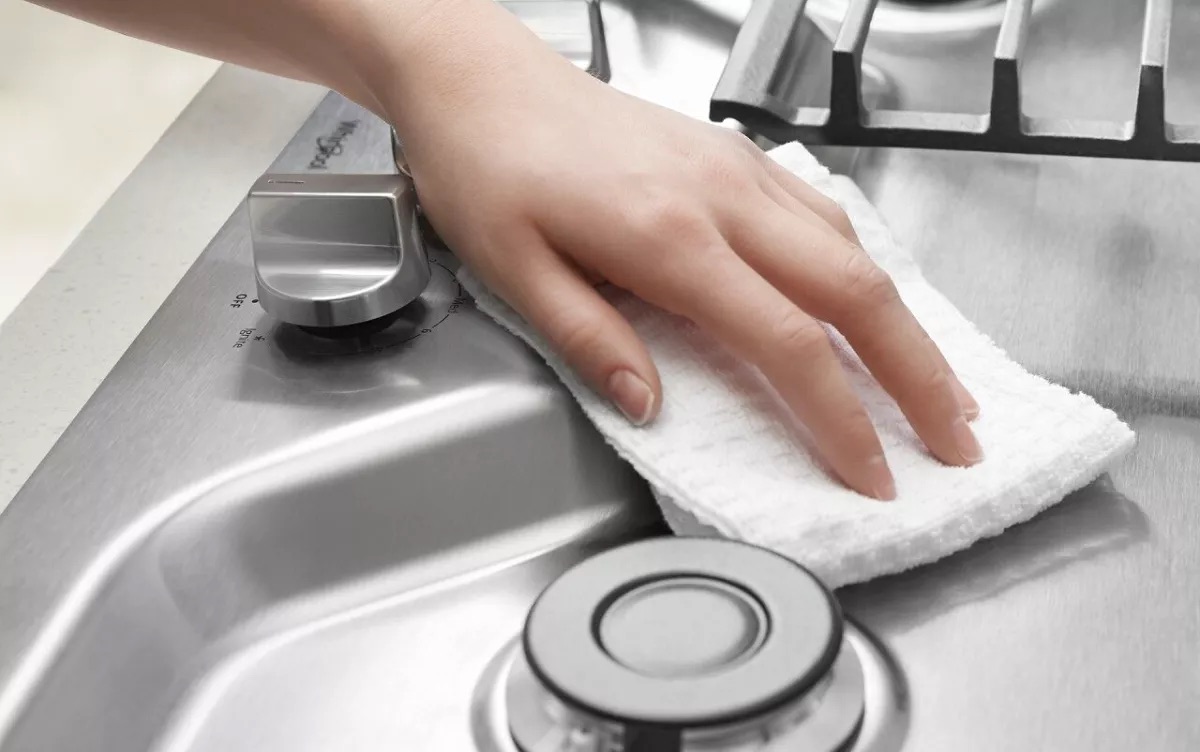
- After rinsing, use a soft towel or paper towel to wipe down the entire surface of the sink. Start from the top and work your way down to prevent any drips or water marks.
- If needed, you can also use a microfiber cloth for a streak-free finish. Gently buff the sink in circular motions to remove any remaining moisture and leave it sparkling clean.
- For added shine, you can apply a small amount of olive oil or baby oil to a clean cloth and wipe it across the sink’s surface. This will help restore the luster and protect the stainless steel finish.
Take extra care to dry around the faucet, spout, and drain to prevent water spots and mineral build-up in these areas. Ensure that the sink is completely dry before using it again to avoid any water stains or marks.
By properly rinsing and drying your sink, you will leave it looking shiny, clean, and free from any water streaks or spots.
Congratulations! You have successfully completed the five steps to clean your stainless steel sink. With regular cleaning and maintenance, your sink will continue to shine and add beauty to your kitchen for years to come.
Remember, it’s essential to follow the manufacturer’s instructions for your specific sink and use appropriate cleaning products to maintain its pristine condition. Happy cleaning!
Conclusion
Cleaning a stainless steel sink doesn’t have to be a daunting task. With the right supplies, techniques, and a little bit of effort, you can achieve a streak-free shine and keep your sink looking its best. Regular cleaning and maintenance are key to preserving the beauty and longevity of your stainless steel sink.
In this comprehensive guide, we have walked you through the five steps to clean your stainless steel sink:
- Gather the necessary supplies
- Rinse the sink with warm water
- Apply a cleaning solution
- Scrub the sink with a non-abrasive sponge
- Rinse and dry the sink thoroughly
We discussed the importance of using the right cleaning products, such as mild detergents, vinegar, and baking soda, and explained how to properly rinse, scrub, and dry your sink. By following these steps, you can maintain a sparkling clean and hygienic stainless steel sink in your kitchen.
Remember to always check the manufacturer’s instructions for your specific sink, as different finishes may require specific care and cleaning methods. Avoid using abrasive cleaners or harsh chemicals that can damage the stainless steel surface.
With regular cleaning and maintenance, your stainless steel sink will not only look great but also resist stains, maintain its shine, and provide a durable and functional workspace in your kitchen.
So don’t wait any longer! Take some time to gather your supplies and follow the step-by-step process to clean your stainless steel sink. Enjoy the satisfaction of a sparkling and spotless sink that enhances the beauty and functionality of your kitchen.
Thank you for reading, and happy cleaning!
Frequently Asked Questions about How To Clean A Stainless Steel Sink: 5 Steps To A Streak-free Shine
Was this page helpful?
At Storables.com, we guarantee accurate and reliable information. Our content, validated by Expert Board Contributors, is crafted following stringent Editorial Policies. We're committed to providing you with well-researched, expert-backed insights for all your informational needs.

0 thoughts on “How To Clean A Stainless Steel Sink: 5 Steps To A Streak-free Shine”