Home>Interior Design>How To Get Ink Out Of A Dryer: Steps To Stain-free Results
Interior Design
How To Get Ink Out Of A Dryer: Steps To Stain-free Results
Modified: October 19, 2024
Learn how to effectively remove ink stains from your dryer with our step-by-step guide. Achieve stain-free results with proven interior design tips and techniques.
(Many of the links in this article redirect to a specific reviewed product. Your purchase of these products through affiliate links helps to generate commission for Storables.com, at no extra cost. Learn more)
Introduction
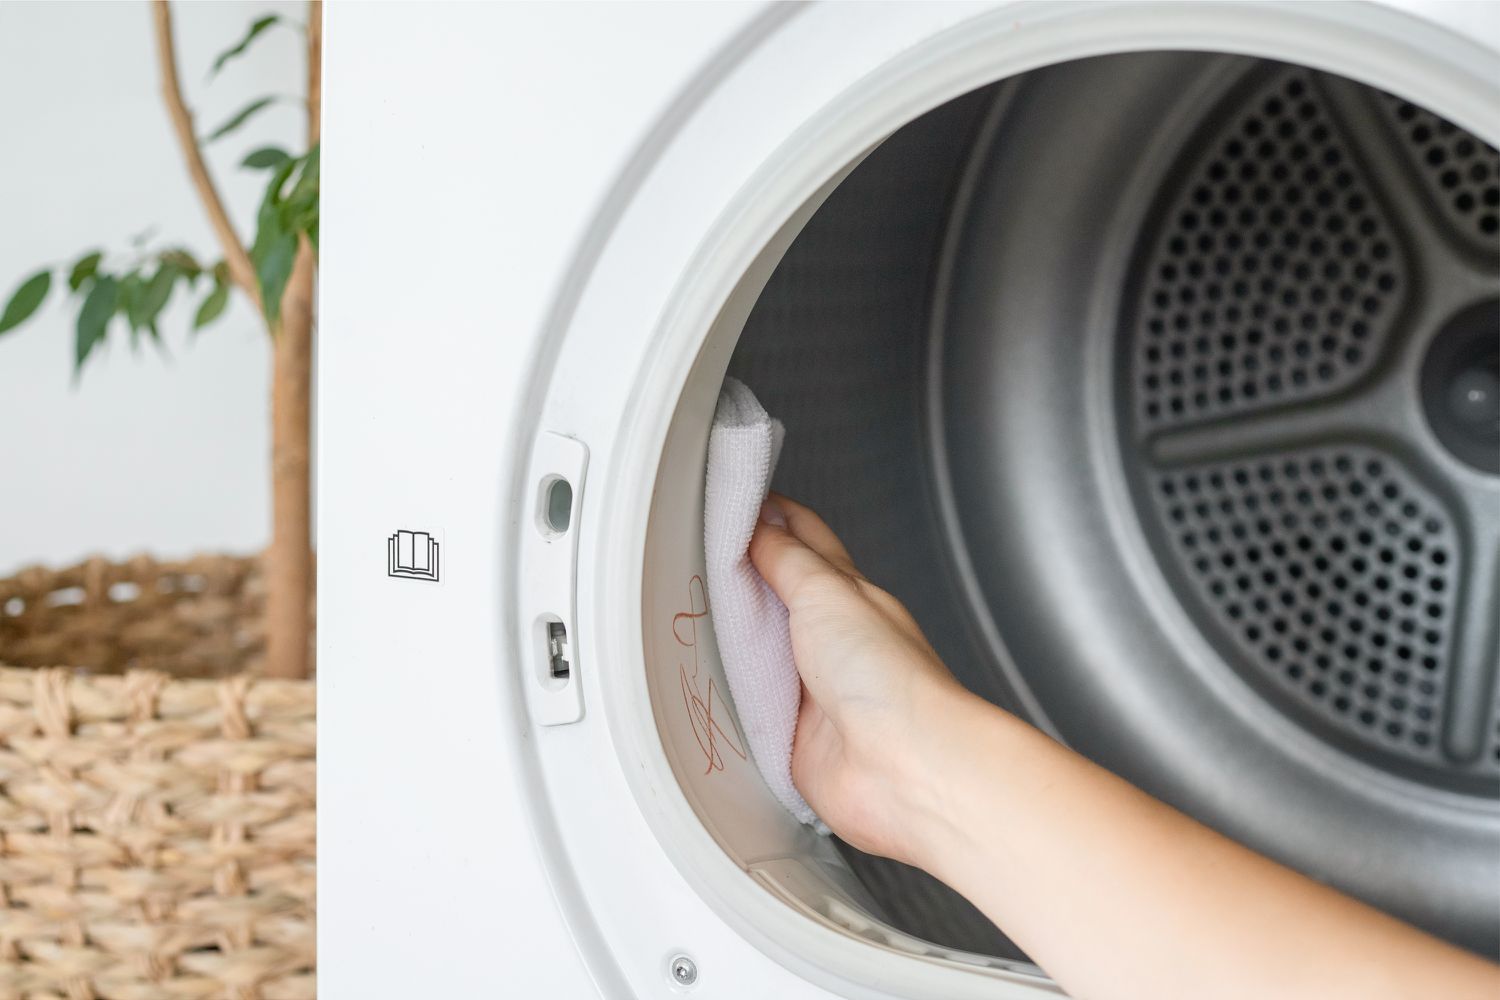
Welcome to our comprehensive guide on how to get ink out of a dryer. We understand that accidents happen, and finding ink stains inside your dryer can be a frustrating and worrisome situation. Ink stains not only look unsightly, but they can also transfer onto your clothes during future drying cycles, causing even more damage.
But don’t worry – with the right materials, safety precautions, and a systematic approach, you can effectively remove ink stains from your dryer and restore its pristine condition. In this article, we will walk you through a step-by-step process that will help you achieve stain-free results.
Before we dive into the steps, let’s gather the materials you will need for this task.
Key Takeaways:
- Say goodbye to ink stains in your dryer by following our step-by-step guide, complete with safety precautions and effective cleaning methods using common household materials.
- With patience and attention to detail, you can restore your dryer to a pristine condition, free from ink stains, and ensure smooth, stain-free drying cycles for your clothes.
Read more: How To Get Ink Out Of A Dryer
Materials Needed
Before you embark on the journey of removing ink stains from your dryer, gather the following materials:
- Rubber gloves: Protect your hands from chemicals and ink.
- Old rags or towels: These will be used to absorb excess ink and to wipe down surfaces.
- Rubbing alcohol: Look for isopropyl alcohol with a concentration of at least 70%. It helps break down and remove ink stains.
- Cotton balls or soft cloth: These will be used to apply the rubbing alcohol and scrub the stained areas.
- Mild dish soap: This will come in handy for cleaning the dryer drum and removing any residue left behind.
- Clean water: You’ll need this for rinsing the dryer drum and wiping down surfaces.
- Clean microfiber cloth: Use this for drying the interior of the dryer.
- Vinegar: It can be used as a natural alternative to rubbing alcohol.
Now that you have gathered the necessary materials, let’s move on to the safety precautions you should keep in mind.
Safety Precautions
When dealing with ink stains and cleaning your dryer, it’s important to prioritize safety. Follow these precautions to ensure a safe and effective cleaning process:
- Wear rubber gloves: Protect your hands from any potential chemicals or ink residue.
- Work in a well-ventilated area: Open windows or doors to allow fresh air circulation. Additionally, consider using a fan or wearing a mask to avoid inhaling strong fumes.
- Unplug the dryer: Before starting the cleaning process, make sure to disconnect the dryer from the power source to prevent any accidents.
- Read the manufacturer’s instructions: Consult the dryer’s user manual for any specific cleaning guidelines or restrictions.
- Use caution with chemicals: When applying rubbing alcohol or any other cleaning agents, follow the instructions and avoid contact with your skin or eyes. If accidental contact occurs, rinse thoroughly with water.
- Avoid open flames or sparks: Since rubbing alcohol is highly flammable, refrain from smoking or exposing the cleaning area to open flames or sparks.
- Keep children and pets away: During the cleaning process, make sure to keep children and pets at a safe distance to prevent accidental exposure to chemicals or potential hazards.
- Dispose of materials properly: When discarding used cotton balls, rags, or any other materials used in the cleaning process, dispose of them properly according to local waste management guidelines.
With these safety precautions in mind, you can now proceed to the step-by-step process of removing ink stains from your dryer. Let’s begin!
Step 1: Disconnect and Unplug the Dryer
The first step in removing ink stains from your dryer is to ensure your safety by disconnecting and unplugging the appliance. This precautionary measure will prevent any accidental injury or damage while cleaning.
To disconnect the dryer:
- Turn off the dryer: Make sure the dryer is not running and allow it to cool down.
- Unplug the power cord: Reach behind the dryer and unplug the power cord from the electrical outlet.
- Move the dryer away from the wall: Gently pull the dryer away from the wall, giving yourself enough space to work comfortably.
Once the dryer is disconnected and safely positioned for cleaning, you can proceed to the next step of removing excess ink stains.
Step 2: Remove Excess Ink
Before you start treating the ink stains on your dryer, it’s important to remove any excess ink that may be present. This will prevent further spread of the stain and make the cleaning process more effective.
Here’s how to remove excess ink from your dryer:
- Put on rubber gloves: Protect your hands from direct contact with the ink.
- Take a clean rag or towel: Dampen it with water to make it slightly moist.
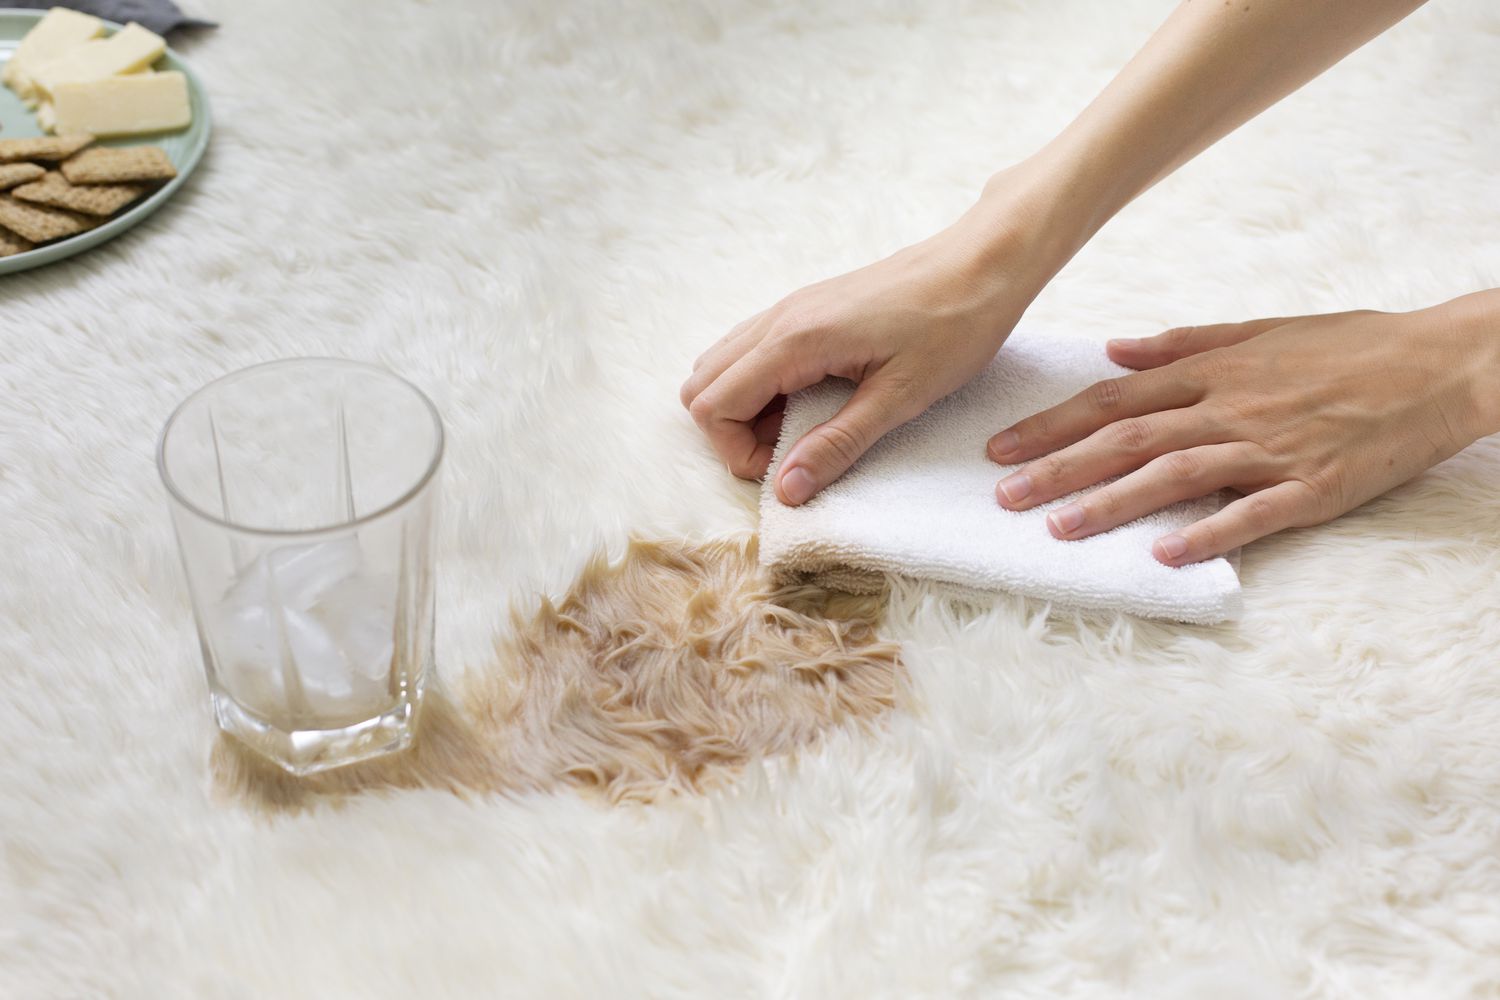
- Gently blot the ink stain: Place the damp cloth over the ink stain and blot it, being careful not to rub it. Blotting will help absorb the excess ink without smearing it further.
- Repeat if necessary: If there is still visible ink on the dryer, use a clean portion of the cloth and repeat the blotting process until no more ink transfers onto the cloth.
Removing the excess ink will make the subsequent steps more effective by focusing on the deep-seated stains. Now that you have removed the excess ink, it’s time to move on to the next step of applying rubbing alcohol.
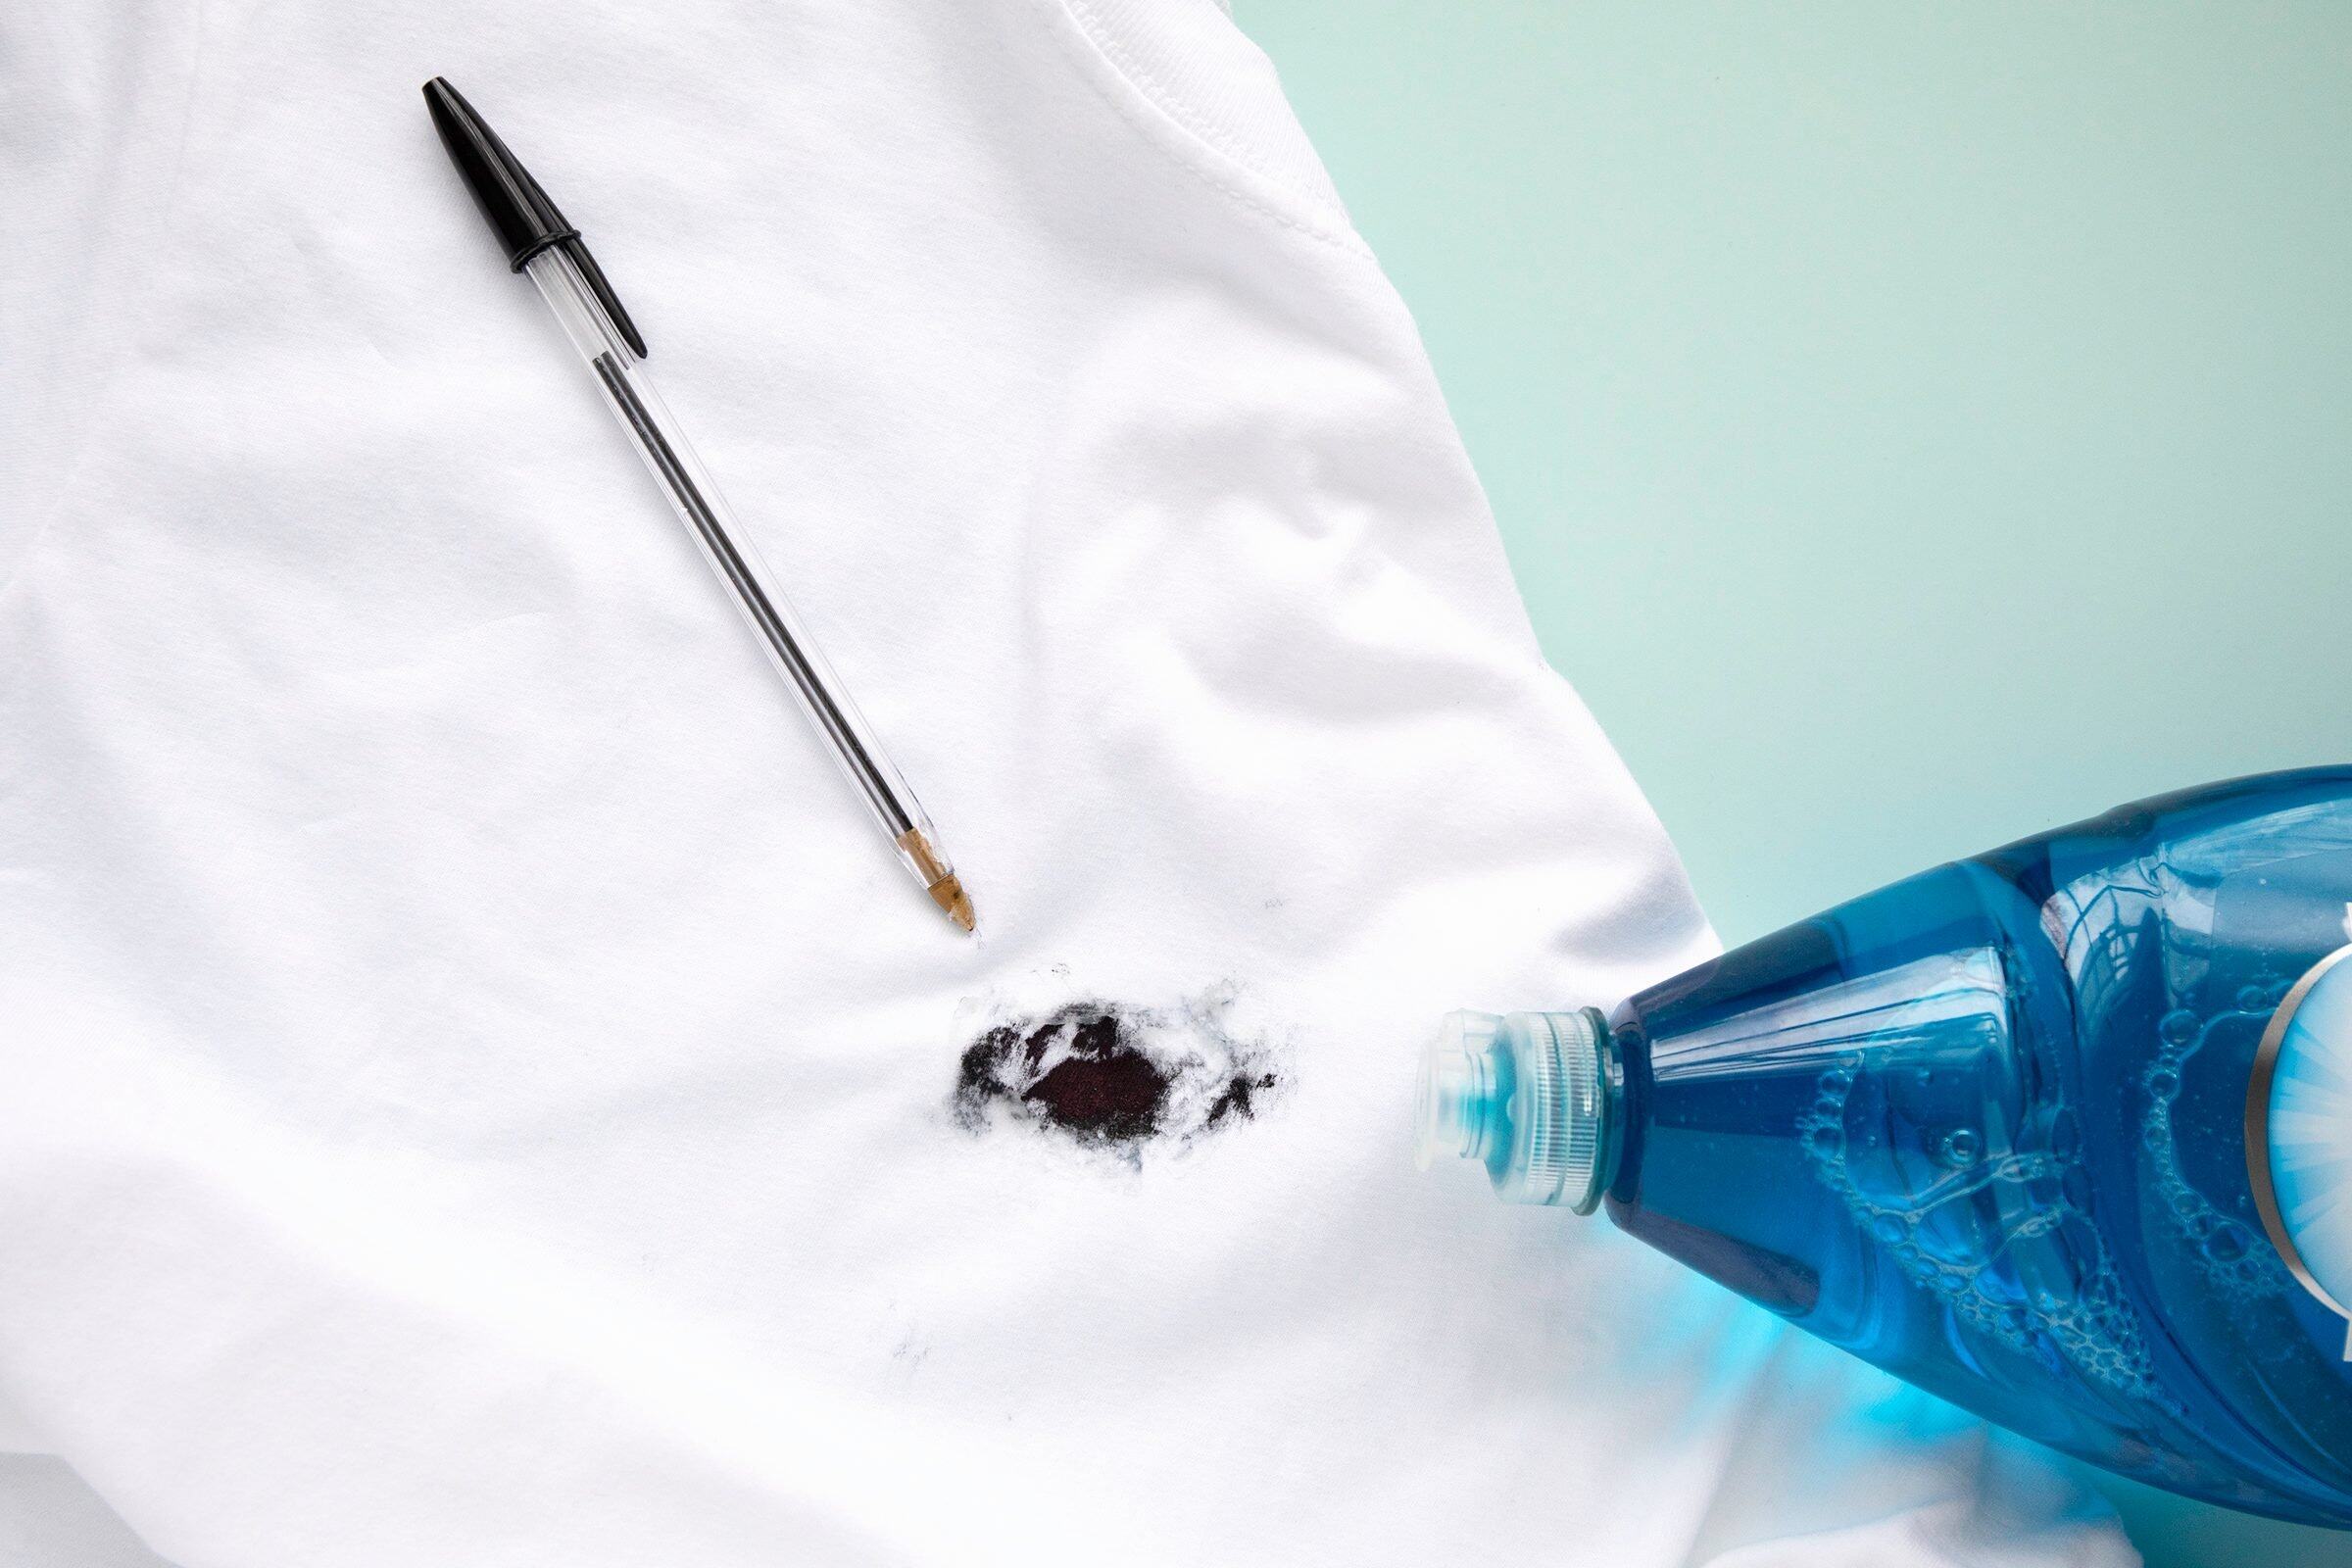
Step 3: Apply Rubbing Alcohol
Rubbing alcohol is an effective agent for breaking down and removing ink stains. In this step, we will apply rubbing alcohol to the ink-stained areas of your dryer to further loosen and dissolve the ink.
Here’s how to apply rubbing alcohol to the ink stains:
- Put on rubber gloves: Protect your hands from direct contact with the rubbing alcohol.
- Take a cotton ball or a soft cloth: Moisten it with rubbing alcohol.
- Gently dab the stained areas: Press the alcohol-soaked cotton ball or cloth against the ink stains and dab the affected areas. Be careful not to scrub or rub vigorously, as this can spread the ink stain or damage the surface of the dryer.
- Let the alcohol sit: Allow the rubbing alcohol to sit on the stain for a few minutes. This will give it enough time to penetrate the ink and start breaking it down.
Rubbing alcohol works by dissolving the ink and making it easier to remove. It’s important to note that rubbing alcohol can be harsh on certain surfaces. Therefore, it’s always a good idea to test a small, inconspicuous area of your dryer before applying it to the entire stain.
Now that you have applied rubbing alcohol to the ink stains, let’s move on to the next step of scrubbing the stained area.
Step 4: Scrub the Stained Area
After applying rubbing alcohol to the ink stains on your dryer, it’s time to gently scrub the stained area to help loosen and remove the ink. However, be cautious and use a gentle touch to avoid causing any damage to the dryer’s surface.
Here’s how to scrub the stained area:
- Put on rubber gloves: Protect your hands during the cleaning process.
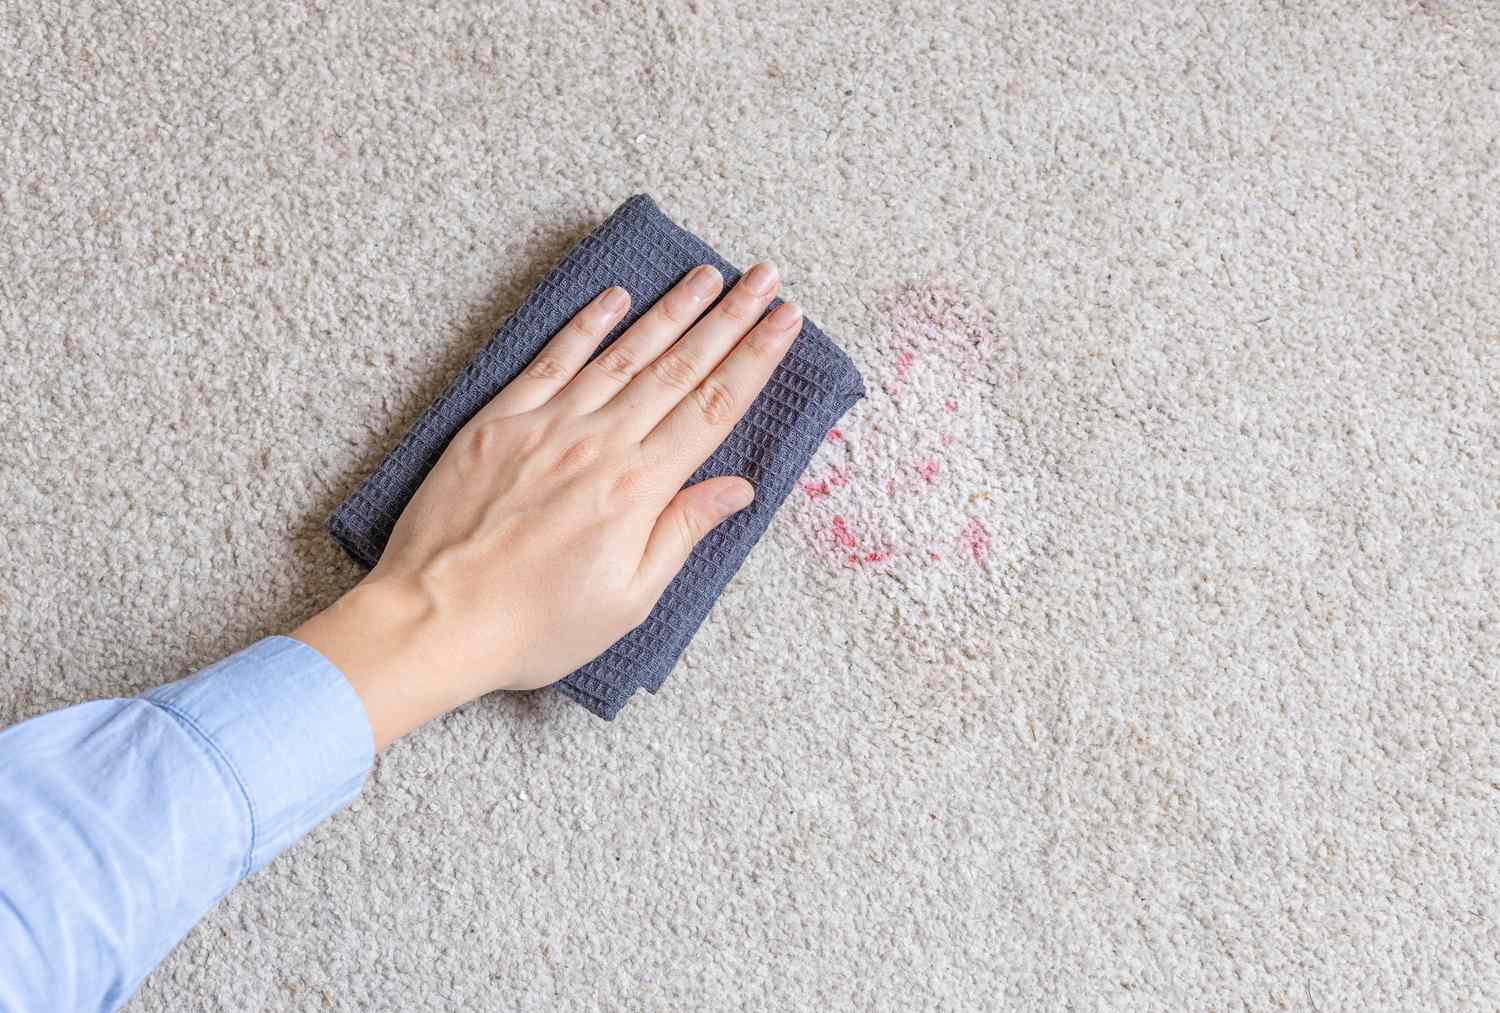
- Take a clean cloth or a soft-bristled brush: Dip it in rubbing alcohol, and then gently scrub the ink-stained area.
- Use circular motions: Scrub the stained area in circular motions, working gradually from the outer edges toward the center. This helps prevent spreading the ink stain further.
- Apply gentle pressure: While scrubbing, apply just enough pressure to remove the ink stain without damaging the dryer’s surface. Avoid using excessive force, which could cause scratches or surface abrasions.
- Continue scrubbing: Repeat the scrubbing process until you see the ink stain gradually fading away. You may need to reapply rubbing alcohol to the cloth or brush as needed.
Remember to be patient and gentle while scrubbing to achieve the best results. Once you are satisfied with the removal of the ink stains, it’s time to proceed to the next step of repeating the process if necessary.
To remove ink from a dryer, soak a clean cloth in rubbing alcohol and gently scrub the stained area. Repeat until the ink is gone, then wipe with a damp cloth to remove any residue.
Step 5: Repeat the Process
If the ink stains on your dryer are stubborn or have not completely disappeared after the initial scrubbing, it’s time to repeat the previous steps. By repeating the process, you can further break down and remove any remaining ink stains.
Here’s how to proceed with repeating the process:
- Assess the ink stains: Take a closer look at the stained areas of the dryer. If you notice any remaining ink stains, it’s time to repeat the previous steps.
- Apply rubbing alcohol again: Moisten a clean cloth or cotton ball with rubbing alcohol.
- Gently dab and scrub: Apply the rubbing alcohol to the remaining ink stains and gently dab and scrub as you did in the previous steps.
- Let the alcohol sit: Give the rubbing alcohol some time to penetrate and break down the stubborn ink stains.
- Scrub the stained areas: Use circular motions and gentle pressure to scrub the remaining ink stains.
- Repeat as necessary: If the ink stains are still visible, continue repeating the process until the stains fade away completely.
Remember that patience and persistence are essential in dealing with stubborn ink stains. By repeating the process, you increase your chances of achieving a stain-free dryer. Once you are satisfied with the results, it’s time to proceed to the next step of wiping down the dryer’s interior.
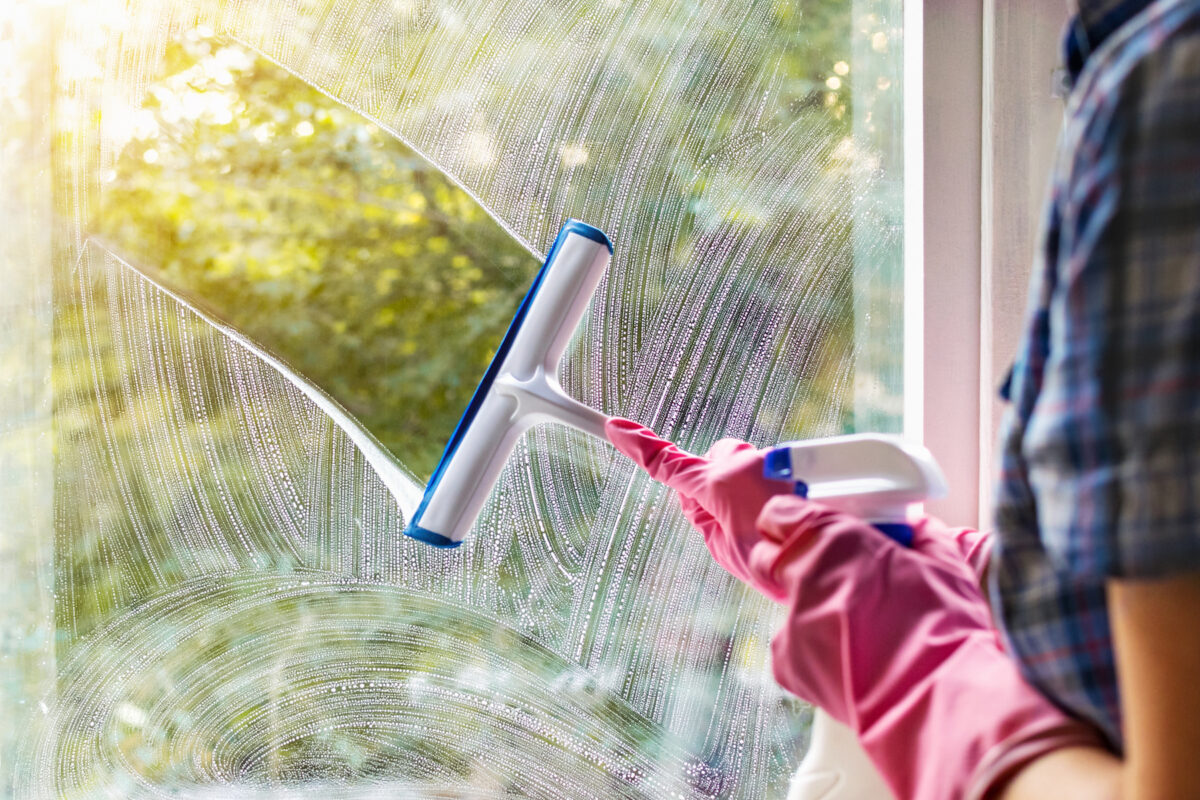
Step 6: Wipe Down the Dryer Interior
Now that you have successfully removed the ink stains from the exterior of your dryer, it’s important to give the interior a thorough cleaning as well. This step will help ensure that any residual ink or cleaning agents are eliminated, leaving your dryer clean and ready for use.
Here’s how to wipe down the dryer interior:
- Prepare a clean microfiber cloth: Use a clean, dry microfiber cloth to wipe down the interior surfaces of the dryer.
- Dampen the cloth: Moisten the cloth with clean water or a mixture of mild dish soap and water. Ensure that the cloth is only slightly damp, as excessive moisture can cause damage to the dryer.
- Wipe the interior surfaces: Starting from the back of the dryer, wipe down all the interior surfaces, including the walls, door, and drum. Pay extra attention to any areas that may have come into contact with the ink stains.
- Remove any residue: If you notice any residue from the rubbing alcohol or ink stains, gently rub the affected areas with the damp cloth to remove it.
- Dry the interior: Once you have wiped down all the surfaces, use a separate dry microfiber cloth to thoroughly dry the interior of the dryer. This will help prevent any moisture buildup or potential damage.
- Inspect for remaining stains: Take a moment to inspect the interior of the dryer to ensure that all ink stains have been effectively removed. If you notice any lingering stains, you can repeat the previous steps as necessary.
By thoroughly wiping down the interior of your dryer, you can remove any remaining traces of ink or cleaning agents, leaving you with a clean and fresh appliance. Now that the interior is clean, it’s time to move on to the next step of cleaning the dryer drum.
Step 7: Clean the Dryer Drum
After wiping down the interior surfaces of your dryer, it’s important to focus on cleaning the dryer drum itself. This step will ensure that any residual ink or cleaning agents are eliminated from the drum, preventing future stains on your clothes.
Here’s how to clean the dryer drum:
- Prepare a mixture of mild dish soap and water: In a basin or bucket, mix a small amount of mild dish soap with water to create a soapy solution.
- Dampen a clean cloth or sponge: Dip a clean cloth or sponge into the soapy solution and wring out any excess water. The cloth or sponge should be damp, not soaking wet.
- Wipe down the dryer drum: Start at the back of the dryer drum and work your way towards the front, wiping down the entire surface with the damp cloth or sponge. Be sure to pay close attention to any areas that may have been affected by the ink stains.
- Rinse with clean water: Once you have wiped down the drum with the soapy solution, rinse the cloth or sponge with clean water and squeeze out any excess moisture. Use the damp cloth or sponge to rinse off any remaining soap residue from the dryer drum.
- Dry the drum: After rinsing, use a separate clean and dry cloth to thoroughly dry the drum. Ensure that there is no moisture left in the drum before using the dryer again.
By cleaning the dryer drum, you eliminate any leftover ink stains or cleaning agents, reducing the risk of them transferring onto your clothes during future drying cycles. After completing this step, it’s essential to check for any remaining stains or residue before reconnecting and testing the dryer.
Step 8: Check for Remaining Stains
After cleaning the interior surfaces and drum of your dryer, it’s crucial to take a moment to thoroughly inspect for any remaining ink stains or residue. This step will ensure that your dryer is completely free from any traces of ink before reconnecting and testing it.
Here’s how to check for remaining stains:
- Use a bright light source: Whether it’s a flashlight or natural sunlight, make sure you have sufficient lighting to thoroughly examine the interior of your dryer.
- Closely inspect all surfaces: Look carefully at all interior surfaces, including the walls, door, and drum. Pay attention to areas that were previously stained or areas that may have been missed during the cleaning process.
- Check for any discoloration or residue: Look for any discoloration, faint stains, or residue that may indicate the presence of remaining ink. If you notice any of these, you may need to repeat the previous steps or focus on treating those specific areas.
- Take your time: Be patient and thorough during the inspection process. It’s important to ensure that your dryer is completely clean and free from any ink remnants.
If you identify any remaining stains or residue, repeat the appropriate steps to address the specific areas. By being diligent in your inspection, you can ensure that your dryer is in pristine condition before moving on to the final step of reconnecting and testing it.
Step 9: Reconnect and Test the Dryer
Once you have thoroughly checked for any remaining ink stains and are satisfied with the cleaning results, it’s time to reconnect your dryer and test it to ensure everything is functioning properly.
Follow these steps to reconnect and test your dryer:
- Move the dryer back into its original position: Gently push the dryer back against the wall, ensuring that it is stable and properly aligned.
- Plug the power cord back into the electrical outlet: Connect the power cord of the dryer to the appropriate electrical outlet securely.
- Check other connections: Ensure that any other disconnected connections or hoses, such as the vent hose, are properly reconnected.
- Turn on the dryer: Switch on the dryer and select a short, low heat cycle to test its functionality. Allow the dryer to run for a few minutes to ensure that it is working as expected.
- Monitor for any issues: Pay close attention to the dryer during the testing process. Listen for any unusual noises or vibrations and observe the drying performance to ensure it is operating smoothly.
If you encounter any problems or notice any issues during the testing phase, it is advisable to consult a professional technician to resolve any potential concerns.
Congratulations! You have successfully gone through the process of removing ink stains from your dryer and tested its functionality. With proper care and maintenance, your dryer can continue to provide efficient and stain-free drying for your clothes.
Now that you have completed all the steps, you can enjoy the peace of mind that comes with a clean and functioning dryer. Remember to take precautions in the future to prevent any ink stains from occurring, such as double-checking pockets before putting clothes in the dryer.
Thank you for following our guide. We hope these steps have been helpful in restoring your dryer to its optimal condition.
Conclusion
Dealing with ink stains in your dryer can be a frustrating experience, but with the right materials, safety precautions, and a systematic approach, you can successfully remove those stubborn stains. By following the step-by-step guide provided in this article, you can achieve stain-free results and restore your dryer to its pristine condition.
We started by gathering the necessary materials, including rubber gloves, rubbing alcohol, clean cloths, and mild dish soap. We then emphasized the importance of taking safety precautions, such as wearing gloves, working in a well-ventilated area, and disconnecting and unplugging the dryer before cleaning.
The step-by-step process began with removing excess ink by blotting the stains and then applying rubbing alcohol to the affected areas. We then proceeded to gently scrub the ink stains using circular motions and repeat the process if necessary. Afterward, we wiped down the dryer’s interior surfaces and cleaned the dryer drum to ensure a thorough cleaning.
Next, we inspected for any remaining stains or residue, addressing them accordingly. Finally, we reconnected and tested the dryer to ensure it was functioning properly and free from any ink remnants.
By following these steps and exercising patience and attention to detail, you can effectively remove ink stains from your dryer and prevent them from transferring onto your clothes during future drying cycles.
Remember, accidents happen, but armed with the knowledge and the right approach, you can mitigate the impact and restore your dryer to its optimal condition. Taking preventative measures, such as checking pockets for pens or markers before using the dryer, can help you avoid future incidents and the hassle of ink stains.
Thank you for taking the time to read our comprehensive guide. We hope it has been helpful in guiding you through the process of removing ink stains from your dryer. Enjoy your stain-free drying experience!
Frequently Asked Questions about How To Get Ink Out Of A Dryer: Steps To Stain-free Results
Was this page helpful?
At Storables.com, we guarantee accurate and reliable information. Our content, validated by Expert Board Contributors, is crafted following stringent Editorial Policies. We're committed to providing you with well-researched, expert-backed insights for all your informational needs.

0 thoughts on “How To Get Ink Out Of A Dryer: Steps To Stain-free Results”