Home>Interior Design>How To Wallpaper A Ceiling: 5 Steps For Getting Pro Results
Interior Design
How To Wallpaper A Ceiling: 5 Steps For Getting Pro Results
Modified: October 20, 2024
Learn how to wallpaper a ceiling like a professional with these 5 easy steps. Transform your interior design with stunning results.
(Many of the links in this article redirect to a specific reviewed product. Your purchase of these products through affiliate links helps to generate commission for Storables.com, at no extra cost. Learn more)
Introduction
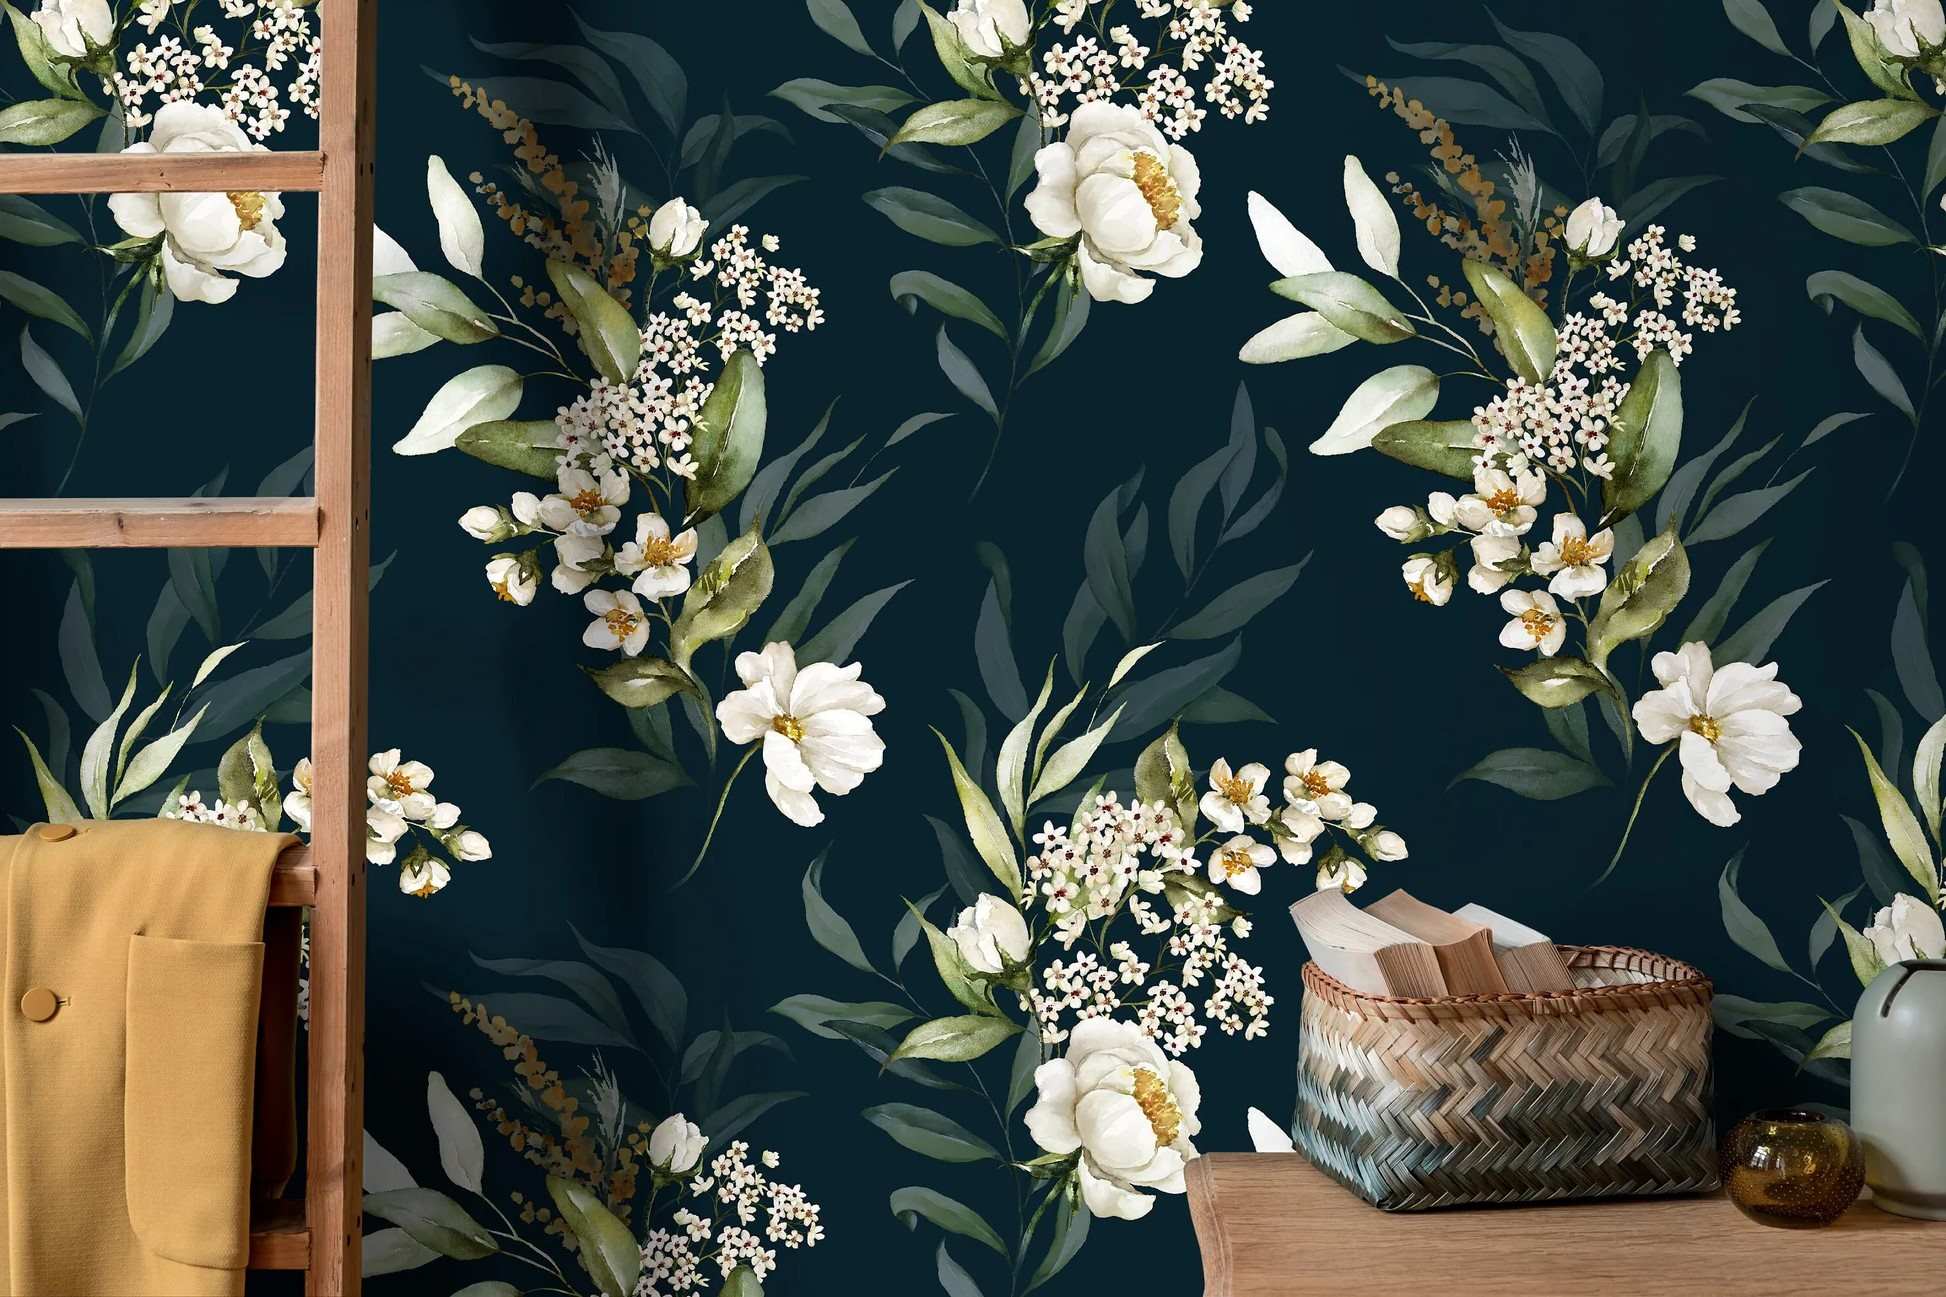
Welcome to the exciting world of interior design, where even the smallest details can make a big impact. If you’re looking to elevate the style and ambiance of a room, one often overlooked area to consider is the ceiling. While many people focus on walls, floors, and furniture, wallpapering the ceiling can add a touch of sophistication and create a truly unique and stunning space.
In this article, we will guide you through the process of wallpapering a ceiling, providing you with the knowledge and steps needed to achieve professional results. Wallpapering a ceiling may seem like a daunting task, but with our step-by-step instructions and helpful tips, you’ll be able to transform any room in your home into a captivating and visually enticing haven.
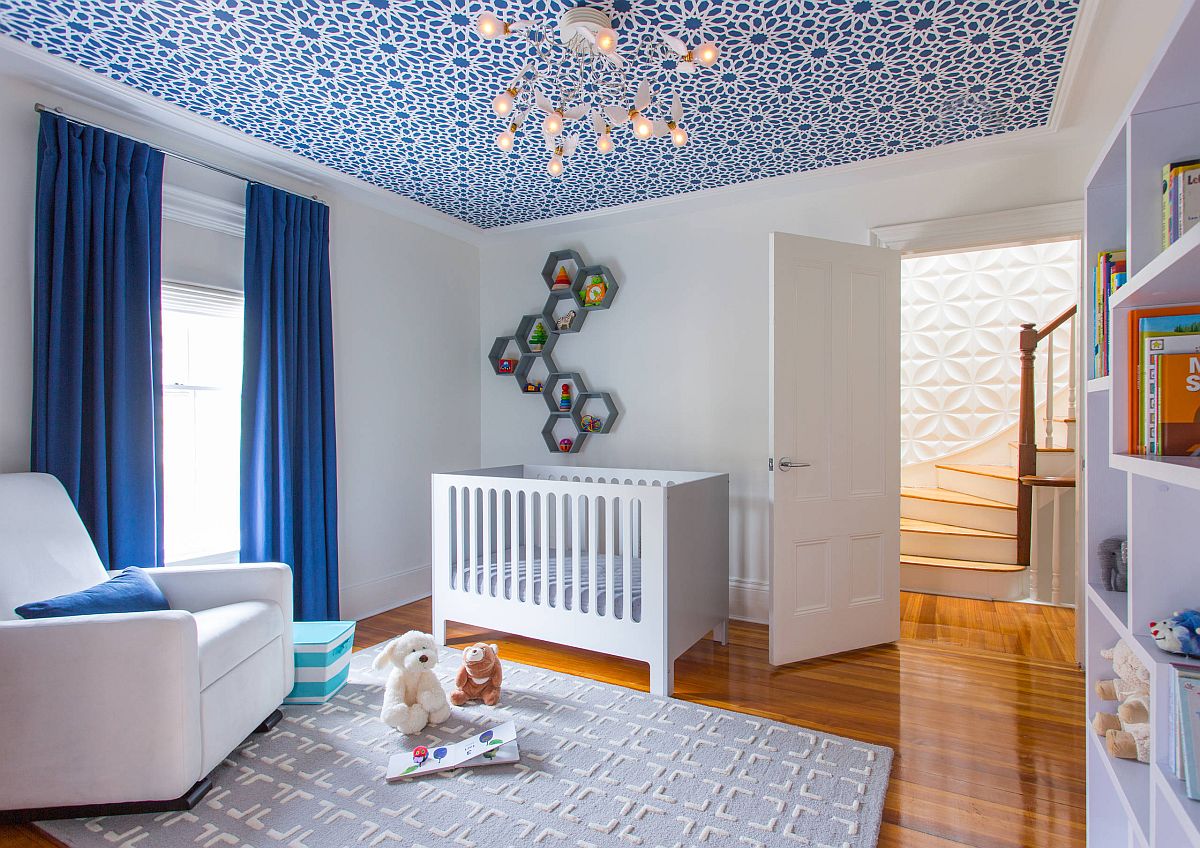
Before we dive into the step-by-step process, let’s take a moment to understand why wallpapering the ceiling can be such a game-changer in interior design. Ceilings are often an underutilized canvas that has the potential to make a significant impact on the overall aesthetic of a room. By wallpapering the ceiling, you can introduce patterns, textures, and colors that complement the rest of the space, creating a cohesive and inviting atmosphere.
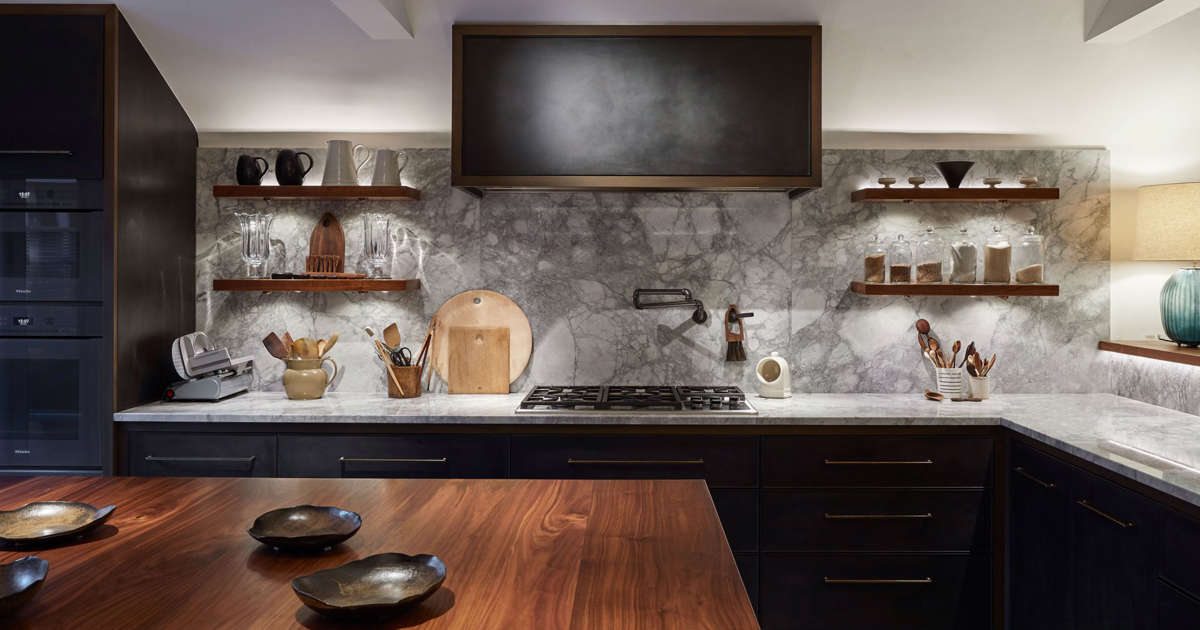
Furthermore, wallpapering the ceiling can also help to visually define specific areas within a room. For example, in an open-plan living space, wallpapering the ceiling above the dining area can help to distinguish it from the rest of the room. This technique adds depth and dimension, making the space feel more purposeful and visually interesting.
Now that we understand the importance of wallpapering the ceiling, let’s dive into the step-by-step process to achieve pro results. From preparing the ceiling to applying wallpaper adhesive and hanging the wallpaper, we’ll guide you through each phase of the project. So, grab your tools and let’s get started!
Key Takeaways:
- Elevate your space with a stunning and unique touch by wallpapering the ceiling, creating a cohesive and visually captivating atmosphere that defines and enhances the room’s aesthetic.
- With careful preparation, precise measurements, and attention to detail, you can achieve professional results and transform your space into a visually stunning masterpiece.
Step 1: Preparing the Ceiling
Before you begin wallpapering your ceiling, it’s essential to ensure that the surface is properly prepared. This will not only help the wallpaper adhere better but also result in a smoother and more professional finish. Follow these steps to prepare your ceiling for wallpapering:
- Clean the Ceiling: Start by removing any dust, dirt, or debris from the ceiling. Use a broom or vacuum with a brush attachment to gently sweep away any loose particles. If there are any stains or grease spots, clean them with a mild detergent solution and a soft cloth. Allow the ceiling to dry completely before proceeding to the next step.
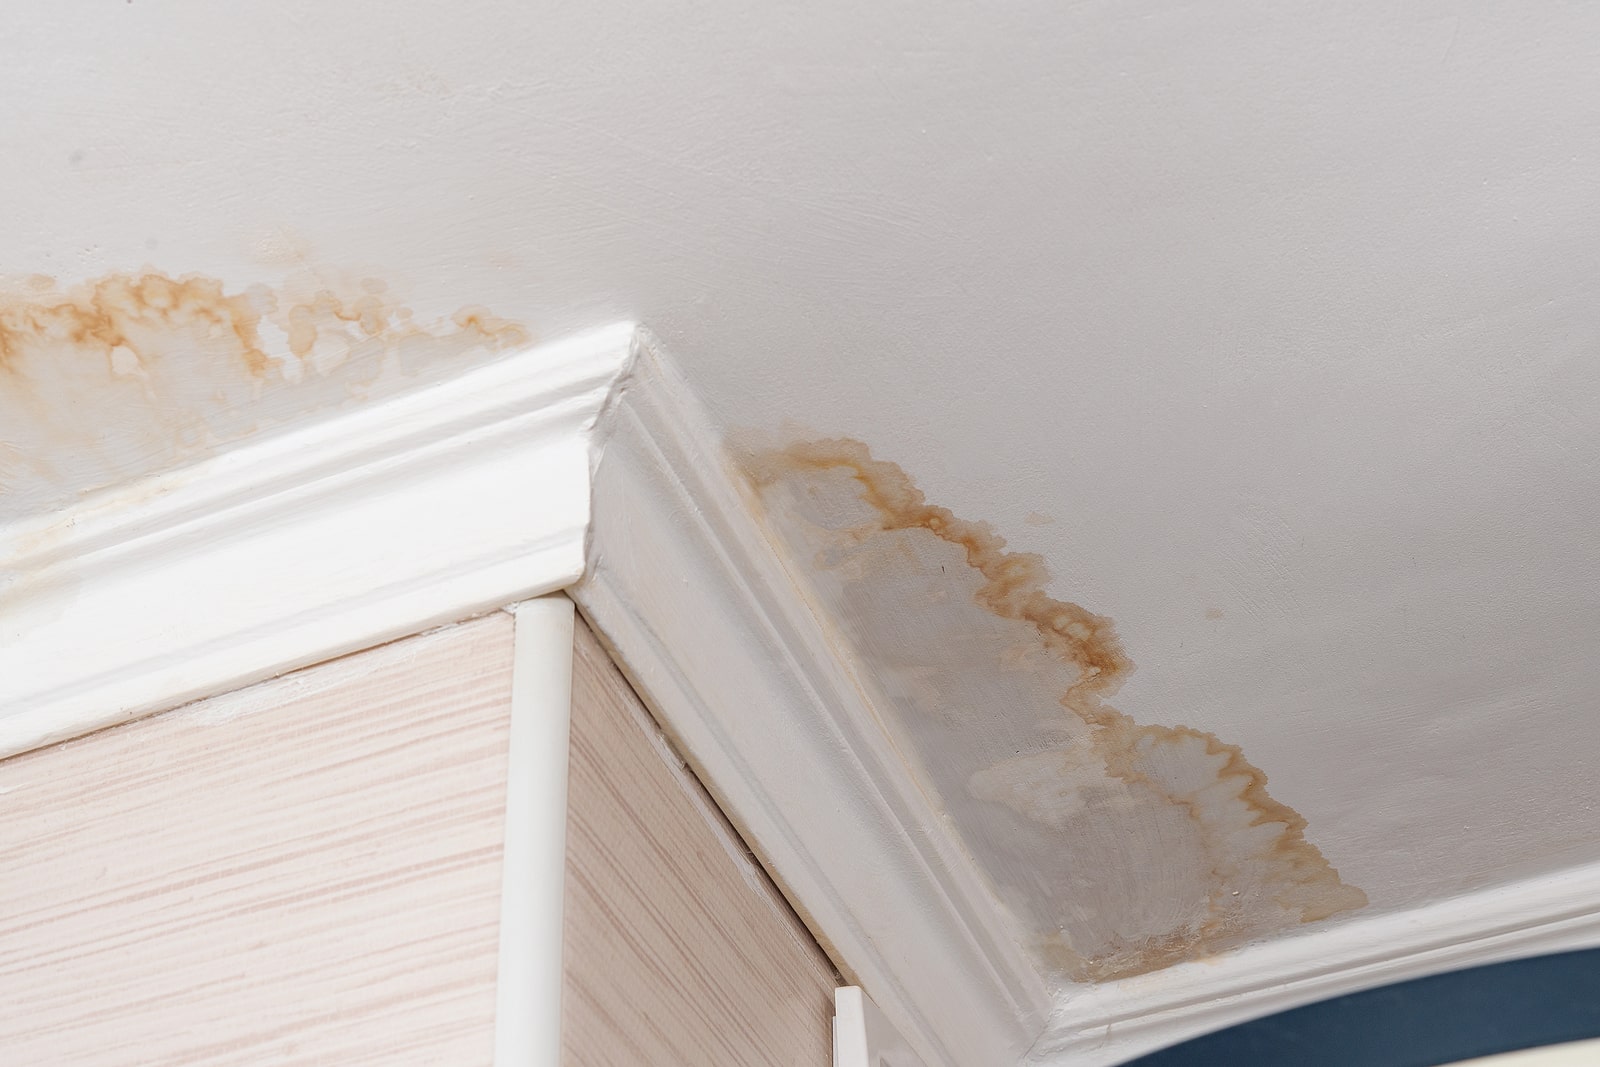
- Repair Any Damage: Inspect the ceiling for any cracks, holes, or imperfections. Fill these with a suitable spackling compound and smooth out with a putty knife. Allow the compound to dry and then sand the area gently to create a smooth and even surface. Wipe away any dust produced during sanding.
- Apply a Primer: Applying a primer to the ceiling is crucial as it helps the wallpaper adhere better and provides a more even base. Choose a primer that is suitable for your ceiling material, such as a water-based primer for drywall or an oil-based primer for more challenging surfaces. Apply the primer according to the manufacturer’s instructions and allow it to dry thoroughly.
- Protect the Walls and Floors: As you work on the ceiling, it’s essential to protect the walls and floors from any potential damage. Cover the walls with painter’s tape, extending it slightly onto the ceiling, to create a clean and defined edge. Lay down drop cloths or plastic sheets on the floor to catch any drips or spills.
By taking the time to properly prepare your ceiling, you are setting the foundation for a successful and professional wallpapering project. These steps will ensure that the wallpaper adheres securely, resulting in a long-lasting and visually stunning finish. Now that your ceiling is prepared, it’s time to move on to the next step: measuring and cutting the wallpaper.
Step 2: Measuring and Cutting the Wallpaper
Accurate measurements and precise cutting are crucial for a seamless and professional-looking wallpaper installation. Here’s how to measure and cut the wallpaper for your ceiling:
- Measure the Ceiling: Start by measuring the length and width of your ceiling. Use a measuring tape and record the measurements in inches or centimeters. It’s essential to measure the ceiling accurately to determine the amount of wallpaper you’ll need.
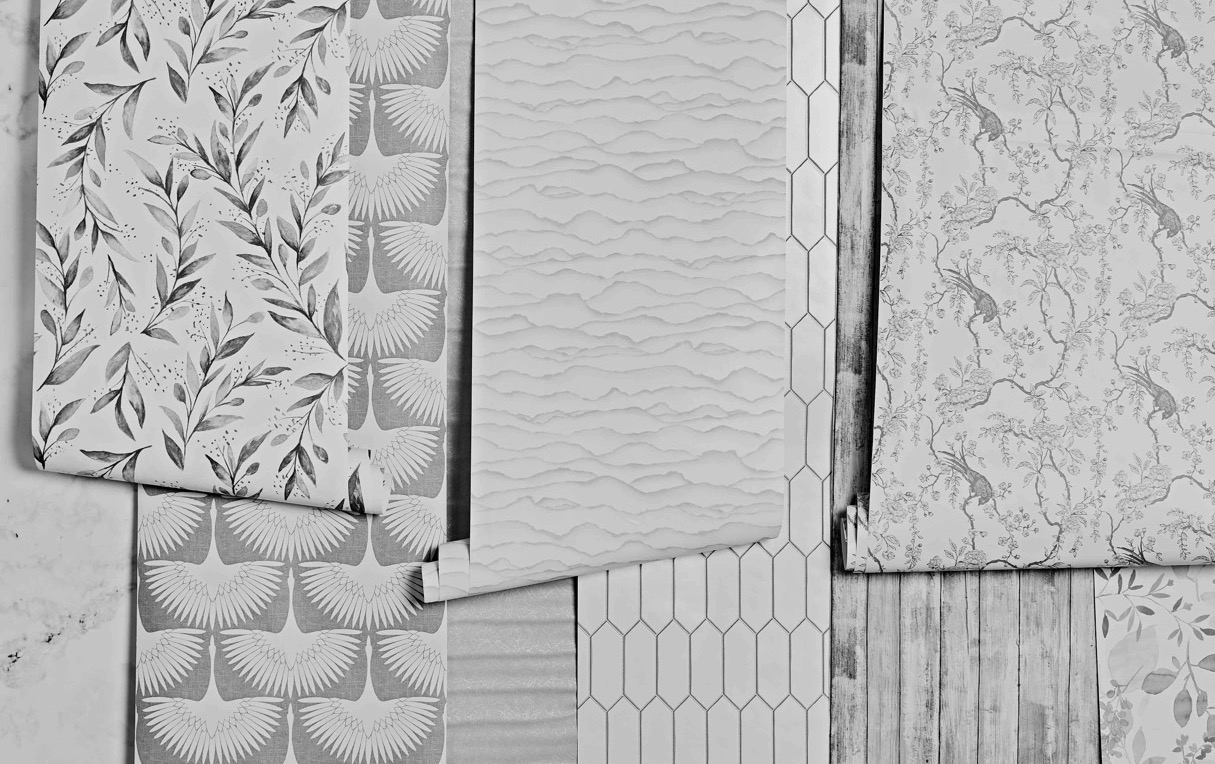
- Add Extra for Pattern Matching: If your wallpaper has a pattern, it’s important to account for pattern matching. This means adding extra length to each strip of wallpaper to ensure that the pattern aligns when hung on the ceiling. Check the wallpaper manufacturer’s instructions to determine the recommended amount for pattern matching.
- Calculate the Number of Rolls: With your measurements and pattern matching allowance in hand, calculate the number of rolls of wallpaper needed. Most wallpaper rolls have a standard width of 20 inches (50 cm). Divide the width of your ceiling by the width of the wallpaper roll to determine the number of strips required. Then divide the length of your ceiling by the length of a roll (accounting for pattern matching) to determine the number of rolls needed.
- Pre-Cut the Strips: Once you have the required number of rolls, it’s time to cut the wallpaper into manageable strips. Measure the length of your ceiling (including any extra for pattern matching) and mark the measurements on the back of the wallpaper with a pencil. Use a straight edge, such as a ruler or a large T-square, to create a straight cutting line.
- Cut the Wallpaper: With the measurements marked, carefully cut along the lines using a sharp utility knife or wallpaper scissors. Take your time to ensure clean and precise cuts. As you finish cutting each strip, label them in the order they will be hung to avoid confusion later on.
By accurately measuring and cutting your wallpaper, you will save time and prevent unnecessary waste. Ensuring that the strips are the correct size and properly labeled will make the hanging process much smoother. Now that your wallpaper strips are prepared, it’s time to move on to the next step: applying wallpaper adhesive.
Step 3: Applying Wallpaper Adhesive
Wallpaper adhesive, also known as wallpaper paste, is a crucial component in ensuring that your wallpaper sticks to the ceiling securely. Follow these steps to apply wallpaper adhesive:
- Select the Right Adhesive: Different types of wallpaper require specific types of adhesive. Refer to the wallpaper manufacturer’s instructions to determine the recommended adhesive for your specific wallpaper. Ensure that you have enough adhesive for the entire project.
- Prepare the Adhesive: Follow the instructions provided by the wallpaper adhesive manufacturer to prepare the mixture. This typically involves mixing the adhesive with water and stirring until it has a smooth and creamy consistency. Allow the adhesive to sit for a few minutes as recommended by the manufacturer.
- Apply the Adhesive: Starting from one end of the first wallpaper strip, use a paintbrush or a wallpaper roller to apply a thin and even layer of adhesive to the back of the wallpaper. Be sure to cover the entire surface, paying extra attention to the edges. Take care not to apply too much adhesive as it can cause the wallpaper to become too saturated.
- Book the Wallpaper: After applying adhesive to the first strip, fold or “book” the strip. This involves bringing the top and bottom edges of the wallpaper together, adhesive side in. This allows the adhesive to activate and allows time for the wallpaper to expand and become more pliable.
- Repeat for Additional Strips: Move on to the next strip, applying adhesive as before. Make sure to align the pattern, if applicable, and check that the edges are flush with the previous strip. Repeat the process for each strip, booking them as you go, until all the strips have been coated with adhesive.
Applying adhesive properly is vital to ensuring that your wallpaper adheres securely to the ceiling. It’s important to follow the manufacturer’s instructions and take your time to avoid any mishaps. Properly applying the adhesive will help you achieve a smooth and long-lasting wallpaper installation. With the adhesive applied, it’s time to move on to the next step: hanging the wallpaper on the ceiling.
Use a high-quality wallpaper adhesive to ensure the wallpaper sticks properly to the ceiling. This will help prevent any peeling or lifting over time.
Step 4: Hanging the Wallpaper on the Ceiling
Now comes the exciting part – it’s time to hang the wallpaper on the ceiling and see the transformation take place. Follow these steps to ensure a successful wallpaper installation:
- Start from a Reference Point: Choose a starting point that is visible and easily accessible, such as a corner or a prominent feature in the room. This will serve as a reference point for aligning the wallpaper strips.
- Unbook the Wallpaper: Begin by unbooking the first strip of wallpaper that you applied adhesive to. Gently unfold the top half of the strip, making sure not to let it stick to itself, and position it against the ceiling, starting from your chosen reference point.
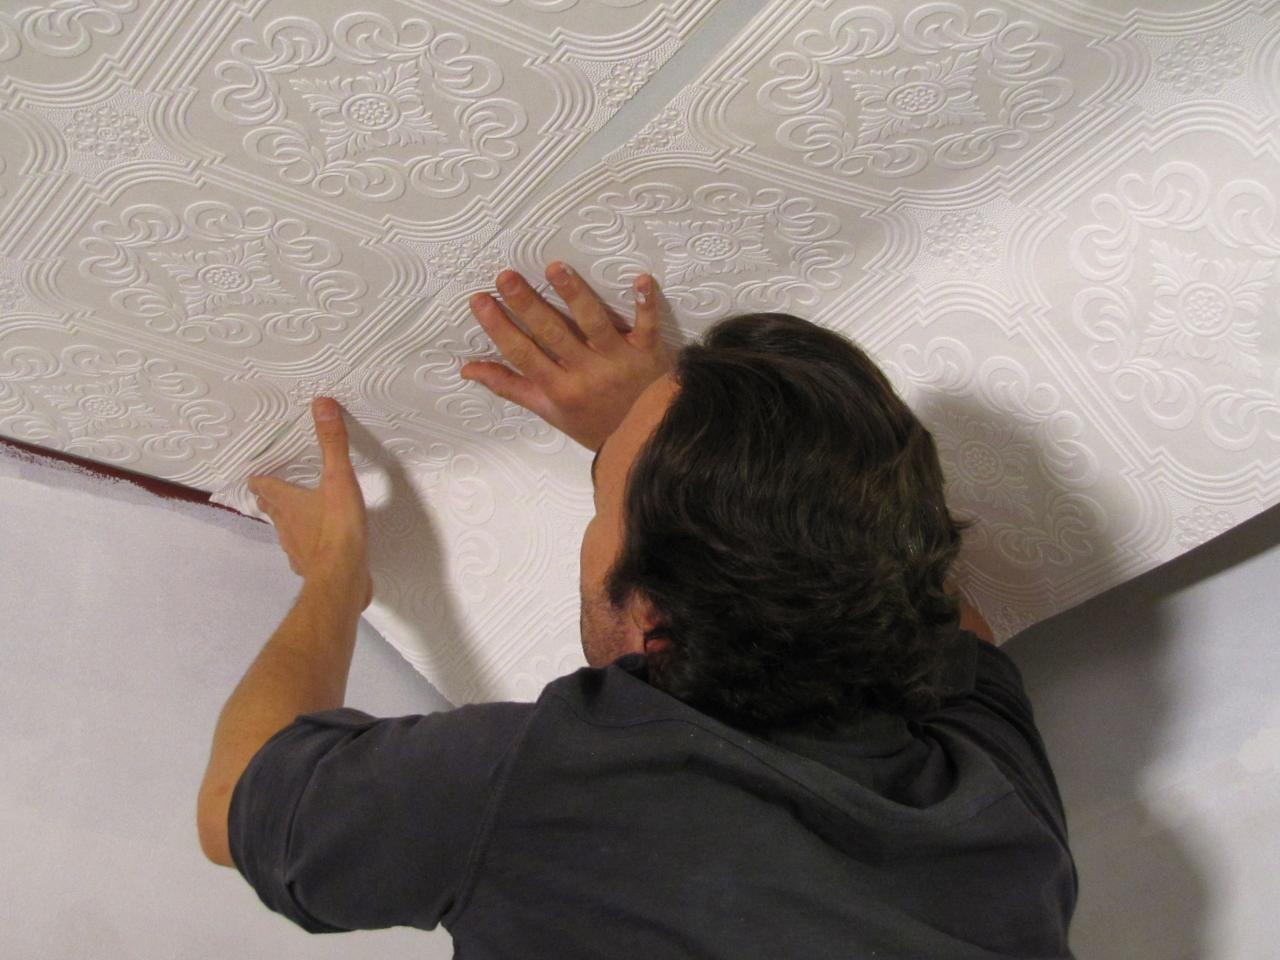
- Smooth and Align: Using a smoothing brush or a wallpaper brush, gently smooth the wallpaper from the center outwards, removing any air bubbles or wrinkles as you go. Ensure that the edge of the strip aligns with the reference point and any adjacent strips, following the pattern if applicable.
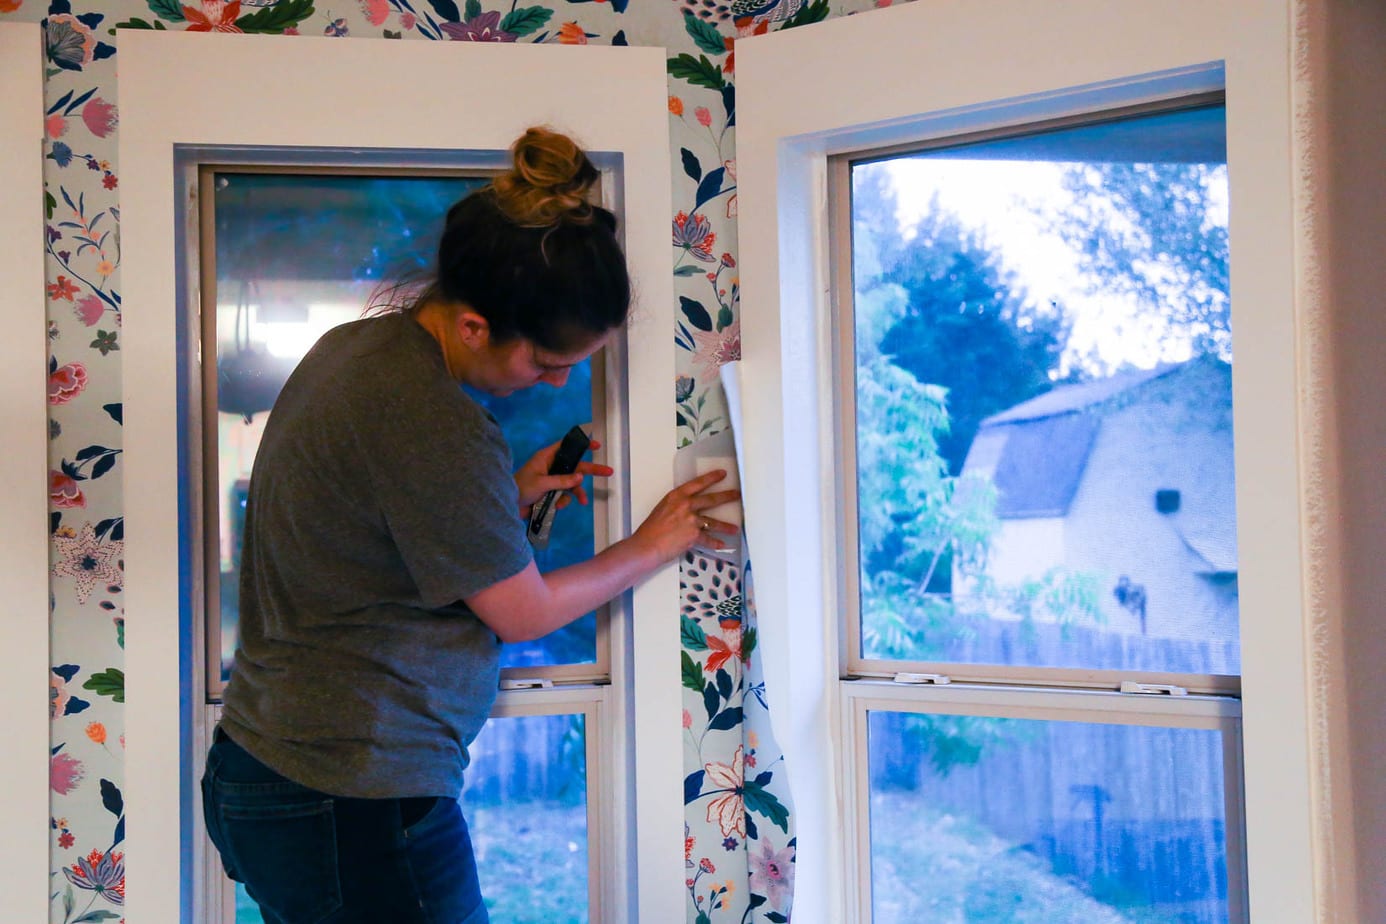
- Trim Excess: Once the first strip is properly positioned, use a sharp utility knife or wallpaper scissors to trim any excess wallpaper at the edges. Take care to create clean and precise cuts to achieve a professional finish.
- Continue Hanging the Strips: Move on to the next strip, applying adhesive and booking as before. Position the strip next to the first one, paying attention to the pattern alignment and ensuring a tight seam. Repeat the process for each strip, smoothing, aligning, and trimming as you go.
- Overlap and Double-Cut: If your wallpaper pattern requires overlapping seams, carefully overlap the edges of the strips and use a double-cut technique. This involves using a straight edge and a sharp knife to cut through both layers of wallpaper, creating a precise and seamless join.
Hanging the wallpaper on the ceiling requires patience and precision. Take your time to ensure proper alignment, smoothness, and trimming. With each strip hung, you’ll start to see the room transform and the vision come to life. Once all the strips are hung and the seams are secure, it’s time to move on to the final step: trimming and adding finishing touches.
Step 5: Trimming and Finishing Touches
You’re almost done! The final step of wallpapering a ceiling involves trimming any excess wallpaper and adding those finishing touches to achieve a polished look. Follow these steps to complete the installation:
- Trim Excess Wallpaper: Once all the strips are securely hung and aligned, use a sharp utility knife or wallpaper scissors to carefully trim any excess wallpaper along the edges. Take your time to create clean and precise cuts, ensuring that the edges are flush and seamless.
- Smooth the Seams: Go back over the seams of the wallpaper with a seam roller or a clean, damp sponge. This will help to flatten the seams and create a seamless appearance.
- Touch Up with Paint: If there are any gaps or imperfections along the edges or seams, use a small brush and touch-up paint that matches the color of the wallpaper to hide any visible seams or discrepancies.
- Clean Up: Once the wallpaper installation is complete, clean up any adhesive residue or stray bits of wallpaper using a damp cloth or sponge. Take care not to damage or smudge the freshly installed wallpaper.
- Admire Your Work: Finally, step back and admire your newly wallpapered ceiling! Take a moment to appreciate the transformation and the hard work you put into achieving a professional and stunning result. Stand back and revel in the visual impact your wallpapered ceiling brings to the room.
With the trimming and finishing touches complete, your wallpapered ceiling is now ready to impress. It’s time to enjoy the unique and stylish atmosphere that wallpapering a ceiling can bring to your space. Whether it’s a bold pattern, a subtle texture, or a cohesive color scheme, your efforts in wallpapering the ceiling will undoubtedly make a statement and elevate the overall aesthetic of the room.
Congratulations on completing the process of wallpapering a ceiling! Now sit back, relax, and appreciate the beauty you’ve created in your home.
Conclusion
Wallpapering a ceiling is a fantastic way to add a touch of elegance, personality, and visual interest to any room. With the right preparation, tools, and techniques, you can achieve professional results and transform your space into a stunning masterpiece. Here’s a quick recap of the steps involved in wallpapering a ceiling:
- Prepare the Ceiling by cleaning, repairing any damage, applying a primer, and protecting the walls and floors.
- Measure and Cut the Wallpaper, accounting for pattern matching and calculating the number of rolls needed.
- Apply Wallpaper Adhesive, following the manufacturer’s instructions and providing a thin and even layer on the back of each strip.
- Hang the Wallpaper, starting from a reference point, smoothing and aligning the strips, and trimming any excess.
- Trim and Add Finishing Touches, ensuring clean cuts, smoothing the seams, touching up with paint if needed, and cleaning up any residue.
Taking the time to properly prepare the ceiling, measure and cut the wallpaper accurately, apply the adhesive correctly, and hang and finish the wallpaper with care will result in a professional and visually stunning ceiling. The transformation will not only elevate the room’s aesthetic but also create a unique and inviting atmosphere.
So, whether you choose a bold and vibrant pattern, a subtle and textured design, or a simple and elegant color scheme, don’t be afraid to let your creativity shine and make a statement with a wallpapered ceiling. Embrace the beauty of this often-overlooked canvas, and enjoy the visual impact it brings to your space.
Remember, wallpapering a ceiling may seem like a daunting task, but with patience, attention to detail, and the guidance provided in this article, you can achieve remarkable results. Let your imagination soar, and bring your vision to life as you embark on this exciting interior design adventure. Happy wallpapering!
Frequently Asked Questions about How To Wallpaper A Ceiling: 5 Steps For Getting Pro Results
Was this page helpful?
At Storables.com, we guarantee accurate and reliable information. Our content, validated by Expert Board Contributors, is crafted following stringent Editorial Policies. We're committed to providing you with well-researched, expert-backed insights for all your informational needs.


0 thoughts on “How To Wallpaper A Ceiling: 5 Steps For Getting Pro Results”