Home>Storage Ideas>Kitchen Storage>How To Refinish Kitchen Cabinets: For A Fresh New Look

Kitchen Storage
How To Refinish Kitchen Cabinets: For A Fresh New Look
Modified: September 1, 2024
Discover how to refinish your kitchen cabinets for a fresh new look with our expert tips and tricks. Explore the best kitchen storage ideas for maximizing space and functionality.
(Many of the links in this article redirect to a specific reviewed product. Your purchase of these products through affiliate links helps to generate commission for Storables.com, at no extra cost. Learn more)
Introduction
Welcome to our comprehensive guide on how to refinish kitchen cabinets for a fresh new look. The kitchen is often considered the heart of the home, and having cabinets that are worn out or outdated can diminish the overall aesthetic appeal of the space. However, completely replacing kitchen cabinets can be a costly endeavor. Fortunately, refinishing your cabinets is a more budget-friendly option that can still achieve amazing results.
In this article, we will take you through a step-by-step process to help you transform your kitchen cabinets and give them a renewed appearance. From removing the cabinet doors and drawers to applying a topcoat, our guide will provide you with all the essential information you need to successfully complete the project.
Refinishing your kitchen cabinets not only allows you to update the look of your kitchen, but it also allows you to exercise your creative flair. You can choose from a wide range of paint colors, stains, and finishes to achieve the exact style and ambiance you desire.
Before we dive into the process, it’s important to gather the necessary tools and materials. You will need a screwdriver, paintbrushes, sandpaper, a cleaning solution, primer, paint, and a topcoat. Additionally, make sure to allocate ample time for this project, as the drying and curing process can take several days.
Now, let’s get started on refreshing your kitchen cabinets and giving your kitchen a whole new look.
Key Takeaways:
- Transform your kitchen with a fresh new look by refinishing cabinets. Save money and exercise creativity with a wide range of paint colors and finishes for a personalized touch.
- Refinishing cabinets is a rewarding DIY project. Follow the step-by-step process to achieve a professional and long-lasting finish, showcasing your personal style and creativity.
Read more: How To Refinish Bathroom Vanity Cabinets
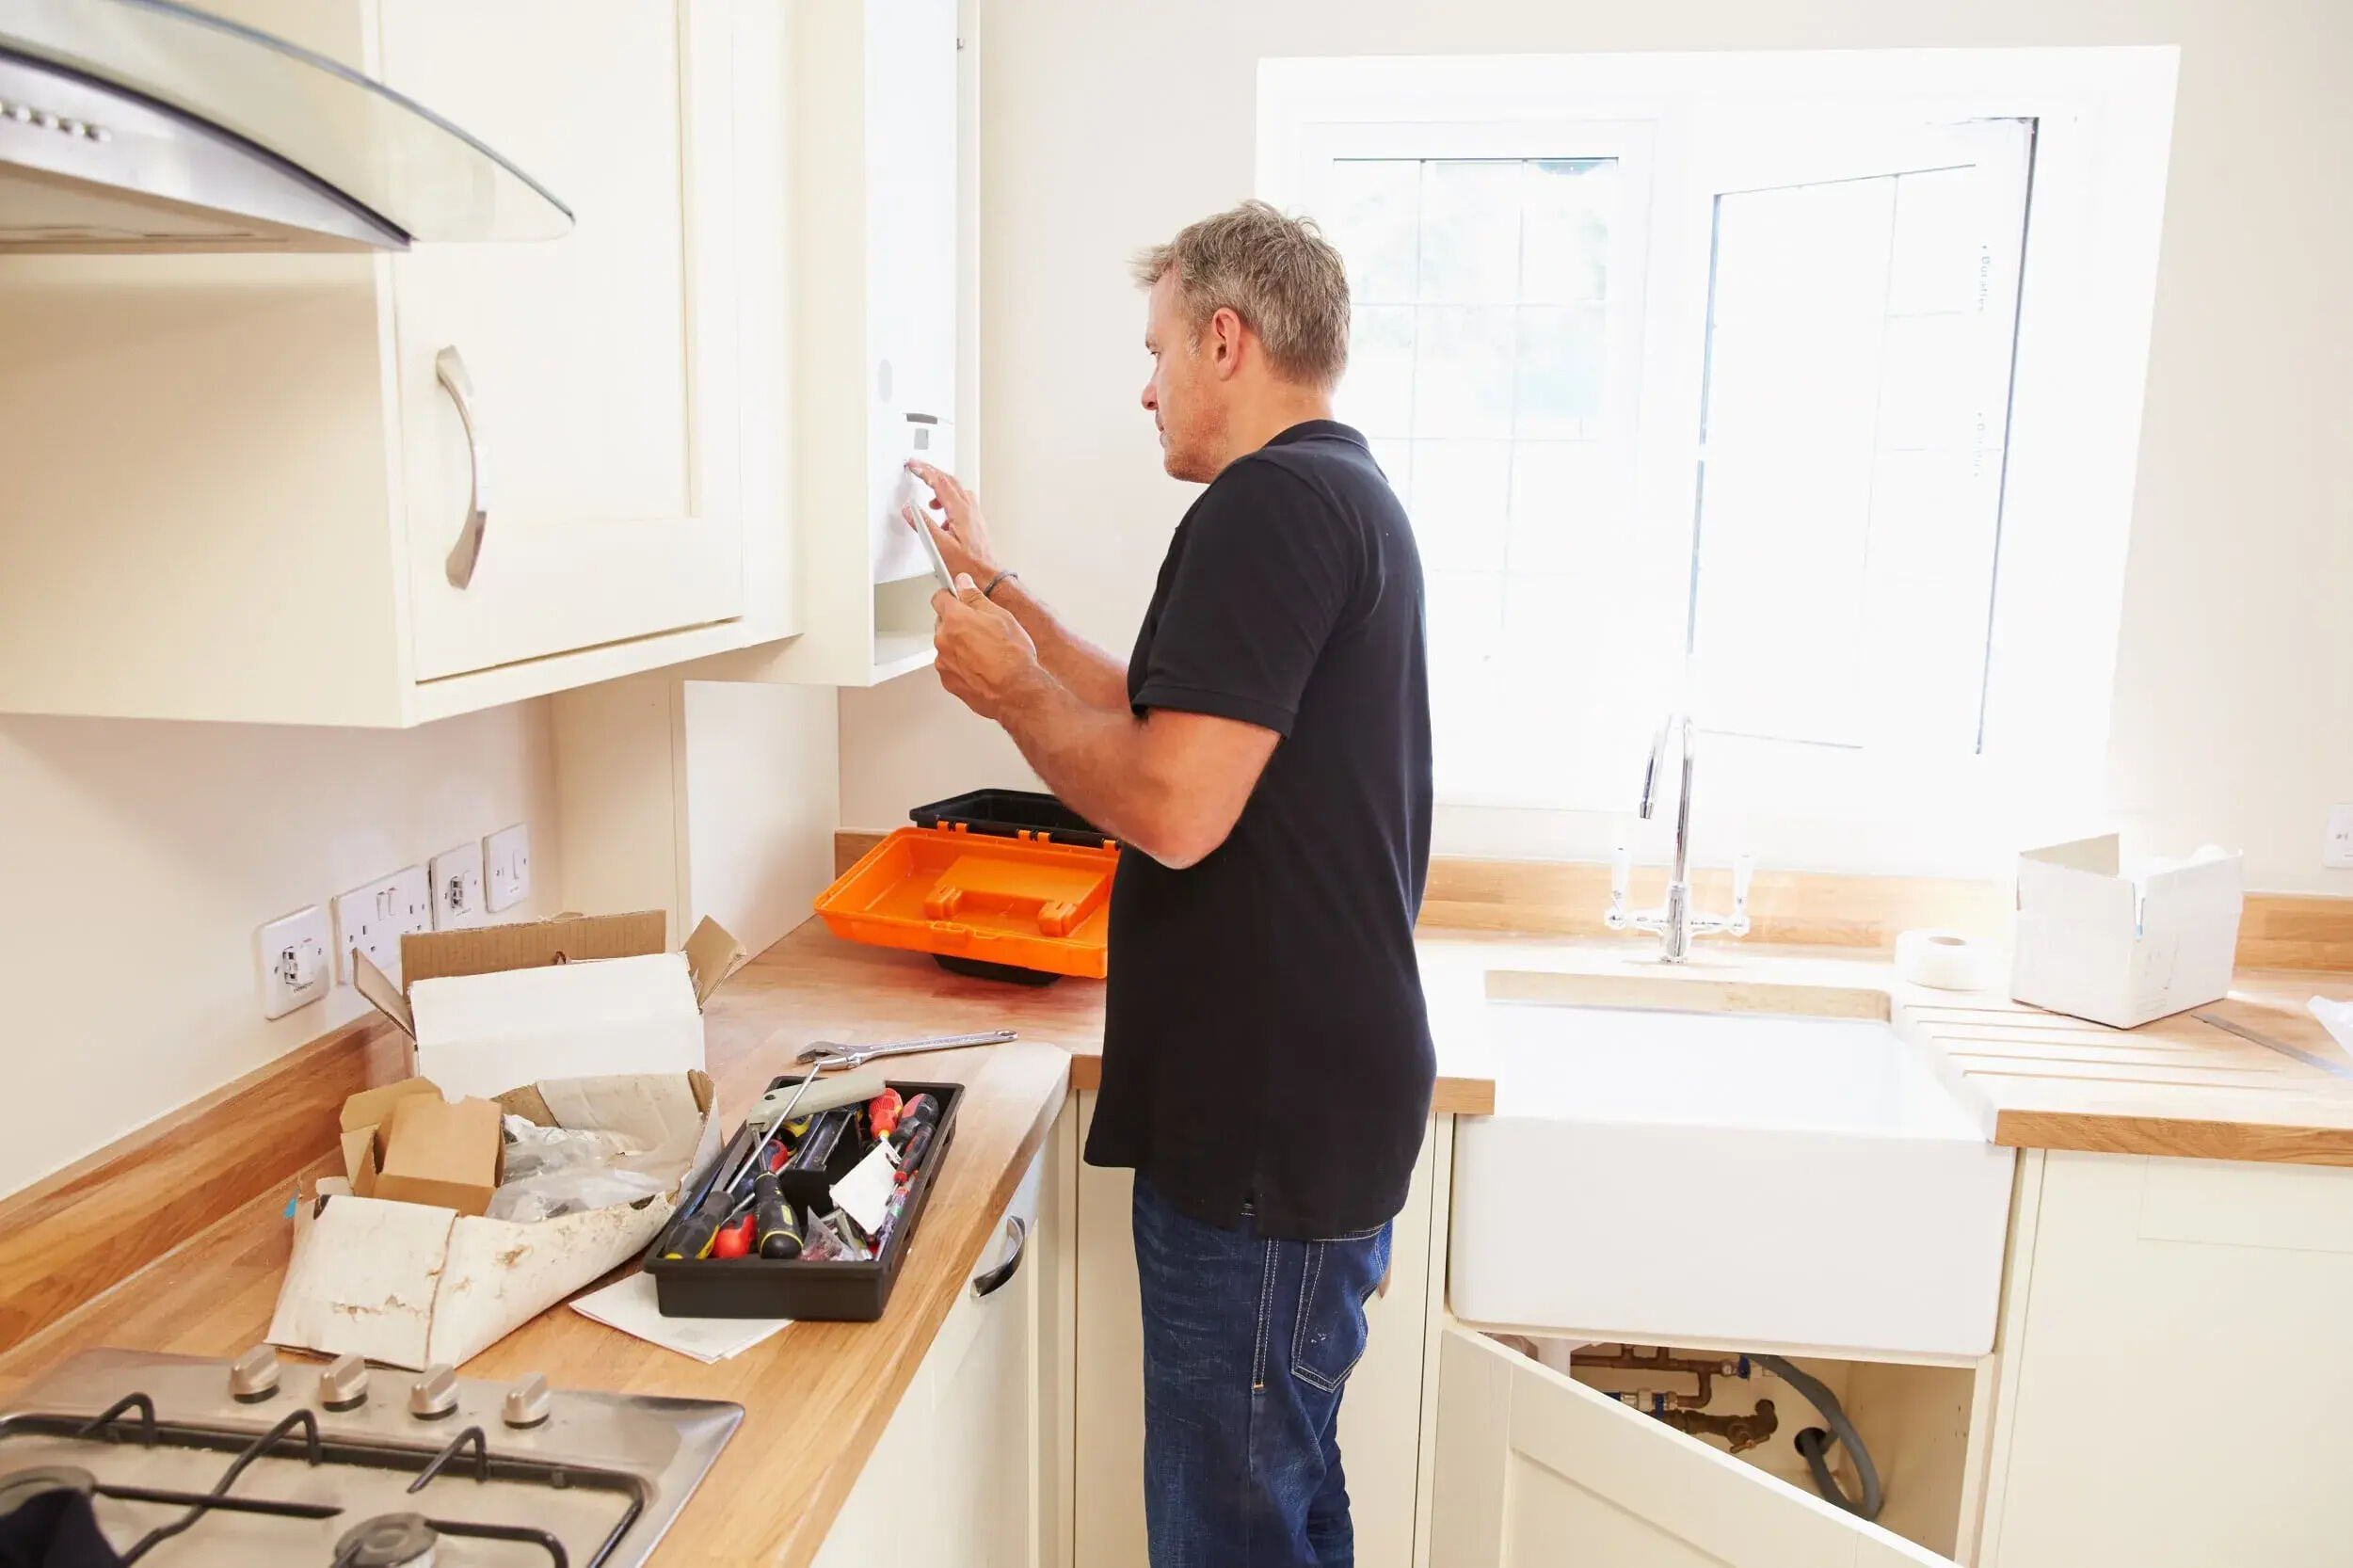
Step 1: Remove Cabinet Doors and Drawers
The first step in refinishing your kitchen cabinets is to remove the cabinet doors and drawers. This will allow you to work on each component individually and ensure an even and thorough refinishing process.
Start by emptying the cabinets and removing all the contents. Clearing out the cabinets will make the removal process easier and prevent any items from getting damaged during the refinishing process.
Next, using a screwdriver, carefully remove the screws that attach the cabinet doors to the hinges. Keep the screws in a safe place so that you can easily reattach the doors later. For cabinets with drawers, look for screws or other fasteners that hold the drawer fronts in place and remove them as well.
Once the doors and drawers are detached, store them in a clean and safe area away from the workspace. It’s a good idea to label each door and drawer according to its corresponding cabinet to ensure that they can be easily reinstalled.
Now that the cabinet doors and drawers are out of the way, you have clear access to the cabinet frames and can proceed with the next steps of the refinishing process.
By removing the cabinet doors and drawers, you are essentially breaking the project down into smaller, more manageable tasks. This will enable you to focus on each individual component and achieve a more precise and professional-looking finish.
Remember to handle the cabinet doors and drawers with care to prevent any damage. Store them in a space where they won’t be exposed to dust or potential hazards. This step sets the foundation for the rest of the refinishing process, so take your time and ensure that everything is removed safely and securely.
Now that the doors and drawers are safely stored, we can move on to the next step – cleaning and prepping the cabinets for refinishing.
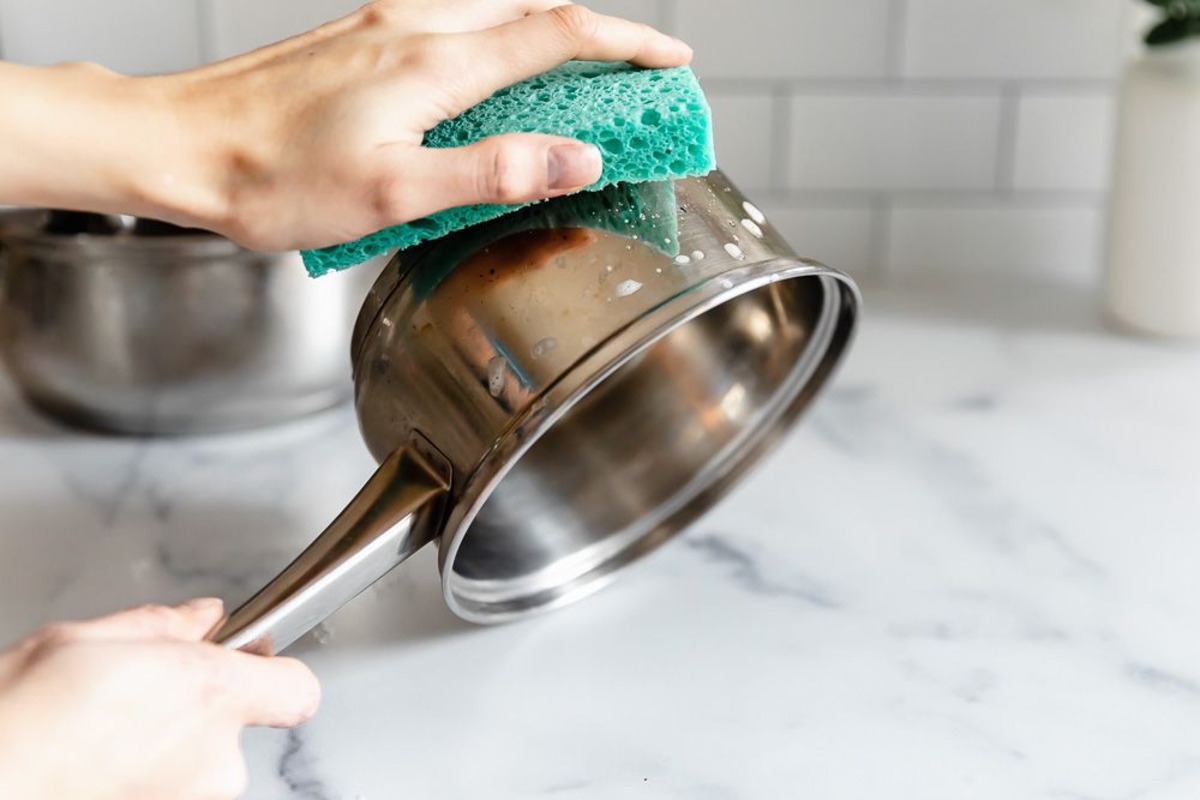
Step 2: Clean and Prep the Cabinets
Before you can begin refinishing your kitchen cabinets, it is essential to thoroughly clean and prep them. Over time, cabinets can accumulate grease, dirt, and grime, which can affect the adhesion of paint or stain. Cleaning the cabinets will ensure that you have a smooth and clean surface to work with.
Start by removing any remaining hardware, such as handles or knobs, from the cabinet doors and drawers. Place them in a labeled bag or container so they don’t get misplaced during the cleaning process.
Next, prepare a cleaning solution by mixing warm water and a mild detergent. Use a sponge or soft cloth soaked in the solution to gently scrub the cabinet surfaces, including the frames, doors, and drawer fronts. Pay special attention to areas that are prone to grease buildup, such as around the stove or near the sink.
Once you’ve thoroughly cleaned the cabinets, rinse off the soap residue with a clean damp cloth. Make sure to remove any remaining cleaning solution as it can interfere with the adhesion of the new finish.
After cleaning, give the cabinets ample time to dry completely. This step is crucial to ensure proper adherence of the primer and paint or stain. You can use a fan or open windows to help facilitate the drying process.
Once the cabinets are dry, it’s time to prepare them for refinishing. Start by lightly sanding the surfaces using fine-grit sandpaper. Sanding helps to roughen up the existing finish and create a better surface for the primer and paint or stain to adhere to. Be sure to sand in the direction of the wood grain and avoid applying too much pressure, as this can damage the surface.
After sanding, wipe the cabinets with a tack cloth to remove any dust particles. This will ensure a smooth and clean surface for the next steps of the refinishing process.
By taking the time to clean and prep the cabinets, you are setting the stage for a successful refinishing project. Properly cleaning and sanding the cabinets will ensure that the new finish adheres well and provides a long-lasting and beautiful result.
Now that the cabinets are clean and prepped, we can move on to the next step – sanding the cabinets to create a smooth and even surface.
Step 3: Sand the Cabinets
Once the cabinets are clean and prepped, the next step in refinishing them is sanding. Sanding the cabinets helps to create a smooth and even surface, removing any imperfections or roughness from the previous finish. This step is crucial for achieving a professional-looking result.
Start by using medium-grit sandpaper (around 120-150 grit) to sand the cabinet surfaces. It’s important to sand in the direction of the wood grain to avoid damaging the surface. Apply light to moderate pressure and keep the sandpaper flat against the cabinets to ensure an even sanding.
Focusing on one section at a time, work your way across the cabinet surfaces, including the frames, doors, and drawer fronts. Pay extra attention to areas with any raised edges or intricate details, as these areas can be more challenging to sand effectively.
After sanding with the medium-grit sandpaper, switch to a finer-grit sandpaper (around 220-240 grit) for a final smoothing. This will help to further refine the surface and eliminate any visible sanding marks or scratches.
As you sand, periodically wipe away the dust with a clean cloth or tack cloth. This will ensure that you have a clear view of the sanded surface and prevent any dust particles from interfering with the next steps of the refinishing process.
Once you’ve finished sanding all the cabinet surfaces, thoroughly wipe them down with a tack cloth to remove any remaining dust. It’s important to have a clean and dust-free surface before moving on to the next step.
Sanding the cabinets not only creates a smooth and even surface for the new finish but also helps the primer and paint or stain adhere better. It’s a crucial step in achieving a professional and long-lasting result.
Now that the cabinets are sanded, we can move on to the next step – applying primer to the cabinets.
Step 4: Apply Primer
After sanding the cabinets, the next step in refinishing is to apply a primer. Primer acts as a bond between the cabinet surface and the paint or stain, ensuring proper adhesion and enhancing the durability of the finish.
Before applying primer, make sure the cabinets are clean and free of dust from sanding. Wipe them down with a tack cloth to ensure a smooth and dust-free surface.
Choose a high-quality primer that is suitable for the type of cabinets you have. If you’re painting over stained wood cabinets, an oil-based or shellac-based primer is recommended. If you’re staining the cabinets, choose a wood primer or a primer specifically designed for staining.
Start by applying the primer to the cabinet frames using a brush or roller. Work in smooth, even strokes, following the direction of the wood grain. Make sure to cover all visible surfaces, including the edges and corners.
If your cabinets have intricate details or raised edges, use a smaller brush or foam brush to ensure complete coverage in those areas.
After applying primer to the frames, move on to the cabinet doors and drawer fronts. Place them on a flat surface and apply primer to one side, allowing it to dry according to the manufacturer’s instructions before flipping them over and priming the other side.
Allow the primer to dry completely before proceeding. The drying time will vary depending on the type of primer used and the environmental conditions. Follow the instructions provided by the manufacturer for the recommended drying time.
Once the primer is dry, inspect the cabinets for any areas that may need additional touch-ups or a second coat. It’s important to ensure that the entire surface is uniformly covered with primer to achieve the best result.
Applying primer to your cabinets provides a solid foundation for the paint or stain and helps achieve a professional and long-lasting finish. It enhances the adhesion and durability of the final coat and ensures a smooth and even appearance.
Now that the cabinets are primed and dry, we can move on to the next step – painting the cabinets.
When refinishing kitchen cabinets, be sure to thoroughly clean and sand the surfaces before applying a new coat of paint or stain. This will ensure a smooth and long-lasting finish.
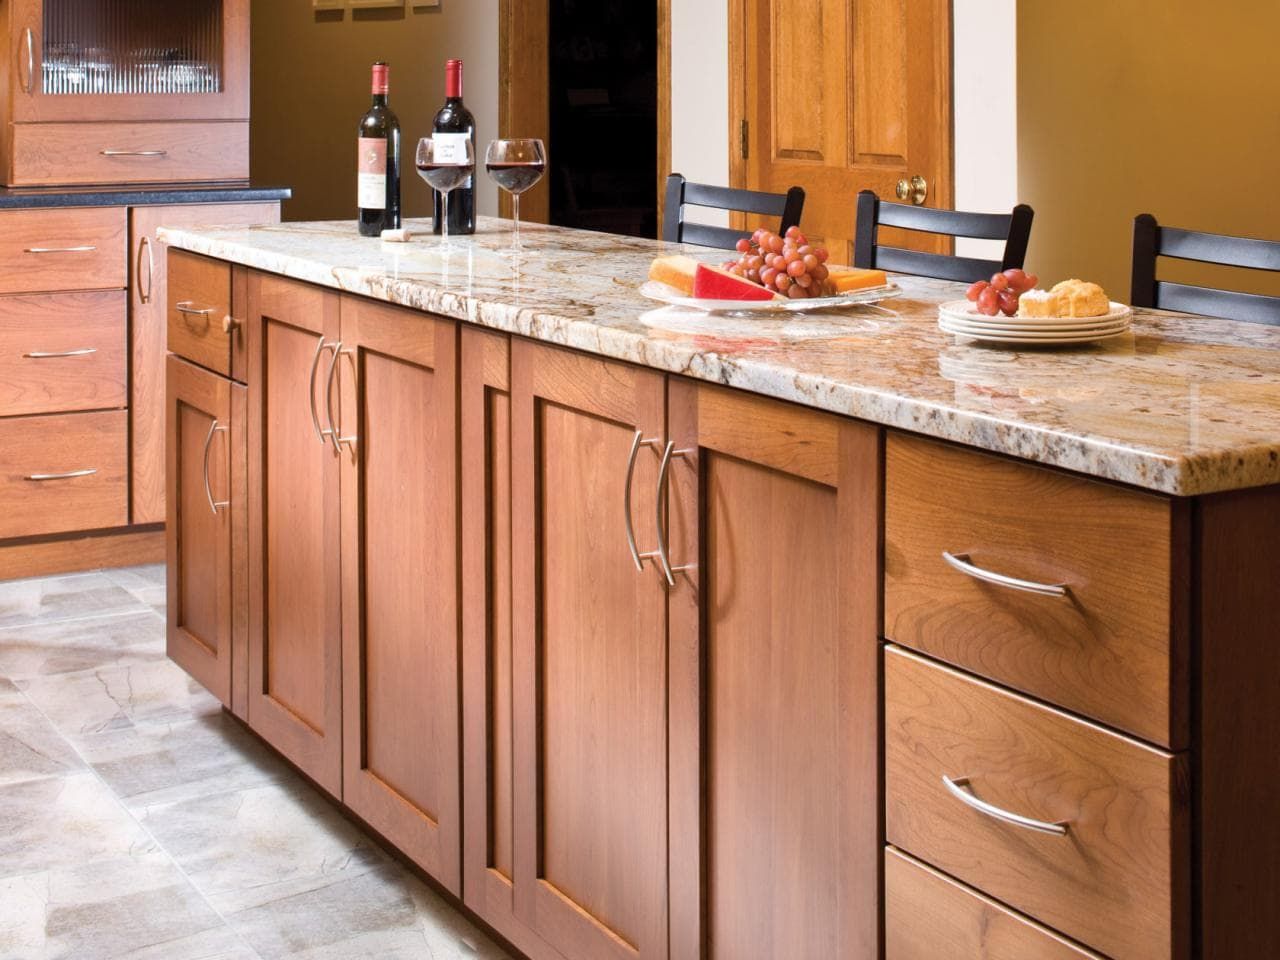
Step 5: Paint the Cabinets
After applying the primer, it’s time to paint your cabinets. Painting the cabinets is where you can truly unleash your creativity and transform the look and feel of your kitchen. Whether you prefer a classic white, bold and vibrant colors, or a sleek modern finish, painting allows you to achieve the desired aesthetic.
Before you begin painting, make sure the primer is completely dry. If needed, lightly sand any rough areas or imperfections with fine-grit sandpaper and remove any dust with a tack cloth.
Choose a high-quality paint specifically formulated for cabinets. Consider factors such as durability, washability, and the finish you desire. Semi-gloss or satin finishes are popular choices for kitchen cabinets as they are easier to clean and provide a sleek appearance.
Start by painting the cabinet frames using a brush or roller. Work in long, smooth strokes, following the direction of the wood grain. Apply thin layers of paint to avoid any drips or unevenness. Allow the first coat to dry according to the paint manufacturer’s instructions.
Once the first coat is dry, inspect the cabinets for any areas that may need touch-ups. Use a light sanding and a tack cloth to smooth out any imperfections before applying a second coat of paint. Repeat this process until you achieve the desired coverage and finish.
After painting the frames, move on to the cabinet doors and drawer fronts. Place them on a flat surface and paint one side, allowing it to dry before flipping them over and painting the other side. Be mindful of any edges or details that may require extra attention.
Take your time and work systematically to ensure a smooth and even application of paint. It’s better to apply multiple thin coats than one thick coat to avoid any unsightly drips or clumps.
Allow the final coat of paint to dry completely before moving on to the next step. The drying time will depend on the paint type and environmental conditions, so refer to the manufacturer’s instructions for guidance. Avoid touching or using the cabinets until they are fully dry.
Painting your cabinets can completely transform the look and feel of your kitchen. It’s an opportunity to express your personal style and create a space that is uniquely yours.
Now that the cabinets are beautifully painted and dry, we can move on to the next step – applying a topcoat for added protection and durability.
Step 6: Apply a Topcoat
Once the cabinets are painted and dry, it’s time to apply a topcoat. A topcoat serves as a protective layer, adding durability and enhancing the longevity of your newly painted cabinets. It provides an extra level of resistance against everyday wear and tear, moisture, and stains.
Before applying the topcoat, ensure that the painted surface is clean and free of any dust or particles. Wipe down the cabinets with a tack cloth to remove any unwanted residues.
Choose a clear topcoat specifically designed for cabinets. Satin or semi-gloss finishes are commonly used, as they provide a smooth and durable surface without being overly shiny.
Using a brush or roller, lightly apply the topcoat to the cabinet frames. Work in thin, even coats, following the direction of the wood grain. Take your time and ensure that the topcoat is evenly applied, covering all surfaces.
Once the frames are coated, move on to the cabinet doors and drawer fronts. Place them on a flat surface and apply the topcoat to one side, allowing it to dry before flipping them over and coating the other side. Pay attention to any edges or details, ensuring complete coverage.
Let the topcoat dry according to the manufacturer’s instructions before applying additional coats. Multiple thin coats are preferable to one thick coat, as they provide a smoother and more durable finish. Sand lightly between coats if necessary, removing any imperfections or roughness.
Allow the cabinets to fully cure before reassembling them. Curing time can vary depending on the product used, so refer to the manufacturer’s instructions for guidance. Avoid using or placing any objects on the cabinets until they have completely cured.
Applying a topcoat to your painted cabinets provides an additional layer of protection, making them more resistant to daily use, moisture, and stains. It ensures that your hard work will last for years to come, keeping your cabinets looking beautiful and fresh.
With the topcoat applied, we’re almost at the final step of the process – reassembling the cabinets.
Step 7: Reassemble the Cabinets
After completing the previous steps of cleaning, prepping, painting, and applying the topcoat, it’s time to reassemble your beautifully refinished kitchen cabinets. Reassembling the cabinets brings everything together and allows you to see the full transformation of your kitchen.
Start by retrieving the cabinet doors and drawers that you set aside during the refinishing process. Refer to your labels to ensure that you match each door and drawer to its correct location.
Attach the cabinet doors back onto the hinges by aligning the screw holes and using a screwdriver to secure them in place. For drawers, reattach them to the sliders or tracks using the appropriate screws or fasteners.
Make sure that all the hardware, such as handles or knobs, are securely fastened to the cabinets. Check for any loose screws and tighten them if necessary.
Take a moment to inspect the reassembled cabinets for any touch-ups needed. If you notice any blemishes or areas that require additional attention, use a small brush or foam brush to touch up the paint or topcoat as needed.
Carefully wipe down the cabinets one more time to remove any dust or fingerprints that may have accumulated during the reassembly process. This final cleaning step will help ensure that your cabinets look fresh and clean.
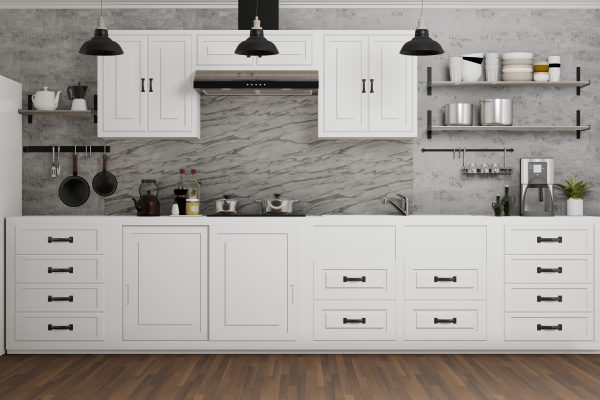
Now stand back, and admire your newly refinished kitchen cabinets. You have successfully transformed your kitchen with a fresh new look, all while saving time and money compared to a complete cabinet replacement.
Remember to allow the cabinets to fully cure before subjecting them to heavy use or cleaning. Refer to the manufacturer’s instructions for specific curing times, but generally, it’s recommended to give them a few days to fully harden and develop their maximum durability.
As you start using your kitchen cabinets again, be mindful of ongoing maintenance. Follow proper cleaning techniques and use non-abrasive cleaners to keep your cabinets looking their best for years to come.
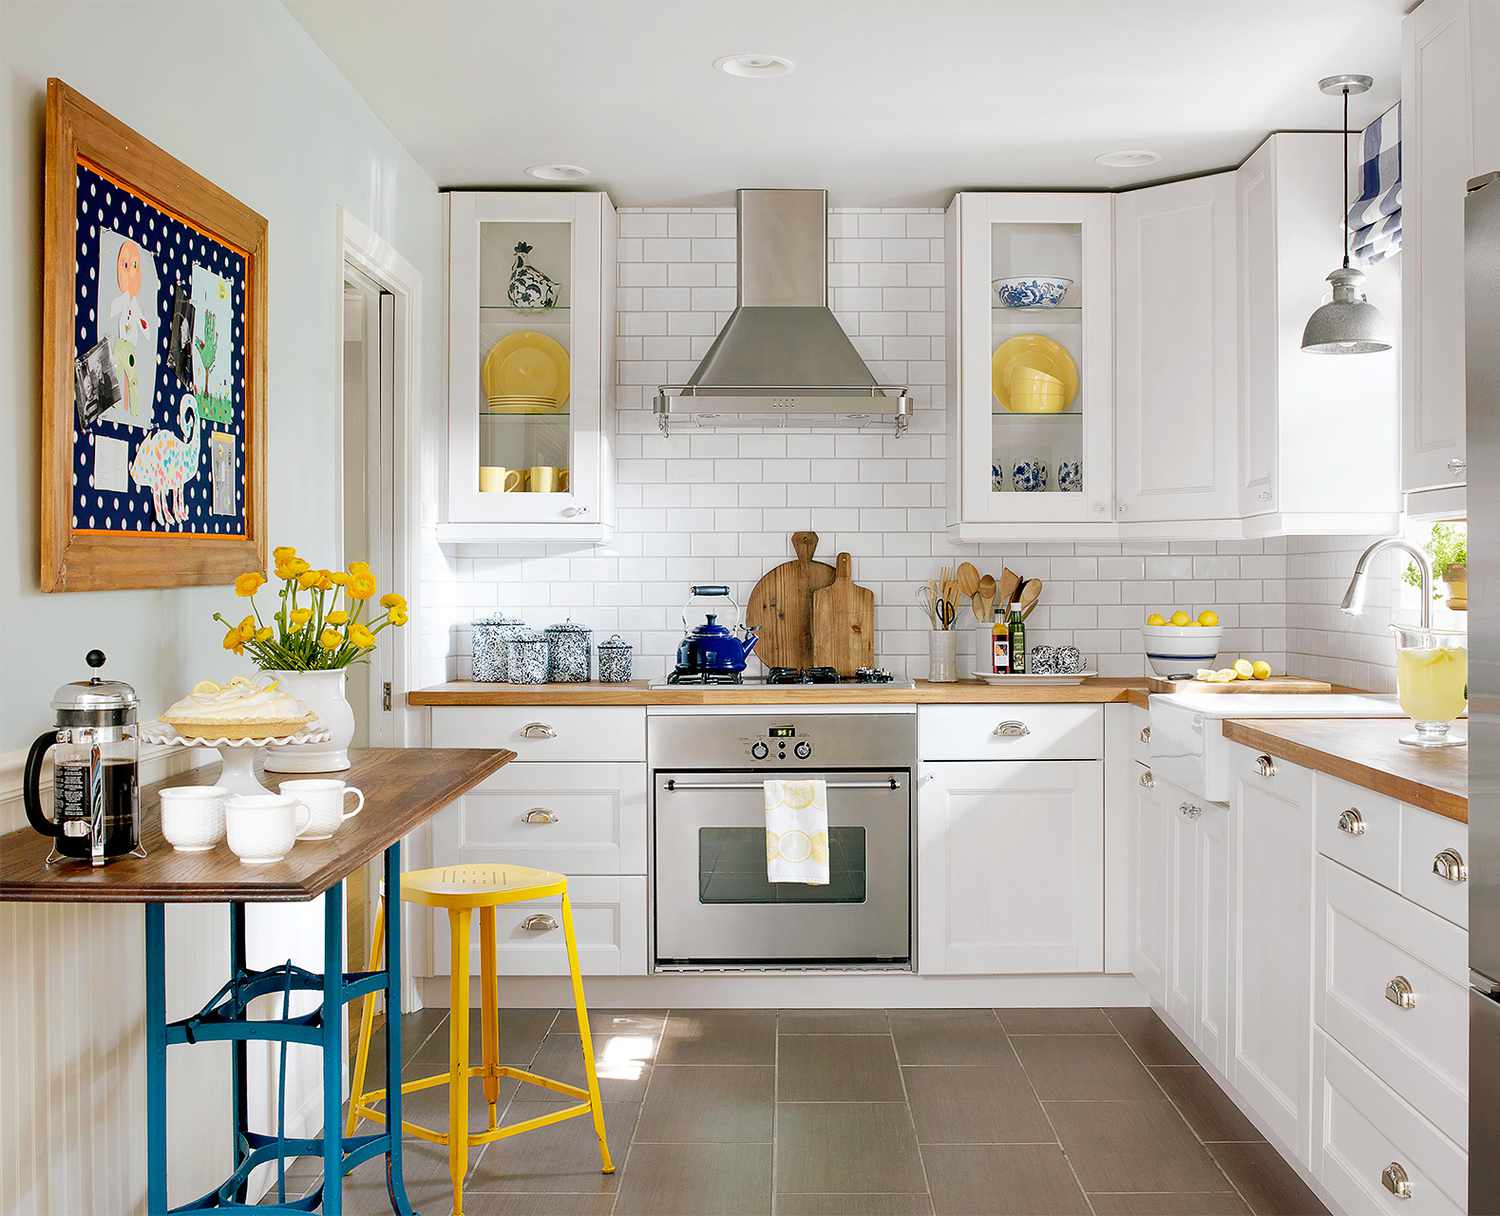
Congratulations, you’ve successfully completed the refinishing process and now have a kitchen that boasts a fresh new look. Enjoy the transformation and the renewed ambiance it brings to your home.
Conclusion
Refinishing your kitchen cabinets is a rewarding and cost-effective way to breathe new life into your kitchen. Following the step-by-step process outlined in this guide, you can achieve a fresh and updated look without the expense of replacing your cabinets entirely.
From removing the cabinet doors and drawers to cleaning, sanding, and applying primer, paint, and a topcoat, each step plays a crucial role in achieving a professional and long-lasting finish. Taking your time, paying attention to detail, and using high-quality materials will ensure the best results.
Not only does refinishing your cabinets enhance the aesthetic appeal of your kitchen, but it also allows you to showcase your personal style and creativity. Choose colors and finishes that reflect your taste and complement the overall design of your kitchen.
As you proceed through each step of the refinishing process, it’s important to balance patience with creativity. Take the time to properly prepare and execute each step, allowing for drying and curing times as necessary. This will result in cabinets that not only look amazing but also withstand the demands of daily use.
Remember to take proper care of your refinished cabinets once they are reassembled. Use gentle cleaning techniques and avoid harsh chemicals to preserve the beauty and durability of the finish. Regular maintenance and cleaning will keep your cabinets looking fresh and vibrant for years to come.
By refinishing your kitchen cabinets, you can transform your outdated or worn-out kitchen into a space that you love to spend time in. Enjoy the sense of accomplishment that comes with completing this project and relish in the newfound beauty and functionality of your updated kitchen.
So, roll up your sleeves, gather your supplies, and get ready to embark on the journey of refinishing your kitchen cabinets. The fresh new look you achieve will have a positive impact on your entire home and create a space you can truly be proud of.
Frequently Asked Questions about How To Refinish Kitchen Cabinets: For A Fresh New Look
Was this page helpful?
At Storables.com, we guarantee accurate and reliable information. Our content, validated by Expert Board Contributors, is crafted following stringent Editorial Policies. We're committed to providing you with well-researched, expert-backed insights for all your informational needs.


0 thoughts on “How To Refinish Kitchen Cabinets: For A Fresh New Look”