
Articles
How To Add More Storage To Pc
Modified: January 21, 2024
Looking to add more storage to your PC? Discover the best ways to increase data storage capacity and optimize performance for your computer.
(Many of the links in this article redirect to a specific reviewed product. Your purchase of these products through affiliate links helps to generate commission for Storables.com, at no extra cost. Learn more)
Introduction
In today’s digital age, the need for ample storage in our personal computers has become more crucial than ever before. Whether you’re a creative professional dealing with large media files, a gamer with a vast library of games, or simply a regular user who wants to store a plethora of files, having sufficient storage space is essential.
This article will guide you through the process of adding more storage to your PC, so you never have to worry about running out of space again. We’ll explore different types of PC storage, both external and internal options, and discuss the various considerations to keep in mind when expanding your storage capacity.
By the end of this article, you’ll have a comprehensive understanding of the different storage options available and will be well-equipped to choose the best method for increasing your PC’s storage capacity.
Key Takeaways:
- Expand your PC’s storage capacity to meet the demands of modern digital life, whether you’re a creative professional, gamer, or regular user. Consider internal upgrades, external options, and RAID configurations for a well-rounded storage solution.
- When adding more storage to your PC, carefully consider factors such as storage space requirements, budget, compatibility, and future expansion needs. Whether through internal upgrades or external options, a well-planned storage setup ensures smoother performance and efficient file management.
Read more: How To Add More Alarm Sounds To Alexa
Reasons for Adding More Storage to your PC
There are several compelling reasons why you may need to add more storage to your PC. Here are a few common scenarios:
- Increasing File Storage: As technology advances, file sizes continue to grow, particularly in media-intensive fields. Adding more storage allows you to store larger files such as high-resolution videos, 3D models, and raw photos without worrying about limited space.
- Gaming: Gamers often amass a collection of games that can consume considerable disk space. Expanding storage capacity ensures you have enough room for your games, including future releases and game updates.
- Work and Productivity: If you use your PC for work purposes, having ample storage is crucial for managing documents, presentations, spreadsheets, and other work-related files. This prevents the need for constant file deletion or external storage devices to free up space.
- Media Storage and Streaming: With the rise of digital media consumption, the need for storage to house your favorite movies, TV shows, music, and other media content is essential. Expanding your PC’s storage capacity allows for easy access and streaming of your media library.
- Backup and Data Security: Adding more storage enables you to create backups of important files, protecting them from accidental deletion, hardware failure, or data corruption. Having a reliable backup system in place is crucial for safeguarding your valuable data.
By recognizing your specific storage needs, you can determine the amount and type of storage upgrade suitable for your PC. Whether you require a few extra gigabytes or terabytes of storage, there are various options available to accommodate your requirements.
Understanding Different Types of PC Storage
Before diving into the process of adding more storage to your PC, it’s important to understand the different types of storage available. Here are the main types of PC storage:
- Hard Disk Drives (HDD): HDDs are the traditional storage devices found in most computers. They use rotating magnetic platters to store data and are known for providing high capacity at a relatively lower cost. HDDs are ideal for storing large files and applications that do not require fast access speeds.
- Solid-State Drives (SSD): SSDs, on the other hand, utilize flash memory to store data. They are much faster than HDDs, resulting in snappier system performance and quicker file access. SSDs are recommended for operating systems, frequently accessed programs, and games to reduce load times.
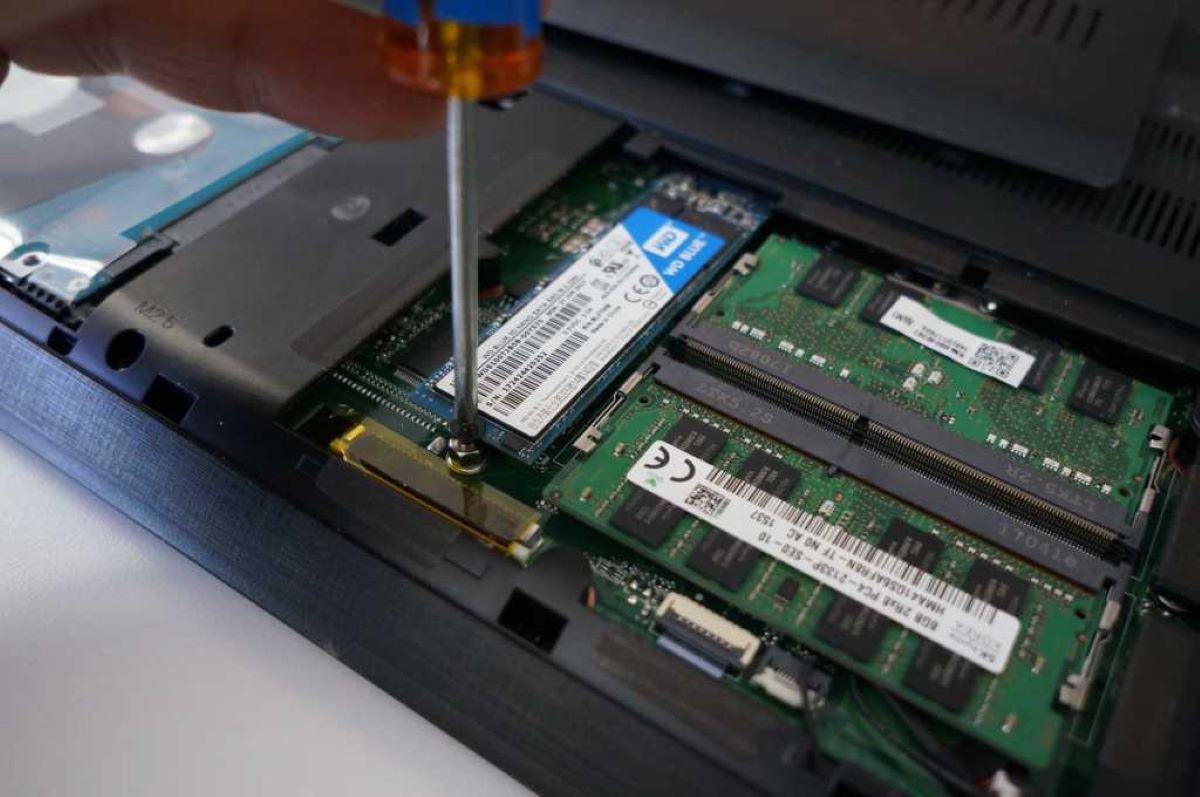
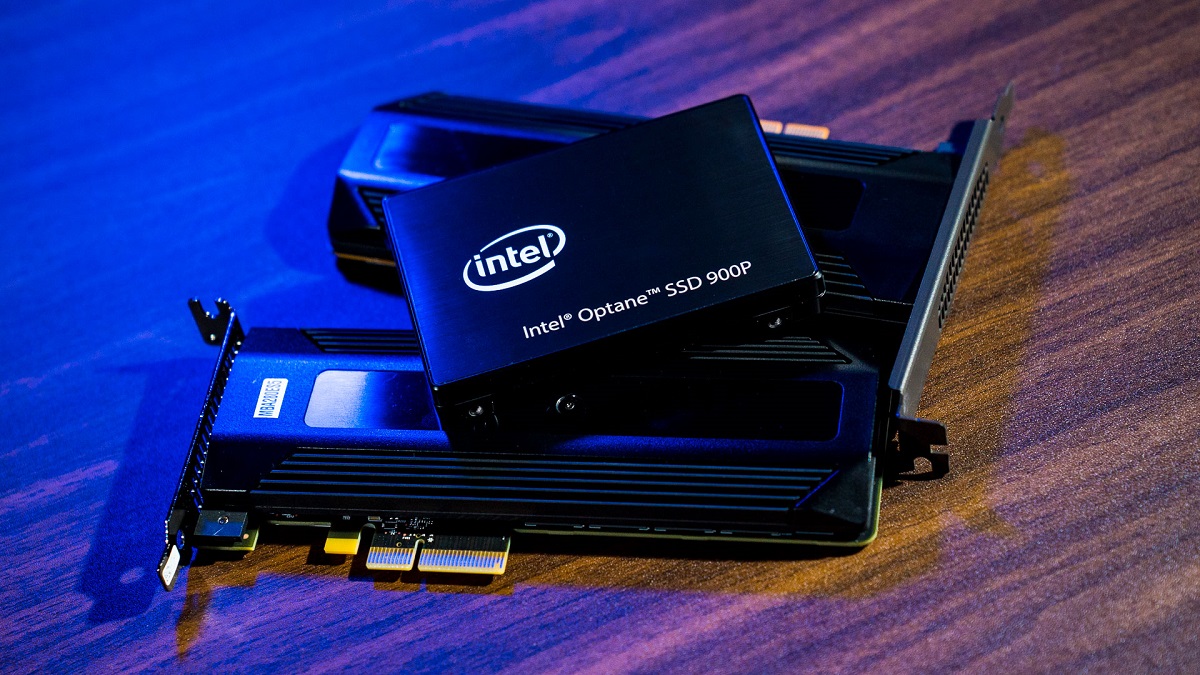
- NVMe Drives: NVMe (Non-Volatile Memory Express) drives are the latest generation of storage devices that offer even faster speeds than traditional SSDs. NVMe drives connect directly to the motherboard via the PCIe interface, providing lightning-fast data transfer rates and reduced latency. These drives are ideal for demanding applications and users who require top-notch performance.
Now that you have a basic understanding of the main types of PC storage, you can make an informed decision about which type best suits your needs when expanding your PC’s storage capacity.
External Storage Options
If you’re looking to add more storage to your PC without opening up the case, external storage options are a convenient solution. Here are a few popular external storage options:
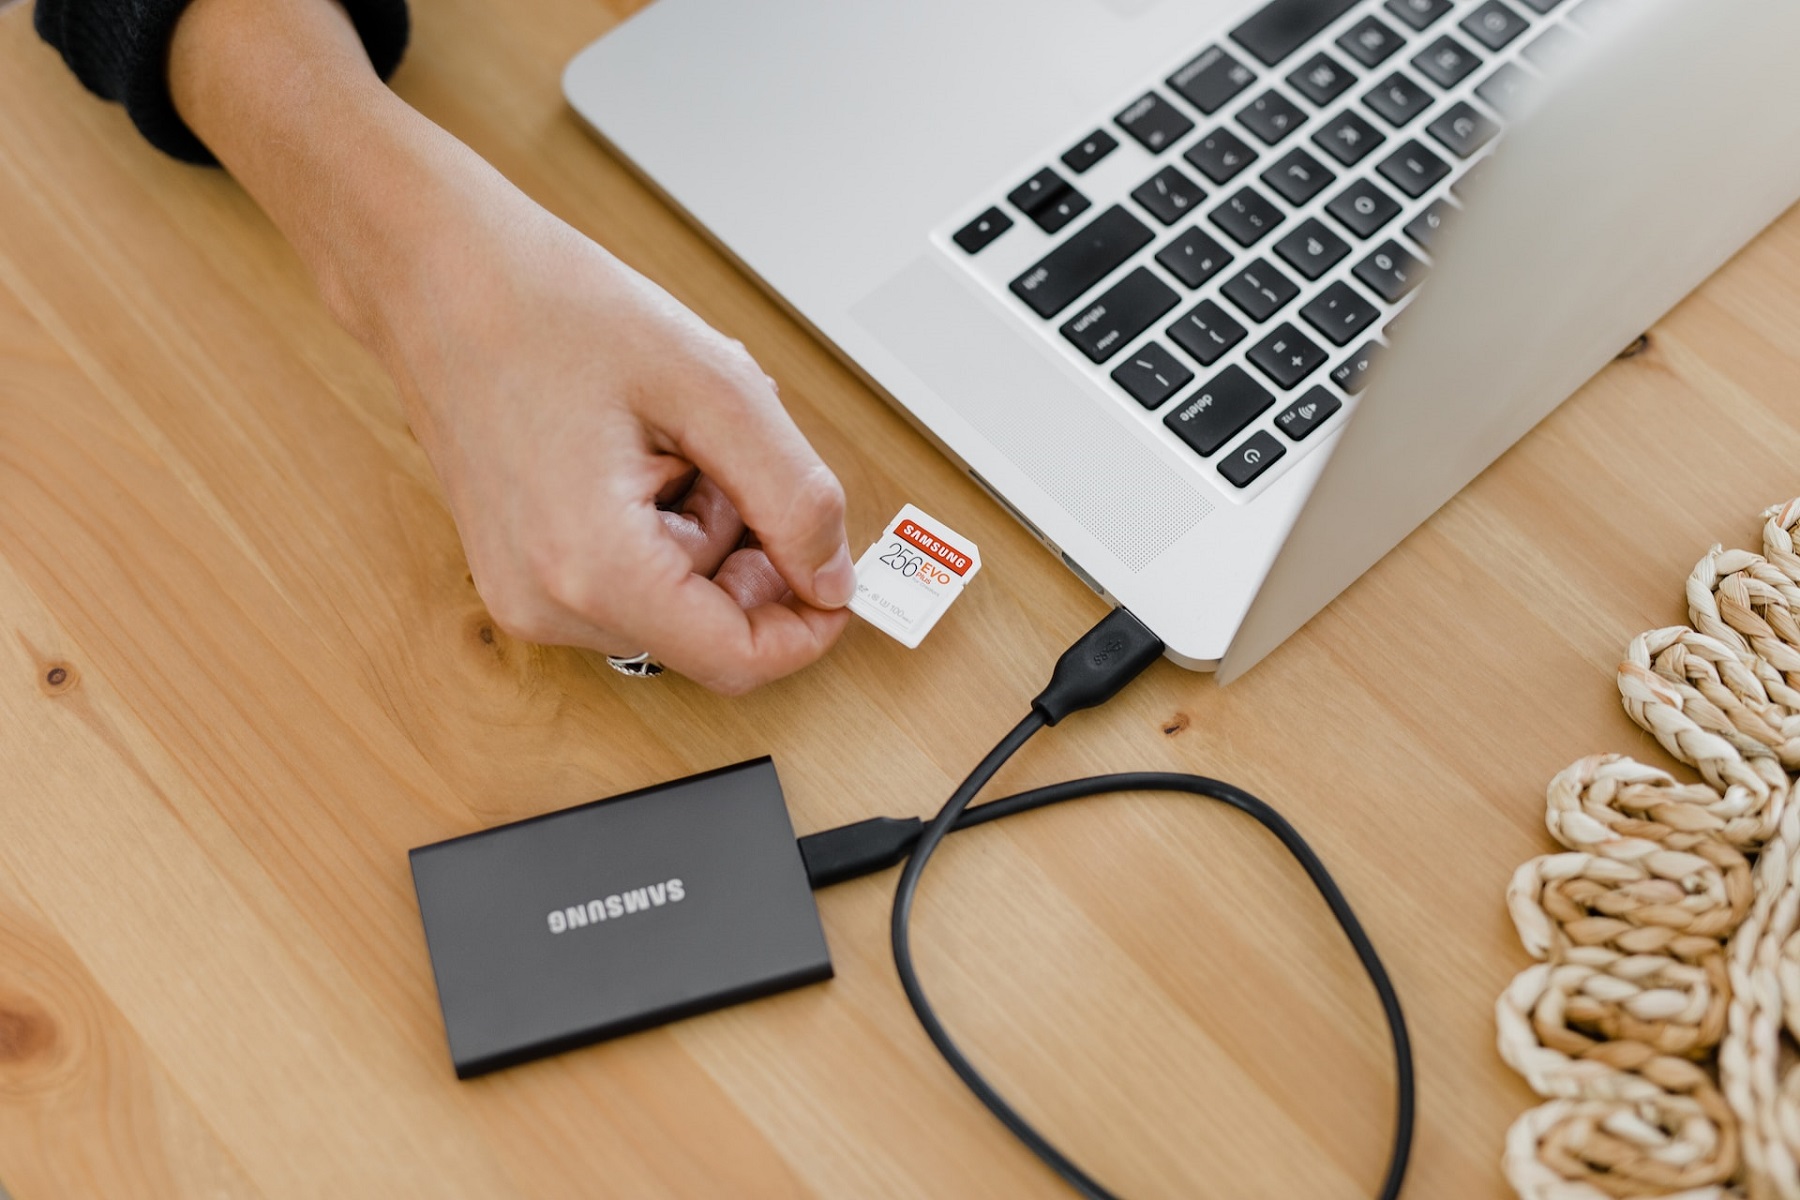
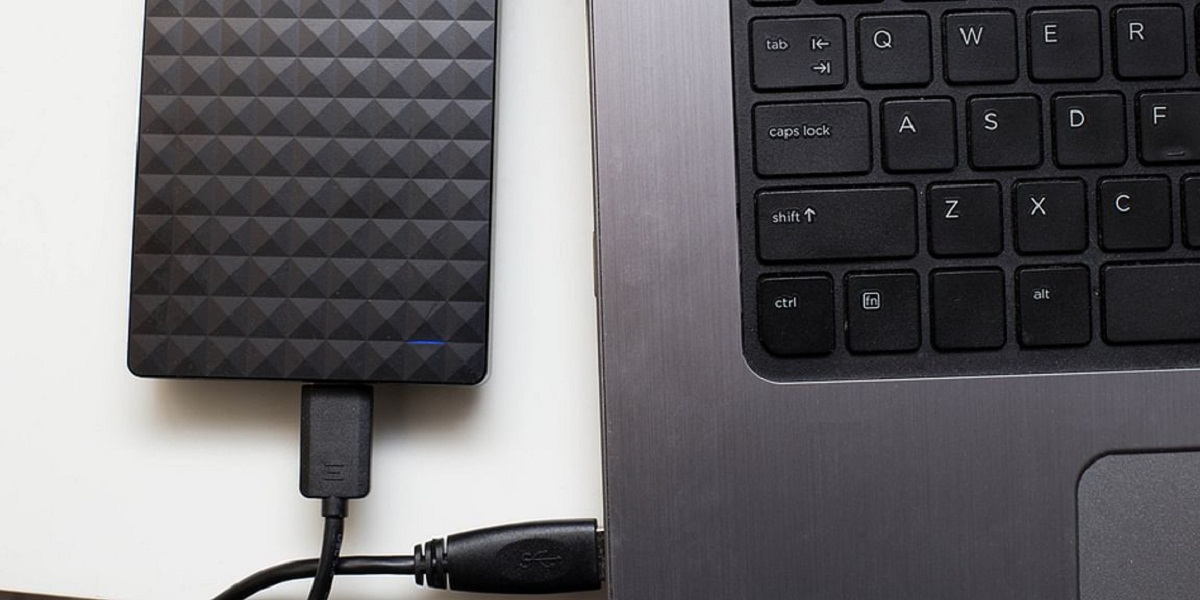
- External Hard Drives (HDD): External HDDs offer a simple and affordable way to expand your storage. These drives connect to your PC via USB and provide additional space for storing files, documents, media, and backups. They are portable and can be easily moved between different devices. However, they may not offer the same speed as internal storage options.
- External Solid-State Drives (SSD): External SSDs provide faster data transfer speeds than HDDs, making them suitable for tasks that require quick file access, such as video editing or running applications from the external drive. They are compact, lightweight, and often more durable than HDDs. However, they tend to be more expensive than their HDD counterparts.
- Network-Attached Storage (NAS): NAS devices connect to your home network, allowing multiple devices to access the storage simultaneously. They offer greater storage capacities and advanced features such as RAID configurations, remote access, and backups. NAS devices are ideal for households or small offices that require centralized storage and sharing capabilities.
- Cloud Storage: Cloud storage services like Google Drive, Dropbox, and OneDrive provide a convenient way to expand your storage without physical hardware. You can upload and access your files from anywhere with an internet connection. Cloud storage is often subscription-based, and the available storage space depends on the specific service and plan you choose.
When considering external storage options, think about the intended use, desired storage capacity, and budget. Each option has its advantages and limitations, so choose the one that aligns with your specific needs.
Internal Storage Upgrades
If you’re comfortable opening up your PC’s case and working with its internal components, upgrading the internal storage is a popular and efficient option. Here are a few ways to upgrade your PC’s internal storage:
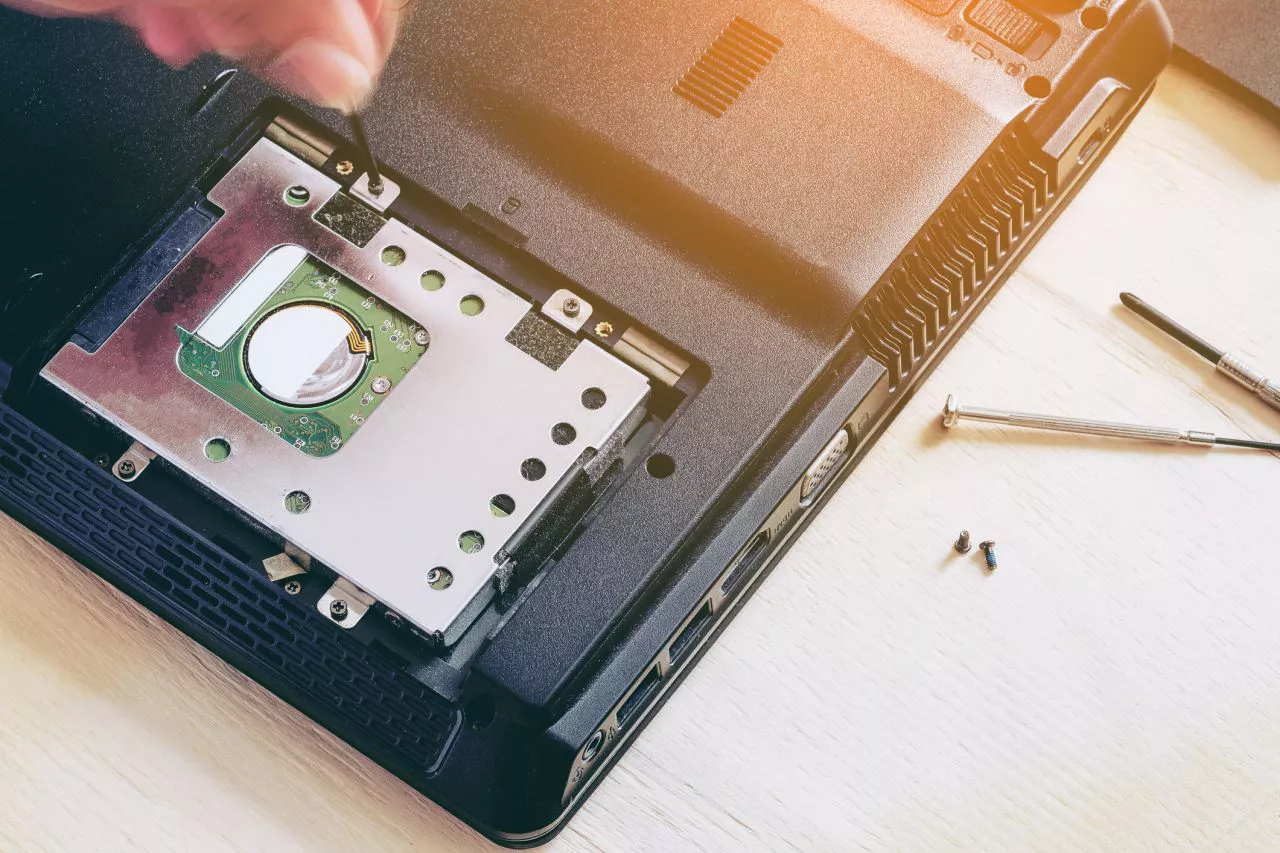
- Adding a Hard Disk Drive (HDD): If your PC already has an empty drive bay, adding an additional HDD is a straightforward solution. Simply connect the drive to the power supply and motherboard using the appropriate cables, and you’ll have extra storage space. HDDs are cost-effective and provide high capacity, making them an excellent choice for storing large files and applications.
- Installing a Solid-State Drive (SSD): Upgrading to an SSD can significantly improve your PC’s performance. You can install an SSD alongside your existing hard drive or replace it entirely. SSDs use flash memory, offering faster boot times and quicker file access compared to traditional HDDs. However, they tend to have smaller capacities, so consider using an SSD for your operating system and frequently used programs, while utilizing an HDD for bulk storage.
- Expanding Storage with NVMe Drives: If your motherboard supports NVMe drives, consider adding one for even faster storage performance. NVMe drives connect directly to the PCIe slot and offer incredible data transfer speeds and reduced latency. They are the ideal choice for high-performance workstations and gaming machines.
- Setting Up RAID for Increased Storage Capacity: RAID (Redundant Array of Independent Disks) configurations can combine multiple drives to enhance performance or provide redundancy. By utilizing RAID, you can increase storage capacity, improve data transfer speeds, and protect against data loss. However, configuring RAID requires a basic understanding of the process and compatible hardware.
Before upgrading your PC’s internal storage, ensure that you have the necessary cables, connectors, and compatible hardware. Take proper precautions to avoid static discharge and follow the manufacturer’s instructions for a smooth installation process. Additionally, make sure to back up your data to prevent any potential loss during the upgrade.
Internal storage upgrades offer the advantage of faster speeds and seamless integration with your PC. Assess your storage needs, budget, and technical capabilities to determine the most suitable option for your specific requirements.
Read more: How To Add More Stuffing To Couch Cushions
Adding a Hard Drive
If you’re looking to expand your PC’s storage capacity, adding a hard drive (HDD) is a practical and cost-effective solution. Here’s a step-by-step guide on how to add a hard drive to your PC:
- Gather the necessary tools: Before starting, make sure you have the following tools: a screwdriver, SATA data cable, SATA power cable, and an available drive bay in your PC case.
- Prepare the hard drive: If the hard drive is brand new, it will need to be initialized and formatted. You can do this by following the instructions provided with the drive or by using disk management tools in your operating system.
- Open your PC’s case: Ensure your PC is powered off and unplugged. Use a screwdriver to remove the case cover, exposing the internals of your PC.
- Identify an available drive bay: Look for the empty bays where you can install the new hard drive. These bays are usually located below or beside the existing drives.
- Mount the hard drive: Depending on your PC case, you may need to attach the drive to a removable tray or slide it directly into the bay. Secure the drive into place using screws or brackets, ensuring a snug fit.
- Connect the SATA cables: Locate the SATA ports on your motherboard. Connect one end of the SATA data cable to the hard drive and the other end to an available SATA port on the motherboard. Next, connect the SATA power cable from the power supply to the hard drive.
- Close the PC case: Once the hard drive is securely connected, carefully close the PC case and screw the cover back into place.
- Power on your PC: Plug in your PC, power it on, and wait for the operating system to boot up.
- Initialize and format the hard drive: Once your PC is up and running, you’ll need to initialize and format the newly added hard drive. Open the disk management tool in your operating system, locate the new drive, and follow the prompts to initialize and format it so that it’s recognized by the system.
- Verify the installation: Once the formatting process is complete, you can verify that the new hard drive is successfully installed by checking the File Explorer in Windows or Finder in macOS. The new drive should be listed among your available storage devices.
Adding a hard drive to your PC is a relatively straightforward process, allowing you to expand your storage capacity quickly. Remember to handle the components with care, follow safety precautions, and consult your PC’s manual or manufacturer’s resources if you encounter any difficulties during the installation process. With your newly added hard drive, you’ll have ample space to store your files, applications, and media.
You can add more storage to your PC by installing a new internal hard drive or SSD, or by using an external hard drive or a NAS (network-attached storage) device. Make sure to back up your data before making any changes to your storage configuration.
Installing an SSD
If you’re looking to boost your PC’s performance and significantly reduce load times, installing a solid-state drive (SSD) is the way to go. Here’s a step-by-step guide on how to install an SSD in your PC:
- Gather the necessary tools: Before you begin, gather the tools you’ll need: a screwdriver, SATA data cable, SATA power cable, and an available drive bay in your PC case.
- Choose the appropriate SSD: Determine the type and capacity of SSD that best suits your needs. Consider factors such as storage capacity, form factor (2.5-inch or M.2), and performance requirements.
- Prepare your PC: Make sure your PC is powered off and unplugged. Open the case by removing the screws and sliding off the side panel.
- Locate an available drive bay: Identify an empty drive bay where you can install the SSD. Newer PC cases often have dedicated SSD bays or mounting locations for easy installation.
- Mount the SSD: Depending on the type of SSD and your case, you may need to use mounting brackets or slide the SSD into the designated slot. Secure it in place using screws or clips if required.
- Connect the cables: Connect one end of the SATA data cable to the SSD and the other end to an available SATA port on the motherboard. Next, connect the SATA power cable from the power supply to the SSD.
- Secure the cables: Ensure that the cables are neatly routed and properly connected, avoiding any interference with other components or fans.
- Close the PC case: Carefully close the PC case and secure it with the screws, ensuring a tight fit.
- Power on your PC: Plug in your PC, power it on, and wait for the operating system to boot up.
- Initialize and format the SSD: Once your PC is up and running, open the disk management tool in your operating system. Locate the SSD and follow the prompts to initialize and format it for use. This process will prepare the SSD for data storage and make it recognizable by the system.
- Verify the installation: After initializing and formatting, you can verify that the SSD is successfully installed by checking the File Explorer in Windows or Finder in macOS. The SSD should be listed among your available storage devices.
- Transfer data (optional): If you want to migrate your operating system and files from your old storage drive to the new SSD, you can use specialized software to clone the data or manually transfer it.
Installing an SSD can significantly improve your PC’s performance, providing faster boot times, snappier application launches, and quicker file access. Follow these steps carefully, handle the components with caution, and consult your PC’s manual or manufacturer’s resources if you encounter any challenges during the installation process. With your new SSD in place, you’ll experience a noticeable upgrade in speed and responsiveness.
Expanding Storage with NVMe Drives
If you’re looking for lightning-fast storage performance and want to take advantage of the latest technology, expanding your storage with NVMe (Non-Volatile Memory Express) drives is an excellent choice. Follow these steps to add NVMe drives to your PC:
- Check compatibility: Verify that your motherboard supports NVMe drives and has the necessary M.2 slots or PCIe slots for installation. Consult your motherboard’s manual or manufacturer’s website for compatibility details.
- Purchase the appropriate NVMe drive: Choose an NVMe drive that matches your desired storage capacity and performance needs. Consider factors such as read/write speeds, endurance, and brand reputation when making your selection.
- Prepare your PC: Turn off your PC and unplug it from the power source. Remove the side panel or access the area where the NVMe slots or PCIe slots are located.
- Locate an available slot: Identify an available M.2 slot or PCIe slot that can accommodate the NVMe drive. Make sure the slot is compatible with the drive you purchased.
- Insert the NVMe drive: Gently insert the NVMe drive into the M.2 slot or carefully plug it into the PCIe slot, following any specific instructions provided by the drive’s manufacturer. Ensure that the drive is securely seated in the slot.
- Secure the drive: Some NVMe drives come with a heatsink or thermal pad. If applicable, attach the heatsink or thermal pad to the drive to regulate the temperature. Refer to the manufacturer’s instructions for proper installation.
- Replace the side panel: Close the PC case and secure the side panel with screws or clips, ensuring a snug fit.
- Power on your PC: Plug in your PC and power it on, allowing the operating system to boot up.
- Initialize and format the NVMe drive: Open the disk management tool in your operating system to locate the newly added NVMe drive. Follow the prompts to initialize it and format it for use. This process prepares the NVMe drive for data storage and ensures it is recognized by the system.
- Verify the installation: After the initialization and formatting process is complete, you can confirm that the NVMe drive is successfully installed by checking the File Explorer in Windows or Finder in macOS. The drive should be listed among your available storage devices.
- Optimize NVMe performance (optional): Depending on your motherboard and BIOS settings, you may need to configure the NVMe drive for optimal performance. Consult your motherboard’s manual or manufacturer’s website for guidance on enabling features like PCIe Gen3/4 mode and enabling NVMe in the BIOS settings.
Expanding your storage with NVMe drives offers incredible speed and performance advantages, making it an excellent choice for users who require maximum storage throughput. Follow the steps above, exercise caution when handling the delicate NVMe drives, and refer to your motherboard’s documentation for specific instructions. With NVMe drives in your PC, you’ll experience lightning-fast data transfer and significantly improved system responsiveness.
Setting Up RAID for Increased Storage Capacity
If you’re in need of increased storage capacity and improved data redundancy, setting up RAID (Redundant Array of Independent Disks) is a viable solution. RAID configurations allow you to combine multiple drives into an array for enhanced performance, data protection, or a combination of both. Here’s a step-by-step guide on how to set up RAID:
- Assess your RAID needs: Determine which RAID level suits your requirements. Common RAID configurations include RAID 0, RAID 1, RAID 5, and RAID 10. RAID 0 offers increased performance by striping data across multiple drives, but does not provide data redundancy. RAID 1 mirrors data across multiple drives for improved data protection.
- Check motherboard and disk controller support: Verify that your motherboard or disk controller supports the RAID level you intend to set up. Consult your motherboard’s manual or manufacturer’s website for compatibility information.
- Purchase the necessary drives: Acquire the drives required for your chosen RAID configuration. Ensure the drives are of the same capacity and model for optimal performance and compatibility.
- Install the drives: Insert the drives into the appropriate drive bays in your PC case. Connect them to the motherboard or disk controller using SATA or SAS cables, depending on the interface supported.
- Access the RAID setup utility: During the PC boot process, you may need to enter the RAID setup utility, commonly accessed by pressing a specific key (such as F2 or Delete). Consult your motherboard’s manual or manufacturer’s website for the specific key.
- Create the RAID array: In the RAID setup utility, select the option to create a new RAID array. Choose the RAID level you desire (such as RAID 0, RAID 1, etc.) and follow the prompts to configure the array.
- Set up the array parameters: Define the parameters for the RAID array, such as the stripe size, block size, and naming convention. These settings can impact the array’s performance and data protection capabilities. Refer to your motherboard’s documentation for guidance on optimal settings.
- Initialize the array: Once the RAID array is created, you’ll need to initialize it. This process prepares the array for data storage and makes it accessible to the operating system. The initialization procedure varies depending on the RAID controller and utility used.
- Format the RAID array: After initialization, format the RAID array using your preferred file system (such as NTFS for Windows or APFS for macOS). Consult the disk management tool in your operating system for formatting options.
- Verify the RAID array: Confirm that the RAID array is successfully set up and recognized by checking the File Explorer in Windows or Finder in macOS. The array should appear as a single, consolidated storage device.
Setting up RAID allows you to increase storage capacity, improve performance, and safeguard your data against drive failures. While the steps outlined above provide a general overview, it’s important to consult your motherboard’s manual and RAID controller documentation for specific instructions and best practices. With RAID set up, you’ll have a robust storage solution that offers both enhanced storage capabilities and improved data protection.
Considerations for Adding More Storage
Before adding more storage to your PC, there are several important considerations to keep in mind. These factors will help you make informed decisions and ensure that the storage solution you choose aligns with your needs and budget. Here are some key considerations:
- Storage Space Requirement: Assess your storage needs and determine the amount of space you require. Consider the type of files you’ll be storing, such as documents, media files, games, or work-related files. Depending on your usage, you may need a few terabytes or just a few hundred gigabytes of storage.
- Storage Type: Understand the different types of storage available, such as hard disk drives (HDDs), solid-state drives (SSDs), and NVMe drives. Each type offers a different balance of cost, capacity, and speed. Choose the storage type that best suits your requirements and budget.
- Budget: Determine your budget for adding more storage. Prices can vary greatly depending on the type and capacity of the drives you choose. Consider the cost per gigabyte or terabyte and find the right balance between storage capacity and affordability.
- Compatibility: Ensure that the storage solution you select is compatible with your PC or motherboard. Check for available drive bays or slots, the supported interfaces (SATA, M.2, PCIe), and the maximum capacity supported by your hardware.
- Performance Requirements: Assess your performance needs. If you require faster boot times, application load times, or file access speeds, consider investing in SSDs or NVMe drives, which offer significantly faster performance compared to HDDs.
- Data Redundancy and Backup: Evaluate the importance of data redundancy and backup. RAID configurations offer data redundancy, protecting against drive failures, while cloud storage or external backup solutions can safeguard your data from hardware failures and disasters.
- Upgrade Flexibility: Consider your future storage expansion needs. If you anticipate requiring more storage in the future, ensure that your PC or motherboard has sufficient capacity to accommodate additional drives.
- Power and Cooling: Keep in mind the power requirements of additional drives and ensure that your power supply can handle the load. Also, consider the impact on cooling and airflow within your PC case, as adding more drives may increase heat generation.
- Backup and Data Migration: If you’re adding new storage while keeping your existing data, plan for backups and data migration. Back up important files before performing any hardware changes, and ensure that you have a plan to transfer or migrate your data to the new storage solution.
By carefully considering these factors, you can select the most appropriate storage solution for your needs. Whether it’s expanding your internal storage, utilizing external drives, implementing RAID for data redundancy, or leveraging cloud storage, taking these considerations into account ensures that you make a well-informed decision and have a reliable storage setup that suits your requirements.
Conclusion
Expanding the storage capacity of your PC is an essential step in meeting the growing demands of modern digital life. Whether you’re a creative professional, a gamer, or a regular user, having sufficient storage space ensures that you can store your files, applications, and media without worrying about running out of space.
In this article, we explored the various options for adding more storage to your PC. We discussed external storage options, such as external hard drives and solid-state drives, which offer convenience and portability. Internal storage upgrades, including adding hard disk drives (HDDs), installing solid-state drives (SSDs), and expanding storage through NVMe drives, provide faster speeds and seamless integration into your PC.
We also covered considerations to keep in mind when adding more storage. Factors like storage space requirements, storage type, budget, compatibility, performance needs, data redundancy, and future expansion possibilities should all be taken into account.
By following the step-by-step instructions provided in this article, you can confidently add more storage to your PC, whether through external drives or internal upgrades. Remember to handle components with care, pay attention to compatibility, and always back up your data before making any hardware changes.
Increasing your storage capacity allows you to store and access your files and applications conveniently and efficiently. With a well-planned storage setup, you can enjoy smoother performance, faster load times, and the peace of mind of having ample space for your digital needs.
Now that you have a comprehensive understanding of the different storage options and considerations, you are well-equipped to make informed decisions about expanding your PC’s storage capacity. Take the necessary steps to choose the best solution for your needs and enjoy the convenience and efficiency that abundant storage provides.
Frequently Asked Questions about How To Add More Storage To Pc
Was this page helpful?
At Storables.com, we guarantee accurate and reliable information. Our content, validated by Expert Board Contributors, is crafted following stringent Editorial Policies. We're committed to providing you with well-researched, expert-backed insights for all your informational needs.





0 thoughts on “How To Add More Storage To Pc”