Home>Interior Design>The Best Way To Paint Doors: According To Pro Painters
Interior Design
The Best Way To Paint Doors: According To Pro Painters
Modified: November 1, 2024
Learn the proven techniques for painting doors from professional painters. Enhance your interior design with these expert tips for flawless results.
(Many of the links in this article redirect to a specific reviewed product. Your purchase of these products through affiliate links helps to generate commission for Storables.com, at no extra cost. Learn more)
Introduction
When it comes to home improvement, painting doors may not be the most glamorous task, but it can make a significant difference in the overall appearance of your space. Whether you’re refreshing the look of your interior doors or tackling an exterior door makeover, knowing the right techniques and tools can help you achieve a professional finish.
In this article, we will guide you through the best way to paint doors, according to professional painters. From preparing the door surface to choosing the right paint and tools, we’ll cover everything you need to know to ensure a successful and long-lasting paint job.
By following these expert tips, you can transform your doors, adding a fresh and vibrant touch to your home’s interior or exterior. So, let’s dive in and learn the secrets to achieving a flawless door paint finish.
Key Takeaways:
- Transform your doors with a professional finish by following expert tips on preparation, paint selection, techniques, and common issue solutions. Achieve a flawless and vibrant look for your home’s interior or exterior.
- Ensure a durable and long-lasting paint job for your doors by adding a protective topcoat, proper maintenance, and addressing touch-ups promptly. With patience and attention to detail, transform your space with beautifully painted doors.
Preparing the Door
One of the crucial steps to painting a door successfully is preparing the surface properly. This ensures that the paint adheres well and creates a smooth and long-lasting finish. Here are the key steps for preparing the door:
Removing hardware
Before you begin the painting process, it’s important to remove all hardware from the door, such as doorknobs, hinges, and latches. This makes it easier to paint the entire surface evenly and prevents any unwanted paint drips on the hardware. Place the hardware in a safe place to avoid misplacing them.
Cleaning and sanding
Next, thoroughly clean the door to remove any dirt, grime, or grease that has accumulated over time. Use a mild detergent mixed with water and a sponge or cloth to clean the surface. Rinse off any soap residue and allow the door to dry completely.
Once the door is clean and dry, it’s essential to sand the surface to create a smooth base for the paint. Start by using medium-grit sandpaper to remove any rough patches, imperfections, or old paint. Sand in the direction of the wood grain to avoid damaging the door’s surface. After sanding, wipe away the dust with a clean, damp cloth.
Priming
Priming the door is a vital step that helps the paint adhere better and provides a uniform base for the color. Choose a high-quality primer suitable for your door material, such as wood or metal. Apply the primer using a brush or roller, following the manufacturer’s instructions.
Make sure to prime all areas of the door, including the edges and any recessed or raised panels. Allow the primer to dry completely before moving on to the next step. This typically takes a few hours, but refer to the product label for specific drying times.
By properly preparing the door, you ensure that the paint adheres well, minimizes future issues, and creates a solid foundation for a flawless finish.
Choosing the Right Paint and Tools
To achieve a professional-looking door paint job, it’s essential to select the right type of paint and gather the necessary tools. Here’s a guide to help you make informed decisions:
Types of paint for doors
When it comes to choosing the right paint for your door, several options are available. The most common types of paint used for doors include:
1. Latex or water-based paint: This type of paint is popular for its quick drying time, easy cleanup, and low odor. It is an excellent choice for interior doors and offers a wide range of color options.
2. Oil-based paint: Oil-based paint provides a durable and high-quality finish. It is suitable for both interior and exterior doors, especially those exposed to high traffic or extreme weather conditions. However, it tends to have a longer drying time and requires mineral spirits for cleanup.
3. Satin or semi-gloss finish: These finishes are commonly used for doors as they provide a smooth and washable surface. They are resistant to dirt, fingerprints, and moisture, making them ideal for high-traffic areas.
Consider the location of the door and its intended use when choosing the paint type and finish. For example, if you’re painting an exterior door that faces frequent UV exposure, select a paint that offers UV protection to prevent fading and damage.
Recommended tools for painting doors
To achieve the best results, gather the following tools before starting your door painting project:
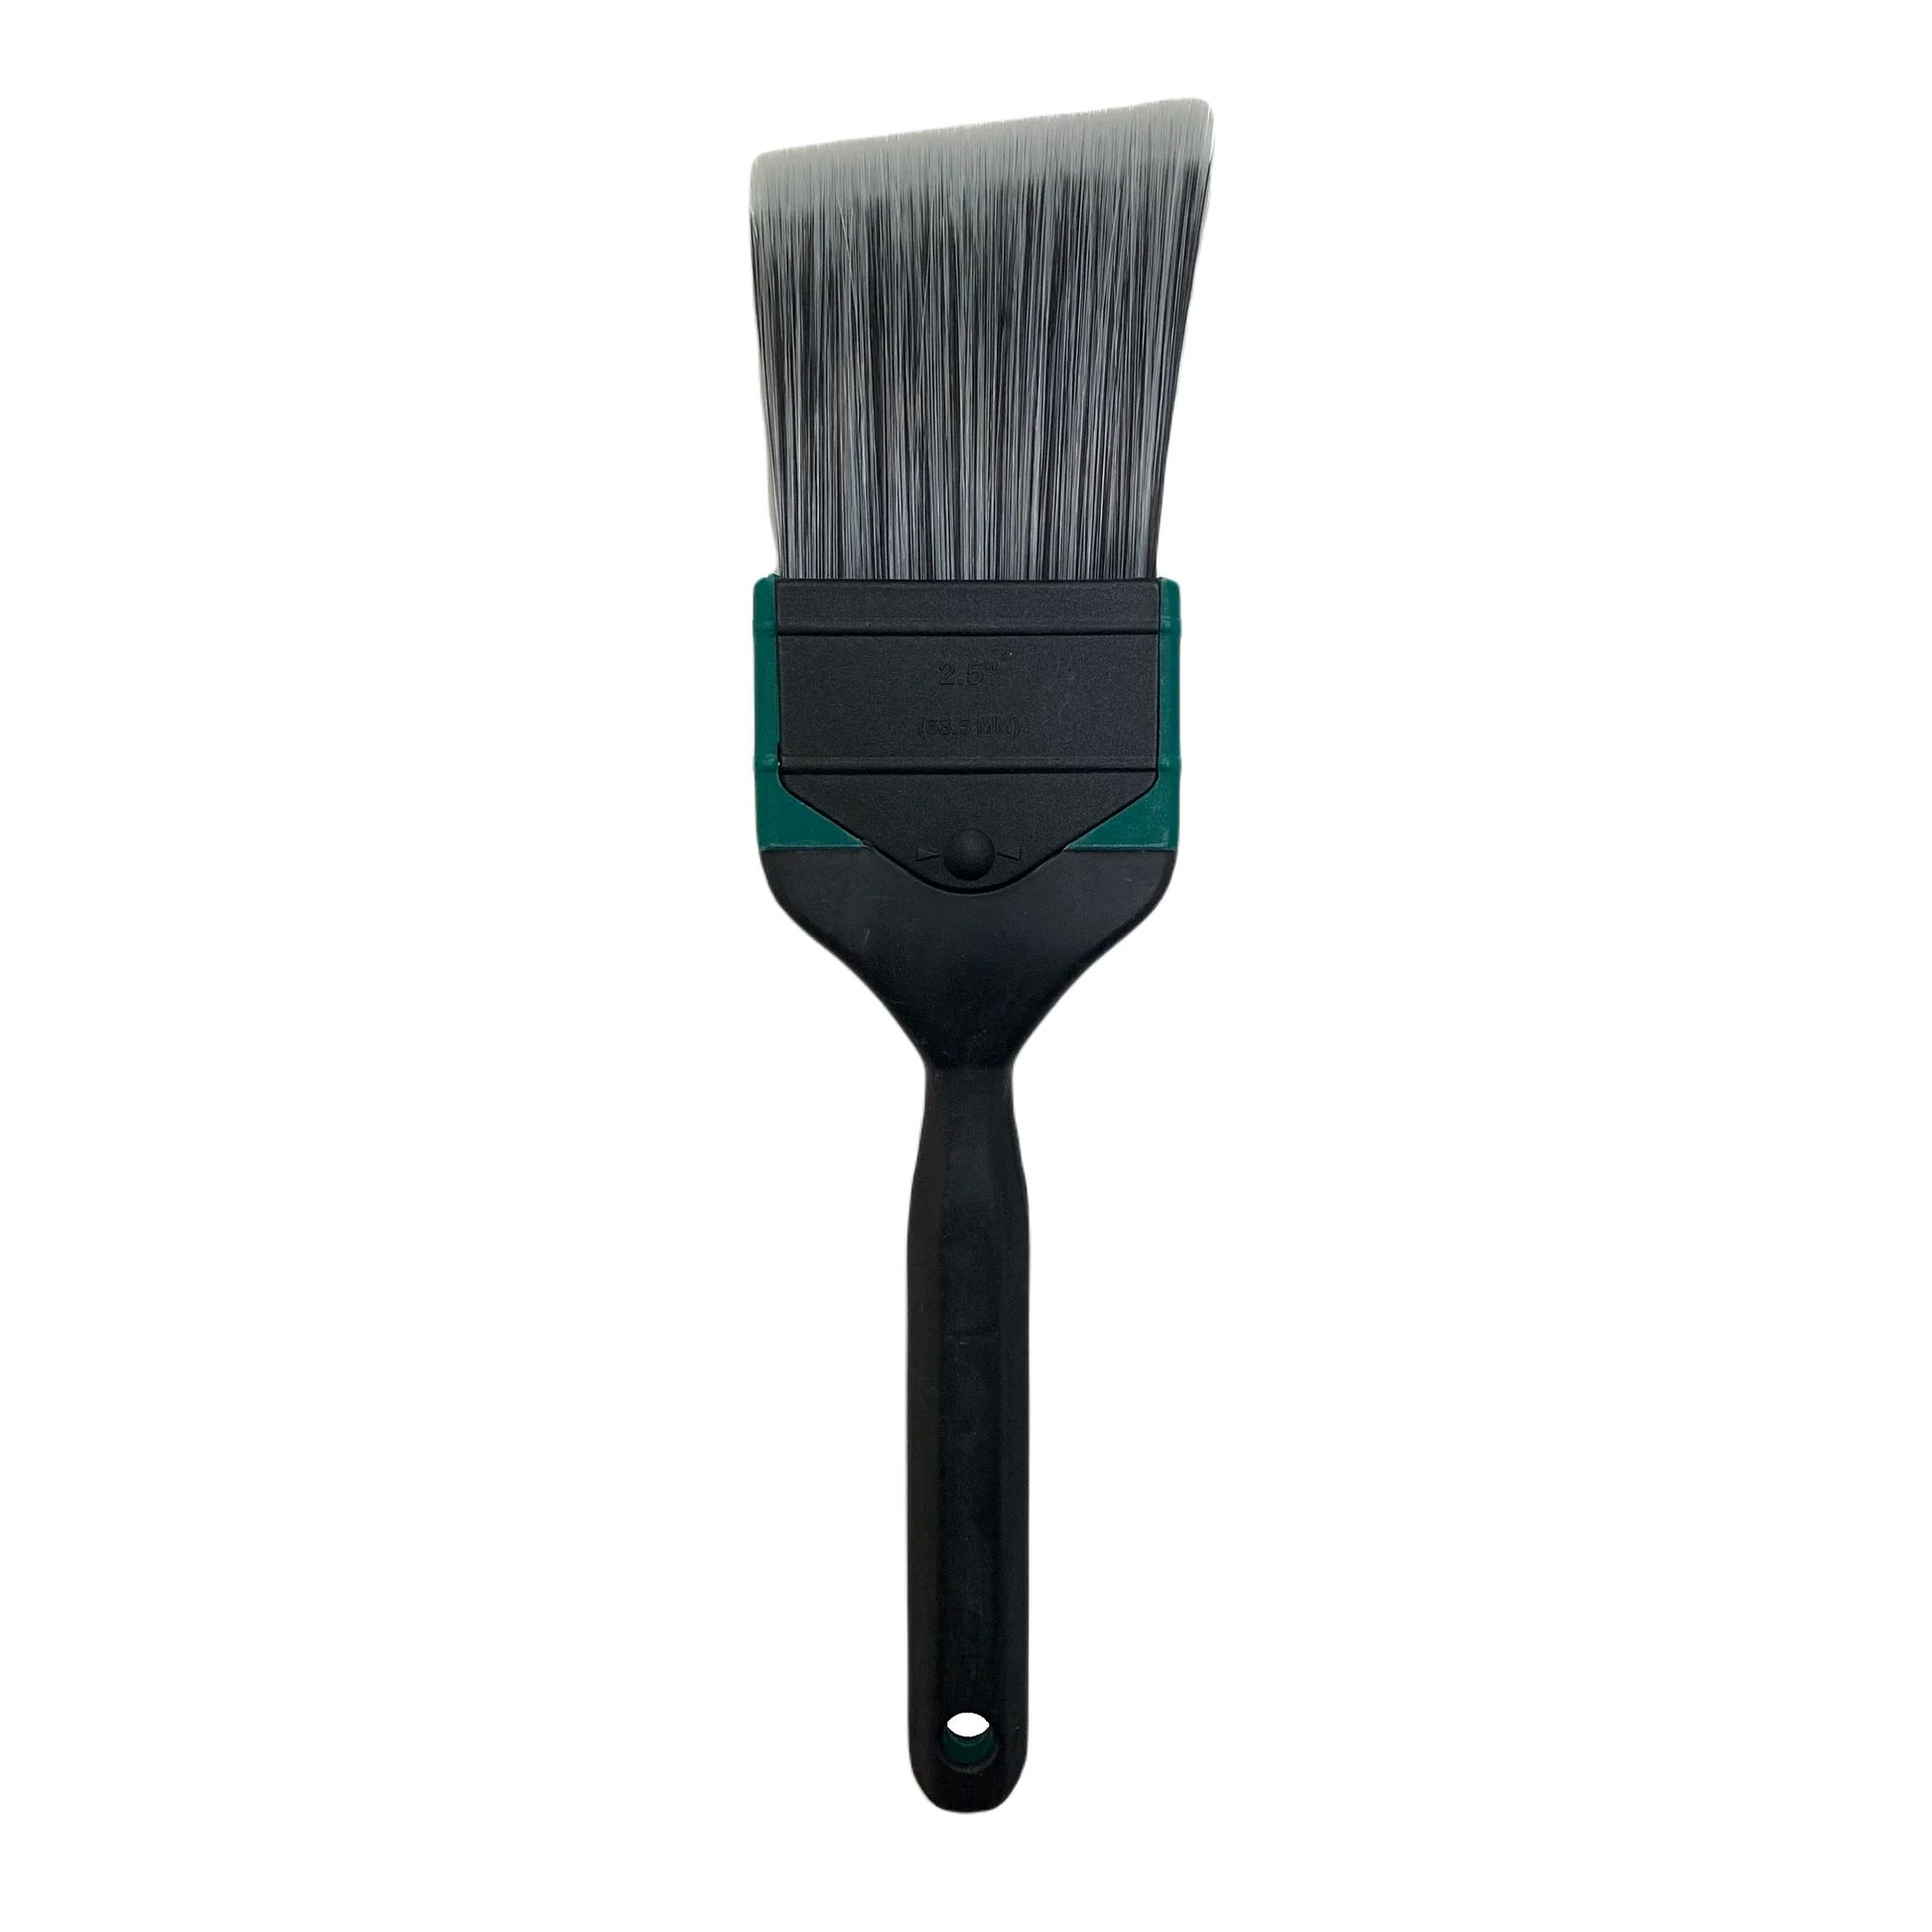
1. Paintbrush: Use a high-quality brush with synthetic bristles for latex paint and natural bristles for oil-based paint. A two-inch brush is suitable for most doors, although you may need a smaller brush for intricate details.
2. Roller and tray: A small foam or microfiber roller is ideal for a smooth finish on large, flat surfaces. Use a roller tray to load the roller with paint evenly.
3. Painters tape: Use painters tape to protect areas you don’t want to be painted, such as doorknobs, hinges, and glass panels.
4. Drop cloth: Lay a drop cloth or plastic sheet to protect the floor and surrounding surfaces from paint splatters.
5. Sandpaper or sanding block: Keep sandpaper handy for touch-ups and smoothing between coats.
6. Tack cloth: This sticky cloth is used to remove any dust or debris from the door before painting, ensuring a clean and smooth surface.
By choosing the right paint type and gathering the necessary tools, you set yourself up for success in achieving a professional finish when painting your doors.
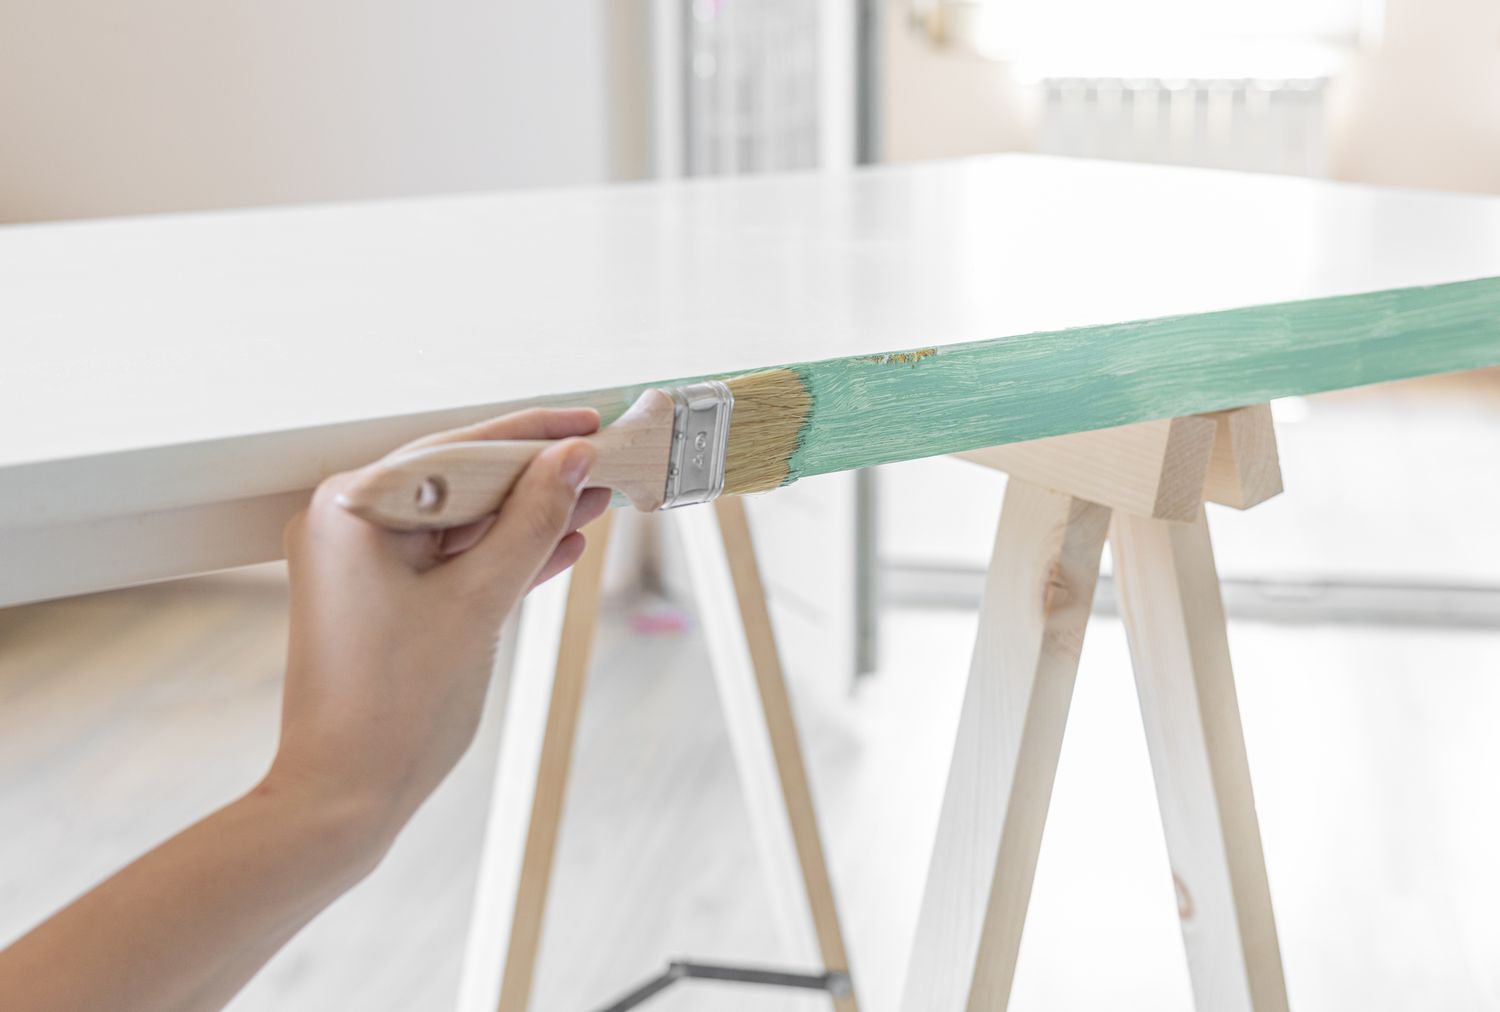
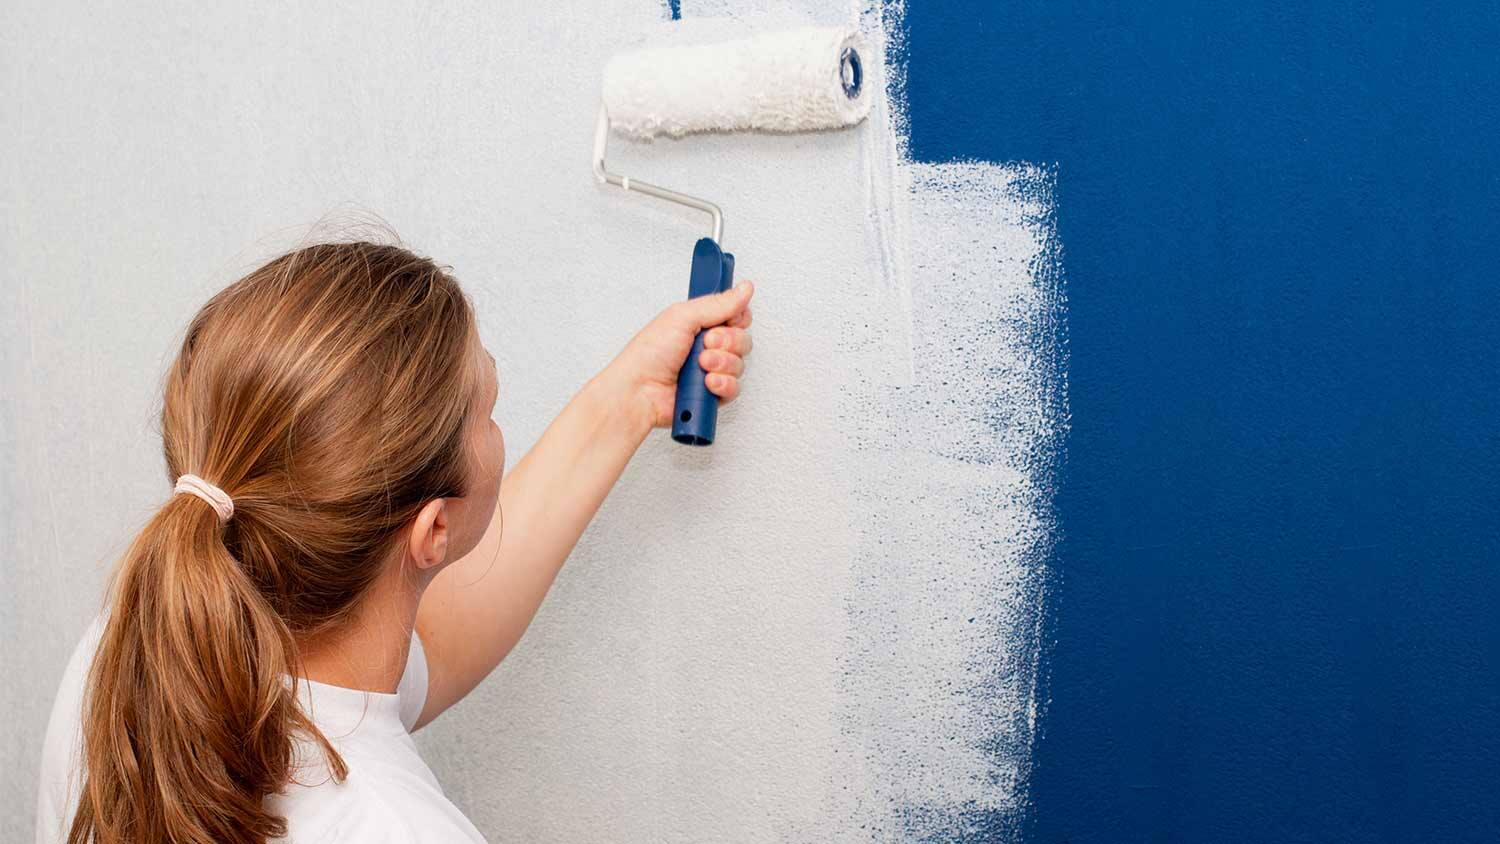
Proper Techniques for Painting Doors
To achieve a flawless and professional-looking finish when painting doors, it’s important to follow proper techniques. Here are some key tips to help you master the art of door painting:
Brushing vs. spraying
One of the first decisions to make is whether to use a brush or a spray for painting your doors. Both methods have their advantages and considerations:
– Brushing: Using a brush allows for more control and precision, especially when dealing with intricate details such as panelings or moldings. It also eliminates the need for extensive masking and covering. However, brushing can leave visible brush strokes if not done carefully.
– Spraying: Spraying can give you a smoother and more even finish, particularly on large, flat surfaces. It can be faster than brushing, especially when painting multiple doors. However, it requires more equipment, such as a paint sprayer, and proper ventilation is necessary to avoid inhalation of paint particles.
Choose the method that suits your skills, time availability, and the specific requirements of your door painting project.
Using a roller
For most door painting projects, using a roller in combination with a brush is a practical and efficient approach. Follow these steps to effectively use a roller:
1. Start with the brush: Use a brush to paint any recessed areas, edges, and details that are difficult to cover with a roller.
2. Load the roller: Pour the paint into a roller tray and roll the roller back and forth until it is evenly coated with paint.
3. Apply the paint: Begin by rolling the paint onto the door in smooth, even strokes. Start from the top and work your way down, taking care of any drips or excess paint along the way.
4. Work in sections: Divide the door into manageable sections, painting one section at a time to ensure an even application of paint.
5. Feather the edges: To avoid visible paint lines, use a technique called feathering. After each section, lightly roll over the edges with a dry roller to blend and smooth out any brush or roller marks.
Applying multiple coats
To achieve a durable and long-lasting paint finish, it is recommended to apply multiple thin coats rather than one thick coat. This allows for better adhesion, reduces the chance of drips and runs, and ensures a smoother finish.
Allow each coat to dry thoroughly before applying the next. Follow the manufacturer’s recommendations regarding drying time between coats. If necessary, lightly sand the surface between coats to remove any imperfections and create a smoother surface.
By employing proper painting techniques like choosing the right method, using a roller effectively, and applying multiple thin coats, you’ll be on your way to achieving a professional-looking door paint job.
Tips for Achieving a Smooth Finish
A smooth and flawless finish is the hallmark of a professionally painted door. Here are some essential tips to help you achieve that desired smooth finish:
Avoiding brush marks
Brush marks can detract from the overall appearance of your painted door. To avoid them:
– Use a high-quality brush with the appropriate bristles for the type of paint you’re using.
– Dip the brush into the paint only about one-third of the bristle length to prevent overloading with paint.
– Apply the paint in long, smooth strokes, working in the direction of the grain or the contours of the door.
– Feather out any brush marks or visible strokes by lightly passing the brush over the painted surface in long, even strokes.
Minimizing drips and runs
Drips and runs can create uneven patches and blemishes on your door’s finish. Here are a few tips to avoid them:
– Remove excess paint from your brush or roller before applying it to the door.
– Start with thinner coats of paint, allowing each one to dry before applying the next. This helps minimize the risk of an excessive amount of paint dripping or running.
– Check for any drips or runs immediately after applying the paint. If you notice any, gently smooth them out with the brush or roller before the paint dries.
Sanding between coats
Sanding between coats helps create a smooth and even surface and improves the adhesion of subsequent layers of paint. Follow these steps when sanding between coats:
– Use a fine-grit sandpaper (around 220 grit) or a sanding sponge to lightly sand the surface of the dried coat.
– Sand in the direction of the wood grain or stroke pattern to avoid creating scratches that will be visible after painting.
– Make sure to remove any sanding dust using a clean cloth or tack cloth before applying the next coat of paint.
Note: Be cautious not to oversand and remove too much of the previous coat, as this can affect the overall finish.
By following these tips, you can achieve a smooth and flawless paint finish on your doors, enhancing the overall aesthetic of your space.
Dealing with Common Door Painting Issues
During the door painting process, you may encounter common issues such as cracks, holes, surface imperfections, or paint sticking problems. Here are some helpful tips to address and overcome these challenges:
Filling in cracks and holes
Before painting your door, ensure that any cracks or holes are properly filled to create a smooth surface. Here’s how:
1. Clean the area around the crack or hole to remove any loose debris or paint.
2. Use a wood filler or spackle to fill in the damaged area. Apply the filler with a putty knife, slightly overfilling the hole or crack.
3. Once the filler has dried, lightly sand the area to create a level surface.
4. Remove any sanding dust and apply a primer to the filled area before painting.
Correcting surface imperfections
To achieve a flawless finish, it’s essential to address surface imperfections on your door before painting. Here’s what you can do:
1. Inspect the door’s surface for any bumps, dents, or rough areas.
2. Use sandpaper or a sanding block to gently smooth out the imperfections, sanding in the direction of the wood grain or stroke pattern.
3. Wipe away any sanding dust with a clean cloth or tack cloth.
4. Apply a thin coat of primer to the sanded areas to ensure even paint adhesion.
Preventing paint from sticking
Sometimes, paint can stick to the door and peel off when you open or close it. To prevent this issue:
1. Allow adequate drying time between coats. Rushing the process can cause the paint to remain tacky, leading to sticking.
2. If the door has been recently painted or has an existing glossy finish, consider sanding or using a liquid deglosser to create a slightly rougher surface for the paint to adhere to.
3. Ensure that the door is properly aligned and adjusted within its frame. Misalignment can cause the paint to scrape or bind against the door frame, resulting in sticking.
By addressing these common door painting issues, you can ensure a smooth and seamless paint finish that not only enhances the appearance of your doors but also improves their functionality.
Ensuring a Durable and Long-Lasting Paint Job
To extend the lifespan of your freshly painted doors and maintain their vibrant appearance, follow these tips for a durable and long-lasting paint job:
Adding a protective topcoat
Applying a protective topcoat can add an extra layer of durability and protection to your painted doors. Consider using a clear polyurethane or varnish as a topcoat, especially for exterior doors or doors that experience heavy use. Choose a topcoat that is compatible with the type of paint you used and follow the manufacturer’s instructions for application.
Maintaining painted doors
To keep your painted doors looking their best, regular maintenance is crucial. Here are some maintenance tips to follow:
1. Clean the doors regularly using a mild detergent and water solution. Avoid harsh chemicals or abrasive cleaners that could damage the paint.
2. Gently wipe down the doors with a soft cloth or sponge, being careful not to scrub too hard or scratch the paint.
3. Inspect the doors periodically for any signs of wear, chipping, or peeling. If you notice any issues, address them promptly to prevent further damage.
4. Avoid slamming doors, as this can cause paint to chip or crack.
5. Protect the door from harsh weather by ensuring it is properly sealed and protected from direct exposure to intense sunlight or moisture.
Addressing touch-ups and repairs
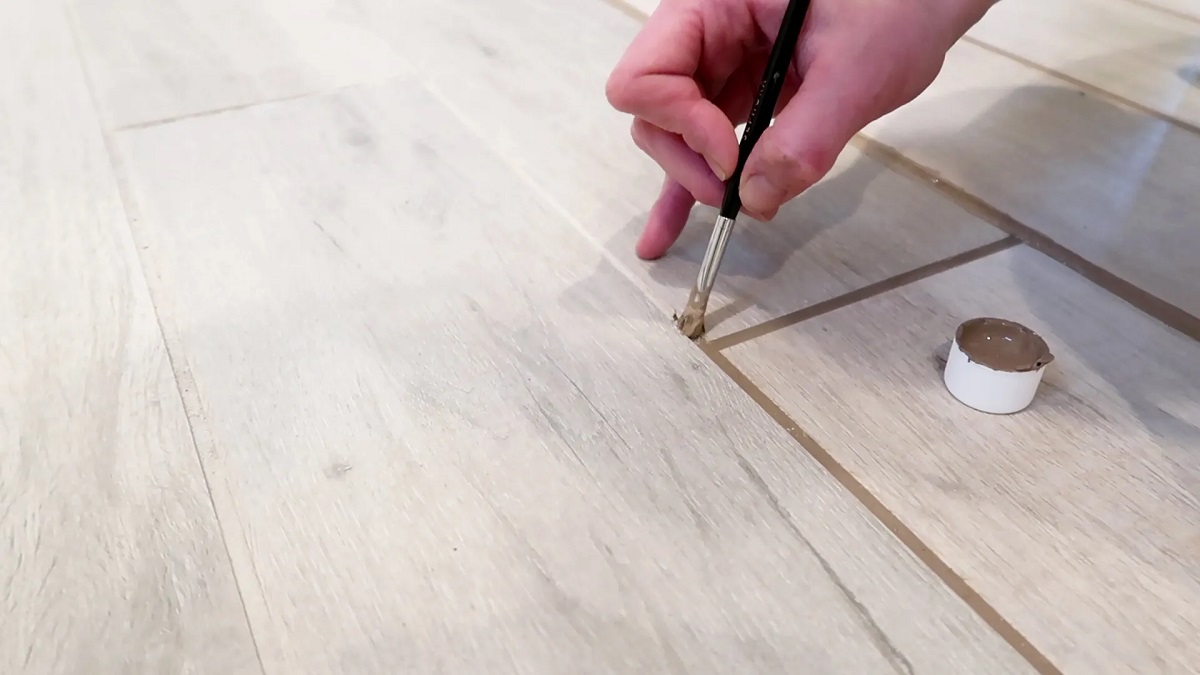
Over time, painted doors may require touch-ups or repairs. Here’s how to handle them:
1. Keep some extra paint in a sealed container for future touch-ups. Use the original paint or have it custom-matched to ensure a consistent color.
2. Clean the area to be touched up and lightly sand any rough edges.
3. Apply a thin coat of paint to the damaged area using a brush or small roller, blending it carefully with the surrounding painted surface.
4. Allow the touch-up paint to dry completely before inspecting the result. If necessary, apply additional coats until the touch-up area matches the rest of the door.
By adding a protective topcoat, maintaining the painted doors properly, and addressing touch-ups or repairs promptly, you can ensure that your painted doors continue to look fresh and beautiful for years to come.
Conclusion
Painting doors may seem like a daunting task, but with the right techniques and tools, you can achieve a professional and flawless finish. By following the steps outlined in this article, you can transform the appearance of your doors, whether they are interior or exterior, and add a fresh and vibrant touch to your space.
From preparing the door surface by removing hardware, cleaning, sanding, and priming, to choosing the right paint and tools, each step is crucial to ensuring a successful door painting project. Proper techniques such as brushing or spraying, using a roller effectively, and applying multiple thin coats help to achieve a smooth and seamless finish.
By addressing common door painting issues such as filling in cracks and holes, correcting surface imperfections, and preventing paint from sticking, you can overcome challenges and achieve a professional result. Adding a protective topcoat, maintaining painted doors, and addressing touch-ups or repairs ensures a durable and long-lasting paint job that stands the test of time.
Remember, patience and attention to detail are key when painting doors. Take the time to properly prepare the surface, choose the right paint and tools, and follow the recommended techniques for the best results. With some practice, you’ll become a master at painting doors and enjoy the satisfaction of a job well done.
So, don’t hesitate to give your doors a fresh coat of paint and transform your living space. With the knowledge and tips provided in this article, you’re well-equipped to take on the challenge and create beautifully painted doors that enhance the aesthetic appeal of your home.
Frequently Asked Questions about The Best Way To Paint Doors: According To Pro Painters
Was this page helpful?
At Storables.com, we guarantee accurate and reliable information. Our content, validated by Expert Board Contributors, is crafted following stringent Editorial Policies. We're committed to providing you with well-researched, expert-backed insights for all your informational needs.

0 thoughts on “The Best Way To Paint Doors: According To Pro Painters”