Articles
How To Paint Your Home’s Exterior Like A Pro
Modified: January 18, 2024
Learn how to paint your home's exterior like a pro with these helpful articles. Get expert tips and techniques to achieve a flawless finish.
(Many of the links in this article redirect to a specific reviewed product. Your purchase of these products through affiliate links helps to generate commission for Storables.com, at no extra cost. Learn more)
Introduction
When it comes to giving your home a fresh new look, painting the exterior can make a world of difference. Not only does a new coat of paint enhance curb appeal, but it also protects your home from the elements and adds value to your property. While hiring a professional painter is an option, painting your home’s exterior is also a task you can tackle on your own, with the right knowledge and tools.
In this article, we will guide you through the process of painting your home’s exterior like a pro. From preparing the surfaces to choosing the right paint and applying it correctly, you’ll learn the tips and tricks that will help you achieve a beautiful and long-lasting finish.
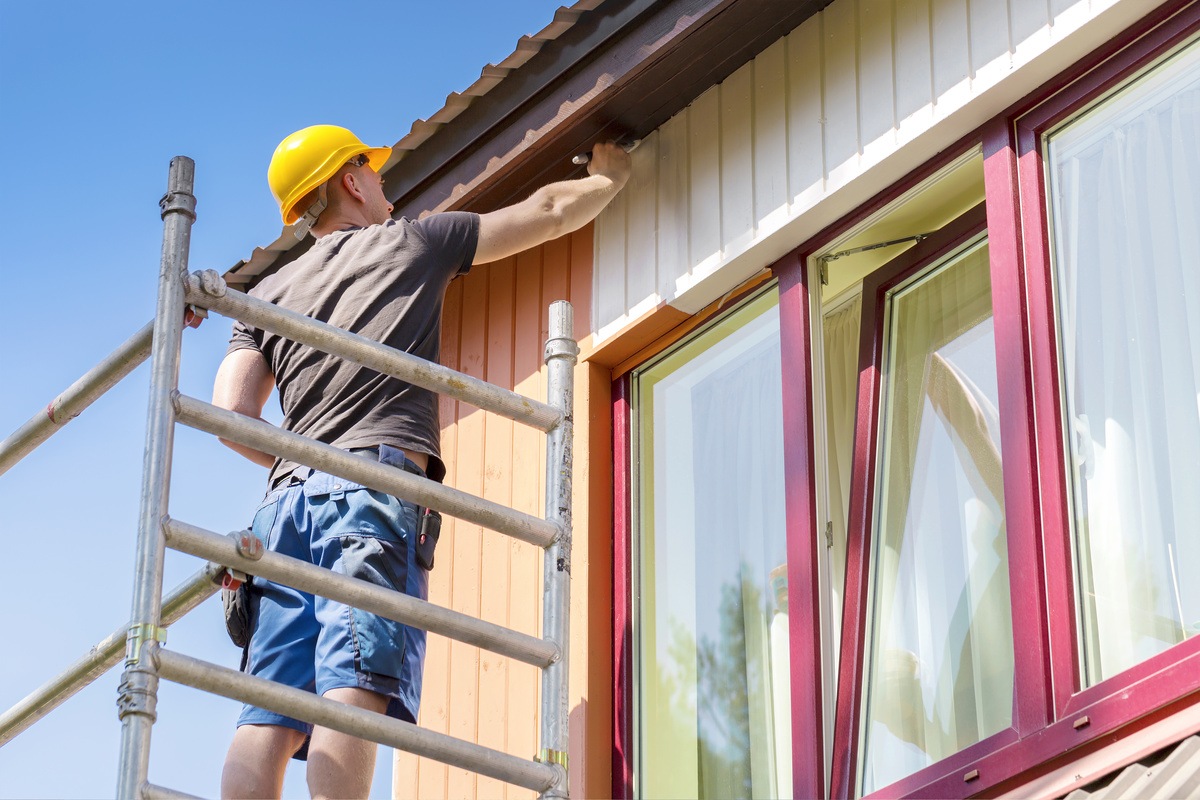
Before diving into the painting process, it’s crucial to mention the importance of safety. Painting the exterior of your home involves working at heights and using potentially hazardous materials, so always prioritize your safety by wearing protective gear such as gloves, goggles, and a mask. Additionally, make sure to work on a stable ladder or scaffolding and be cautious of any electrical lines or obstacles.
Now, let’s get started on transforming your home’s exterior and giving it a fresh, stylish look that will make your neighbors envious!
Key Takeaways:
- Transform your home’s exterior like a pro by following expert tips on preparation, paint selection, application techniques, and final touches. Achieve a stunning, long-lasting finish that adds value and curb appeal.
- Ensure a smooth and professional-looking finish by choosing the right weather conditions, applying paint with long, smooth strokes, and inspecting for imperfections. Attention to detail and patience are key to a flawless result.
Read more: How To Paint Plastic Like A Pro
Preparing Your Home’s Exterior
Before picking up the paintbrush, it’s important to properly prepare the exterior surfaces of your home. This step is crucial in order to achieve a smooth and long-lasting finish. Here are the key steps to follow:
- Clean the surfaces: Start by thoroughly cleaning the exterior surfaces of your home. Use a pressure washer or hose to remove dirt, debris, and any loose paint. Scrub the surfaces with a mild detergent and a brush to remove any stubborn stains or mold. Allow the surfaces to dry completely before moving on to the next step.
- Remove loose or peeling paint: Inspect the exterior of your home for any loose or peeling paint. Use a paint scraper or wire brush to remove these areas, as they can affect the adhesion and appearance of the new paint. Sand down the edges of the scraped areas to create a smooth surface transition between the bare wood and the existing paint.
- Repair any damaged areas: Take the time to inspect the exterior of your home for any cracks, holes, or damaged areas. Use a suitable filler or putty to patch up these spots and give them time to dry. Once dry, sand the patched areas to ensure a seamless blend with the surrounding surfaces.
- Protect surrounding areas: Cover any areas that you don’t want to paint, such as windows, doors, and trim, with plastic sheets or painter’s tape. This will protect them from accidental paint splatters or drips.
- Inspect and repair the caulking: Check the caulking around windows, doors, and other gaps in the exterior surfaces. Replace any deteriorated or cracked caulk to ensure a tight seal and prevent water infiltration.
- Consider applying a primer: While not always necessary, applying a primer can help improve the adhesion of the new paint and enhance the overall finish. Primers are especially useful for bare wood surfaces or when transitioning from dark to light paint colors.
By following these preparation steps, you’ll create a solid foundation for a successful and professional-looking paint job. Taking the time to properly prepare your home’s exterior will ensure that the new paint adheres well, lasts longer, and provides a beautiful result.
Choosing the Right Paint and Tools
Choosing the right paint and tools is essential to achieve a high-quality and long-lasting paint job on your home’s exterior. Here are some important considerations:
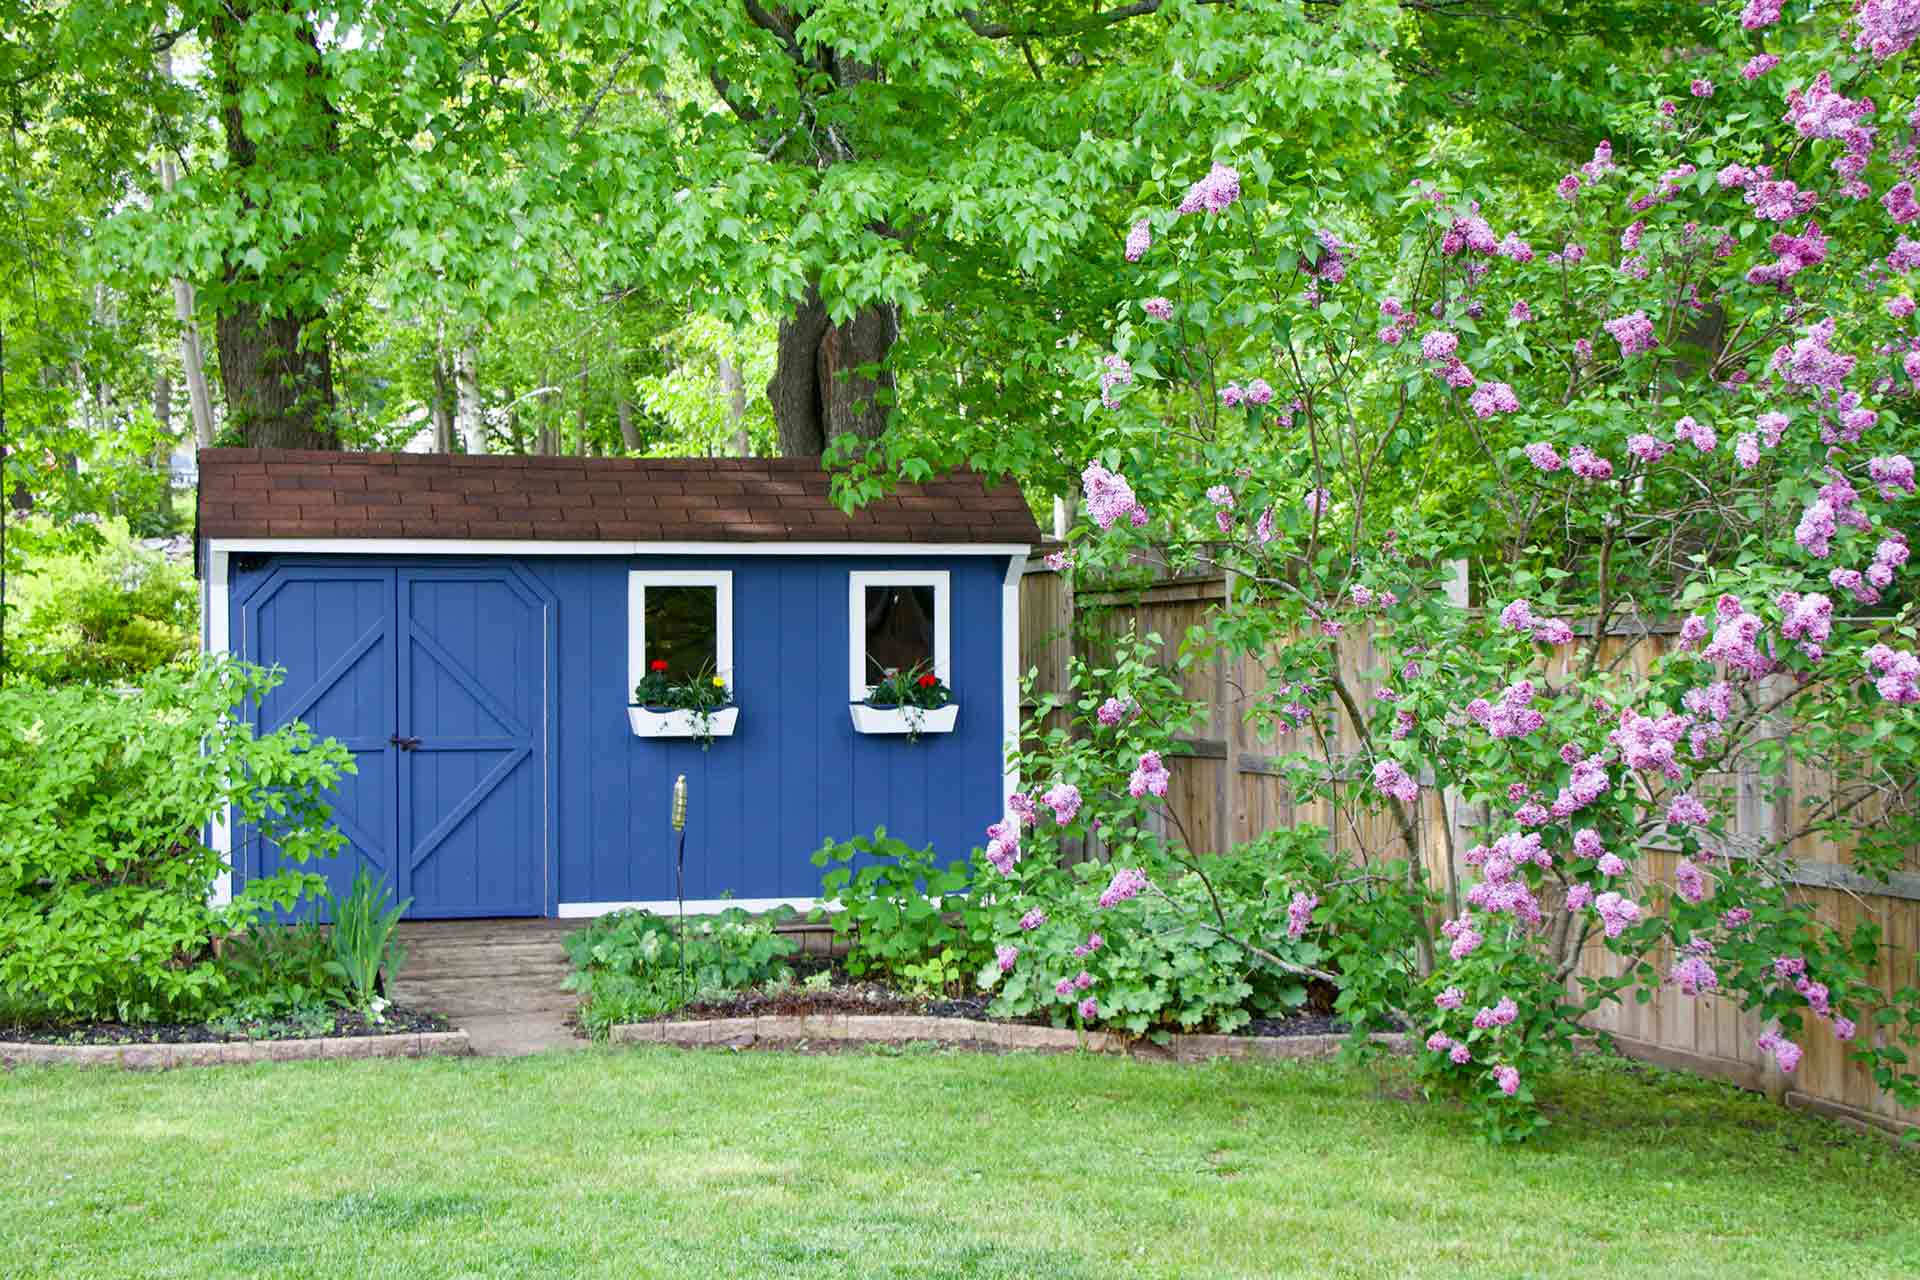
- Selecting the paint: When it comes to exterior paint, it’s important to choose a high-quality paint that is specifically formulated for outdoor use. Look for paints that are durable, weather-resistant, and offer good coverage. Consider the climate in your area, as different types of paint may be more suitable for certain weather conditions. Additionally, select a paint color that complements your home’s architecture and blends well with the surrounding environment.
- Deciding on the finish: Exterior paints come in a variety of finishes, such as flat, satin, semi-gloss, and gloss. The finish you choose will depend on your personal preference and the level of durability and sheen you desire. Keep in mind that flat or satin finishes are generally more forgiving in terms of hiding imperfections, while glossier finishes tend to be more durable and easier to clean.
- Investing in quality tools: Along with choosing the right paint, investing in high-quality painting tools will make a significant difference in the overall outcome. Purchase good-quality brushes and rollers that are suitable for the type of paint you’re using. Opt for brushes with synthetic bristles for latex paints and natural bristles for oil-based paints. Additionally, consider using a paint sprayer for large areas, as it can provide a more uniform and efficient coverage.
- Gathering other essential tools: In addition to brushes and rollers, make sure to gather other essential painting tools, such as a paint tray, an extension pole for hard-to-reach areas, a drop cloth to protect the ground, and a paint edger for clean and straight lines.
- Considering environmental impact: If eco-friendliness is important to you, look for paints that have low VOC (volatile organic compound) or zero VOC content. These paints release fewer harmful chemicals into the air, making them safer for both you and the environment.
By selecting the right paint and investing in quality tools, you’ll set yourself up for a smoother and more successful painting experience. Remember to read the manufacturer’s instructions and follow the recommended application techniques for the best results.
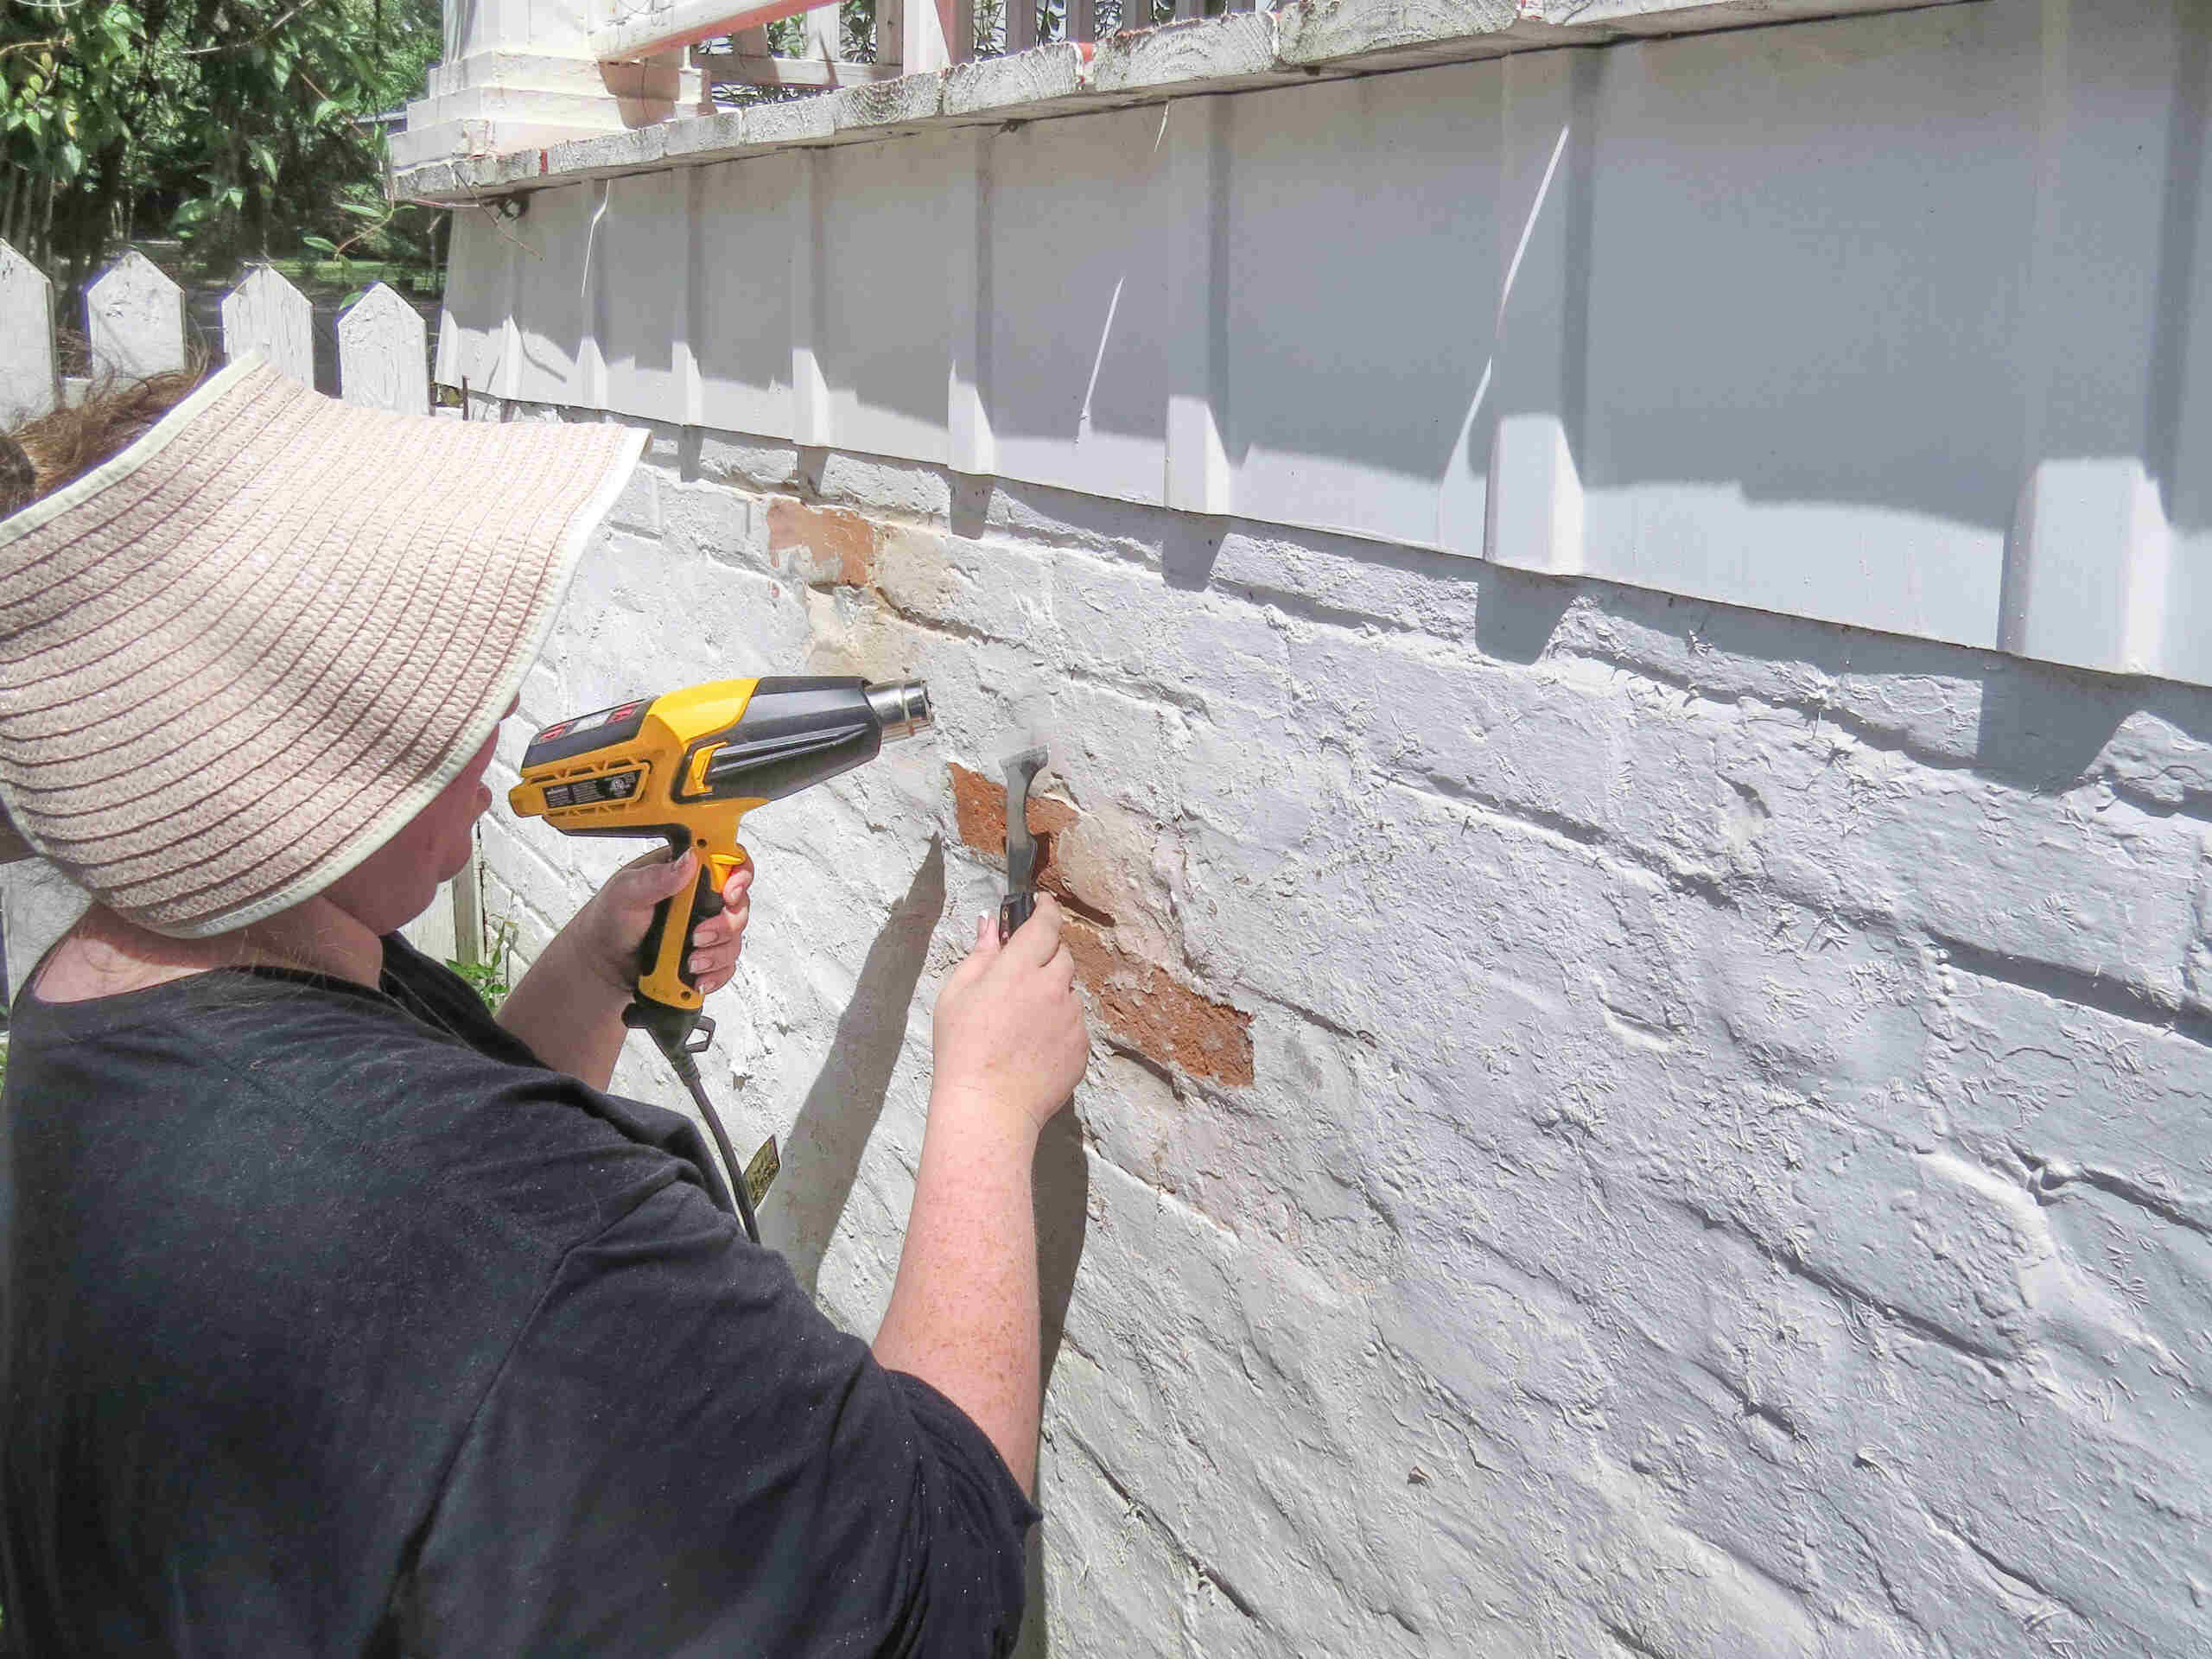
Cleaning and Repairing the Surfaces
Before you start painting your home’s exterior, it’s crucial to thoroughly clean and repair the surfaces to ensure a smooth and flawless finish. Here’s a step-by-step guide on how to clean and repair the surfaces:
- Clear the area: Begin by removing any obstacles or furniture from the area around your home’s exterior. This will give you ample space to work and prevent any damage to your belongings.
- Pressure wash: Use a pressure washer to remove dirt, grime, mold, and loose paint from the surfaces. Start at the top and work your way down, overlapping each section to ensure thorough cleaning. Adjust the pressure washer settings accordingly to prevent any damage to the surfaces.
- Scrape off loose paint: Once the surfaces are dry, use a paint scraper or wire brush to remove any loose or peeling paint. Take your time and scrape off all the areas where the paint is not adhering properly. Make sure to wear safety goggles and a dust mask to protect yourself from any debris.
- Repair damaged areas: Inspect the surfaces for any cracks, holes, or damaged areas. Use a suitable filler or putty to patch up these spots. Smooth the filler using a putty knife or a trowel and let it dry according to the manufacturer’s instructions. Sand down the patched areas to create a seamless surface.
- Remove mildew and mold: If you notice any mold or mildew on the surfaces, it’s important to address it before painting. Mix a solution of water and bleach or a specialized mold and mildew remover and scrub the affected areas using a stiff brush. Rinse thoroughly and allow the surfaces to dry completely before proceeding.
- Clean windows and trims: Take the time to clean the windows and trims surrounding the surfaces. Use a mild detergent, warm water, and a soft cloth to remove any dirt or stains. This will ensure a clean and finished look once the painting is complete.
By thoroughly cleaning and repairing the surfaces, you’ll create a solid foundation for the paint to adhere properly and provide a professional and long-lasting finish. Taking the time to prepare the surfaces will allow the paint to showcase its true color and protect your home for years to come.
Before painting your home’s exterior, make sure to thoroughly clean the surface to remove dirt and debris. This will ensure a smooth and long-lasting finish.
Priming the Exterior
Priming the exterior surfaces of your home before applying the paint is an important step that helps to ensure better adhesion, durability, and a smoother finish. Here’s a guide on how to properly prime your home’s exterior:
- Choose the right primer: Select a high-quality exterior primer that is compatible with the type of paint you’ll be using. The primer should be suitable for the surface material of your home, whether it’s wood, metal, or masonry. If you’re uncertain, consult with a paint specialist at your local home improvement store for recommendations.
- Prepare the surfaces: Before applying primer, make sure the exterior surfaces are clean, dry, and free from any loose paint, dirt, or debris. Use a pressure washer or hose to remove any contaminants, and scrape or sand any areas with peeling or flaking paint.
- Apply the primer: Start by stirring the primer thoroughly to ensure proper consistency. Use a brush or roller to apply a thin and even coat of primer to the surfaces. Follow the manufacturer’s instructions for the drying time between coats, typically around 4 to 6 hours. If necessary, apply a second coat of primer for better coverage and adhesion.
- Pay attention to details: When priming, be sure to cover all areas that will be painted, including corners, edges, and trim. Take your time to apply the primer carefully and evenly, ensuring complete coverage. Use a smaller brush or foam roller to reach tight or difficult-to-access areas.
- Allow the primer to dry: After applying the primer, allow it to dry thoroughly before proceeding with the paint application. Follow the drying time recommended by the manufacturer, as it can vary depending on the primer and environmental conditions.
- Sand the primed surfaces (optional): If you notice any rough or uneven areas after the primer has dried, lightly sand them with fine-grit sandpaper. This will help create a smoother surface for the paint and ensure a more professional finish.
Priming the exterior surfaces of your home is an important step that helps to enhance paint adhesion and overall durability. By taking the time to prime properly, you’ll ensure a better-looking and longer-lasting paint job.
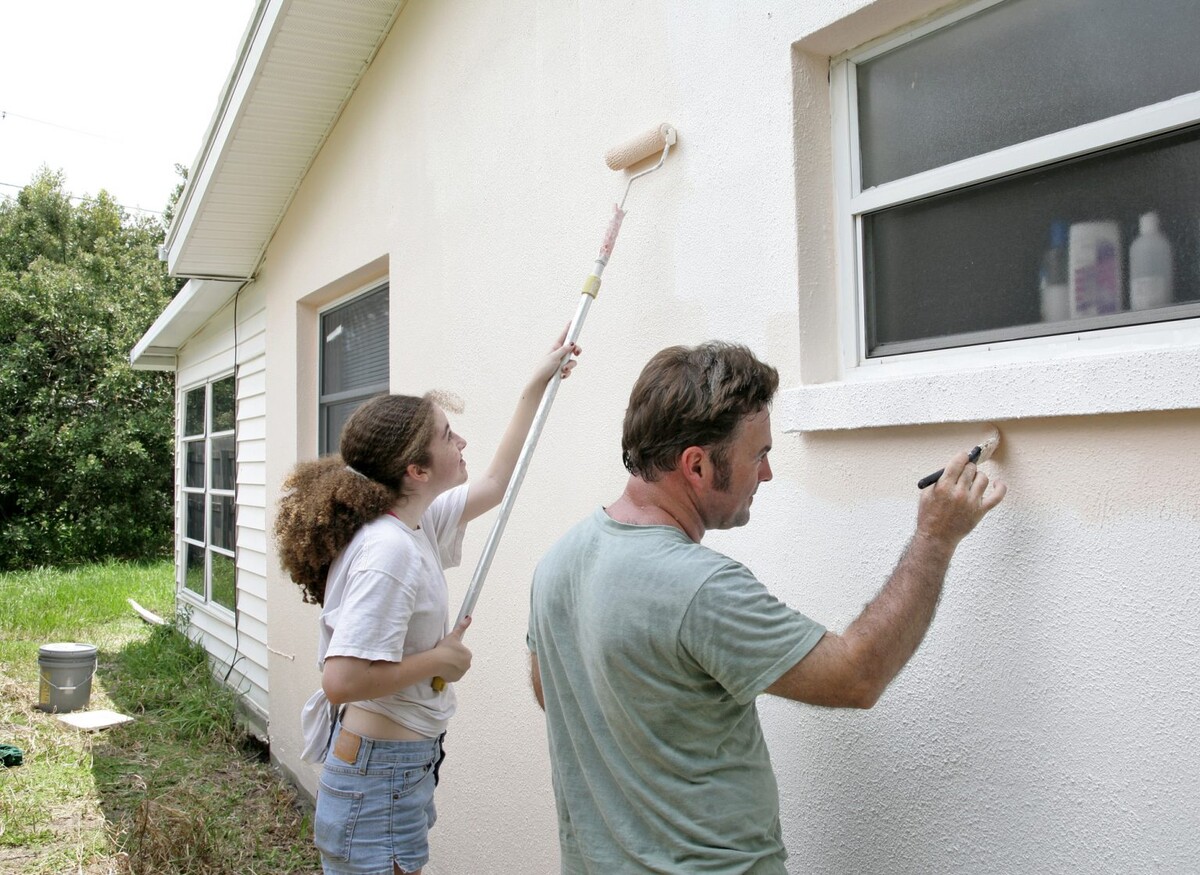
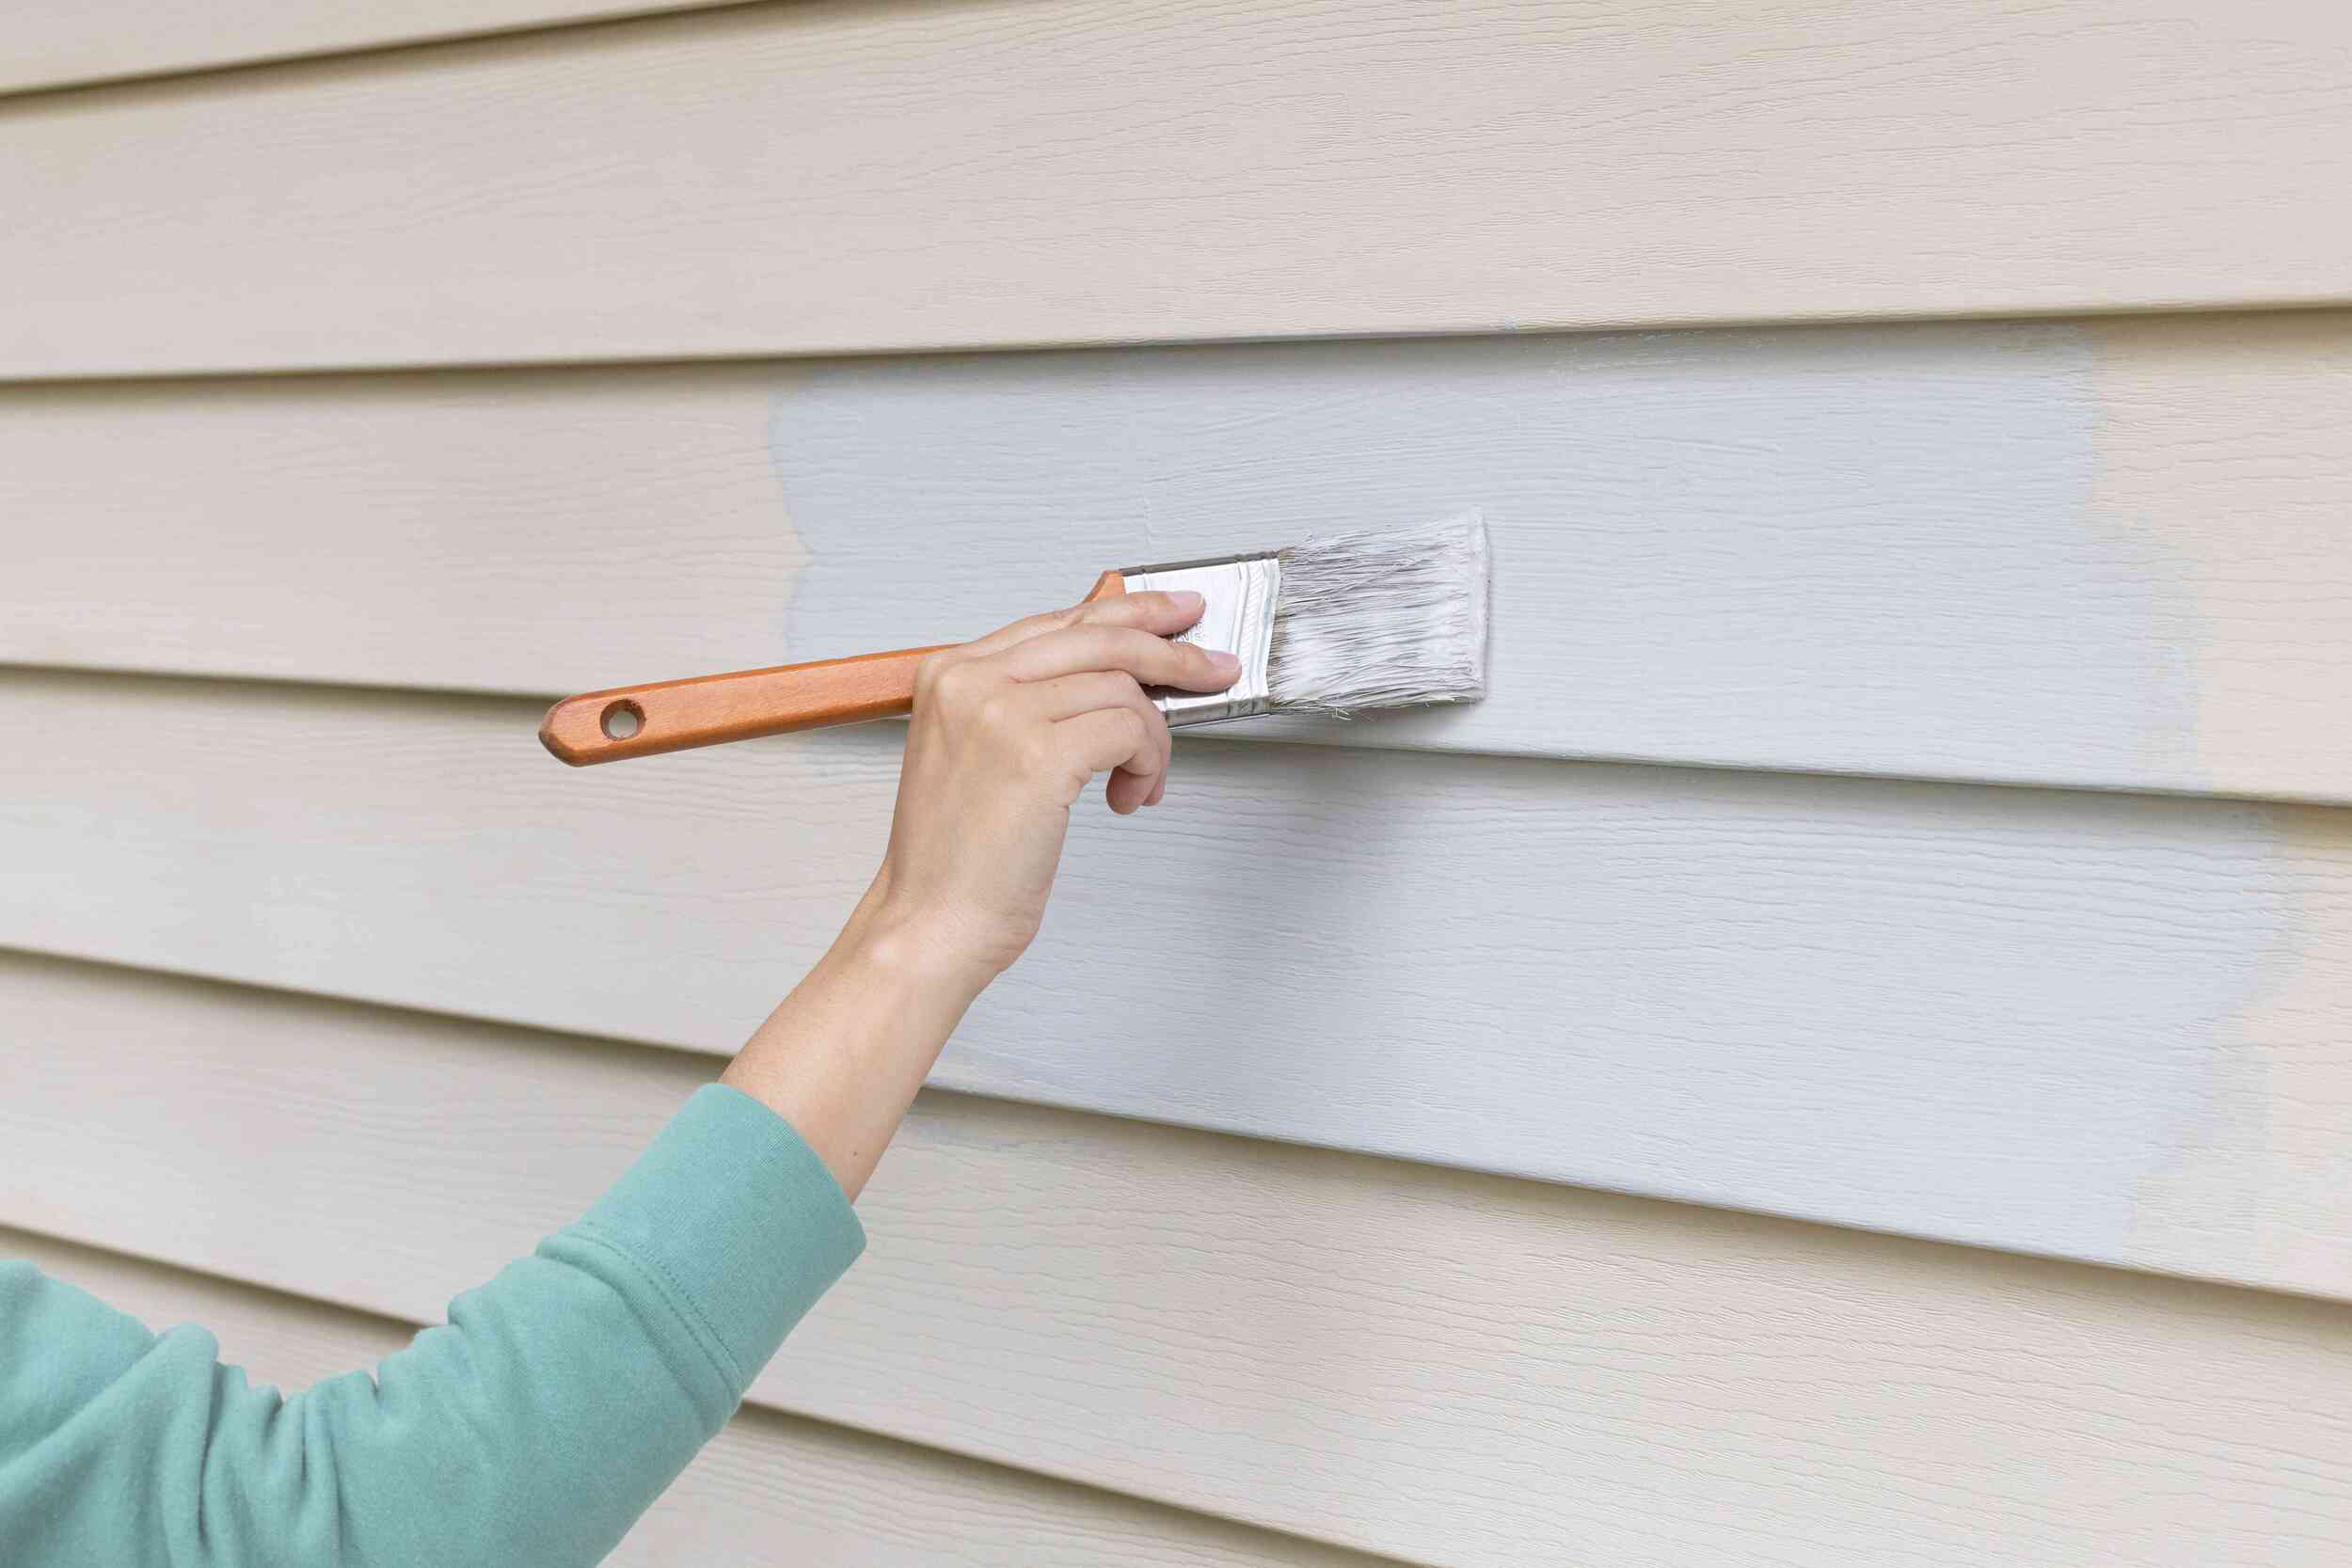
Applying the Paint
Now that you have prepared the surfaces and applied the primer, it’s time to apply the paint and bring your home’s exterior to life. Here are the steps to follow for a successful paint application:
- Mix and stir the paint: Start by thoroughly mixing the paint using a stirring stick. This will ensure consistent color and proper distribution of any additives or pigments in the paint.
- Choose the right application method: Depending on the size and accessibility of the surfaces, you can use a brush, roller, or paint sprayer to apply the paint. Brushes are ideal for detailed areas and trim, while rollers are great for large, flat surfaces. Paint sprayers provide an efficient and even coverage for extensive areas. Use the appropriate tool for each section and consider using a combination of methods for the best results.
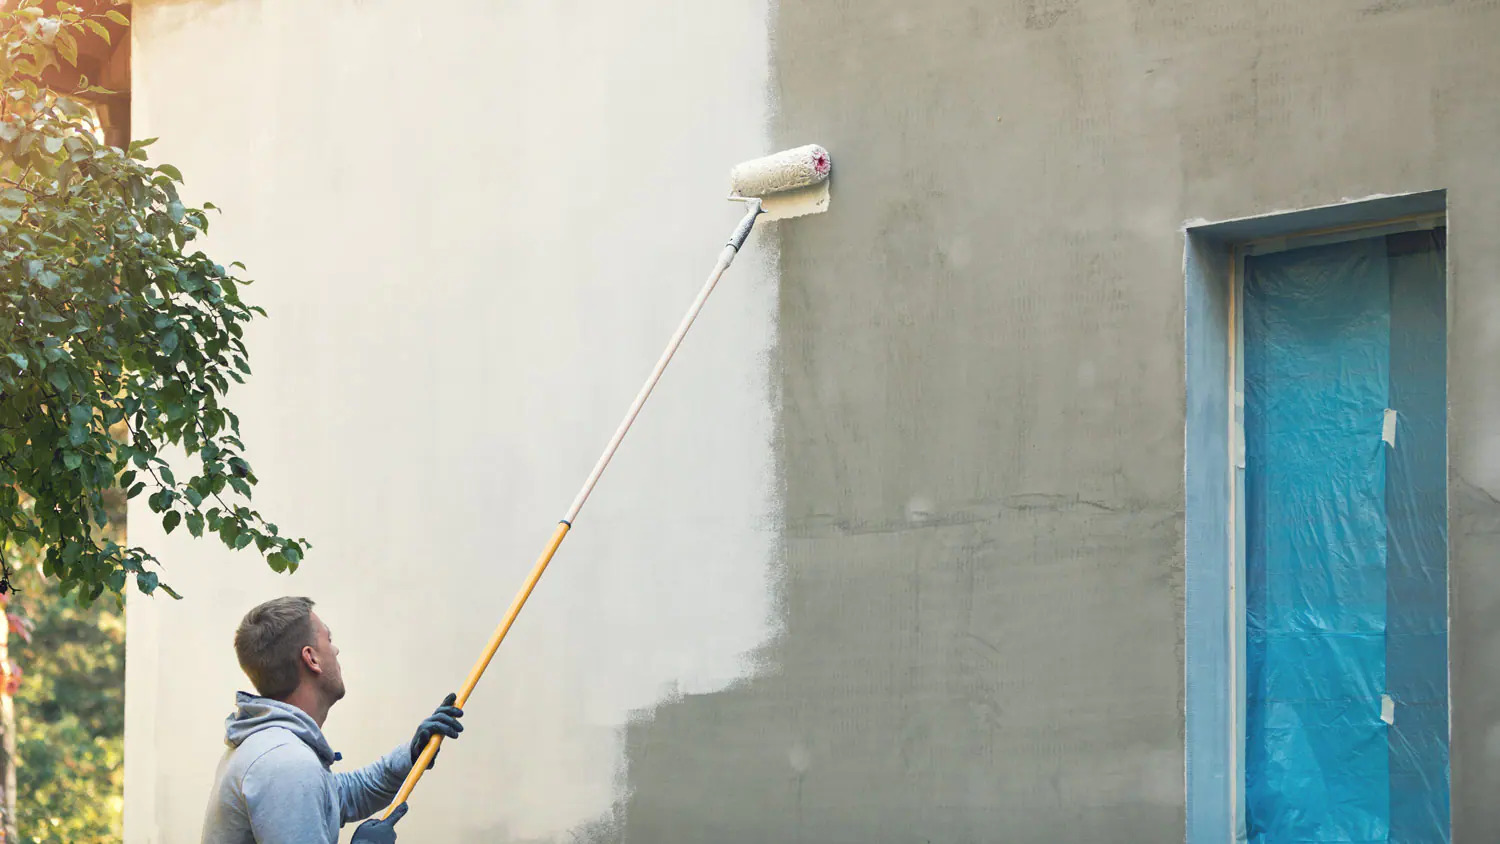
- Start from the top: Begin painting from the highest point of your home’s exterior, such as the roofline or upper sections of the walls. Work your way down, painting one section at a time to avoid any overlapping or dripping. This will ensure a smooth and consistent finish.
- Apply even coats: When applying the paint, aim for smooth and even strokes. Start by cutting-in, which means painting the edges and corners with a brush before using a roller or sprayer for the larger areas. Maintain a wet edge by slightly overlapping each stroke with the previous one. This will help to blend the paint for a seamless appearance.
- Allow proper drying time: Follow the manufacturer’s instructions for the drying time between coats. This will typically be a few hours, depending on the type of paint and environmental conditions. Avoid rushing the process to prevent smudging or damaging the fresh paint.
- Apply multiple coats if needed: Depending on the color and coverage desired, you may need to apply multiple coats of paint. Allow each coat to dry completely before applying the next one. This will help achieve a more vibrant and long-lasting finish.
- Clean up as you go: While painting, periodically clean your tools to prevent them from getting clogged or dried out. If you’re using a paint sprayer, make sure to clean it thoroughly after each use following the manufacturer’s instructions.
By following these steps, you’ll be able to apply the paint professionally and achieve a visually appealing and durable finish on your home’s exterior.
Tips for a Smooth Finish
Obtaining a smooth and professional-looking finish when painting your home’s exterior requires attention to detail and some helpful tips. Here are some useful tips to ensure a smooth finish:
- Choose the right weather conditions: Avoid painting during extreme hot or cold temperatures, as this can affect the drying process and the overall quality of the paint job. Ideally, aim for mild temperatures between 50-85 degrees Fahrenheit and low humidity levels.
- Avoid direct sunlight: Painting in direct sunlight can cause the paint to dry too quickly, leading to lap marks and uneven surfaces. It’s best to follow the shade as you work around your home.
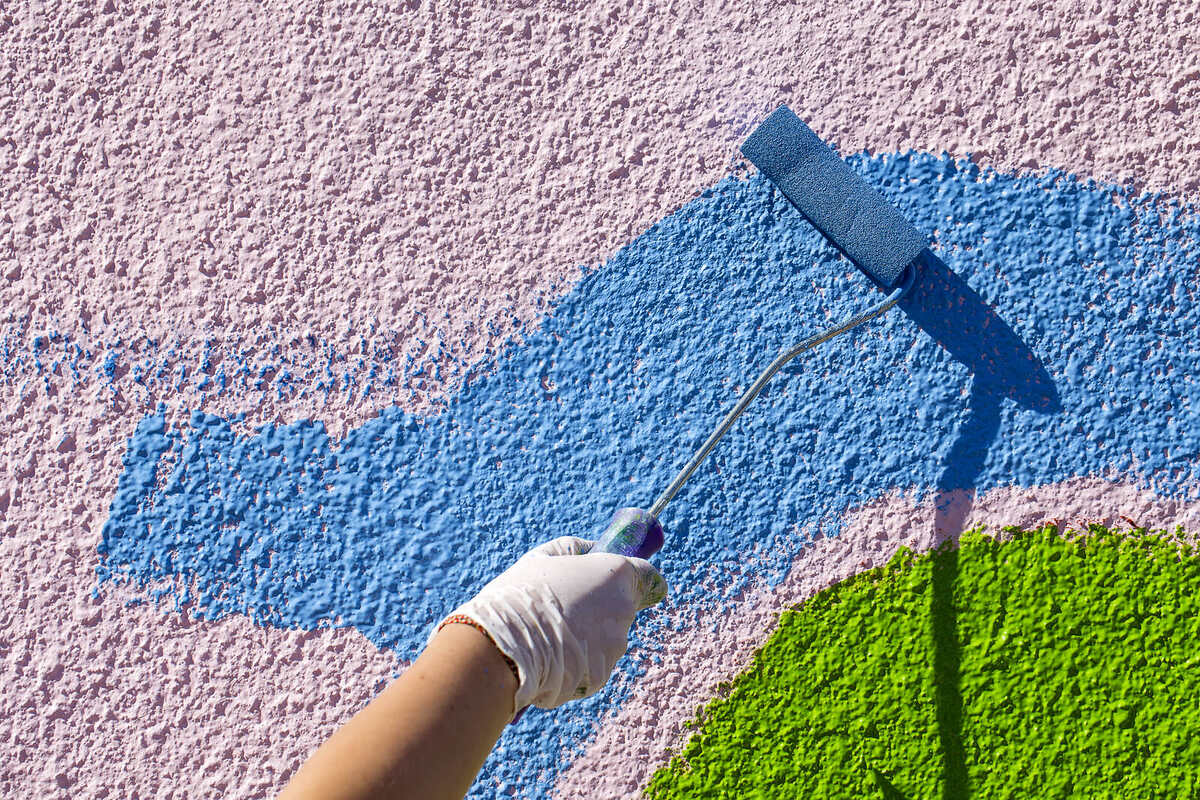
- Use long, smooth strokes: When painting with a brush or roller, use long and smooth strokes instead of short, choppy ones. This will help create a uniform texture and reduce the appearance of brush or roller marks.
- Blend paint from wet to dry: To maintain a consistent color and avoid visible lines, always paint from the wet edge to the dry edge. This blending technique helps to create a seamless finish without any visible overlap or unevenness.
- Apply thinner coats: It’s better to apply multiple thin coats rather than one thick coat. Thinner coats allow for better adhesion and drying, resulting in a smoother and more even finish.
- Check for drips and runs: Regularly inspect the painted surfaces for any drips, runs, or excess paint. If you notice any, quickly smooth them out using a brush or roller before they can dry and become difficult to correct.
- Keep a wet edge: When using a roller, always ensure that you maintain a wet edge by overlapping your strokes while the paint is still wet. This prevents visible lines or marks and helps to create a seamless finish.
- Don’t rush the drying time: Allow each coat of paint to dry completely before applying the next one. Rushing the drying process can lead to smudging or smearing, affecting the overall finish.
- Inspect the work: Take the time to closely inspect your painted surfaces once the paint has dried. Look for any missed spots, uneven areas, or imperfections. Touch up these areas as needed to achieve a smooth and flawless finish.
By implementing these tips and techniques, you’ll be well on your way to achieving a smooth and professional-looking finish on your home’s exterior. Remember, patience and attention to detail are key in obtaining the best results!
Final Touches and Cleanup
Completing the final touches and cleanup is essential to ensure a polished and professional outcome for your home’s exterior painting project. Here’s a step-by-step guide for the final touches and cleanup:
- Inspect for touch-ups: Take a final walk around your home to inspect for any missed spots, uneven lines, or areas that require touch-ups. Use a small brush or roller to address these areas and ensure a consistent and flawless finish.
- Remove protective coverings: If you applied plastic sheets or painter’s tape to protect windows, doors, and trim, carefully remove them once the paint is dry to avoid any peeling or damage to the new paint.
- Clean your tools: Thoroughly clean your painting tools, including brushes, rollers, trays, and sprayers. Follow the manufacturer’s instructions for proper cleaning techniques to maintain their longevity and keep them in excellent condition for future use.
- Dispose of waste responsibly: Dispose of any paint cans, empty containers, or other paint-related waste according to your local regulations. Some areas may require you to bring them to a designated recycling center, while others may allow you to dispose of them with regular household waste.
- Inspect and clean windows and trims: Take the time to inspect windows, doors, and trims for any accidental paint splatters or smudges. Use a clean cloth, mild detergent, and warm water to gently clean these surfaces and remove any traces of paint.
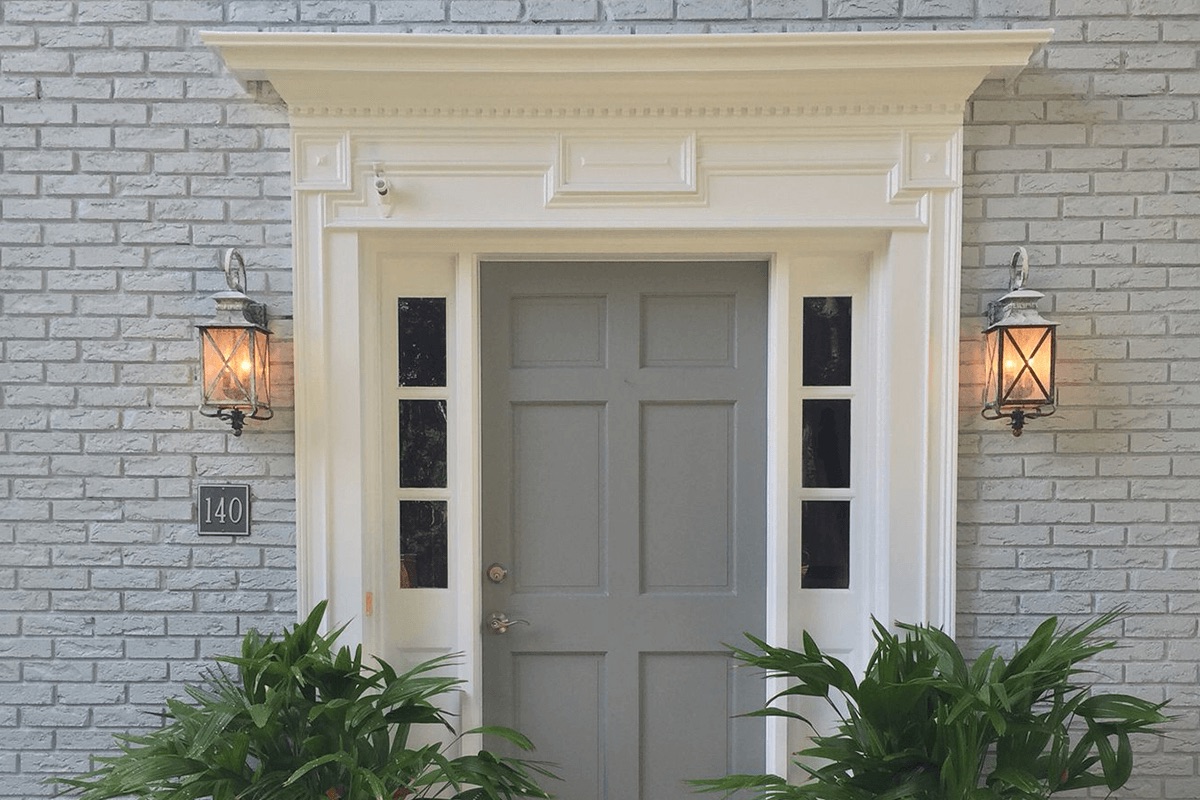
- Step back and admire your work: After all the hard work and attention to detail, take a step back and admire your freshly painted home’s exterior. Stand at different angles and distances to appreciate the transformation and the effort you put into achieving a beautiful and visually appealing finished look.
- Properly store leftover paint: If you have any leftover paint, make sure to store it properly. Seal the container tightly and keep it in a cool, dry place, away from direct sunlight and extreme temperatures. Label the container with the paint color, date, and any other relevant information for future reference or touch-ups.
By addressing the final touches and performing a thorough cleanup, you’ll ensure a clean and professional finish for your home’s exterior. Taking these steps will leave you with a lasting impression and a beautiful result to enjoy for years to come.
Frequently Asked Questions about How To Paint Your Home's Exterior Like A Pro
Was this page helpful?
At Storables.com, we guarantee accurate and reliable information. Our content, validated by Expert Board Contributors, is crafted following stringent Editorial Policies. We're committed to providing you with well-researched, expert-backed insights for all your informational needs.


0 thoughts on “How To Paint Your Home’s Exterior Like A Pro”