Home>Furniture & Design>Outdoor Furniture>How To Build An Outdoor Bar
Outdoor Furniture
How To Build An Outdoor Bar
Published: January 15, 2024
Learn how to build an outdoor bar and elevate your outdoor space with our expert tips on outdoor furniture, design, and construction. Create the perfect outdoor entertainment area with our comprehensive guide.
(Many of the links in this article redirect to a specific reviewed product. Your purchase of these products through affiliate links helps to generate commission for Storables.com, at no extra cost. Learn more)
Introduction
Welcome to the world of outdoor entertainment! Whether you're hosting a summer soiree or simply enjoying a relaxed evening with friends and family, an outdoor bar can elevate your gatherings to a whole new level. Imagine the convenience of having a dedicated space for mixing drinks, serving appetizers, and creating lasting memories under the open sky. Building your own outdoor bar is not only a rewarding project but also a fantastic way to personalize your outdoor living space.
In this comprehensive guide, we'll walk you through the step-by-step process of building an outdoor bar that complements your style and meets your entertainment needs. From planning and design to the finishing touches, you'll gain valuable insights and practical tips to bring your outdoor bar vision to life.
So, roll up your sleeves, gather your creativity, and get ready to embark on a fulfilling journey of craftsmanship and design. Let's dive into the exciting world of outdoor bar construction and create a space where laughter flows as freely as the drinks!
Key Takeaways:
- Planning and designing your outdoor bar is crucial for creating a functional and stylish space that complements your outdoor area and entertainment style. Consider materials, layout, and seating options to personalize your bar.
- Building an outdoor bar involves careful selection of materials, precise construction of the frame, and thoughtful installation of features like the countertop and bar sink. Attention to detail and safety are essential for a successful project.
Read more: How To Build Outdoor Bar Ideas
Step 1: Planning and Design
Before picking up a hammer or saw, it’s crucial to lay a solid foundation for your outdoor bar by carefully planning and designing the structure. Start by envisioning the purpose of your bar. Will it primarily serve as a cocktail station, a casual dining area, or both? Consider the layout that best suits your outdoor space and entertainment style.
Next, take precise measurements of the chosen location to ensure that the bar fits seamlessly into the environment. Assess the surrounding landscape, existing furniture, and architectural elements to harmonize the bar with its surroundings. It’s essential to blend functionality with aesthetics, creating a space that not only serves its intended purpose but also enhances the overall ambiance of your outdoor area.
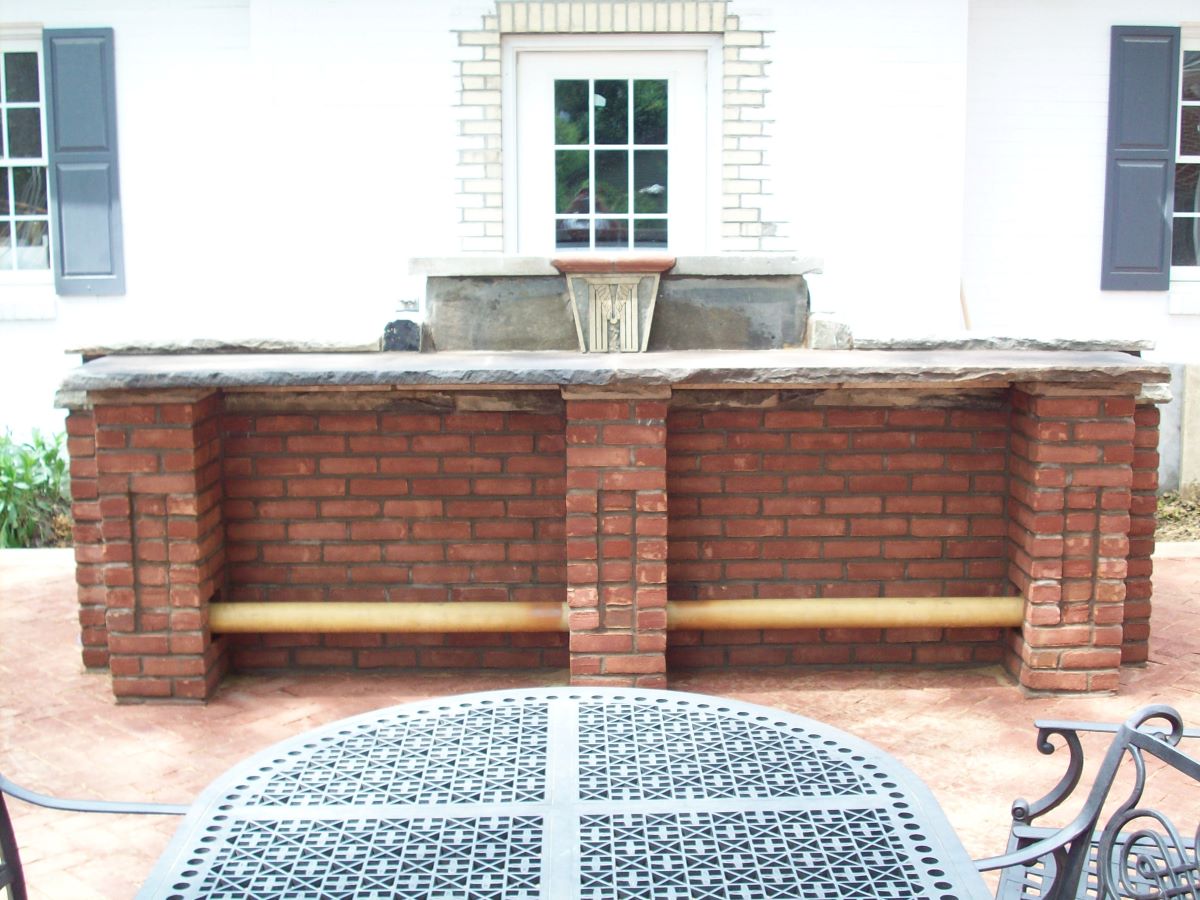
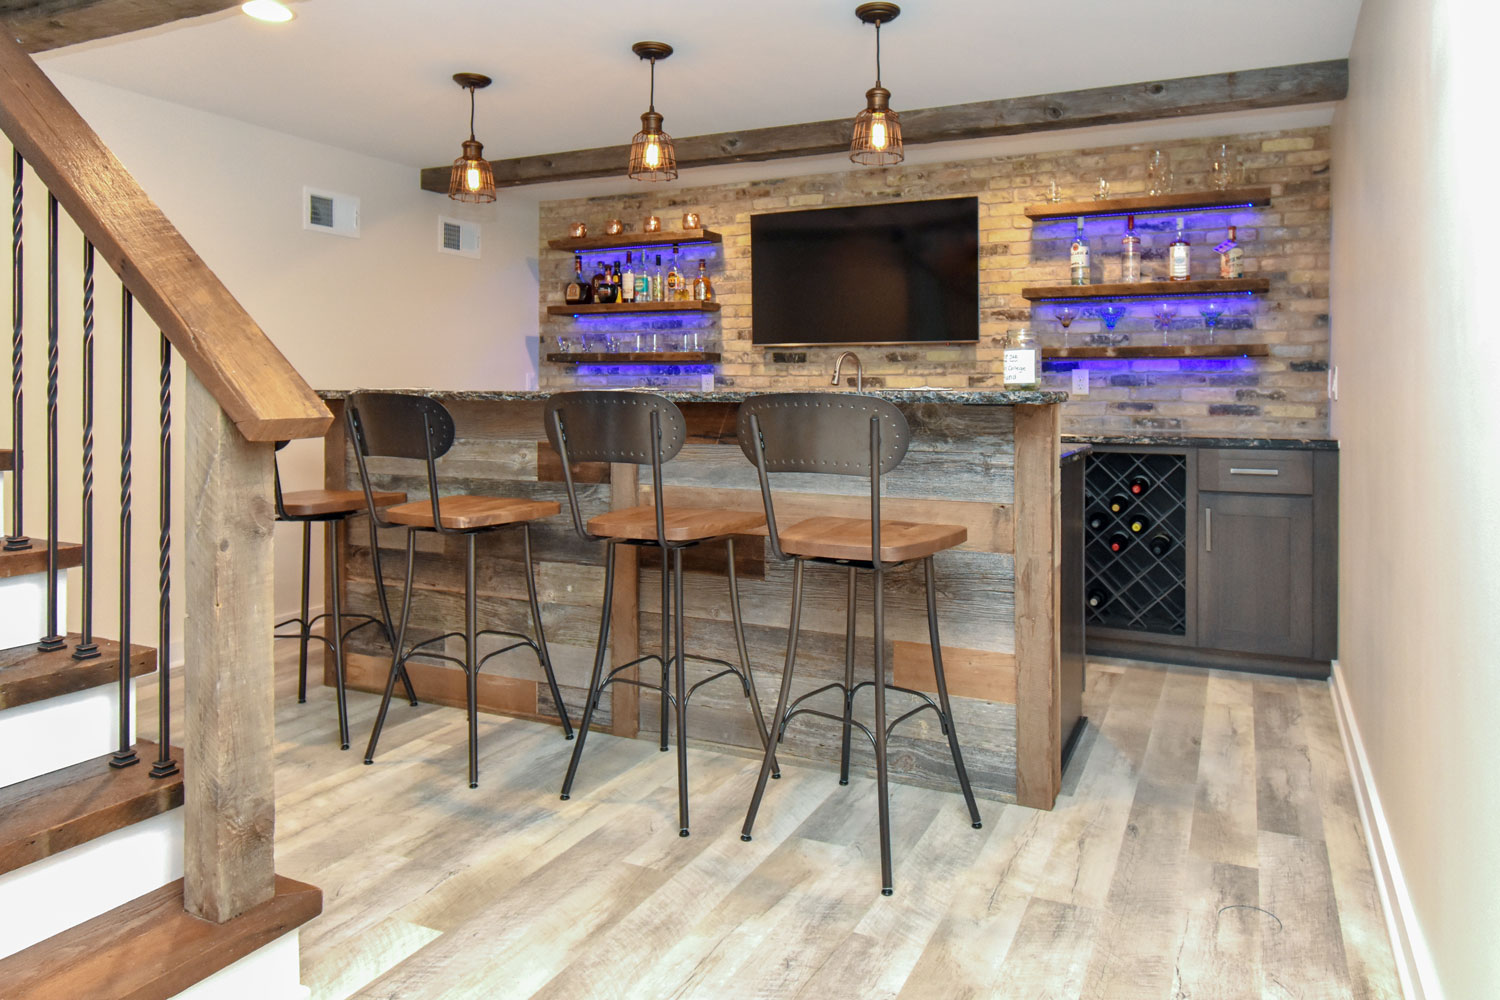
When it comes to design, the possibilities are endless. Whether you prefer a rustic, weathered look or a sleek, modern finish, selecting the right materials is key. Wood, stone, and brick are popular choices for outdoor bars, each offering a distinct character and durability. Additionally, consider features such as a built-in cooler, shelving for glassware, and adequate lighting to tailor the bar to your specific needs.
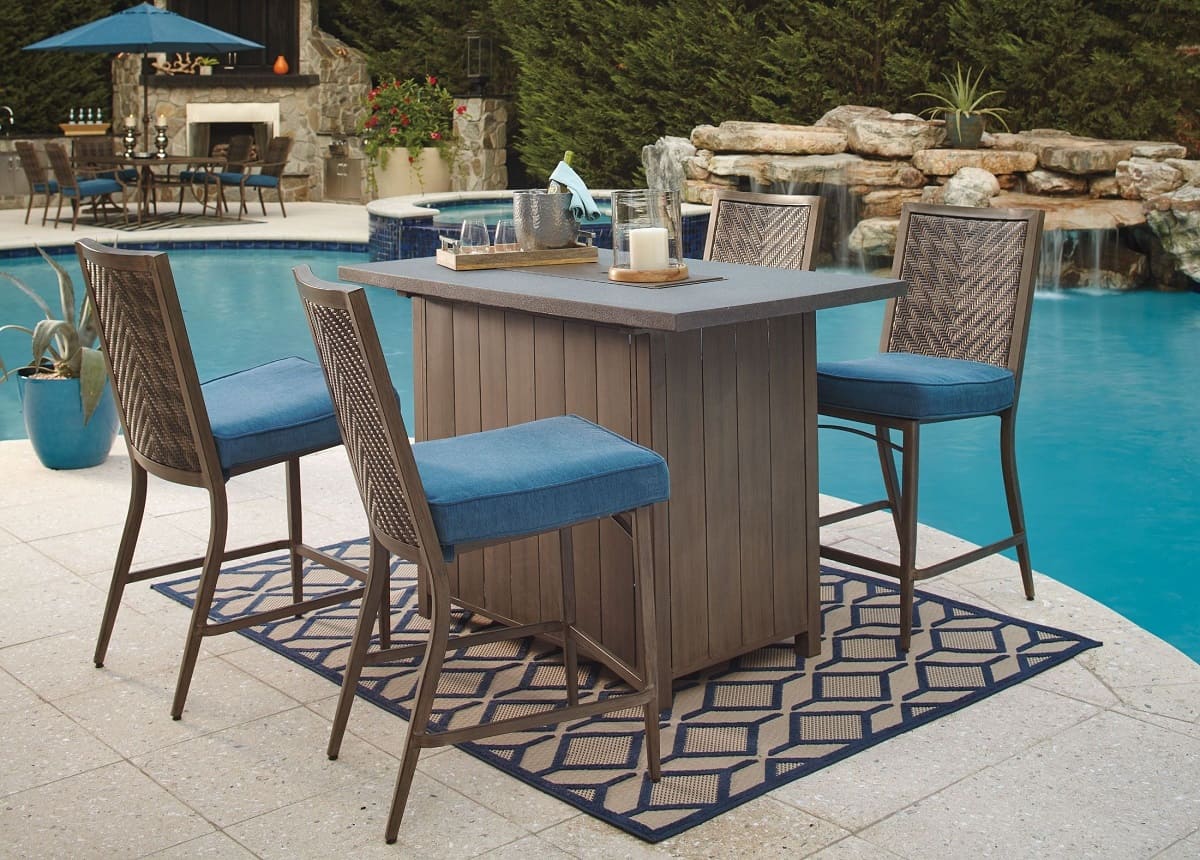
Moreover, incorporating seating options into your design is essential for fostering a welcoming and social atmosphere. Bar stools, benches, or even built-in seating can transform your bar into a comfortable and inviting space for guests to gather and mingle.
By meticulously planning and designing your outdoor bar, you’ll set the stage for a project that not only meets your functional requirements but also reflects your personal style and enhances the outdoor experience for years to come.
Step 2: Gathering Materials and Tools
With the planning and design phase complete, it’s time to roll up your sleeves and gather the necessary materials and tools to bring your outdoor bar to life. The specific requirements will depend on your chosen design and the features you intend to incorporate, but there are some fundamental elements that every outdoor bar project requires.
First and foremost, you’ll need the building materials. If you opt for a classic wooden bar, pressure-treated lumber is an excellent choice due to its resistance to decay and insects. For a stone or brick bar, you’ll need the respective materials, such as concrete blocks, mortar, and natural stone veneers. It’s essential to select materials that can withstand the elements and are suitable for outdoor use.
Equally important are the tools required for construction. A reliable circular saw, drill, level, tape measure, and hammer are essential for most outdoor bar projects. Additionally, specialized tools such as a wet tile saw for countertop tiling or a concrete mixer for masonry work may be necessary based on your design choices.
When it comes to the finishing touches, don’t overlook the significance of quality outdoor sealants, stains, and paints to protect the bar from weathering and enhance its visual appeal. If your design includes a bar sink, be sure to procure the necessary plumbing fixtures and waterproofing materials for a functional and leak-free installation.
Lastly, safety equipment should never be overlooked. Eye protection, gloves, and hearing protection are essential when working with power tools and heavy materials. Prioritize safety to ensure a smooth and secure construction process.
By acquiring the right materials and tools, you’ll be well-equipped to transform your vision into a tangible outdoor bar that reflects your creativity and craftsmanship.
Step 3: Building the Frame
With the materials and tools at the ready, it’s time to commence the construction of the frame, the structural backbone of your outdoor bar. The frame provides stability and support for the bar’s countertop, shelving, and any additional features, making it a critical phase of the build.
Begin by constructing the base of the bar, which typically consists of a sturdy frame made from pressure-treated lumber or the material of your choice. Ensure that the base is level and securely anchored to the ground, as this forms the foundation for the entire structure. Pay careful attention to the dimensions and angles, as precision in this phase is crucial for the overall stability and aesthetics of the bar.
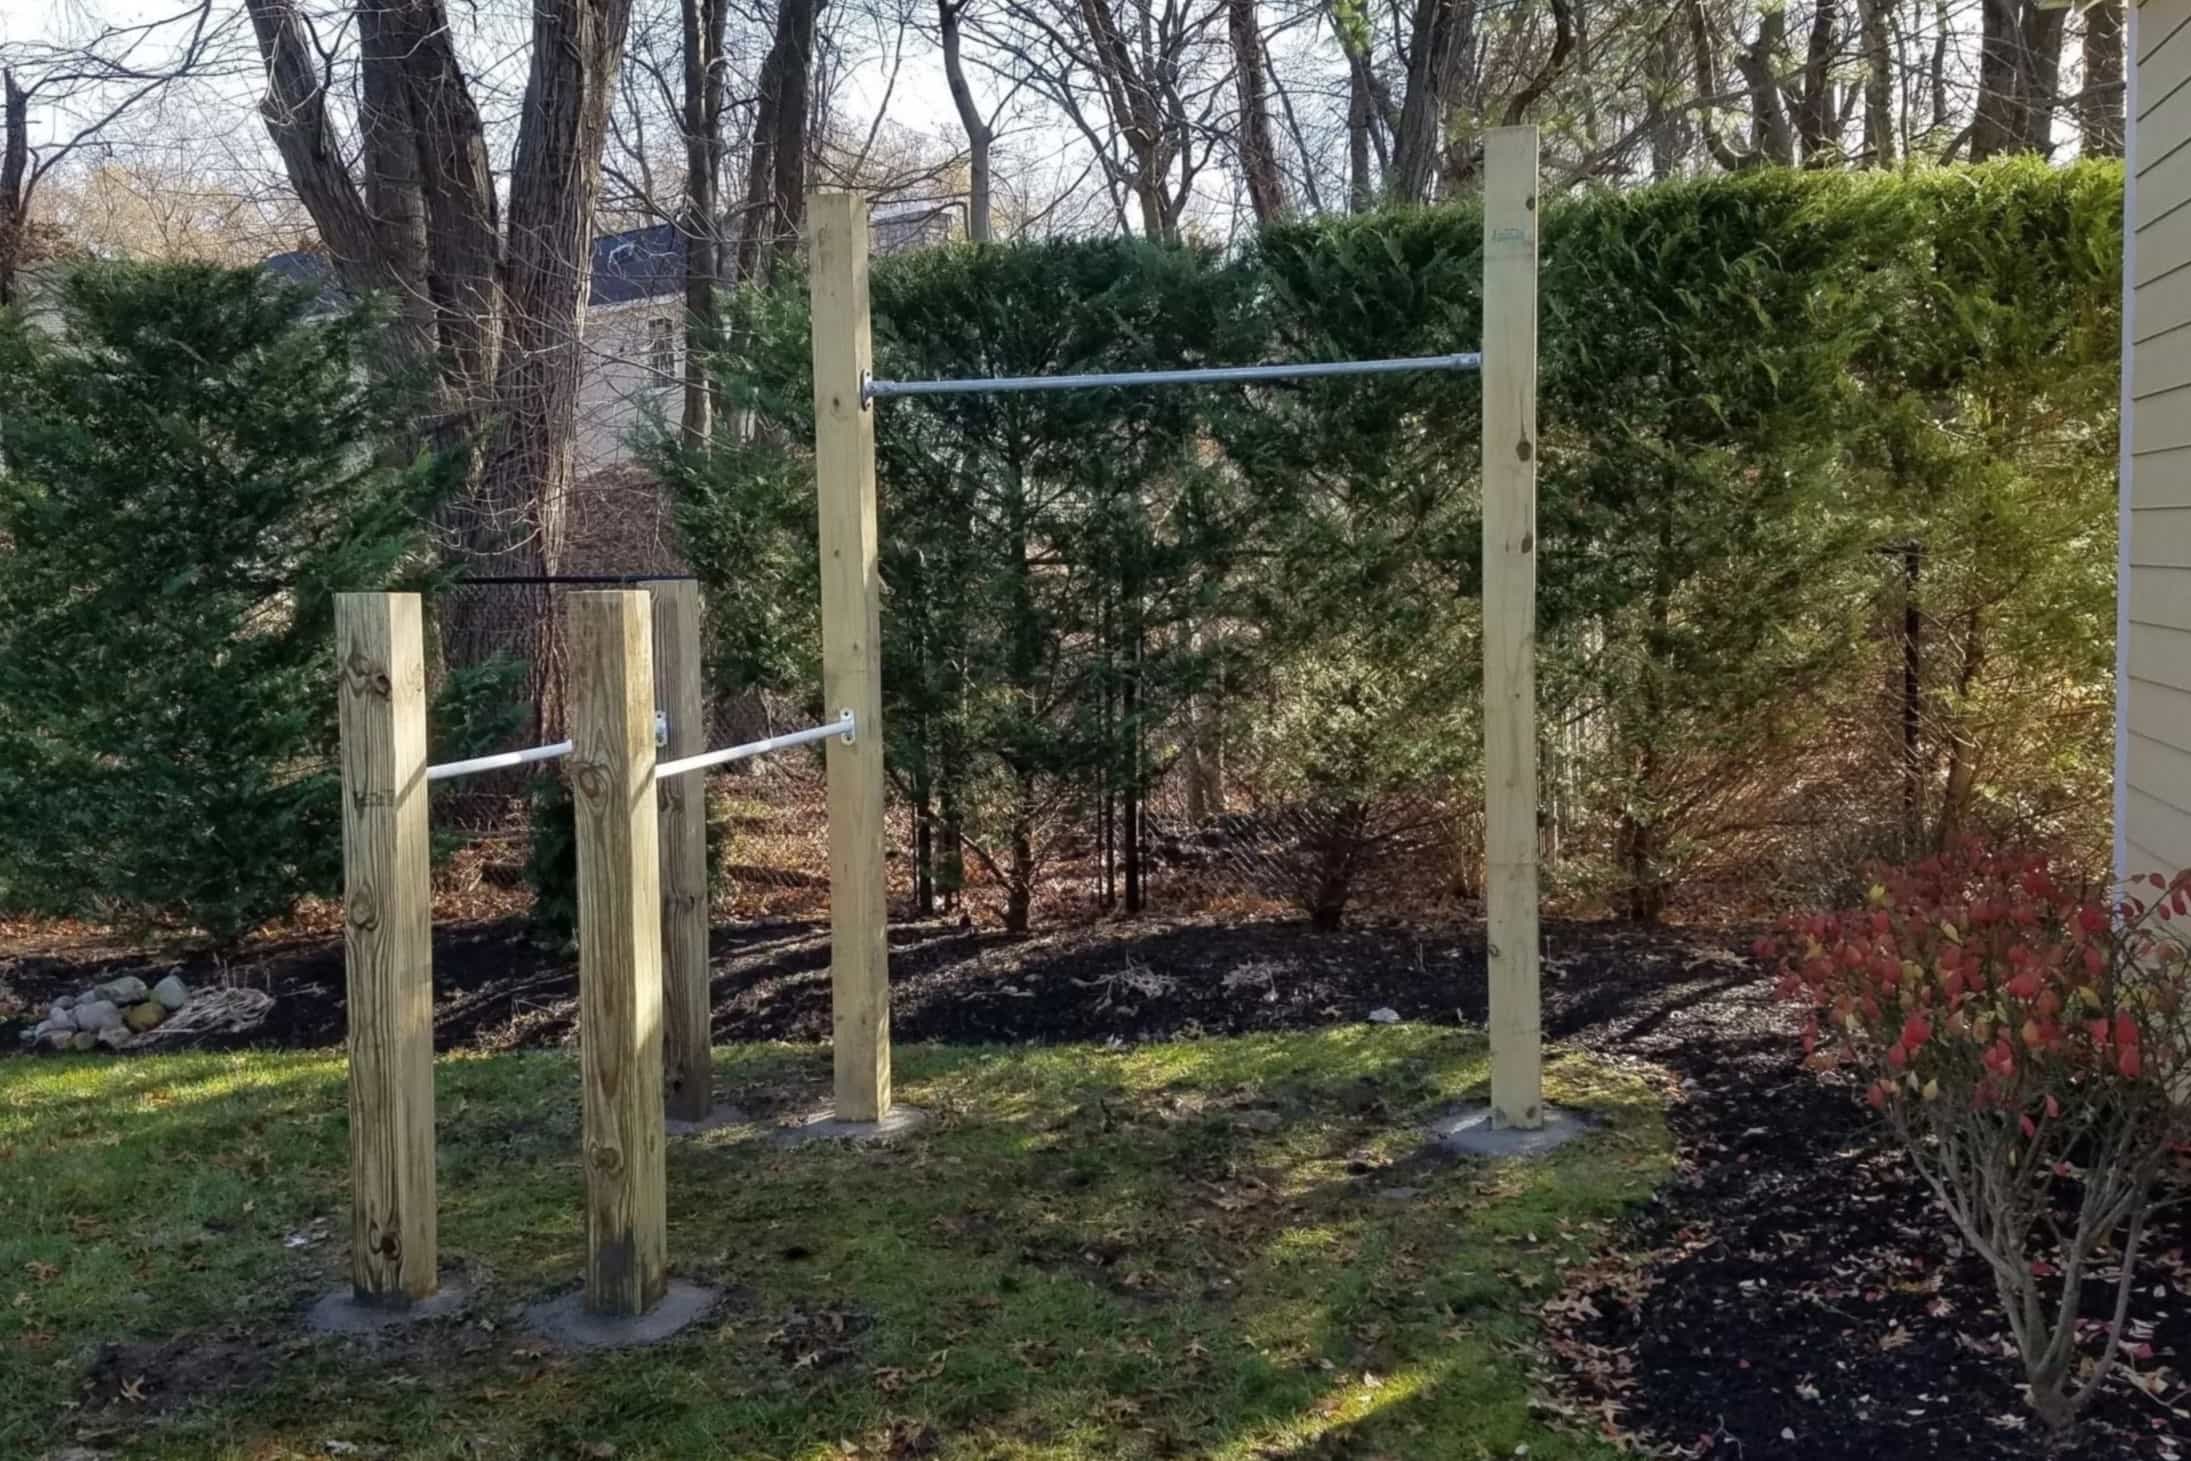
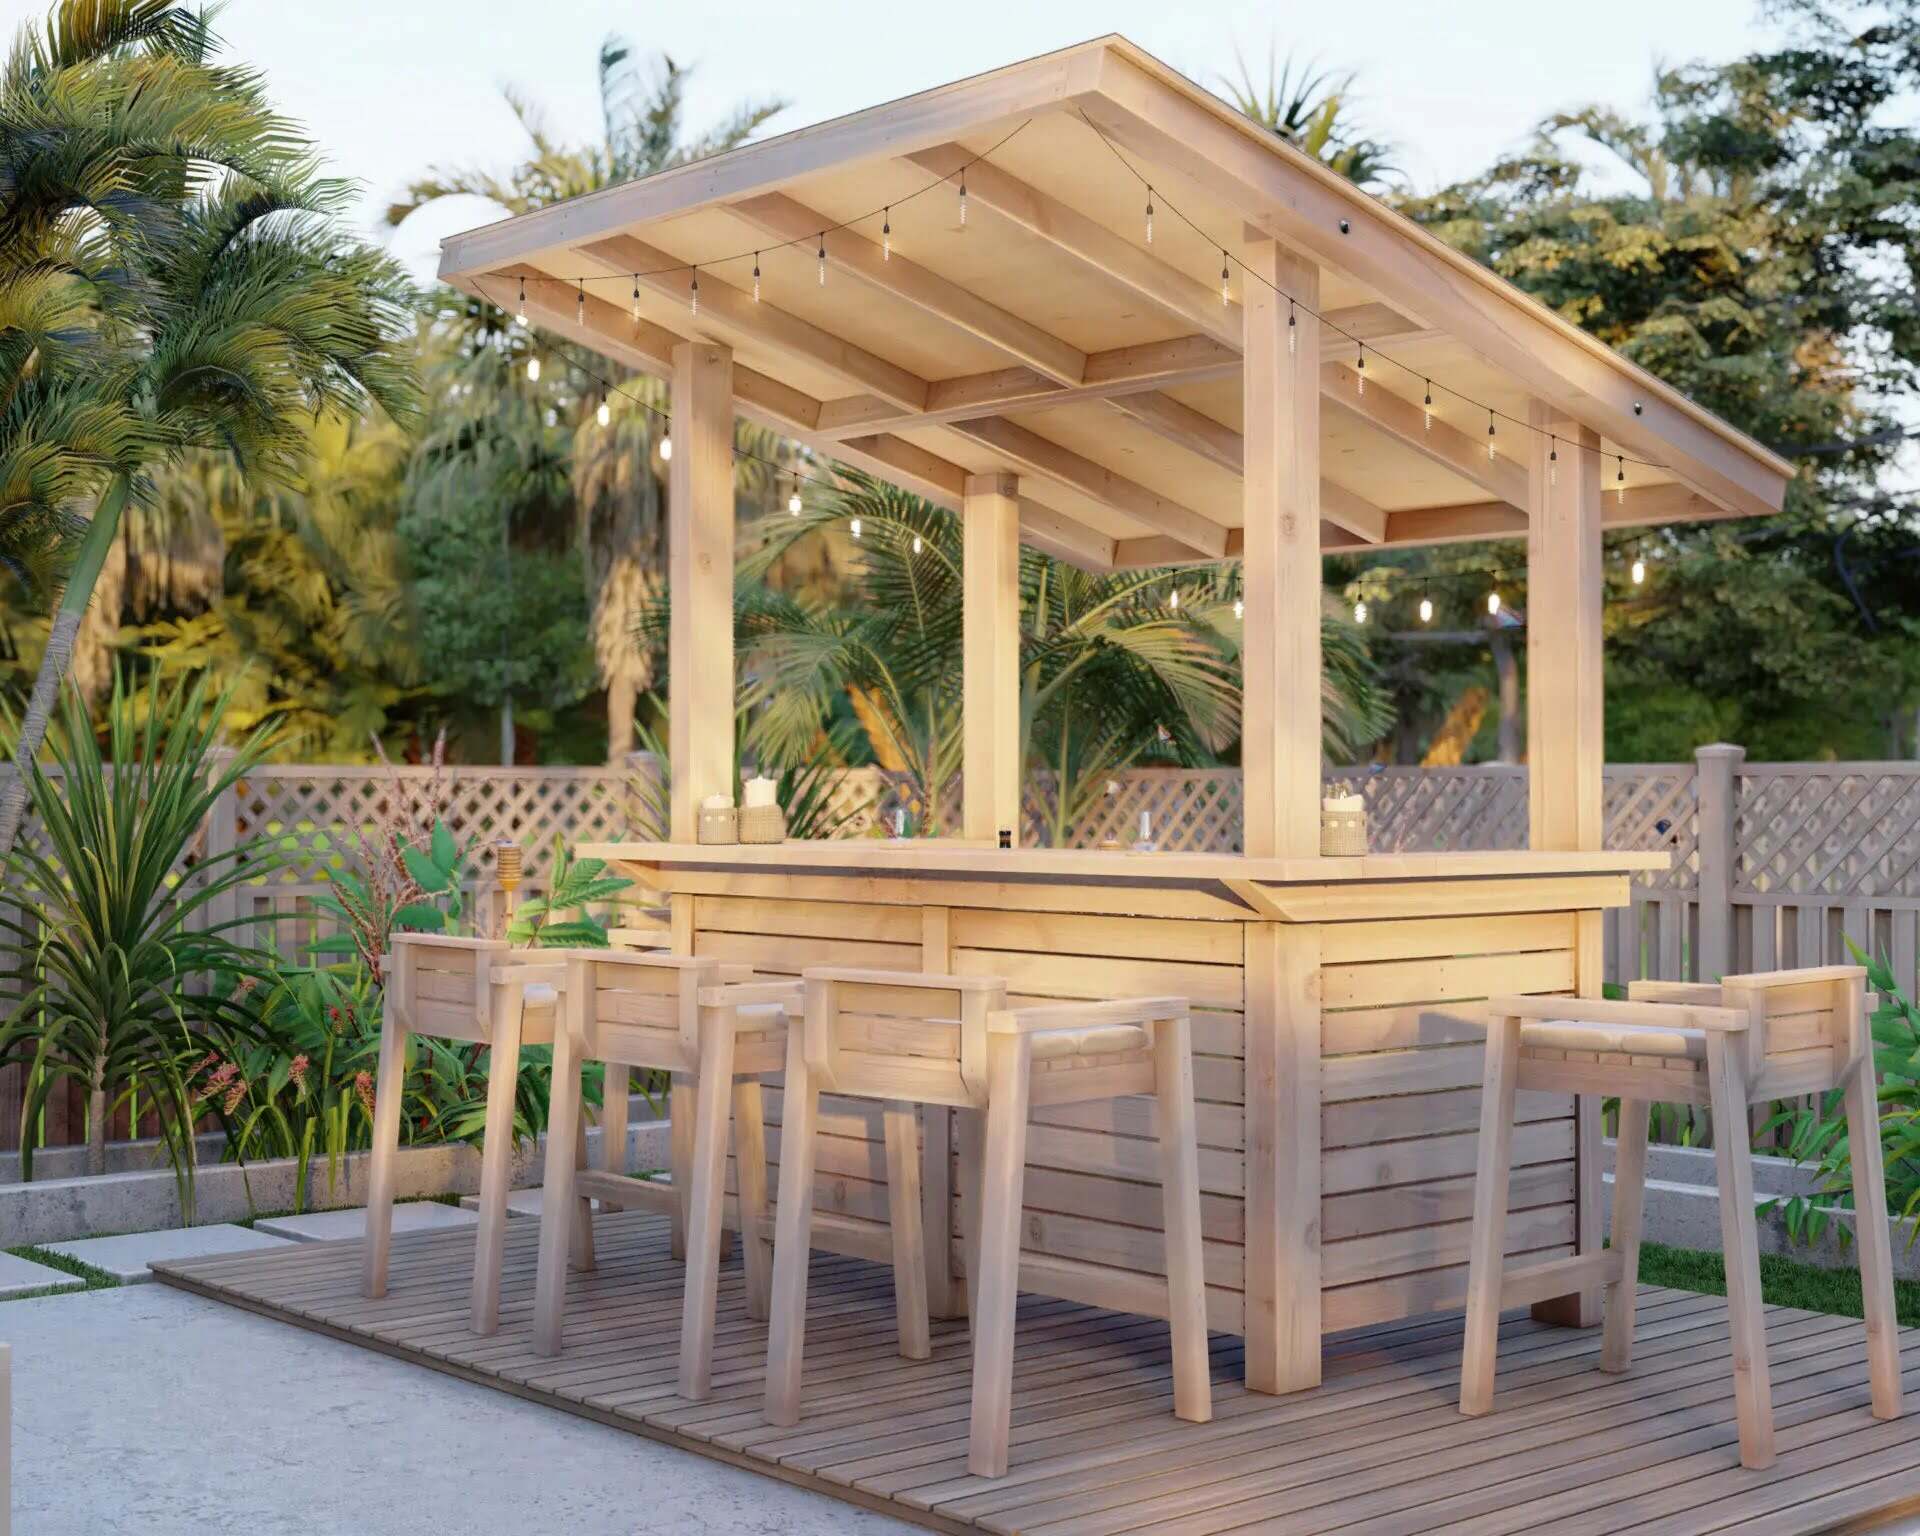
Once the base is in place, proceed to build the vertical supports and the back wall of the bar. These components provide structural integrity and define the shape of the bar. If your design includes a roof or pergola, this is the stage to install the necessary support beams and rafters to create a shaded area above the bar.
As you assemble the frame, periodically check for levelness and alignment to ensure that the bar takes shape as intended. It’s also the ideal time to incorporate any electrical wiring for lighting or outlets if your design calls for these features.
Throughout the construction of the frame, attention to detail and precision will contribute to the overall quality and longevity of the outdoor bar. Taking the time to build a solid and well-structured frame sets the stage for the next phases of the construction process, bringing you closer to the realization of your outdoor entertainment haven.
When building an outdoor bar, make sure to use weather-resistant materials such as cedar or teak to ensure durability and longevity.
Step 4: Adding the Countertop
With the frame in place, it’s time to add the crowning feature to your outdoor bar: the countertop. This essential surface not only serves as a functional workspace for preparing drinks and serving food but also significantly contributes to the visual appeal of the bar.
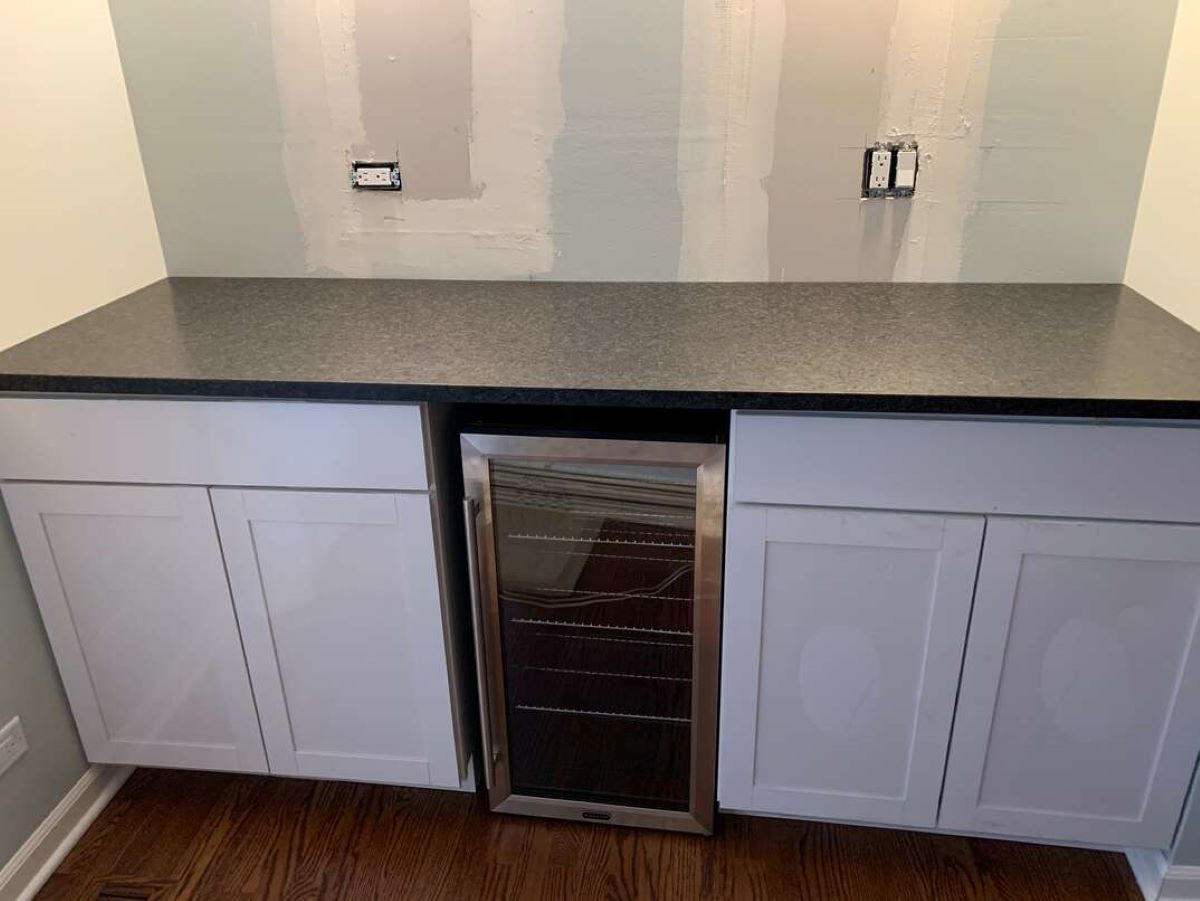
When selecting a countertop material, consider both durability and aesthetics. Natural stone, such as granite or slate, offers a luxurious and long-lasting option, while concrete provides a customizable and weather-resistant surface. Alternatively, wood countertops can impart warmth and a rustic charm to the bar. Whichever material you choose, ensure that it is suitable for outdoor use and can withstand exposure to the elements.
Prior to installing the countertop, carefully measure and cut the material to fit the dimensions of the bar. If your design includes a bar overhang for seating, account for this in the measurements to ensure a comfortable and spacious seating area. Once the countertop is cut to size, secure it to the frame using appropriate fasteners and adhesives, ensuring a level and stable surface.
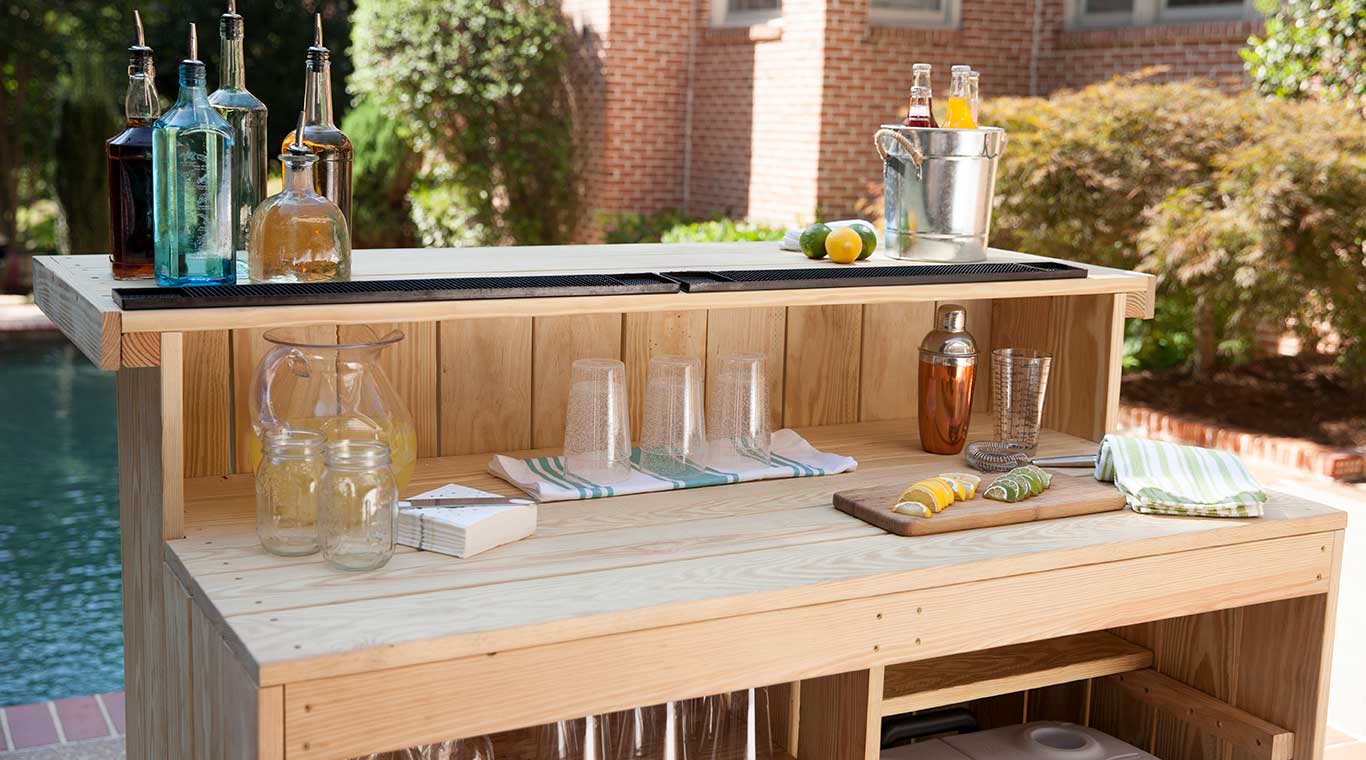
For added functionality and convenience, consider integrating features such as a built-in ice bucket, a cutting board insert, or a drop-in cooler within the countertop. These elements not only enhance the usability of the bar but also contribute to its unique character and utility.
As the centerpiece of your outdoor bar, the countertop serves as a focal point for socializing and entertainment. By thoughtfully selecting, customizing, and installing this vital component, you’ll bring your outdoor bar one step closer to becoming a welcoming and functional hub for gatherings and enjoyment.
Read more: How To Build An Outdoor Patio Bar
Step 5: Installing the Bar Sink
Adding a bar sink to your outdoor bar not only enhances its functionality but also elevates its convenience and versatility. Whether for rinsing glassware, preparing garnishes, or cleaning up, a bar sink is a valuable addition that contributes to the overall efficiency and enjoyment of the space.
Before installing the bar sink, carefully plan its placement within the countertop. Ensure that it is positioned for easy access and functionality, taking into account the necessary plumbing connections and space for a drain. Once the location is determined, use a hole saw or appropriate cutting tools to create an opening in the countertop for the sink.
When selecting a bar sink, consider the size, material, and style that best complement your outdoor bar design. Stainless steel sinks are a popular choice for outdoor settings due to their durability, resistance to corrosion, and ease of maintenance. Additionally, explore options with integrated accessories such as cutting boards, drying racks, and removable strainers to maximize the sink’s utility.
After fitting the sink into the designated opening, proceed to install the plumbing components, including the faucet, drain assembly, and water supply lines. It’s crucial to use outdoor-rated plumbing fixtures and waterproof sealants to safeguard the sink and its connections from the elements and ensure long-term functionality.
Once the sink is securely installed and the plumbing connections are tested for leaks, take the time to customize the area around the sink with convenient accessories such as a soap dispenser, towel rack, or a small trash receptacle. These finishing touches not only enhance the sink’s usability but also contribute to the overall organization and efficiency of the bar.
By integrating a well-planned and carefully installed bar sink into your outdoor bar, you’ll create a versatile and practical space for beverage preparation and cleanup, ensuring that your entertaining experiences are seamless and enjoyable for both you and your guests.
Step 6: Finishing Touches
As the construction of your outdoor bar nears completion, it’s time to add the finishing touches that will infuse personality, functionality, and style into the space. These details will not only enhance the visual appeal of the bar but also contribute to its overall comfort and utility, creating a welcoming and inviting atmosphere for gatherings and relaxation.
One of the key elements of the finishing touches is lighting. Consider incorporating ambient, task, and accent lighting to create a well-lit and inviting environment. String lights, lanterns, or wall-mounted fixtures can not only illuminate the bar area but also add a touch of charm and ambiance to your outdoor space, extending the usability of the bar into the evening hours.
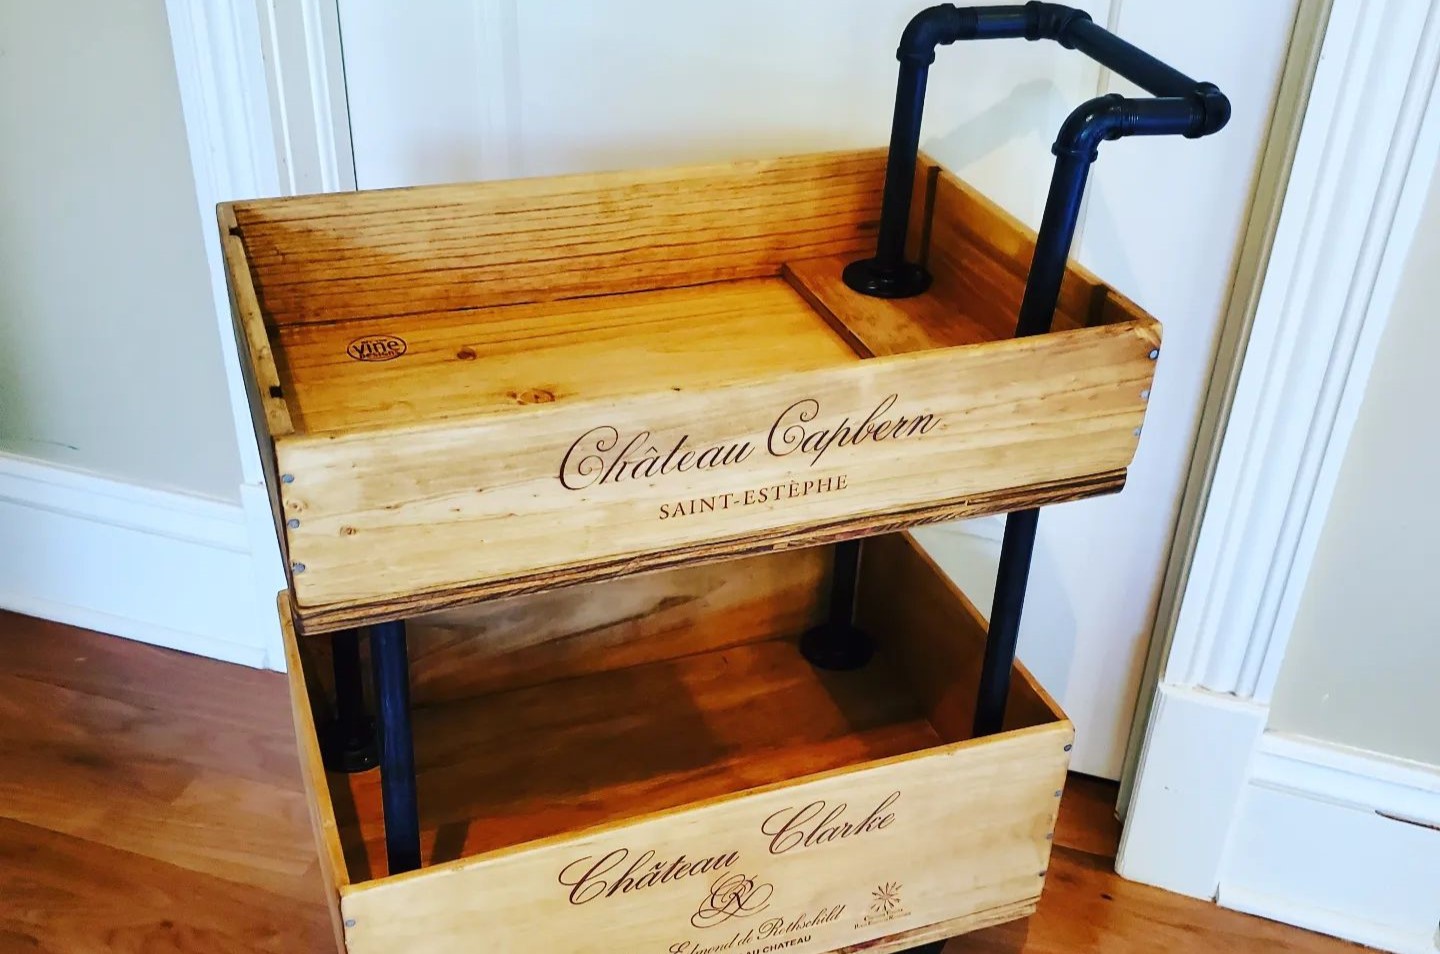
To enhance the convenience of your outdoor bar, consider adding storage solutions such as shelves, cabinets, or drawers. These features provide space for storing glassware, bar tools, and serving essentials, keeping the bar organized and functional. Additionally, strategically placed hooks or racks for towels, utensils, and bar accessories can further optimize the efficiency of the space.
Personalizing the bar with decorative elements such as potted plants, outdoor artwork, or personalized signage can infuse character and charm into the space, making it uniquely yours. These decorative accents contribute to the overall aesthetic and create a welcoming and enjoyable atmosphere for you and your guests.
Finally, consider incorporating comfortable and stylish seating options around the bar to facilitate socializing and relaxation. Whether bar stools, benches, or lounge chairs, the choice of seating should complement the design of the bar and provide a comfortable and inviting space for guests to gather and enjoy the outdoor experience.
By attending to these finishing touches, you’ll transform your outdoor bar into a captivating and functional focal point of your outdoor living space. The thoughtful integration of lighting, storage, decor, and seating will create an inviting and versatile environment where you can host memorable gatherings and savor moments of leisure and enjoyment.
Conclusion
Congratulations on completing the construction of your outdoor bar! From the initial planning and design phase to the final finishing touches, you’ve embarked on a fulfilling journey of creativity, craftsmanship, and outdoor living. Your dedication and attention to detail have culminated in the creation of a space that not only serves as a practical and functional bar but also enriches the ambiance and enjoyment of your outdoor area.
As you step back and admire the fruits of your labor, envision the countless gatherings, celebrations, and cherished moments that await in this inviting and versatile space. Your outdoor bar is more than a construction project; it’s a hub of hospitality, where laughter flows, conversations flourish, and memories are made under the open sky.
Embrace the opportunities for personalization and adaptation as you use and enjoy your outdoor bar. Whether it’s adding seasonal decor, experimenting with new drink recipes, or simply savoring quiet moments of relaxation, your outdoor bar is a canvas for creativity and connection.
As you revel in the satisfaction of bringing your vision to life, remember that the journey doesn’t end with construction. Regular maintenance, care, and occasional upgrades will ensure that your outdoor bar remains a vibrant and enduring centerpiece of your outdoor living space for years to come.
So, raise a toast to your craftsmanship, creativity, and the countless memories that await in your outdoor bar. Whether it’s a casual evening with loved ones or a festive gathering, your outdoor bar stands as a testament to your dedication to creating an inviting and enjoyable outdoor oasis.
Cheers to the countless moments of laughter, camaraderie, and relaxation that your outdoor bar will facilitate. Here’s to the joy of outdoor living and the enduring allure of a well-crafted, welcoming space. May your outdoor bar be a source of endless delight and a backdrop for cherished memories for years to come.
Frequently Asked Questions about How To Build An Outdoor Bar
Was this page helpful?
At Storables.com, we guarantee accurate and reliable information. Our content, validated by Expert Board Contributors, is crafted following stringent Editorial Policies. We're committed to providing you with well-researched, expert-backed insights for all your informational needs.


0 thoughts on “How To Build An Outdoor Bar”