
Furniture
How To Pull Out Dresser Drawers
Modified: January 21, 2024
Discover the easiest way to remove dresser drawers without any hassle. Get expert tips and tricks for pulling out furniture drawers effortlessly.
(Many of the links in this article redirect to a specific reviewed product. Your purchase of these products through affiliate links helps to generate commission for Storables.com, at no extra cost. Learn more)
Introduction
Welcome to our comprehensive guide on how to pull out dresser drawers! Whether you’re looking to clean, organize, or repair your dresser, it’s important to know how to properly remove the drawers without causing any damage. In this article, we will walk you through a step-by-step process to safely and effortlessly remove dresser drawers.
The task of pulling out dresser drawers may seem simple, but there are certain techniques and precautions to keep in mind to ensure a smooth and successful process. By following these steps, you’ll prevent any unnecessary strain or accidents, and maintain the integrity of your furniture.
Before we dive into the steps, it’s worth mentioning that different types of dressers may have variations in their drawer mechanisms. However, the general principles outlined here will apply to most common dresser styles. Let’s get started with step one!
Key Takeaways:
- Safely and efficiently remove dresser drawers by following a step-by-step process, ensuring smooth and successful removal without causing damage to the drawers or the dresser itself.
- Take the opportunity to declutter and organize belongings while removing dresser drawers, making reorganization and reinsertion easier and improving the functionality of the dresser.
Read more: How To Take A Drawer Out Of A Dresser
Step 1: Remove any items from the dresser
Before attempting to pull out dresser drawers, it’s important to ensure that the dresser is empty. Remove all items such as clothing, accessories, or any other personal belongings from the drawers. This will not only make the process easier but also prevent any potential damage to your items.
Take the time to sort through the items and organize them if needed. This is a great opportunity to declutter and get rid of any items that you no longer need or use. Consider donating or selling them to free up space and make your dresser more efficient.
If the dresser has multiple drawers, it’s a good idea to label or take note of where each item belongs. This will make it easier to reorganize the drawers once you’re done with the task at hand. It’s also a good way to keep track of your belongings and avoid misplacing items.
Once you have emptied the dresser, set the items aside in a safe place where they won’t get damaged or misplaced. Now that you have a clear surface, you’re ready to move on to step two: opening the drawer fully.
Step 2: Open the drawer fully
With all items removed from the dresser, it’s time to open the drawer fully. This step allows you to access the mechanism that keeps the drawer in place and allows for its removal.
To open the drawer, gently grasp the front of the drawer with both hands. Pull it out towards you, making sure to exert an even and steady force. Avoid using excessive force or jerking motions, as this can cause the drawer to become misaligned or even fall out.
If the drawer seems stuck or doesn’t open smoothly, check for any obstructions in the track or the clothes that may be hindering its movement. Clear any debris or tangled items to ensure a smooth sliding motion.
It’s important to note that some dressers may have a stop mechanism that prevents the drawer from opening fully. In such cases, you may need to gently lift the front of the drawer while pulling it out to disengage the stop mechanism.
Once the drawer is fully opened and extended, you’re ready to move on to the next step. In step three, we will locate the track release mechanism that allows for the removal of the drawer.
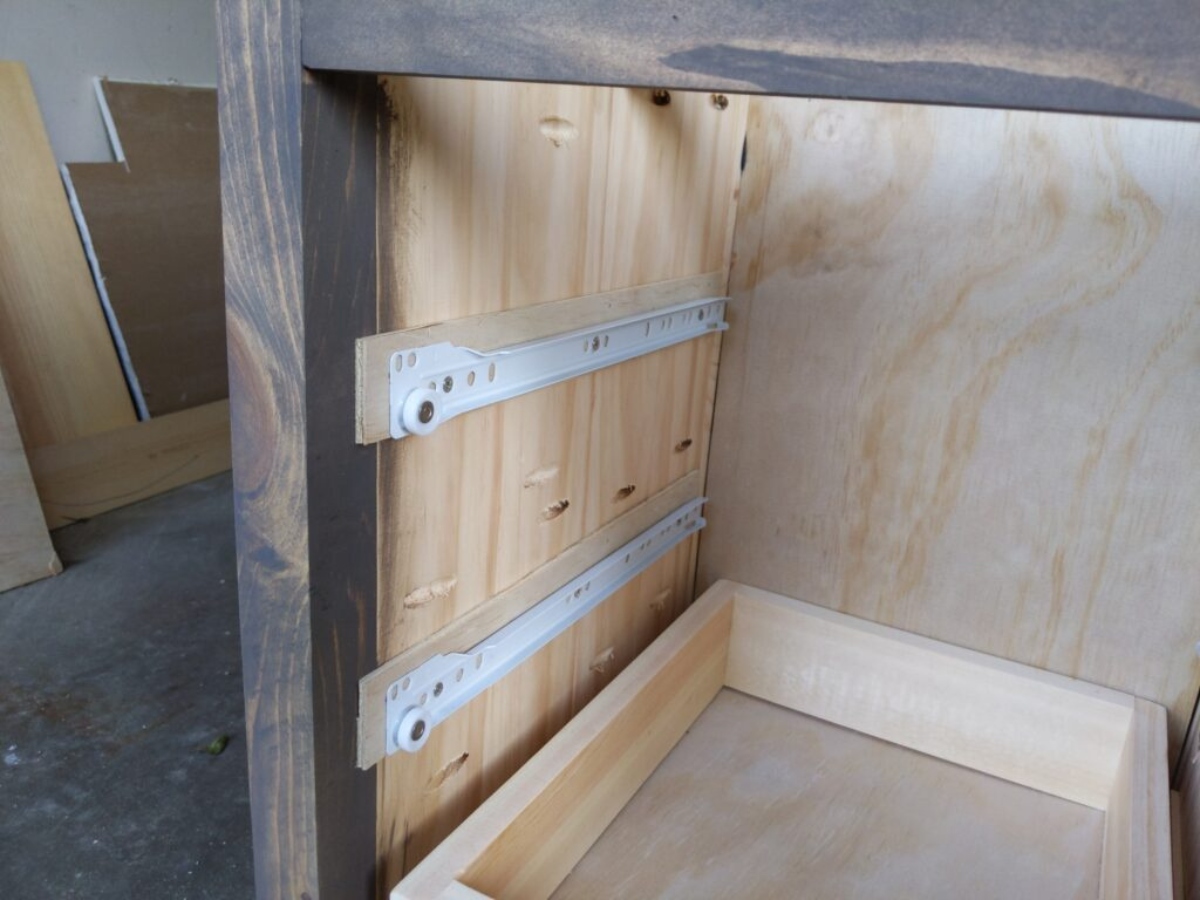
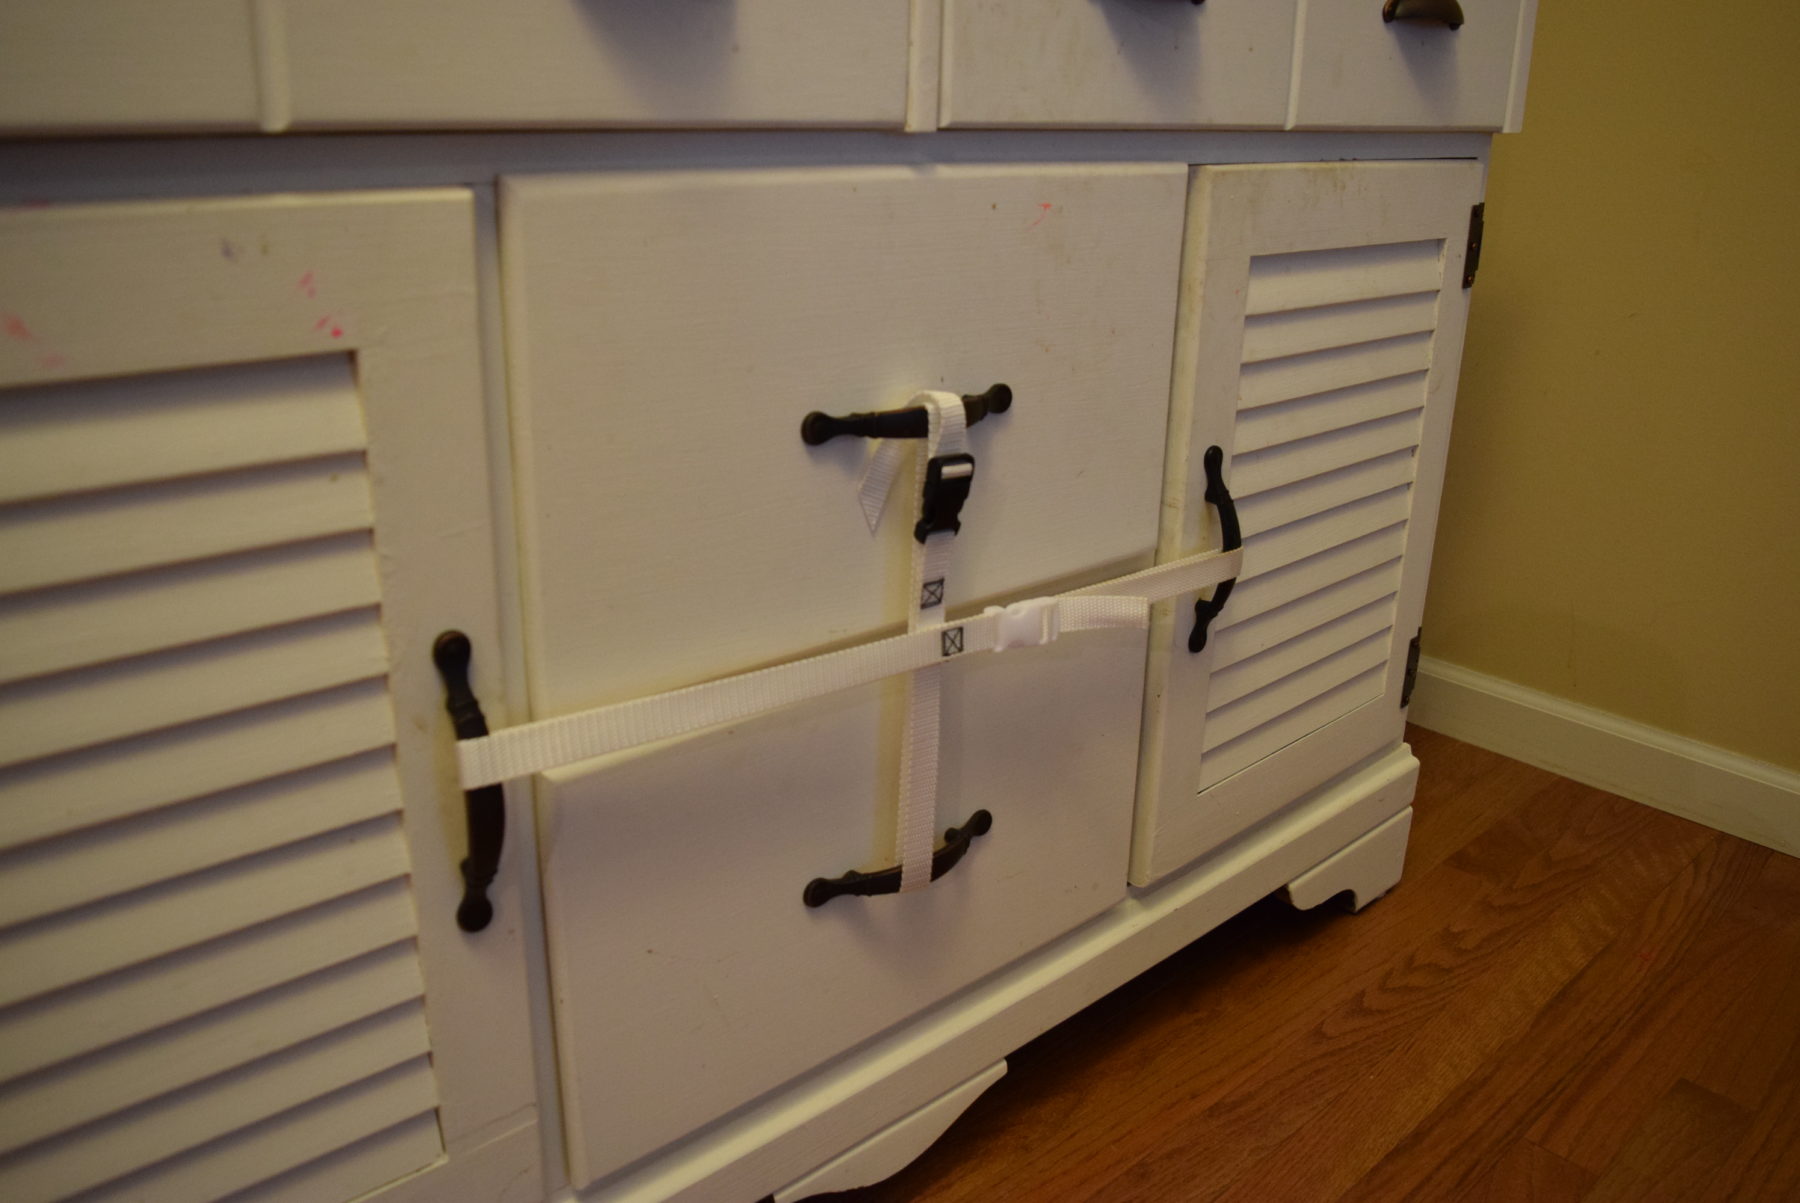
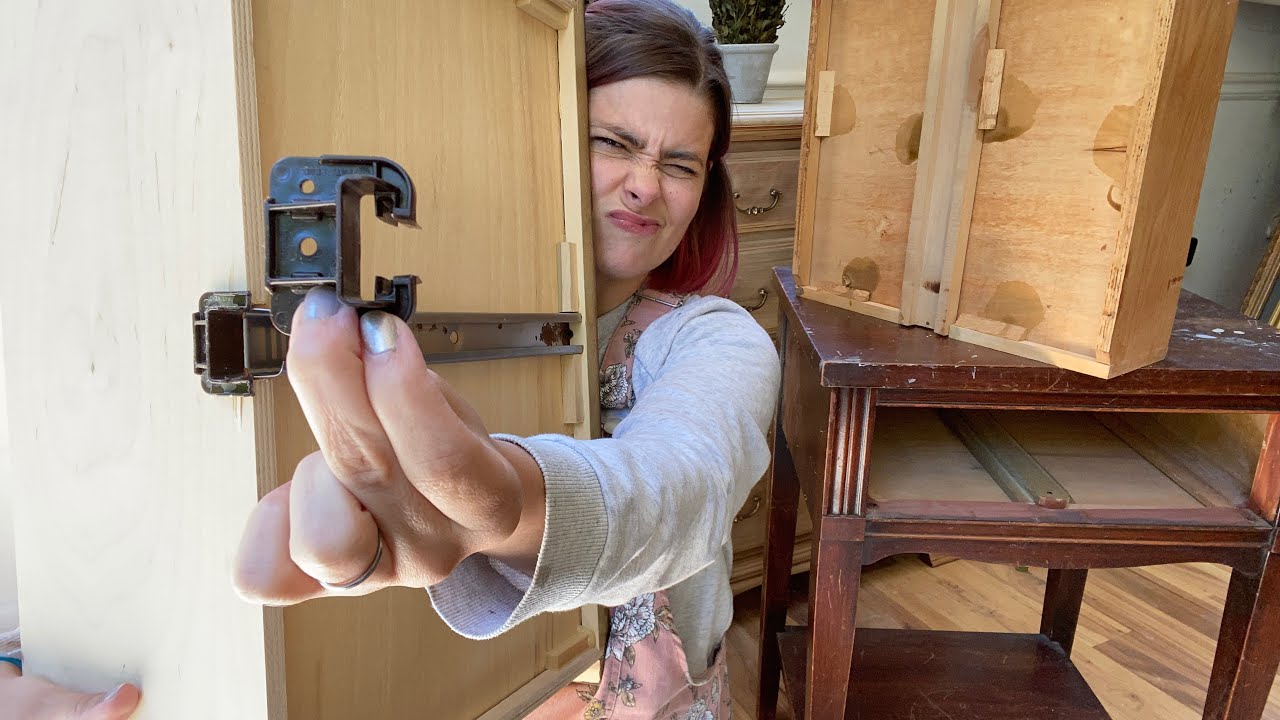
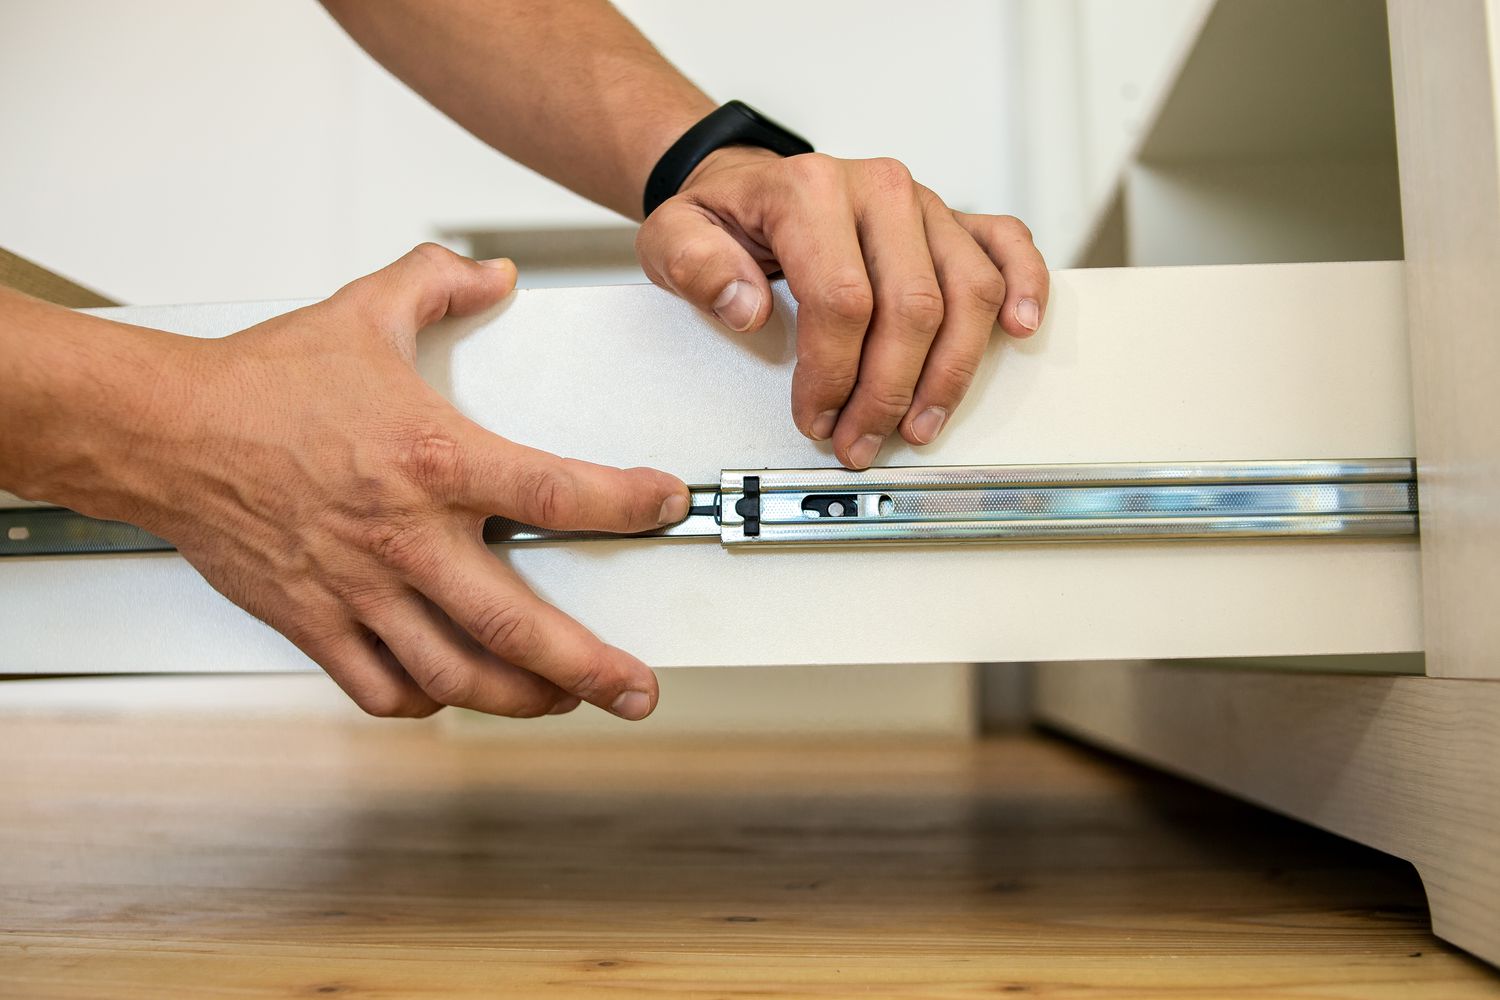
Step 3: Locate the track release mechanism
Before you can remove the dresser drawer, it’s crucial to locate the track release mechanism. This mechanism varies depending on the type of dresser you have, but it typically consists of a lever or a latch that needs to be triggered to disengage the drawer from the track.
Start by inspecting the sides of the drawer and the dresser frame. Look for any visible release mechanisms, such as levers, buttons, or tabs. These mechanisms are often located near the drawer glides or tracks.
If you can’t locate the release mechanism visually, try opening the drawer partially and feeling along the sides. Run your fingers along the inside of the dresser frame, feeling for any buttons or levers that may be hidden from view.
Alternatively, consult the dresser’s manual or manufacturer’s instructions if you have them available. They often provide specific guidance on how to locate and operate the release mechanism.
It’s important to familiarize yourself with the specific release mechanism of your dresser to prevent any accidental damage to both the drawer and the dresser itself.
Once you have successfully located the track release mechanism, it’s time to move on to step four: pressing the release mechanism to disengage the drawer.
Step 4: Press the track release mechanism
Now that you have identified the track release mechanism, it’s time to press it to disengage the drawer. The release mechanism is designed to unlock the drawer from the track, allowing you to remove it from the dresser.
Depending on the type of dresser, the track release mechanism may be a lever, a button, or a latch. Once located, follow these steps to properly press the release mechanism and release the drawer:
- Position yourself in front of the drawer and get a clear view of the release mechanism.
- Using your fingers or a tool, gently press or push the release mechanism towards the center of the drawer. Apply steady and even pressure.
- You may feel or hear a click or a slight movement as the release mechanism disengages from the track.
- While holding the release mechanism, continue to gently pull the drawer towards you to ensure it is completely disengaged.
It’s important to note that some dressers may have release mechanisms on both sides of the drawer. In this case, repeat the pressing action on the other side as well.
Be cautious not to use excessive force or jam the release mechanism, as it may cause damage to the drawer or the dresser. If you encounter any resistance or difficulty in pressing the mechanism, double-check to ensure you have correctly identified the release mechanism.
Once the track release mechanism has been pressed and the drawer is fully disengaged, you are ready to move on to the next step. In step five, we will discuss how to pull the drawer out smoothly.
When pulling out dresser drawers, always start by removing any items inside to avoid tipping or spilling. Then, firmly grasp the handle or sides of the drawer and pull straight out with even pressure. If the drawer sticks, try lifting slightly while pulling.
Read also: 10 Superior Dresser Drawer Pulls for 2025
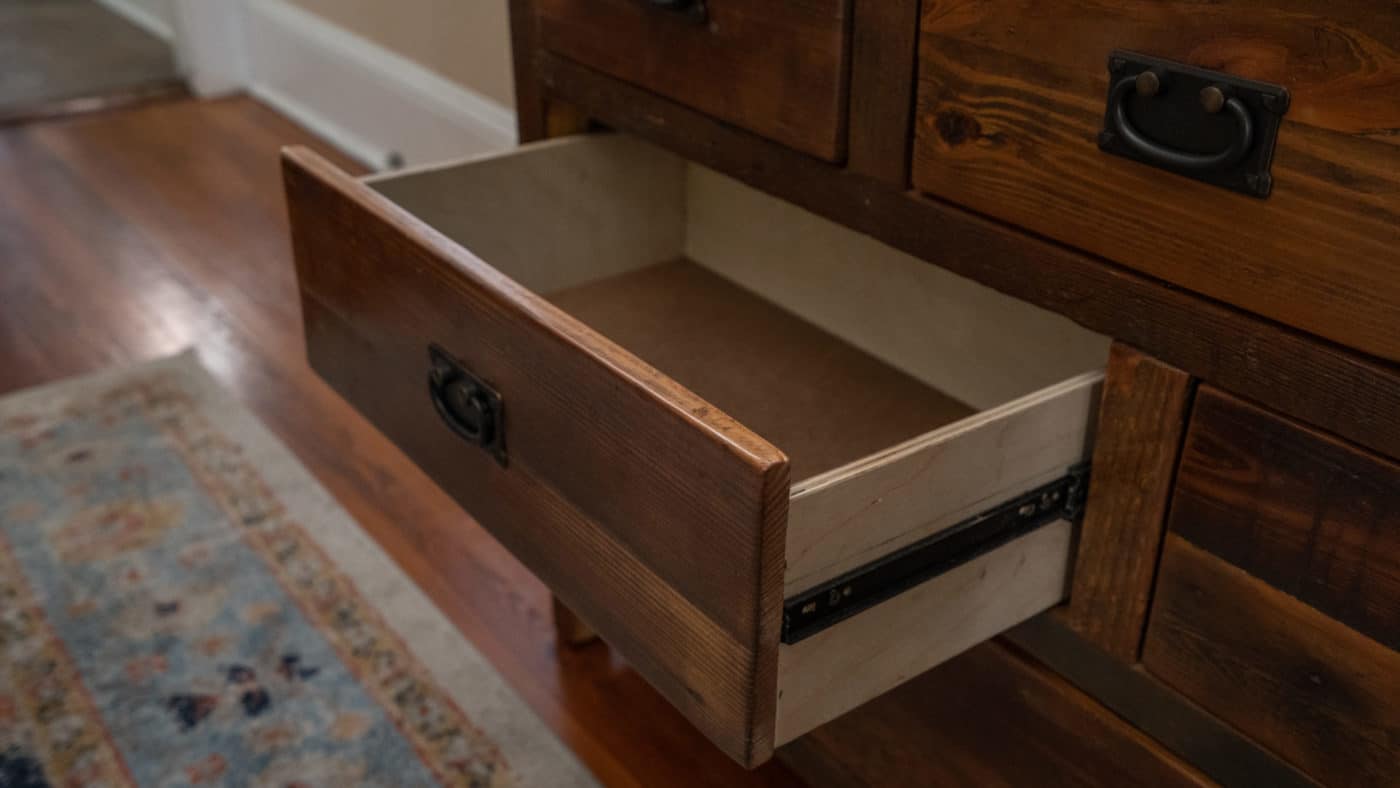
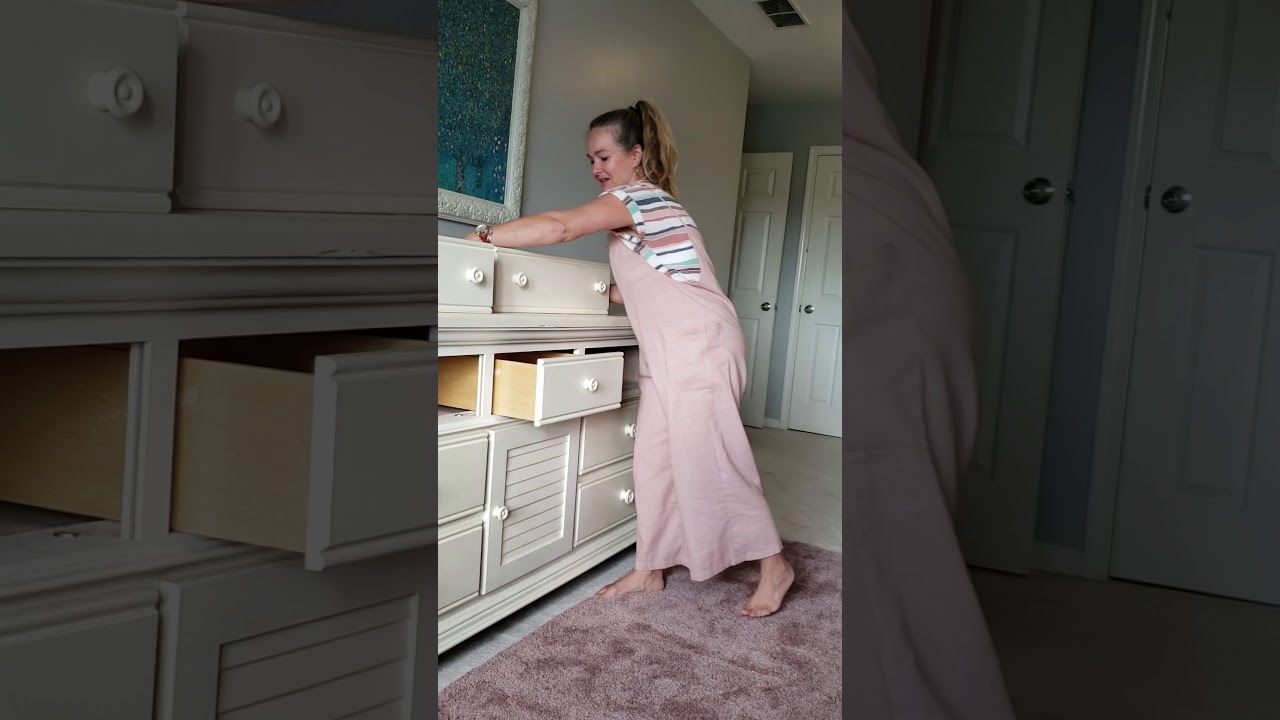
Step 5: Pull the drawer out slowly and steadily
With the track release mechanism pressed and the drawer disengaged, it’s time to pull the drawer out from the dresser. This step requires a gentle and controlled approach to avoid any damage or accidents.
Follow these steps to safely and smoothly remove the drawer:
- Place your hands on either side of the drawer, near the front.
- In a slow and controlled manner, begin pulling the drawer towards you. Be sure to maintain an even and steady pressure.
- Keep your movements smooth and avoid jerking or twisting the drawer, as this can cause it to become misaligned or come off track.
- Continue pulling the drawer out until it is fully extended from the dresser.
If you encounter any resistance or the drawer feels stuck, stop pulling immediately. Check for any obstructions or debris that may be hindering the smooth movement of the drawer.
Remember to always listen to your intuition and stop if something doesn’t feel right. It’s better to address any issues or obstacles before proceeding further.
Once you have successfully pulled the drawer out, proceed to the next step to lift and remove the drawer from the dresser.
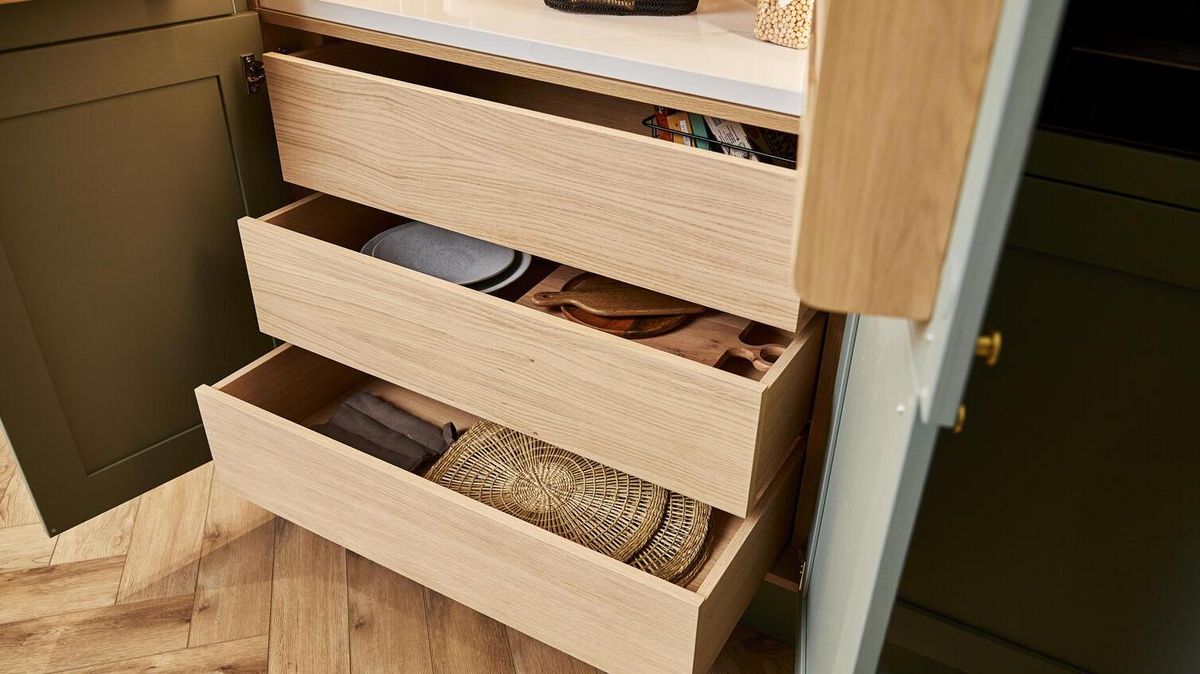
Step 6: Lift and remove the drawer from the dresser
Now that you have pulled the drawer out, it’s time to lift and remove it from the dresser. This step requires caution and proper handling to avoid any accidents or damage.
Follow these steps to safely lift and remove the dresser drawer:
- Place one hand on each side of the drawer, near the front.
- Gently lift the front of the drawer to a slight angle, ensuring that you have a good grip on both sides.
- Slowly and steadily, lift the drawer up and away from the dresser frame, maintaining control of the movement.
- Clear any remaining parts of the track or glide and carefully set the drawer aside in a safe location.
It’s important to note that dresser drawers can vary in weight and size, so adjust your lifting technique accordingly to prevent strain or injury. If the drawer is particularly heavy or unwieldy, you may want to consider enlisting the help of someone else.
Once the drawer is safely removed from the dresser, you can proceed with your cleaning, organizing, or repair tasks as needed.
Remember, if your dresser has multiple drawers, repeat steps 3-6 for each drawer you wish to remove.
Now that you know how to lift and remove the dresser drawer, you can move on to the final step where we wrap up the process and provide some additional tips.
Step 7: Repeat the process for other drawers
If your dresser has more than one drawer, it’s important to repeat the process outlined in steps 3-6 for each additional drawer you want to remove. This ensures that you can fully access and work on each individual drawer as needed.
Here’s a quick recap of the process for removing additional drawers:
- Repeat steps 3 and 4 to locate and press the track release mechanism for the next drawer.
- Follow steps 5 and 6 to pull out, lift, and remove the drawer from the dresser.
Make sure to follow the same precautions and techniques mentioned earlier to ensure a smooth and safe removal of each drawer. Take your time with each step and proceed with caution to prevent any accidents or damage to your dresser or its contents.
By removing each drawer one at a time, you have the opportunity to clean, organize, or repair them individually without any hindrance. It also makes the reinsertion process easier as you can work on each drawer separately before placing them back into the dresser.
Once you have completed the removal and any necessary work on the drawers, you can now reverse the process to reinsert them back into the dresser. Refer to the manufacturer’s instructions or follow the reverse order of the steps outlined in this guide to safely place the drawers back into their respective slots in the dresser.
With all the drawers successfully removed, you can now proceed with your desired tasks, such as cleaning the dresser, organizing your belongings, or performing any necessary repairs.
Remember to take your time, be patient, and handle the drawers with care to maintain the longevity and integrity of both the drawers and the dresser itself.
Now that you’re well-equipped with the knowledge of removing drawers from a dresser, feel free to apply these steps whenever the need arises. Happy organizing and enjoy the improved functionality of your dresser!
Conclusion
Removing dresser drawers may seem like a simple task, but it’s important to follow the proper steps to ensure that you don’t damage the drawers or the dresser itself. By following our comprehensive guide, you now have the knowledge and techniques to safely and efficiently remove dresser drawers.
Remember to start by removing any items from the dresser and opening the drawer fully. Locate the track release mechanism and press it to disengage the drawer from the track. Then, pull the drawer out slowly and steadily, being mindful of any resistance or obstacles along the way.
Once the drawer is fully extended, you can lift and remove it from the dresser. Repeat the process for any additional drawers, taking care to follow the same steps for each one.
By taking the time to properly remove the drawers, you can now clean, organize, or repair them with ease. You have the opportunity to declutter your belongings, ensure everything is in its rightful place, and even upgrade the hardware or replace any damaged parts.
Remember to handle the drawers with care, being mindful of their weight and size to prevent any strain or injury. Take your time during the process, and if you encounter any difficulties, consult the dresser’s manual or seek professional assistance.
Once you have completed your tasks, you can easily reinsert the drawers into the dresser using the reverse order of the removal steps. This will ensure that the drawers are securely and properly placed back into their designated slots.
By following our guide, you have mastered the art of removing dresser drawers. Whether you’re looking to clean, organize, or repair, this knowledge will serve you well. Enjoy the improved functionality and beauty of your dresser!
Frequently Asked Questions about How To Pull Out Dresser Drawers
Was this page helpful?
At Storables.com, we guarantee accurate and reliable information. Our content, validated by Expert Board Contributors, is crafted following stringent Editorial Policies. We're committed to providing you with well-researched, expert-backed insights for all your informational needs.


0 thoughts on “How To Pull Out Dresser Drawers”