Home>Others>Specialized Home Improvement Topics>How To Install Rain Guards On Car Windows
Specialized Home Improvement Topics
How To Install Rain Guards On Car Windows
Published: January 9, 2024
Learn how to install rain guards on car windows with our expert tips and step-by-step guide. Get the best advice on specialized home improvement topics.
(Many of the links in this article redirect to a specific reviewed product. Your purchase of these products through affiliate links helps to generate commission for Storables.com, at no extra cost. Learn more)
Introduction
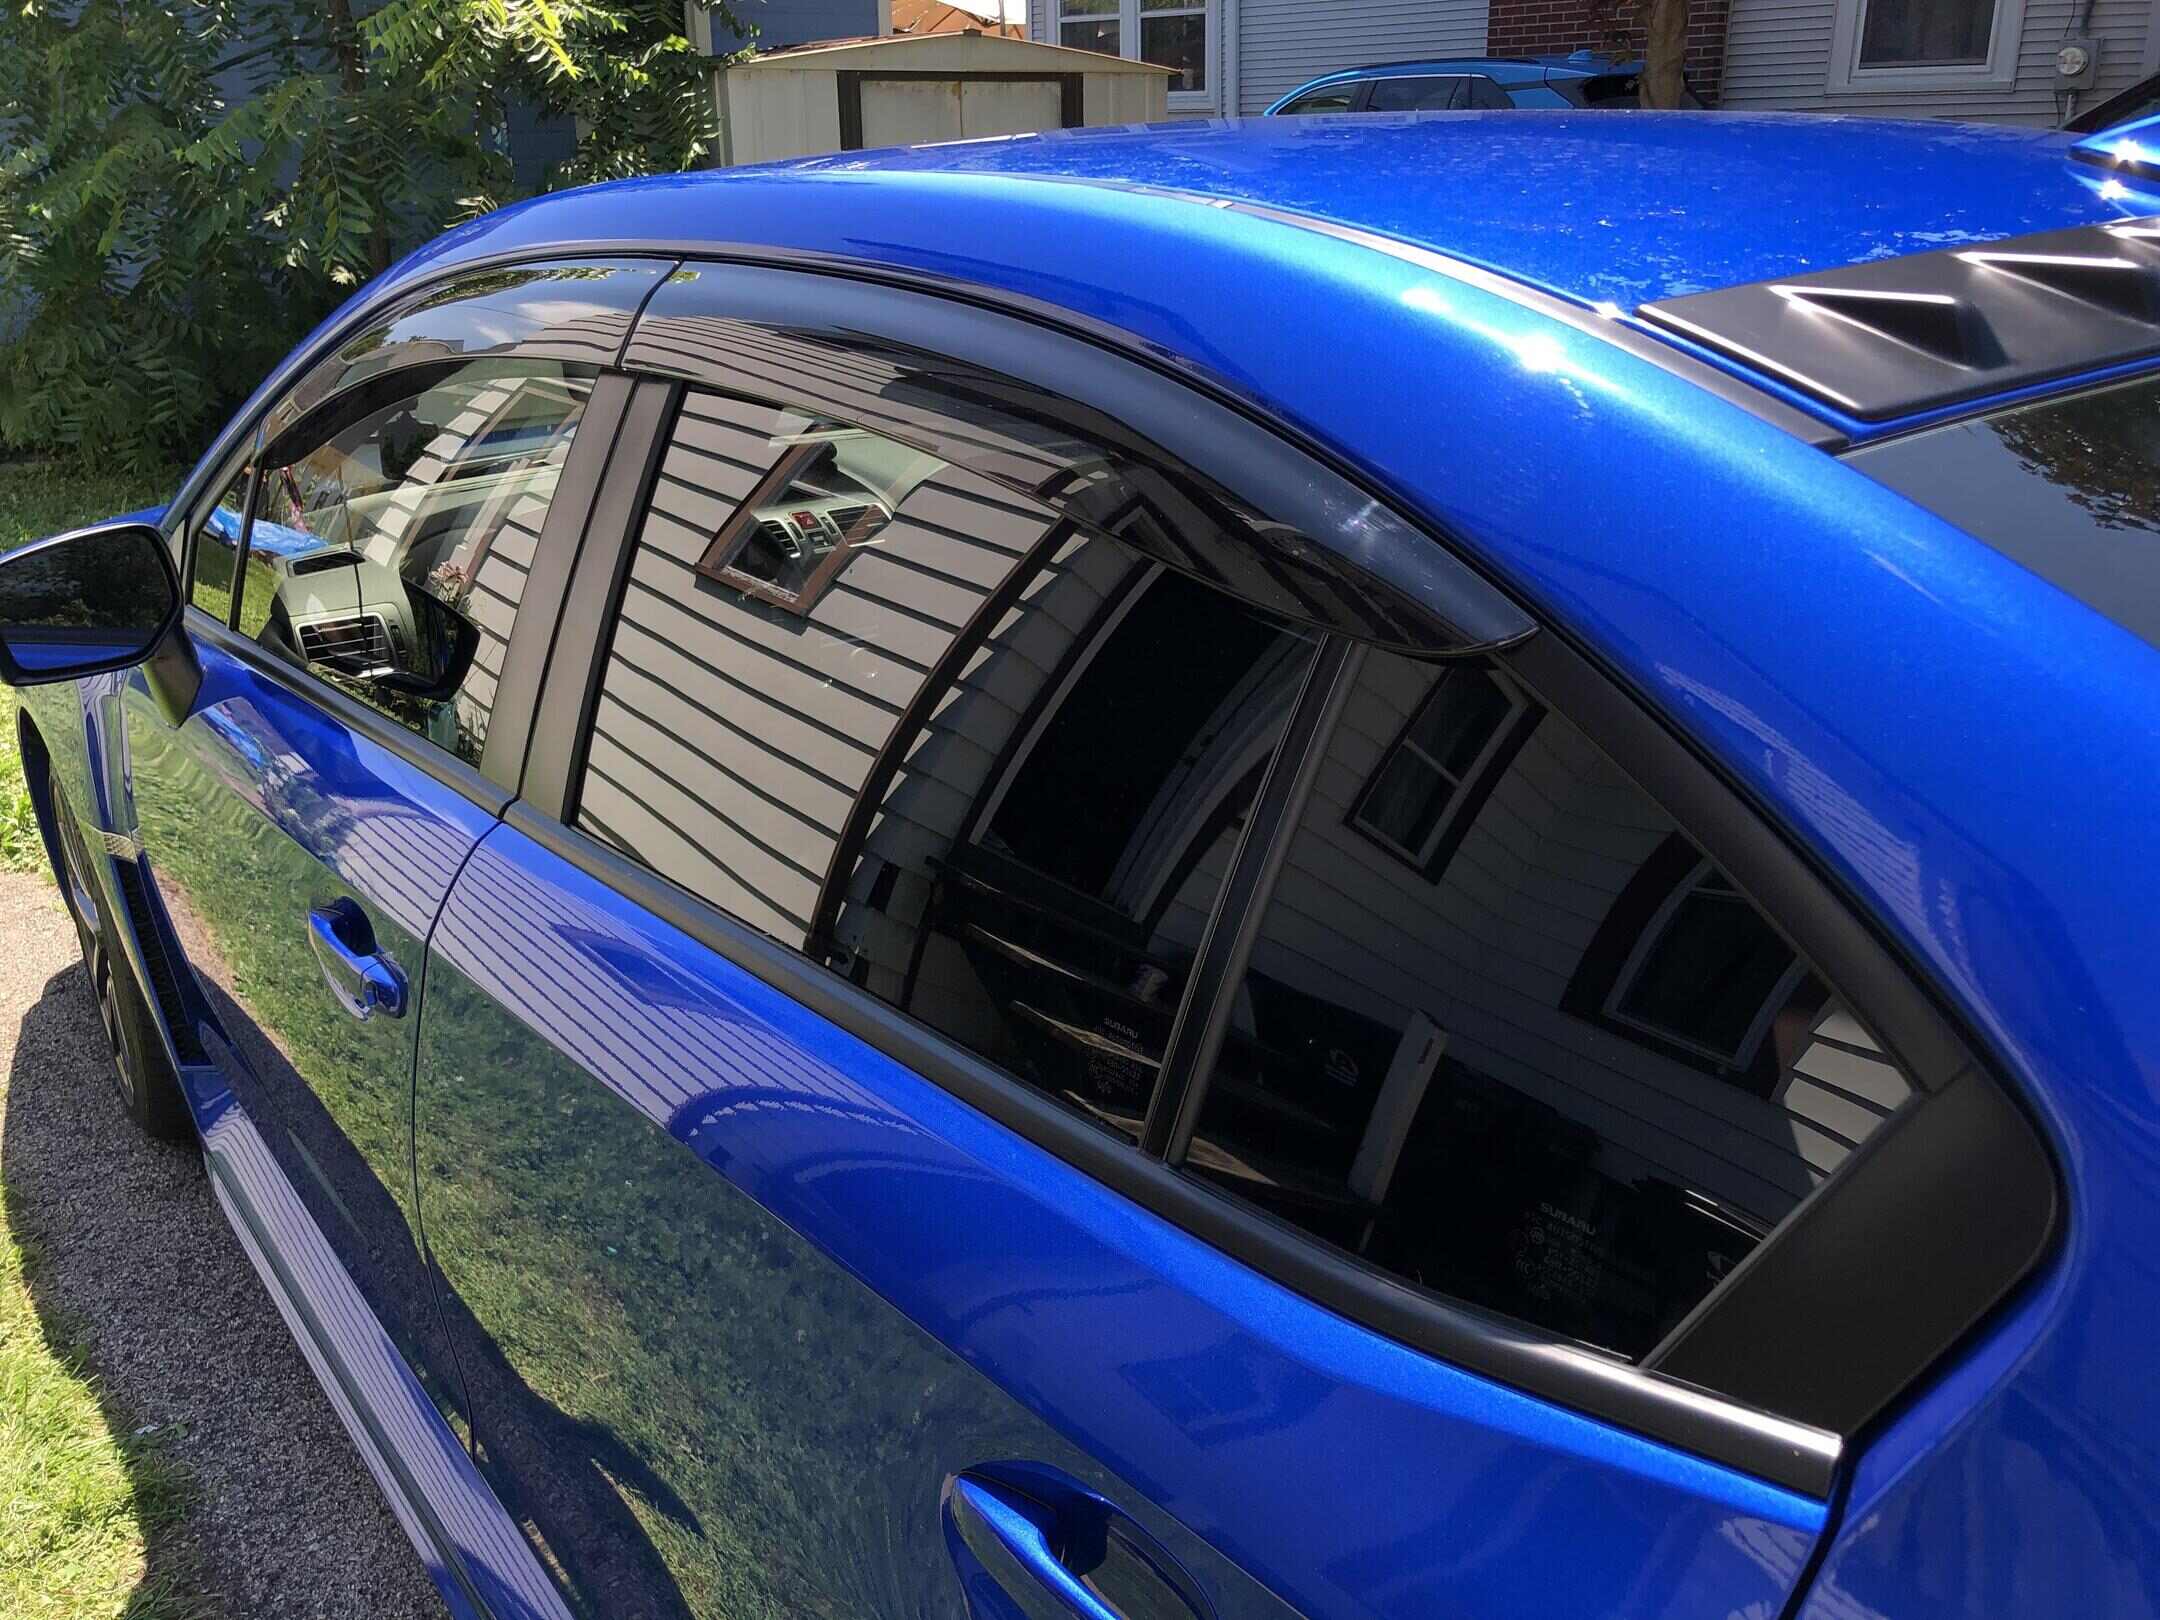
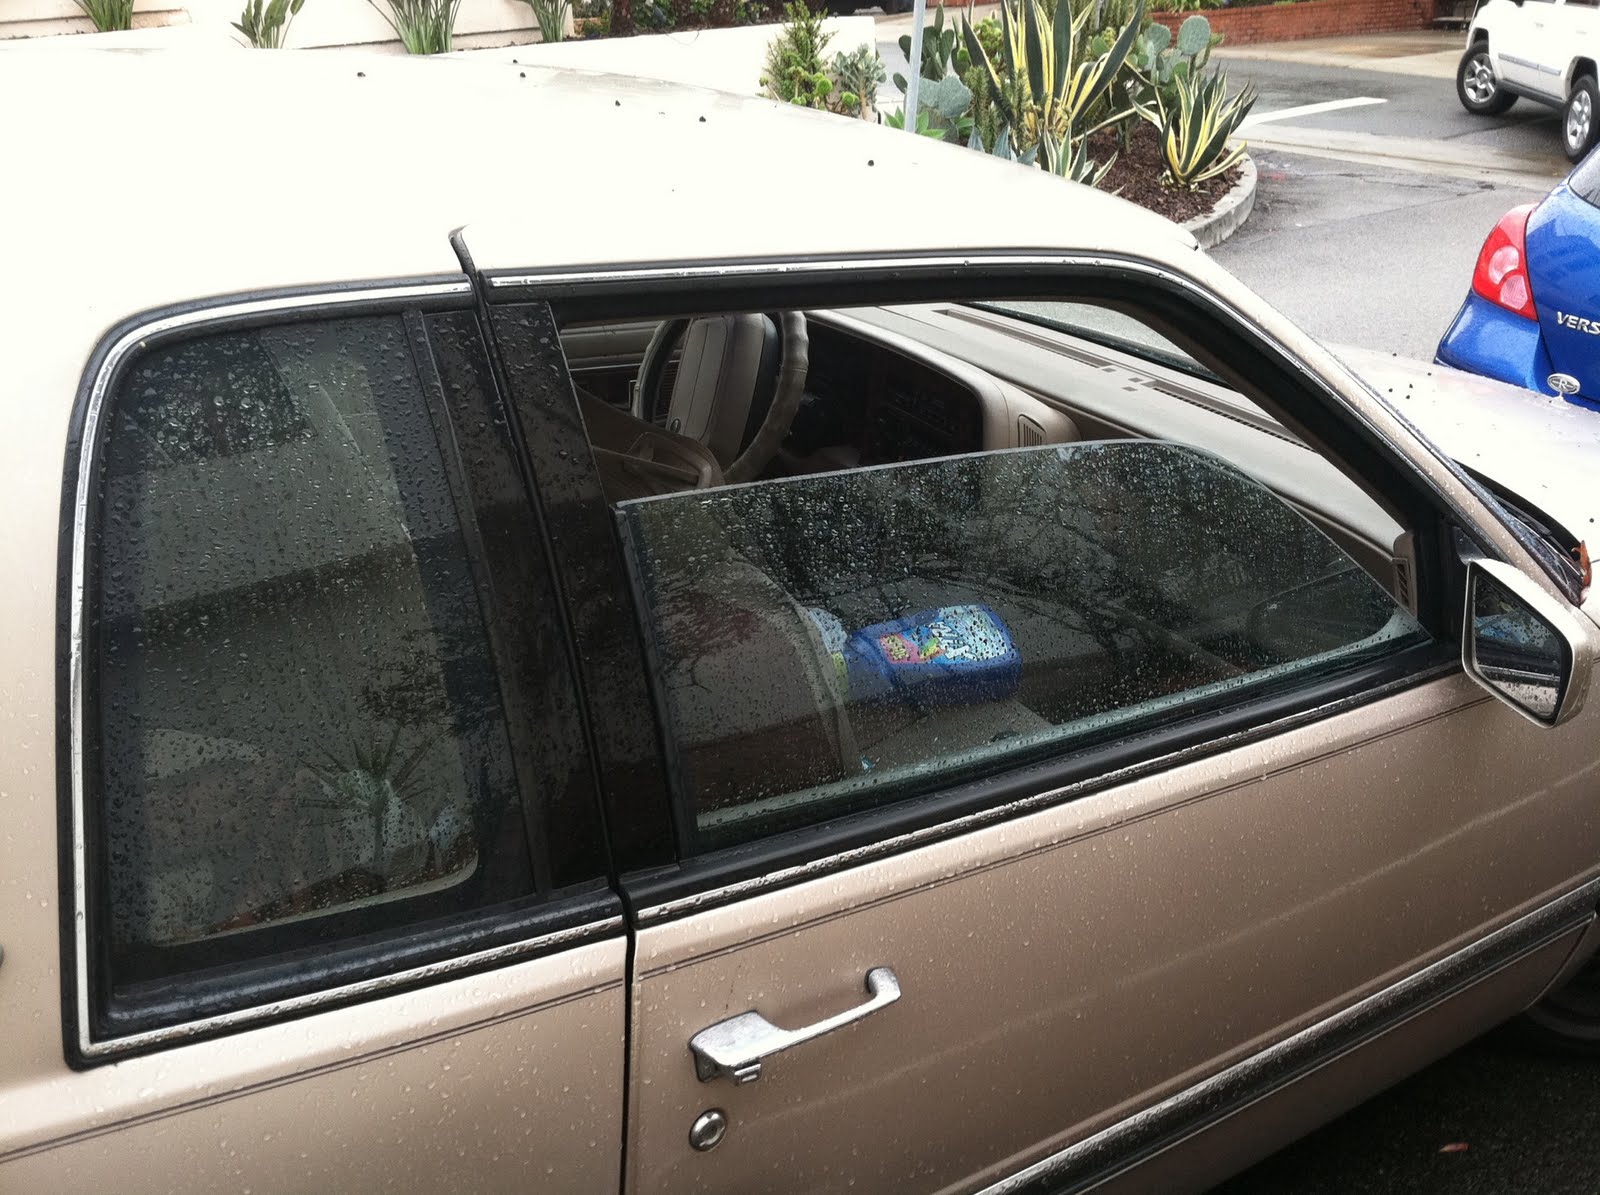
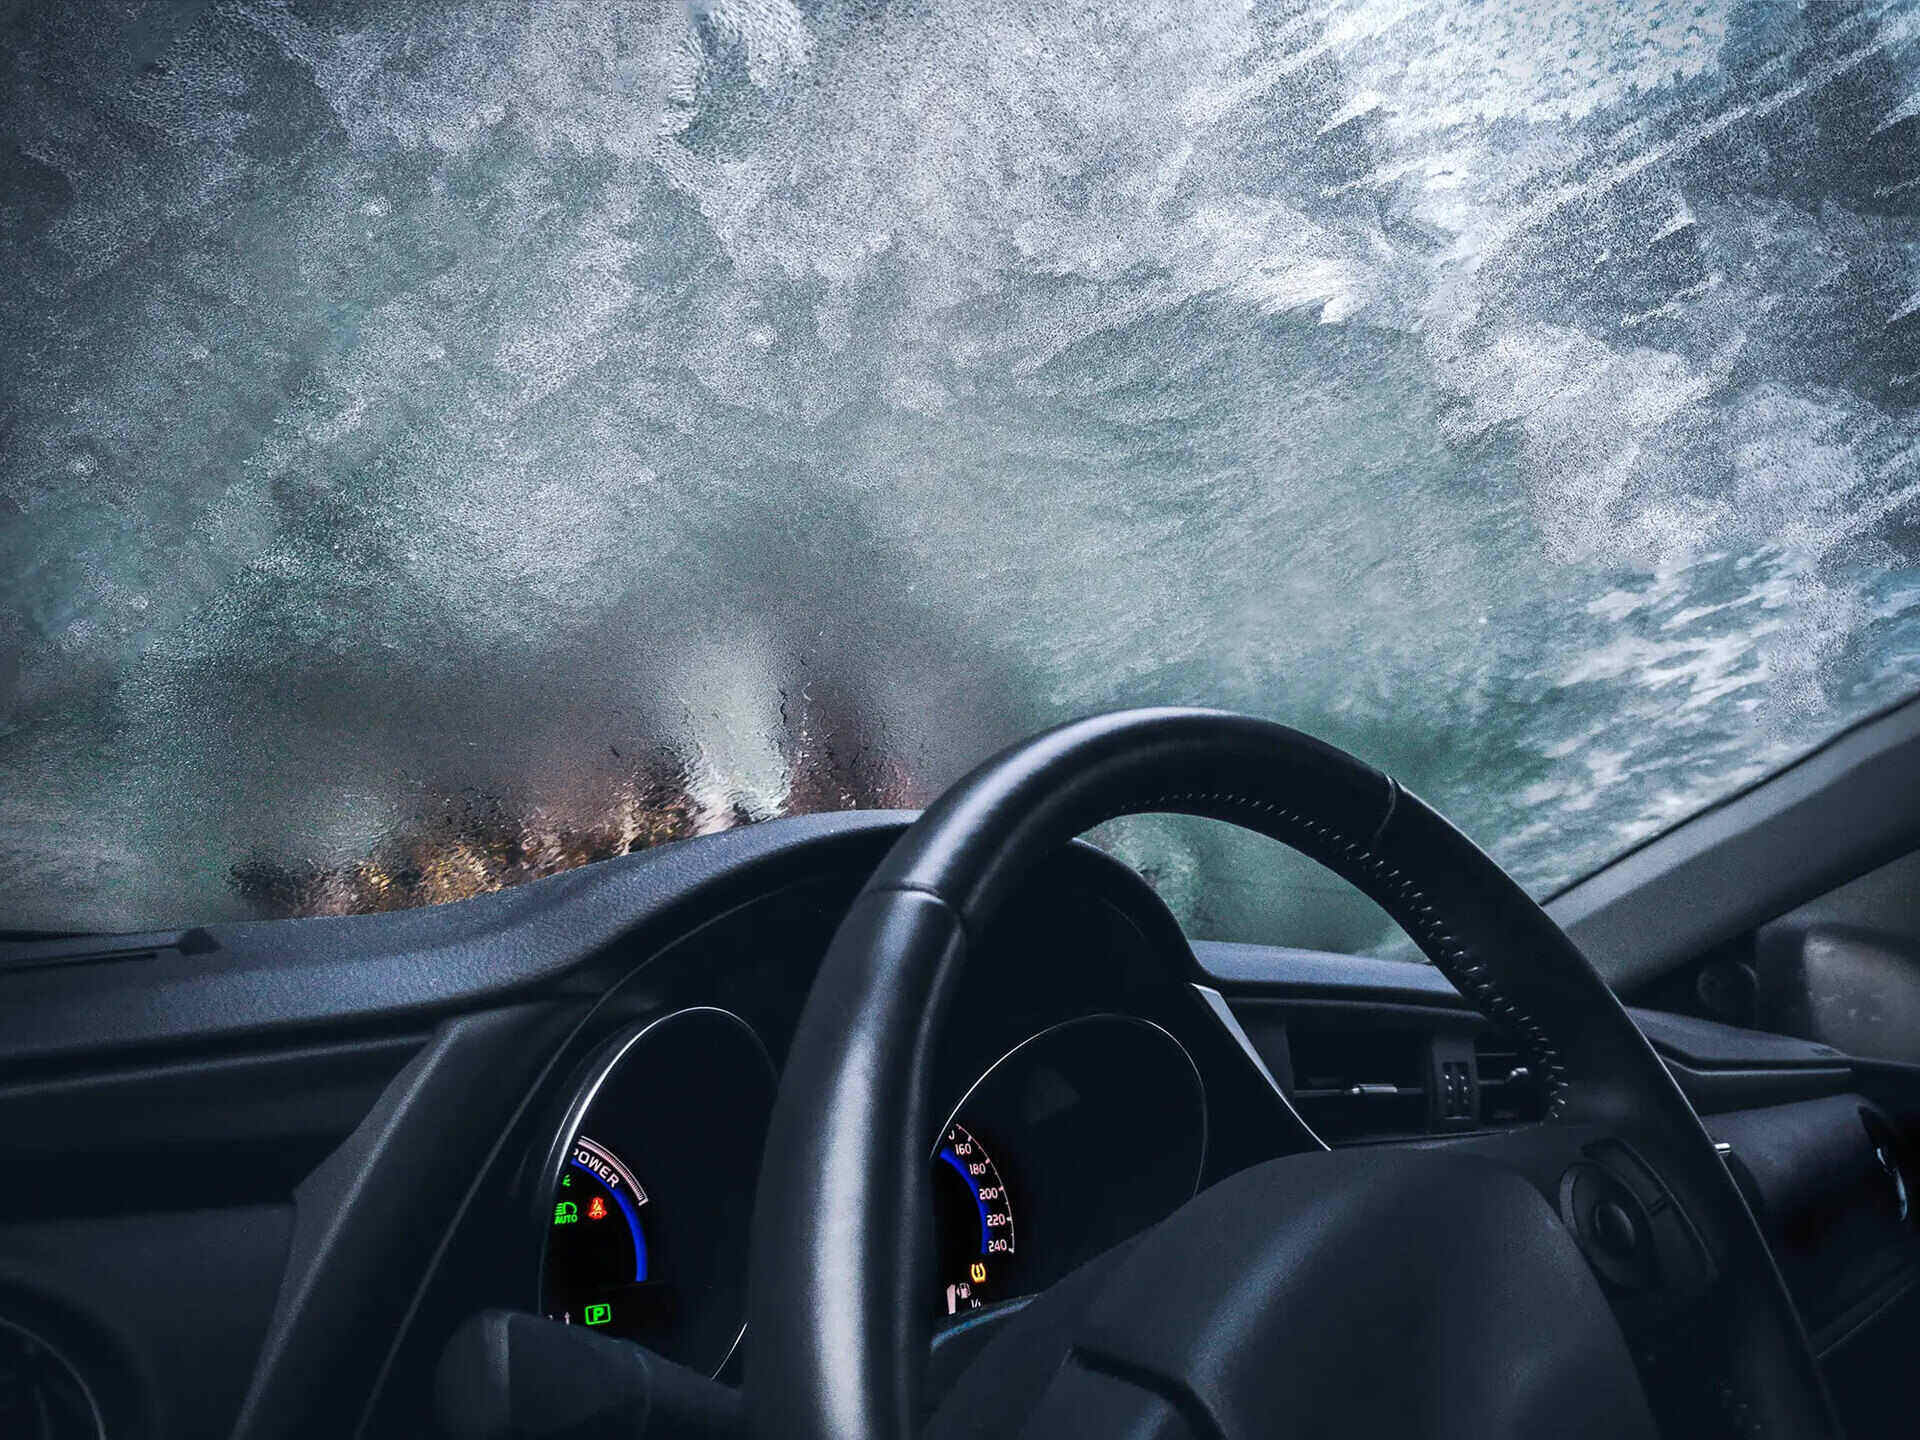
Welcome to the comprehensive guide on installing rain guards on your car windows! Rain guards, also known as wind deflectors, are a practical and stylish addition to your vehicle. They not only allow you to keep your windows partially open during inclement weather but also enhance the overall aesthetic appeal of your car. By following the steps outlined in this guide, you can easily install rain guards on your car windows and enjoy the benefits they offer.
Installing rain guards is a relatively straightforward process that can be completed with basic tools and a little bit of patience. Whether you're a seasoned DIY enthusiast or a novice looking to tackle your first automotive project, this guide will walk you through each step, providing valuable tips and insights along the way.
In the following sections, we will cover everything you need to know to successfully install rain guards on your car windows. From gathering the necessary materials to ensuring a proper fit and applying adhesive promoter if required, we've got you covered. By the end of this guide, you'll be equipped with the knowledge and confidence to complete the installation with ease.
So, grab your tools, roll up your sleeves, and let's get started on transforming your vehicle with the addition of sleek and functional rain guards!
Key Takeaways:
- Keep your car windows clean and dry before installing rain guards to ensure a secure and professional-looking installation. Test fit the rain guards to ensure a perfect alignment with your car’s windows for a tailored and custom fit.
- Enhance the bond between rain guards and window surfaces by applying adhesive promoter if recommended. After installation, allow sufficient time for the adhesive to set undisturbed to ensure a strong and enduring bond for long-term stability.
Read more: How To Install Electric Windows In Car
Step 1: Gather the Necessary Materials
Before you begin the installation process, it’s essential to gather all the materials and tools you’ll need. Having everything on hand will streamline the process and prevent any unnecessary delays. Here’s a list of the materials and tools required for installing rain guards on your car windows:
- Rain guards specifically designed for your vehicle make and model
- Isopropyl alcohol or a similar cleaning solution
- Clean, lint-free cloths or microfiber towels
- Adhesive promoter (if recommended by the rain guard manufacturer)
- Masking tape or painter’s tape
- Measuring tape or ruler
- Scissors (if the rain guards need to be trimmed to fit)
- Adhesive promoter applicator (if not included with the rain guards)
- Protective gloves
- Installation instructions provided by the rain guard manufacturer
It’s important to ensure that the rain guards you purchase are specifically designed for your vehicle’s make and model. This will ensure a proper fit and seamless integration with your car’s design. Additionally, check the manufacturer’s recommendations for any specific cleaning solutions or adhesive promoters that may be required for the installation.
By gathering all the necessary materials beforehand, you’ll be well-prepared to proceed with the installation process smoothly. With the materials in hand, you’re ready to move on to the next step: cleaning the window surface in preparation for the rain guard installation.
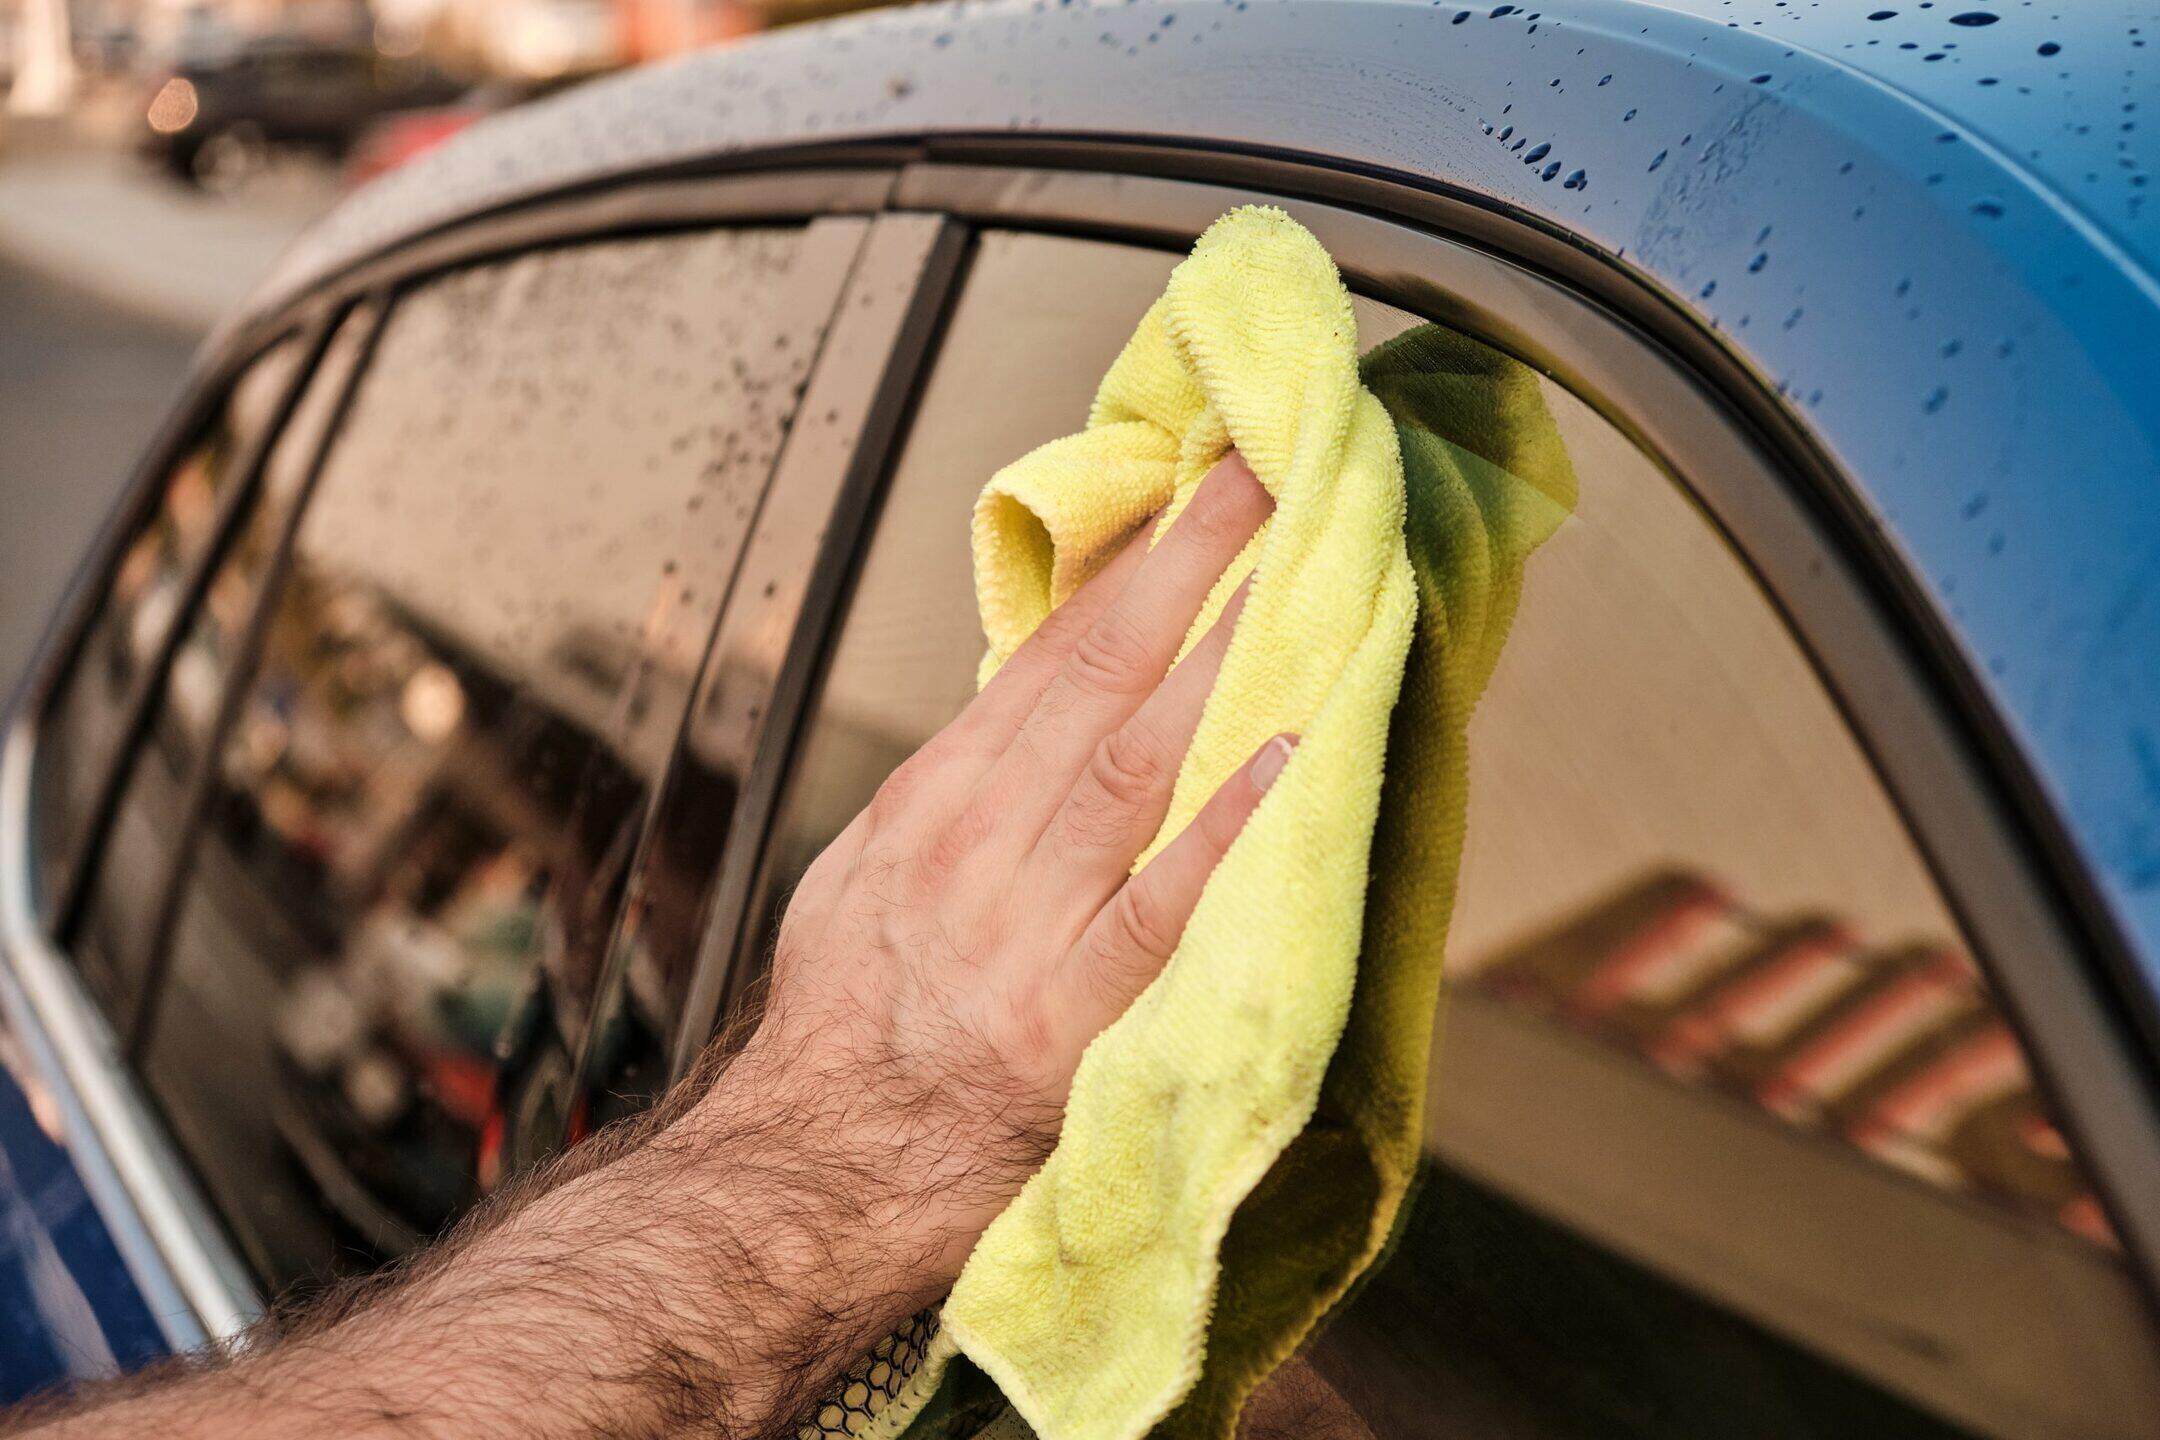
Step 2: Clean the Window Surface
Before installing the rain guards, it’s crucial to ensure that the window surfaces are clean and free from any dirt, debris, or residue. This step is essential for promoting proper adhesion and ensuring a secure fit for the rain guards. Here’s a detailed guide on how to effectively clean the window surface in preparation for the installation:
- Gather the Cleaning Supplies: Start by gathering the necessary cleaning supplies, including isopropyl alcohol or a recommended cleaning solution, along with clean, lint-free cloths or microfiber towels.
- Prepare the Cleaning Solution: If using isopropyl alcohol, pour a small amount onto a clean cloth. If a specific cleaning solution is recommended by the rain guard manufacturer, follow the provided instructions for preparing the solution.
- Clean the Window Surface: Thoroughly wipe the window surface with the cleaning solution-soaked cloth, ensuring that all areas where the rain guards will be installed are clean and free from any contaminants. Pay close attention to the edges and corners of the windows.
- Dry the Surface: Once the window surfaces have been cleaned, use a dry, lint-free cloth to thoroughly dry the areas where the rain guards will be attached. This step is crucial to ensure that the surfaces are free from any moisture or cleaning solution residue.
By following these steps, you’ll effectively prepare the window surfaces for the installation of the rain guards. Clean surfaces will promote optimal adhesion, ensuring that the rain guards securely bond to the windows. Additionally, a clean surface will contribute to a visually appealing and professional-looking installation.
With the window surfaces now clean and prepped, you’re ready to move on to the next step: test fitting the rain guards to ensure a proper and precise installation.
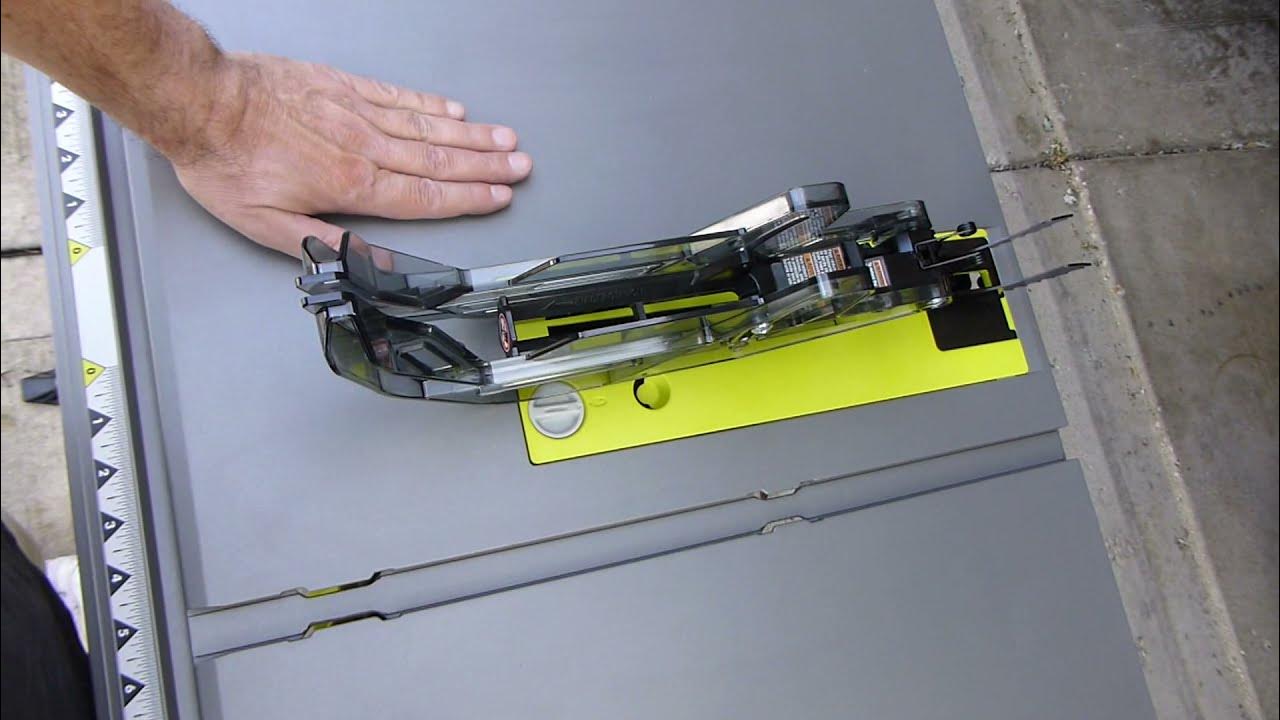
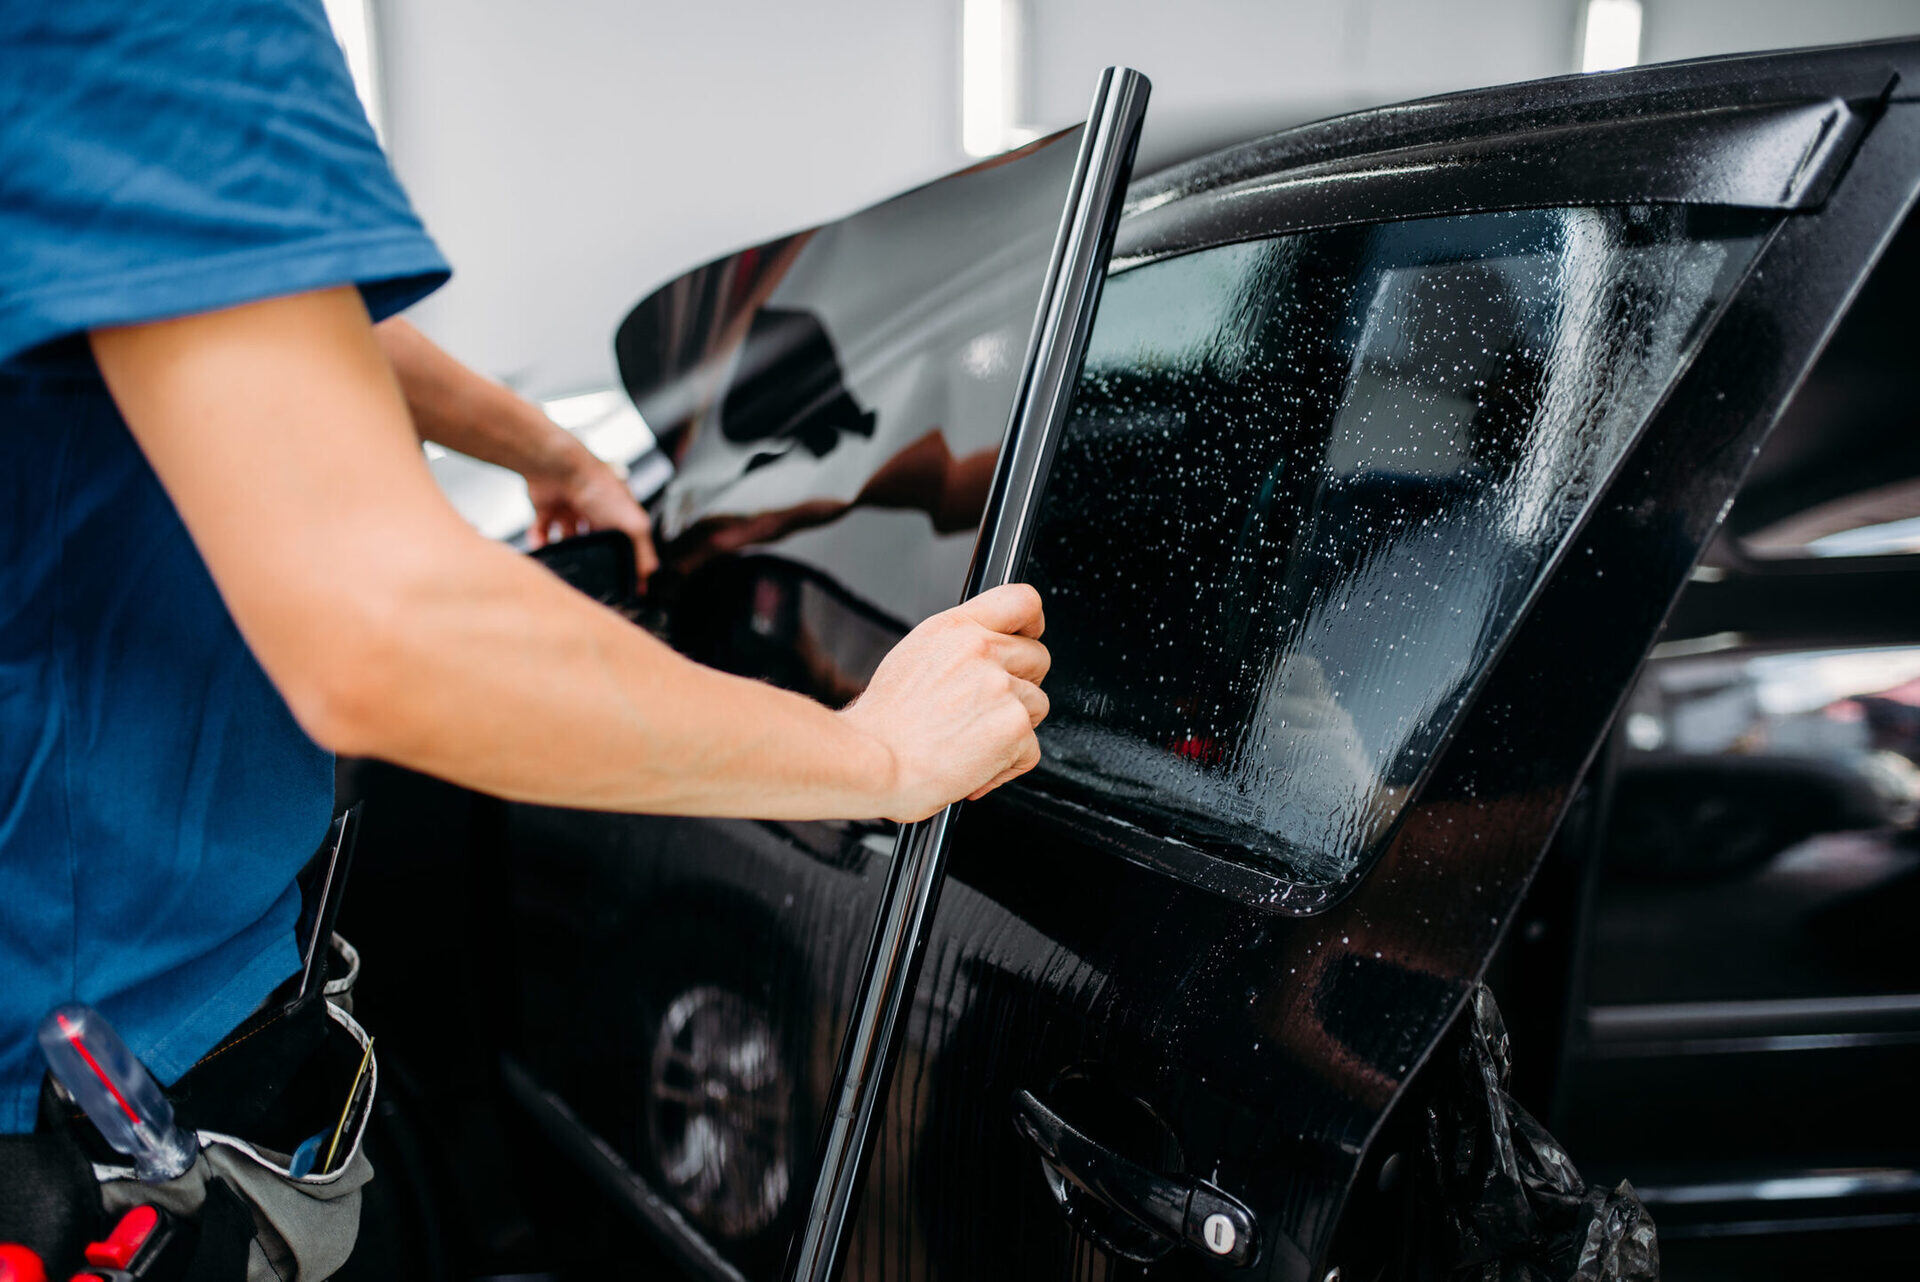
Step 3: Test Fit the Rain Guards
Before proceeding with the installation, it’s important to test fit the rain guards to ensure that they align correctly with the contours of your car’s windows. This step is crucial for verifying the fit and making any necessary adjustments before applying adhesive. Here’s a detailed guide on how to test fit the rain guards:
- Retrieve the Rain Guards: Carefully remove the rain guards from their packaging, taking care not to damage or bend them during the process.
- Align the Rain Guards: Hold each rain guard up to its corresponding window, aligning it with the contours and edges to verify the fit. Pay close attention to how the rain guards sit against the window frame and ensure that they align properly with the edges and corners.
- Check for Interference: Test the operation of the windows to ensure that the rain guards do not interfere with their movement. Open and close each window to verify that the rain guards allow unobstructed operation.
- Trimming (if necessary): If the rain guards require trimming to achieve a perfect fit, carefully mark any areas that need adjustment. Use scissors to trim the rain guards according to the marked areas, ensuring precision and smooth edges.
- Verify the Fit: After any necessary adjustments have been made, retest the fit of the rain guards to confirm that they align perfectly with the windows and allow unimpeded window operation.
By meticulously test fitting the rain guards, you’ll ensure that they align seamlessly with your car’s windows, providing a tailored and custom fit. This step also allows you to address any potential fit issues before proceeding with the installation, saving time and effort in the long run.
With the rain guards successfully test fitted and any required adjustments made, you’re prepared to move on to the next step: applying adhesive promoter, if recommended by the rain guard manufacturer.
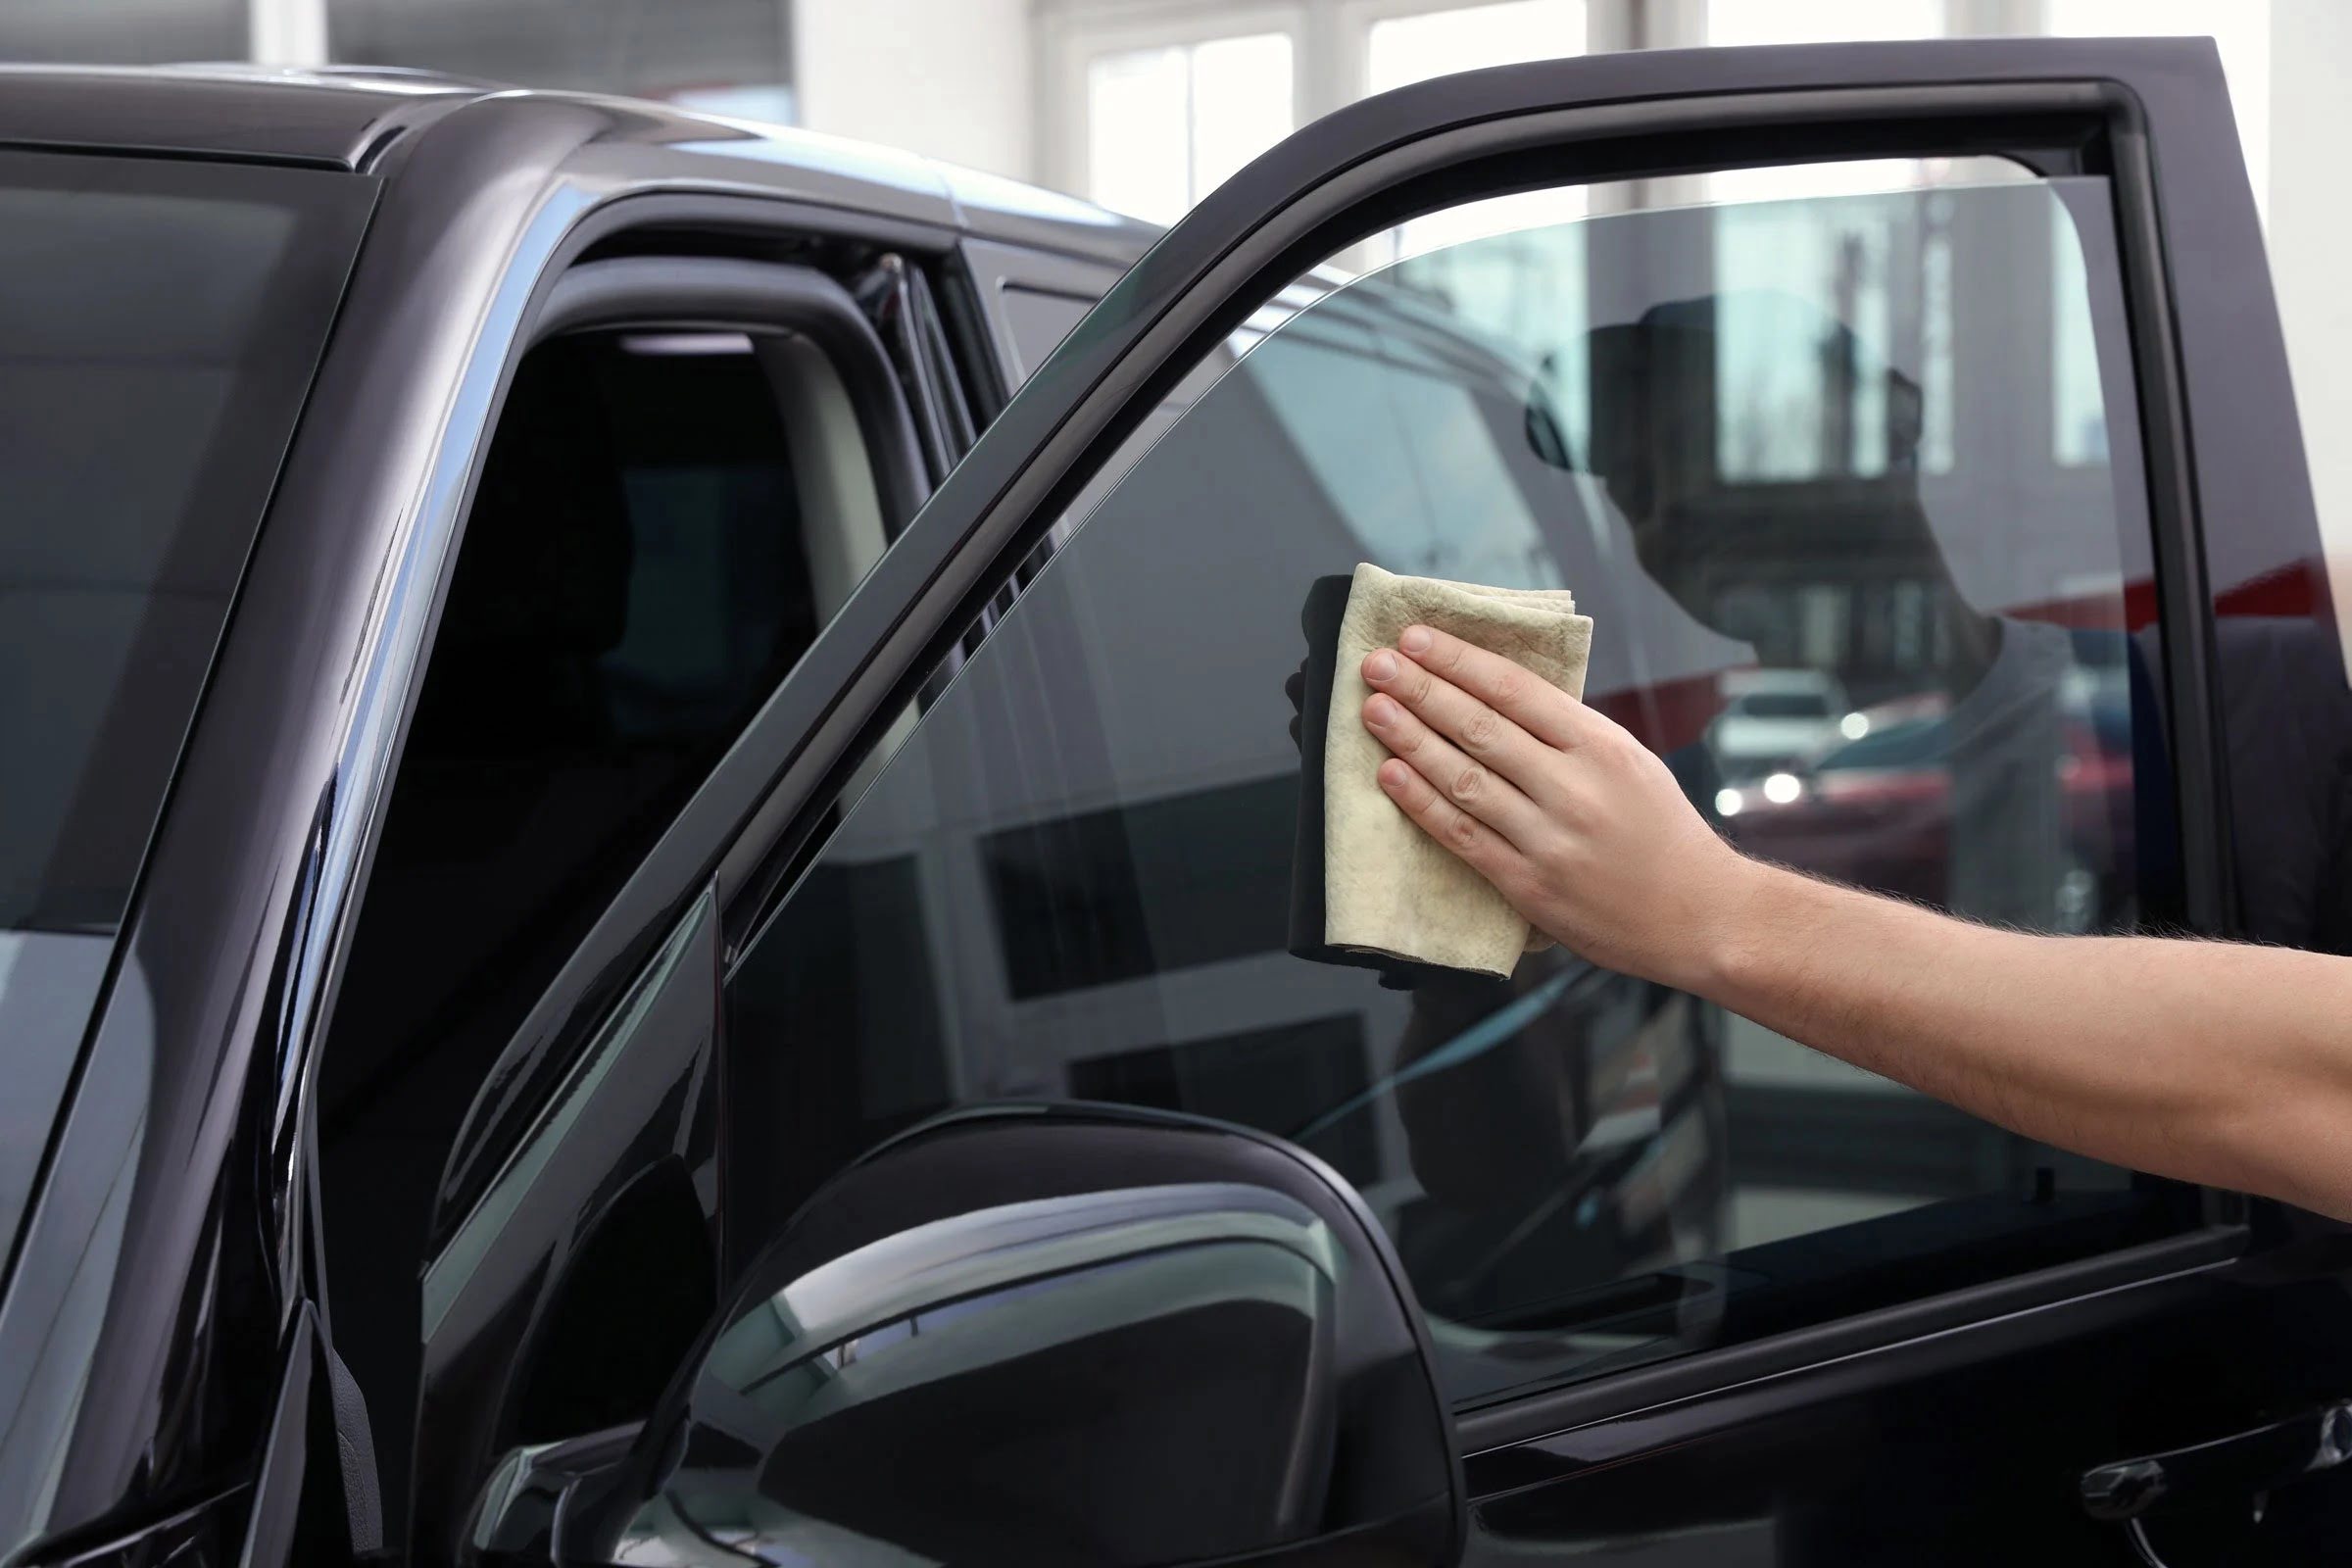
When installing rain guards on car windows, make sure to clean the window frame thoroughly before applying the adhesive. This will help the rain guards adhere properly and stay in place.
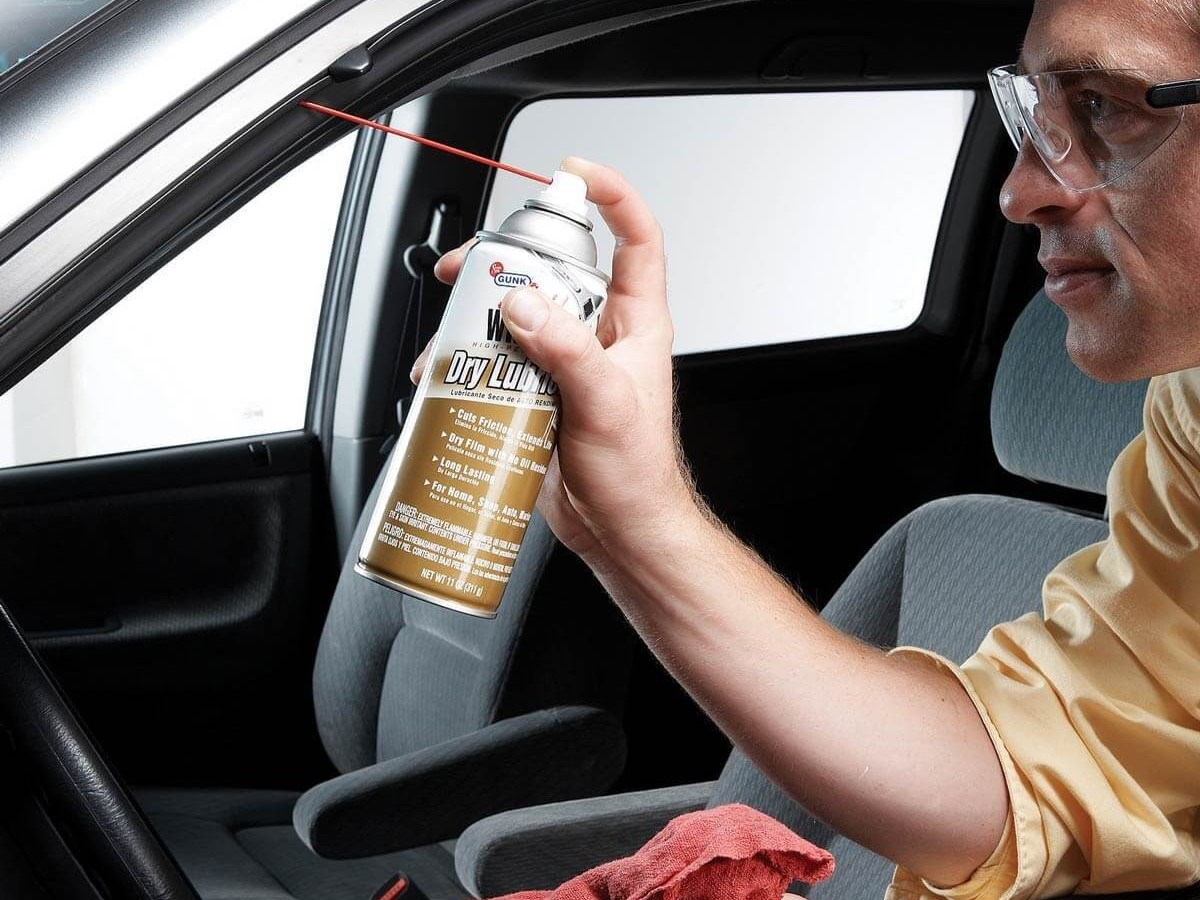
Step 4: Apply Adhesive Promoter (If Required)
Some rain guard manufacturers recommend the use of an adhesive promoter to enhance the bonding strength between the rain guards and the window surfaces. This step is particularly important for ensuring a secure and long-lasting installation. If the manufacturer’s instructions specify the use of an adhesive promoter, follow these steps to apply it effectively:
- Read the Manufacturer’s Instructions: Review the installation instructions provided by the rain guard manufacturer to determine if the use of an adhesive promoter is recommended for your specific product.
- Gather the Adhesive Promoter: If the use of an adhesive promoter is recommended, ensure that you have the required product on hand. Adhesive promoters are typically provided in small applicator packets for easy and precise application.
- Clean Application Area: Use isopropyl alcohol or a recommended cleaning solution to thoroughly clean the areas of the window surfaces where the adhesive promoter will be applied. Ensure that the surfaces are dry before proceeding to the next step.
- Apply the Adhesive Promoter: Open the adhesive promoter packet and carefully apply it to the cleaned areas of the window surfaces where the rain guards will be attached. Follow the manufacturer’s instructions regarding the application technique and coverage area.
- Allow for Drying Time: After applying the adhesive promoter, allow sufficient time for it to dry and set according to the manufacturer’s recommendations. This drying period is crucial for ensuring optimal bonding strength between the rain guards and the window surfaces.
By following these steps, you’ll effectively apply the adhesive promoter, if required, in preparation for the rain guard installation. The use of an adhesive promoter can significantly enhance the overall adhesion and durability of the installation, providing added assurance that the rain guards will remain securely in place over time.
With the adhesive promoter applied and properly dried, you’re now ready to proceed to the next step: installing the rain guards onto your car windows.
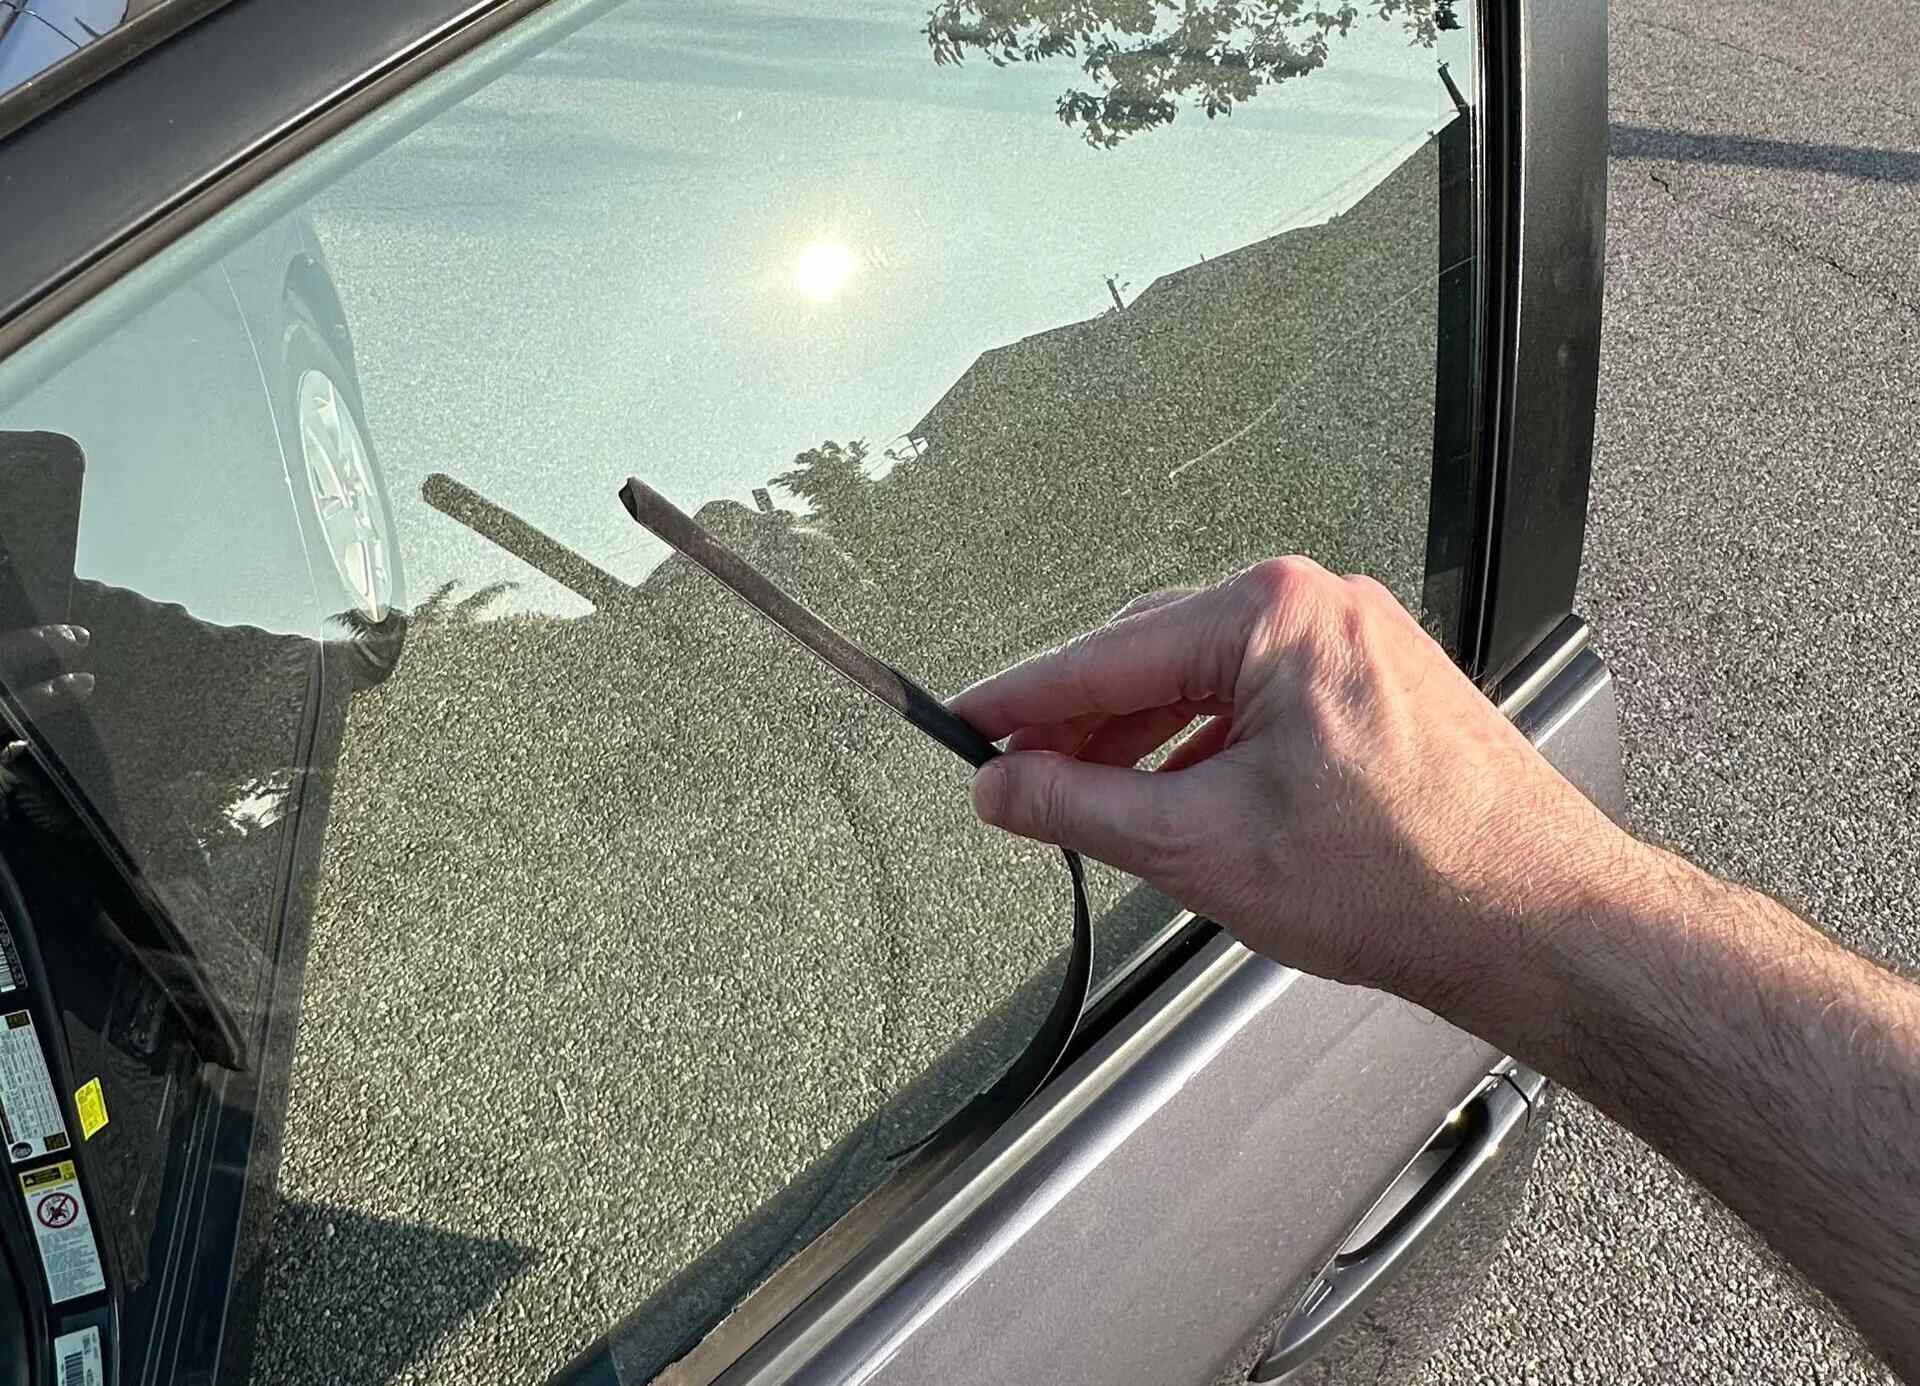
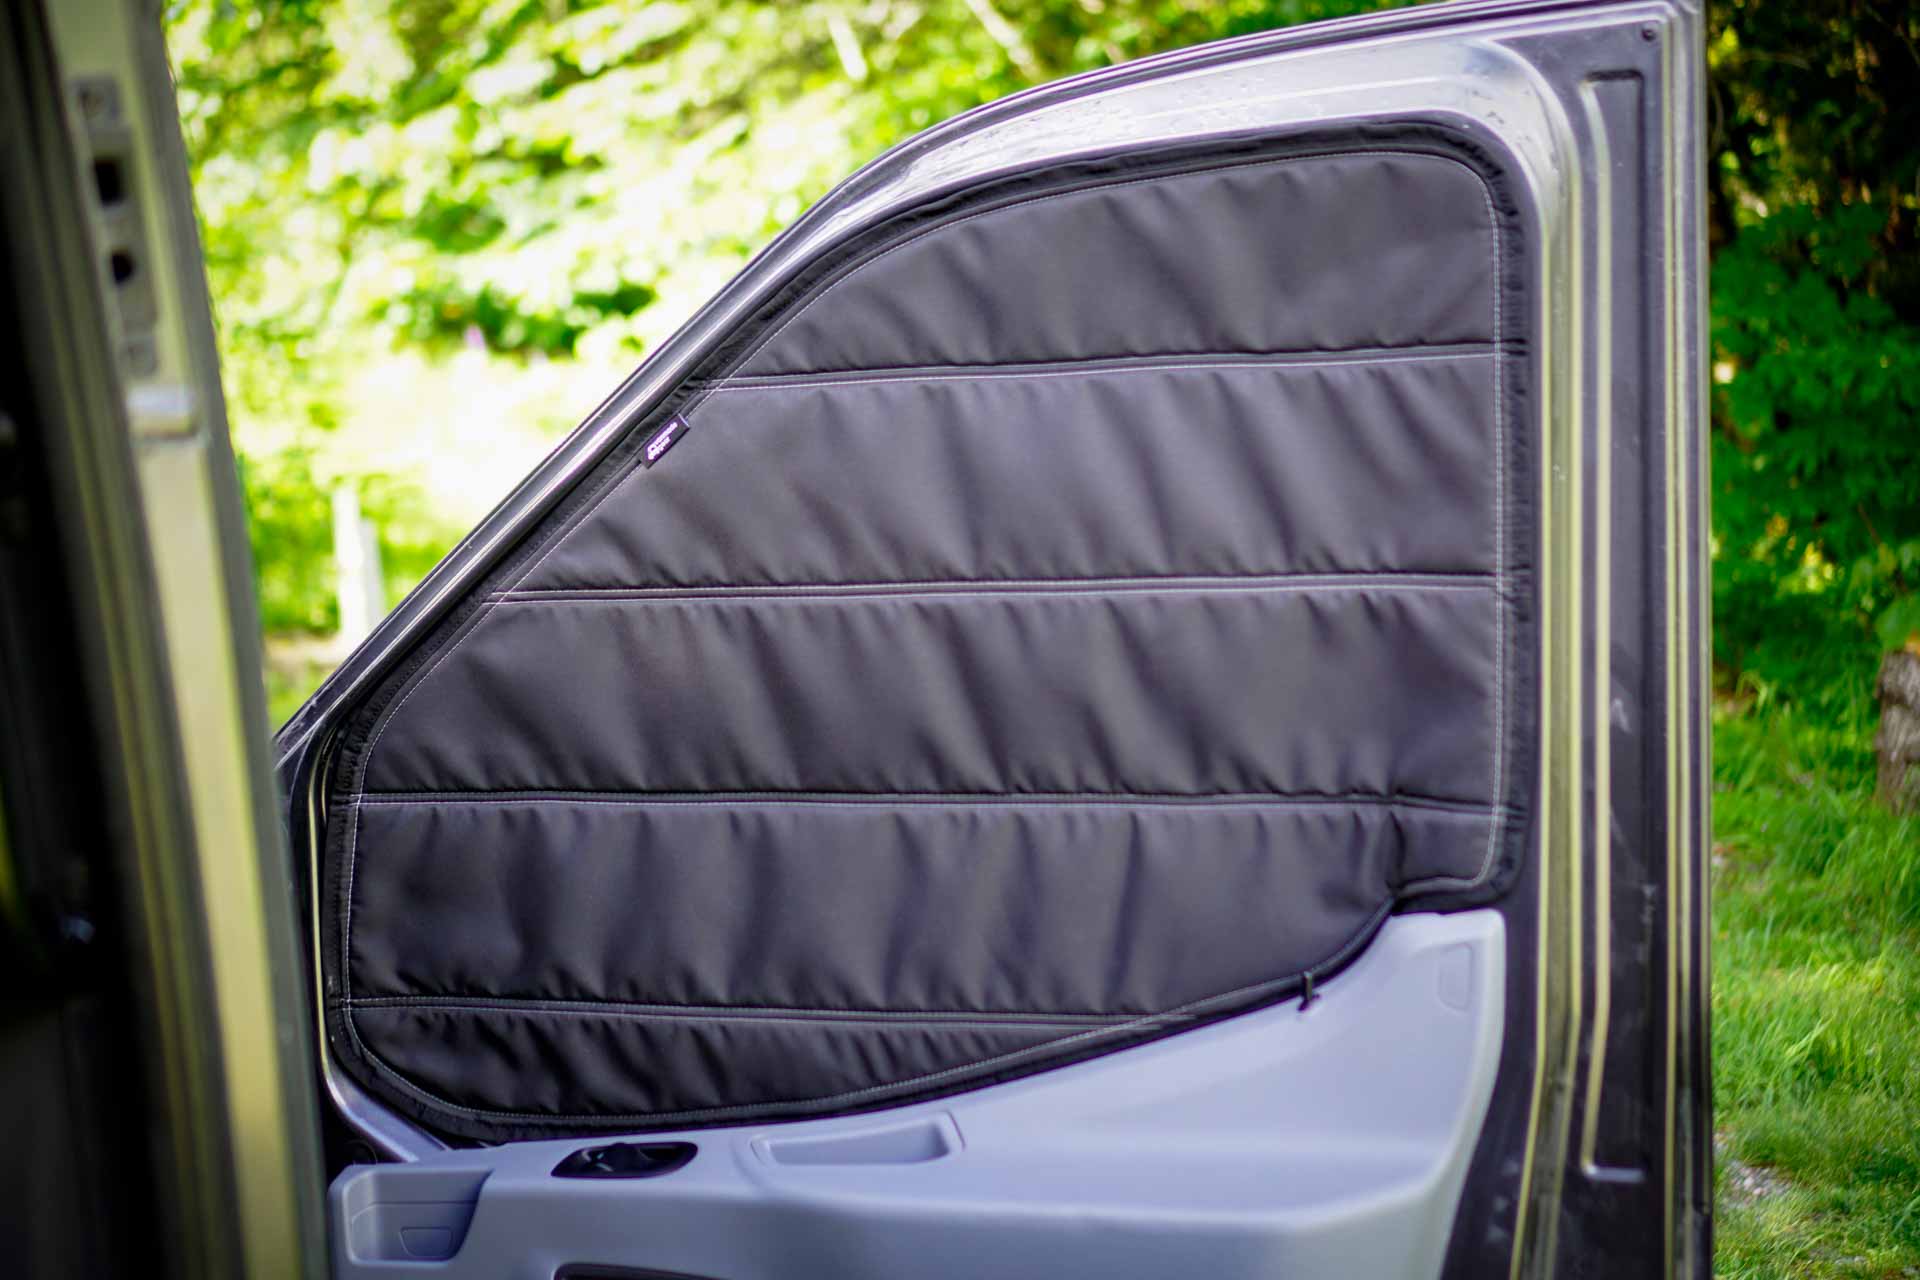
Step 5: Install the Rain Guards
With the window surfaces prepped and, if necessary, the adhesive promoter applied, it’s time to proceed with the installation of the rain guards onto your car windows. Follow these comprehensive steps to ensure a precise and secure installation:
- Position the Rain Guards: Carefully position each rain guard onto its corresponding window, aligning it with the contours and edges. Ensure that the rain guards sit flush against the window frame and are oriented correctly.
- Verify Alignment: Double-check the alignment of the rain guards to ensure that they are positioned accurately before proceeding with the next steps. This is crucial for achieving a professional and visually appealing installation.
- Peel the Adhesive Backing (if applicable): If the rain guards are equipped with adhesive backing, carefully peel off the protective film to expose the adhesive surface. Take care not to touch the adhesive to maintain its effectiveness.
- Secure the Rain Guards: Gently press the rain guards onto the window surfaces, applying even pressure to ensure proper adhesion. Pay particular attention to the edges and corners, ensuring that the rain guards are securely bonded to the windows.
- Hold in Place (if required): If the manufacturer’s instructions recommend holding the rain guards in place for a specific duration to facilitate bonding, follow the provided guidelines. This step is essential for allowing the adhesive to set effectively.
By following these steps, you’ll achieve a successful installation of the rain guards onto your car windows. A precise and secure installation not only enhances the functionality of the rain guards but also contributes to the overall aesthetic appeal of your vehicle.
With the rain guards securely installed, you’re now ready to move on to the final step: allowing sufficient time for the adhesive to set and the installation to fully take hold.
Step 6: Allow Time for Adhesive to Set
After installing the rain guards onto your car windows, it’s crucial to allow sufficient time for the adhesive to set and the installation to fully take hold. This final step is essential for ensuring a strong and durable bond between the rain guards and the window surfaces. Follow these guidelines to allow the adhesive to set effectively:
- Adhere to Manufacturer’s Recommendations: Refer to the installation instructions provided by the rain guard manufacturer for specific guidelines on the recommended setting time for the adhesive. Manufacturers often provide a recommended duration for allowing the adhesive to fully set and bond.
- Avoid Disturbing the Rain Guards: During the setting period, avoid any actions that may disturb or displace the rain guards, such as rolling down the windows or subjecting the installation area to excessive force or pressure.
- Protect from Moisture: Keep the installed rain guards protected from moisture or water exposure during the setting period. Avoid washing the vehicle or exposing it to heavy rain until the adhesive has fully set.
- Exercise Caution When Opening Windows: If the installation instructions specify a recommended duration for refraining from opening the windows, adhere to this guideline to allow the adhesive to set undisturbed.
By allowing the adhesive to set undisturbed for the recommended duration, you’ll ensure that the rain guards form a strong and enduring bond with the window surfaces. This step is critical for the long-term stability and effectiveness of the installation.
With the adhesive fully set and the rain guards securely bonded to the windows, you’ve successfully completed the installation process. Your car is now equipped with functional and stylish rain guards, ready to enhance your driving experience in various weather conditions.
Conclusion
Congratulations on successfully installing rain guards on your car windows! By following the comprehensive steps outlined in this guide, you’ve not only enhanced the functionality of your vehicle but also added a touch of style and practicality to its exterior. The installation of rain guards offers the convenience of keeping your windows partially open during light rain or humid conditions, allowing fresh air to circulate while keeping out precipitation.
Throughout the installation process, you’ve ensured that the window surfaces were thoroughly cleaned, the rain guards were test fitted for a precise alignment, and, if necessary, adhesive promoter was applied to enhance the bond between the rain guards and the windows. The final step of allowing the adhesive to set ensures a secure and long-lasting installation.
With the rain guards in place, you’ve not only added a functional accessory to your vehicle but also contributed to its visual appeal. The sleek and custom-fit rain guards complement the overall design of your car, providing a seamless integration that enhances its aesthetic charm.
As you enjoy the benefits of your newly installed rain guards, remember to maintain them by regularly cleaning the surfaces and inspecting the adhesive bond to ensure their continued effectiveness. With proper care, your rain guards will serve you well for years to come, offering both practical utility and a touch of automotive sophistication.
Thank you for taking the time to follow this guide, and we hope that the installation process was both rewarding and enjoyable. Your dedication to enhancing your vehicle’s functionality and appearance reflects a true passion for automotive customization and care.
Safe travels, and may your newly installed rain guards bring you added comfort and style on all your journeys!
Frequently Asked Questions about How To Install Rain Guards On Car Windows
Was this page helpful?
At Storables.com, we guarantee accurate and reliable information. Our content, validated by Expert Board Contributors, is crafted following stringent Editorial Policies. We're committed to providing you with well-researched, expert-backed insights for all your informational needs.


0 thoughts on “How To Install Rain Guards On Car Windows”