Home>Renovation & DIY>Tools & Equipment>How Long Does A Spackle Need To Dry Before Painting
Tools & Equipment
How Long Does A Spackle Need To Dry Before Painting
Published: December 19, 2023
Learn how long spackle needs to dry before painting and the essential tools and equipment required for the job. Ensure a flawless finish with the right drying time and equipment.
(Many of the links in this article redirect to a specific reviewed product. Your purchase of these products through affiliate links helps to generate commission for Storables.com, at no extra cost. Learn more)
Introduction
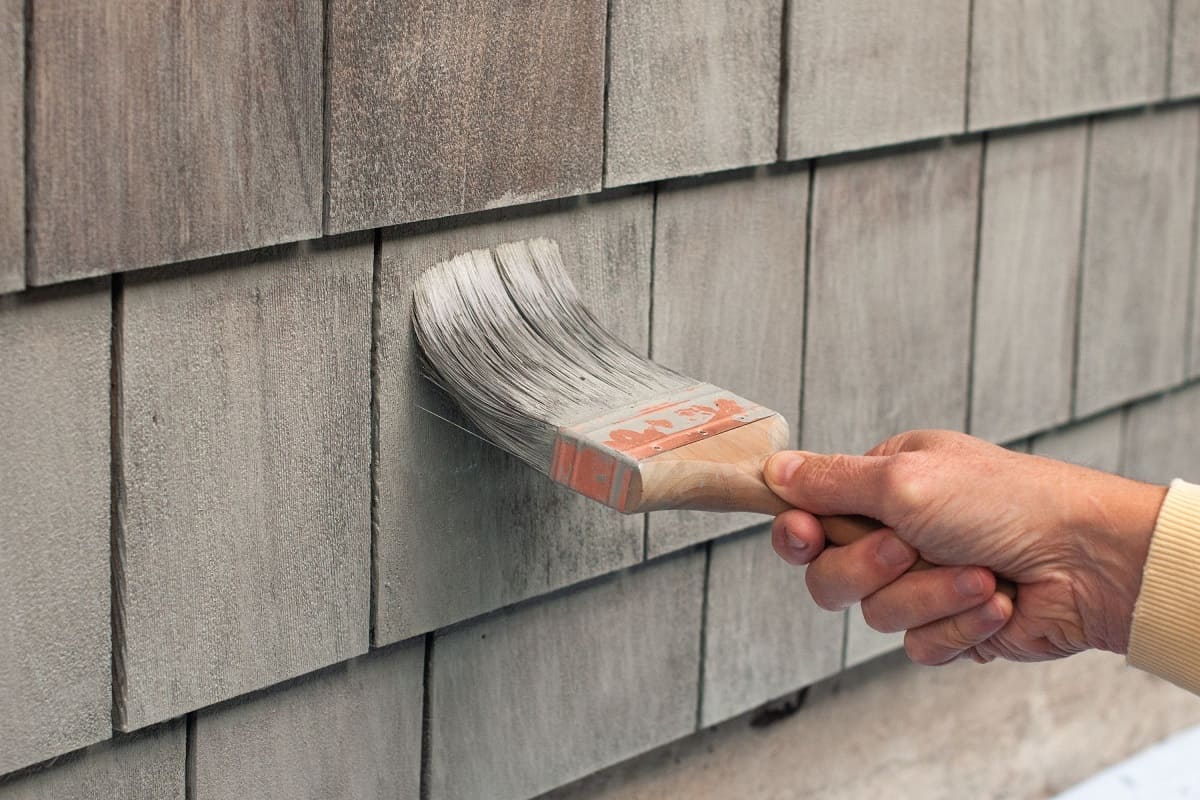
So, you've just finished patching up those unsightly holes and cracks in your walls with spackle, and now you're itching to get that fresh coat of paint up. But hold on just a minute! Before you start dipping that paintbrush into your favorite shade, it's crucial to understand the drying process of spackle and the factors that can affect its drying time. Rushing into painting over wet spackle can lead to a host of issues, including a bumpy paint finish and compromised adhesion.
In this comprehensive guide, we'll delve into the intricacies of spackle drying, shedding light on how long it typically takes for spackle to dry before painting. We'll also explore the various factors that can influence the drying time of spackle, equipping you with the knowledge to make informed decisions and achieve a flawless paint job. Whether you're a seasoned DIY enthusiast or a first-time homeowner, mastering the art of spackle drying is essential for ensuring professional-looking results and preserving the integrity of your walls.
So, grab your favorite beverage, settle into a cozy spot, and let's embark on a journey to unravel the mysteries of spackle drying and painting. By the time we're through, you'll be well-versed in the art of timing your painting endeavors for impeccable, long-lasting finishes.
Key Takeaways:
- Don’t rush! Spackle needs time to dry before painting. Factors like spackle type, thickness, and ventilation affect drying time. Patience leads to a flawless paint job.
- Smooth transition from spackling to painting. Verify complete drying, light sanding, and proper priming are crucial. Attention to detail ensures professional-quality, long-lasting results.
Read more: How Long Does A Spackle Need To Dry
Understanding Spackle and Its Drying Process
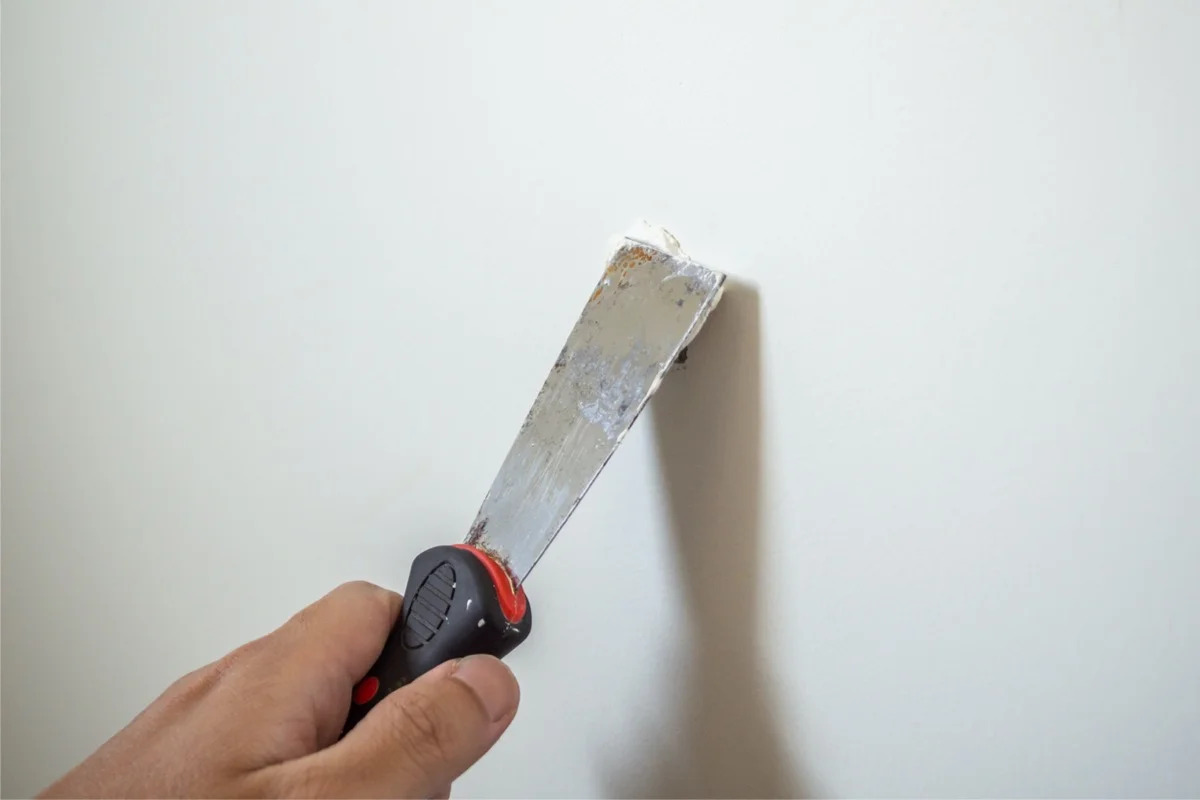
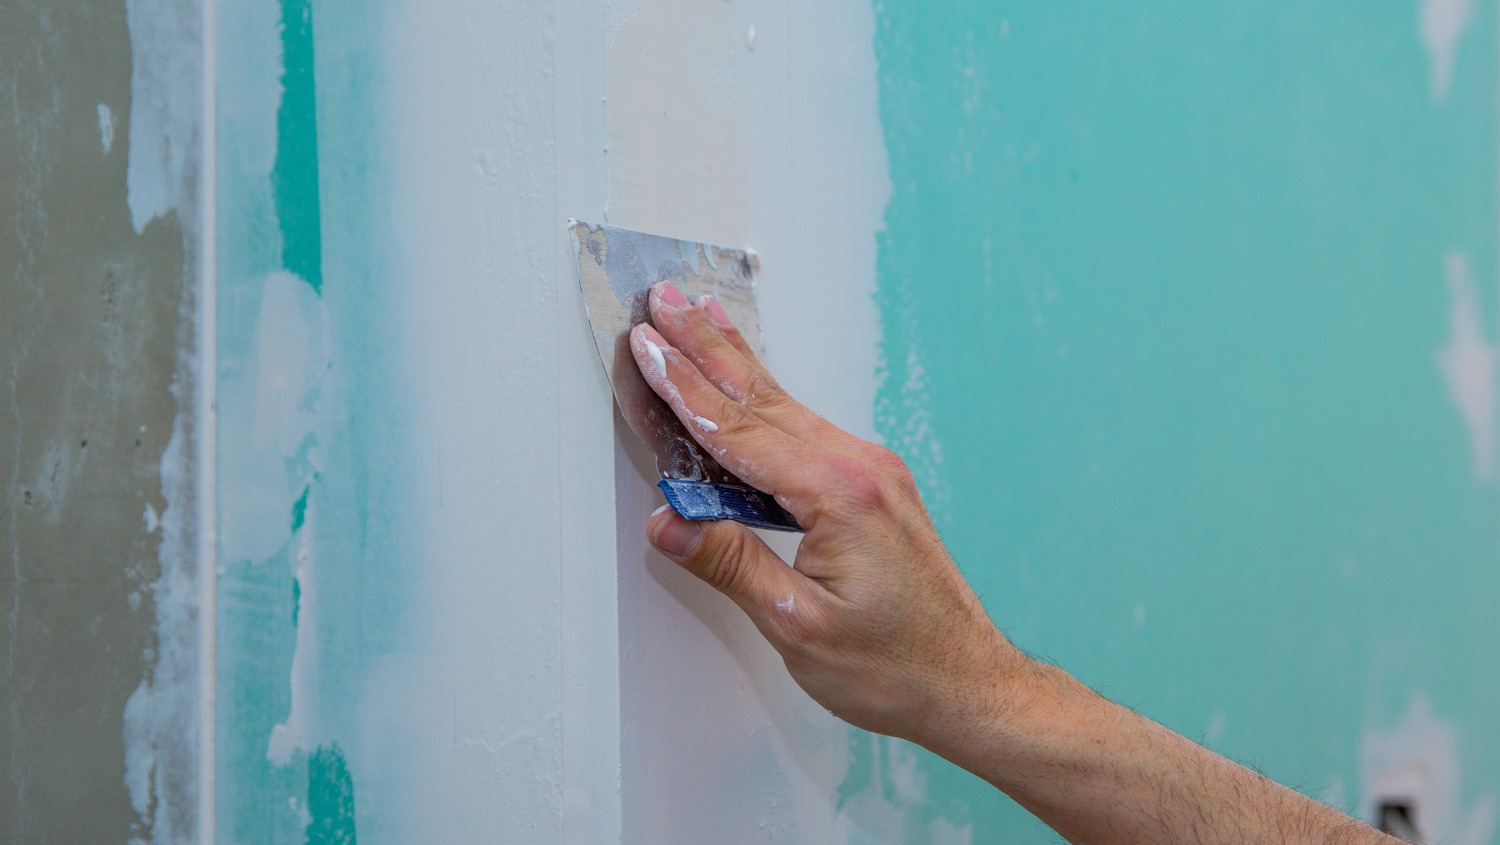
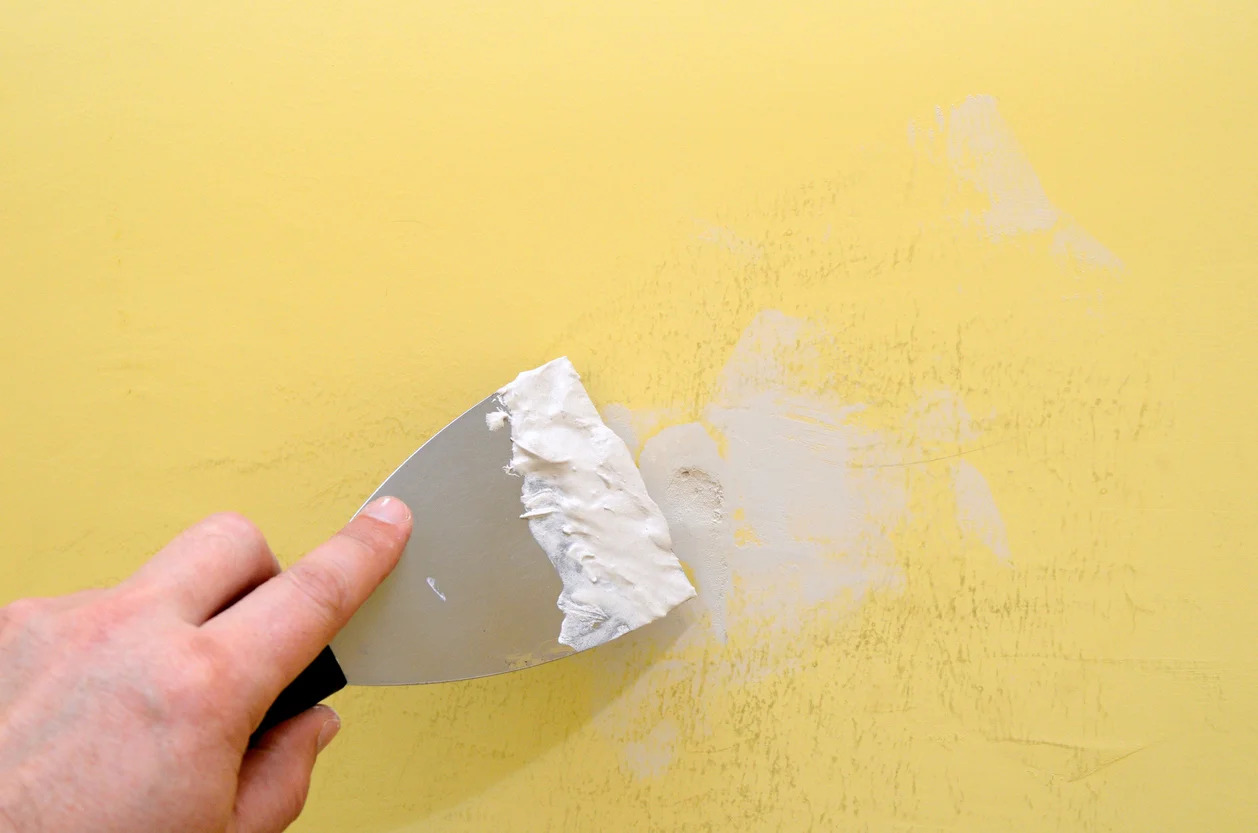
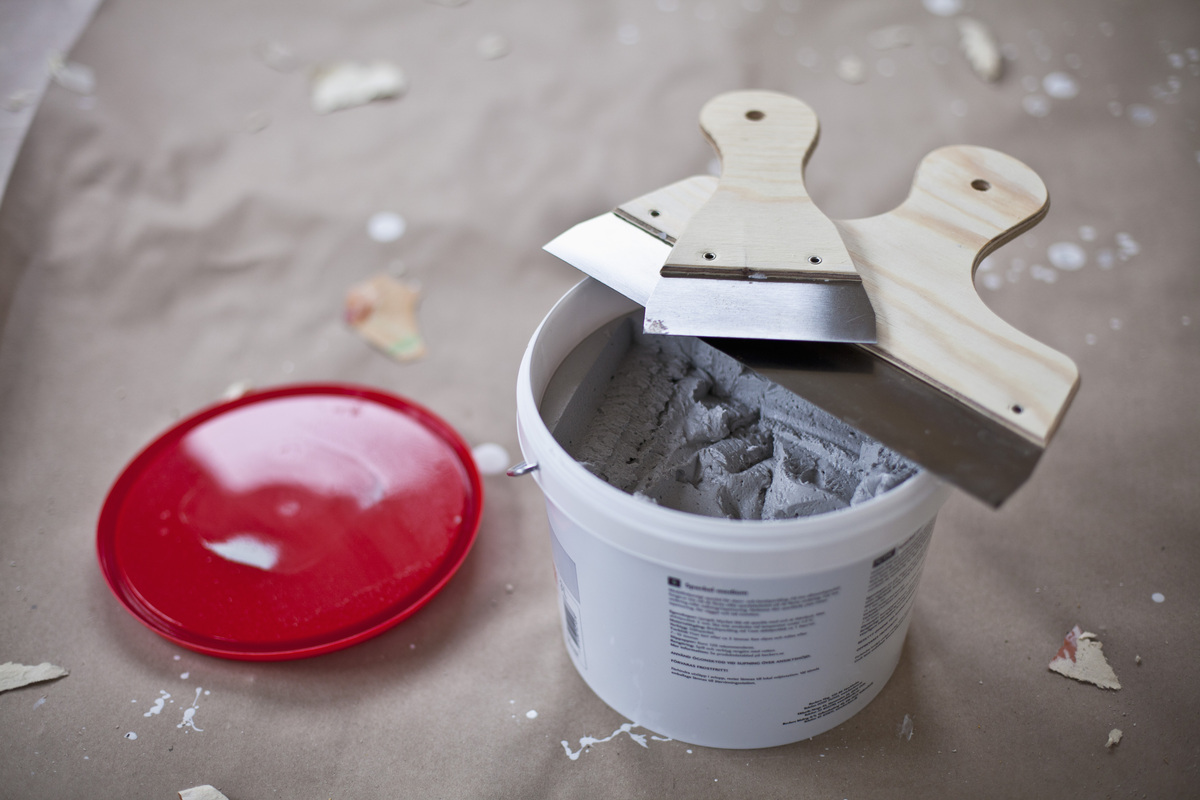
Before we dive into the specifics of spackle drying time, let’s familiarize ourselves with this versatile material and its fundamental properties. Spackle, also known as joint compound or patching compound, is a versatile paste commonly used in home improvement projects to fill in small holes, cracks, and imperfections in walls and ceilings. It is a go-to solution for achieving smooth and seamless surfaces, providing an ideal canvas for painting and finishing.
The drying process of spackle is a critical phase in any repair or renovation project. When spackle is applied to a surface, its moisture content begins to evaporate, causing the material to harden and form a solid, durable layer. The drying time of spackle can vary depending on several factors, including the type of spackle used, environmental conditions, and the thickness of the application.
Understanding the intricacies of spackle drying is essential for ensuring that the material is fully cured and ready for painting. Rushing the painting process before the spackle has dried completely can lead to a range of issues, such as cracking, poor adhesion, and uneven texture. By grasping the nuances of spackle drying, you can set the stage for a successful and visually appealing paint job.
Now that we’ve laid the groundwork for comprehending spackle and its drying process, let’s delve deeper into the factors that can influence the drying time of spackle, equipping you with the knowledge to make informed decisions and achieve impeccable results.
Factors Affecting Spackle Drying Time
The drying time of spackle can be influenced by a variety of factors, each playing a crucial role in determining how long it takes for the material to cure sufficiently for painting. By understanding these factors, you can effectively gauge the drying time of spackle and make informed decisions regarding the timing of your painting endeavors.
- Type of Spackle: Different types of spackle, such as lightweight spackle, fast-drying spackle, and general-purpose spackle, have varying drying times. Fast-drying spackle, as the name suggests, dries more rapidly than traditional spackle formulations, allowing for quicker turnaround times between application and painting.
- Environmental Conditions: The ambient temperature and humidity levels in the room where the spackle is applied can significantly impact its drying time. Warmer, drier environments promote faster evaporation of moisture from the spackle, expediting the drying process. Conversely, cooler or more humid conditions can prolong the drying time, necessitating patience before proceeding with painting.
- Thickness of Application: The thickness of the spackle layer applied to the surface can affect drying time. Thicker applications of spackle will naturally take longer to dry, as the moisture within the material must evaporate from a greater volume. It’s important to follow manufacturer guidelines regarding recommended application thickness to optimize drying performance.
- Surface Porosity: The porosity of the surface being patched with spackle can impact drying time. Highly porous surfaces, such as unfinished drywall or bare wood, may absorb moisture from the spackle, potentially extending the drying period. In contrast, primed or sealed surfaces may facilitate faster drying by minimizing moisture absorption.
- Ventilation: Adequate ventilation in the room can facilitate the drying process by promoting air circulation and moisture evaporation. Proper airflow can help expedite spackle drying, particularly in enclosed or poorly ventilated spaces.
By considering these factors and their potential impact on spackle drying time, you can effectively plan your painting schedule, ensuring that the spackled surfaces are thoroughly dried and primed for a flawless paint application. Additionally, being mindful of these variables empowers you to make adjustments as needed, optimizing the overall efficiency and quality of your home improvement projects.
Allow spackle to dry for at least 24 hours before painting. Factors like humidity and thickness of the spackle can affect drying time, so check the product instructions for specific guidance.
Precautions and Tips for Painting After Spackling
As you prepare to transition from spackling to painting, it’s essential to observe certain precautions and implement best practices to ensure a seamless and successful painting process. By taking the following precautions and tips into account, you can maximize the quality and longevity of your paint finish while safeguarding the integrity of the spackled surfaces.
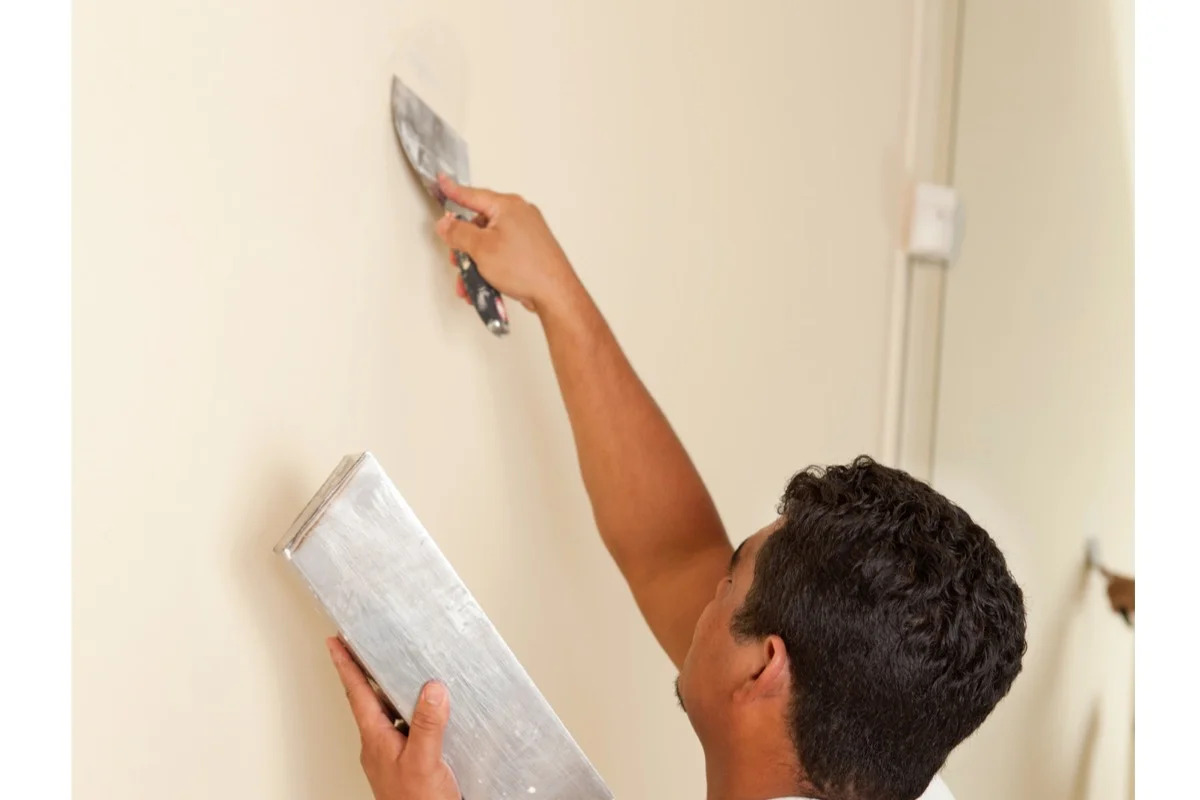
- Verify Complete Drying: Before proceeding with painting, it is imperative to verify that the spackled areas have dried completely. This entails allowing ample time for the spackle to cure according to the manufacturer’s recommendations and considering environmental factors that may influence drying time, such as temperature and humidity.
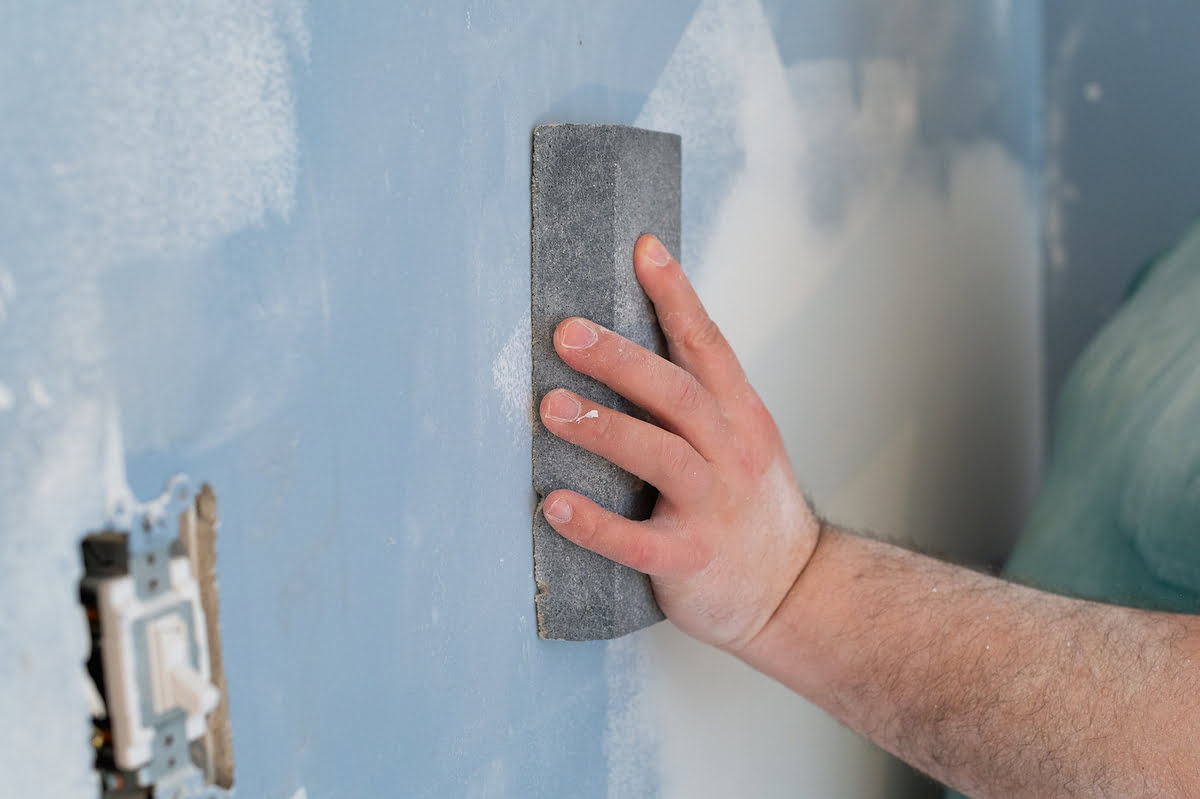
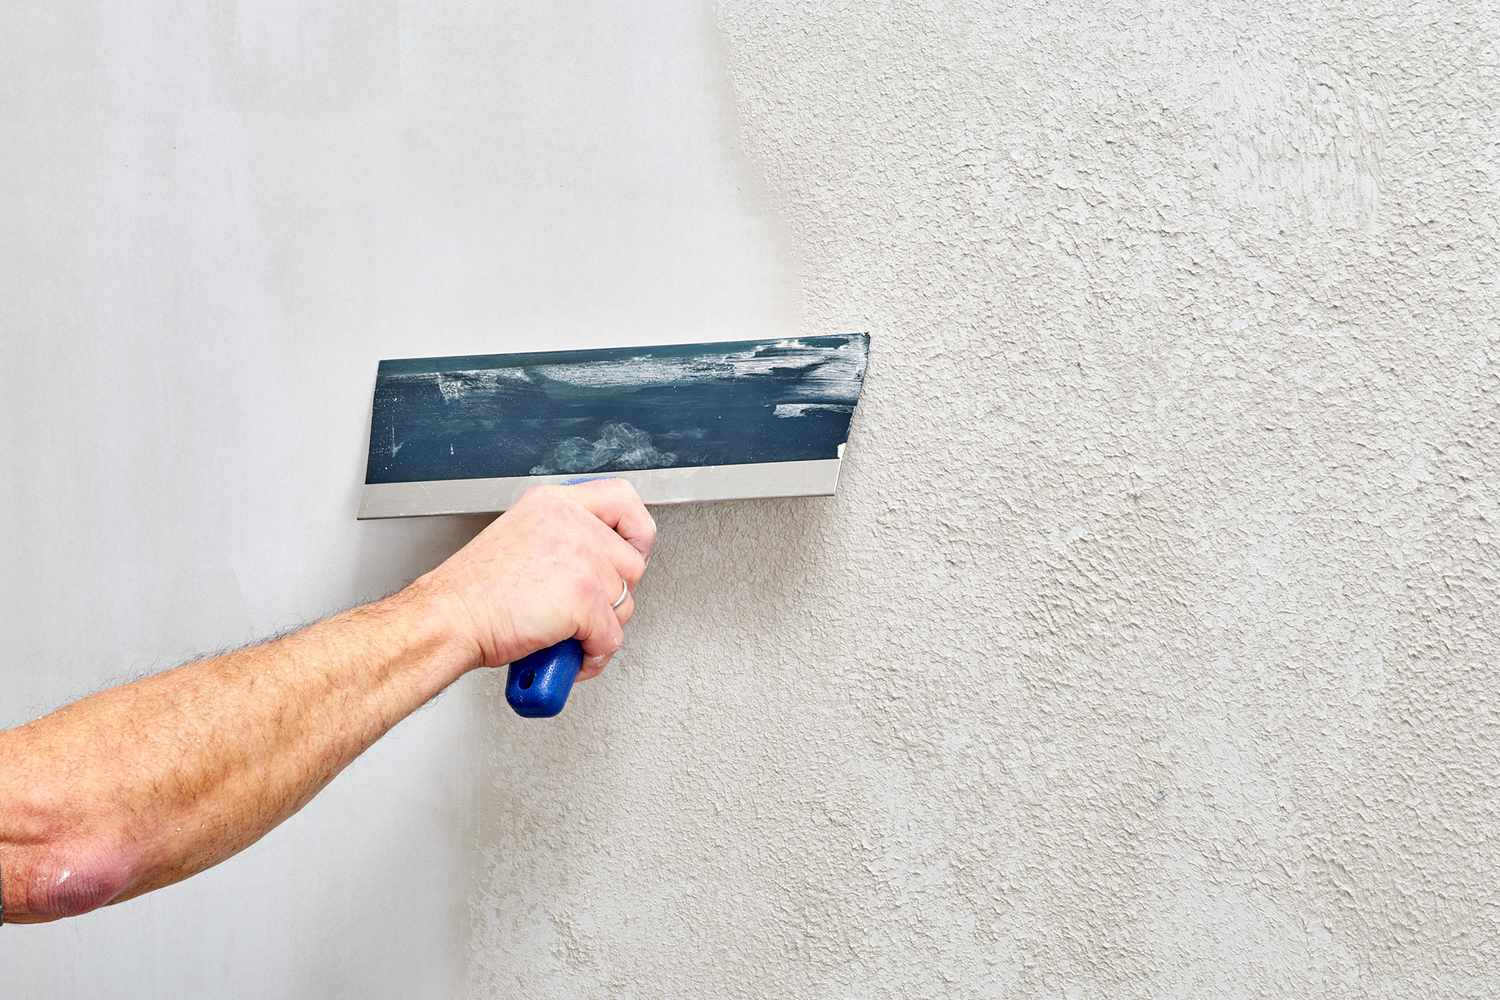
- Light Sanding: Once the spackle is fully dry, lightly sand the patched areas to smooth out any unevenness and create a uniform surface for painting. Use fine-grit sandpaper and a gentle touch to avoid damaging the spackle or surrounding areas.
- Priming: Applying a high-quality primer to the spackled areas before painting is highly advisable. Primer enhances adhesion, promotes uniform paint absorption, and helps conceal the repaired areas, ensuring a consistent finish across the entire surface.
- Paint Compatibility: Ensure that the type of paint you intend to use is compatible with the spackled surface. Different paint formulations may require specific preparation or priming to adhere effectively to spackle, so consult with a paint professional if you have any doubts about compatibility.
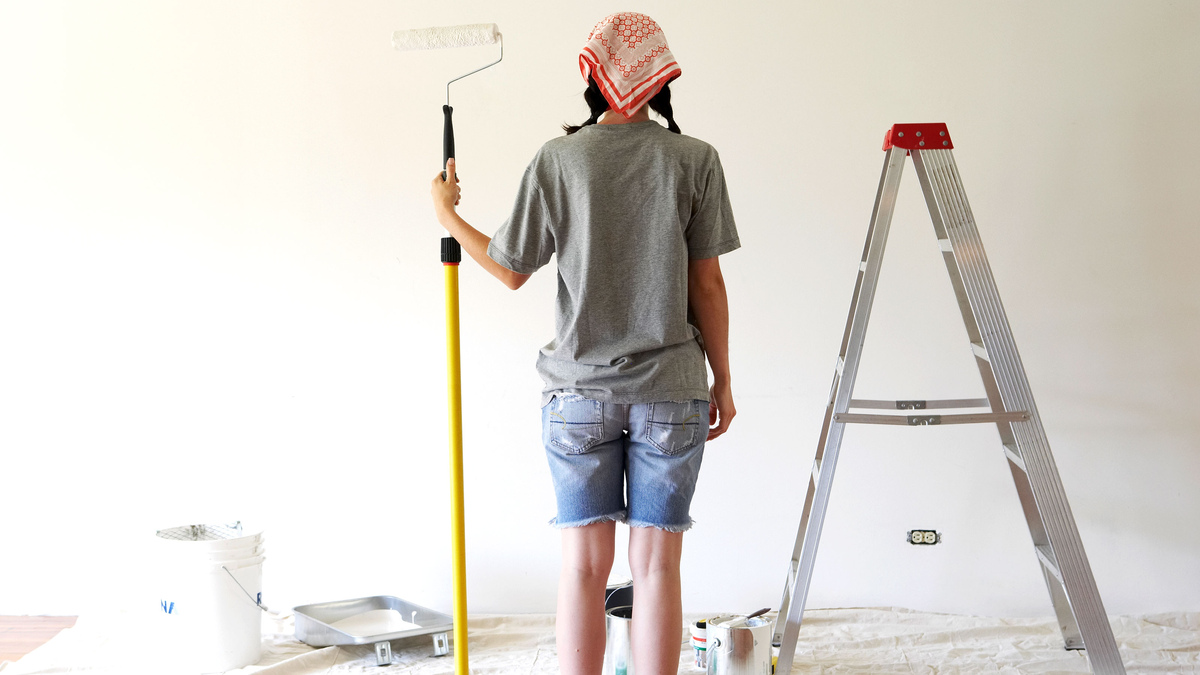
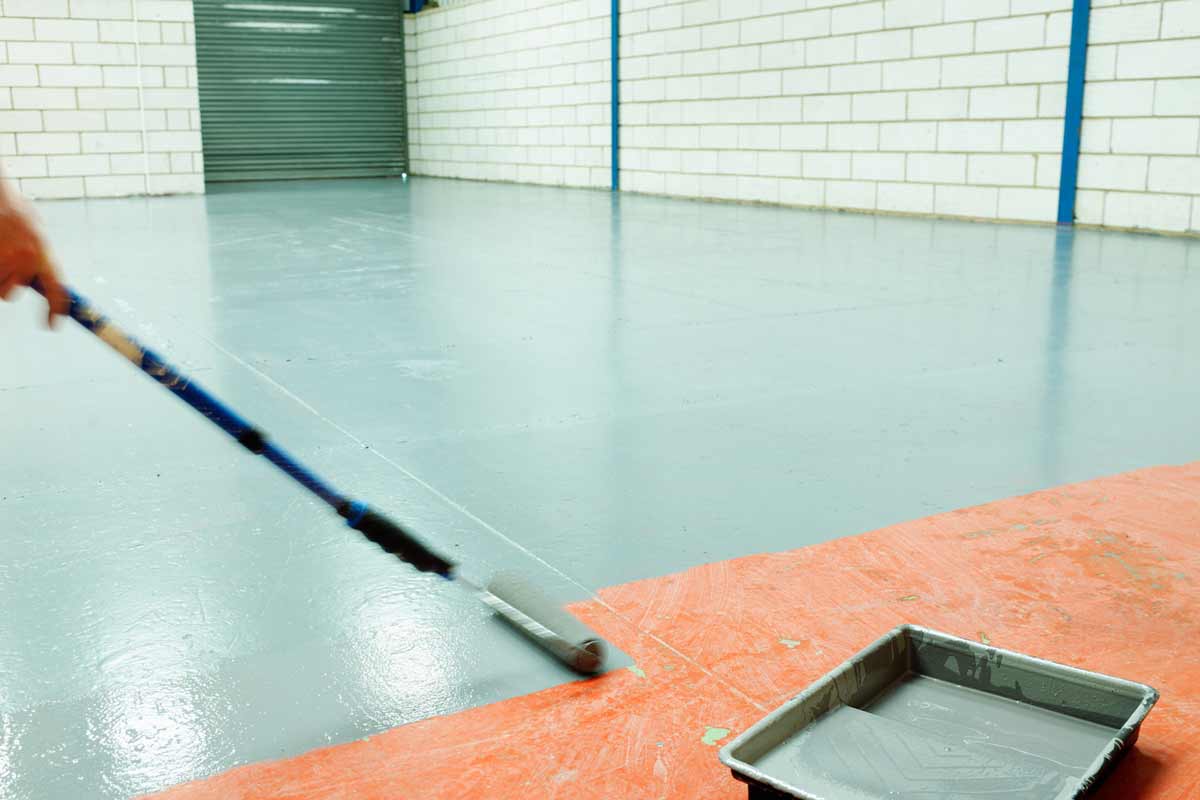
- Application Technique: When painting over spackled areas, employ consistent and even brush or roller strokes to achieve a uniform finish. Avoid excessive pressure, which can disrupt the spackle or create visible brush marks, and strive for smooth, overlapping strokes for optimal coverage.
- Drying Time for Paint: After painting, allow ample time for the paint to dry completely before assessing the final result. Rushing the drying process can compromise the finish and lead to imperfections, so exercise patience and follow the paint manufacturer’s recommended drying times.
- Monitoring and Touch-Ups: Once the paint has dried, inspect the spackled areas under different lighting conditions to identify any imperfections or inconsistencies. Address any blemishes or discrepancies with touch-up paint as needed to achieve a flawless, professional-looking result.
By adhering to these precautions and implementing these tips, you can navigate the transition from spackling to painting with confidence and precision. This approach not only enhances the aesthetic appeal of your painted surfaces but also contributes to the long-term durability and resilience of your home’s interior finishes.
Conclusion
Congratulations! You’ve now embarked on a journey through the intricacies of spackle drying and painting, equipping yourself with valuable insights and practical knowledge to elevate your home improvement endeavors. By understanding the nuances of spackle drying time and implementing best practices, you are poised to achieve flawless, professional-quality results that stand the test of time.
Throughout this guide, we’ve explored the fundamental aspects of spackle, delved into the factors influencing its drying time, and outlined essential precautions and tips for a seamless transition from spackling to painting. Armed with this knowledge, you possess the tools to navigate each phase of the process with confidence and precision, ensuring that your paint finishes exude elegance and durability.
Remember, patience is key when it comes to spackle drying and painting. Rushing through the drying phase or neglecting critical steps can compromise the integrity of your paint job, leading to visible imperfections and reduced longevity. By allowing the spackle to dry thoroughly, employing proper surface preparation techniques, and executing a meticulous painting process, you can elevate the aesthetic appeal of your living spaces while fortifying the structural integrity of your walls and ceilings.
As you embark on your painting journey, embrace the artistry and craftsmanship inherent in each brushstroke and roller pass. Your attention to detail and commitment to excellence will manifest in the beauty and sophistication of your painted surfaces, creating a welcoming and harmonious environment within your home.
So, with newfound knowledge and a spirit of creativity, venture forth and infuse your living spaces with the transformative power of paint. Let your walls become a canvas for self-expression and inspiration, reflecting the care and dedication you invest in creating a home that is truly your own.
May your painting endeavors be marked by precision, creativity, and enduring beauty. Here’s to the art of spackle drying and the timeless allure of a perfectly painted space!
Frequently Asked Questions about How Long Does A Spackle Need To Dry Before Painting
Was this page helpful?
At Storables.com, we guarantee accurate and reliable information. Our content, validated by Expert Board Contributors, is crafted following stringent Editorial Policies. We're committed to providing you with well-researched, expert-backed insights for all your informational needs.
0 thoughts on “How Long Does A Spackle Need To Dry Before Painting”