Home>Renovation & DIY>Tools & Equipment>How To Cover A Spackle With Paint
Tools & Equipment
How To Cover A Spackle With Paint
Modified: October 20, 2024
Learn how to cover a spackle with paint using the right tools and equipment. Transform your walls with a seamless finish and professional results.
(Many of the links in this article redirect to a specific reviewed product. Your purchase of these products through affiliate links helps to generate commission for Storables.com, at no extra cost. Learn more)
Introduction
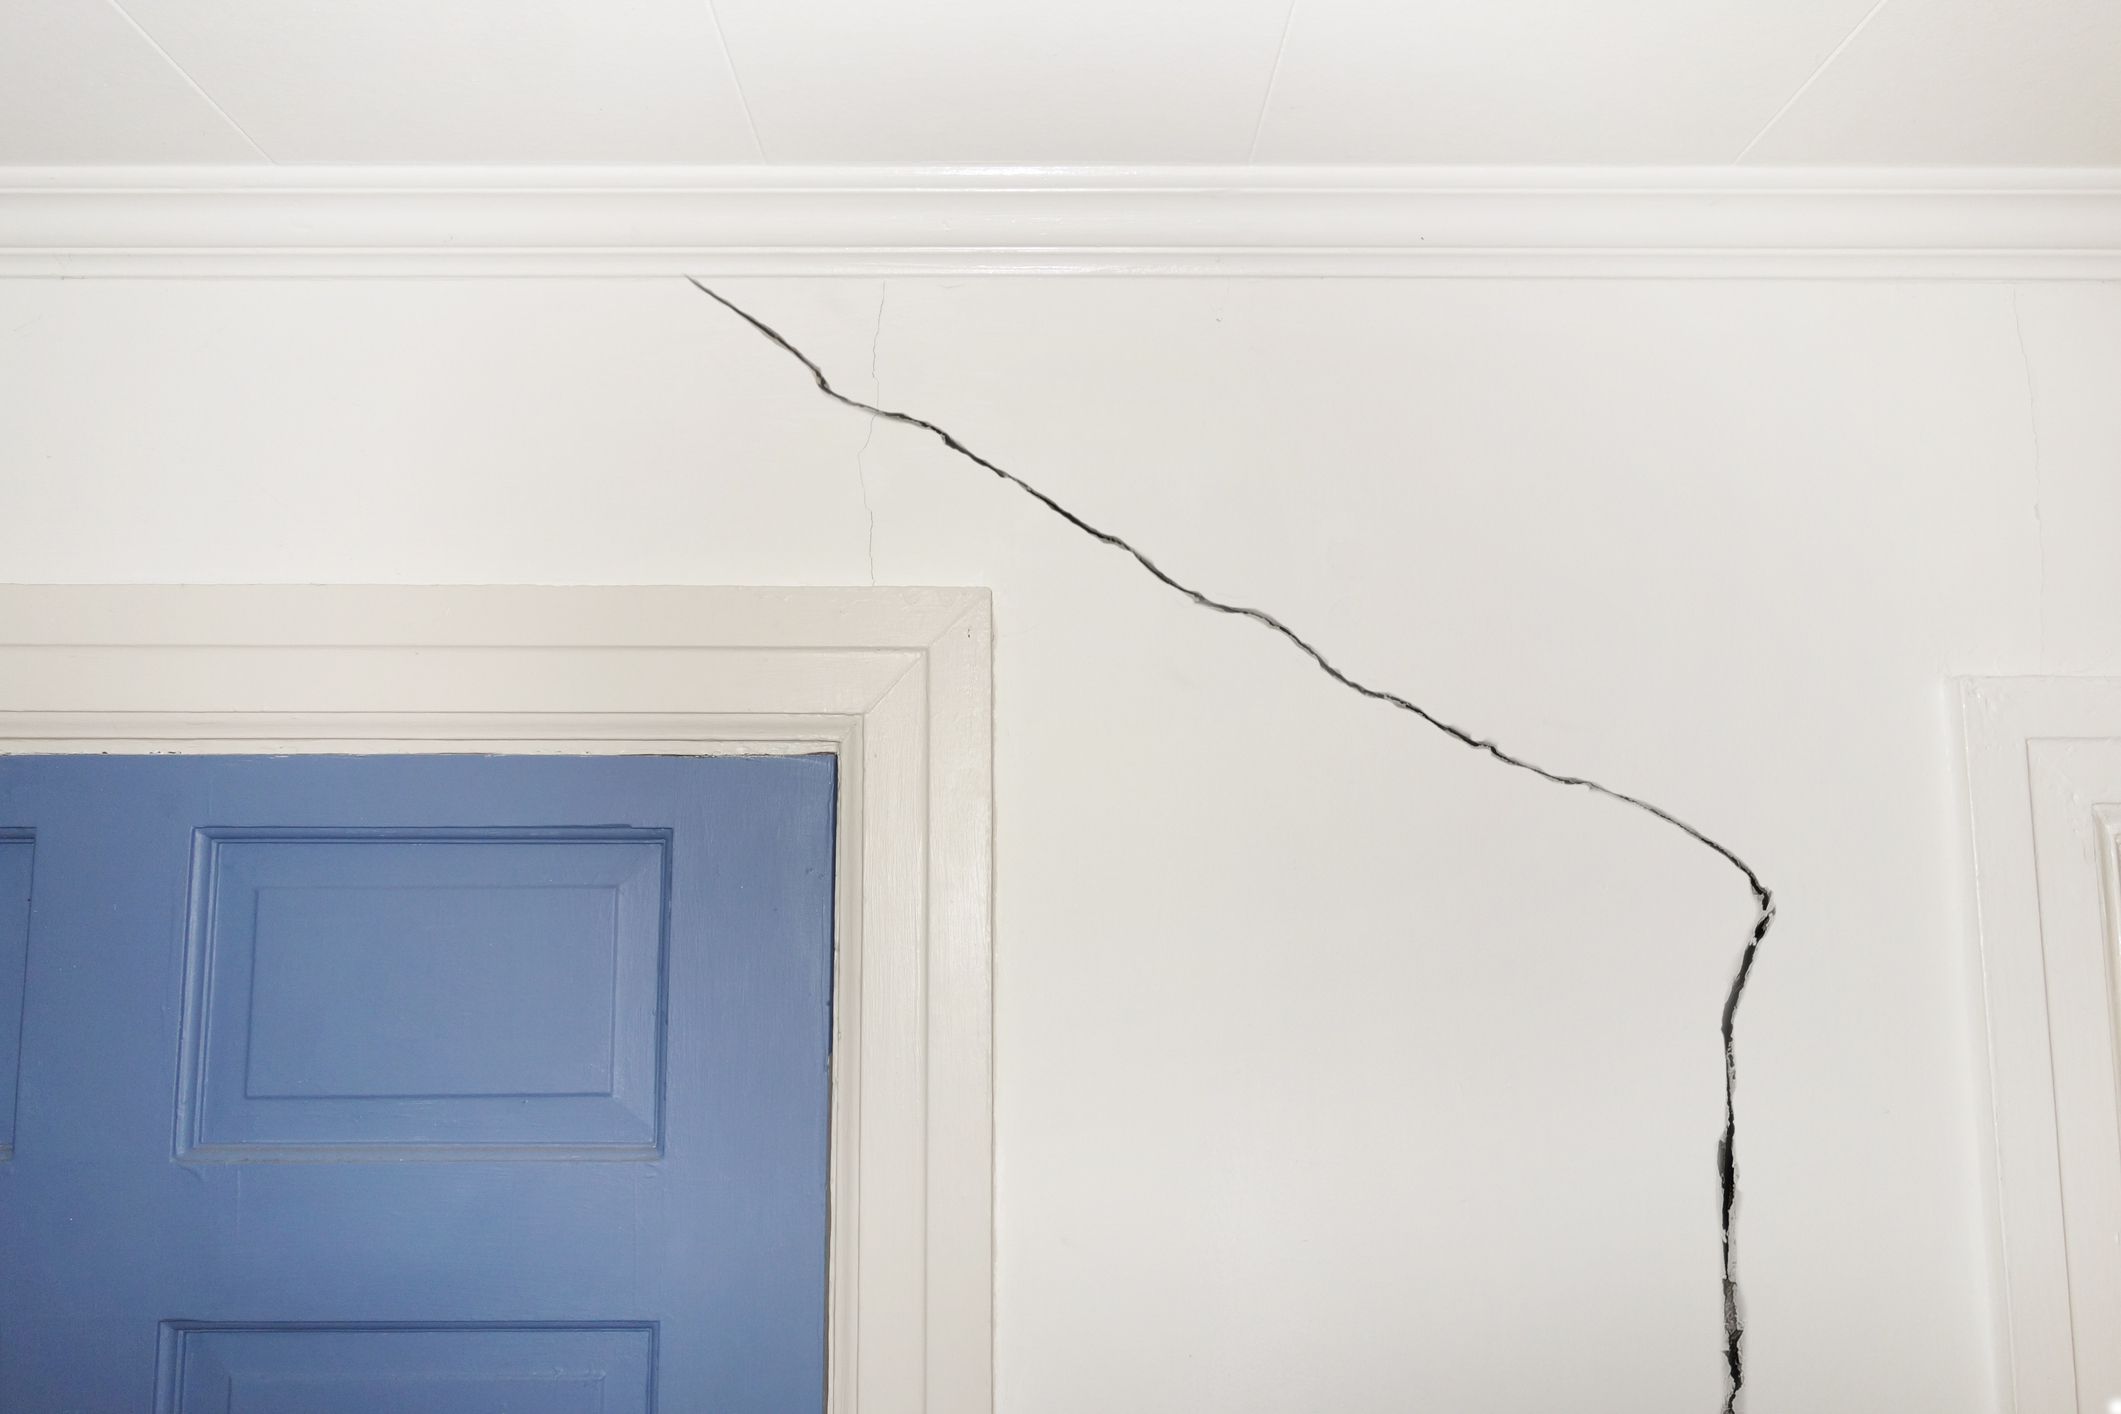
Welcome to our comprehensive guide on how to cover a spackle with paint. If you have recently repaired a hole or crack in your walls using spackle, you may now be wondering how to seamlessly blend it into the rest of the wall’s surface. Painting over spackle requires some specific steps to ensure a smooth and professional-looking finish. In this guide, we will walk you through the process, from preparing the spackle surface to choosing the right paint and achieving a flawless application.
When it comes to home improvement projects, proper preparation is key. Taking the time to prepare the spackle surface is crucial for ensuring that the paint adheres well and disguises any repairs. We will discuss the necessary steps involved in preparing the spackle surface, including cleaning, sanding, and priming.
Choosing the right paint is also an essential step in the process. Different paint types and finishes can affect the final appearance and durability of the spackle coverage. We will provide guidance on selecting the right paint for your project, considering factors such as sheen, color, and compatibility with the spackled area.
Before applying paint directly to the spackle, it is important to prime the area first. Priming helps to create an even surface and provides a good base for the paint to adhere to. We will explain the importance of priming and guide you through the process of applying primer to the spackle surface.
Once the spackle is prepared and primed, it’s time to apply the paint. We will provide step-by-step instructions on how to achieve a smooth and seamless application, including tips on brush selection, proper paint application techniques, and recommended drying times between coats.
Finally, we will offer some helpful tips for achieving a professional-looking finish. These tips include techniques for feathering the paint edges, blending the repaired area with the surrounding wall, and achieving a consistent texture throughout.
By following the techniques and tips outlined in this guide, you can confidently cover your spackle with paint and achieve a flawless finish. Let’s get started with the preparation process and transform your repaired walls into a seamless work of art.
Key Takeaways:
- Properly preparing the spackle surface, choosing the right paint, and applying multiple thin coats are essential for achieving a seamless and professional-looking finish when covering spackle with paint.
- Feathering the edges, blending the texture, and maintaining a wet edge while painting are key techniques for achieving a flawless and visually appealing finish when covering spackle with paint.
Read more: How To Spackle Before Painting
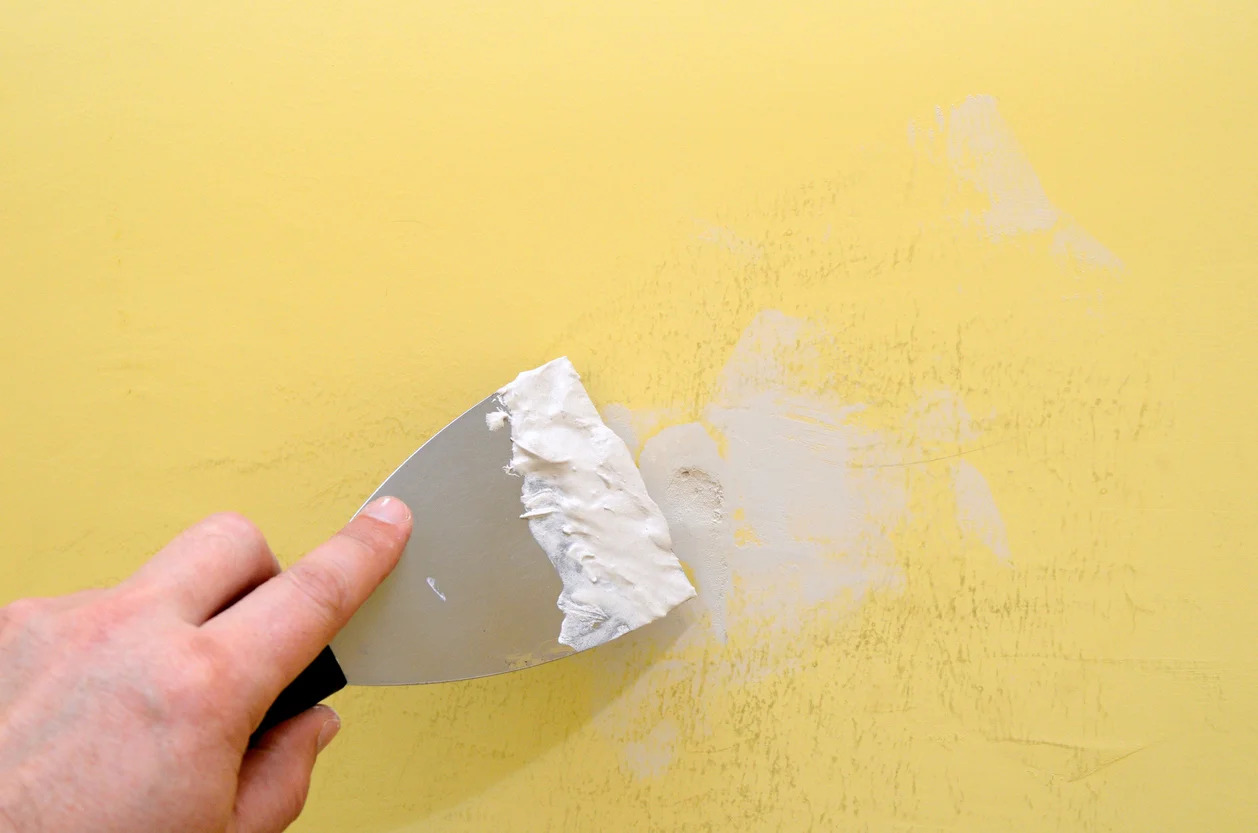
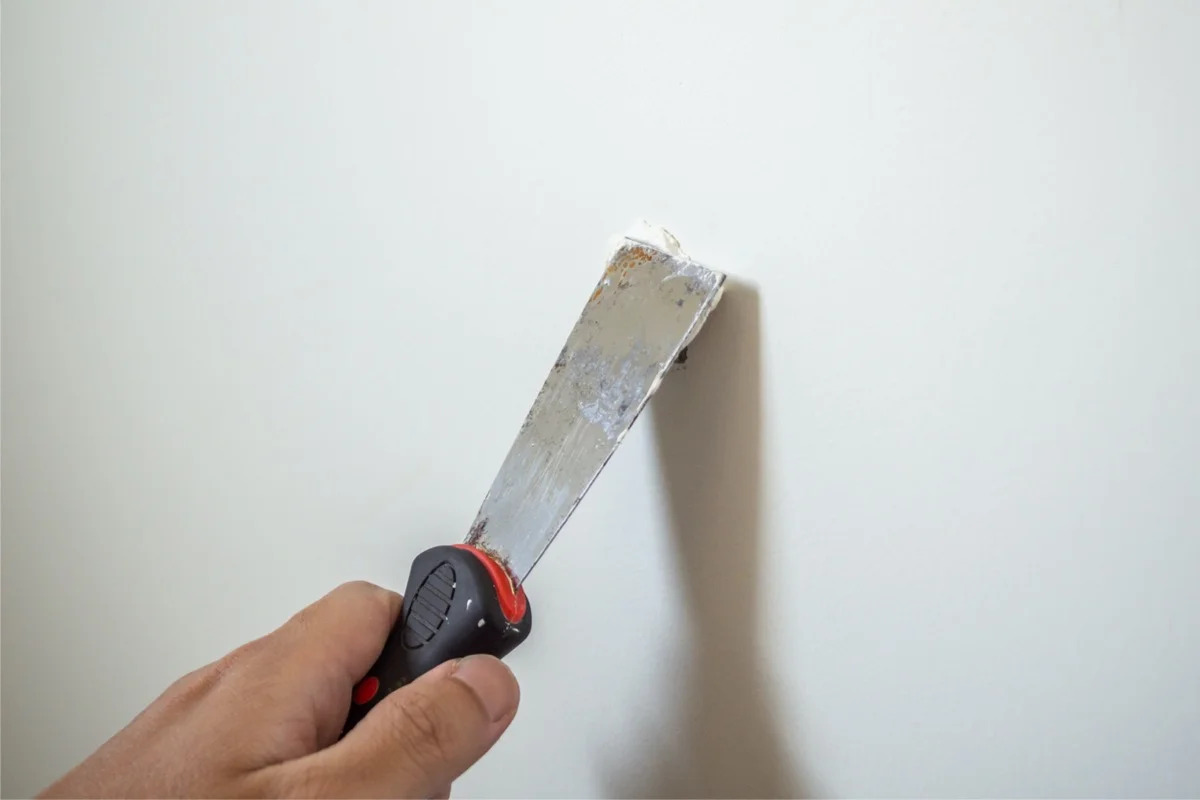
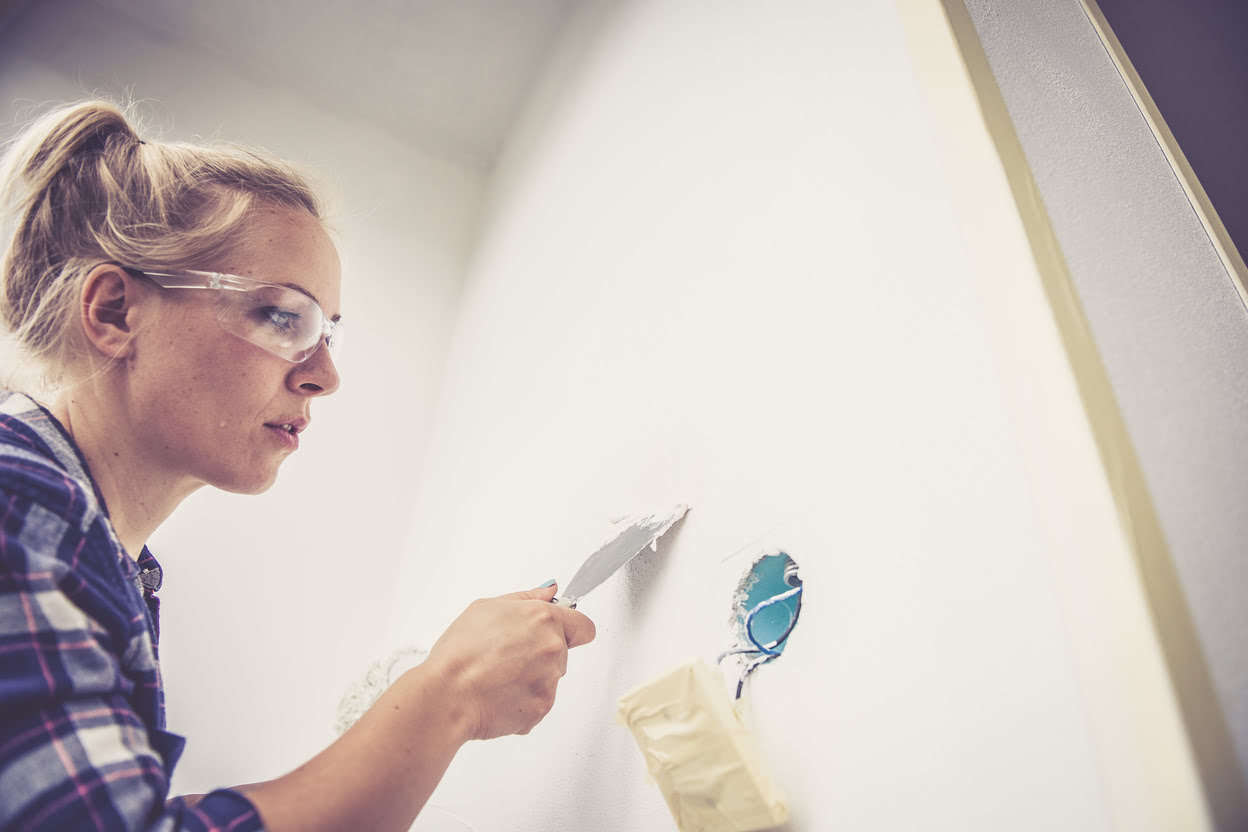
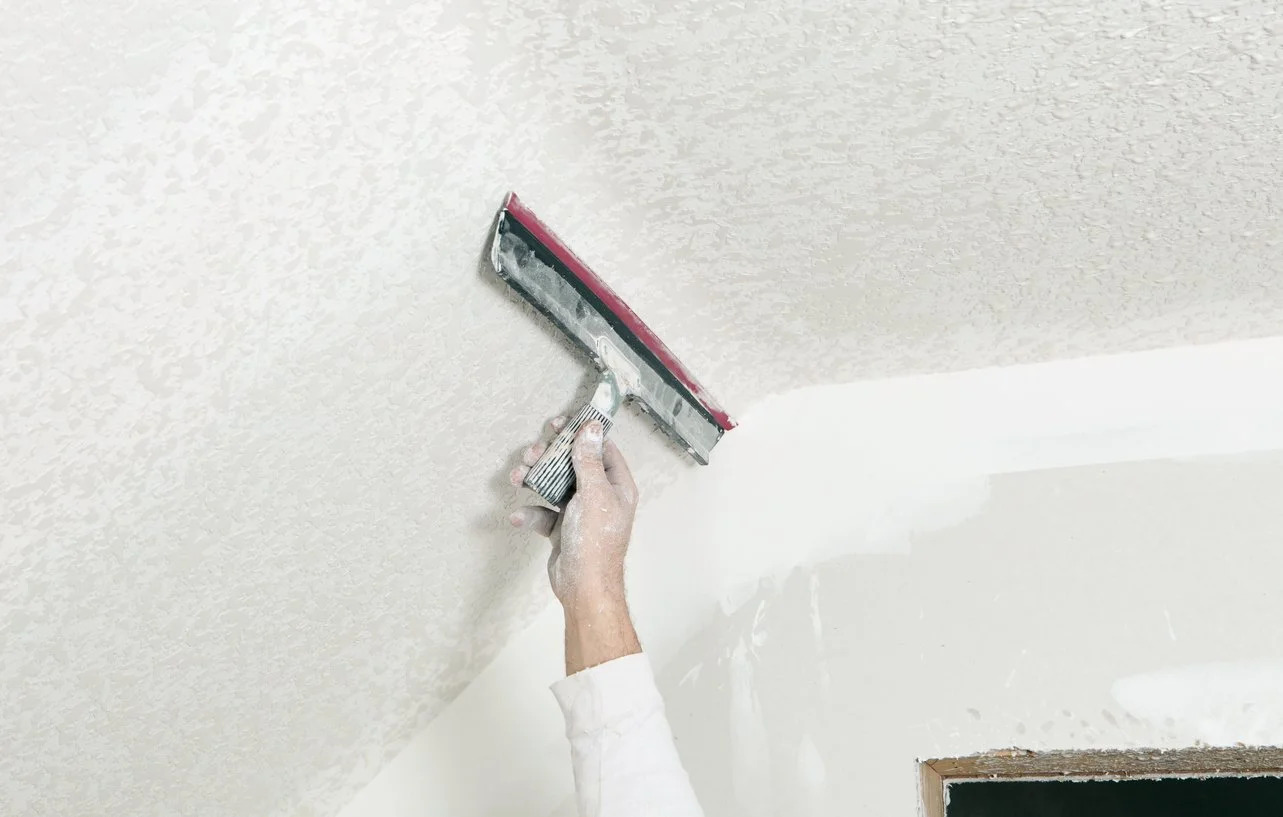
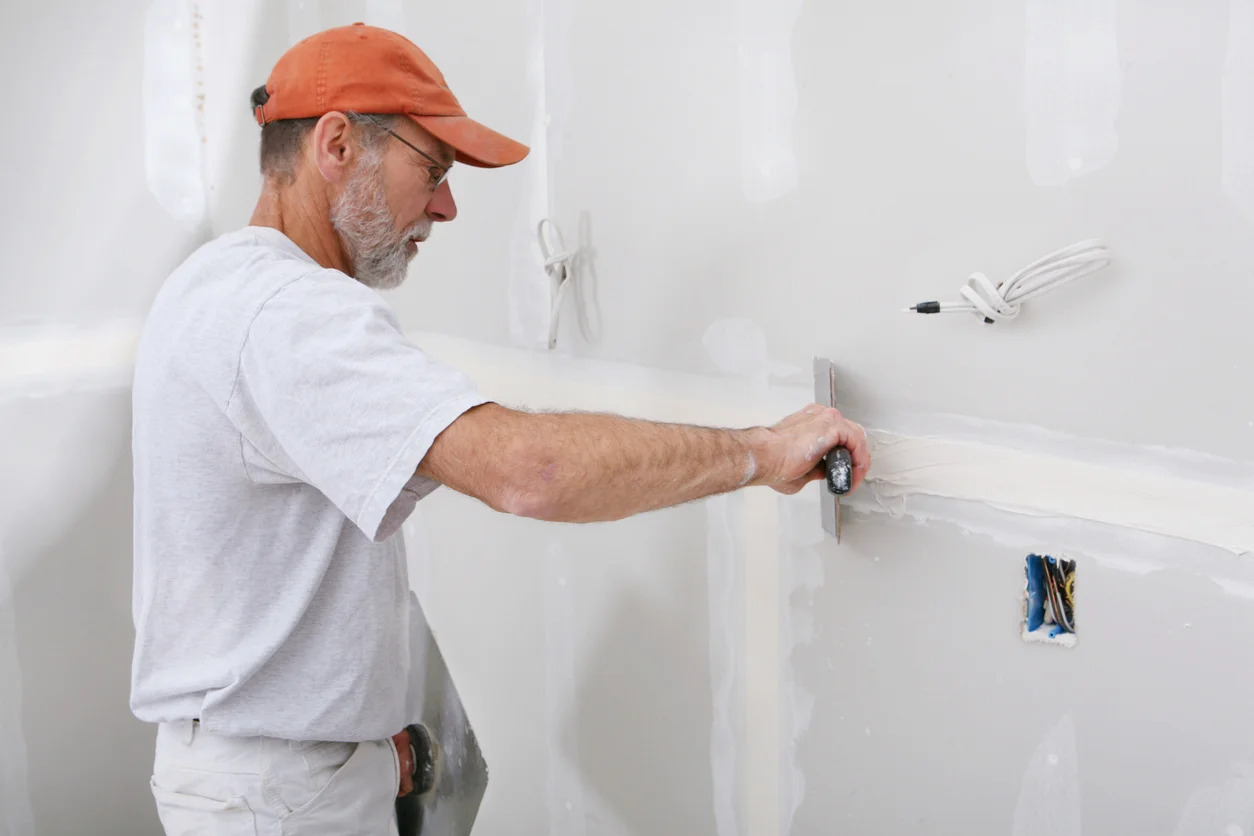
Preparing the Spackle Surface
Before you can apply paint to the spackle, it’s important to properly prepare the surface. This will ensure that the paint adheres well and creates a seamless finish. Follow these steps to prepare the spackle surface:
- Clean the area: Begin by removing any dust, dirt, or debris from the spackled area. Use a clean, dry cloth to wipe away any loose particles. If necessary, you can lightly dampen the cloth with water to help with the cleaning process, but make sure the area is completely dry before moving on to the next step.
- Sand the spackle: Next, use fine-grit sandpaper to smooth out the spackled area. Gently sand the surface in a circular motion, focusing on the patched area and the immediate surrounding area. This will help to level the surface and blend the spackle with the rest of the wall. Be careful not to oversand and create unevenness or damage to the surrounding wall.
- Clean up the dust: After sanding, it’s important to remove any sanding dust from the surface. Use a clean cloth or a vacuum with a soft brush attachment to carefully remove all traces of dust. This step is crucial to ensure a smooth and even paint application.
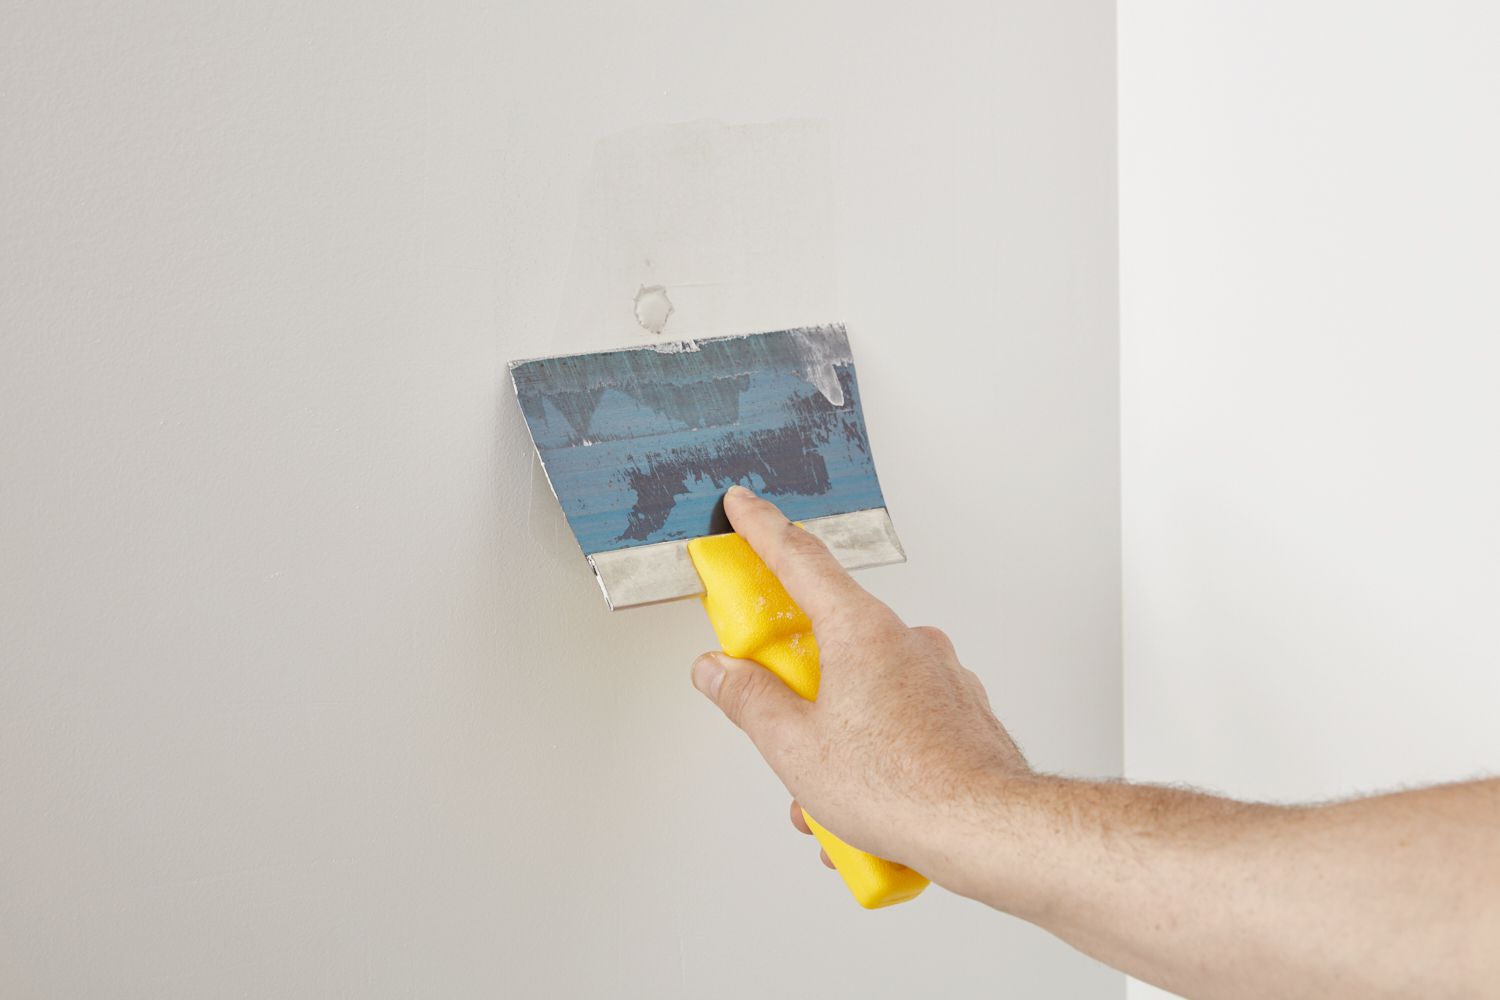
- Inspect for imperfections: Take a close look at the spackled area and inspect it for any remaining imperfections. If you notice any uneven spots, divots, or visible seams, use a putty knife to apply a thin layer of spackle over those areas. Smooth out the spackle with the putty knife and allow it to dry completely before proceeding to the next step.
- Wipe down the surface: Before moving on to priming, give the spackle surface a final wipe down with a clean, slightly damp cloth. This will remove any remaining dust or particles and ensure a clean surface for the primer to adhere to.
Following these steps will help you achieve a properly prepared spackle surface for painting. It’s important to take your time during this process to ensure a seamless and professional-looking finish. Once you have prepared the spackle surface, you can move on to selecting the right paint for your project.
Choosing the Right Paint
When it comes to painting over spackle, selecting the right paint is essential for achieving a seamless and long-lasting finish. Consider the following factors to help you choose the perfect paint for your project:
- Paint Type: There are various types of paint available, including latex, oil-based, and acrylic. Latex paint is a popular choice for its ease of use, quick drying time, and easy clean-up with water. However, if your spackle repairs are in high-moisture areas like bathrooms or kitchens, you may want to consider using an oil-based or acrylic paint that offers better moisture resistance.
- Finish: The finish of the paint can affect the final appearance and durability of the spackle coverage. Common paint finishes include flat, eggshell, satin, semi-gloss, and gloss. Flat finishes are ideal for hiding imperfections, but they tend to be less resistant to stains and may not be as durable. Higher gloss finishes, on the other hand, offer better durability and are easier to clean, but they may highlight any unevenness in the spackled area. Consider the desired look and practicality when choosing the paint finish.
- Color: When selecting the paint color, aim to match it as closely as possible to the existing wall color. This will help to blend the spackled area seamlessly. If you’re unable to find an exact match, you can try blending adjoining colors or opt for a slightly lighter shade to create a subtle contrast that camouflages the repair.
- Compatibility: Ensure that the paint you choose is compatible with the spackled area. Read the paint label or consult with a paint specialist at your local hardware store to verify compatibility with spackle and any other surface materials in the area. This will help the paint adhere properly and ensure a long-lasting finish.
- Quality: Investing in high-quality paint can make a significant difference in the final result. Quality paints tend to have better coverage, durability, and color retention. Look for reputable brands and read reviews to ensure you are purchasing a reliable product.
By carefully considering these factors, you can select the right paint for your spackle covering project. Remember, the goal is to achieve a seamless integration between the spackle repairs and the rest of the wall. Once you have chosen the paint, the next step is to properly prime the spackle surface before applying the paint.
Priming the Spackle
Before applying paint to the spackle, it’s crucial to prime the surface. Priming helps create an even base, promotes better paint adhesion, and ensures a smooth and professional-looking finish. Follow these steps to properly prime the spackle:
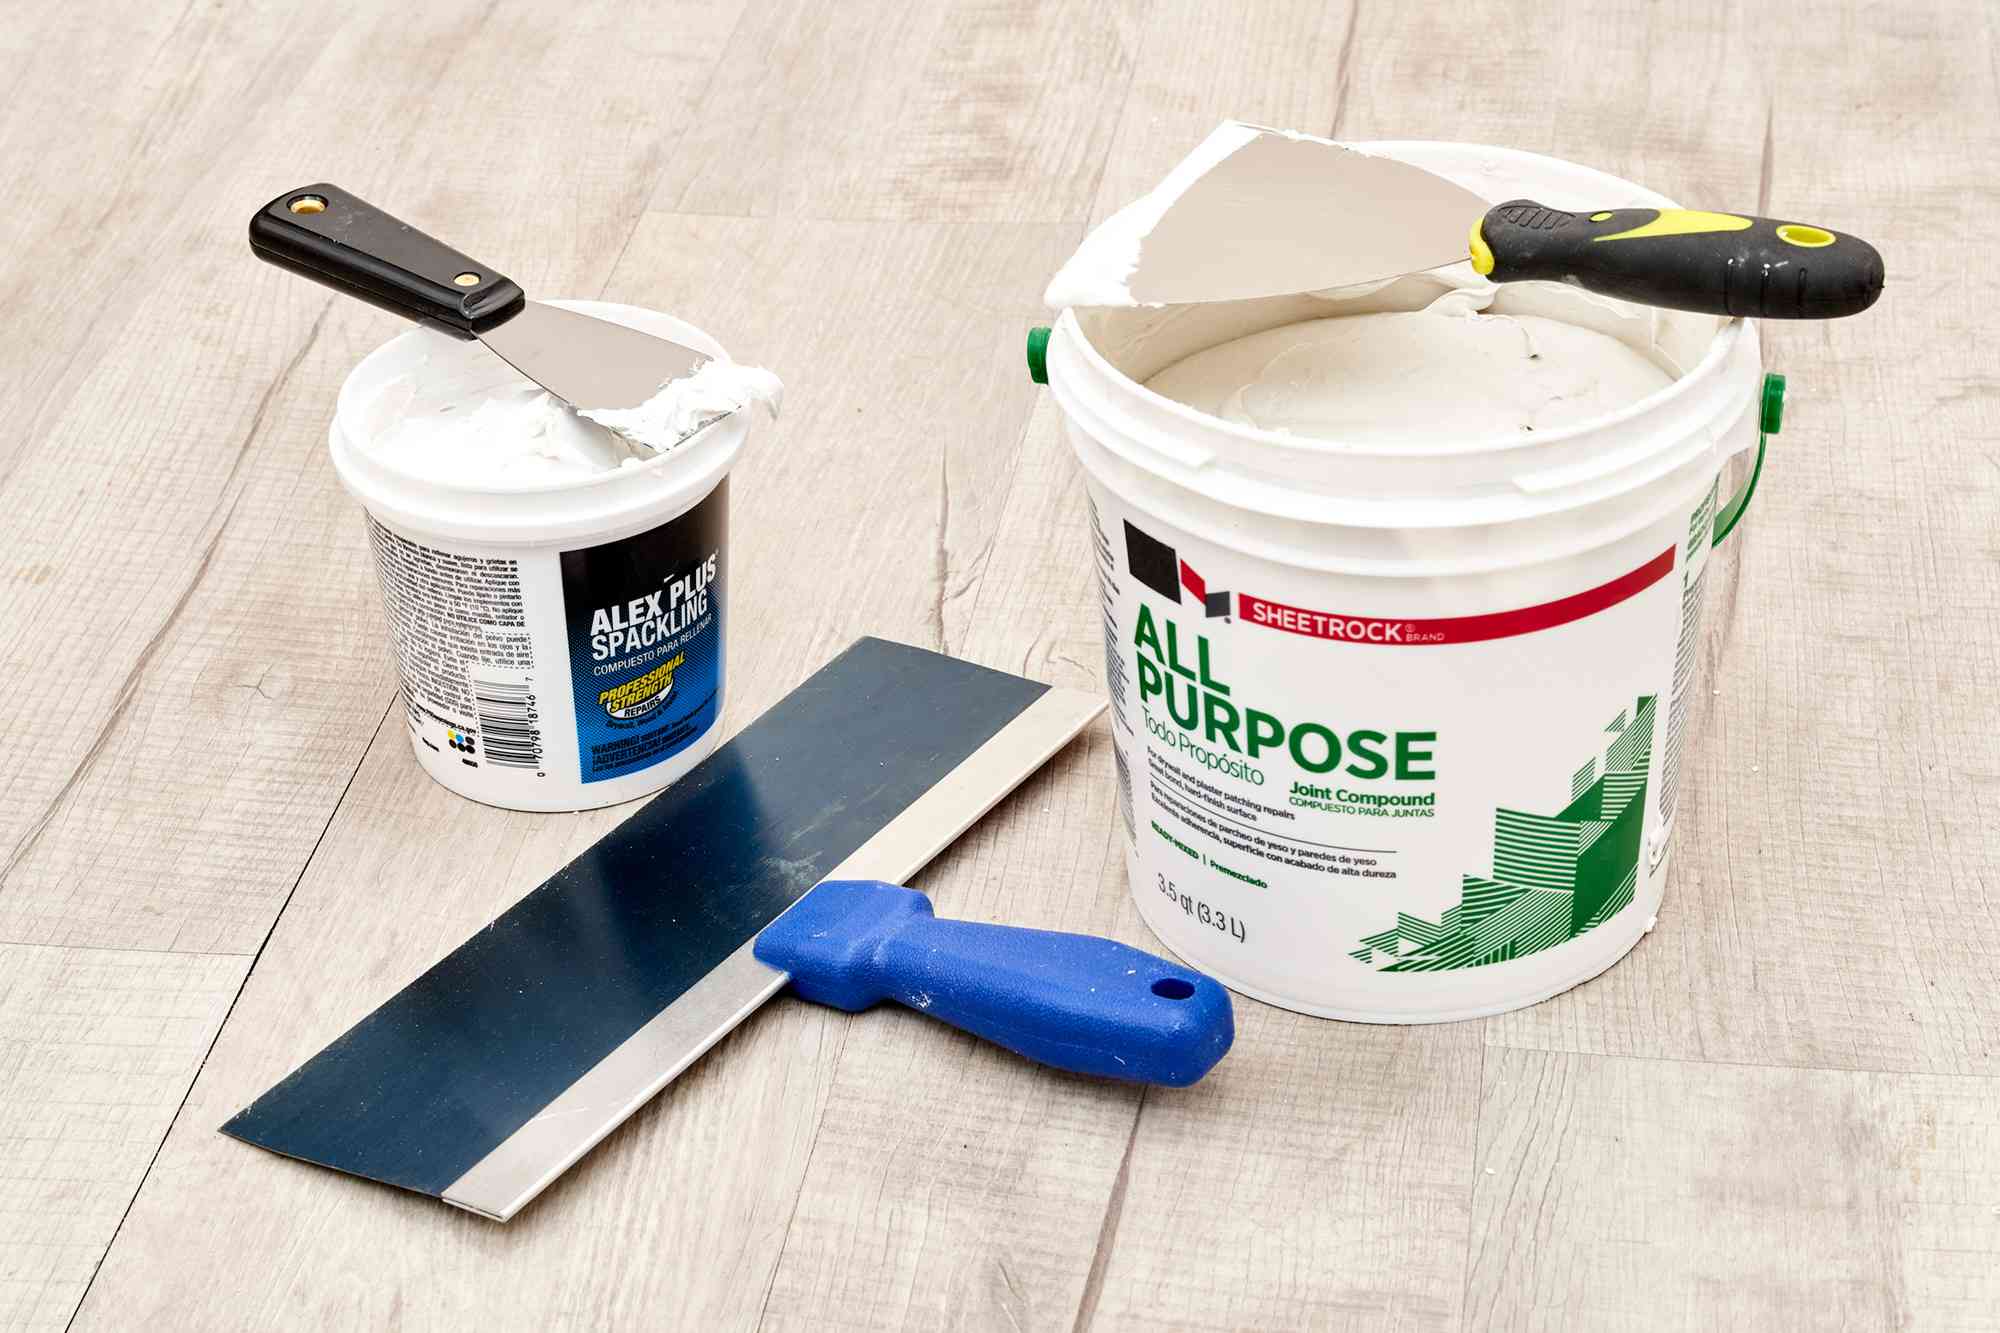
- Gather your materials: You’ll need a high-quality primer specifically designed for interior walls. Additionally, gather a paintbrush, roller, and tray for applying the primer.
- Prepare the area: Clear the spackle area of any furniture, decorations, or coverings. Lay down drop cloths or plastic sheets to protect the surrounding surfaces from primer splatters.
- Stir the primer: Open the primer can and thoroughly stir it to ensure an even consistency. This step is essential to distribute any settling or separation that may have occurred in the can.
- Apply the primer: Dip your paintbrush or roller into the primer and gently remove any excess by tapping it lightly against the edge of the tray. Start by edging the spackle area with the brush, carefully applying a thin and even coat of primer along the edges and corners. Then, use a roller to cover the rest of the spackled area, working in a W or M pattern for smooth and even coverage. Make sure to apply enough primer to fully cover the surface, but avoid applying it too thickly, as it can lead to drips and prolonged drying time.
- Allow drying time: Follow the instructions provided by the primer manufacturer for the recommended drying time. Typically, primers require a few hours to dry completely. Avoid touching or disturbing the primed surface during this time.
- Inspect and make any necessary touch-ups: After the primer has dried, inspect the spackled area for any imperfections or missed spots. If necessary, use a small brush to touch up any areas that require additional primer. Allow the touch-up primer to dry completely before proceeding to the next step.
Priming the spackle creates a smooth and uniform surface that allows the paint to adhere better and provides a consistent base for color application. Once the primer is thoroughly dried, you’re ready to apply the paint to achieve a seamless finish.
Make sure the spackle is completely dry before painting. Use a high-quality primer to seal the spackle, then apply the paint in thin, even coats for a smooth finish.
Applying the Paint
Now that you have prepared the spackle surface and applied the primer, it’s time to apply the paint. Follow these steps to achieve a smooth and seamless application:
- Gather your materials: You’ll need the chosen paint color, a paintbrush, roller, tray, painter’s tape, and drop cloths or plastic sheets to protect the surrounding surfaces.
- Prepare the area: Remove any furniture, decorations, or coverings from the vicinity of the spackled area. Cover the surrounding surfaces with drop cloths or plastic sheets to protect them from paint splatters.
- Tape off edges: Use painter’s tape to carefully mask off the edges and adjacent surfaces, such as baseboards or trim. This will help to achieve a clean and crisp paint line.
- Start with the brush: Dip your paintbrush into the paint and tap off any excess paint on the side of the tray. Begin by cutting in along the edges of the spackled area, applying a thin and even coat of paint. Use smooth and controlled strokes to blend the paint with the surrounding wall.
- Switch to the roller: Use a clean roller to apply the paint to the rest of the spackled area. Roll the paint onto the surface in a W or M pattern, working from top to bottom. Be sure to apply an even and consistent coat of paint, avoiding excessive pressure that may cause drips or unevenness.
- Allow drying time: Follow the instructions provided by the paint manufacturer for the recommended drying time between coats. Typically, paint requires a few hours to dry. Avoid touching or disturbing the painted surface during this time.
- Apply additional coats if needed: After the first coat has dried, assess whether additional coats are necessary. Depending on the quality and color coverage of the paint, you may need to apply 1-2 more coats to achieve the desired finish. Repeat the process of brushing and rolling the paint, allowing each coat to dry completely before applying the next.
- Remove painter’s tape: Once the final coat of paint has dried, carefully remove the painter’s tape at a 45-degree angle. Removing the tape while the paint is still slightly tacky helps to achieve a clean edge. If any paint bleeds through the tape, use a small brush to touch up the adjacent surfaces.
By following these steps, you can ensure a smooth, even, and seamless application of paint over the spackled area. Once you have achieved the desired coverage and finish, it’s time to move on to some tips for achieving a flawless and professional-looking result.
Read more: What Is A Spackle
Tips for a Smooth and Seamless Finish
Here are some additional tips and techniques to help you achieve a flawless and professional-looking finish when covering spackle with paint:
- Feather the edges: To create a seamless transition between the spackled area and the surrounding wall, feather the paint along the edges. Use a dry brush or a damp sponge to lightly blend the paint, creating a soft gradient and reducing any visible lines between the repaired area and the rest of the wall.
- Blend the texture: If the texture of the spackle repair doesn’t match the surrounding wall, you can try to blend it. Once the final coat of paint has dried, lightly sand the edges of the repaired area to create a smoother texture. This will help to minimize any noticeable differences in texture between the spackled area and the rest of the wall.
- Apply thin coats: It’s better to apply multiple thin coats of paint rather than one thick coat. Thin coats dry faster, adhere better, and minimize the risk of drips or unevenness. Allow each coat to dry completely before applying the next to achieve a more even and professional finish.
- Keep a wet edge: When rolling the paint, try to maintain a “wet edge” to avoid visible paint lap marks. Roll the paint in small sections and ensure that the roller slightly overlaps the previously painted area. This technique helps to blend the fresh paint seamlessly with the still-wet paint, resulting in a smooth and uniform appearance.
- Use proper lighting: Adequate lighting is crucial when painting to identify any imperfections or inconsistencies in coverage. Make sure the room is well-lit and use additional task lighting if needed. This will help you detect any areas that require touch-ups or additional coats of paint.
- Take breaks: Painting can be a time-consuming task, and it’s important to avoid rushing through the process. Take regular breaks to rest your arms, allow the paint to dry between coats, and step back periodically to assess your progress. This will help you maintain focus and ensure a more meticulous application.
By implementing these tips, you can achieve a smooth, seamless, and professional-looking finish when covering spackle with paint. Remember to take your time, be patient, and pay attention to the details. With practice and careful attention to these techniques, you can transform your spackle repairs into an invisible part of your beautifully painted walls.
Conclusion
Painting over spackle doesn’t have to be a daunting task. With the right preparation, paint selection, priming, and application techniques, you can achieve a smooth and seamless finish that seamlessly blends in with the surrounding wall. By following the steps outlined in this guide and implementing the tips provided, you can confidently cover your spackle repairs with paint and achieve a flawless and professional-looking result.
Remember to properly clean and sand the spackle surface, ensuring it is smooth and free of dust before proceeding with painting. Choosing the right paint type, finish, and color that is compatible with the spackle area is crucial for a seamless coverage. Additionally, priming the spackle surface provides a smooth base for the paint to adhere to and enhances the overall finish.
When it comes to applying the paint, take your time and apply multiple thin coats for better adhesion and an even finish. Feather the edges and blend the texture to seamlessly integrate the spackle repairs with the surrounding wall. Use proper lighting and take breaks to assess your progress and make any necessary touch-ups.
By following these guidelines and incorporating your own creativity and attention to detail, you can transform your spackle repairs into a seamless part of your beautifully painted walls. With practice, you will become more comfortable and confident in your painting skills, achieving professional-looking results with ease.
Now that you have learned how to cover spackle with paint, it’s time to put your knowledge into action. Gather your materials, prepare your spackled areas, and get ready to create a smooth, flawless, and visually appealing finish. Whether you’re repairing small holes or larger cracks, with the techniques outlined in this guide, you can achieve a seamless and professional look that will bring new life to your walls.
Frequently Asked Questions about How To Cover A Spackle With Paint
Was this page helpful?
At Storables.com, we guarantee accurate and reliable information. Our content, validated by Expert Board Contributors, is crafted following stringent Editorial Policies. We're committed to providing you with well-researched, expert-backed insights for all your informational needs.


0 thoughts on “How To Cover A Spackle With Paint”