Home>Renovation & DIY>Tools & Equipment>How To Get Spackle To Dry Faster
Tools & Equipment
How To Get Spackle To Dry Faster
Published: December 19, 2023
Learn how to make spackle dry faster with these effective tools and equipment. Speed up your home improvement projects with these tips.
(Many of the links in this article redirect to a specific reviewed product. Your purchase of these products through affiliate links helps to generate commission for Storables.com, at no extra cost. Learn more)
Introduction
Welcome to the world of home improvement! Whether you're a seasoned DIY enthusiast or a novice looking to spruce up your living space, working with spackle is a common task. However, waiting for spackle to dry can be a test of patience, especially when you're eager to move on to the next steps of your project. In this article, we'll delve into the art of expediting the spackle drying process, providing you with valuable insights and practical tips to get the job done more efficiently.
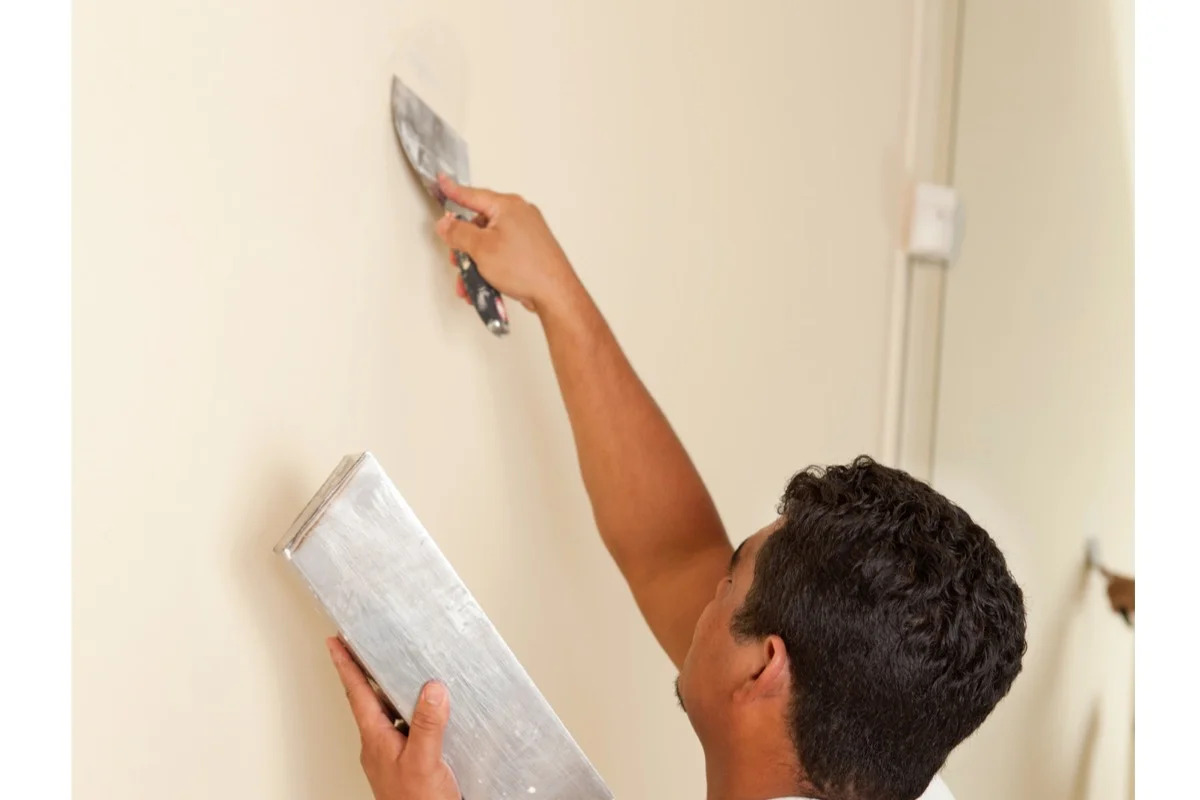
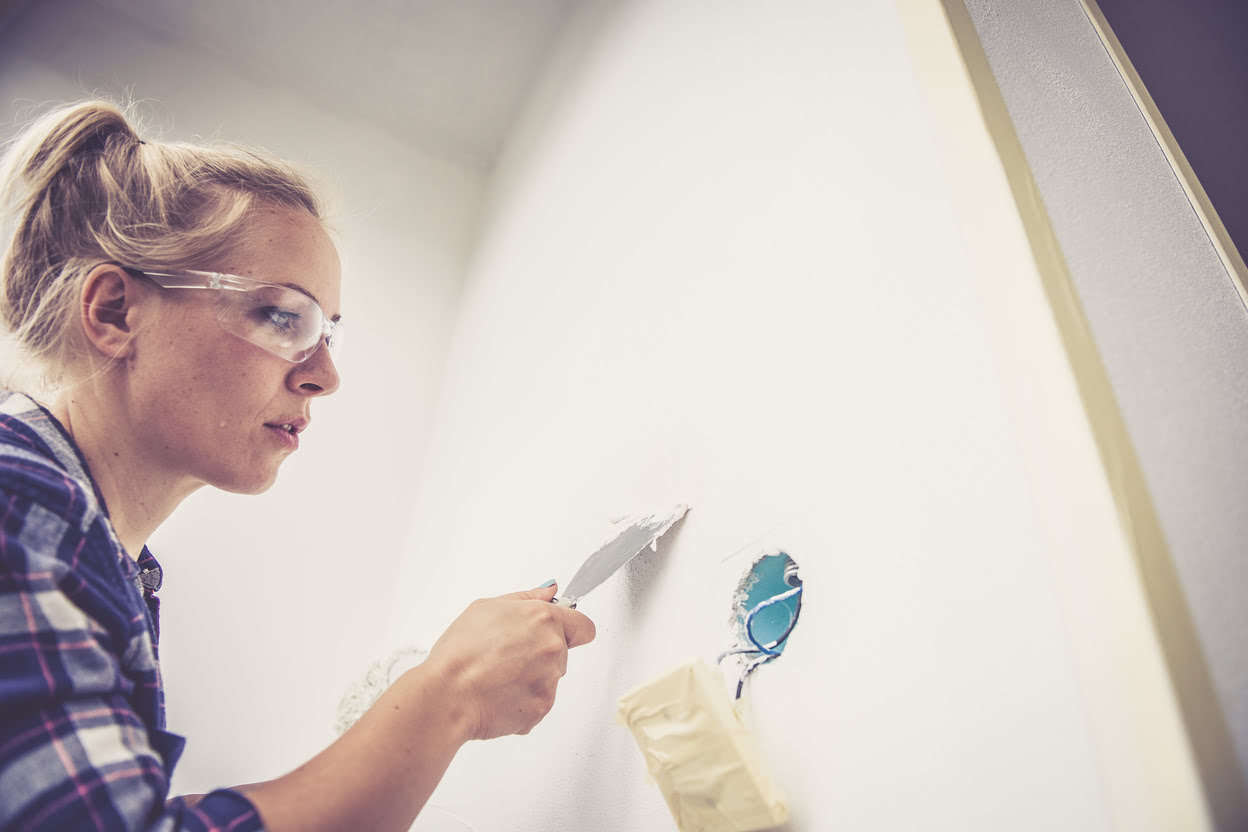
Spackle, a versatile and handy material, is widely used for repairing minor imperfections in walls and ceilings. It's a go-to solution for filling in small cracks, dents, and holes, creating a smooth and uniform surface for painting or wallpapering. While spackle is a fantastic ally in the realm of home repair and renovation, its drying time can sometimes hinder the pace of your project.
Fear not, for we're here to equip you with the knowledge and techniques to accelerate the drying process of spackle. By implementing the strategies outlined in this article, you'll be able to minimize downtime and make significant progress on your home improvement endeavors. So, let's roll up our sleeves and explore the fascinating world of spackle drying optimization!
Key Takeaways:
- Spackle dries faster with thin coats, good ventilation, low humidity, gentle heat, and quick-drying spackle. These techniques help speed up home improvement projects efficiently.
- Using a hairdryer on low heat and maintaining a safe distance can help speed up spackle drying without causing cracks or damage. Be cautious and monitor the process carefully.
Read more: How Can I Get My Carpet To Dry Faster
Understanding Spackle and Drying Time
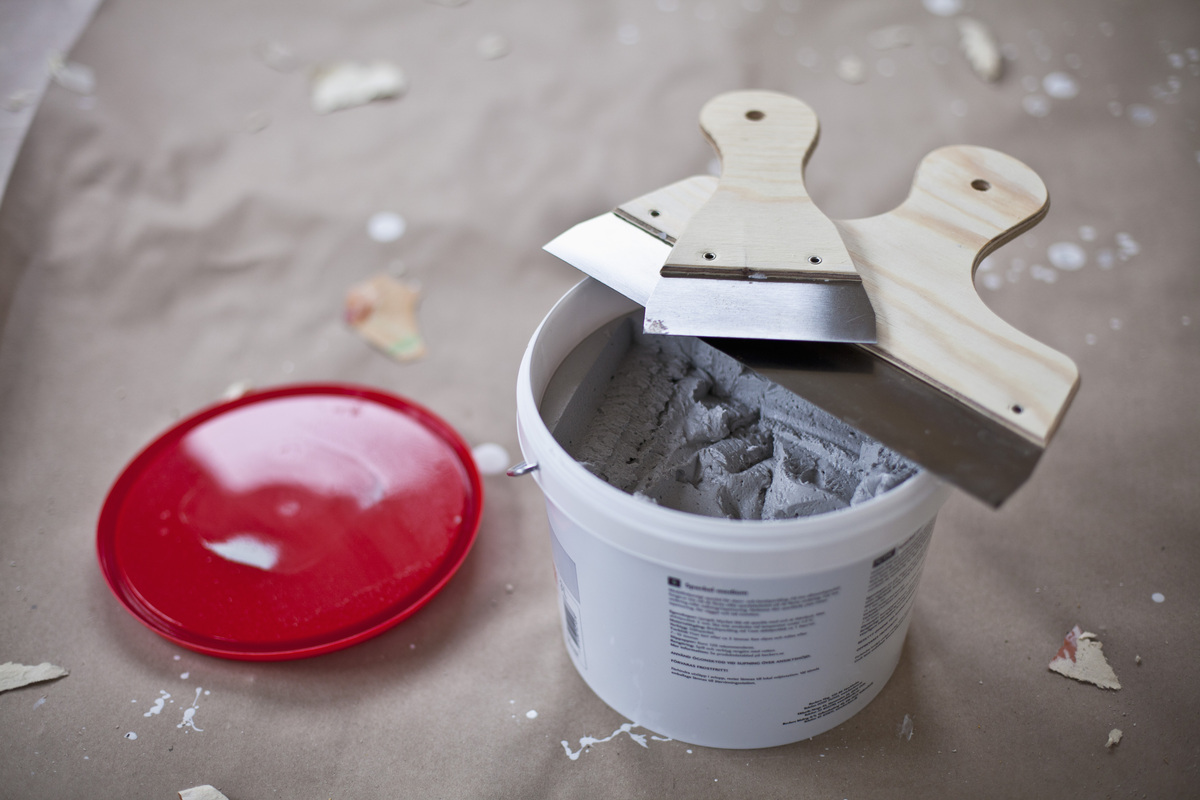
Before diving into the methods for expediting spackle drying, it's essential to understand the nature of this versatile material and the factors influencing its drying time. Spackle, also known as joint compound or patching compound, is a versatile paste commonly used in carpentry, painting, and home repair. It is primarily composed of gypsum powder, binders, and water, creating a pliable substance that can be easily applied to surfaces to fill imperfections.
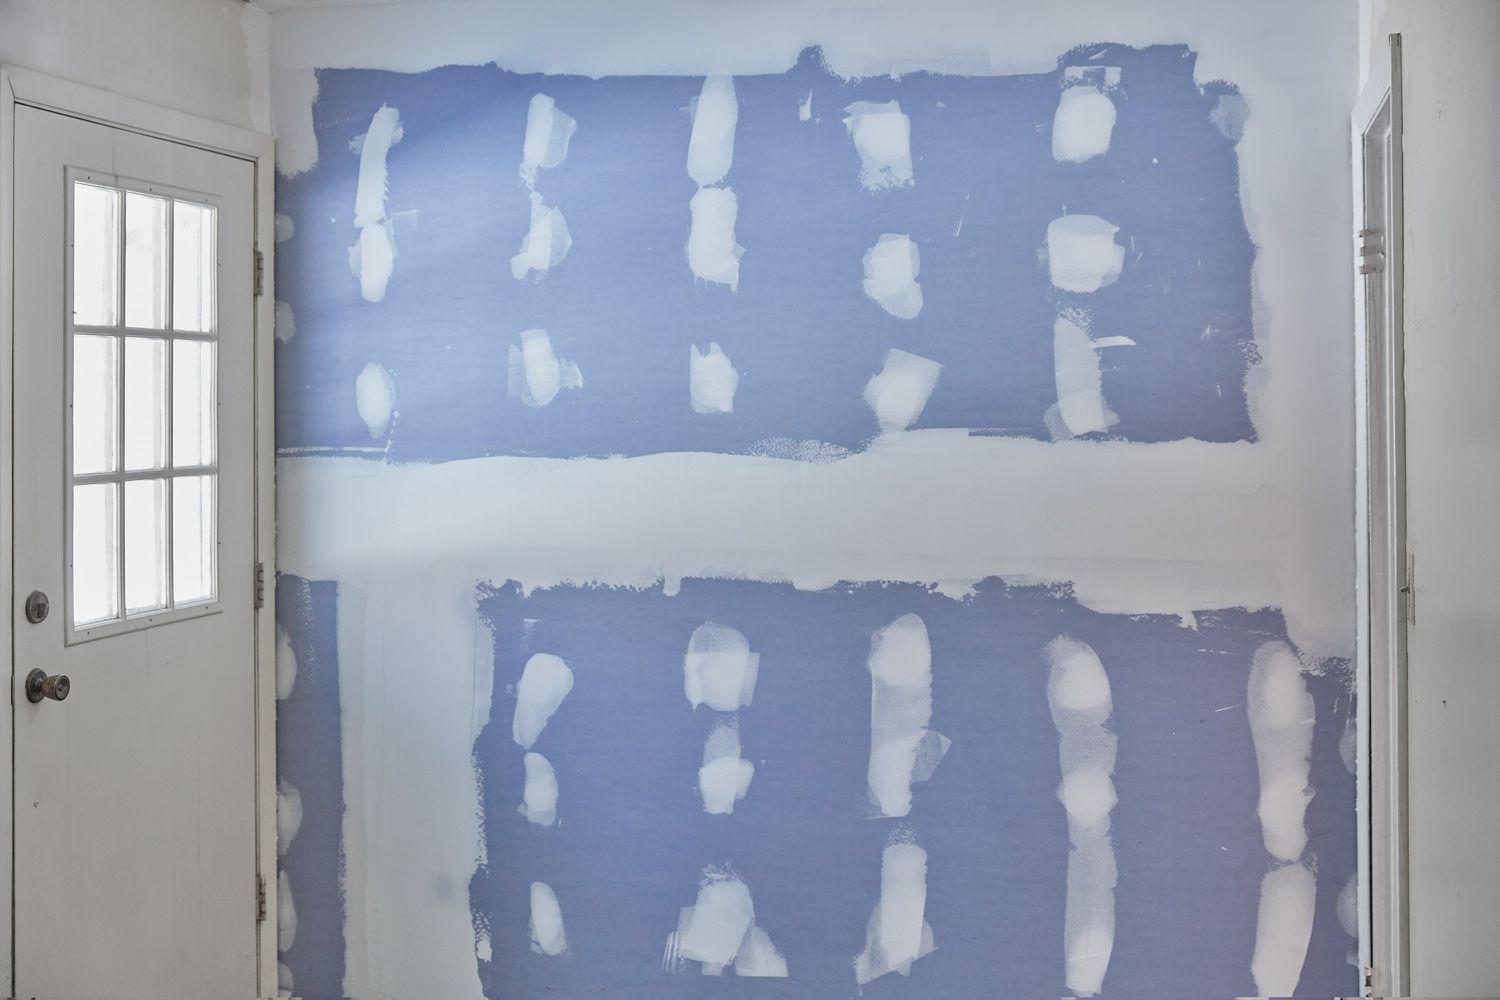
When spackle is applied to a surface, the drying process begins as the water in the compound evaporates, leaving behind a solid and smooth patch. The drying time of spackle can vary significantly based on several factors, including humidity, temperature, application thickness, and the type of spackle used. In general, spackle can take anywhere from a few hours to 24 hours to dry completely, and in some cases, even longer.
Understanding the variables that impact spackle drying time is crucial for effectively expediting the process. Higher humidity levels can prolong drying time, as the evaporation of water is hindered in moist air. Conversely, lower humidity levels can facilitate faster drying. Additionally, the thickness of the spackle application plays a significant role – thicker layers will naturally take longer to dry than thin, even coats.
Another key factor to consider is the type of spackle being used. Some spackles are specifically formulated for quick drying, while others are designed for extended drying times to allow for easier sanding and shaping. By familiarizing yourself with the specific characteristics of the spackle you're using, you can tailor your approach to optimize drying time based on the product's unique properties.
Now that we have a solid grasp of the fundamentals of spackle and its drying behavior, we can delve into the practical strategies for accelerating the drying process. By leveraging these techniques, you can streamline your home improvement projects and achieve efficient, professional-quality results.
Tips for Speeding Up Spackle Drying
When it comes to expediting the drying time of spackle, there are several effective strategies that can significantly reduce the wait and propel your project forward. Let’s explore these practical tips to accelerate the drying process and maximize efficiency.
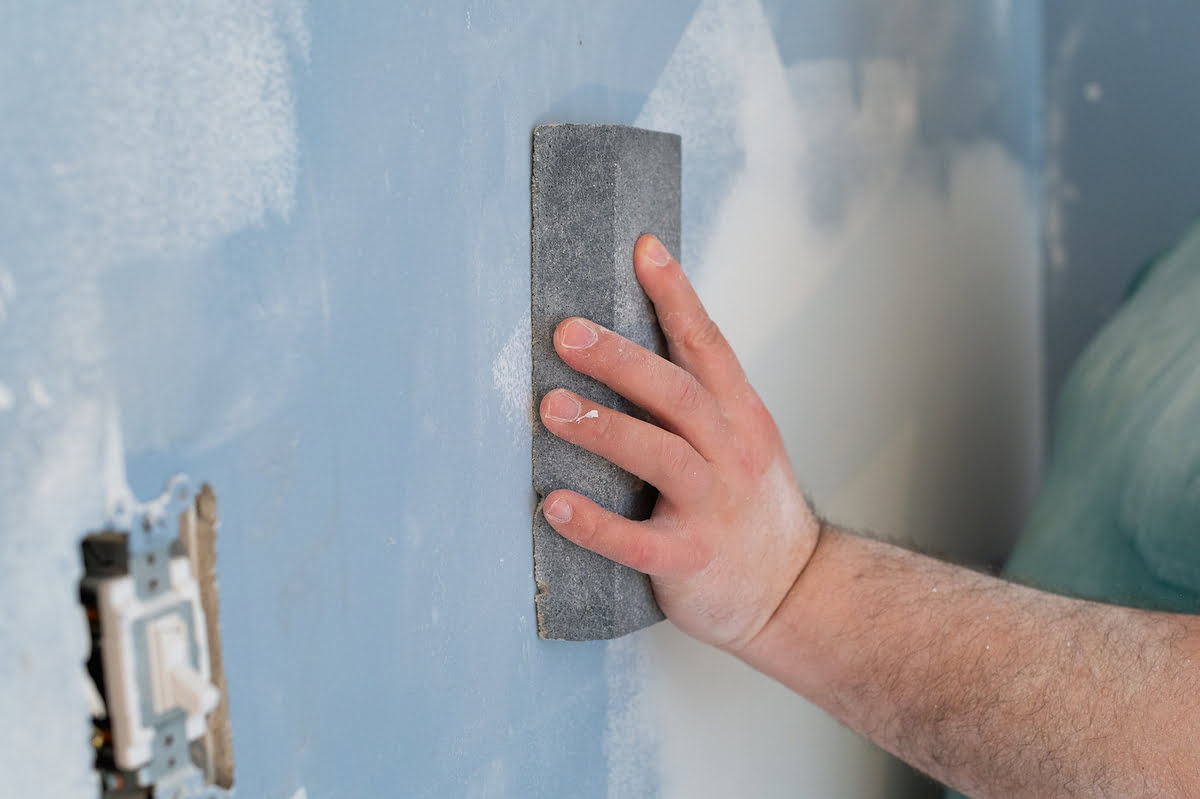
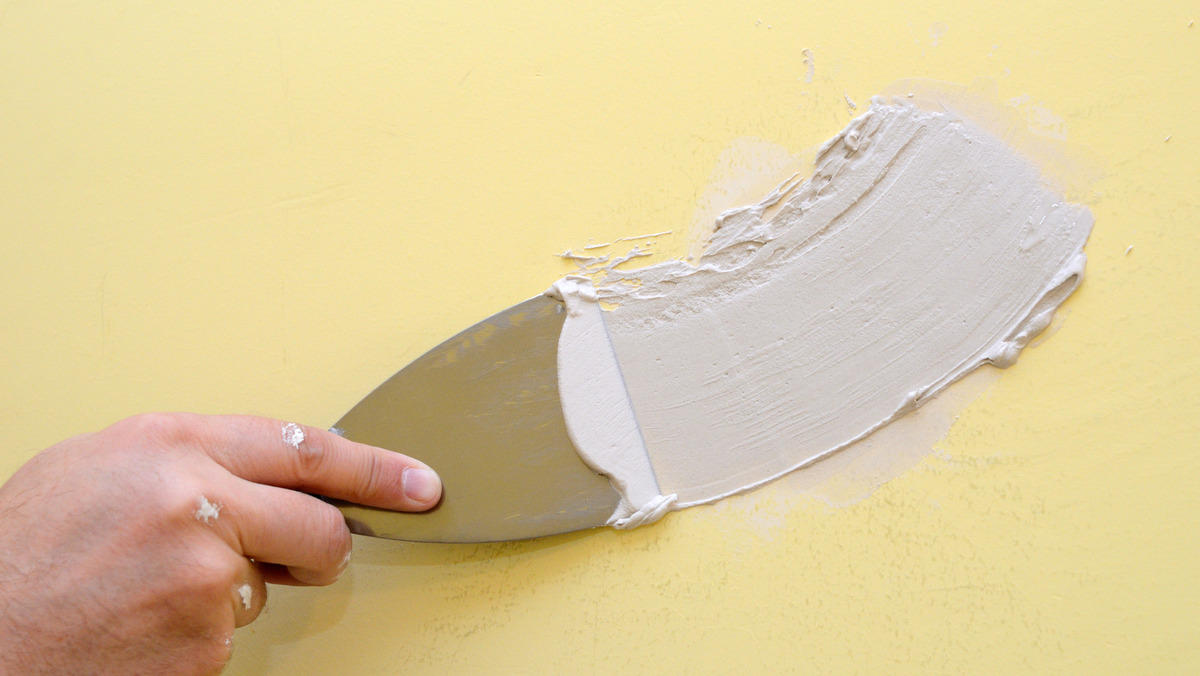
- Thin Application: One of the most effective ways to speed up spackle drying is to apply it in thin layers. Thin coats of spackle dry more quickly than thick ones, allowing for faster evaporation of water from the compound. By utilizing a thin application technique, you can expedite the overall drying time and progress swiftly to the next steps of your project.
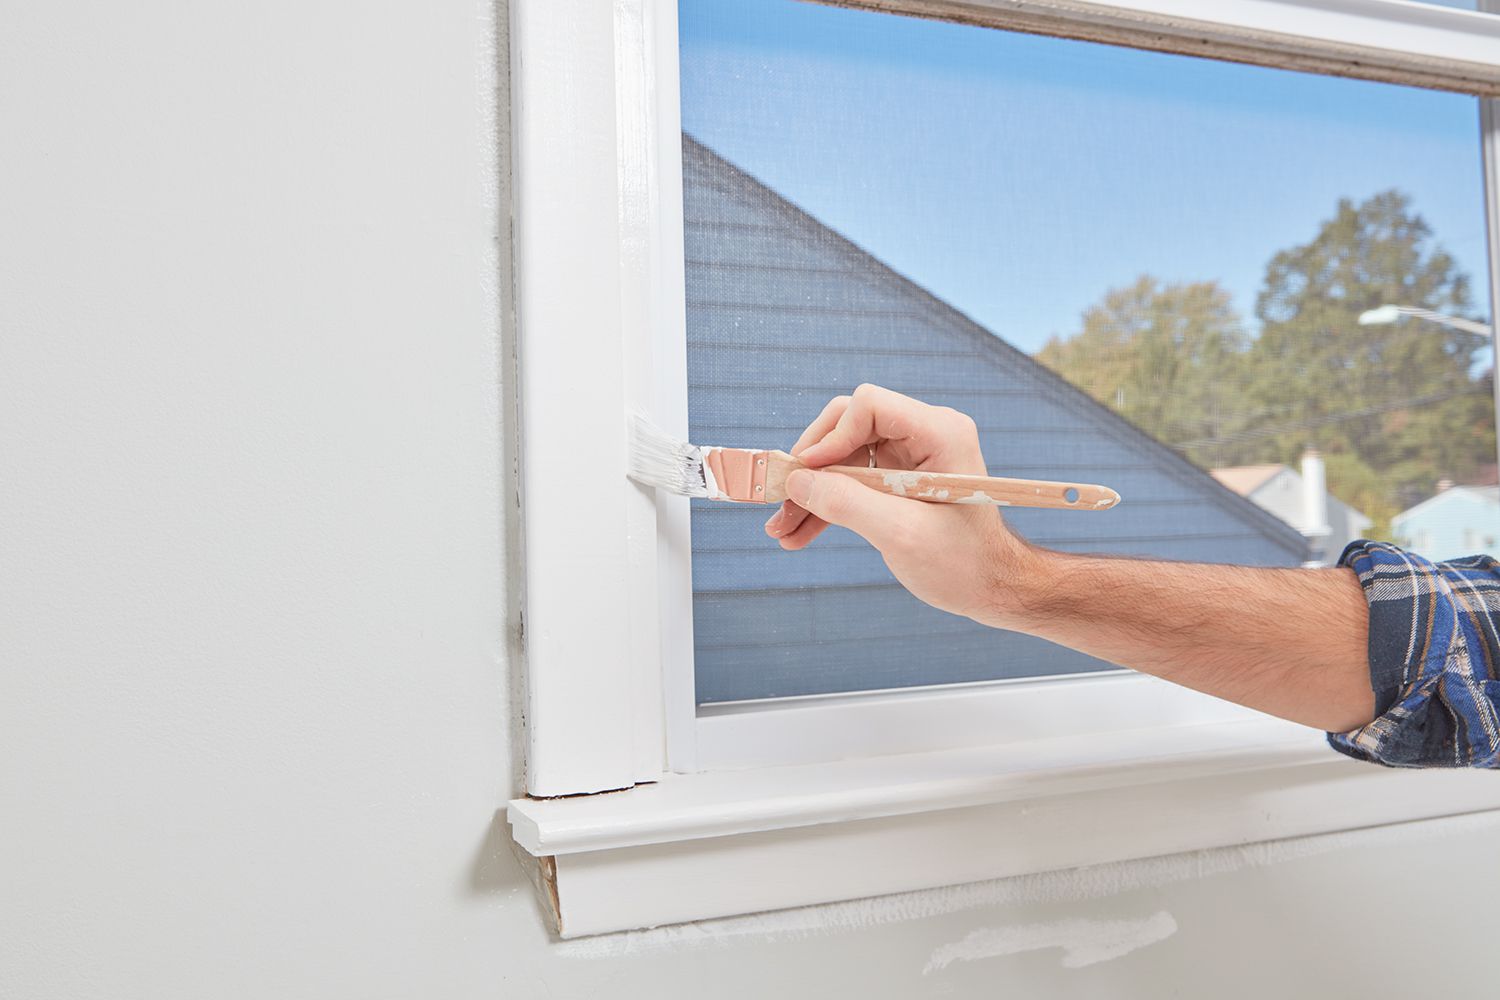
- Adequate Ventilation: Proper ventilation plays a crucial role in hastening spackle drying. Ensure that the room or area where the spackling is applied is well-ventilated, allowing for improved air circulation. This facilitates the evaporation of moisture from the spackle, contributing to faster drying times. Opening windows, using fans, and employing air circulation devices can all aid in expediting the drying process.
- Low Humidity Environment: Controlling the humidity levels in the working area can significantly impact spackle drying time. Lower humidity facilitates faster evaporation of moisture from the spackle, expediting the overall drying process. Consider using a dehumidifier in the space where spackling is being performed to create an environment conducive to quick drying.
- Heat Source: Introducing gentle heat to the spackled area can expedite the drying process. However, it’s essential to exercise caution when using heat, as excessive heat can cause the spackle to crack. You can use a hairdryer set to a low, warm setting to gently blow air over the spackled surface, promoting faster evaporation and drying.
- Quick-Drying Spackle: Opting for a quick-drying spackle product can be a game-changer when time is of the essence. Quick-drying spackle formulations are designed to dry rapidly, allowing you to proceed with subsequent steps of your project without prolonged waiting periods. Be sure to follow the manufacturer’s guidelines and recommendations when using quick-drying spackle for optimal results.
By incorporating these tips into your spackling endeavors, you can harness the power of efficient drying techniques to propel your home improvement projects forward. With the right approach and a focus on optimization, you’ll be able to achieve smooth, flawless surfaces in less time, bringing your vision to life with speed and precision.
Use a hairdryer on a low heat setting to speed up the drying process of spackle. Hold the hairdryer a few inches away from the spackled area and move it around to evenly dry the surface.
Using Heat to Accelerate Drying
Introducing heat to the spackled area is a tried-and-true method for accelerating the drying process. By carefully applying heat, you can expedite the evaporation of moisture from the spackle, reducing drying time and enabling you to move forward with your project more swiftly. However, it’s essential to approach this technique with caution and precision to achieve optimal results without compromising the integrity of the spackled surface.
Here’s a step-by-step guide to using heat to accelerate the drying of spackle:
- Choose the Right Heat Source: When employing heat to expedite spackle drying, select a gentle and controlled heat source. A hairdryer set to a low or warm setting is an excellent choice for this purpose. The low heat setting ensures that the spackle is dried gradually and evenly, minimizing the risk of cracks or damage to the surface.
- Maintain a Safe Distance: Hold the hairdryer at a reasonable distance from the spackled area to prevent overheating. A distance of 12 to 18 inches is generally recommended to ensure that the heat is distributed evenly across the surface without causing localized overheating.
- Even Application of Heat: Gently move the hairdryer back and forth over the spackled area, maintaining a consistent distance and ensuring that the heat is evenly distributed. This uniform application of heat promotes balanced evaporation of moisture from the spackle, facilitating faster and more uniform drying.
- Monitor the Drying Process: As you apply heat to the spackled surface, observe the changes in the appearance and texture of the spackle. The application area may gradually lighten in color as the moisture evaporates, indicating progress in the drying process. Continue to monitor the surface to prevent over-drying or overheating.
- Exercise Caution: It’s important to exercise caution and avoid applying excessive heat, as this can lead to cracks or other damage to the spackled surface. If you notice any signs of overheating, such as the formation of small cracks, immediately discontinue the application of heat and allow the area to cool before reassessing the drying process.
By following these guidelines and exercising care and precision, you can harness the power of heat to accelerate the drying of spackle, bringing you one step closer to achieving flawless, professional-quality results in your home improvement endeavors.
Conclusion
Congratulations! You’ve now gained valuable insights into the art of expediting spackle drying, equipping yourself with practical strategies and techniques to enhance the efficiency of your home improvement projects. By understanding the nature of spackle, its drying behavior, and the factors influencing drying time, you’ve laid a solid foundation for optimizing the drying process and achieving exceptional results.
From the utilization of thin application and adequate ventilation to the control of humidity levels and the strategic use of heat, you now possess a diverse toolkit for expediting spackle drying. By implementing these techniques with care and precision, you can minimize downtime, accelerate your project timeline, and move closer to the fulfillment of your home improvement vision.
Remember, each project is an opportunity for creativity, precision, and the expression of your unique vision. With the knowledge and strategies you’ve acquired, you’re well-equipped to navigate the challenges of spackling with confidence and efficiency, transforming imperfections into seamless, flawless surfaces that form the backdrop for your daily life.
As you embark on your next spackling endeavor, embrace the power of optimization and the art of efficient drying. By leveraging these techniques, you’ll not only save time and effort but also elevate the quality and professional finish of your home improvement projects. So, go forth with confidence, armed with the knowledge to expedite spackle drying and bring your vision to life with speed and precision.
Happy spackling!
Frequently Asked Questions about How To Get Spackle To Dry Faster
Was this page helpful?
At Storables.com, we guarantee accurate and reliable information. Our content, validated by Expert Board Contributors, is crafted following stringent Editorial Policies. We're committed to providing you with well-researched, expert-backed insights for all your informational needs.


0 thoughts on “How To Get Spackle To Dry Faster”