Home>Renovation & DIY>Tools & Equipment>How Long Spackle Takes To Dry Before Sanding
Tools & Equipment
How Long Spackle Takes To Dry Before Sanding
Published: December 19, 2023
Learn how long spackle takes to dry before sanding with the right tools and equipment. Find out the best practices for efficient spackling.
(Many of the links in this article redirect to a specific reviewed product. Your purchase of these products through affiliate links helps to generate commission for Storables.com, at no extra cost. Learn more)
Introduction
When it comes to home improvement projects, spackling is a crucial step in achieving a smooth and flawless finish on walls, ceilings, and other surfaces. Whether you're repairing small cracks or covering up nail holes, spackle is a versatile and convenient material that can help you achieve professional-looking results with relative ease.
Spackle, also known as joint compound or patching plaster, is a versatile paste commonly used for filling imperfections in drywall, plaster, wood, and other surfaces before painting or wallpapering. Its composition typically includes gypsum, water, and various additives that contribute to its adhesive and filling properties.
Understanding the drying time of spackle is essential for planning and executing your home improvement projects effectively. The duration spackle takes to dry before sanding largely depends on several factors, including the type of spackle used, environmental conditions, and the thickness of the application. By gaining insights into these variables, you can streamline your project timelines and achieve optimal results.
In this comprehensive guide, we will delve into the intricacies of spackle, exploring its composition, the factors influencing its drying time, and practical tips for expediting the drying process. Whether you're a seasoned DIY enthusiast or a novice tackling your first home repair project, this article will equip you with the knowledge needed to navigate the spackling process with confidence and precision. Let's embark on this enlightening journey to uncover the mysteries of spackle and its drying behavior.
Key Takeaways:
- Spackle drying time varies based on type, thickness, and environmental conditions. Lightweight spackle dries in 30 minutes to 1 hour, while standard spackle takes 2 to 6 hours. Quick-drying spackle can be sanded within 15 to 30 minutes.
- To speed up spackle drying, ensure optimal ventilation, control temperature and humidity, apply thin layers, and consider using quick-drying spackle. These strategies can expedite the drying process and streamline home improvement projects.
Read more: How Many Coats Of Spackle Before Sanding
What is Spackle?
Spackle, a stalwart of the home improvement arsenal, is a versatile and indispensable material used for repairing and refinishing interior surfaces. This multifaceted compound is specifically formulated to fill and conceal small imperfections, such as cracks, dents, and holes, effectively restoring the smoothness and uniformity of walls, ceilings, and other substrates.
Comprising a blend of gypsum, water, and binding agents, spackle exhibits excellent adhesion and malleability, making it an ideal choice for addressing minor blemishes before painting, texturing, or applying wallpaper. Available in various formulations, including lightweight, vinyl-reinforced, and quick-drying options, spackle caters to a wide spectrum of repair and renovation needs, offering different drying times and performance characteristics to suit diverse project requirements.
One of the defining attributes of spackle is its user-friendly nature, allowing both professionals and DIY enthusiasts to achieve seamless and professional-looking results with relative ease. Its smooth consistency and ease of application enable precise filling of imperfections, facilitating a seamless integration with the surrounding surface for a flawless finish.
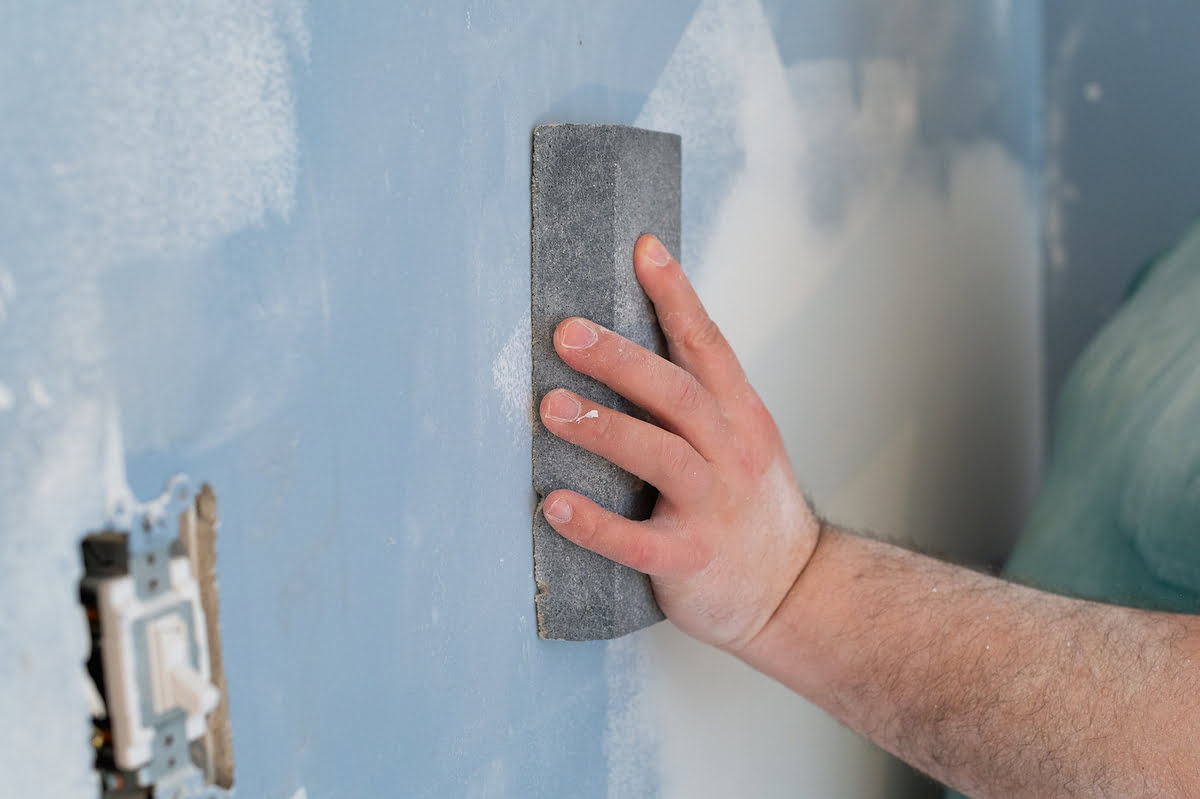
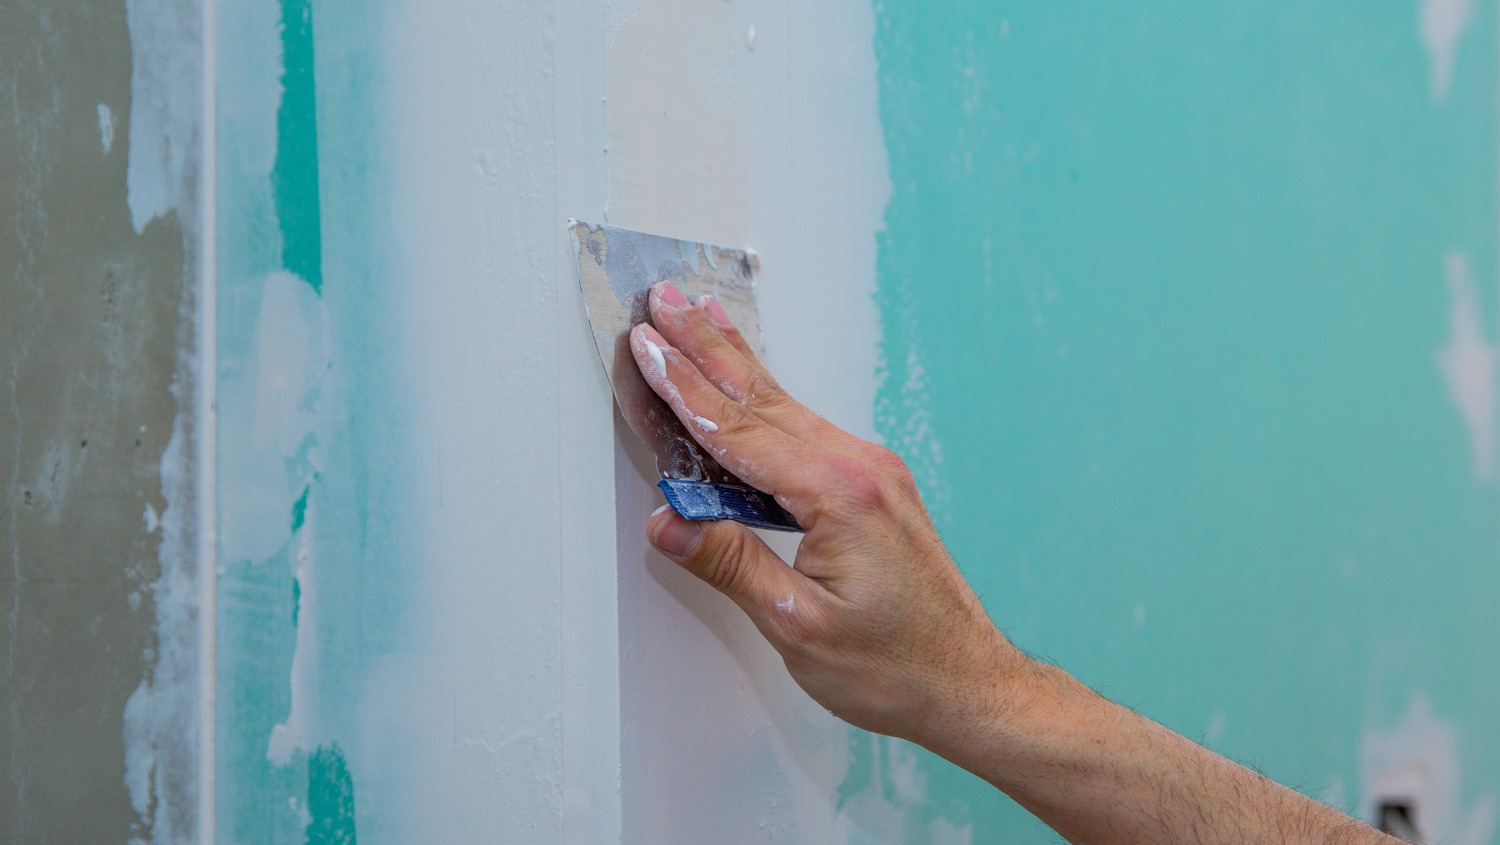
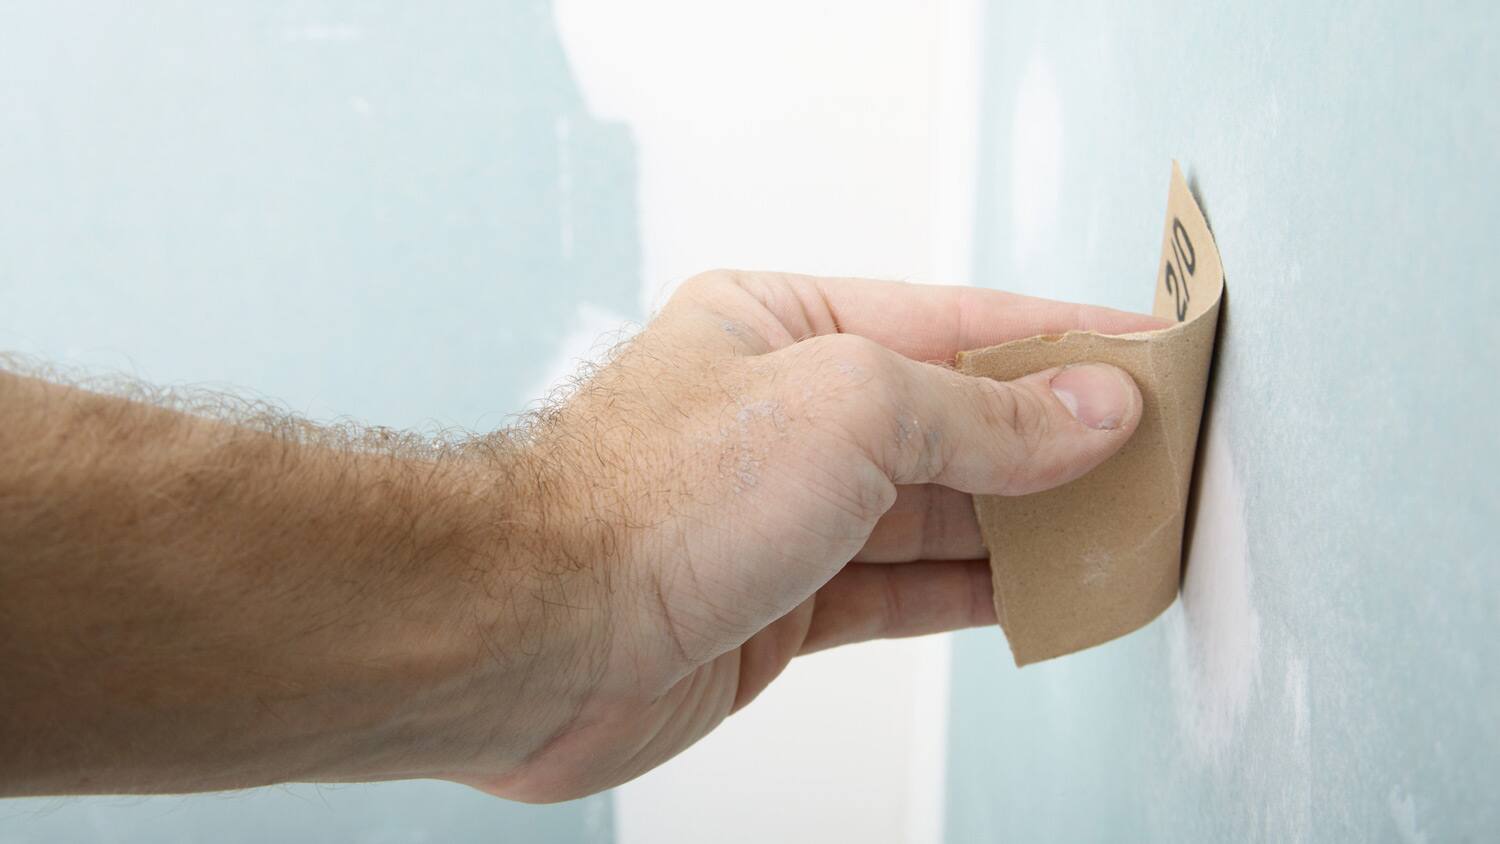
Furthermore, spackle is renowned for its sandability, enabling effortless refinement of the patched areas to achieve a uniform and smooth texture that seamlessly blends with the existing surface. This sanding capability is crucial for achieving a visually appealing and structurally sound foundation for subsequent painting or finishing applications.
Whether you’re embarking on a minor touch-up or undertaking a comprehensive renovation project, spackle serves as a reliable ally in your quest for impeccable interior surfaces. Its versatility, ease of use, and effectiveness in concealing imperfections make it an indispensable component of any DIY enthusiast’s toolkit, empowering individuals to transform flawed surfaces into pristine canvases ready for the application of their desired aesthetic treatments.
As we unravel the intricacies of spackle and its role in home improvement, you’ll gain a deeper appreciation for this unassuming yet indispensable compound, understanding its transformative potential in elevating the visual appeal and structural integrity of interior spaces.
Factors Affecting Spackle Drying Time
The drying time of spackle is influenced by a myriad of factors that collectively determine the duration required for the compound to achieve optimal dryness before sanding and subsequent finishing. Understanding these variables is crucial for effectively managing project timelines and ensuring that the spackling process unfolds seamlessly. Let’s delve into the key factors that exert influence over spackle drying time:
- Type of Spackle: Different types of spackle, such as lightweight, vinyl-reinforced, and quick-drying formulations, exhibit varying drying characteristics. Lightweight spackle, for instance, tends to dry more rapidly due to its lower density, while quick-drying variants are specifically engineered to expedite the drying process, making them ideal for time-sensitive projects.
- Environmental Conditions: The ambient temperature and humidity levels in the application area significantly impact spackle drying time. Warmer temperatures and lower humidity levels accelerate the evaporation of moisture from the spackle, expediting the drying process. Conversely, cooler temperatures and higher humidity can prolong the drying time, necessitating additional patience before sanding can commence.
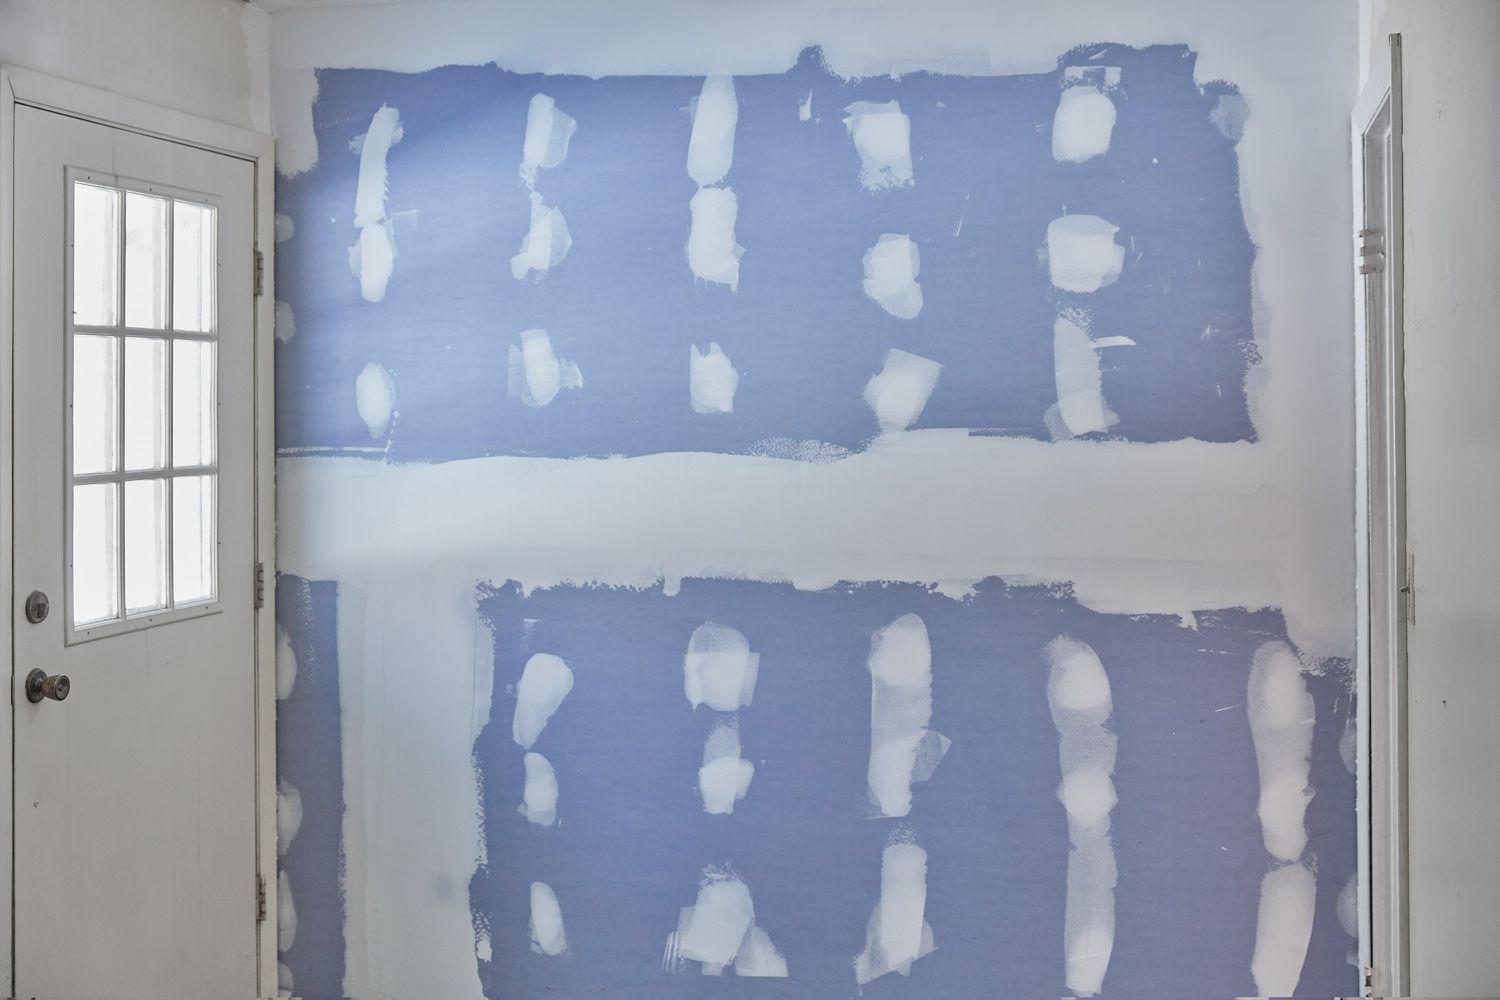
- Thickness of Application: The thickness at which spackle is applied directly influences its drying time. Thicker layers of spackle require more time to dry uniformly, especially in the interior sections, compared to thinner applications. Therefore, adjusting the application thickness based on the depth of imperfections and the desired finish is essential for optimizing drying time.
- Absorbency of Substrate: The absorbent nature of the underlying surface can impact spackle drying time. Porous materials, such as unfinished drywall or wood, may absorb moisture from the spackle, potentially prolonging the drying process. Preparing the substrate by sealing or priming it can mitigate excessive moisture absorption and promote more predictable drying times.
- Ventilation and Airflow: Adequate ventilation and airflow in the application area facilitate moisture evaporation from the spackle, contributing to expedited drying. Proper air circulation can help create an optimal drying environment, especially for larger spackling projects or in areas with limited natural airflow.
By considering these influential factors and their interplay, you can strategically manage spackle drying time, optimizing project efficiency and ensuring that the spackling process unfolds smoothly and predictably. With a comprehensive understanding of these variables, you’ll be well-equipped to navigate the nuances of spackle drying, harnessing its transformative potential with precision and confidence.
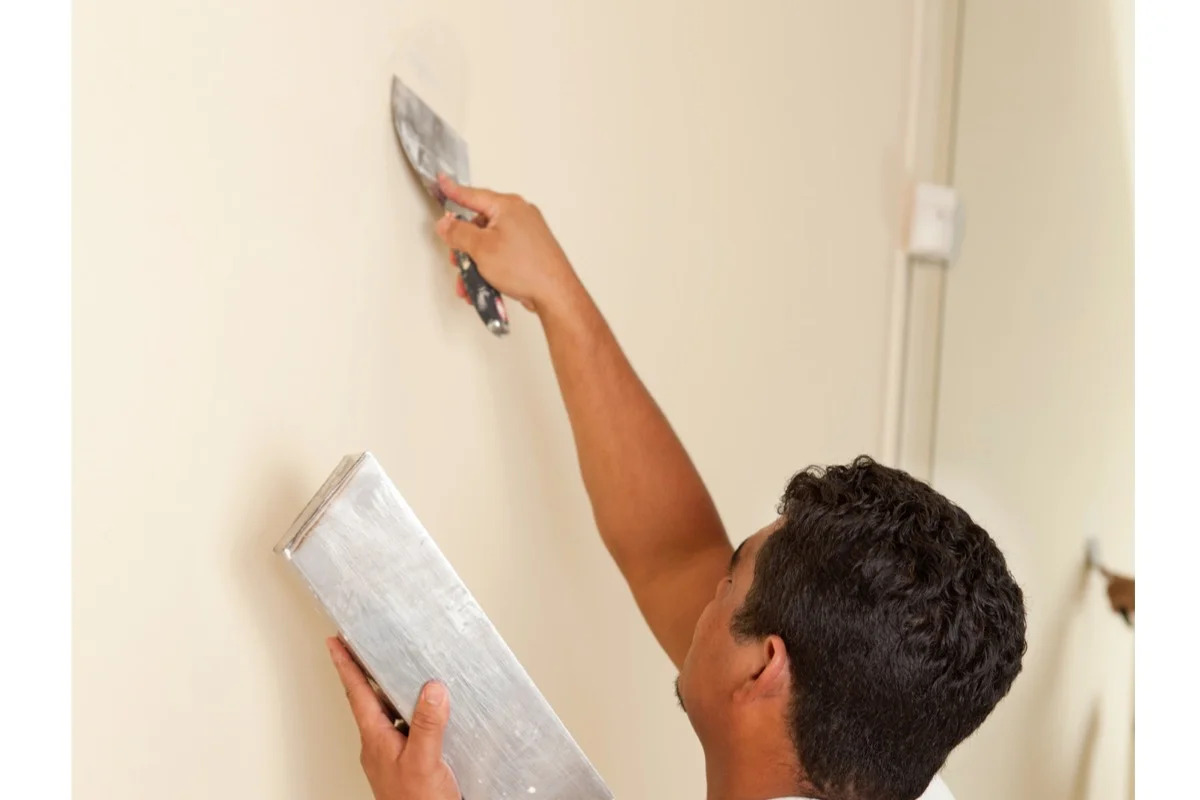
Allow spackle to dry for at least 24 hours before sanding. Factors like humidity and thickness can affect drying time, so check the product label for specific instructions.
How Long Does Spackle Take to Dry Before Sanding?
The duration spackle takes to dry before sanding is a critical consideration that significantly impacts the efficiency and quality of your home improvement projects. While the exact drying time can vary based on the specific type of spackle, environmental conditions, and application thickness, it’s essential to understand general guidelines to gauge when the spackled surface is ready for the sanding stage.
Lightweight spackle, a popular choice for minor repairs and touch-ups, typically dries within 30 minutes to 1 hour under favorable conditions. This rapid drying characteristic makes it well-suited for expediting smaller-scale projects, allowing for prompt sanding and subsequent finishing applications. However, it’s important to exercise caution and avoid rushing the sanding process, ensuring that the spackle has fully cured to prevent surface damage and imperfections.
For standard spackle formulations, including vinyl-reinforced variants, the drying time before sanding ranges from 2 to 6 hours, depending on the aforementioned factors. Thicker applications and higher humidity levels may necessitate the longer end of this spectrum, requiring patience and vigilance to ascertain the readiness of the spackled area for sanding.
Quick-drying spackle, designed for time-sensitive projects and rapid repairs, accelerates the drying process, often allowing for sanding within 15 to 30 minutes under optimal conditions. This expedited drying capability can be advantageous for minimizing project timelines and swiftly progressing to subsequent finishing stages, provided that the spackle has achieved the requisite dryness for seamless sanding and refinement.
While these general timeframes offer valuable insights into the typical drying durations of different spackle types, it’s imperative to monitor the spackled area closely, considering the interplay of environmental conditions, application thickness, and spackle composition. Visual indicators, such as a uniform matte appearance and absence of tackiness, can signal that the spackle is sufficiently dry for sanding, ensuring a smooth and refined surface for painting, texturing, or wallpapering.
By exercising patience and attentiveness, you can ascertain the optimal timing for sanding, leveraging the transformative potential of spackle to achieve flawlessly repaired and refined surfaces that serve as the foundation for your desired aesthetic treatments. This nuanced understanding of spackle drying time empowers you to navigate the spackling process with confidence, precision, and a keen eye for detail, ensuring that your home improvement endeavors yield exceptional results.
Tips for Speeding Up Spackle Drying
When time is of the essence or you’re eager to expedite the spackling process, implementing strategic measures to accelerate spackle drying can streamline your home improvement projects and propel you closer to the finishing stages. By leveraging practical tips and optimizing environmental conditions, you can hasten the drying time of spackle, enhancing project efficiency and enabling prompt progression to the sanding and refinement phases. Here are valuable tips for expediting spackle drying:
- Optimal Ventilation: Ensure the application area is well-ventilated to facilitate moisture evaporation from the spackle. Open windows, use fans, or employ air circulation devices to create a conducive drying environment, expediting the evaporation process.
- Temperature Control: Maintain a moderately warm temperature in the application area, as elevated temperatures can accelerate spackle drying. However, avoid excessive heat, as it may lead to uneven drying or premature skinning of the spackle.
- Low Humidity: Minimize humidity levels in the vicinity of the spackled area, as lower moisture content in the air promotes faster evaporation of moisture from the spackle, expediting the drying process.
- Thin Applications: Apply spackle in thin, uniform layers to facilitate more efficient moisture evaporation and uniform drying. Thicker applications tend to dry more slowly and may require extended drying times.
- Use Quick-Drying Spackle: Consider utilizing quick-drying spackle formulations for time-sensitive projects, leveraging their expedited drying characteristics to minimize wait times and swiftly progress to subsequent project phases.
- Priming the Substrate: Prepare the substrate by applying a suitable primer before spackling, as primed surfaces exhibit reduced moisture absorption, promoting more predictable and expedited spackle drying.
- Heat Source: Employ gentle heat sources, such as heat lamps or infrared lamps, to promote evaporation of moisture from the spackle. Exercise caution to prevent overheating and ensure even drying.
By integrating these practical tips into your spackling endeavors, you can harness the potential to expedite drying times, optimize project efficiency, and swiftly progress to subsequent project phases. Whether you’re addressing minor imperfections or undertaking comprehensive renovations, these strategies empower you to navigate the spackling process with agility and precision, ensuring that your projects unfold seamlessly and culminate in impeccably refined surfaces ready for your desired aesthetic treatments.
Conclusion
As we conclude our exploration of spackle and its drying behavior, you’ve gained valuable insights into the multifaceted nature of this indispensable compound, understanding its pivotal role in achieving flawless and refined interior surfaces. From its composition and application versatility to the nuanced factors influencing its drying time, spackle emerges as a stalwart ally in your quest for impeccable home improvement results.
By comprehending the interplay of spackle types, environmental conditions, and application techniques, you’re equipped to navigate the spackling process with confidence and precision, optimizing drying times and project efficiency. Whether you’re a seasoned DIY enthusiast or a novice embarking on your first home repair endeavor, the knowledge garnered from this guide empowers you to harness the transformative potential of spackle with finesse, ensuring that your projects unfold seamlessly and culminate in visually stunning and structurally sound surfaces.
As you embark on your spackling odyssey, remember that patience and attentiveness are your allies, allowing you to gauge the optimal timing for sanding and subsequent finishing applications. Whether you’re leveraging lightweight spackle for rapid touch-ups or employing vinyl-reinforced formulations for comprehensive repairs, the nuances of spackle drying time become a canvas for your meticulous craftsmanship and unwavering commitment to excellence.
Armed with practical tips for expediting spackle drying, you possess the tools to optimize project timelines and propel your home improvement endeavors to fruition with remarkable efficiency. By orchestrating an optimal drying environment, exercising precision in application, and leveraging the diverse attributes of spackle formulations, you’re poised to achieve flawlessly refined surfaces that serve as the foundation for your desired aesthetic treatments.
With your newfound understanding of spackle and its drying intricacies, you’re primed to embark on your next home improvement project with unwavering confidence, knowing that the transformative potential of spackle is at your command. Whether you’re concealing minor imperfections, restoring structural integrity, or preparing surfaces for artistic embellishments, spackle stands as a steadfast ally, empowering you to realize your vision with finesse and precision.
As you set forth on your spackling endeavors, may your projects unfold seamlessly, yielding immaculate surfaces that bear the hallmark of your dedication and expertise. Embrace the artistry of spackling, infusing each application with your unique touch and unwavering commitment to excellence, and witness the profound impact of this unassuming compound in elevating the beauty and structural integrity of your interior spaces.
Frequently Asked Questions about How Long Spackle Takes To Dry Before Sanding
Was this page helpful?
At Storables.com, we guarantee accurate and reliable information. Our content, validated by Expert Board Contributors, is crafted following stringent Editorial Policies. We're committed to providing you with well-researched, expert-backed insights for all your informational needs.


0 thoughts on “How Long Spackle Takes To Dry Before Sanding”