Home>Renovation & DIY>Tools & Equipment>How To Open Xbox One Controller Without A Screwdriver
Tools & Equipment
How To Open Xbox One Controller Without A Screwdriver
Modified: February 25, 2024
Learn how to open an Xbox One controller without a screwdriver using alternative tools and equipment. Follow our step-by-step guide for easy disassembly. Unlock your controller today!
(Many of the links in this article redirect to a specific reviewed product. Your purchase of these products through affiliate links helps to generate commission for Storables.com, at no extra cost. Learn more)
Introduction
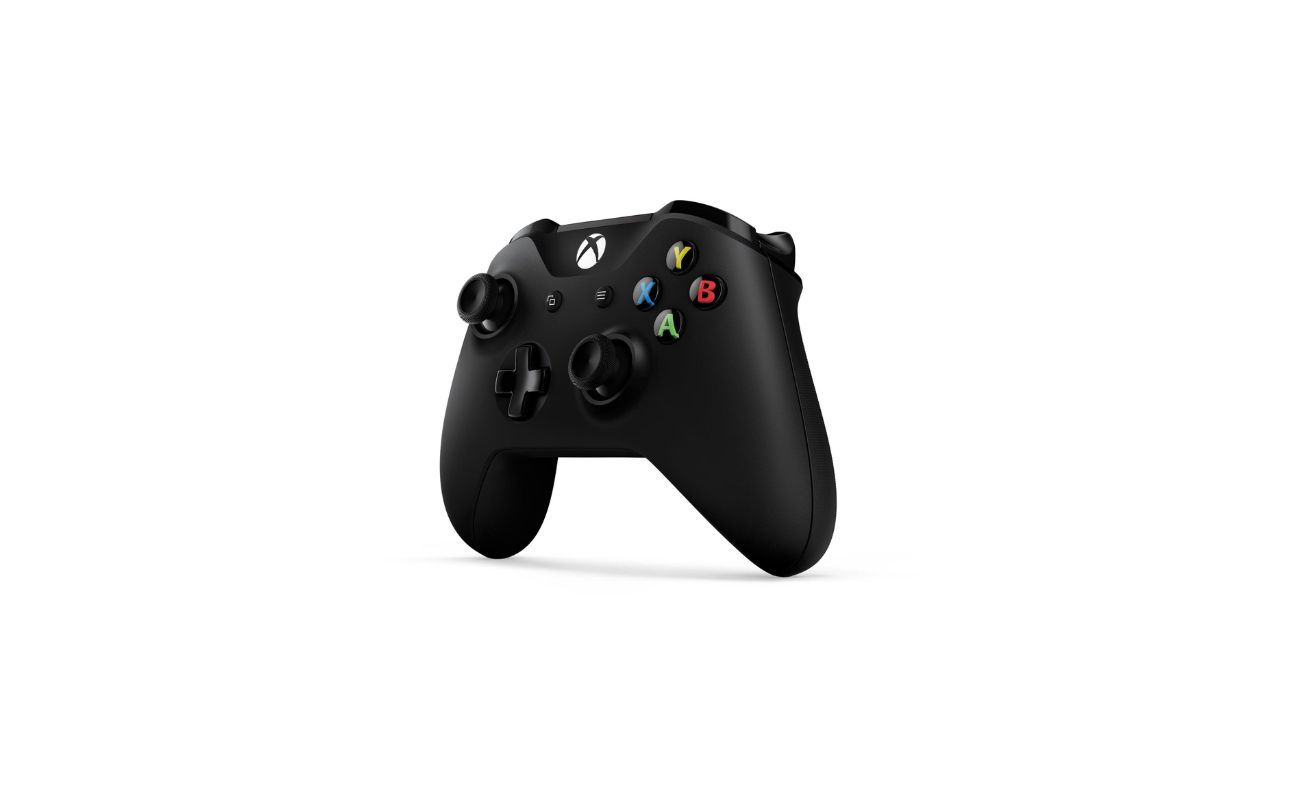
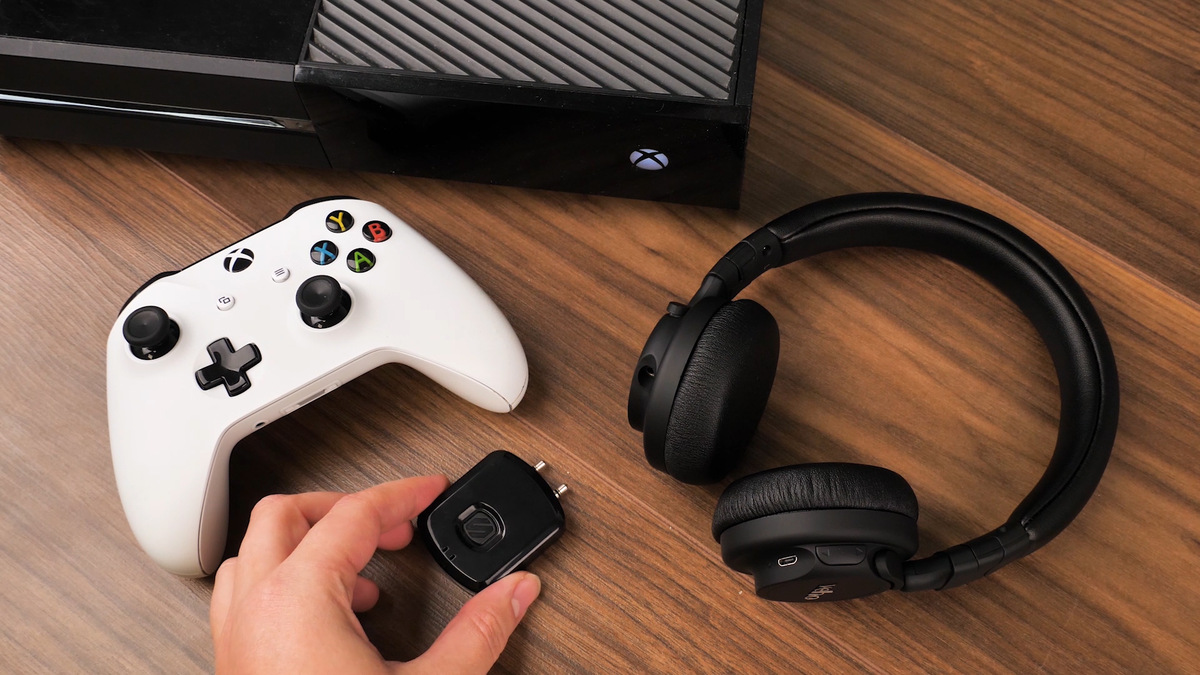
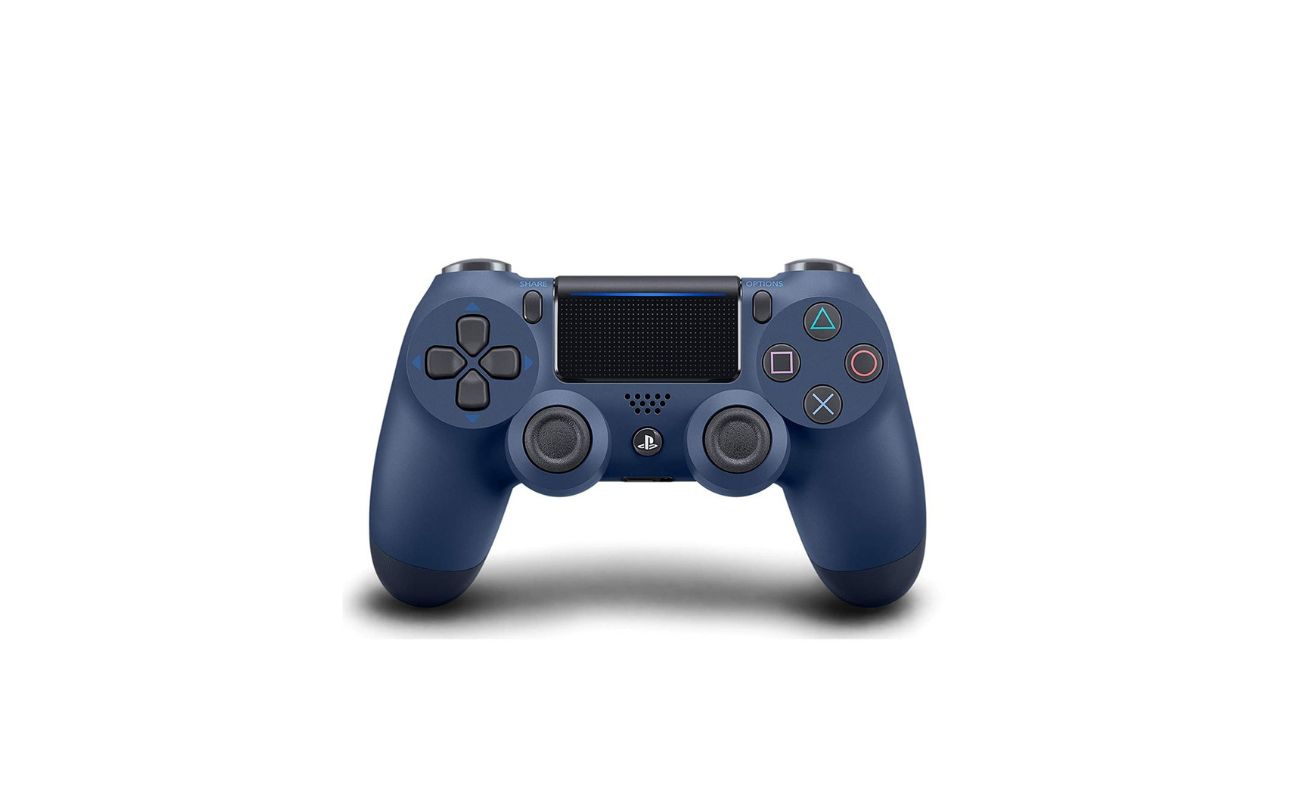
Welcome to the world of gaming! Xbox One controllers are essential tools for any gaming enthusiast, offering a seamless and immersive gaming experience. However, there may come a time when you need to access the internal components of your controller for maintenance, repairs, or customization. While opening an Xbox One controller without a screwdriver may seem daunting, it’s entirely feasible with the right tools and techniques.
In this guide, we’ll walk you through the process of opening an Xbox One controller without a screwdriver, providing you with the knowledge and confidence to tackle this task successfully. Whether you’re looking to replace a faulty button, customize the controller’s appearance, or simply satisfy your curiosity about its inner workings, we’ve got you covered.
By following the steps outlined in this article, you’ll be able to open your Xbox One controller safely and effectively, without the need for a screwdriver. So, let’s dive in and explore the process of accessing the internal components of your Xbox One controller, empowering you to take control of your gaming gear.
Key Takeaways:
- You can open your Xbox One controller without a screwdriver by using alternative tools like plastic opening tools, pointed tweezers, and a spudger tool. This allows for maintenance, repairs, and customization without traditional screwdriver access.
- By accessing the internal components of your Xbox One controller, you gain a deeper understanding of its construction, functionality, and potential areas for maintenance or enhancement. This empowers you to troubleshoot issues and embark on creative customizations with confidence.
Step 1: Gather the Necessary Tools
Before embarking on the journey of opening your Xbox One controller without a screwdriver, it’s crucial to gather the essential tools to ensure a smooth and successful process. While you won’t be using a screwdriver, you’ll need a few alternative items to assist you in accessing the controller’s internal components.
Here’s a list of the necessary tools you’ll need:
- Plastic Opening Tools: These non-conductive and non-abrasive tools are designed to safely pry open electronic devices without causing damage. Look for plastic opening tools with a thin, flat edge to effectively navigate the seams of the controller.
- Pointed Tweezers: A pair of pointed tweezers will come in handy for maneuvering small components and cables inside the controller. Opt for tweezers with fine tips to ensure precision.
- Spudger Tool: A spudger tool, featuring a flat and wedge-shaped end, is ideal for gently separating the internal components of the controller without scratching or marring the surfaces.
- Microfiber Cloth: Keeping a microfiber cloth nearby will allow you to wipe away any dust or debris that may have accumulated inside the controller, ensuring a clean and clear workspace.
By having these tools at your disposal, you’ll be well-equipped to proceed with confidence as you navigate the process of opening your Xbox One controller without a screwdriver. With the right tools in hand, you’re ready to move on to the next step and begin the disassembly process.
Step 2: Remove the Battery Cover
Before delving into the intricate process of opening your Xbox One controller without a screwdriver, it’s essential to start with a simple yet crucial step: removing the battery cover. This initial step will grant you access to the internal components of the controller, setting the stage for the subsequent disassembly process.
Here’s how to remove the battery cover from your Xbox One controller:
- Turn Off the Controller: Ensure that your Xbox One controller is powered off to prevent any accidental input during the disassembly process. If the controller is currently connected to your console, disconnect it to avoid any interference.
- Flip the Controller: Flip the controller over to locate the battery compartment, typically situated on the backside. Depending on your controller model, the battery cover may feature a release button or latch.
- Release the Battery Cover: If your controller is equipped with a release button, simply press it to disengage the battery cover. Alternatively, if it features a latch, carefully slide or lift the latch to unlock the battery cover.
- Remove the Batteries: Once the battery cover is unlocked, gently lift it away from the controller to reveal the battery compartment. Proceed to remove the batteries from the compartment and set them aside in a safe location.
With the battery cover removed and the batteries safely set aside, you’ve successfully completed this preliminary step, preparing the controller for the subsequent stages of disassembly. By carefully following these steps, you’ve laid the groundwork for accessing the internal components of your Xbox One controller without the need for a screwdriver.
Step 3: Open the Controller
With the battery cover removed, you’re now ready to proceed to the next pivotal stage: opening the Xbox One controller without a screwdriver. While traditional methods may involve unscrewing the controller’s casing, we’ll explore an alternative approach that bypasses the need for a screwdriver, allowing you to access the internal components with ease.
Follow these steps to open the controller without a screwdriver:
- Locate the Seams: Examine the seams and edges of the controller to identify the points of separation. The controller’s casing is designed to snap together, and you’ll need to carefully pry it apart using the appropriate tools.
- Insert Plastic Opening Tools: Take your plastic opening tools and gently insert the flat edge into the seam of the controller. Apply even pressure to gradually separate the two halves of the casing. Work your way around the perimeter of the controller, carefully releasing the snaps that hold it together.
- Use the Spudger Tool: As you progress around the controller, employ the spudger tool to maintain the separation and prevent the snaps from reattaching. The spudger’s wedge-shaped end allows you to widen the gap between the casing halves without causing damage.
- Exercise Patience: Opening the controller without a screwdriver requires patience and precision. Take your time and ensure that you apply gentle, consistent pressure to avoid damaging the casing or internal components. If you encounter resistance at any point, reassess your approach and adjust your technique as needed.
- Continue Until Fully Opened: Work your way around the entire perimeter of the controller, gradually releasing the snaps and widening the opening. Once you’ve successfully separated the casing halves, carefully lift the top half away to reveal the internal components of the controller.
By following these steps, you’ll be able to open your Xbox One controller without a screwdriver, gaining access to its internal components and paving the way for maintenance, repairs, or customization. With the controller now open, you’re ready to move on to the next phase of the disassembly process, where you’ll delve into the intricacies of accessing and manipulating the internal components.
You can open an Xbox One controller without a screwdriver by using a small flathead or butter knife to carefully pry open the seams around the controller. Be gentle to avoid damaging the plastic.
Step 4: Accessing the Inside Components
With the Xbox One controller successfully opened, you’re now poised to explore the inner workings of this integral gaming device. This stage of the disassembly process presents an opportunity to gain a deeper understanding of the controller’s internal components, assess any issues that may require attention, and embark on customization endeavors.
Here’s a guide to accessing the inside components of the Xbox One controller:
- Handle with Care: As you peer into the controller’s interior, exercise caution and handle the components delicately. The delicate nature of the internal components necessitates a gentle touch to prevent damage.
- Identify the Components: Take a moment to familiarize yourself with the internal layout of the controller. You’ll likely encounter the circuit board, buttons, triggers, analog sticks, rumble motors, and various cables connecting the components.
- Inspect for Issues: While inside the controller, inspect the components for any signs of wear, damage, or debris accumulation. This is an opportune time to address any issues, such as unresponsive buttons, loose connections, or worn-out components.
- Customization Opportunities: If you’re exploring the controller’s interior for customization purposes, consider the possibilities for personalization. From swapping out buttons and analog sticks to applying custom decals or paint, accessing the internal components opens the door to creative customization options.
- Clean and Maintain: Use a microfiber cloth or compressed air to gently clean any dust or debris that may have accumulated inside the controller. Maintaining a clean interior environment is essential for the optimal performance and longevity of the components.
By navigating these steps, you’ll gain valuable insights into the internal components of the Xbox One controller, empowering you to address maintenance needs, explore customization avenues, and foster a deeper connection with your gaming gear. As you prepare to reassemble the controller, the knowledge and experience gained from accessing its internal components will serve you well in your gaming endeavors.
Step 5: Reassembling the Controller
Having explored the internal components of your Xbox One controller, it’s now time to embark on the crucial phase of reassembling the device. This step is pivotal in ensuring that the controller is restored to its fully functional state, ready to deliver an immersive gaming experience once again. As you proceed with the reassembly process, attention to detail and precision are paramount to guaranteeing a seamless and secure reconstruction of the controller.
Follow these steps to effectively reassemble your Xbox One controller:
- Position the Casing Halves: Begin by aligning the two halves of the controller’s casing, ensuring that they fit together snugly. Take care to position the halves accurately, allowing the snaps to engage properly.
- Apply Even Pressure: Once the casing halves are aligned, apply gentle and even pressure along the perimeter to secure the snaps, gradually closing the controller. Ensure that the snaps audibly click into place, indicating a secure closure.
- Verify Alignment: As you proceed, verify that the casing is aligned uniformly without any protrusions or misalignments. This meticulous approach will guarantee a seamless exterior appearance and a secure enclosure for the internal components.
- Insert the Batteries: Retrieve the batteries and insert them back into the battery compartment, ensuring that they are positioned correctly and securely. This step is essential to power the controller once it’s fully reassembled.
- Replace the Battery Cover: With the batteries in place, carefully position the battery cover over the compartment, aligning it correctly with the controller’s body. Engage the release button or latch to secure the battery cover in place.
By meticulously following these steps, you’ll successfully reassemble your Xbox One controller, culminating in a fully restored and functional gaming device. With the controller reassembled, you’re now poised to resume your gaming adventures, equipped with the knowledge and experience gained from navigating the disassembly and reassembly processes.
Conclusion
Congratulations! You’ve successfully navigated the process of opening and reassembling your Xbox One controller without the need for a screwdriver, gaining valuable insights into its internal components and the intricacies of its assembly. By embarking on this journey, you’ve not only expanded your technical prowess but also unlocked the potential for maintenance, repairs, and customization of your gaming gear.
As you reflect on this experience, consider the following key takeaways:
- Resourcefulness: By utilizing alternative tools and techniques, you’ve demonstrated resourcefulness and adaptability in overcoming challenges, showcasing your ability to think outside the box.
- Understanding the Inner Workings: Accessing the internal components of the controller has provided you with a deeper understanding of its construction, functionality, and potential areas for maintenance or enhancement.
- Creative Customization: The process has unveiled opportunities for creative customization, allowing you to personalize your controller to align with your gaming preferences and style.
- Empowerment: Armed with the knowledge gained from this experience, you’re now empowered to address maintenance needs, troubleshoot issues, and embark on future customizations with confidence.
As you return to your gaming endeavors, armed with a newfound understanding of your Xbox One controller, remember that the journey doesn’t end here. Embrace the spirit of exploration and innovation, and continue to seek opportunities to expand your skills and knowledge in the realm of gaming hardware.
Whether you’re a casual gamer seeking to maintain your equipment or a dedicated enthusiast eager to personalize your gaming gear, the experience of opening your Xbox One controller without a screwdriver has undoubtedly enriched your relationship with your gaming device. Embrace the knowledge gained from this endeavor and let it fuel your passion for gaming and technical exploration.
With your controller reassembled and your gaming aspirations reignited, venture forth and immerse yourself in the captivating worlds that await, knowing that you’ve unlocked the potential to not only game but also innovate and customize your gaming experience.
Frequently Asked Questions about How To Open Xbox One Controller Without A Screwdriver
Was this page helpful?
At Storables.com, we guarantee accurate and reliable information. Our content, validated by Expert Board Contributors, is crafted following stringent Editorial Policies. We're committed to providing you with well-researched, expert-backed insights for all your informational needs.


0 thoughts on “How To Open Xbox One Controller Without A Screwdriver”