Articles
How To Sync Xbox One Controller To Pc Adapter
Modified: January 8, 2024
Learn how to easily sync your Xbox One controller to a PC with the adapter. Read our informative articles for step-by-step instructions and troubleshooting tips.
(Many of the links in this article redirect to a specific reviewed product. Your purchase of these products through affiliate links helps to generate commission for Storables.com, at no extra cost. Learn more)
Introduction
Connecting an Xbox One controller to a PC allows you to enjoy your favorite games with the familiar and comfortable controller interface. While you can connect the controller using a USB cable, using the Xbox Wireless Adapter offers a wireless solution that allows for greater flexibility and convenience. In this article, we will guide you through the process of syncing your Xbox One controller to a PC using the Xbox Wireless Adapter.
Before we dive into the steps, it’s important to note that not all Xbox One controllers are compatible with the Xbox Wireless Adapter. To ensure compatibility, you will need to have a controller with built-in Bluetooth capabilities or an Xbox Wireless Controller that supports the Xbox Wireless Adapter.
Now that we’ve covered the necessary information, let’s get started with the step-by-step process of syncing your Xbox One controller to your PC using the Xbox Wireless Adapter.
Key Takeaways:
- Enjoy wireless gaming on your PC by syncing your Xbox One controller using the Xbox Wireless Adapter. Follow the step-by-step guide for a seamless and familiar gaming experience without the hassle of wires.
- Ensure compatibility, install the driver, connect the adapter, sync the controller, and test the connection to seamlessly enjoy your favorite games wirelessly with the comfort of your Xbox One controller on your PC.
Step 1: Check Compatibility
Before beginning the process of syncing your Xbox One controller to your PC using the Xbox Wireless Adapter, it is crucial to check the compatibility of your controller and adapter. As mentioned earlier, not all Xbox One controllers are compatible with the adapter.
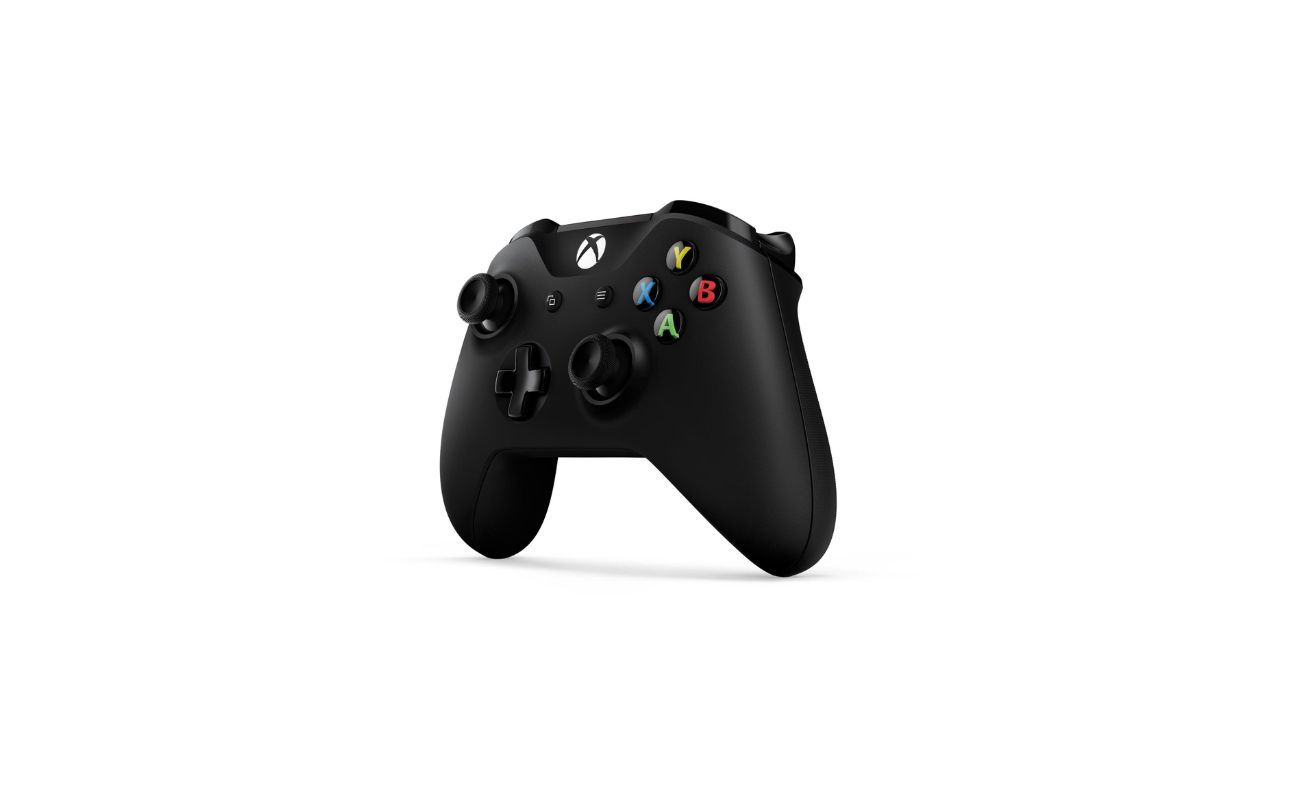
First, check if your Xbox One controller has built-in Bluetooth capabilities. You can do this by looking for a small circular button located near the top of the controller, between the two bumpers. If your controller has this button, it means it has built-in Bluetooth and can be synced wirelessly to your PC.
If your controller does not have built-in Bluetooth, you will need an Xbox Wireless Controller that supports the Xbox Wireless Adapter. These controllers use the proprietary wireless technology provided by Microsoft, and the adapter serves as a bridge between the controller and your PC.
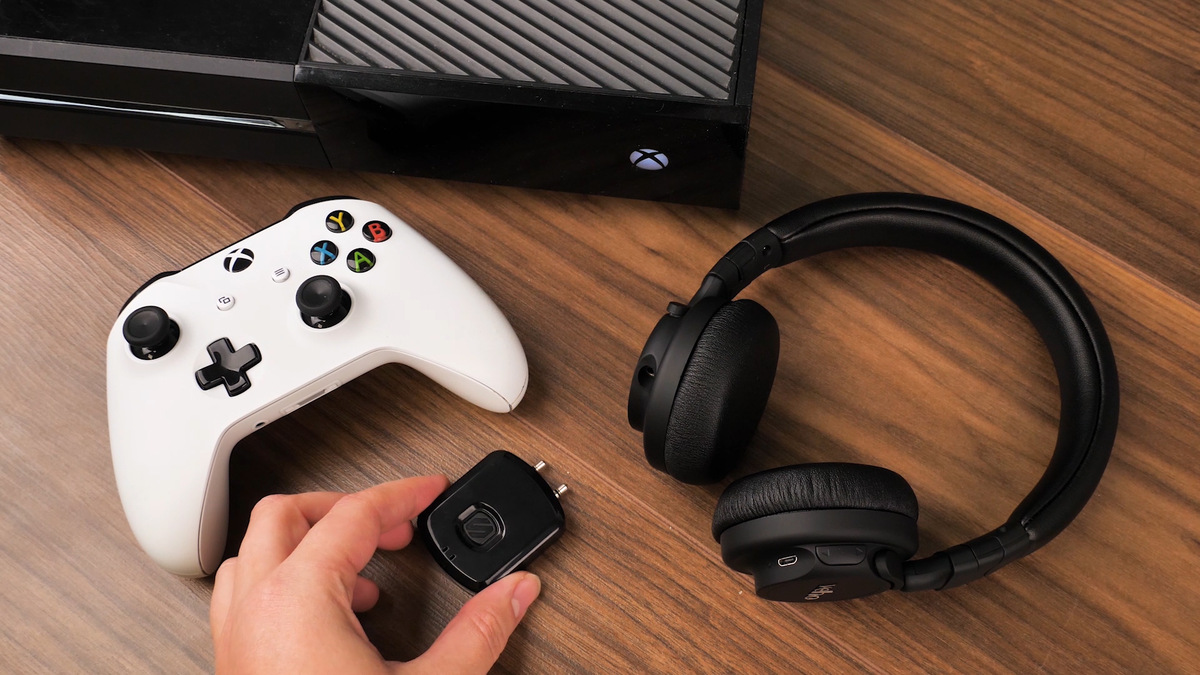
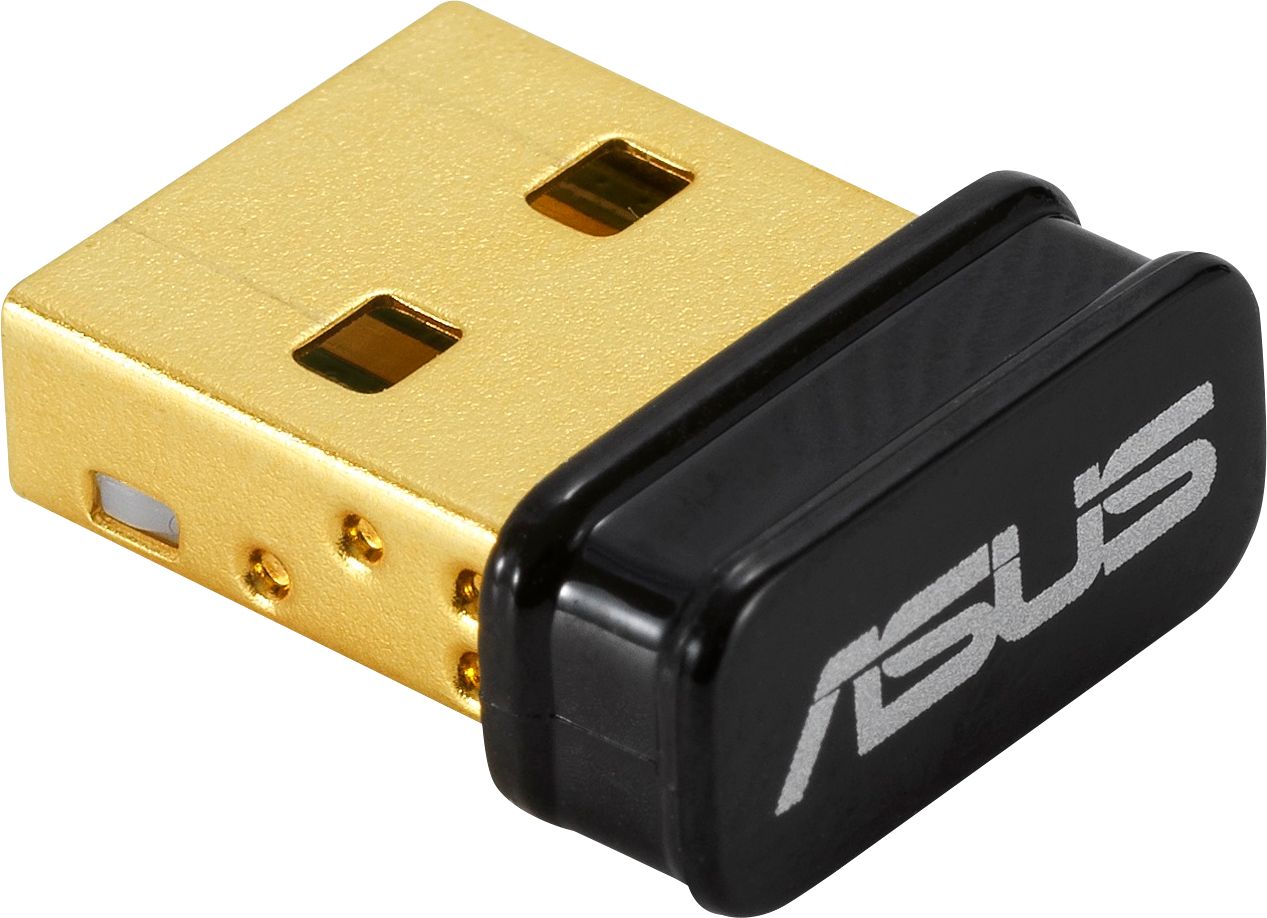
Ensure that you have the Xbox Wireless Adapter, a small USB device that allows your PC to communicate with the Xbox One controller. It is essential to have the official adapter manufactured by Microsoft to ensure optimal performance and compatibility.
Once you have verified that your controller and adapter are compatible, you can proceed to the next step of installing the necessary driver on your PC.
Step 2: Install the Xbox Wireless Adapter driver on PC
Before you can connect your Xbox Wireless Adapter to your PC, you need to install the appropriate driver software. This driver allows your PC to recognize and communicate with the adapter, establishing a connection between your controller and the computer.
To install the Xbox Wireless Adapter driver, follow these steps:
- Insert the Xbox Wireless Adapter into an available USB port on your PC. It may take a few moments for your PC to detect the adapter.
- Once detected, open your web browser and navigate to the official Microsoft website.
- Search for the Xbox Wireless Adapter driver page. Look for the correct driver that corresponds to your operating system. For example, if you have Windows 10, find the driver specifically designed for Windows 10.
- Download the driver to your computer and wait for the download to complete.
- Locate the downloaded driver file and double-click on it to start the installation process.
- Follow the on-screen instructions provided by the installation wizard to install the driver on your PC.
- Once the installation is complete, restart your PC to ensure that the driver is properly configured.
After restarting your PC, the Xbox Wireless Adapter driver should be successfully installed, allowing your computer to recognize the adapter when connected. With the driver installed, you can now proceed to the next step and connect your Xbox Wireless Adapter to your PC.
Step 3: Connect the Xbox Wireless Adapter to PC
Now that you have installed the Xbox Wireless Adapter driver on your PC, it’s time to connect the adapter to your computer.
Follow these steps to connect the Xbox Wireless Adapter to your PC:
- Ensure that your PC is turned on and running.
- Locate an available USB port on your PC and insert the Xbox Wireless Adapter into it.
- Wait for your PC to recognize the adapter. It may take a few moments for the connection to establish.
- Once the adapter is detected, you will see a notification or a pop-up indicating that the device is ready to use.
At this point, your Xbox Wireless Adapter is successfully connected to your PC. The next step involves syncing your Xbox One controller to the adapter for wireless play.
Note: If you encounter any issues during the connection process, make sure that you have properly installed the driver and restarted your PC as mentioned in the previous step. Additionally, try using a different USB port on your PC to rule out any port-related problems.
Now that you have successfully connected the Xbox Wireless Adapter to your PC, it’s time to proceed to the next step and sync your Xbox One controller with the adapter.
To sync an Xbox One controller to a PC adapter, simply press the sync button on the adapter and then the sync button on the controller. The adapter will then connect to the controller, allowing you to use it with your PC.
Step 4: Sync Xbox One Controller to the Adapter
With the Xbox Wireless Adapter connected to your PC, it’s time to sync your Xbox One controller for wireless gameplay. Follow these steps to sync your controller:
- Turn on your Xbox One controller by pressing the Xbox button in the center.
- Locate the sync button on the controller. On the Xbox One S controller, it is located at the top of the controller between the bumpers. On the original Xbox One controller, it is located on the left side of the controller, near the charging port.
- Press and hold the sync button on the controller for a few seconds. The Xbox logo on the controller will start flashing, indicating that it is in sync mode.
- Now, locate the sync button on the Xbox Wireless Adapter, which is a small button located on the top or side of the adapter.
- Press the sync button on the adapter. The LED light on the adapter will start flashing rapidly.
- Wait for a few seconds until the Xbox One controller and the Xbox Wireless Adapter establish a connection. Once the LED light on the adapter stops flashing and remains solid, it means the controller is successfully synced.
At this point, your Xbox One controller is wirelessly connected to your PC through the Xbox Wireless Adapter. You can now enjoy your favorite games on your computer using the familiar and comfortable Xbox controller interface.
If you wish to connect additional controllers, simply repeat the syncing process for each controller. All synced controllers will work simultaneously with the Xbox Wireless Adapter on your PC.
Now that your controller is synced to the adapter, it’s time to proceed to the final step and test the connection to ensure everything is functioning properly.
Step 5: Test the Connection
After syncing your Xbox One controller to the Xbox Wireless Adapter, it’s essential to test the connection to ensure that everything is working correctly. Performing a quick test will help you verify that the controller is communicating with your PC effectively.
Here’s how you can test the connection:
- Open your preferred game or gaming platform on your PC.
- Navigate to the game’s controller settings or options menu.
- Select the option to configure or set up a controller.
- Follow the on-screen instructions to configure your controller to work with the game.
- Test the various buttons, triggers, and joysticks on your Xbox One controller to ensure that they respond accurately and perform the desired actions within the game.
If all buttons and inputs work as expected, congratulations! Your Xbox One controller is successfully connected and functioning properly via the Xbox Wireless Adapter on your PC.
In the event that you experience any issues during the testing process, make sure to check the following:
- Ensure that the Xbox Wireless Adapter is securely connected to your PC and is not loose.
- Verify that the controller is properly synced to the adapter by repeating the syncing process described in Step 4.
- Update the controller firmware and driver software to the latest versions to resolve any compatibility or performance issues.
- Check your game’s compatibility with the Xbox One controller and make sure it supports controller input on PC.
By following these troubleshooting steps, you should be able to resolve any connectivity or functionality issues and enjoy seamless gaming with your Xbox One controller on your PC.
Congratulations! You have successfully learned how to sync your Xbox One controller to your PC using the Xbox Wireless Adapter. You can now enjoy the flexibility and convenience of playing your favorite games wirelessly with the comfort of your Xbox One controller.
Whether you’re playing games on Steam, using game streaming services, or using PC games from the Microsoft Store, the Xbox Wireless Adapter provides a seamless and reliable connection for an immersive gaming experience on your PC.
Now, go ahead and dive into your gaming adventures with your Xbox One controller and enjoy the freedom of wireless gaming on your PC!
Happy gaming!
Conclusion
Connecting your Xbox One controller to your PC using the Xbox Wireless Adapter opens up a world of possibilities for enjoyable and convenient gaming. The wireless solution provides flexibility and freedom of movement, allowing you to immerse yourself in your favorite games without the hassle of wires.
In this article, we walked you through the step-by-step process of syncing your Xbox One controller to your PC using the Xbox Wireless Adapter. We covered how to check compatibility, install the necessary driver, connect the adapter to your PC, sync the controller, and test the connection.
By following these instructions, you should now have your Xbox One controller successfully connected and ready to use on your PC. Whether you’re playing PC games from the Microsoft Store, using game streaming services, or gaming on platforms like Steam, your Xbox One controller provides a familiar and comfortable interface for an immersive gaming experience.
Remember to ensure your controller and adapter are compatible before proceeding, and always use the official Xbox Wireless Adapter for optimal performance. If you encounter any issues during the process, refer to the troubleshooting steps we provided to resolve them.
Now that you have your controller connected, it’s time to dive into your gaming adventures. Enjoy the freedom and convenience of wireless gaming with your Xbox One controller on your PC.
Thank you for reading, and we hope this guide has been helpful in successfully syncing your Xbox One controller to your PC using the Xbox Wireless Adapter. Happy gaming!
Frequently Asked Questions about How To Sync Xbox One Controller To Pc Adapter
Was this page helpful?
At Storables.com, we guarantee accurate and reliable information. Our content, validated by Expert Board Contributors, is crafted following stringent Editorial Policies. We're committed to providing you with well-researched, expert-backed insights for all your informational needs.


0 thoughts on “How To Sync Xbox One Controller To Pc Adapter”