Home>Renovation & DIY>Tools & Equipment>What Grit Sandpaper For Finishing Paint
Tools & Equipment
What Grit Sandpaper For Finishing Paint
Published: December 20, 2023
Discover the right grit sandpaper for a flawless paint finish with our comprehensive guide. Find top-quality tools and equipment for your project.
(Many of the links in this article redirect to a specific reviewed product. Your purchase of these products through affiliate links helps to generate commission for Storables.com, at no extra cost. Learn more)
**
Introduction
**
When it comes to achieving a flawless finish on a painting project, the significance of using the right grit sandpaper cannot be overstated. Whether you are a seasoned professional or a DIY enthusiast, understanding the intricacies of grit sandpaper and its impact on the final outcome is crucial. This comprehensive guide is designed to shed light on the nuances of grit sandpaper and provide valuable insights into choosing the right grit for finishing paint. Additionally, it will offer practical tips for using grit sandpaper effectively to achieve the desired results. Let's delve into the world of grit sandpaper and uncover the secrets to achieving a smooth, impeccable finish on your paint projects.
**
Key Takeaways:
- Choose the right grit sandpaper based on surface condition and paint type for a flawless finish. Start with a coarser grit for imperfections and progress to finer grits for a polished look.
- Use light pressure, circular motions, and frequent inspection when sanding for optimal results. Clean the surface between grits and sand in the direction of the grain for a professional-grade finish.
Read more: What Grit Sandpaper For Acrylic Paint
Understanding Grit Sandpaper
**
Before delving into the specifics of choosing the right grit sandpaper for finishing paint, it’s essential to grasp the fundamentals of grit sandpaper. Grit refers to the coarseness or fineness of the abrasive particles bonded to the sandpaper. These abrasive particles, typically made of aluminum oxide or silicon carbide, are distributed across the paper or cloth backing to create a rough surface capable of smoothing or shaping surfaces.
Grit is denoted by a numerical value, which represents the number of abrasive particles per square inch. The higher the grit number, the finer the abrasive particles and the smoother the sandpaper. Conversely, lower grit numbers indicate coarser particles that are suitable for more aggressive material removal.
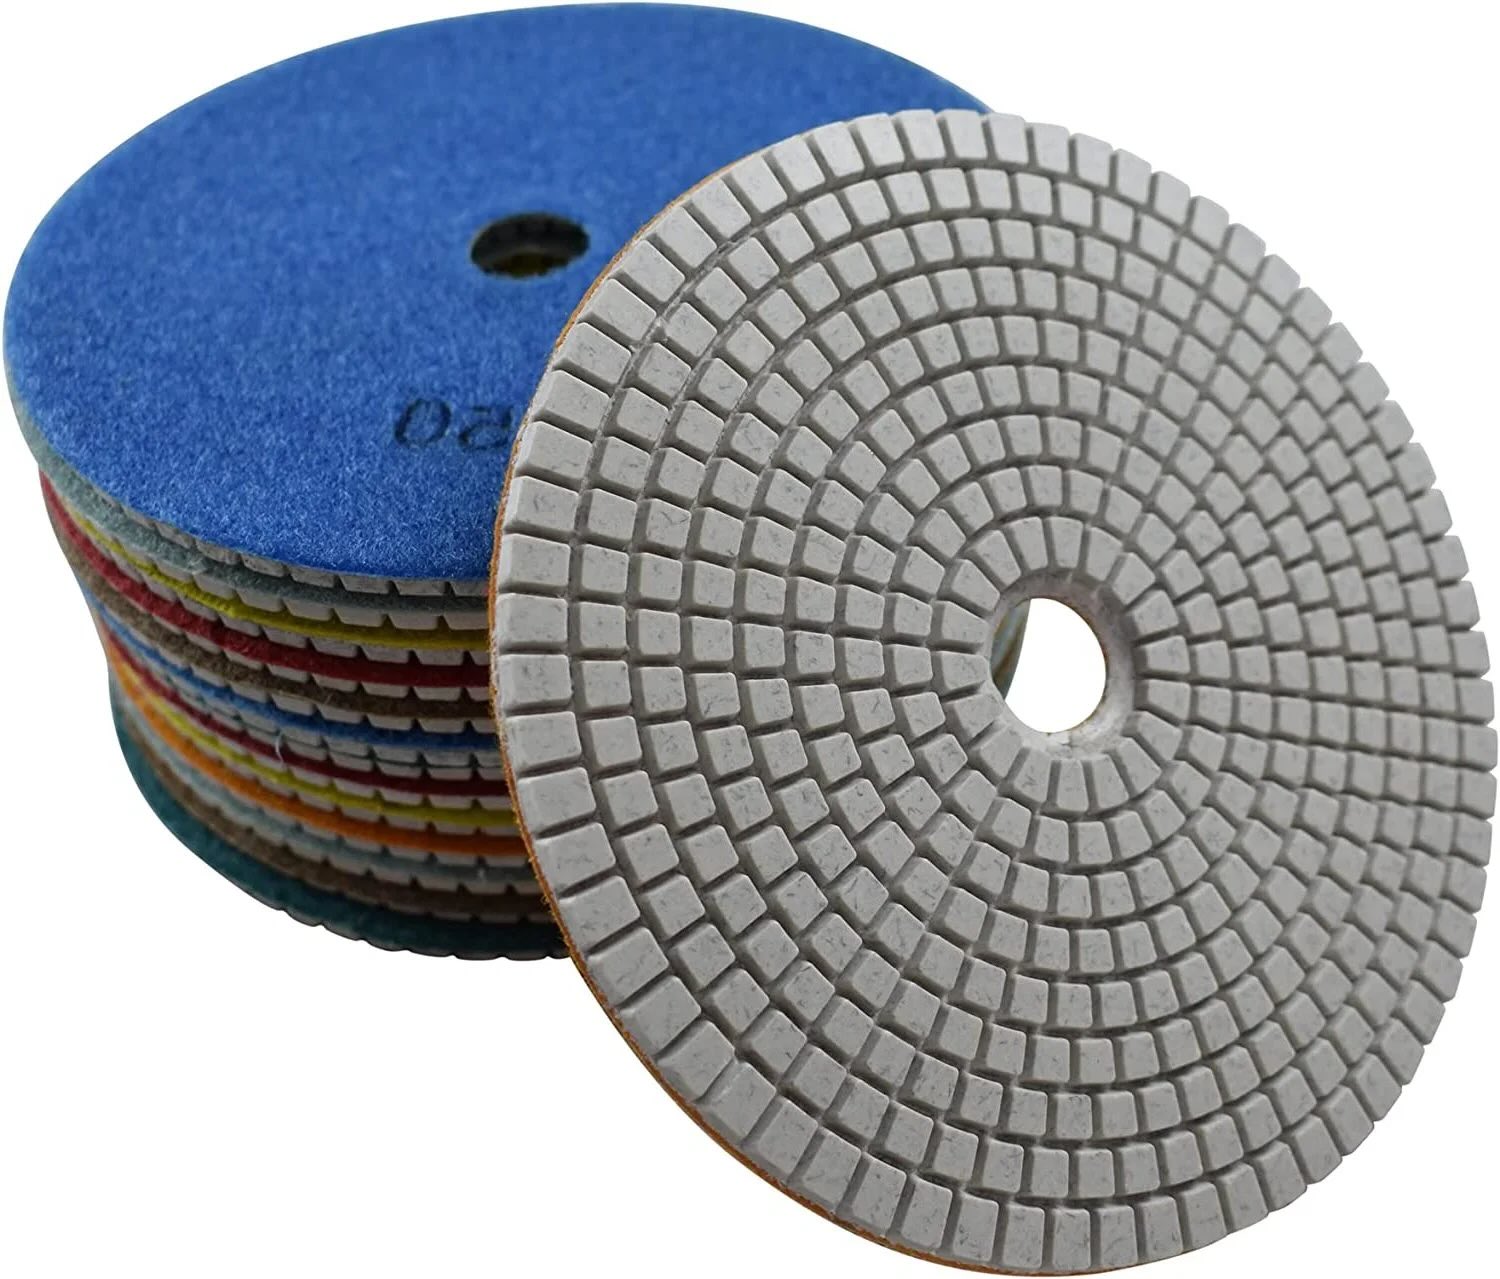
Common grit ranges for sandpaper include:
- Coarse grits (40-60): Ideal for heavy material removal and rough shaping.
- Medium grits (80-120): Suitable for moderate material removal and initial smoothing.
- Fine grits (150-180): Designed for light material removal and preparing surfaces for finishing.
- Very fine grits (220-240 and above): Used for final smoothing and achieving a polished finish.
Understanding the relationship between grit and surface finish is pivotal. The selection of the appropriate grit sandpaper is contingent upon the condition of the surface and the desired level of smoothness. By comprehending the characteristics of different grits, you can make informed decisions when choosing sandpaper for your painting projects.
**
Choosing the Right Grit Sandpaper for Finishing Paint
**
When it comes to finishing paint, selecting the correct grit sandpaper is paramount to achieving a flawless, professional result. The choice of grit depends on the specific requirements of the project, including the type of surface, the condition of the existing finish, and the desired smoothness of the final coat. Here’s a comprehensive guide to help you navigate the process of choosing the right grit sandpaper for finishing paint:
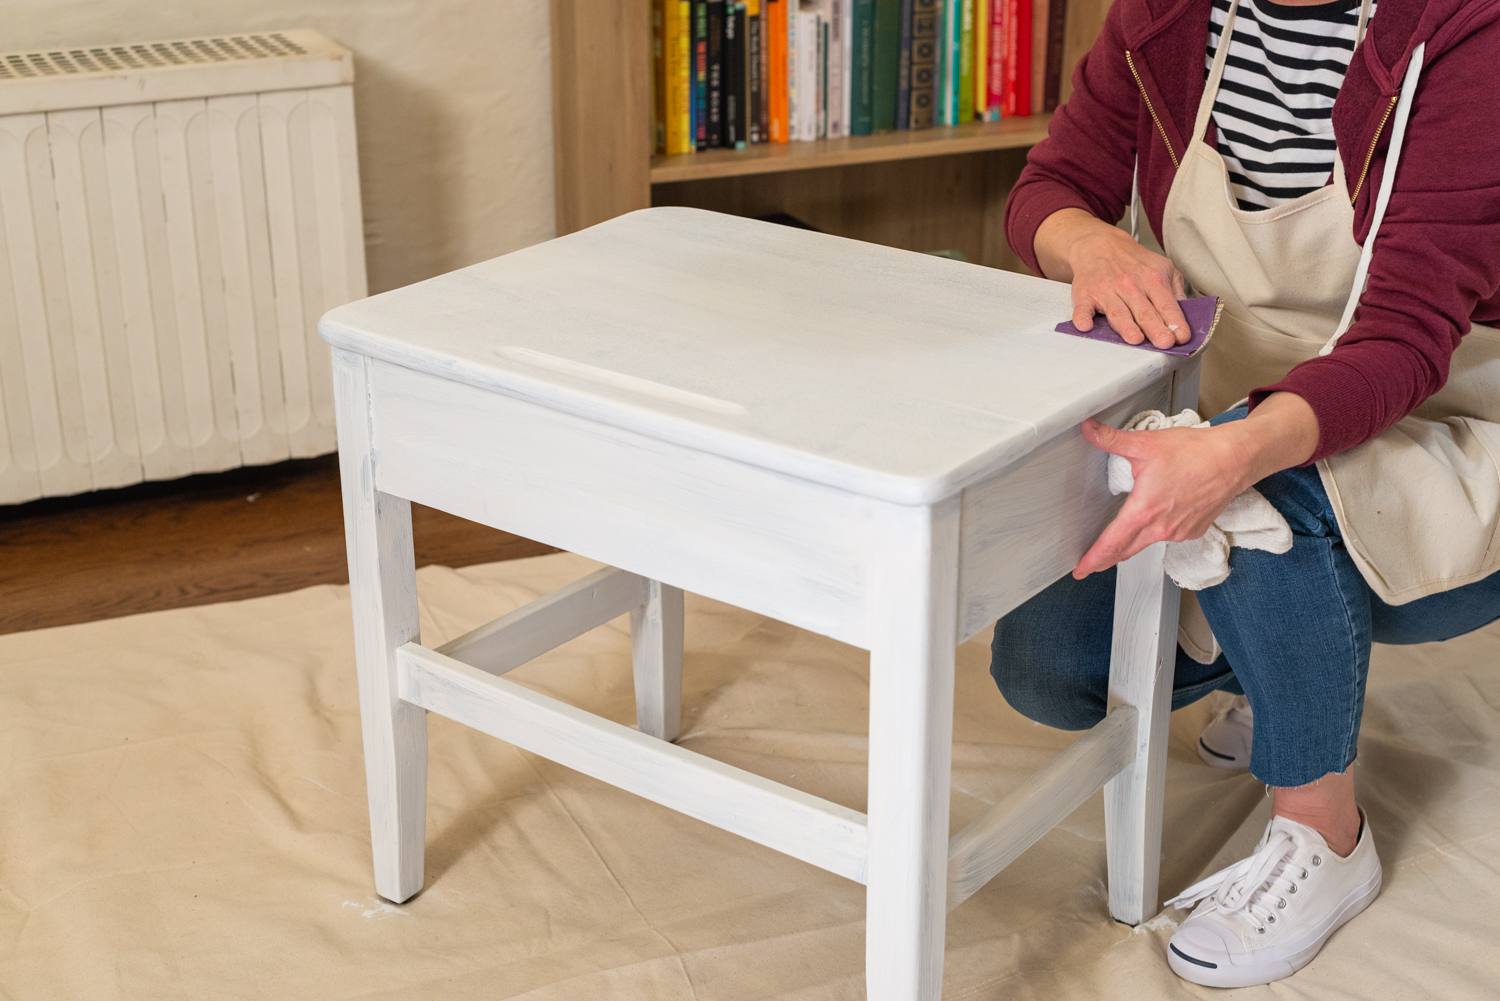
1. Assess the Surface: Before selecting the grit, assess the surface to be finished. If the surface has imperfections, old paint, or rough patches, start with a coarser grit to smooth out these irregularities. For surfaces in good condition, a finer grit can be used for a lighter touch-up.
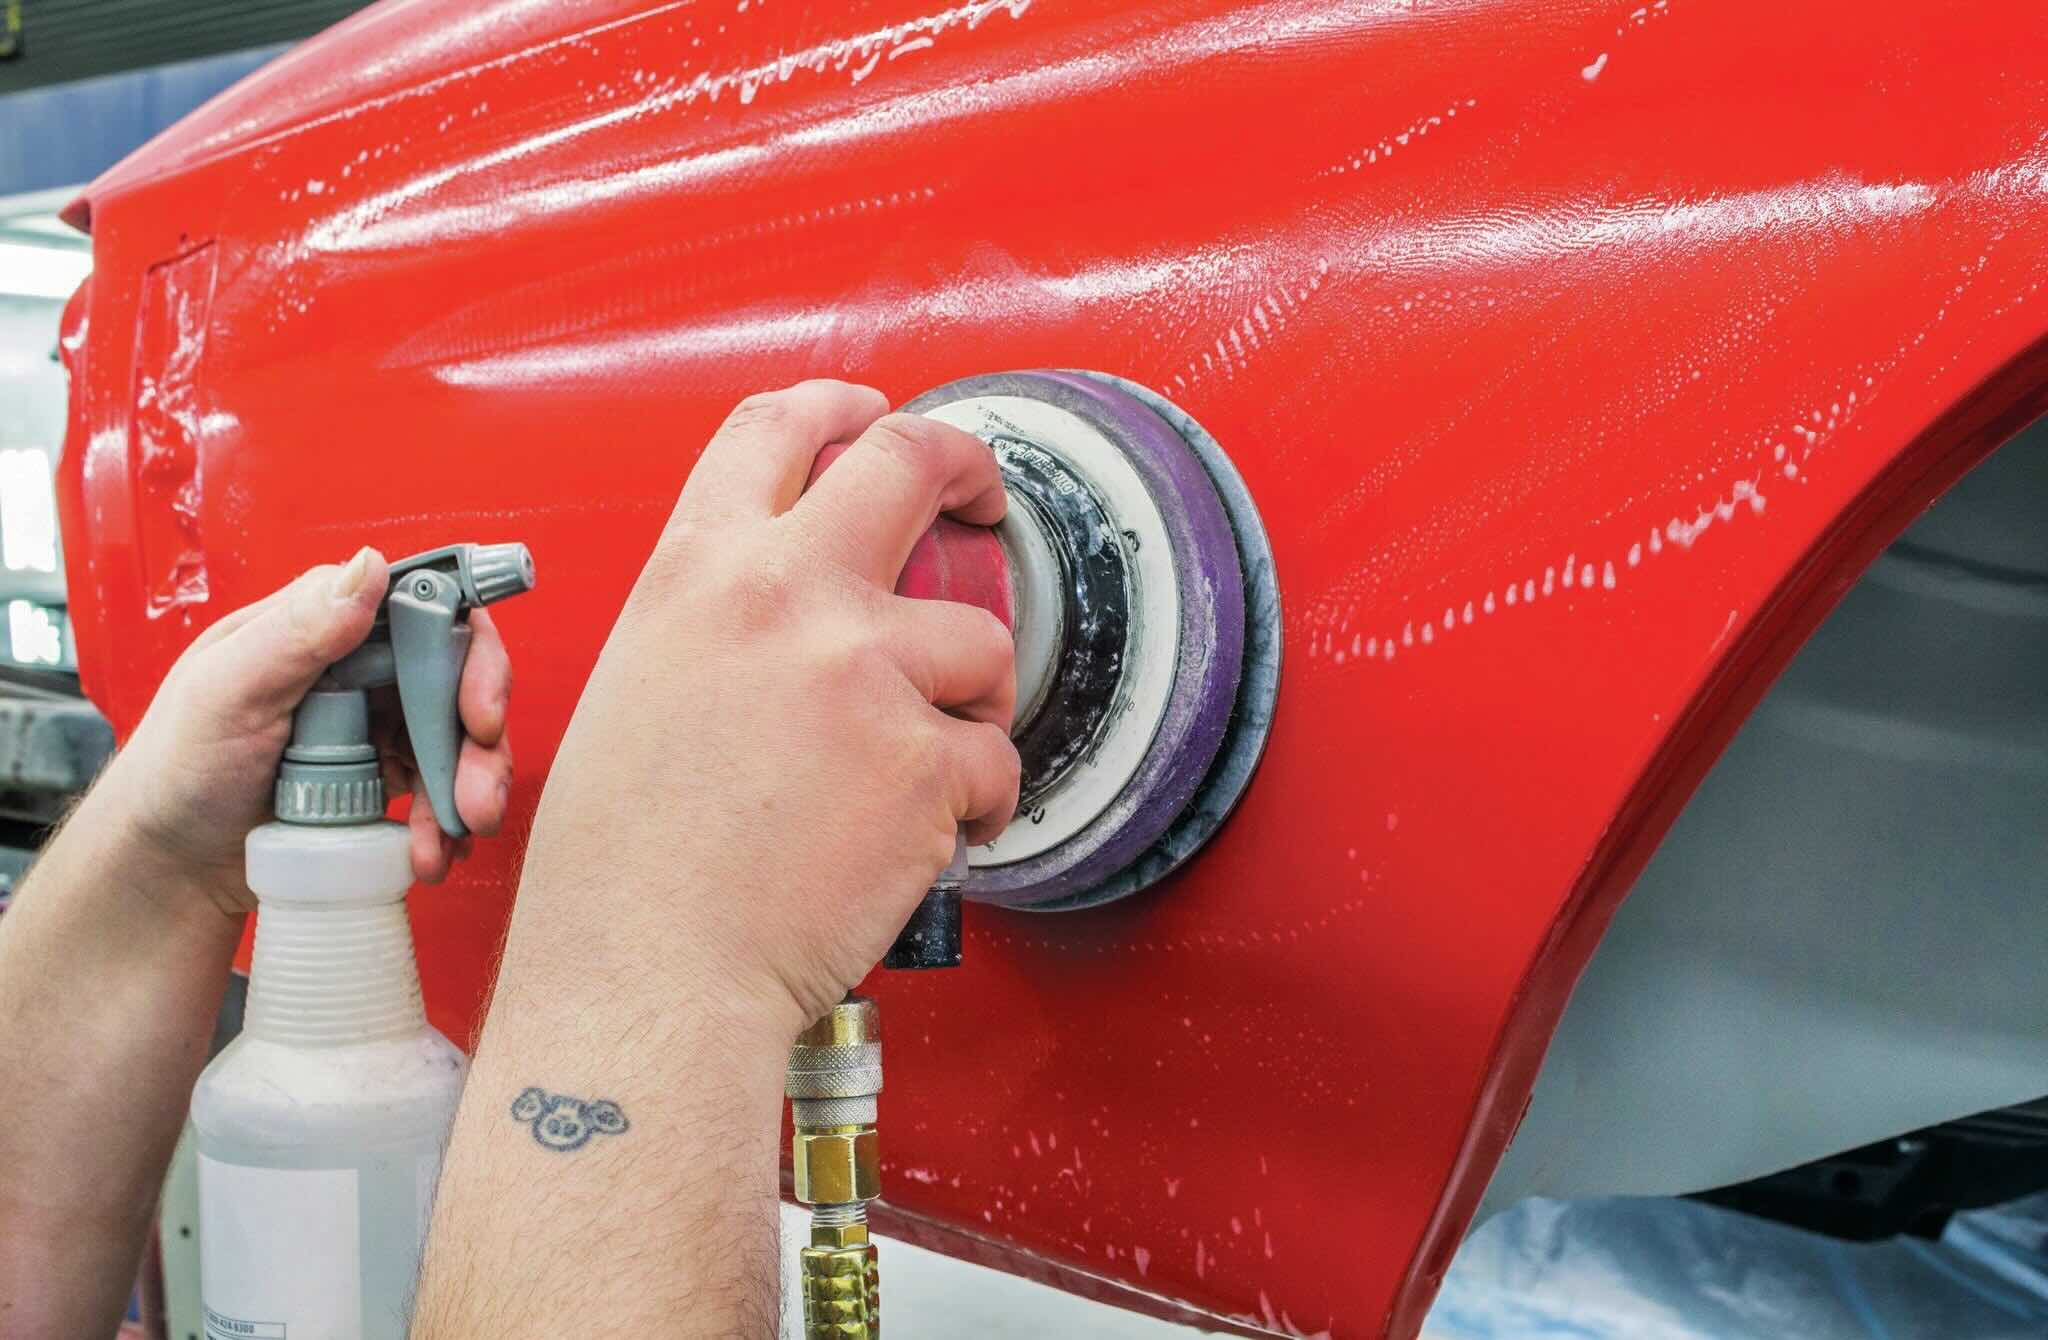
2. Consider the Paint Type: Different paint formulations may require specific grit sandpaper for optimal finishing. For oil-based paints and high-gloss finishes, using a finer grit (220-400) is recommended to achieve a smooth, lustrous surface. Water-based paints and matte finishes may necessitate a slightly coarser grit (150-220) to ensure proper adhesion and a uniform finish.
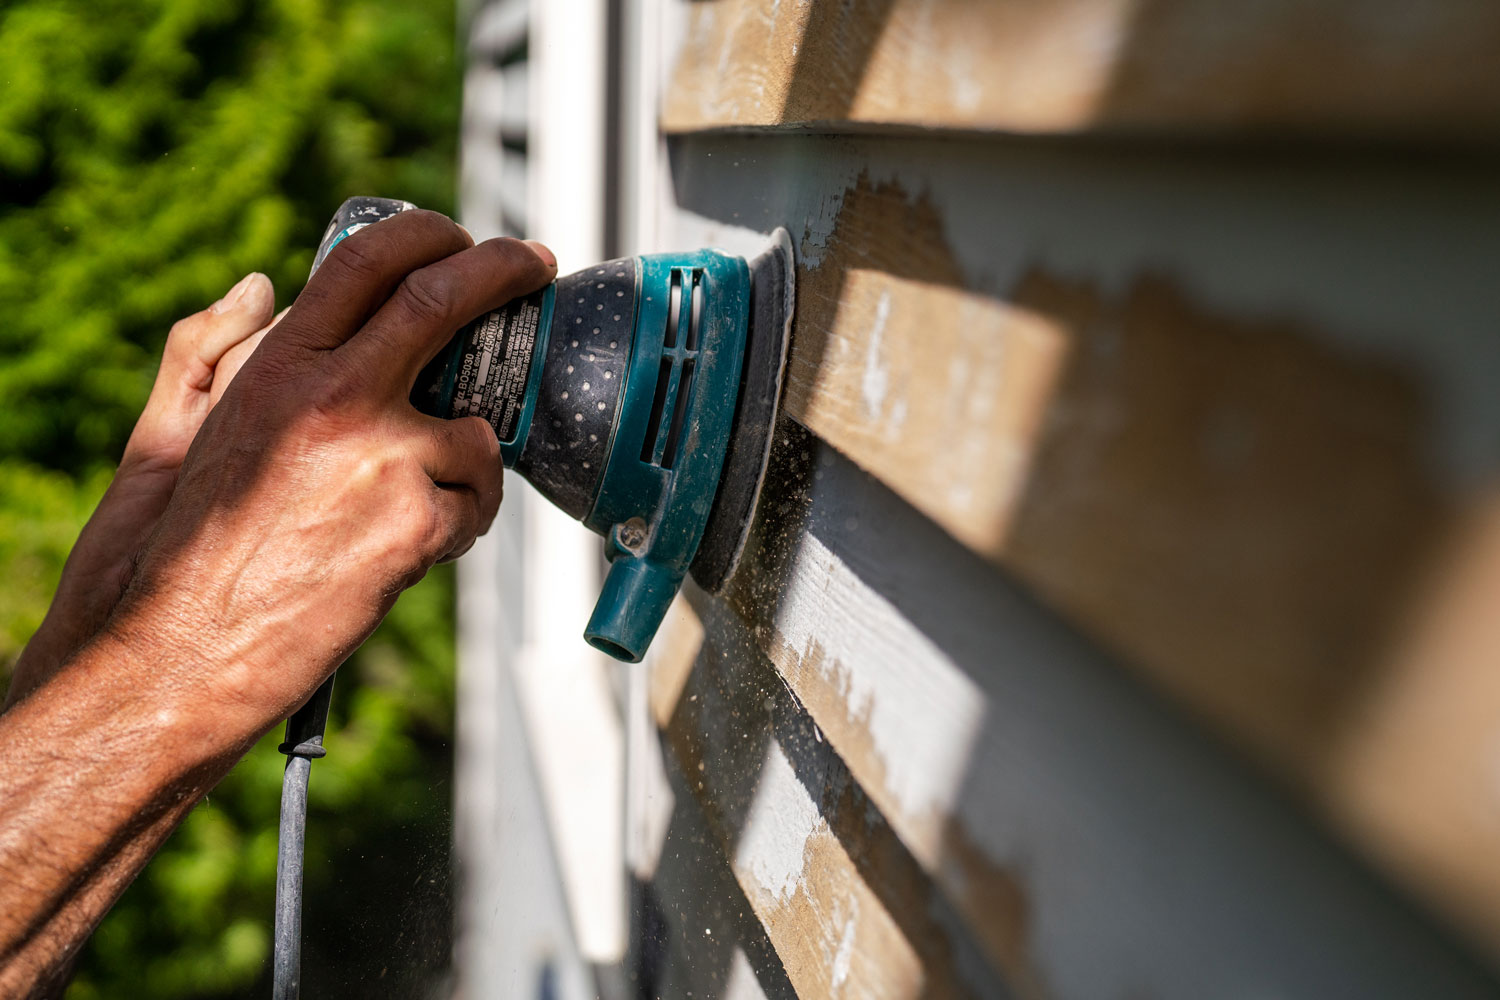
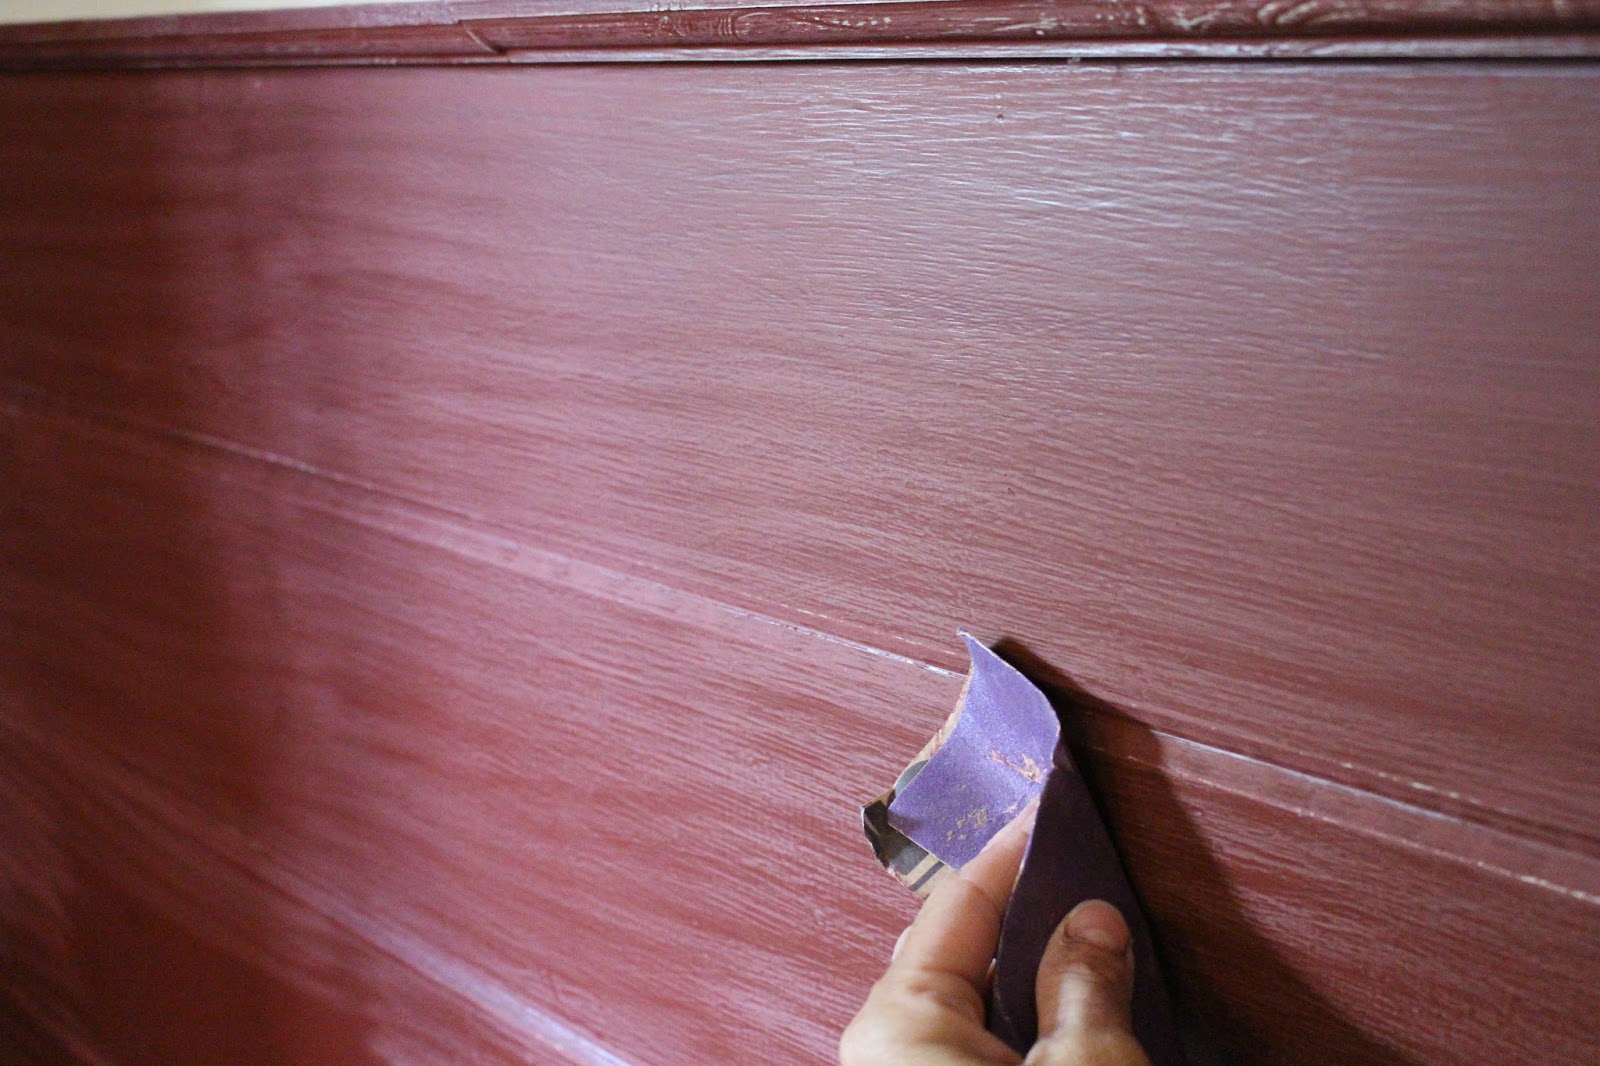
3. Factor in the Previous Finish: If you are refinishing a surface with existing paint or varnish, the condition of the previous finish influences the grit selection. For removing old finishes or paint, start with a coarser grit to strip away the existing layers. Subsequently, progress to finer grits for smoothing and preparing the surface for the new coat of paint.
4. Grit Progression: In many cases, using a progression of grits yields the best results. Start with a coarser grit to address any imperfections or roughness, then gradually move to finer grits to achieve a polished, blemish-free surface. This stepwise approach ensures a seamless transition between the layers of paint, resulting in a professional-quality finish.
By considering these factors and understanding the nuances of grit selection, you can make informed choices when it comes to finishing paint. The right grit sandpaper will not only expedite the painting process but also contribute to the overall aesthetic appeal and durability of the painted surface.
**
For finishing paint, use fine grit sandpaper such as 220-320 for a smooth surface. Start with a coarser grit if there are imperfections, then move to a finer grit for a polished finish.
Tips for Using Grit Sandpaper for Finishing Paint
**
While choosing the appropriate grit sandpaper is crucial, employing effective techniques is equally essential for achieving a flawless finish when painting. Here are some valuable tips for using grit sandpaper to enhance the quality of your paint finishing:
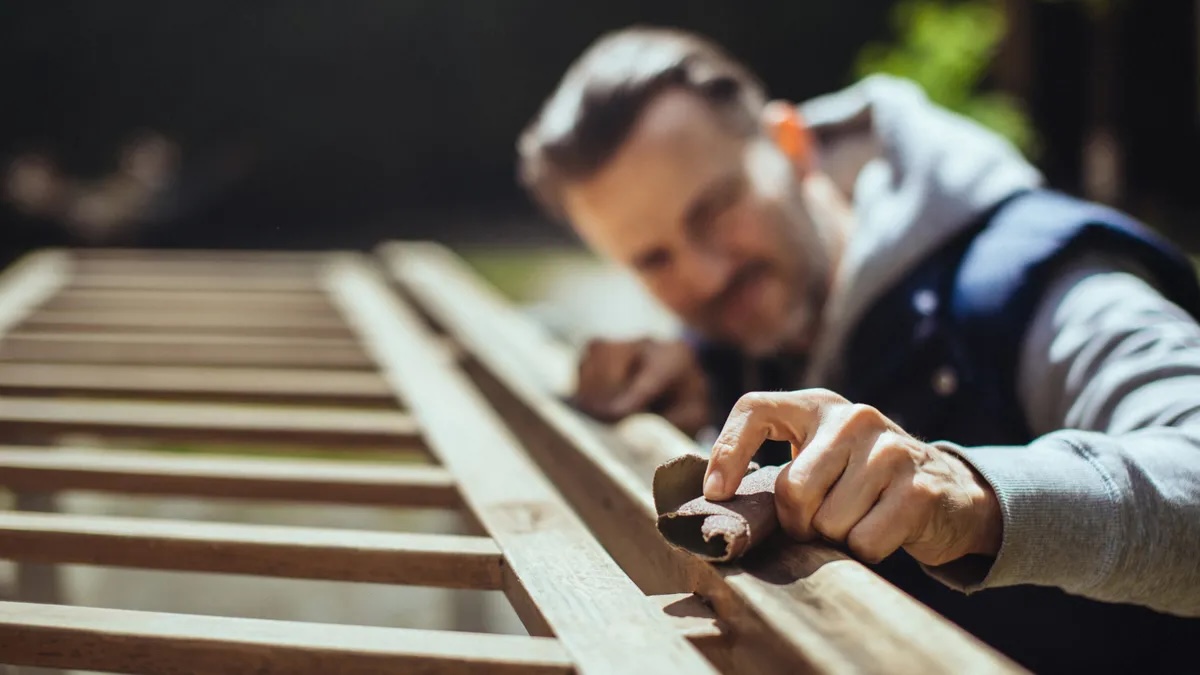
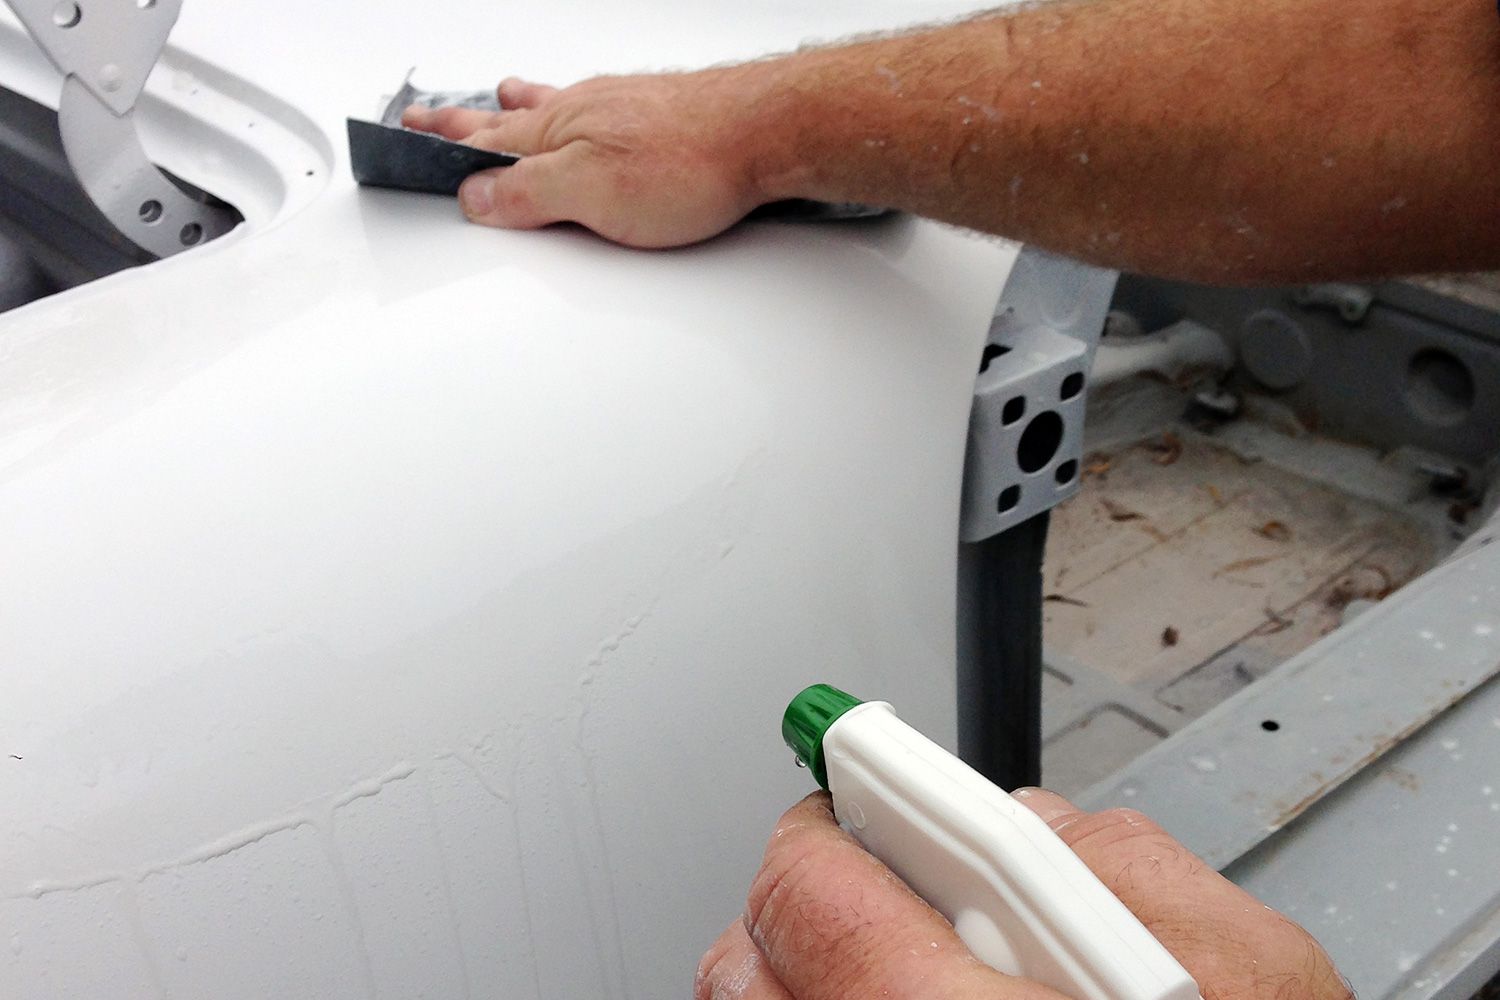
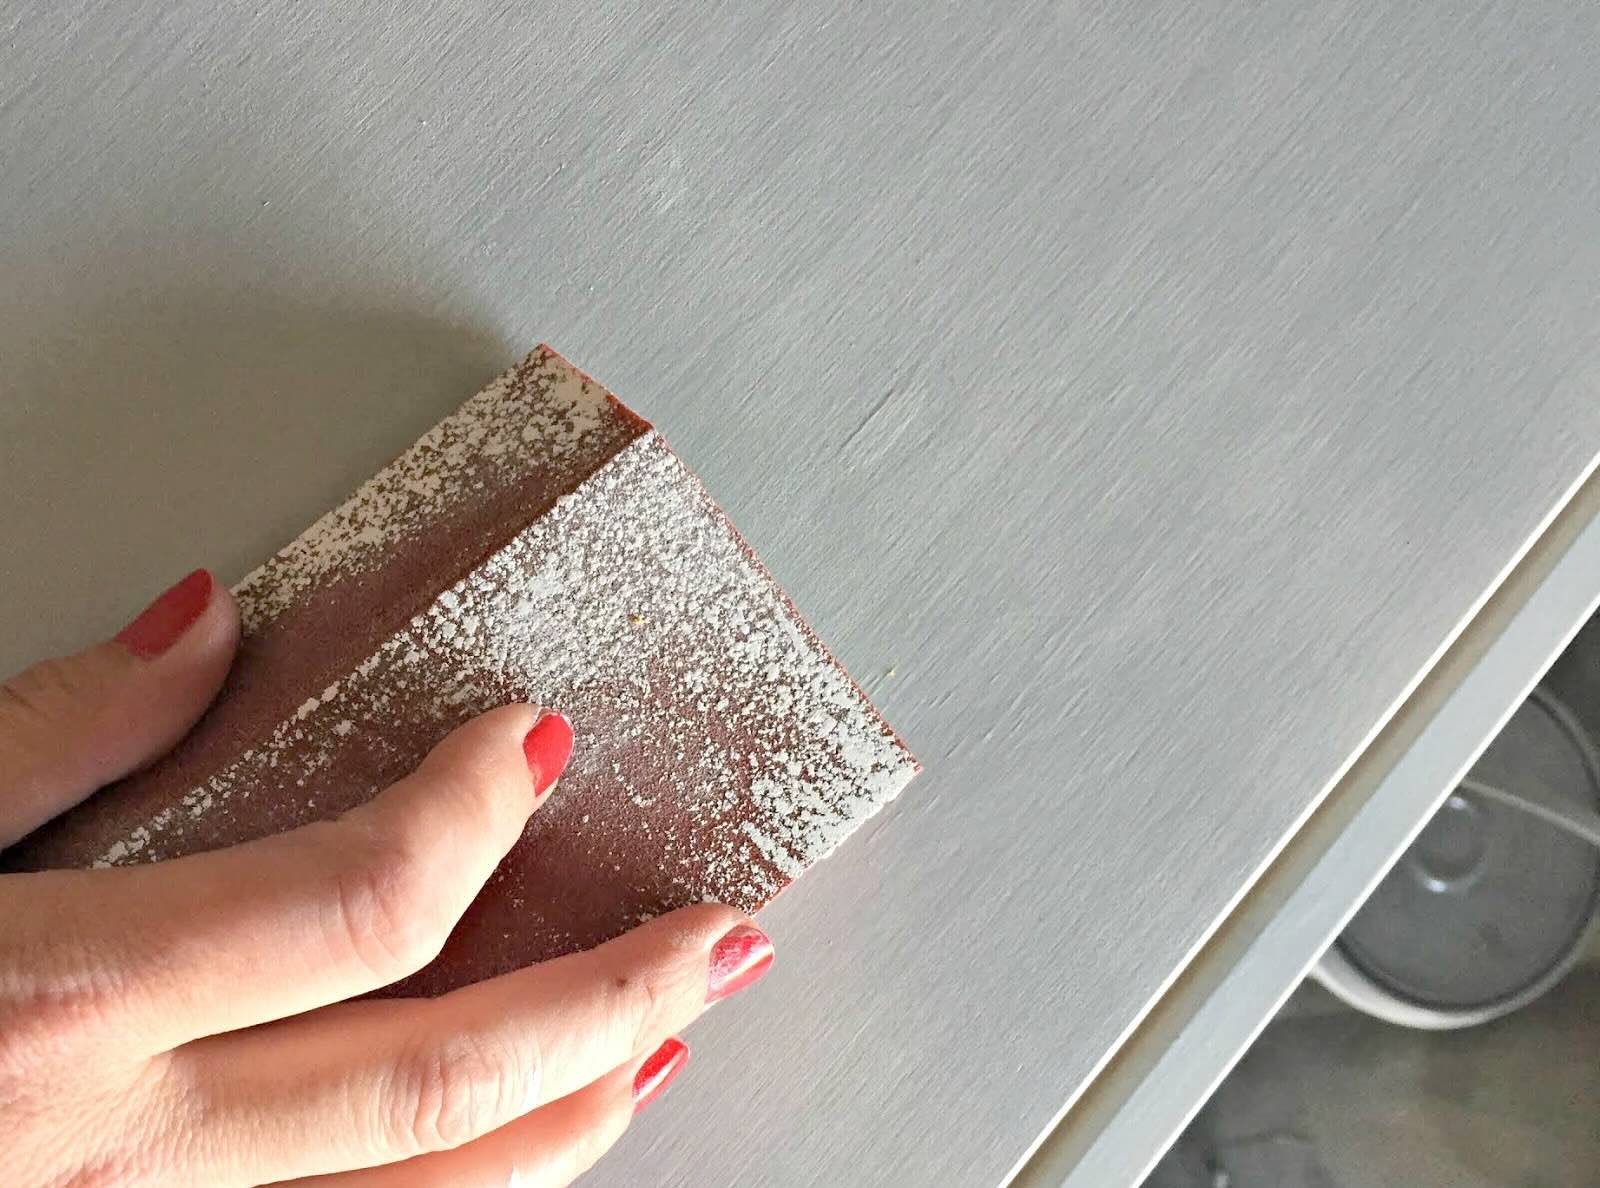
1. Use Light Pressure: When sanding the surface in preparation for paint, apply gentle, even pressure. Exerting excessive force can lead to uneven sanding and may damage the underlying material. Let the sandpaper do the work, and maintain a consistent motion to achieve a smooth, uniform surface.
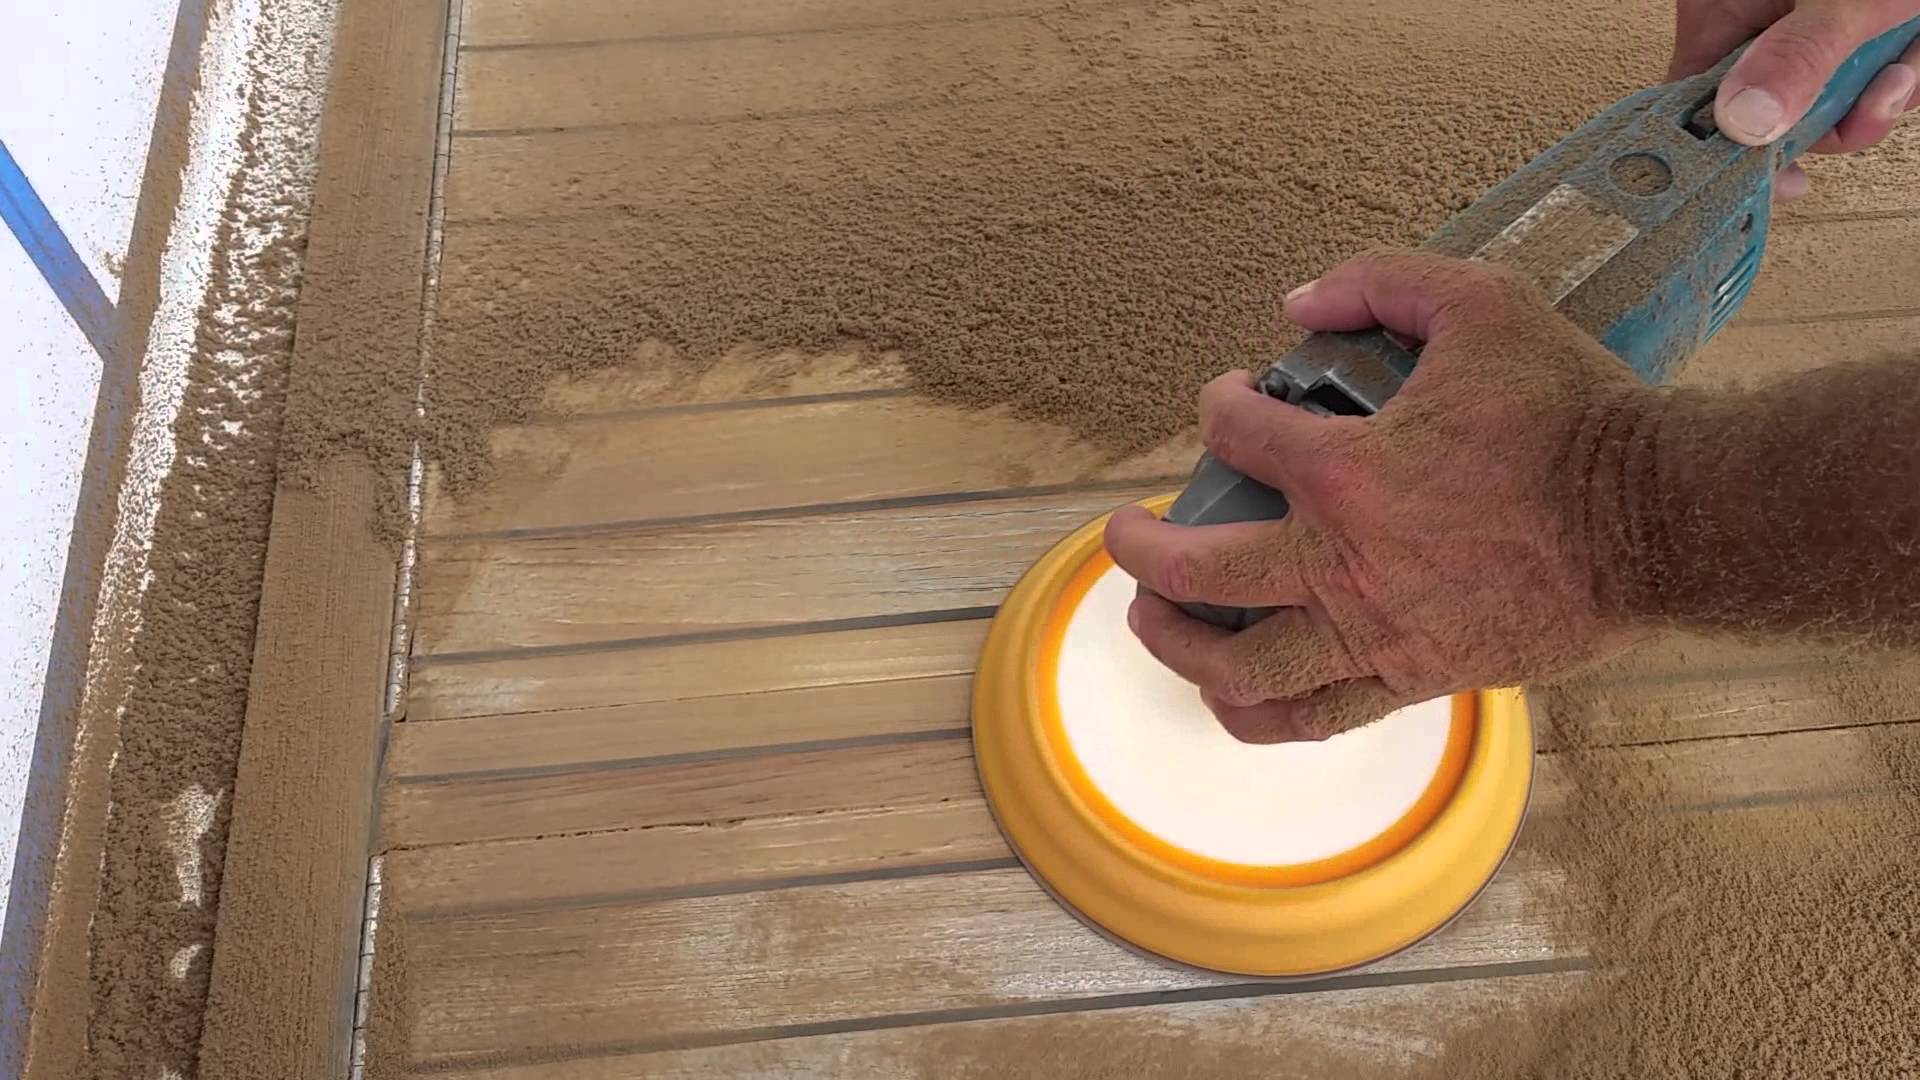
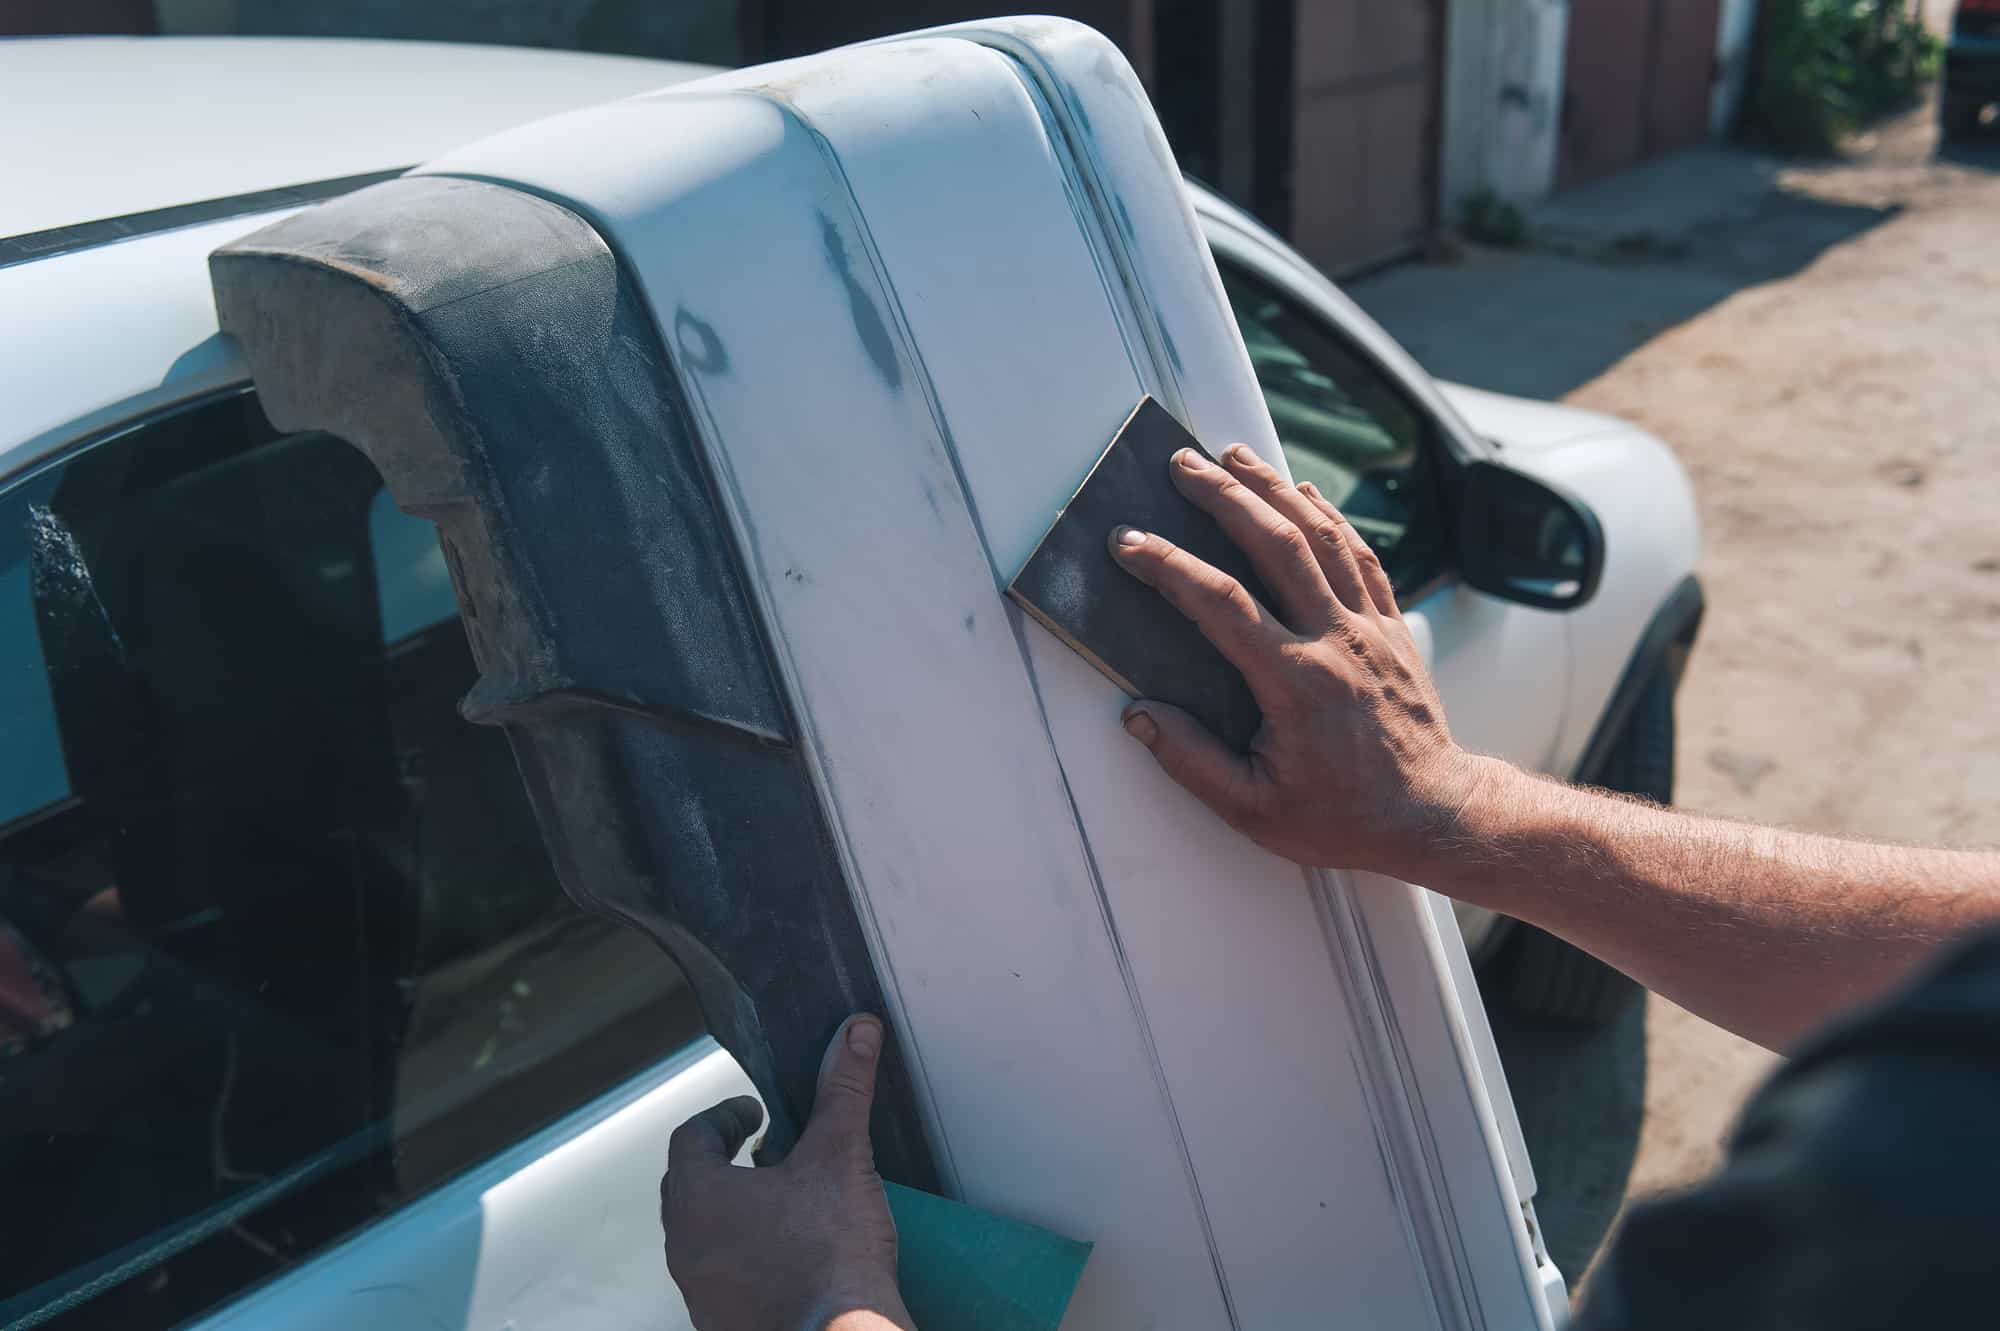
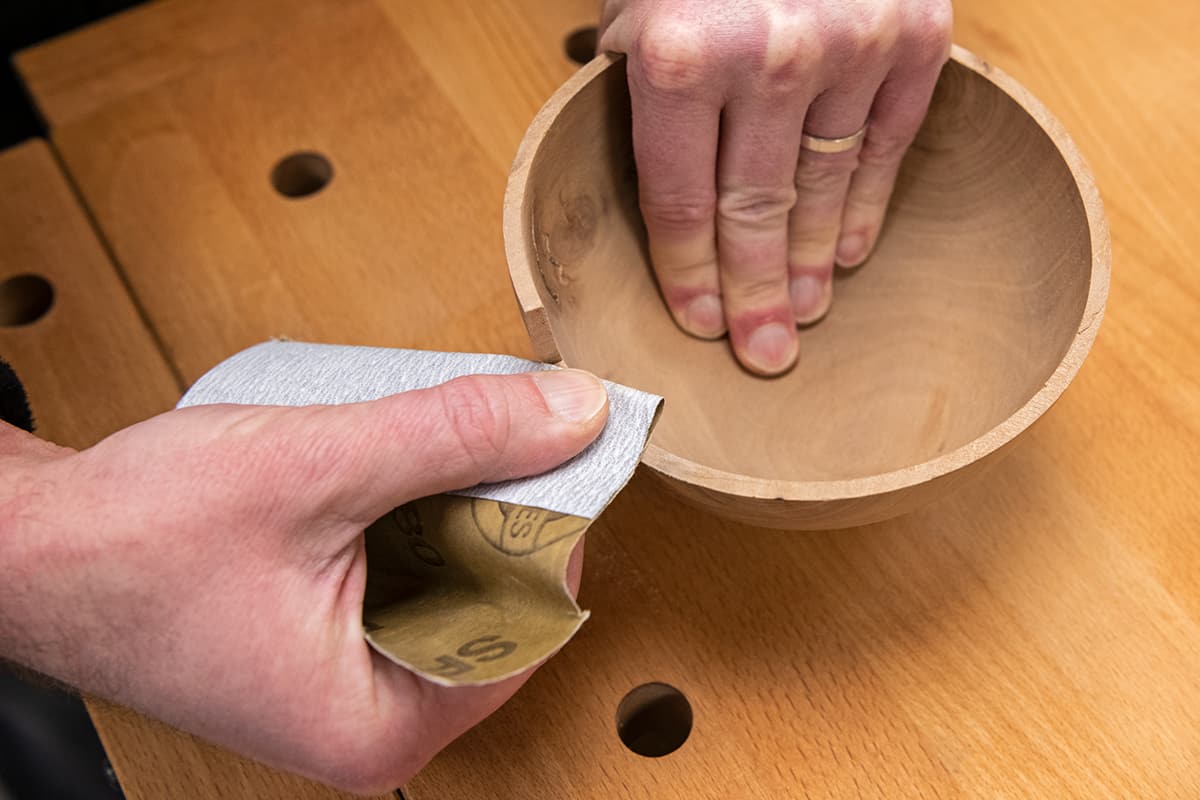
2. Use Circular or Cross-Grain Motion: To avoid creating visible sanding marks, sand the surface using circular or cross-grain motions. This technique helps distribute the sanding action evenly, minimizing the risk of creating linear abrasions that can mar the final finish.
3. Frequent Inspection: Periodically inspect the sanded surface to assess the progress and ensure that imperfections are being effectively smoothed out. This allows for timely adjustments in sanding technique and helps prevent over-sanding in specific areas, which can compromise the integrity of the surface.
4. Clean the Surface: After sanding with each grit, thoroughly clean the surface to remove dust, debris, and residual particles. A clean surface is essential for achieving optimal adhesion and a flawless finish when applying the new coat of paint.
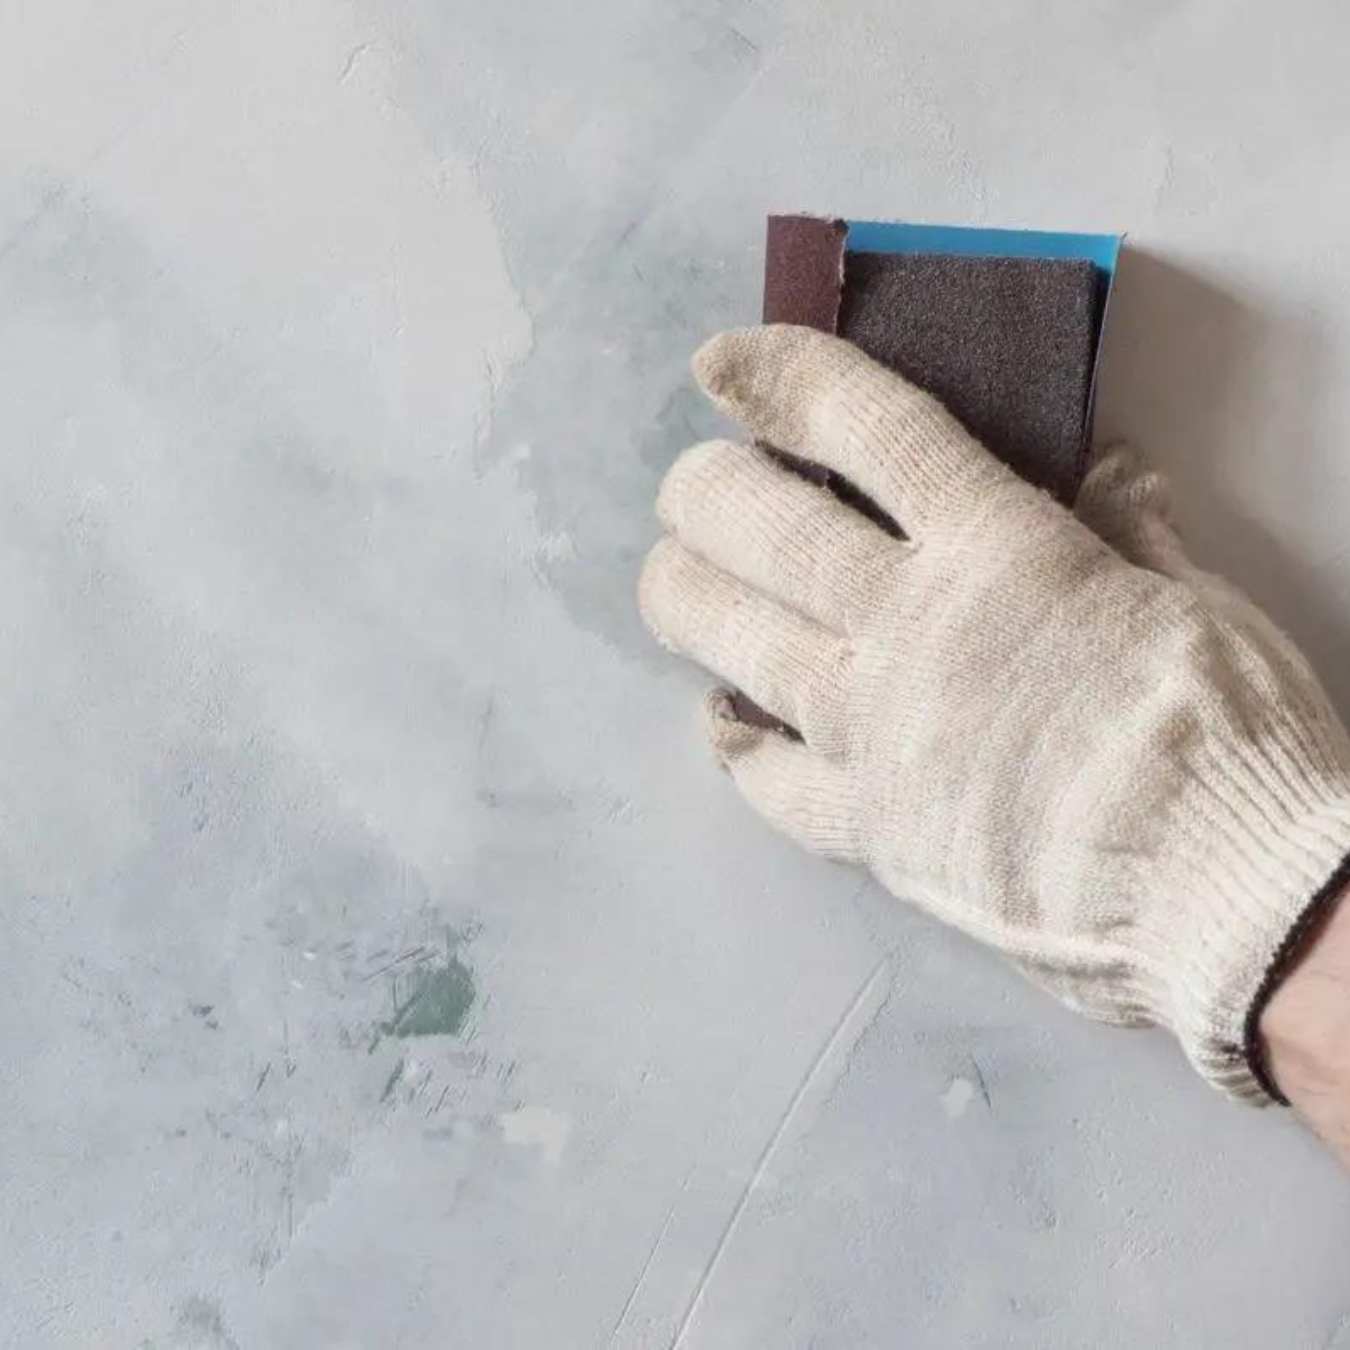
5. Use Sanding Blocks: Utilize sanding blocks or sanding sponges to maintain a flat, even surface while sanding. These tools provide stability and control, reducing the risk of uneven sanding and promoting consistent results across the entire surface.
6. Progressive Sanding: When using multiple grits, ensure a smooth transition between each grit. Gradually refine the surface by progressively using finer grits, ensuring that the previous grit’s scratches are effectively smoothed out by the subsequent grit.
7. Final Sanding Direction: For the final sanding before painting, sand the surface in the direction of the grain or in parallel strokes to achieve a uniform, refined texture that complements the application of the new paint.
By incorporating these tips into your painting process, you can optimize the use of grit sandpaper and elevate the quality of your paint finishing. Attention to detail and meticulous sanding techniques contribute to a professional-grade finish that enhances the overall aesthetic appeal of your painted surfaces.
**
Conclusion
**
Mastering the art of finishing paint with grit sandpaper is a skill that can elevate the quality and visual appeal of your painting projects. By understanding the nuances of grit sandpaper and its impact on surface preparation, you can achieve impeccable results that exude professionalism and craftsmanship.
Choosing the right grit sandpaper is akin to wielding a precision tool that shapes and refines the canvas for your paint. Whether it’s smoothing out imperfections, preparing the surface for a new coat of paint, or achieving a flawless finish, the selection of the appropriate grit is a critical decision that directly influences the outcome of your painting endeavors.
Furthermore, employing effective techniques such as using light pressure, employing progressive sanding, and ensuring meticulous surface inspection can significantly enhance the quality of your paint finishing. These techniques, coupled with a discerning approach to grit selection, empower you to transform ordinary surfaces into showcases of beauty and craftsmanship.
As you embark on your next painting project, armed with the knowledge and insights shared in this guide, approach the process of finishing paint with confidence and precision. Embrace the artistry of grit sandpaper, and let it be the catalyst that transforms your vision into a tangible masterpiece.
Remember, the journey of finishing paint with grit sandpaper is not merely a task; it’s an opportunity to infuse your work with precision, artistry, and a touch of perfection. Let the grit sandpaper be your ally in crafting surfaces that radiate sophistication and allure, leaving an indelible impression on all who behold them.
Frequently Asked Questions about What Grit Sandpaper For Finishing Paint
Was this page helpful?
At Storables.com, we guarantee accurate and reliable information. Our content, validated by Expert Board Contributors, is crafted following stringent Editorial Policies. We're committed to providing you with well-researched, expert-backed insights for all your informational needs.


0 thoughts on “What Grit Sandpaper For Finishing Paint”