Home>Storage Ideas>Bedroom Storage>How To Clean A Mattress (Including Stains And Odors) To Rest Easy

Bedroom Storage
How To Clean A Mattress (Including Stains And Odors) To Rest Easy
Modified: October 18, 2024
Learn the step-by-step guide to effectively clean your mattress, including removing stains and odors, so you can enjoy a fresh and comfortable bedroom. Enhance your bedroom storage with our expert tips.
(Many of the links in this article redirect to a specific reviewed product. Your purchase of these products through affiliate links helps to generate commission for Storables.com, at no extra cost. Learn more)
Introduction:
Having a clean and fresh mattress is essential for a good night’s sleep. Over time, mattresses can accumulate dust, allergens, stains, and unpleasant odors, which can interfere with your sleep quality. Additionally, a dirty mattress can pose health risks and affect the overall hygiene of your bedroom. That’s why it’s important to know how to properly clean and maintain your mattress.
In this article, we will guide you through the step-by-step process of cleaning your mattress, including tackling tough stains and eliminating odors. By following these simple yet effective methods, you can rest easy knowing that your mattress is clean, fresh, and free from allergens.
Before diving into the cleaning process, it’s important to gather some basic supplies. You will need a vacuum cleaner with an upholstery attachment, baking soda, hydrogen peroxide, dish soap, a spray bottle, clean cloths or paper towels, and a mattress protector. These items will help ensure a thorough and successful cleaning.
Now, let’s get started on preparing your mattress for a deep clean.
Key Takeaways:
- Keep your mattress clean and fresh by vacuuming regularly, treating stains promptly, and using baking soda to eliminate odors. A well-maintained mattress contributes to better sleep quality and overall health.
- Protect your mattress with a high-quality mattress protector, wash bedding regularly, and implement good hygiene habits to maintain cleanliness. By following these steps, you can enjoy a comfortable and hygienic sleeping environment for years to come.
Step 1: Prepare Your Mattress for Cleaning
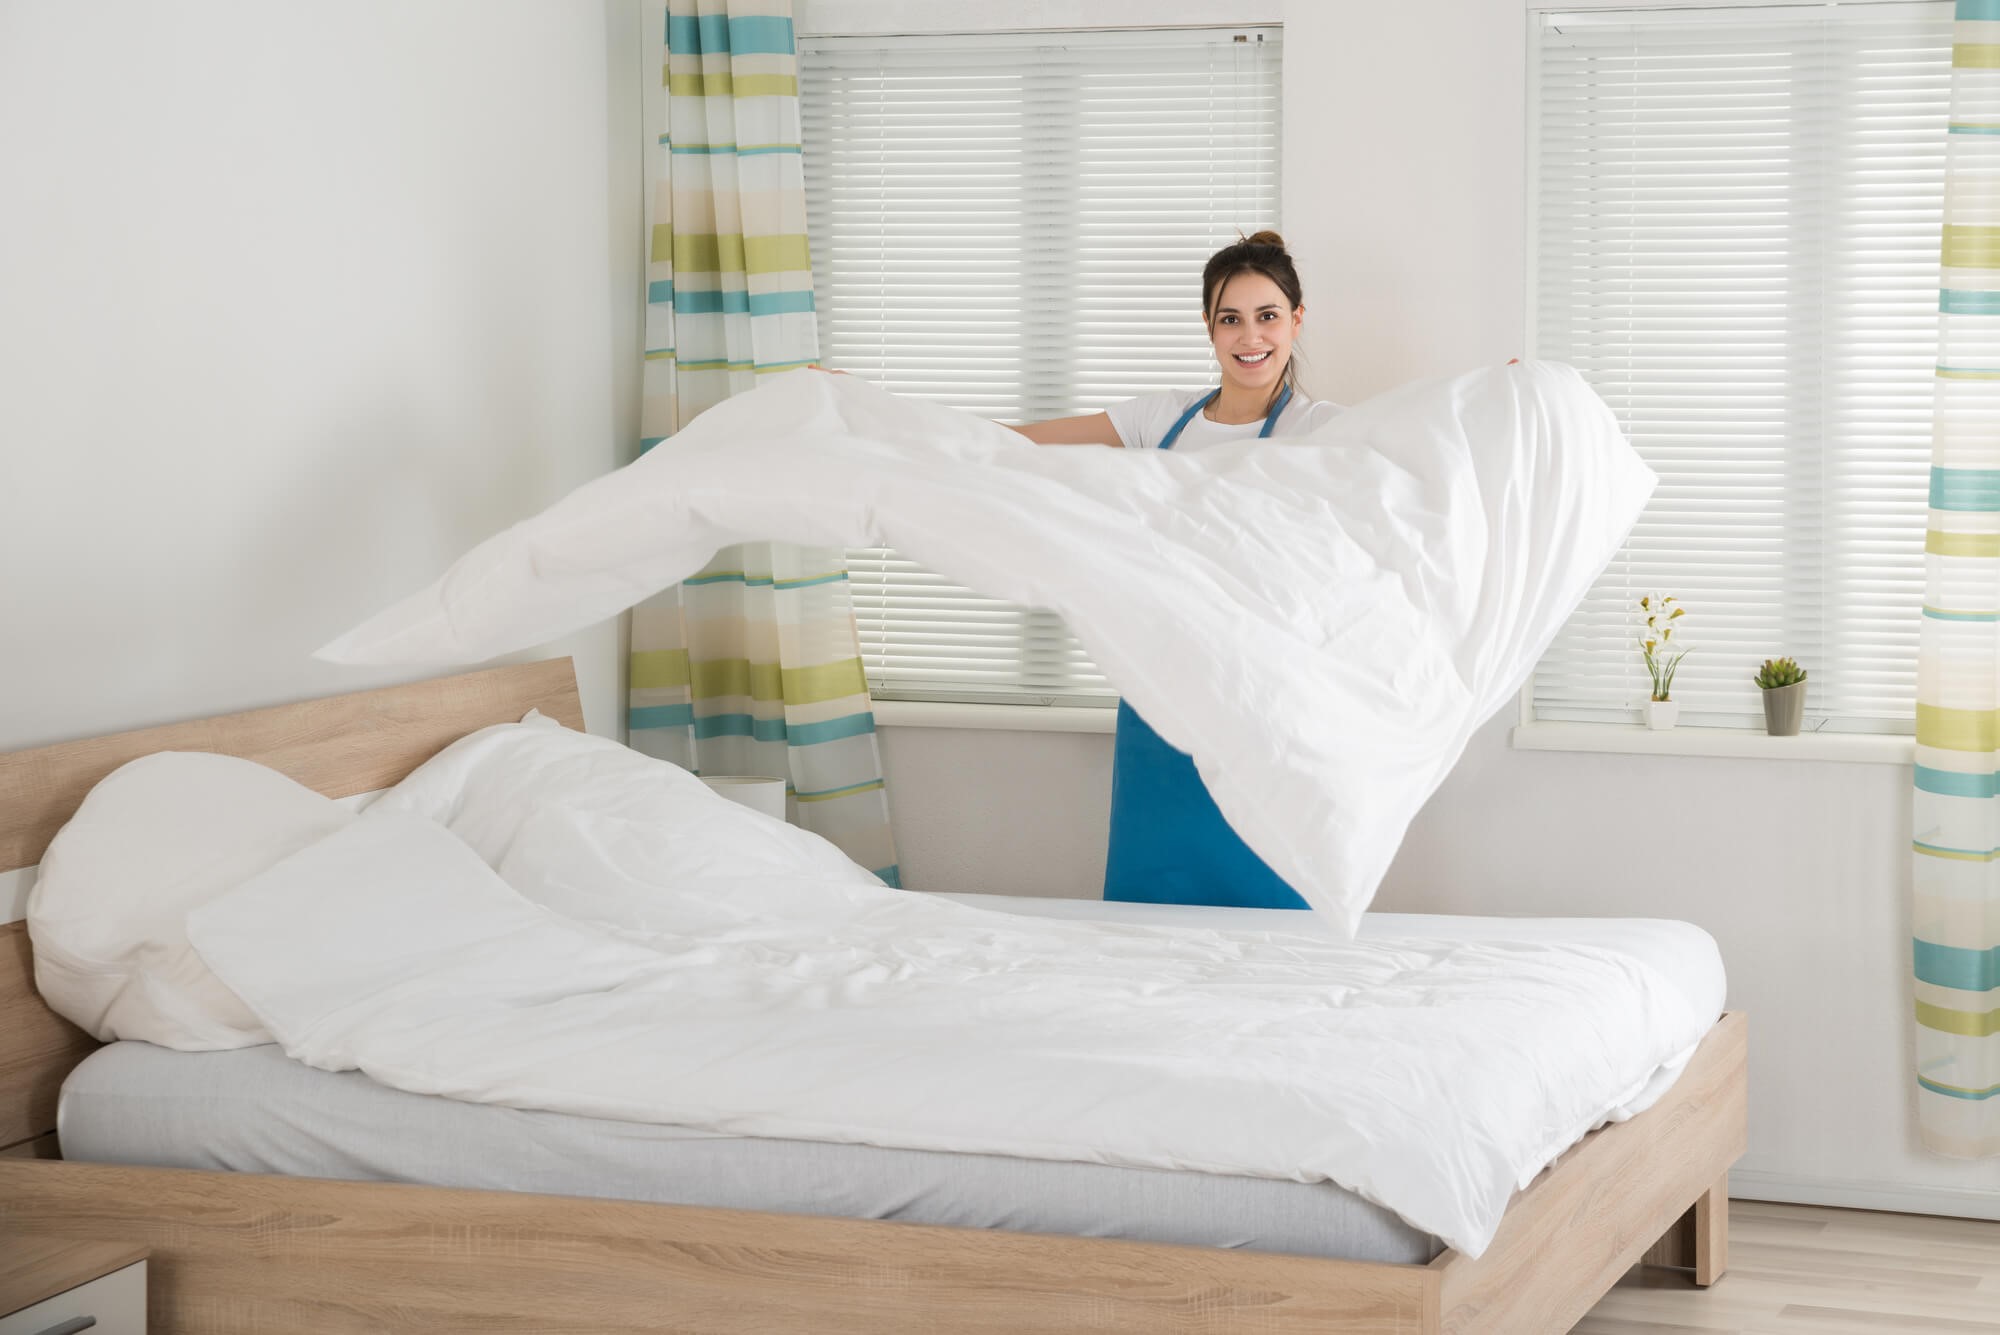
Before you begin the cleaning process, it’s essential to remove all bedding and linens from the mattress. This includes sheets, pillowcases, mattress protectors, and any other removable covers. If there are any visible stains on the bedding, launder them separately according to the care instructions.
Next, clear the surrounding area around the mattress. Remove any pillows, stuffed animals, or other items that may be obstructing access to the mattress.
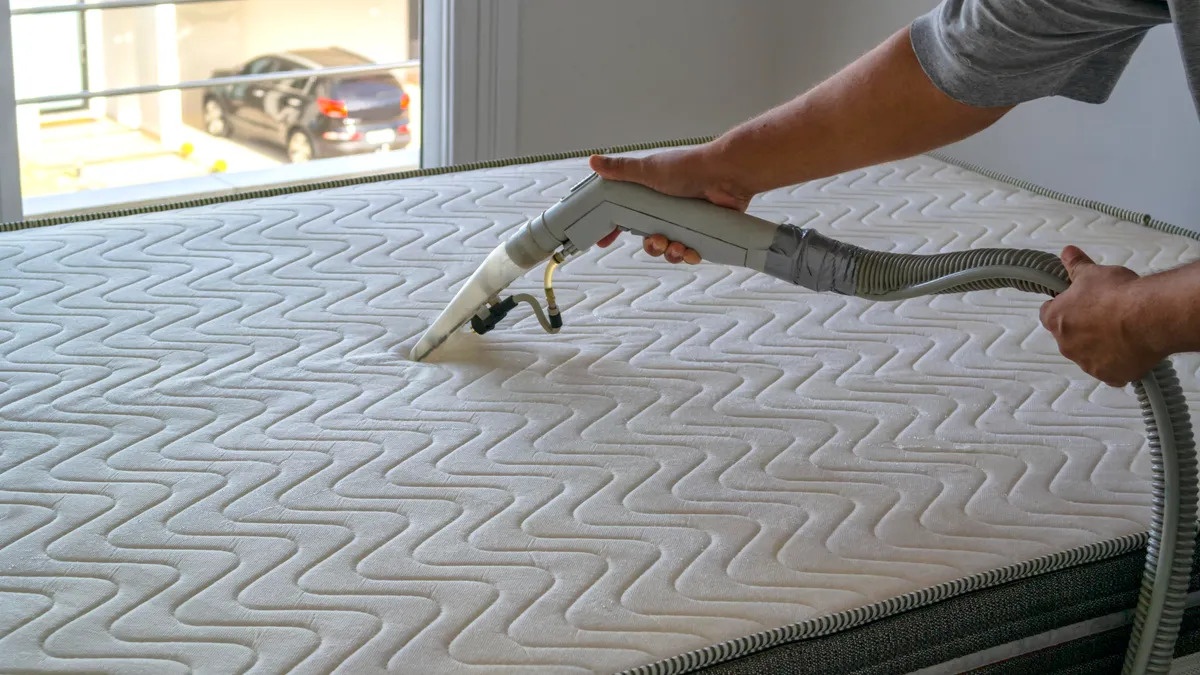
Once the mattress is exposed, it’s time to give it a thorough vacuuming. Attach the upholstery attachment to your vacuum cleaner and run it over the surface of the mattress. Make sure to vacuum all sides, including the top, sides, and edges. This will help remove dust, dead skin cells, hair, and other debris that may have accumulated on the surface.
Pay special attention to the seams and crevices of the mattress, as these areas tend to collect more dirt and dust. Use the brush attachment on your vacuum to loosen any dirt that may be trapped in these hard-to-reach spots.
Once you have completed the vacuuming process, it’s time to move on to the next step: removing stains from your mattress.
Step 2: Vacuum the Mattress
Vacuuming your mattress is an essential step in the cleaning process as it helps remove surface dirt, dust, and allergens. By using your vacuum cleaner with an upholstery attachment, you can effectively eliminate these particles and improve the overall cleanliness and hygiene of your mattress.
Start by vacuuming the top surface of the mattress in a slow, overlapping motion. Use long, sweeping strokes to cover the entire surface area. This will help pick up loose dirt, dust mites, and other allergens that may be present.
Be sure to pay extra attention to any visible stains or spots on the mattress. Use the upholstery attachment to gently brush over the stained area, loosening and lifting any particles. This will make it easier to remove the stain later in the cleaning process.
After vacuuming the top surface, move on to the sides and edges of the mattress. Run the upholstery attachment along the seams and crevices to remove any trapped dirt or dust. These areas are often neglected during regular cleaning, so take your time to ensure a thorough vacuuming.
For added effectiveness, consider sprinkling baking soda over the entire surface of the mattress before vacuuming. Baking soda helps absorb odors and can further freshen up your mattress. Leave the baking soda on for about 30 minutes to an hour before vacuuming it up.
Once you have finished vacuuming the mattress, it’s time to move on to the next step: removing stains.
Step 3: Remove Stains from the Mattress
Stains on your mattress can be unsightly and may affect your sleep quality. Whether it’s a spill, a bodily fluid stain, or even pet accidents, it’s important to address them promptly. Here’s how you can effectively remove stains from your mattress:
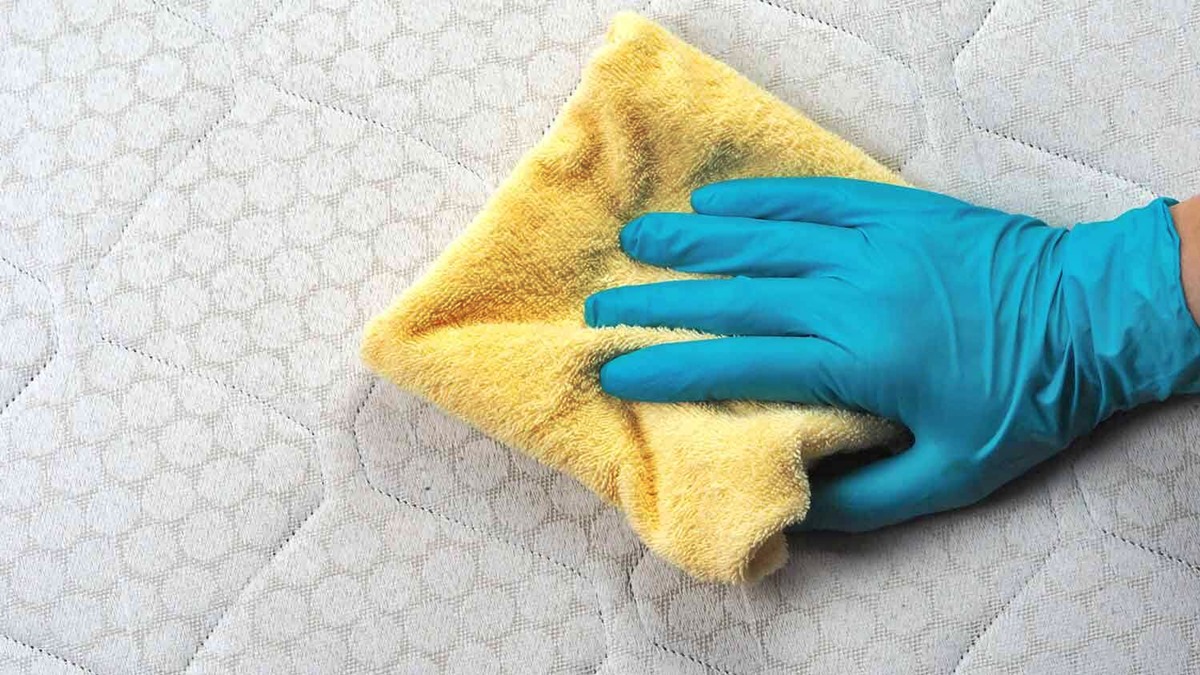
1. Blot the stain: For liquid stains, start by blotting the affected area with a clean cloth or paper towel. Avoid rubbing the stain, as it can push the liquid deeper into the mattress. Instead, gently blot the stain to absorb as much liquid as possible.
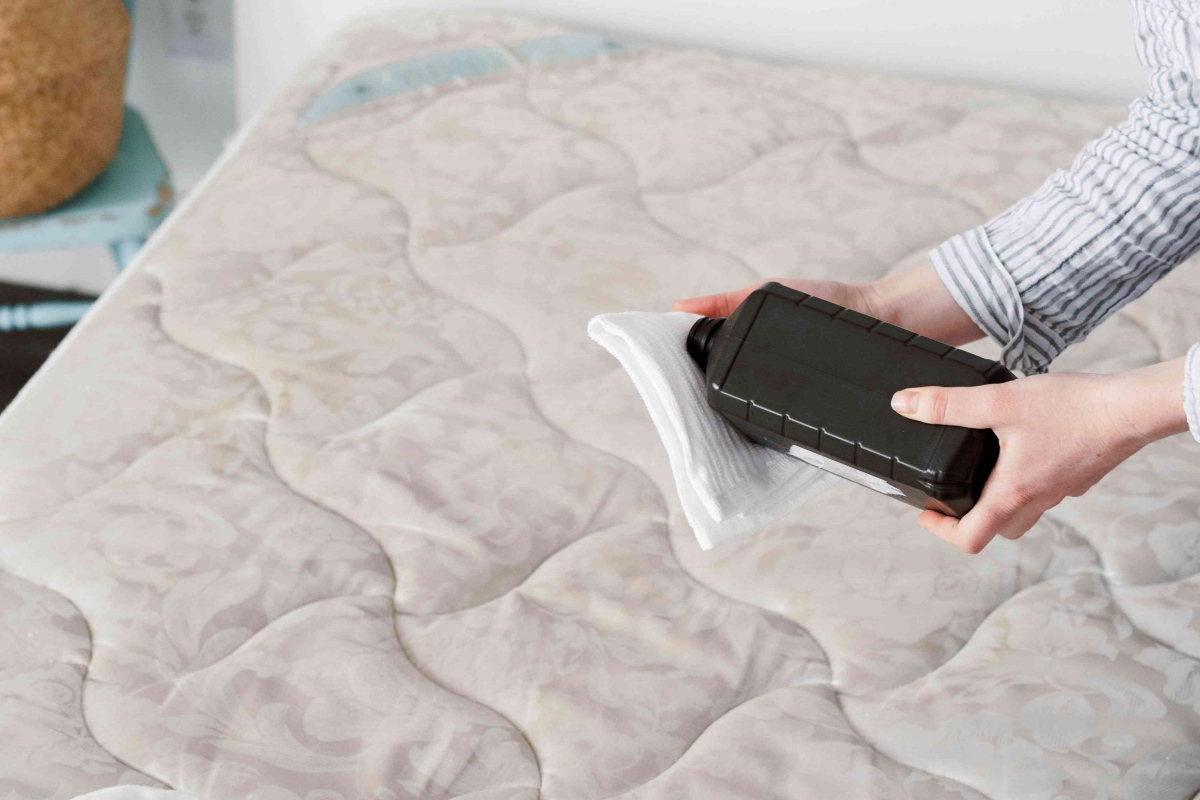
2. Treat with a stain remover: Depending on the type of stain, there are various methods you can use to remove it. For general stains, you can create a homemade cleaning solution by mixing equal parts hydrogen peroxide and liquid dish soap. Apply a small amount of this mixture to the stain and gently scrub it with a clean cloth. Allow the solution to sit for a few minutes to break down the stain.
3. Address specific stains: Here are some tips for treating specific types of stains:
- For urine stains: Mix equal parts water and white vinegar and apply it to the stain. Blot the area to remove excess moisture, then sprinkle baking soda over the stain and leave it for a few hours before vacuuming it up.
- For blood stains: Create a paste using hydrogen peroxide and cornstarch. Apply it to the stain and let it dry completely before brushing it off.
- For sweat stains: Make a paste using baking soda and water, and apply it to the stain. Let it sit for about 30 minutes before wiping it off with a clean cloth.
4. Rinse and dry: After treating the stain, dampen a clean cloth with plain water and blot the area to remove any residue from the cleaning solution. It’s important to remove all traces of the cleaning solution to prevent any potential damage to the mattress fabric. Finally, allow the mattress to air dry completely before proceeding to the next step.
By following these steps, you can effectively remove stains and restore the cleanliness of your mattress.
Vacuum your mattress regularly to remove dust and debris, and spot clean any stains with a mixture of mild detergent and water. Sprinkle baking soda to absorb odors, then vacuum again.
Step 4: Eliminate Odors from the Mattress
Over time, mattresses can develop unpleasant odors due to sweat, body oils, and other factors. To ensure a fresh and odor-free sleeping environment, it’s important to eliminate any unwanted smells from your mattress. Here’s how you can effectively do it:
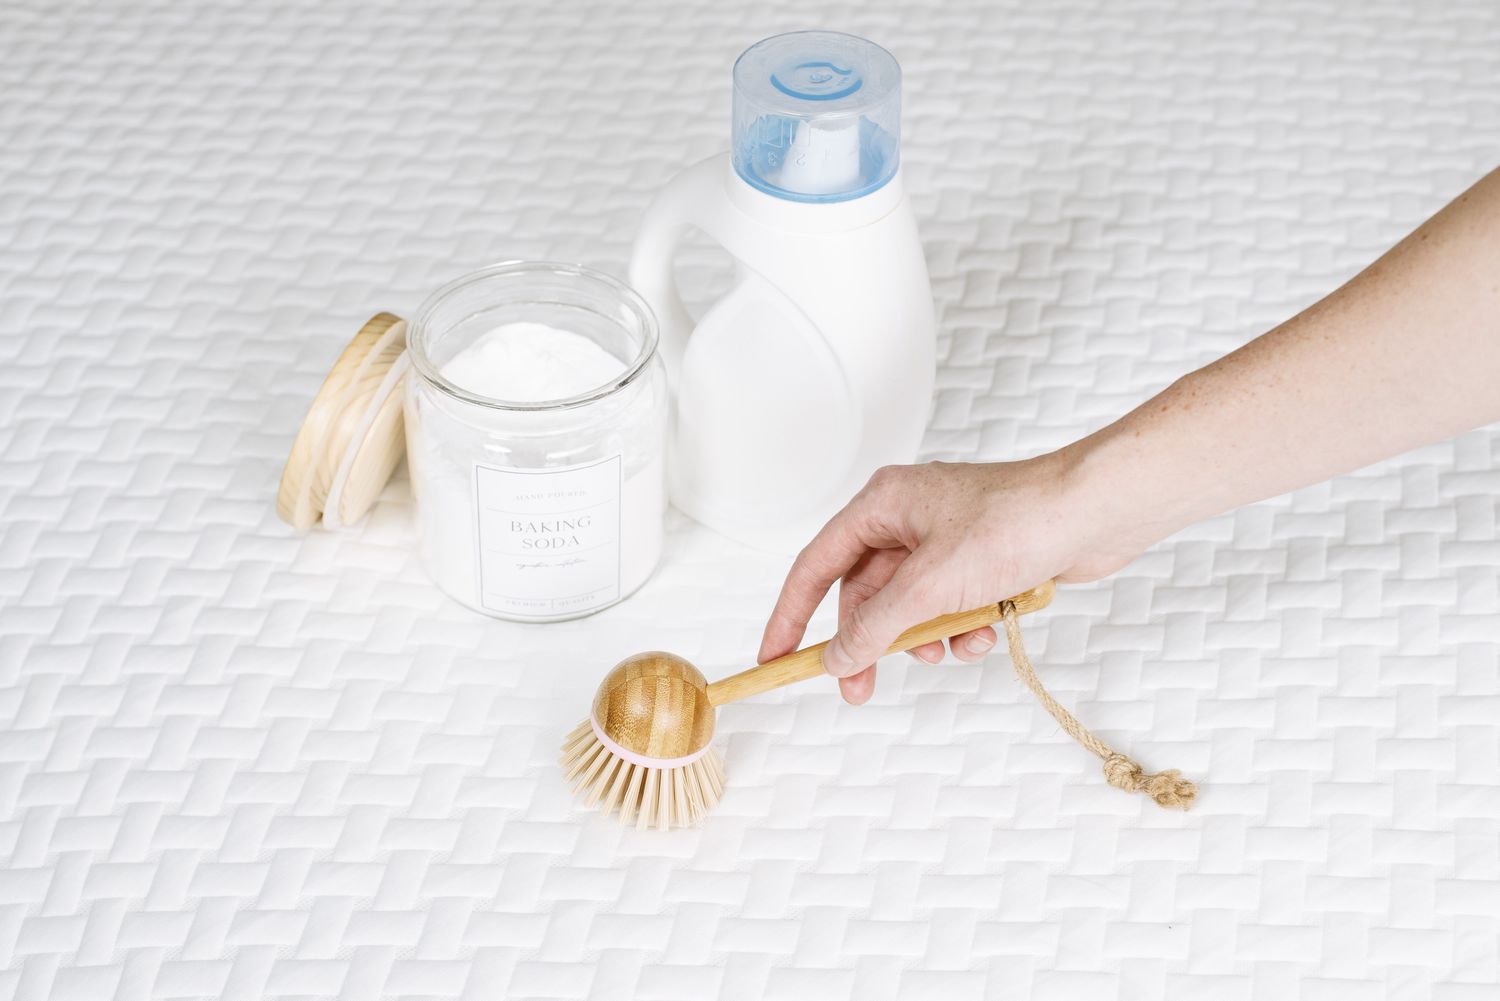
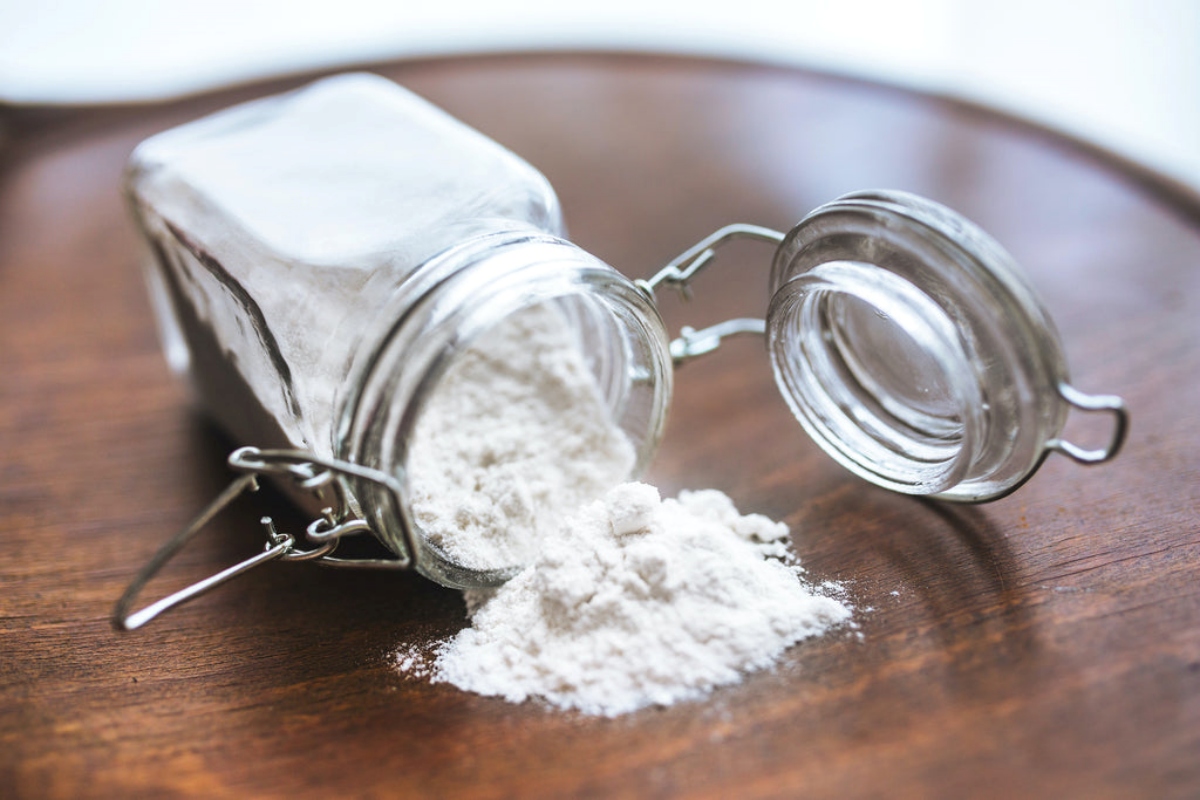
1. Baking soda deodorizing: Baking soda is a natural odor absorber and can help neutralize unpleasant smells. Sprinkle a generous amount of baking soda over the entire surface of the mattress. Use a clean brush or your hands to gently spread the baking soda evenly. Let it sit on the mattress for at least a few hours, or ideally overnight, to allow it to absorb the odors.
2. Vacuuming the baking soda: After the baking soda has had time to work its magic, vacuum the mattress once again to remove the baking soda along with the absorbed odors. Use the upholstery attachment of your vacuum cleaner and go over the surface of the mattress in a slow and thorough manner. Be sure to vacuum all sides, edges, and crevices of the mattress.
3. Sunlight exposure: If possible, move the mattress to an area where it can be exposed to direct sunlight. Sunlight has natural disinfecting properties and can help eliminate odors. Leave the mattress in the sun for a few hours, rotating it occasionally to ensure even exposure.
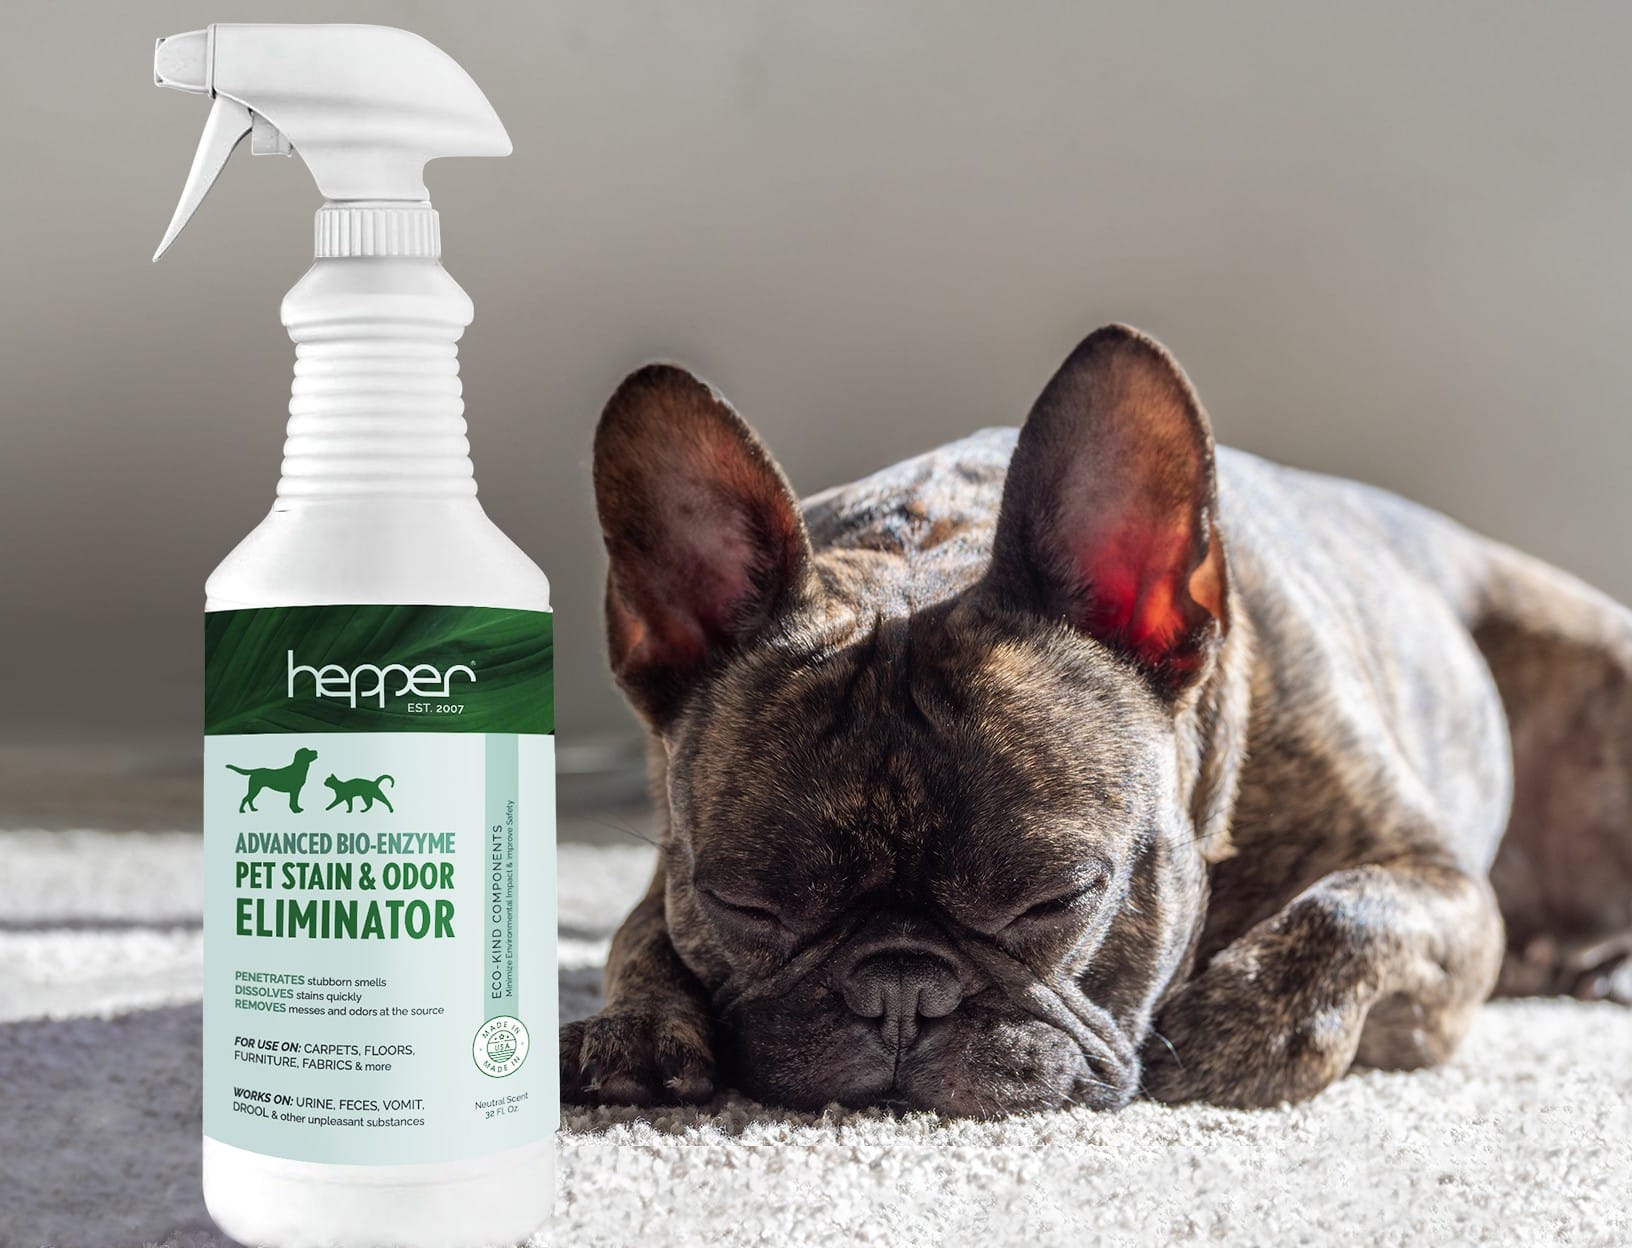
4. Enzyme cleaner: For stubborn or lingering odors, consider using an enzyme cleaner specifically designed for mattress cleaning. These cleaners contain enzymes that can break down organic matter, such as sweat and bodily fluids, that may be causing the odor. Follow the instructions on the cleaner and apply it to the affected areas of the mattress. Allow it to sit for the recommended time before blotting it away with a clean cloth.
Remember, proper ventilation is key to keeping your mattress fresh. Make sure to regularly open windows and allow fresh air to circulate in your bedroom. Additionally, washing your bedding, pillowcases, and mattress protectors regularly can help prevent odor buildup on your mattress.
With these methods, you can effectively eliminate odors and ensure a clean and fresh smelling mattress for a restful sleep.
Step 5: Allow the Mattress to Dry
After cleaning, it’s important to allow your mattress to thoroughly dry before putting any bedding back on it. Dampness can lead to the growth of mold, mildew, and bacteria, which can be harmful to both your health and the lifespan of your mattress. Follow these steps to ensure proper drying:
1. Air circulation: Place the mattress in a well-ventilated area to promote air circulation. Open windows or turn on fans to help expedite the drying process. Avoid placing the mattress in direct sunlight, as it can cause damage to the fabric.
2. Use a fan or dehumidifier: If possible, aim a fan towards the mattress or use a dehumidifier in the room to help remove excess moisture from the air. This will aid in quicker drying and prevent the development of mold or mildew.
3. Rotate the mattress: Periodically flip or rotate the mattress to ensure that all sides are exposed to the circulating air. This will help distribute the drying process evenly.
4. Patience is key: Allow the mattress to air dry naturally for at least a few hours, if not overnight. The drying time will depend on various factors such as humidity levels and the thickness of the mattress. It’s better to wait longer and ensure the mattress is completely dry rather than rushing the process.
Remember, a fully dry mattress is crucial to maintaining its cleanliness and extending its lifespan. Once the mattress is thoroughly dry, you can proceed to the final step: protecting and maintaining your clean mattress.
Step 6: Protect and Maintain Your Clean Mattress
Now that your mattress is clean and fresh, it’s important to take steps to protect it and maintain its cleanliness over time. Follow these tips to ensure your mattress stays in great condition:
1. Use a mattress protector: Invest in a high-quality mattress protector to shield your mattress from spills, stains, and allergens. A waterproof protector will provide an extra layer of defense against liquid damage, while a hypoallergenic protector can help prevent the buildup of dust mites.
2. Wash bedding regularly: Wash your sheets, pillowcases, and mattress protectors on a regular basis to maintain a clean sleep environment. Follow the care instructions provided by the manufacturer to ensure proper cleaning and avoid any damage to the fabric.
3. Rotate and flip the mattress: Every few months, rotate your mattress to ensure even wear. This will help prevent sagging and prolong its lifespan. If you have a two-sided mattress, consider flipping it over to distribute the wear evenly.
4. Avoid eating or drinking on the mattress: To prevent spills and stains, it’s best to avoid eating or drinking on your mattress. If you must have a snack or drink, make sure to use a tray or table to minimize the risk of accidents.
5. Vacuum regularly: Make a habit of vacuuming your mattress regularly to remove dust, allergens, and dead skin cells. Set a schedule, such as every few months, to ensure consistent cleaning and maintenance.
6. Address stains promptly: If you notice any new stains on your mattress, address them promptly using the appropriate cleaning methods. The sooner you treat a stain, the easier it will be to remove.
By implementing these protective measures and maintaining regular cleaning habits, you can preserve the cleanliness of your mattress and enjoy a fresh and hygienic sleeping surface for years to come.
Conclusion
A clean and well-maintained mattress is essential for a comfortable and healthy sleep environment. By following the step-by-step guide outlined in this article, you can effectively clean your mattress, tackle stains, eliminate odors, and ensure its longevity.
Remember, proactive maintenance is key to preserving the cleanliness and freshness of your mattress. Regular vacuuming, addressing stains promptly, using a mattress protector, and practicing good hygiene habits can go a long way in keeping your mattress in excellent condition.
Not only does a clean mattress contribute to better sleep quality, but it also promotes overall health and well-being by minimizing allergens and preventing the buildup of dirt and bacteria.
So, take the time to give your mattress the care and attention it deserves. Incorporate these cleaning and maintenance steps into your routine to enjoy a comfortable and hygienic sleeping environment for years to come.
Frequently Asked Questions about How To Clean A Mattress (Including Stains And Odors) To Rest Easy
Was this page helpful?
At Storables.com, we guarantee accurate and reliable information. Our content, validated by Expert Board Contributors, is crafted following stringent Editorial Policies. We're committed to providing you with well-researched, expert-backed insights for all your informational needs.

0 thoughts on “How To Clean A Mattress (Including Stains And Odors) To Rest Easy”