Home>Articles>How To Refinish A Deck, Including Cleaning And Selecting A Stain
Articles
How To Refinish A Deck, Including Cleaning And Selecting A Stain
Modified: October 25, 2024
Learn how to refinish your deck with our comprehensive articles. Discover tips for cleaning your deck and choosing the perfect stain.
(Many of the links in this article redirect to a specific reviewed product. Your purchase of these products through affiliate links helps to generate commission for Storables.com, at no extra cost. Learn more)
Introduction
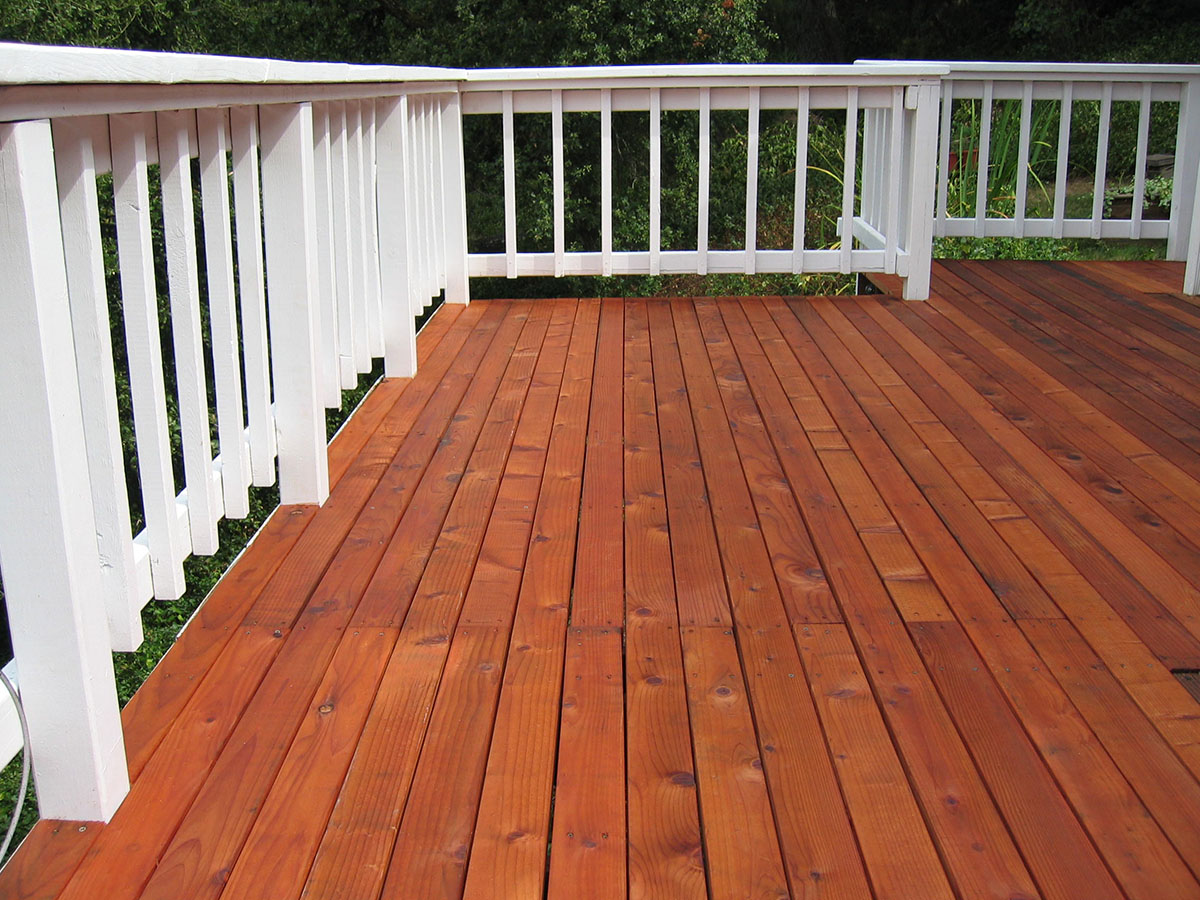
Refinishing a deck is an essential part of maintaining its appearance and extending its lifespan. Over time, decks are exposed to harsh weather conditions, foot traffic, and general wear and tear, which can cause the wood to fade, crack, and splinter. However, with the right knowledge and tools, you can easily restore your deck to its former glory.
In this article, we will guide you through the process of refinishing a deck, from assessing its condition to selecting the right stain and applying it properly. By following these steps, you can transform your weathered deck into a beautiful and inviting outdoor space.
Before diving into the refinishing process, it’s important to note that this is a project that requires time and effort. However, the results will be well worth it. So, roll up your sleeves and let’s get started on reviving your deck!
Key Takeaways:
- Proper assessment, cleaning, and sanding are crucial for successful deck refinishing. Choosing the right stain and applying it with care, followed by regular maintenance, ensures a beautiful and long-lasting outdoor space.
- Refinishing a deck requires time and effort, but the results are well worth it. By following the step-by-step process and caring for the refinished deck, you can enjoy a revitalized outdoor oasis for years to come.
Step 1: Assessing the Deck Condition
The first step in refinishing a deck is to assess its condition. This will help you determine what repairs or preparations need to be done before applying a new stain. Here are a few key points to consider:
- Inspect the wood: Carefully examine the deck boards, railings, stairs, and any other wooden components. Look for signs of rot, decay, splintering, or loose nails. If you come across any areas that are severely damaged or need replacement, mark them for repair.
- Check for mold or mildew: Mold and mildew can develop on the surface of the deck, especially in damp or shaded areas. Look for dark spots or discoloration. If you notice any, you’ll need to clean and treat the wood before refinishing.
- Evaluate the existing finish: Determine whether your deck currently has a stain or paint on it. If it does, you’ll need to decide whether to remove the existing finish or apply a new stain over it. Removing the old finish will require more effort and time, but it will give you a clean slate for the new stain.
- Consider the age of the deck: A deck that is relatively new may not require extensive repairs or preparation. However, older decks may need more attention, such as replacing rotting boards or reinforcing weak areas.
By thoroughly assessing the condition of your deck, you’ll be able to plan the necessary repairs and preparations before moving on to the cleaning and refinishing process. This will ensure that you achieve the best results and extend the lifespan of your deck.
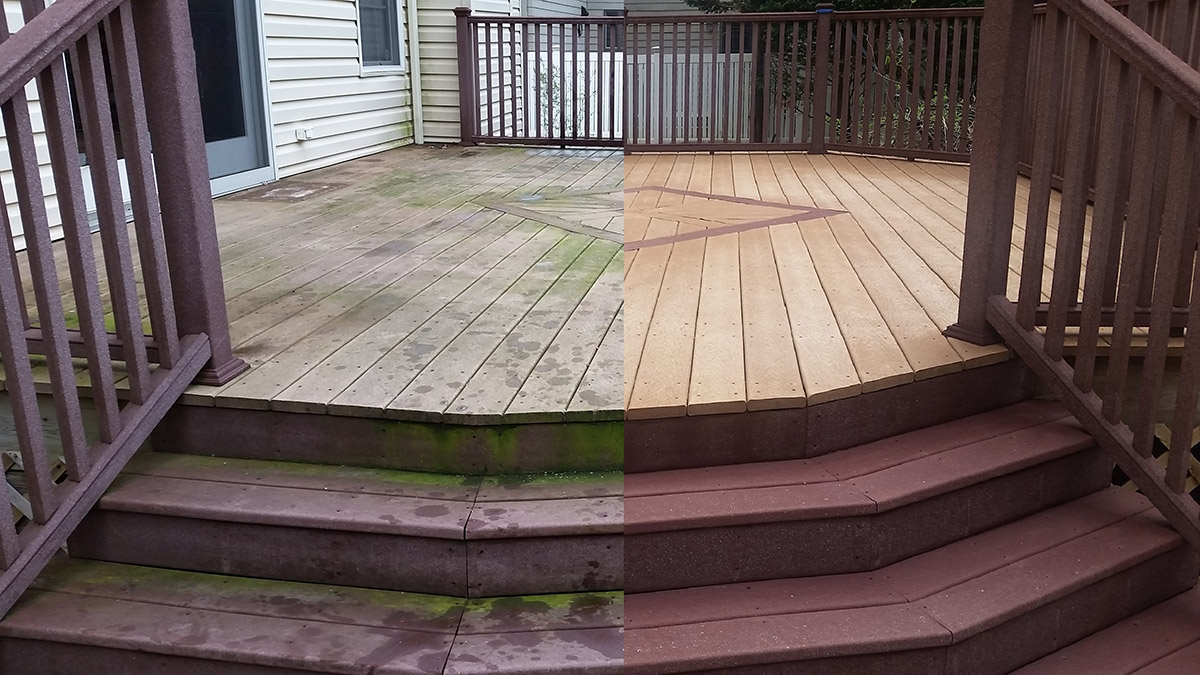
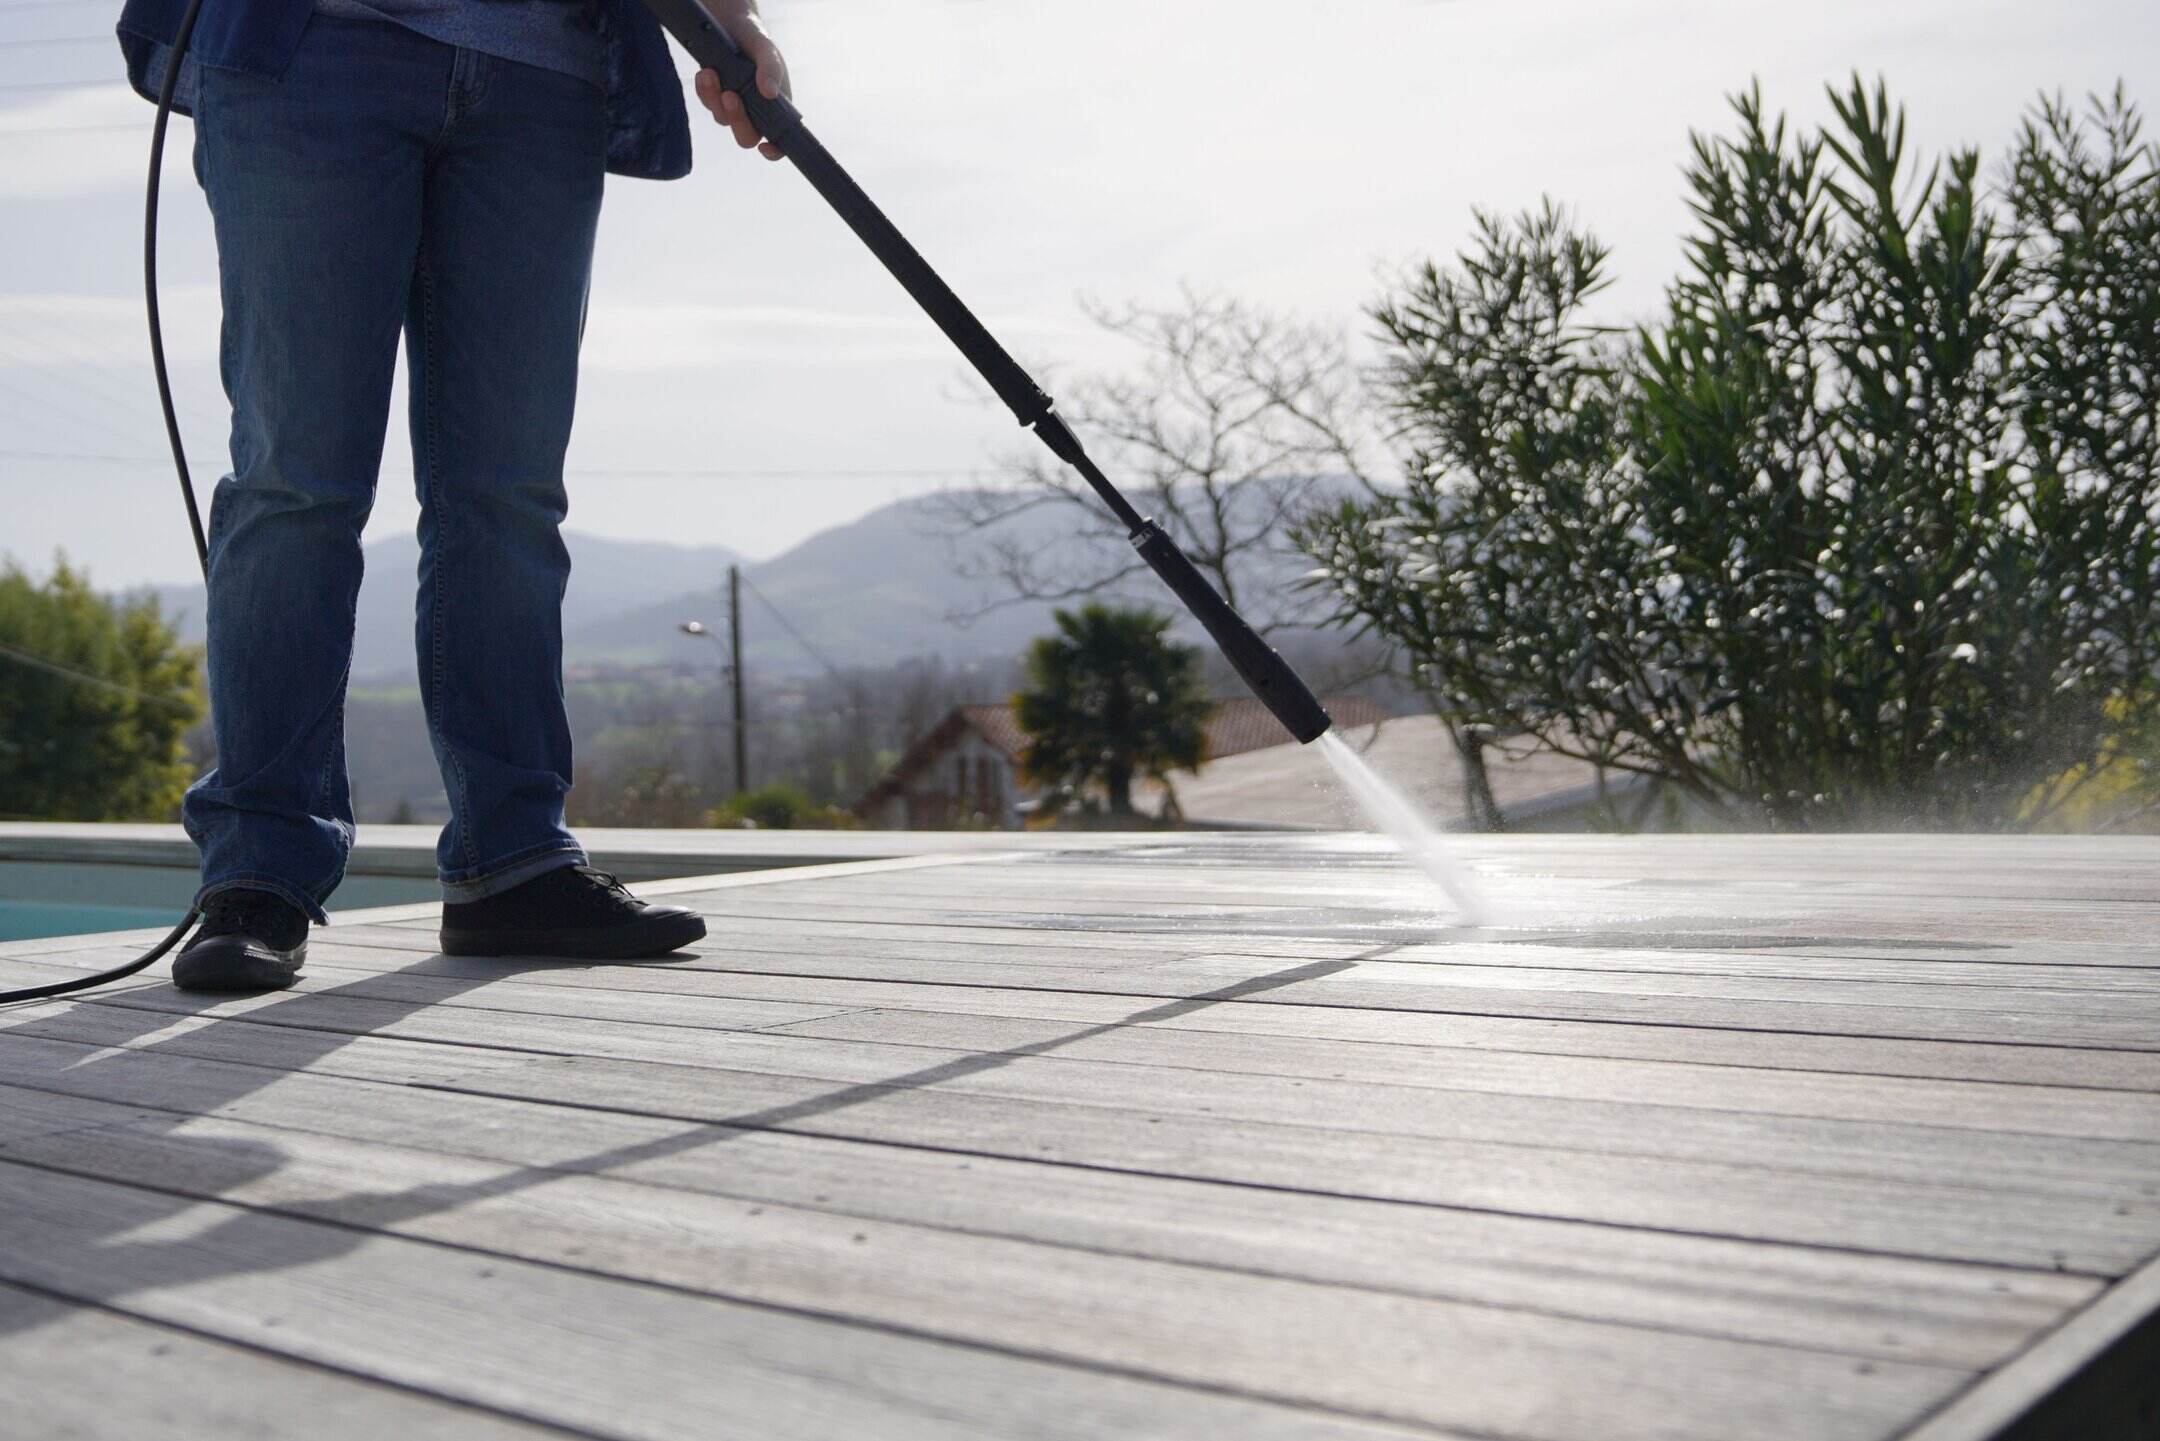
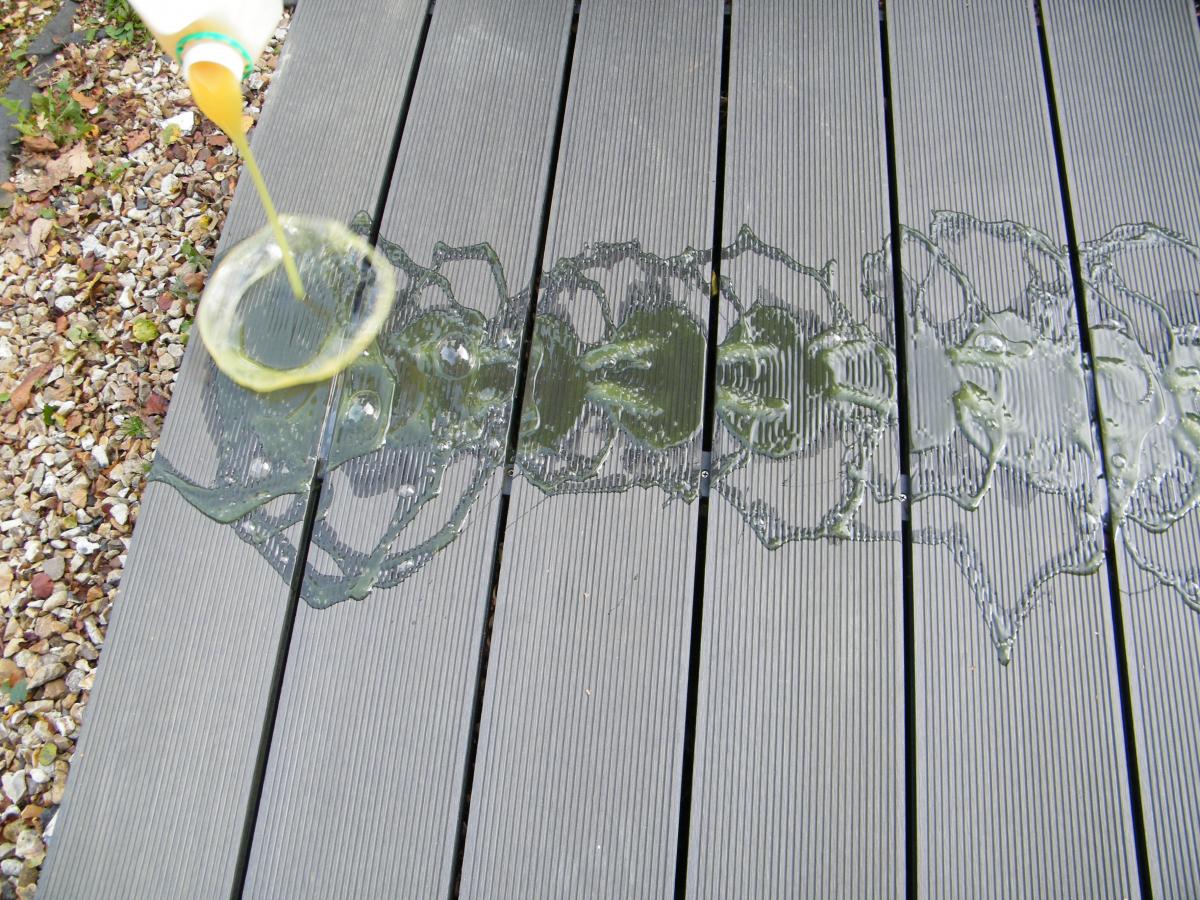
Step 2: Cleaning the Deck
Once you have assessed the condition of your deck, the next step is to clean it thoroughly. Cleaning the deck removes dirt, grime, mold, and any remnants of the old finish, allowing the new stain to adhere properly. Follow these steps to effectively clean your deck:
- Sweep the deck: Start by sweeping the entire deck to get rid of loose debris such as leaves, twigs, and dirt. A broom or leaf blower can be used for this task.
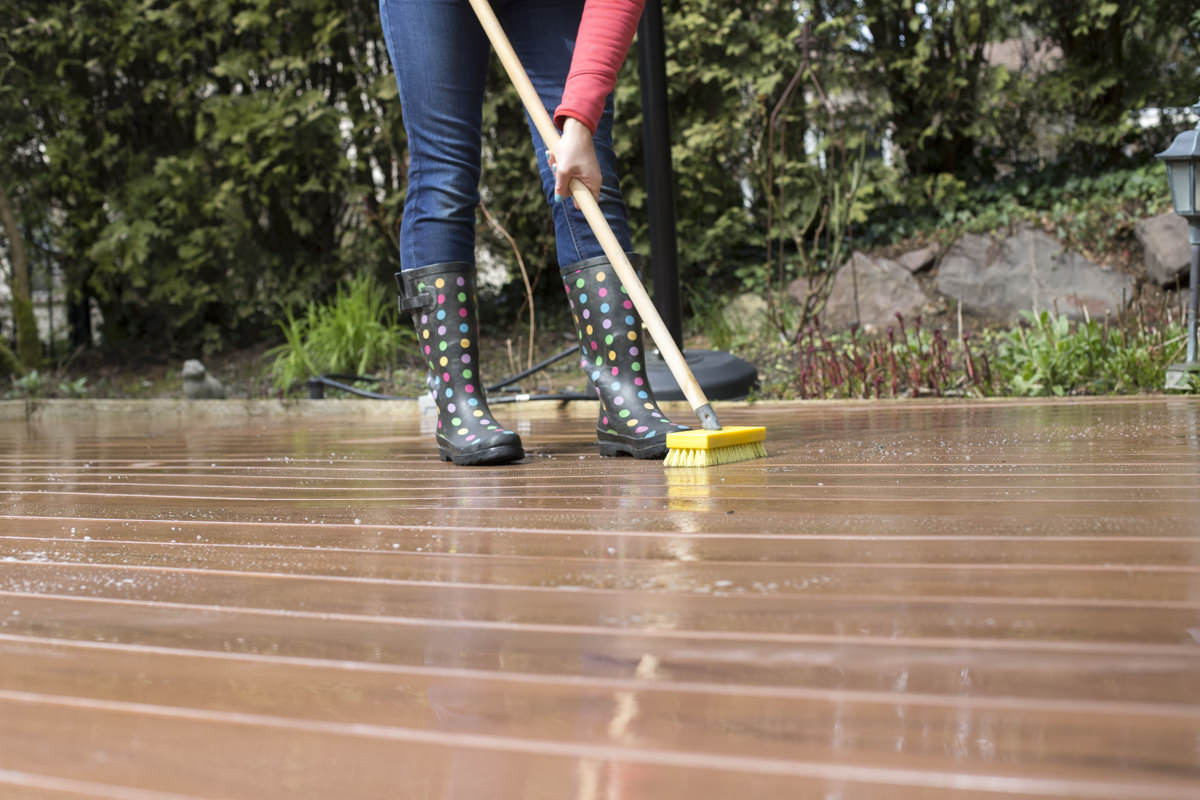
- Remove any mold or mildew: If you noticed mold or mildew during the assessment, treat the affected areas with a deck cleaner specifically designed to remove these growths. Follow the instructions on the cleaner and use a scrub brush to gently scrub the surface.
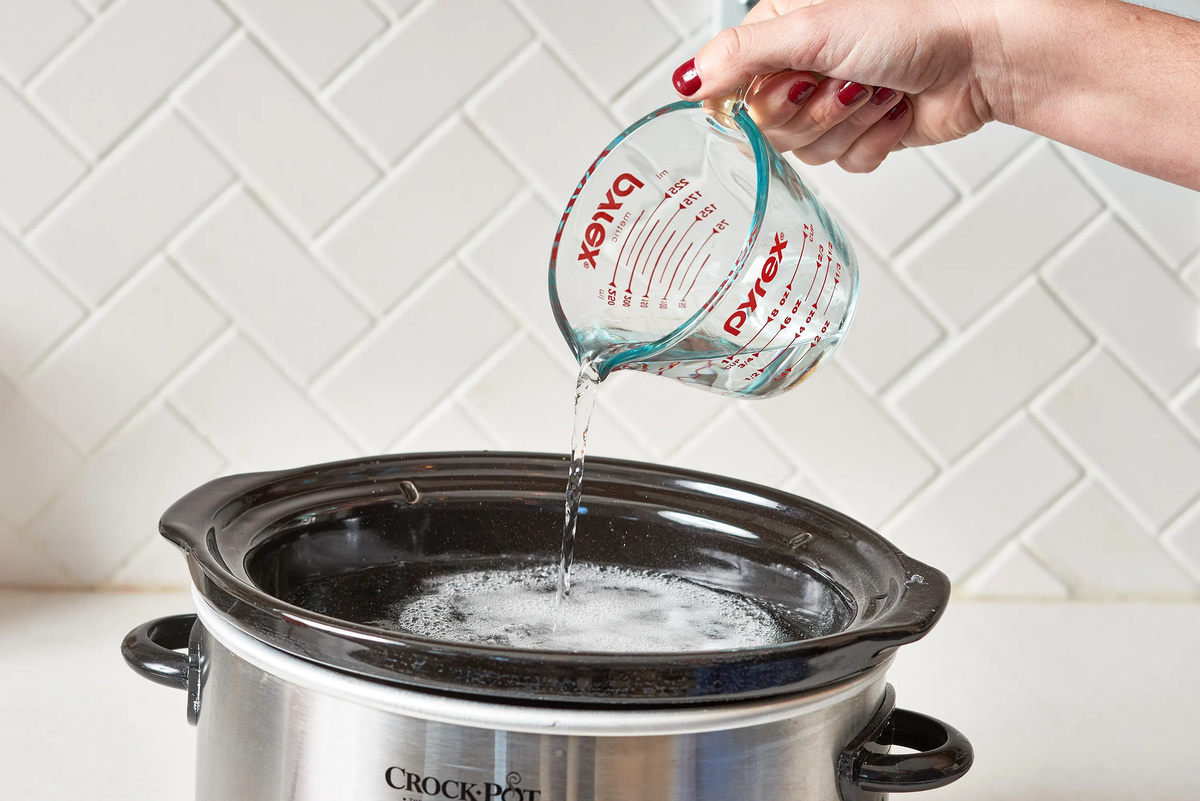
- Scrub the deck: In a bucket, mix a deck cleaning solution with warm water, following the manufacturer’s instructions. Using a stiff-bristle brush, scrub the deck boards in the direction of the grain. Pay extra attention to high-traffic areas and stains.
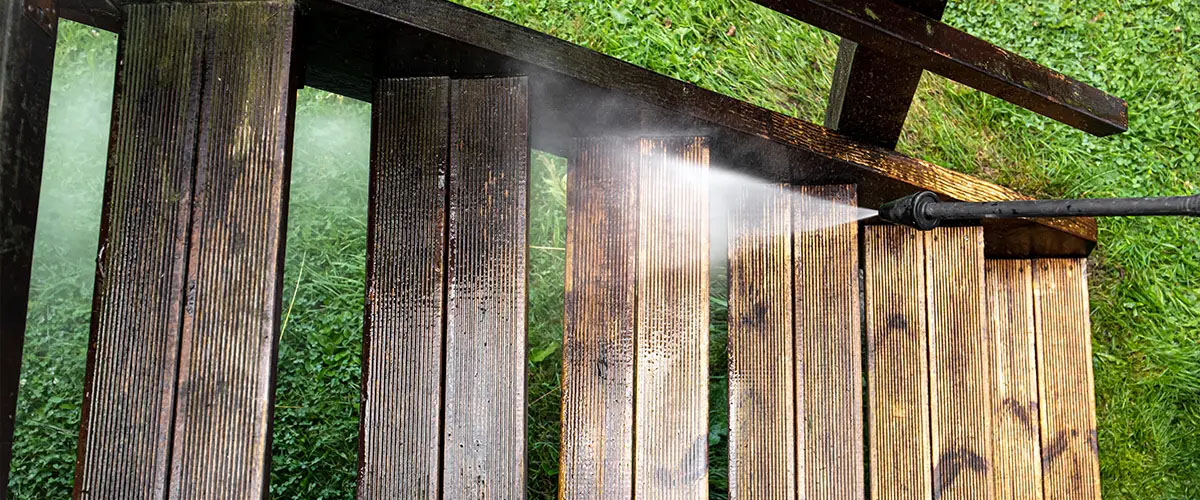
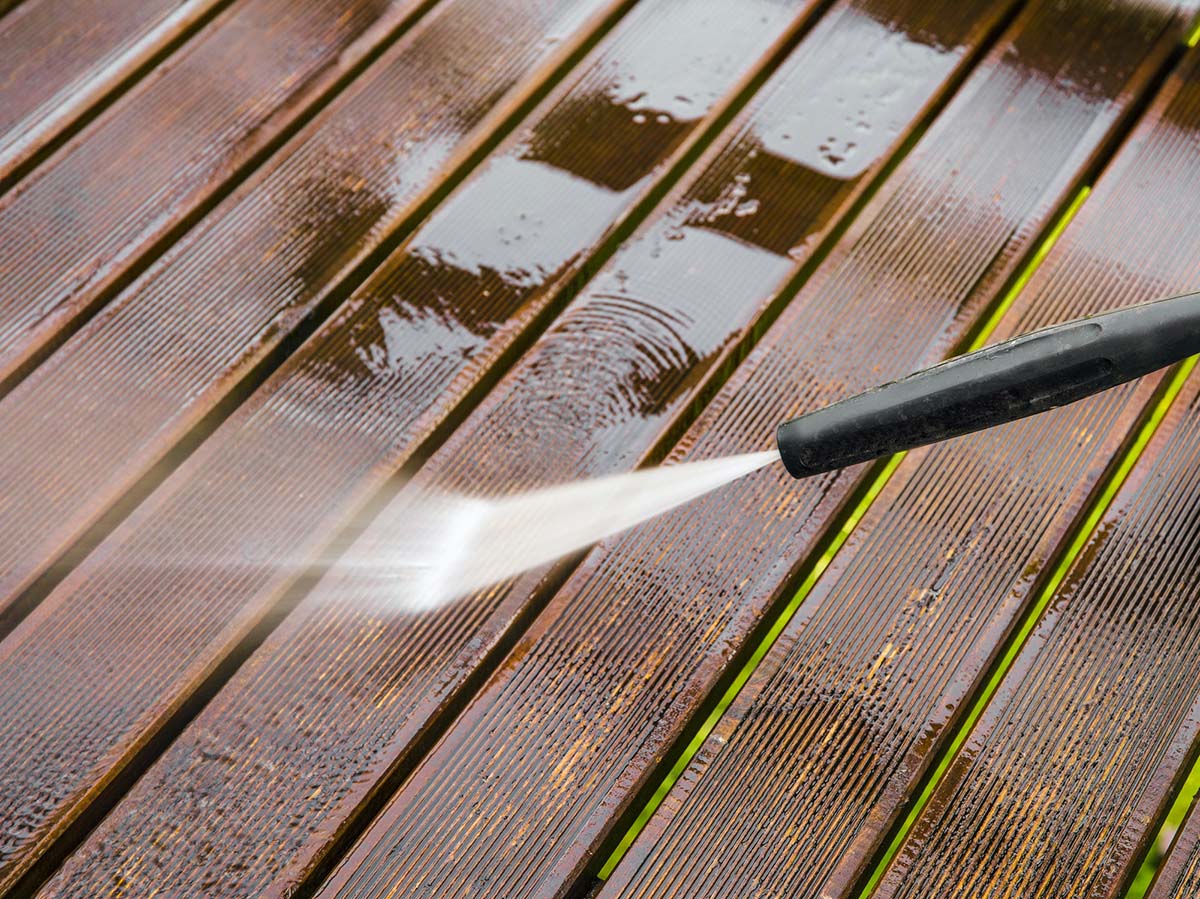
- Rinse the deck: After scrubbing, rinse the deck thoroughly with clean water to remove all the cleaning solution and loosened dirt. You can use a garden hose or a pressure washer on a low setting to rinse the deck effectively.
- Allow the deck to dry: Give the deck ample time to dry completely before moving on to the next step. Depending on the weather conditions, this may take 24-48 hours. Moisture on the surface can prevent the stain from penetrating the wood properly.
Cleaning your deck not only improves its appearance but also ensures that the new stain is applied to a clean and smooth surface. This step is crucial in preparing the deck for the refinishing process and ensuring long-lasting results.
Step 3: Sanding the Deck
After cleaning the deck, the next step in the refinishing process is sanding. Sanding helps smooth out rough spots, remove any remaining old stain or paint, and open up the pores of the wood for better stain absorption. Follow these steps to sand your deck effectively:
- Choose the right sandpaper: Depending on the condition of your deck and the level of sanding required, select a coarse grit sandpaper (around 60-80 grit) for initial sanding. If the deck is in good condition and you only need to remove minor imperfections, you can start with a medium or fine grit sandpaper.
- Use a belt sander or orbital sander: Attach the appropriate sandpaper to a belt sander or orbital sander. Start sanding by moving the sander along the length of the boards, going with the grain. Avoid applying too much pressure, as it can damage the wood.
- Sand the entire deck surface: Work systematically, sanding one board at a time. Make sure to sand the deck boards, railings, stairs, and any other wooden components. Pay extra attention to areas with rough spots, splinters, or old finish residues.
- Change sandpaper as needed: As you sand, the sandpaper may become clogged with wood fibers and finish residues. When this happens, replace the sandpaper with a fresh one to maintain optimal sanding efficiency.
- Smooth out the edges: Use a sanding block or hand sandpaper to sand the edges and corners of the deck boards or any areas that the machine sander couldn’t reach. Be mindful of maintaining a consistent smoothness across the entire deck surface.
- Remove the sanding dust: Once you have finished sanding, use a broom, brush, or vacuum cleaner to remove all the sanding dust from the deck surface. This will ensure a clean and smooth surface for the staining process.
Sanding your deck not only improves its appearance but also prepares the wood for optimal stain absorption. By creating a smooth and even surface, the new stain can penetrate the wood evenly, resulting in a more uniform and long-lasting finish.
When refinishing a deck, make sure to thoroughly clean the surface before applying any stain. This will ensure better adhesion and a longer-lasting finish.
Step 4: Selecting the Right Stain
Choosing the right stain for your deck is crucial to achieving the desired look and protection. The stain not only adds color but also helps protect the wood from UV rays, moisture, and general wear and tear. Here are some factors to consider when selecting a stain:
- Transparency: Stains come in different levels of transparency, ranging from clear to solid. Clear stains allow the natural beauty of the wood to shine through, while solid stains provide more coverage and hide the wood grain. Semi-transparent and semi-solid stains offer a balance between the two.
- Color: Stains come in a variety of colors, including natural wood tones and more vibrant hues. Consider the existing color of your deck and the overall aesthetic you want to achieve. Test the stain on a small inconspicuous area or on a sample board to see how it looks against the actual deck wood.
- Type of stain: Stains can be water-based or oil-based. Water-based stains dry faster, have lower VOC (volatile organic compounds) levels, and are easier to clean up. Oil-based stains provide better penetration and durability but may require longer drying times and have a stronger odor.
- Protection: Look for a stain that offers UV protection and resistance against moisture, mildew, and fading. This will help prolong the lifespan of your deck and keep it looking its best.
- Brand and quality: Choose a reputable brand that is known for producing high-quality deck stains. Read reviews and consider the durability and longevity of the stain before making your final decision.
Take your time to research and experiment with different stain options. Consider the aesthetic appeal, durability, and maintenance requirements to find the perfect stain that suits your deck and personal preferences.
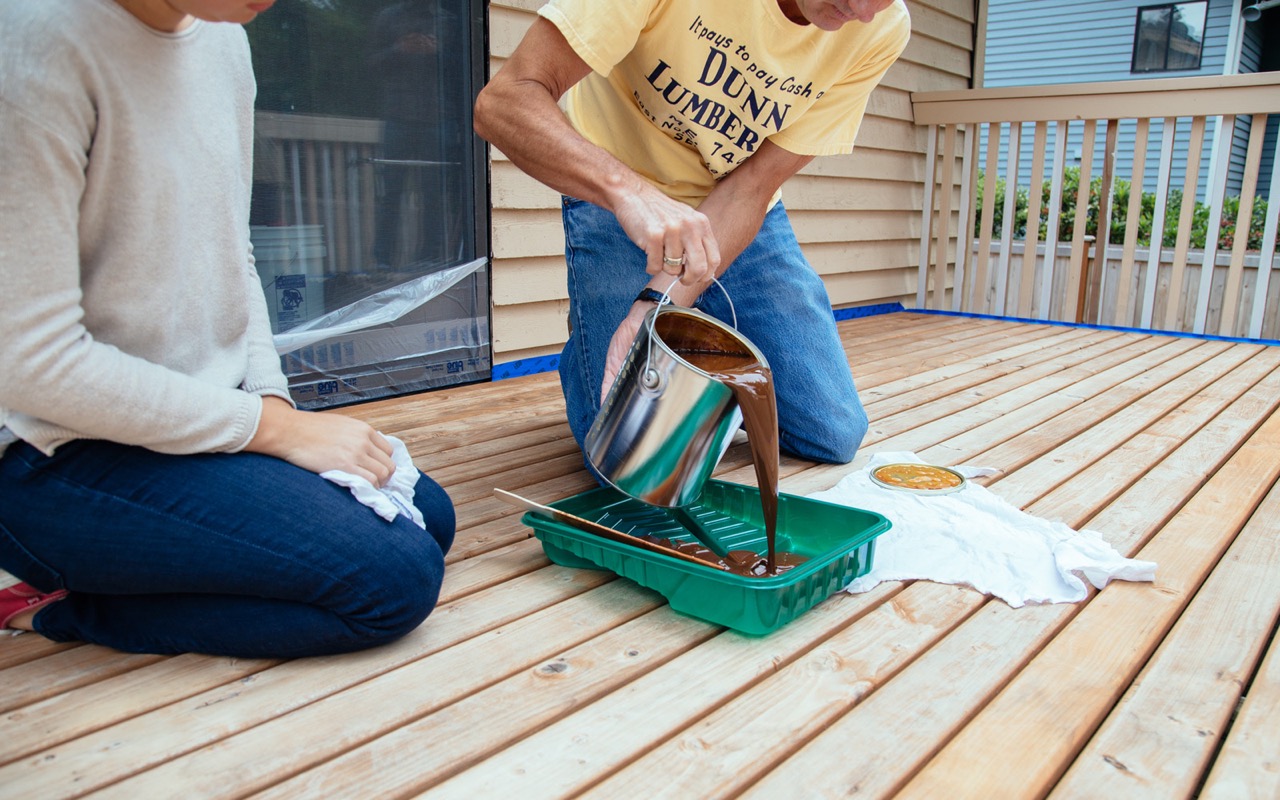
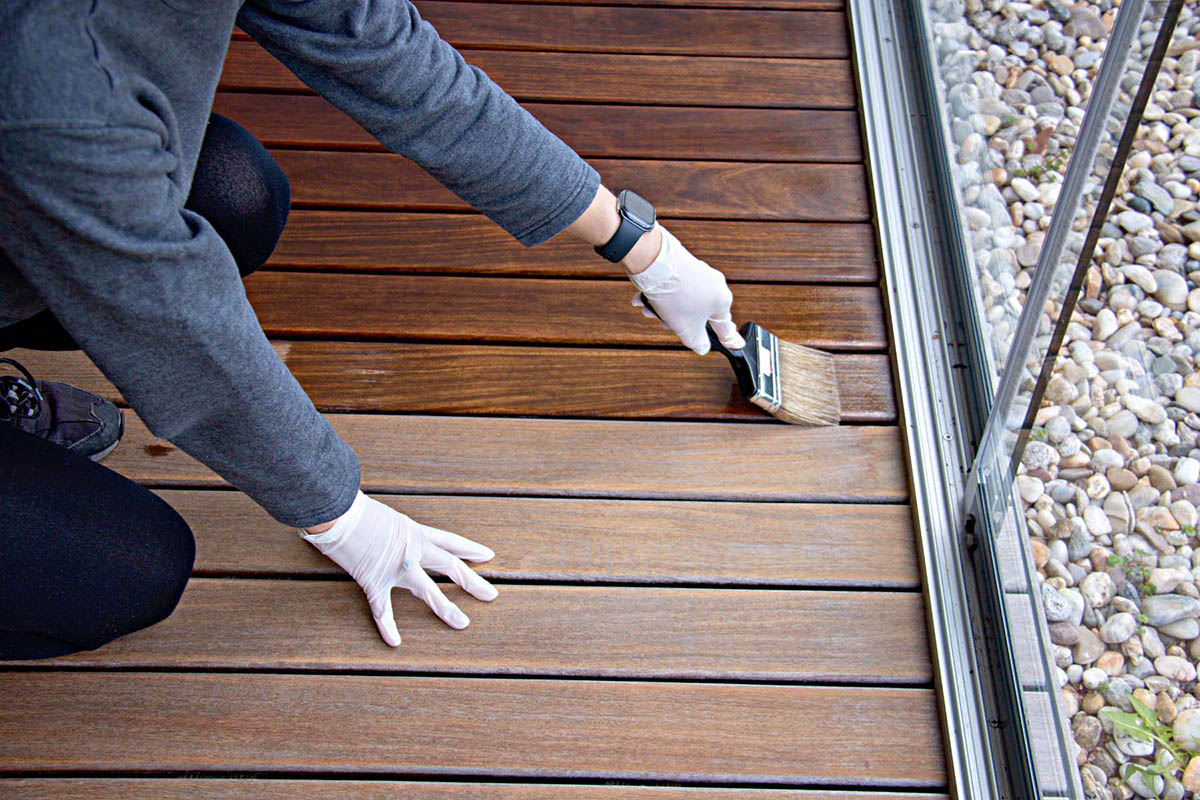
Step 5: Applying the Stain
Now that you have selected the right stain for your deck, it’s time to apply it. Follow these steps to achieve a smooth and even application:
- Prepare the deck: Before applying the stain, make sure the deck is clean, dry, and free from any dust or debris. Cover any nearby plants, furniture, or surfaces that you don’t want to get stained.
- Read the instructions: Carefully read and follow the manufacturer’s instructions on the stain container. This will provide guidance on the application process, drying times, and any specific recommendations.
- Choose the applicator: Common options for applying deck stain include brushes, rollers, and sprayers. Select the applicator that best suits the size and condition of your deck. Brushes are great for detail work and hard-to-reach areas, while rollers and sprayers are more efficient for larger areas.
- Start from the top: Begin applying the stain from the top of the deck, working your way down to the bottom. This helps prevent drips and ensures even coverage.
- Apply in small sections: Work in manageable sections, typically 2-3 boards at a time, to ensure that you can maintain a wet edge as you apply the stain. This helps prevent lap marks and uneven color.
- Follow the grain: Always apply the stain in the direction of the wood grain. This will help the stain penetrate the wood and result in a more natural appearance.
- Avoid overlapping: When applying the stain, make sure to blend each section with the previous one while it is still wet. Avoid overlapping as it can create darker spots and uneven color.
- Allow proper drying time: Follow the manufacturer’s instructions for drying time. Typically, the deck should be allowed to dry for 24-48 hours before foot traffic or any furniture is placed back on it.
- Apply a second coat (if needed): Depending on the desired level of color and protection, a second coat of stain may be necessary. Follow the recommended time interval between coats for the best results.
- Clean up: Properly clean the applicator and any tools used with the appropriate cleaning solution recommended by the stain manufacturer. Dispose of any leftover stain or materials according to local regulations.
By following these steps and taking your time during the application process, you can achieve a professional-looking finish that enhances the beauty of your deck and provides long-lasting protection against the elements.
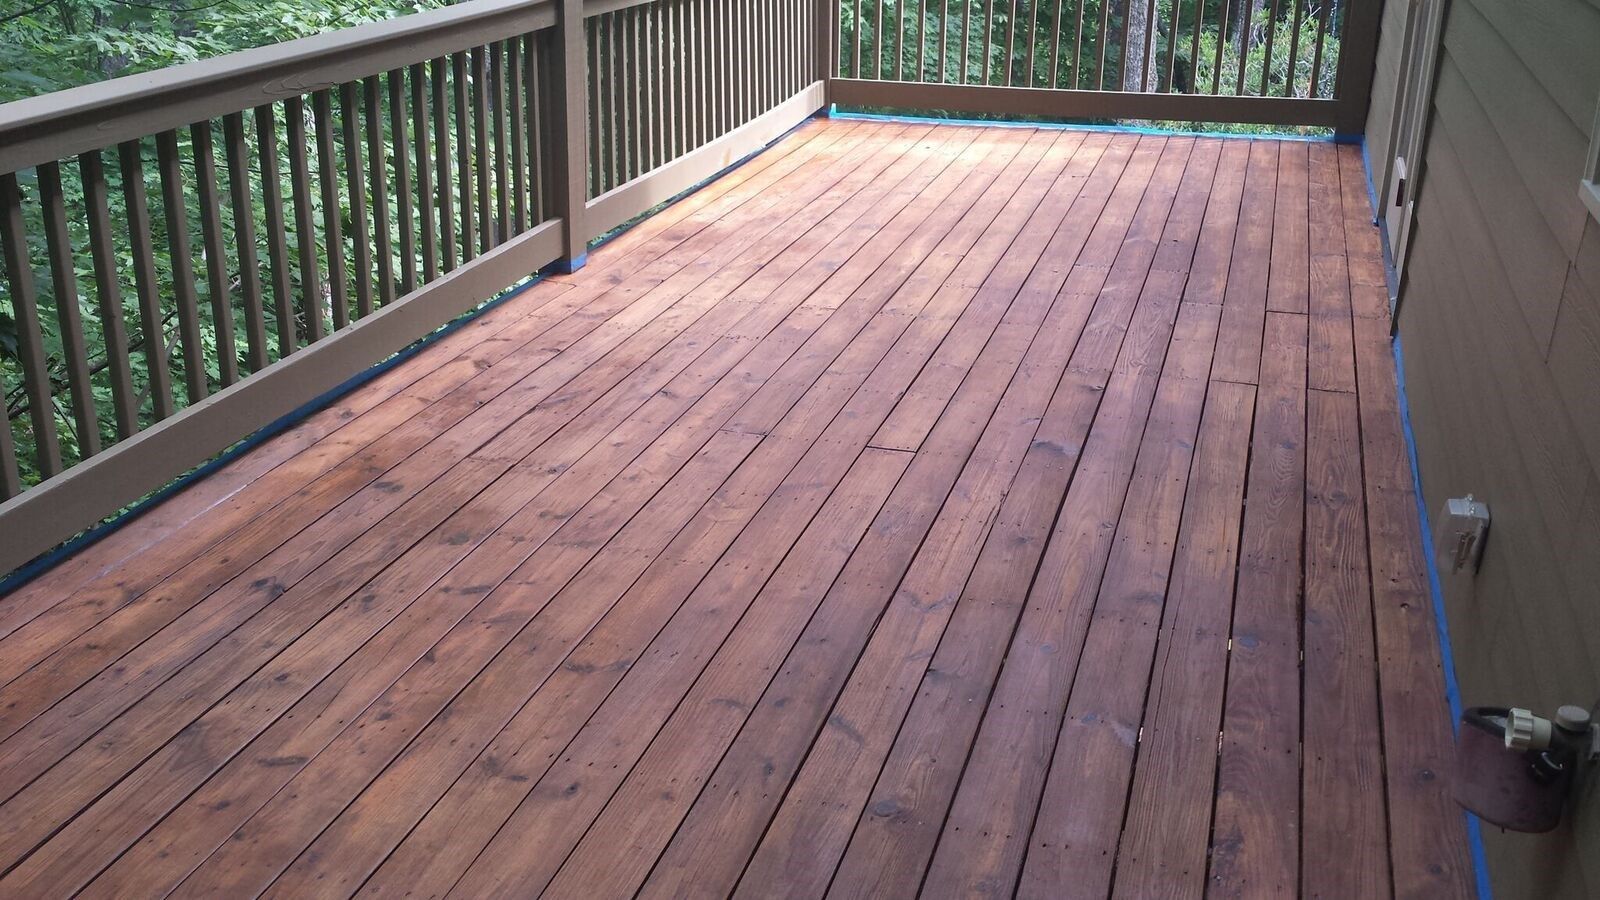
Step 6: Caring for the Refinished Deck
Once you have successfully refinished your deck, it’s important to implement a regular maintenance routine to keep it looking beautiful and ensure its longevity. Here are some tips for caring for your refinished deck:
- Regular cleaning: Perform regular cleaning to remove dirt, debris, and any buildup that may occur over time. Sweep or use a leaf blower to remove surface dirt, and periodically wash the deck with a mild soap and water solution.
- Avoid harsh cleaning methods: Avoid using abrasive cleaners, bleach, or pressure washers set to high pressure, as these can damage the wood and strip away the stain. Use gentle cleaning methods to preserve the finish.
- Address stains and spills promptly: In case of spills or stains, clean them up as soon as possible to prevent them from setting into the wood and causing permanent damage to the stain. Use a mild cleaner or a recommended stain remover to tackle stubborn stains.
- Inspect for damage: Regularly inspect your deck for any signs of damage such as loose boards, protruding nails, or cracks. Address these issues promptly to prevent further damage and potential safety hazards.
- Perform periodical maintenance: Depending on the wear and tear your deck experiences, you may need to perform maintenance tasks such as reapplying a protective sealant or performing spot touch-ups on areas that may have faded or worn out over time.
- Protect against the elements: Consider using furniture pads or feet protectors to prevent scratches or dents caused by movable furniture. Use mats or rugs in high-traffic areas to minimize wear and tear on the deck surface.
- Trim vegetation: Ensure that any shrubs or plants near your deck are properly trimmed to prevent excessive moisture or debris buildup, which can lead to damage and staining of the wood.
- Regularly check for moisture: Check for any signs of moisture build-up, such as water pooling or discoloration. Address the underlying issue promptly to prevent rot or deterioration of the wood.
- Monitor UV exposure: If your deck is exposed to intense sunlight, consider using UV-protective coatings or adding shade structures to minimize sun damage and fading of the stain.
By following these care and maintenance tips, you can ensure that your refinished deck stays in great shape and continues to be a beautiful and enjoyable outdoor space for years to come.
Conclusion
Refinishing a deck is a rewarding project that can breathe new life into your outdoor space. By following the steps outlined in this guide, you can successfully assess the condition of your deck, clean it thoroughly, sand it to a smooth surface, select the right stain, apply it properly, and establish a maintenance routine for long-term care.
Remember that the key to a successful deck refinishing project is thorough preparation and attention to detail. Assessing the deck’s condition allows you to address any necessary repairs, while proper cleaning and sanding create a smooth and clean surface for the stain to adhere to. Selecting the right stain enhances both the appearance and protection of your deck, and applying it with care ensures a professional-looking finish.
Once your deck has been refinished, it’s important to continue caring for it to maintain its beauty and durability. Regular cleaning, prompt stain removal, periodic maintenance, and protecting it from the elements contribute to a deck that will stand the test of time.
So, whether you’re reviving an old deck or giving your current deck a facelift, don’t hesitate to embark on the refinishing journey. Enjoy the process and the transformation of your outdoor space, and create a deck you can be proud of for many years to come.
Frequently Asked Questions about How To Refinish A Deck, Including Cleaning And Selecting A Stain
Was this page helpful?
At Storables.com, we guarantee accurate and reliable information. Our content, validated by Expert Board Contributors, is crafted following stringent Editorial Policies. We're committed to providing you with well-researched, expert-backed insights for all your informational needs.


0 thoughts on “How To Refinish A Deck, Including Cleaning And Selecting A Stain”