Home>Storage Ideas>Bedroom Storage>How To Get Blood Out Of Clothes
Bedroom Storage
How To Get Blood Out Of Clothes
Modified: December 7, 2023
Learn the best techniques on how to effectively remove blood stains from clothes with easy bedroom storage hacks. Keep your wardrobe looking fresh and stain-free!
(Many of the links in this article redirect to a specific reviewed product. Your purchase of these products through affiliate links helps to generate commission for Storables.com, at no extra cost. Learn more)
Introduction
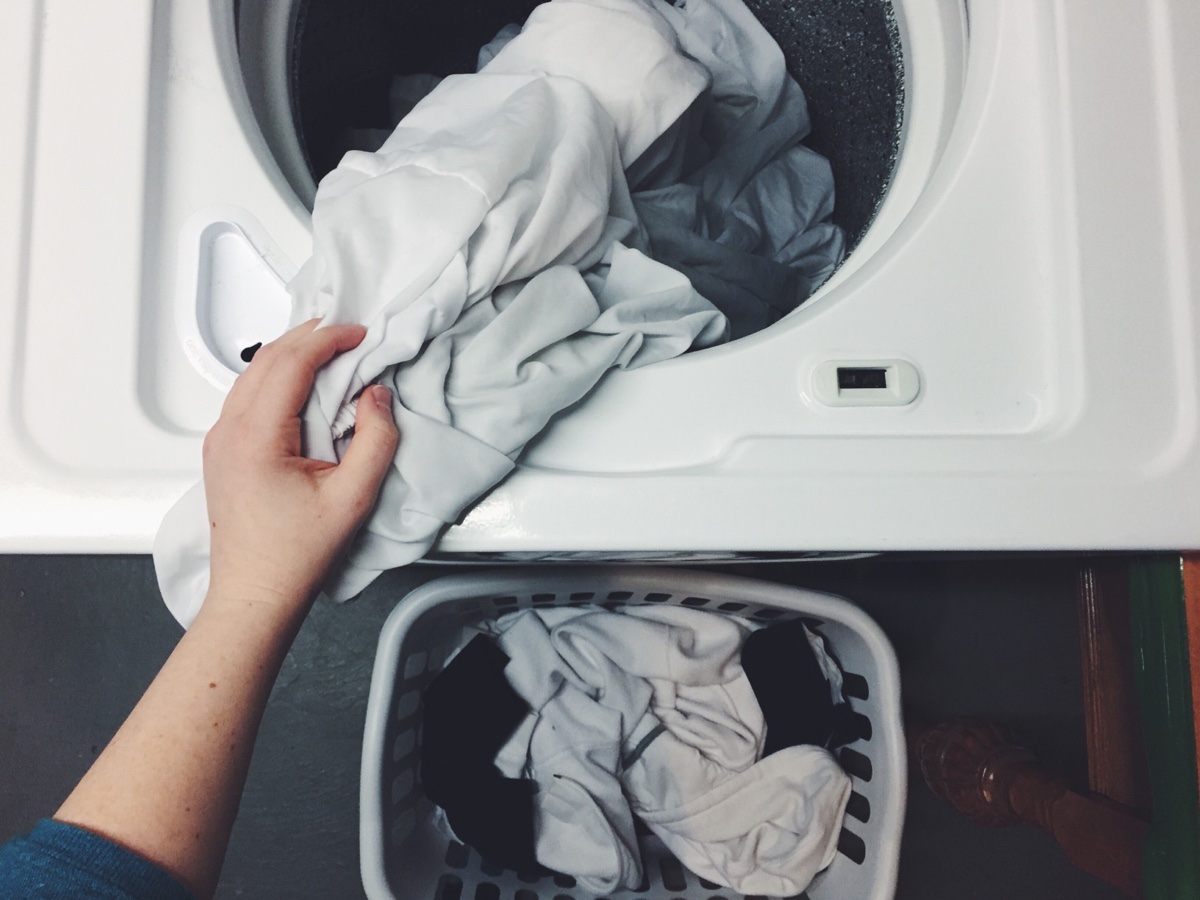
Welcome to the ultimate guide on how to get blood out of clothes. Accidents happen, and it’s not uncommon to find yourself dealing with a bloodstain on your favorite shirt or bedding. But fear not, with a strategic approach and a few household items, you can successfully remove even the toughest blood stains and restore your garments to their former glory.
Dealing with a bloodstain requires a different approach than other types of stains. The key is to act quickly and use the right methods and cleaning solutions to prevent the stain from setting into the fabric. In this comprehensive guide, we will walk you through the step-by-step process of removing blood stains effectively.
Before we dive into the removal techniques, it’s important to understand the nature of the stain. Blood contains proteins that bind to fabric fibers, making it a particularly stubborn stain to remove. The longer the stain sits, the more difficult it becomes to eliminate. Therefore, prompt action is crucial to achieving successful stain removal.
In the following sections, we will explore different methods to pre-treat the stain, soak the clothes, and use various cleaning agents to eliminate the bloodstain. We’ll also provide additional tips and precautions to ensure the best possible results without causing any damage to your clothes.
So, whether you accidentally cut yourself while preparing dinner or had a minor mishap during that intense game of backyard football, this guide will equip you with the knowledge and techniques needed to confidently tackle blood stains and salvage your favorite garments. Let’s get started!
Key Takeaways:
- Act quickly and use cold water to pre-treat and remove fresh blood stains from clothes. Avoid heat and follow care label instructions for effective stain removal without damaging the fabric.
- Employ ammonia solution, hydrogen peroxide, and enzyme cleaners to tackle stubborn blood stains. Always test stain removers, inspect and dry the fabric carefully, and follow additional tips for successful stain removal.
Read more: How To Get Ink Out Of Clothes
Understanding the Stain
Before diving into the stain removal process, it’s important to understand the characteristics of a bloodstain. Blood contains proteins that act as bonding agents, making it adhere to fabric fibers with tenacity. This makes it necessary to adopt specific cleaning techniques to effectively remove the stain.
The first step in understanding the stain is identifying whether it is fresh or dried. Fresh bloodstains are easier to remove, as they haven’t had time to set into the fabric. Dried blood stains, on the other hand, can be more challenging to eliminate, requiring extra effort and time.
Next, consider the type of fabric you’re dealing with. Different fabrics may require different cleaning methods to prevent damage. Delicate or sensitive fabrics such as silk or wool may need specialized care to avoid discoloration or fabric deterioration.
To determine the appropriate cleaning technique, it’s crucial to check the garment’s care label for any specific instructions. The care label will provide guidelines on the maximum temperature for washing and any other precautions you should take while treating the fabric.
Before attempting to remove the stain, it’s essential to avoid heat. Applying hot water or heat sources like a dryer or iron can cause the proteins in the blood to coagulate, making the stain even more challenging to remove. Stick to cold water while treating bloodstains to prevent setting the stain further into the fabric.
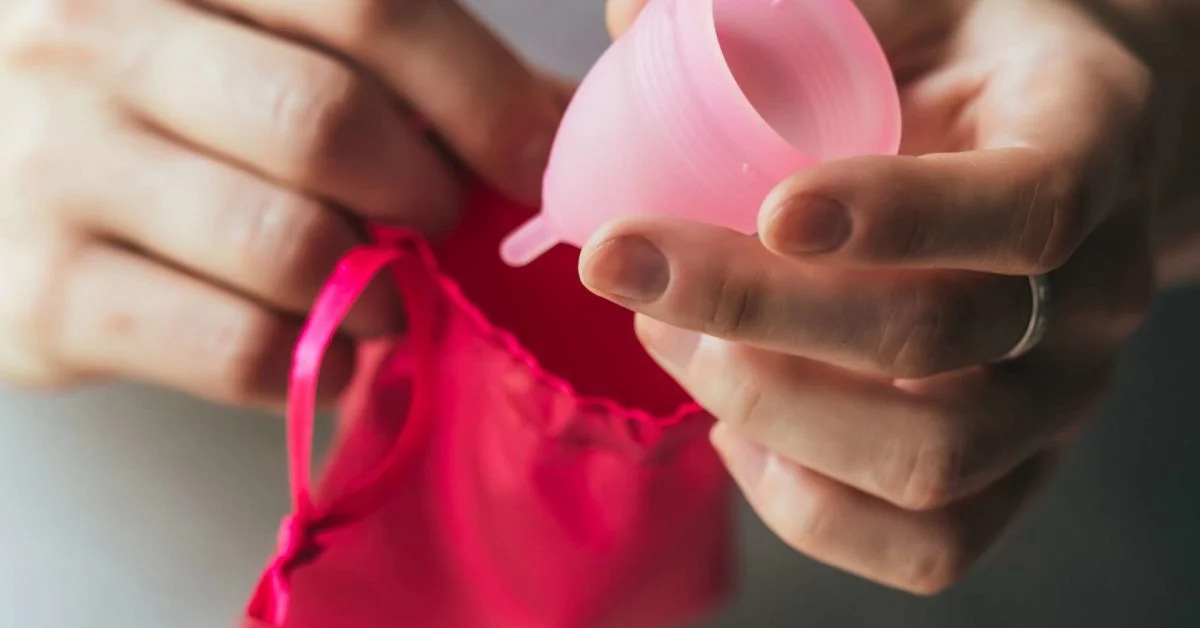
Lastly, knowing the source of the blood can also be helpful in determining the appropriate cleaning method. For example, if the bloodstain is from a nosebleed or menstruation, the cleaning process may differ slightly than if it’s from a small cut or scrape.
By understanding the characteristics of the bloodstain, the fabric type, and following the necessary precautions, you’ll be better equipped to choose the most effective stain removal methods. In the next section, we’ll dive into the pre-treatment process to help you prepare the stain for effective removal.
Pre-treating the Stain
Pre-treating the stain is an important step in the process of removing blood from clothes. By taking the time to pre-treat, you can help loosen the stain, making it easier to remove during the cleaning process.
Here are some effective methods for pre-treating bloodstains:
- Cold Water Rinse: The first step in pre-treating a bloodstain is to rinse it with cold water as soon as possible. Cold water helps dilute the blood and prevents it from setting into the fabric. Hold the stained area under running cold water and gently rub the fabric together to loosen the stain.
- Salt Paste: For fresh bloodstains, creating a salt paste can be highly effective. Mix salt with cold water to form a thick paste and apply it to the stained area. Let it sit for about 15 minutes, then rinse with cold water. The salt helps to absorb the blood and lift it from the fabric.
- Hydrogen Peroxide: Hydrogen peroxide is a powerful stain remover and can be used to pre-treat bloodstains. Apply a small amount of hydrogen peroxide directly to the stain and gently blot it with a clean cloth. Be cautious when using hydrogen peroxide on colored fabric, as it may cause fading or discoloration.
- Enzyme-based Stain Remover: Enzyme-based stain removers are specifically designed to break down proteins, such as those found in blood. Apply the stain remover directly to the stain, following the product instructions, and allow it to sit for the recommended time before washing the garment.
After pre-treating the stain, it’s essential to check if the bloodstain has been successfully loosened and lightened. If not, you may need to repeat the pre-treatment process or move on to more intensive stain removal techniques.
Remember, it’s crucial to avoid using heat or warm water during the pre-treatment process, as heat can cause the blood proteins to coagulate and set the stain further into the fabric. Stick to cold water and gentle methods to ensure the best results.
With the stain pre-treated and ready for further stain removal, let’s move on to the next section where we will explore the soaking process to tackle stubborn bloodstains.
Soaking the Clothes
Soaking the clothes is an effective method for treating stubborn bloodstains that haven’t been completely removed during the pre-treatment process. By allowing the garment to soak in a suitable solution, you can further break down the stain and prepare it for successful removal.
Here’s how to properly soak your clothes:
- Select a Suitable Container: Choose a container large enough to accommodate the garment(s) you want to soak. Make sure it’s clean and free from any residues or contaminants that could transfer to your clothes.
- Add Cold Water: Fill the container with cold water. Avoid using warm or hot water, as heat can set the bloodstain further into the fabric.
- Add Stain-Removing Agent: Depending on the type of fabric and the stain severity, you can add various stain-removing agents to the water. Here are a few options:
- Baking Soda: Add a ¼ cup of baking soda to the water and stir well to dissolve. Baking soda helps to break down the proteins in the blood and loosen the stain.
- Vinegar: Add 1 cup of white vinegar to the water. Vinegar is known for its stain-removing properties and can be effective in treating bloodstains.
- Enzyme Cleaner: If the stain persists, you can add an enzyme-based cleaner specifically designed to break down protein stains like blood. Follow the product instructions regarding the amount to use.
- Immerse the Clothes: Place the stained clothes into the container, ensuring that they are fully submerged in the water. Gently press down on the garments to encourage water penetration into the fibers.
- Let it Soak: Allow the clothes to soak for at least 30 minutes, or even overnight for more stubborn stains. This soaking period gives the stain-removing agents enough time to break down the proteins in the blood and loosen the stain.
- Periodically Check the Stain: Although soaking should help to remove the stain, it’s important to check the progress periodically. If the stain is still noticeable, you may need to repeat the soaking process or move on to alternative stain removal methods.
After successfully soaking the clothes, it’s time to move on to specific stain removal techniques that will tackle fresh or dried blood stains. In the next sections, we will explore these techniques in detail, so be sure to read on for effective methods to remove blood from your clothes.
Removing Blood Stains with Cold Water
One of the simplest and most effective methods for removing fresh blood stains is using cold water. Cold water helps to prevent the blood from setting into the fabric, making it easier to remove. This method is ideal for delicate fabrics that cannot tolerate harsher stain removers.
Here’s how to use cold water to remove blood stains:
- Act Quickly: As soon as you notice a fresh bloodstain, tackle it immediately. The longer the blood sits on the fabric, the more challenging it becomes to remove.
- Rinse with Cold Water: Hold the stained area under a stream of cold water. The force of the water will help to dislodge and dilute the blood. Gently rub the fabric together to further loosen the stain.
- Blot the Stain: Once you’ve rinsed the stain, use a clean cloth or paper towel to blot the area. Avoid rubbing, as this can spread the stain further.
- Continue Rinsing and Blotting: Repeat the process of rinsing with cold water and blotting until you notice a significant lightening of the stain. This may take several repetitions depending on the severity of the bloodstain.
- Dry the Fabric: Once the stain is noticeably lighter, pat the fabric dry with a clean towel. Avoid using heat to dry the fabric, as this can set any remaining blood and make it more difficult to remove.
If the bloodstain persists after following this method, you may need to move on to alternative stain removal techniques.
Note: Avoid using warm or hot water when treating bloodstains, as heat can cause the proteins in the blood to coagulate and set the stain further into the fabric. Stick to cold water throughout the entire process.
Now that you know how to remove blood stains using cold water, let’s explore another effective method using ammonia solution in the next section.
Read more: How To Get A Blood Stain Out Of A Carpet
Using Ammonia Solution
When dealing with stubborn or dried blood stains, using an ammonia solution can be highly effective. However, it’s important to handle ammonia with caution and follow safety guidelines.
Here’s how to use an ammonia solution to remove blood stains:
- Gather the Supplies: Before starting, gather the necessary supplies, including gloves, a clean cloth or sponge, ammonia, and cold water.
- Mix the Solution: In a small bowl, dilute one part ammonia with two parts cold water. It’s essential to follow the product instructions and avoid using too much ammonia, as it can cause damage to certain fabrics.
- Prep the Stained Area: Place a clean cloth or sponge underneath the stained fabric to absorb any excess liquid and protect the surface beneath. This will prevent the stain from spreading to other areas of the garment.
- Apply the Ammonia Solution: Dip a clean cloth or sponge into the ammonia solution and gently dab it onto the stained area. Avoid rubbing or scrubbing vigorously, as this can damage the fabric.
- Let it Sit: Allow the ammonia solution to sit on the stain for about 15 minutes. This will give it time to penetrate the fabric and break down the proteins in the blood.
- Blot the Stain: After the sitting time, use a clean cloth or sponge to blot the stain. Gently press down and lift to absorb the solution and any loosened blood particles. Repeat this process until the stain lightens.
- Rinse the Fabric: Thoroughly rinse the treated area with cold water to remove any residue of the ammonia solution. Hold the fabric under running water or use a clean cloth soaked in cold water to rinse the area.
- Dry the Fabric: Pat the fabric dry with a clean towel or allow it to air dry. Avoid using heat, as it can cause the blood to set and make stain removal more difficult.
Remember to work in a well-ventilated area and wear gloves when handling ammonia. Additionally, always read and follow the instructions provided with the ammonia product you are using.
If the ammonia solution does not completely remove the stain, you may need to consider using hydrogen peroxide in the next step.
Now that you’ve learned how to use an ammonia solution, let’s explore the next method using hydrogen peroxide to tackle stubborn blood stains.
Soak the stained area in cold water and gently rub with a mild detergent. For tougher stains, try using hydrogen peroxide or a stain remover before washing as usual.
Applying Hydrogen Peroxide
Hydrogen peroxide is a powerful stain remover that can effectively break down blood stains. It is particularly useful for treating dried or stubborn bloodstains that have not been fully removed by previous methods. However, it’s important to exercise caution when using hydrogen peroxide, especially on colored fabrics, as it can cause fading or discoloration.
Here’s how to apply hydrogen peroxide to remove blood stains:
- Gather the Supplies: Before you begin, gather the necessary supplies, including hydrogen peroxide (3% concentration), a clean cloth or sponge, cold water, and gloves.
- Prep the Stained Area: Place a clean cloth or sponge underneath the stained fabric to absorb any excess liquid and protect the surface beneath.
- Patch Test: Perform a patch test on a small, inconspicuous area of the fabric to ensure that the hydrogen peroxide does not cause any damage or discoloration. If there is no adverse reaction after a few minutes, you can proceed.
- Apply the Hydrogen Peroxide: Pour a small amount of hydrogen peroxide directly onto the stained area. Be careful not to oversaturate the fabric, as excessive moisture can cause damage.
- Gently Blot: Using a clean cloth or sponge, gently blot the stained area. Avoid rubbing, as this can spread the stain further. Blotting helps to lift the blood particles and allow the hydrogen peroxide to penetrate the fabric.
- Let it Sit: Allow the hydrogen peroxide to sit on the stain for about 10-15 minutes. This allows it to break down the proteins in the blood and further lighten the stain.
- Rinse with Cold Water: After the sitting time, rinse the fabric under cold running water to remove the hydrogen peroxide and any loosened blood particles. Continue rinsing until the water runs clear.
- Dry the Fabric: Pat the fabric dry with a clean towel or allow it to air dry. Avoid using heat, as it can cause the blood to set and make stain removal more difficult.
If the bloodstain persists after using hydrogen peroxide, you may need to consider using an enzyme cleaner or move on to more intensive stain removal methods.
Remember to wear gloves and work in a well-ventilated area when handling hydrogen peroxide. Additionally, always follow the instructions and precautions provided with the hydrogen peroxide product you are using.
Now that you know how to apply hydrogen peroxide to remove blood stains, let’s explore the next method using an enzyme cleaner to tackle stubborn and set-in stains.
Removing Stubborn Stains with Enzyme Cleaner
When dealing with stubborn and set-in blood stains, an enzyme cleaner can be a powerful tool to break down the proteins in the stain. Enzyme cleaners contain specific enzymes that target organic stains like blood, effectively breaking them down and making them easier to remove.
Here’s how to remove stubborn blood stains using an enzyme cleaner:
- Gather the Supplies: Collect your supplies, including an enzyme cleaner suitable for fabric use, a clean cloth or sponge, cold water, and gloves.
- Prep the Stained Area: Place a clean cloth or sponge underneath the stained fabric to protect the surface underneath and absorb any excess liquid.
- Read the Instructions: Carefully read the instructions on the enzyme cleaner product to understand the recommended usage, dilution instructions (if applicable), and any safety precautions.
- Apply the Enzyme Cleaner: Apply the enzyme cleaner directly to the stained area. Ensure the stain is completely saturated with the cleaner, allowing the enzymes to work on breaking down the blood proteins.
- Gently Agitate the Stain: Using a clean cloth or sponge, gently agitate the stained area. This helps to work the enzyme cleaner into the fabric and further break down the stain.
- Let it Sit: Allow the enzyme cleaner to sit on the stain for the recommended amount of time specified in the product instructions. This allows sufficient time for the enzymes to work on the bloodstain.
- Rinse with Cold Water: After the designated sitting time, rinse the fabric under cold running water to remove the enzyme cleaner and any loosened blood particles. Continue rinsing until the water runs clear.
- Check the Stain: Once rinsed, check to see if the stain has been successfully removed. If any remnants of the stain are still visible, repeat the enzyme cleaner application and rinsing process until you are satisfied with the results.
- Dry the Fabric: Pat the fabric dry with a clean towel or allow it to air dry. Avoid using heat, as it can cause the blood to set and make stain removal more difficult.
Enzyme cleaners can be highly effective for stubborn blood stains, but it’s important to follow the product instructions and safety guidelines provided by the manufacturer. Additionally, perform a patch test on a small, inconspicuous area of the fabric to ensure compatibility.
If the stain persists after using an enzyme cleaner, you may need to consider professional cleaning or move on to alternative methods to tackle the stubborn bloodstain.
Now that you know how to use an enzyme cleaner, let’s move on to the next step: washing the clothes.
Washing the Clothes
After pre-treating and applying stain removal techniques, it’s time to wash the clothes to further remove any remaining traces of the bloodstain. Washing the clothes in the appropriate manner will ensure the stain is fully eliminated and the garment is left clean and fresh.
Here’s how to wash clothes to remove blood stains:
- Read the Care Label: Before washing the stained garment, always refer to the care label for specific instructions. Pay attention to the recommended water temperature, washing cycle, and any other special considerations for the fabric.
- Separate the Stained Clothing: If possible, separate the stained clothing from other garments to prevent any potential transfer of the stain or discoloration.
- Choose the Right Detergent: Select a laundry detergent that is suitable for the fabric and the type of stain. Look for detergents that are specifically formulated for removing tough stains like blood.
- Pre-treat Again (if necessary): If the bloodstain is still visible after the initial stain removal techniques, consider pre-treating the stain again with a suitable stain remover or a small amount of laundry detergent.
- Load the Washer: Place the stained garment in the washing machine, taking care not to overload the machine. Overcrowding can prevent proper agitation and rinsing, hindering the stain removal process.
- Set the Appropriate Settings: Set the washing machine to the recommended water temperature and cycle length specified on the care label. Use cold water if applicable, as hot water can cause the blood to set into the fabric.
- Add the Detergent: Add the appropriate amount of laundry detergent to the washing machine based on the product’s instructions. Avoid overusing detergent, as excessive soap residue can remain on the fabric.
- Start the Wash Cycle: Begin the wash cycle and allow the machine to complete its designated program. Once the cycle is finished, check the stained area to ensure the blot has been fully removed.
- Inspect and Repeat (if necessary): After washing, inspect the garment for any remaining traces of the stain. If needed, repeat the stain removal process or consider seeking professional cleaning assistance.
- Dry the Fabric: Finally, dry the fabric according to the care label instructions. Avoid using high heat to prevent the bloodstain from setting further into the fabric. If possible, air drying or using a low heat setting is recommended.
By following these steps, you can effectively eliminate blood stains and restore your clothing to a clean and stain-free state. However, if the stain persists after washing, it may require additional treatment or professional cleaning services.
Now that your clothes are clean and free from bloodstains, it’s time to move on to the final step: drying and inspecting the clothing.
Read more: How To Get Blood Out Of A White Blanket
Drying and Inspecting the Clothing
After successfully removing the blood stain and washing the clothes, it’s important to properly dry and inspect the garments to ensure the stain has been fully eliminated and that no damage has occurred during the stain removal process.
Here’s how to dry and inspect the clothing:
- Read the Care Label: Before proceeding with drying, always refer to the care label for specific instructions on the recommended drying method for the fabric. Some garments may require air drying, while others can tolerate machine drying.
- Air Drying: If the care label permits, consider air drying the garments to prevent any heat-related damage and to allow for natural circulation of air, which can help eliminate any remaining odors.
- Machine Drying: If machine drying is suitable for the fabric, place the garments in the dryer and select the appropriate heat setting. Opt for a low or gentle setting to minimize the risk of shrinkage or damage to delicate fabrics.
- Inspect the Stained Area: Once dry, carefully inspect the previously stained area to ensure the bloodstain has been fully removed. Check the fabric under good lighting to detect any remaining traces of the stain.
- Repeat Stain Removal (if necessary): If you notice any remnants of the stain, consider repeating the stain removal process or employing alternative stain removal methods before proceeding with any further cleaning or treatment.
- Check for Fabric Condition: In addition to inspecting the stain, assess the fabric’s overall condition. Look for any signs of fabric damage, color fading, or weakening caused by the stain removal process.
- Spot Treat (if needed): If you notice any residual discoloration or faint traces of the stain, you can try spot treating the affected area with a suitable stain remover or detergent. Follow the product instructions and proceed cautiously, particularly with delicate fabrics.
- Reevaluate the Garment: After spot treating, reevaluate the garment to determine if any additional measures are required or if professional cleaning assistance should be sought.
By properly drying and inspecting the clothing, you can ensure that the bloodstain is fully eliminated and that the fabric is in good condition. If any concerns or damage are noted, it may be necessary to consult a professional cleaner for tailored advice or assistance.
With the stain removed, the clothing restored, and the drying and inspection process complete, you can now enjoy your clean and stain-free garments once again.
Now that you’ve successfully treated and restored your clothing, let’s move on to some additional tips and precautions to help you maintain a clean and stain-free wardrobe.
Additional Tips and Precautions
While you now have a comprehensive understanding of how to effectively remove blood stains from clothes, here are some additional tips and precautions to keep in mind for future stain removal endeavors:
- Act Quickly: The sooner you treat a bloodstain, the better chance you have of removing it completely. Prompt action is key to preventing the stain from setting into the fabric.
- Avoid Heat: Heat can cause blood stains to set, making them more difficult to remove. Always use cold water, avoid heat sources, and refrain from using warm or hot water when treating blood stains.
- Use Natural Light: Natural light is better for inspecting stains, as it allows for a more accurate assessment of the stain’s presence or absence. Examine the fabric under good lighting to ensure that the stain has been successfully removed.
- Test Stain Removers: Before applying any stain remover or cleaning solution, perform a patch test on a small, inconspicuous area of the fabric to check for any adverse reactions or damage.
- Follow Care Labels: Always read and adhere to the care label instructions on your clothing. Each fabric type requires specific care, and following these guidelines will help preserve the integrity of your garments.
- Keep a Stain Removal Kit: Create a stain removal kit with essential items like cold water, hydrogen peroxide, baking soda, vinegar, and enzyme-based stain removers. Having these supplies on hand will enable you to act quickly when dealing with any type of stain.
- Know When to Seek Professional Help: In some cases, stubborn or delicate blood stains may require professional cleaning to prevent further damage. If you’re unsure or if the stain persists after multiple attempts, consult a professional cleaner for advice or assistance.
- Preventative Measures: To minimize the risk of bloodstains, be cautious when handling sharp objects and consider wearing protective clothing or using towels or bandages as needed. Taking preventive measures can reduce the likelihood of accidents and subsequent stains.
- Regularly Inspect Your Clothing: Regularly check your clothing for any unnoticed bloodstains. The sooner you spot a stain, the easier it will be to remove.
- Store Blood-Stained Clothing Separately: If you’re unable to treat a bloodstain immediately, store the garment separately to avoid potential transfer of the stain to other clothing.
By following these additional tips and precautions, you can not only tackle blood stains effectively but also take proactive measures to prevent and minimize their occurrence.
With your newfound knowledge and these guidelines in mind, you are now equipped to confidently remove blood stains from your clothes and maintain a clean and fresh wardrobe.
Remember, accidents happen, but with the right techniques and a little patience, you can conquer any bloodstain and restore your clothing to its former glory.
Happy stain removal!
Conclusion
In conclusion, successfully removing blood stains from your clothes is achievable with the right approach and techniques. Acting quickly and using appropriate stain removal methods can help you eliminate even the most stubborn stains and restore your garments to their former glory.
Understanding the nature of the stain, pre-treating the affected area, and soaking the clothes in suitable solutions all contribute to loosening the stain and making it easier to remove. Methods such as using cold water, ammonia solution, hydrogen peroxide, and enzyme cleaners can effectively break down the proteins in the blood, facilitating stain removal.
Throughout the process, it is crucial to follow safety precautions, read and adhere to care label instructions, and perform patch tests on delicate fabrics. Additionally, inspecting the clothes, properly drying them, and assessing the fabric’s condition are important steps to ensure the stain has been completely eliminated and the garment is undamaged.
By following additional tips and precautions, such as acting quickly, avoiding heat, and keeping a stain removal kit, you can be better prepared to handle future stains and maintain a clean and stain-free wardrobe.
Remember, stubborn or particularly delicate blood stains may require professional cleaning assistance, so don’t hesitate to seek help if needed.
Don’t let bloodstains ruin your favorite clothes. Armed with the knowledge and techniques provided in this guide, you can confidently tackle blood stains and restore your garments to their pristine condition.
So, the next time you find yourself facing a bloodstain, don’t panic. Follow the steps outlined in this guide, act promptly, and witness the power of effective stain removal techniques.
Now, go forth and conquer those blood stains, and enjoy your clean and fresh wardrobe!
Frequently Asked Questions about How To Get Blood Out Of Clothes
Was this page helpful?
At Storables.com, we guarantee accurate and reliable information. Our content, validated by Expert Board Contributors, is crafted following stringent Editorial Policies. We're committed to providing you with well-researched, expert-backed insights for all your informational needs.


0 thoughts on “How To Get Blood Out Of Clothes”