Home>Storage Ideas>Bedroom Storage>Iron Clothes Like A Pro With These Hacks
Bedroom Storage
Iron Clothes Like A Pro With These Hacks
Modified: October 21, 2024
Upgrade your bedroom storage with these pro hacks and iron your clothes like a pro. Transform your space with our expert tips and maximize your storage solutions
(Many of the links in this article redirect to a specific reviewed product. Your purchase of these products through affiliate links helps to generate commission for Storables.com, at no extra cost. Learn more)
Introduction
Welcome to the ultimate guide on how to iron clothes like a pro! Ironing may seem like a mundane household chore, but with the right techniques and tools, you can transform it into a satisfying and effortless task. Whether you’re new to ironing or looking to improve your skills, this article will provide you with invaluable tips and tricks to achieve perfectly pressed garments every time.
Ironing not only removes wrinkles and creases from your clothes but also helps to maintain their shape and prolong their lifespan. It’s a skill that can elevate your wardrobe and give you a polished, put-together look. So, get ready to say goodbye to wrinkled garments and hello to crisp and fresh-looking clothes.
In this comprehensive guide, we’ll cover everything from choosing the right iron to ironing different types of fabrics. We’ll also share expert advice on setting up your ironing station, removing stubborn wrinkles, and some handy tips and tricks to make your ironing experience more efficient and enjoyable.
So, grab your ironing board, plug in your iron, and let’s dive into the wonderful world of wrinkle-free clothing!
Key Takeaways:
- Say goodbye to wrinkled clothes and hello to crisp, fresh-looking garments by choosing the right iron, setting up a functional ironing station, and mastering the art of ironing different types of clothing.
- Embrace ironing as a mindful and therapeutic activity, and transform your clothes into wrinkle-free masterpieces with patience, attention to detail, and the right techniques.
Read more: How To Paint Plastic Like A Pro
Choosing the Right Iron
When it comes to ironing clothes, having the right iron can make all the difference. Here are some factors to consider when choosing the perfect iron for your needs:
- Steam or Dry Iron: Decide whether you prefer a steam iron or a dry iron. Steam irons use steam to remove wrinkles more effectively, while dry irons are suitable for fabrics that are sensitive to moisture.
- Adjustable Temperature: Look for an iron with adjustable temperature settings to accommodate different fabrics. Delicate fabrics like silk and chiffon require a lower heat setting, while cotton and linen can withstand higher temperatures.
- Soleplate Material: Choose an iron with a soleplate made of a non-stick material like ceramic or stainless steel. This ensures smooth gliding and prevents the iron from sticking to the fabric.
- Weight and Size: Consider the weight and size of the iron. A lighter and compact iron is more convenient and comfortable to use, especially when ironing large batches of clothes.
- Extra Features: Some irons come with additional features like auto shut-off, vertical steaming, or a burst of steam option. These features can enhance the ironing experience and provide versatility for different garment types.
Take your time to research and read reviews before purchasing an iron. Remember, investing in a good quality iron will make your ironing tasks easier and more efficient.
Preparing Your Clothes
Before you start ironing, it’s essential to prepare your clothes properly. This preparation will help ensure better results and prevent any damage to your garments. Here are some steps to follow:
- Sort and Prioritize: Sort your clothes according to their fabric type and ironing requirements. This will make the ironing process smoother and more efficient. Prioritize garments with stubborn wrinkles or delicate fabrics that require extra care.
- Check the Label: Always check the care label on your clothes to determine the recommended ironing temperature and any specific instructions or precautions.
- Remove Excess Moisture: Make sure your garments are completely dry before ironing them. Ironing damp or wet clothes can cause them to become discolored or develop water stains.
- Turn Clothes Inside Out: For delicate fabrics or clothes with printed or embellished designs, turn them inside out before ironing. This helps to protect the fabric or design from direct heat and potential damage.
- Smooth Out Wrinkles: Smooth out any major wrinkles or folds on your clothes by hand before placing them on the ironing board. This will make it easier to achieve wrinkle-free results.
By taking these preparatory steps, you’ll ensure that your clothes are ready for ironing and minimize the risk of any ironing mishaps.
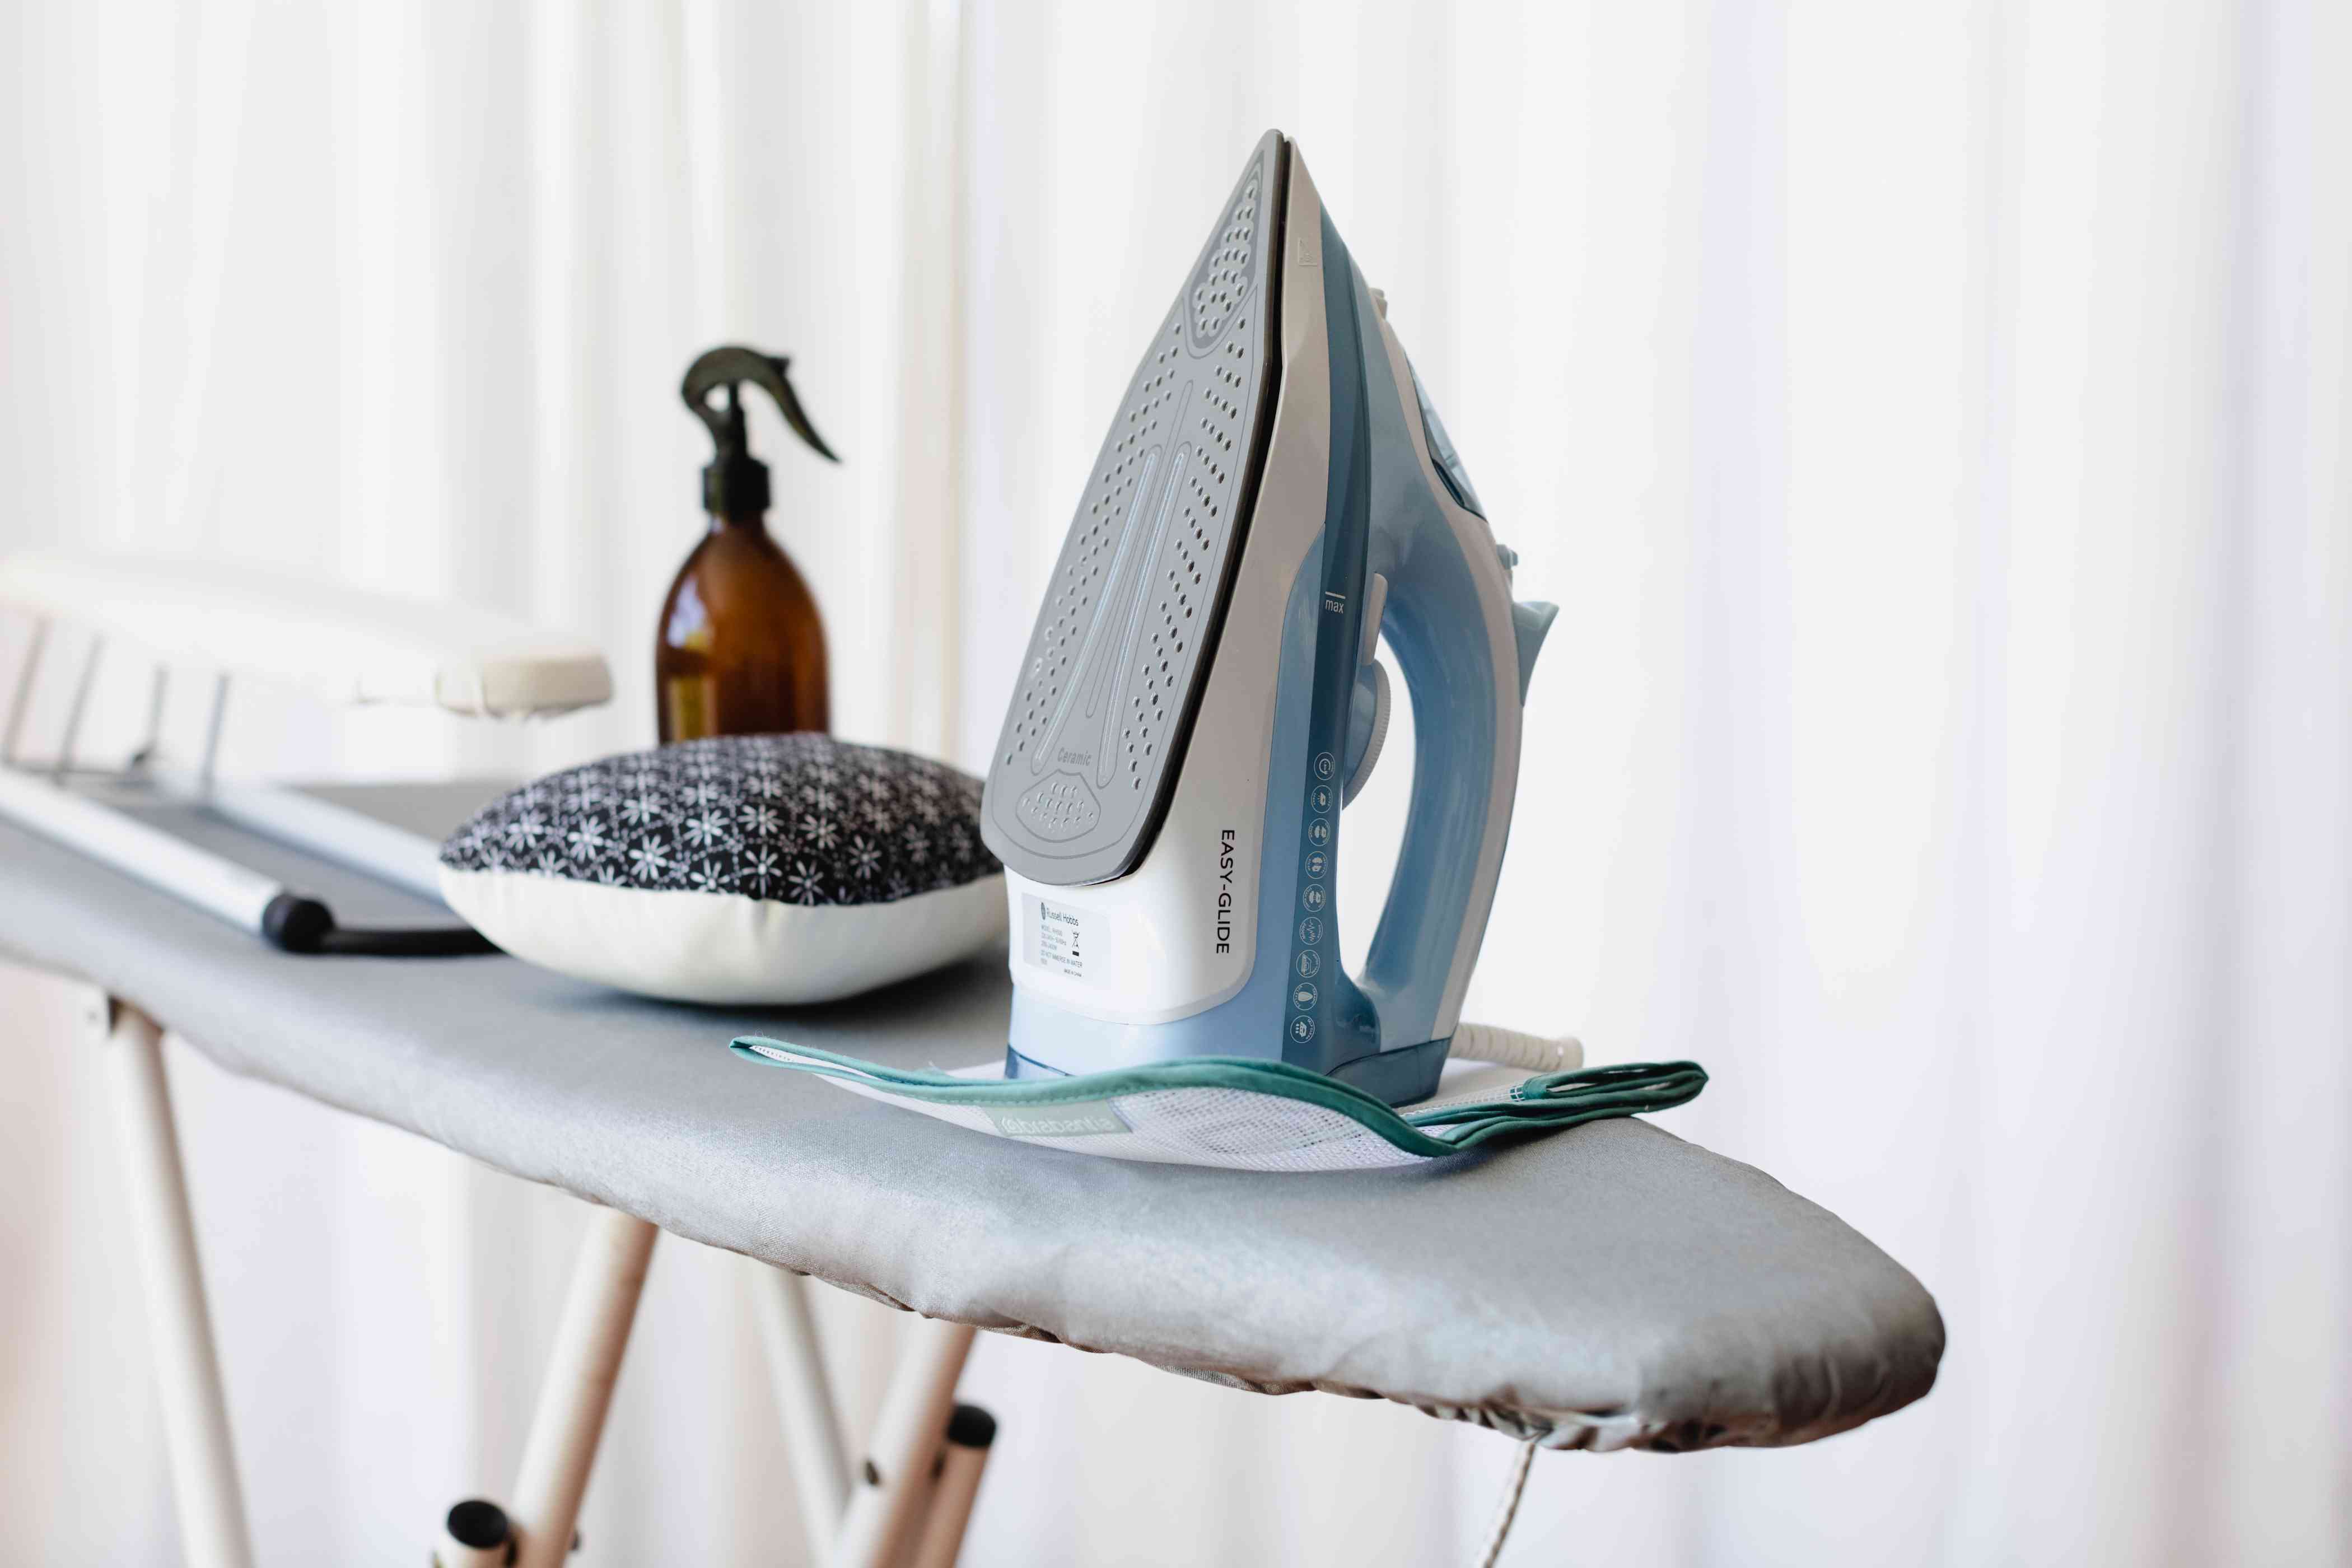
Setting Up Your Ironing Station
Creating a well-organized and functional ironing station will not only make your ironing tasks more efficient but also help you maintain a clutter-free and safe environment. Here are some tips to set up your ironing station:
- Sturdy Ironing Board: Invest in a sturdy ironing board that provides a stable surface for ironing. Ensure it is at a comfortable height for you to work without straining your back.
- Heat-Resistant Pad: Place a heat-resistant pad or a thick towel on top of your ironing board. This will protect the board from heat damage and provide a smooth surface for ironing.
- Ironing Board Cover: Choose a high-quality ironing board cover that fits snugly and securely. Opt for a cover with a thick padding to help distribute the heat evenly and create a smoother ironing surface.
- Water Source: Make sure you have easy access to a water source near your ironing station. This is essential for steam irons, as you’ll need to refill the water tank when necessary.
- Iron Stand: Use an iron stand or heat-resistant mat to place your hot iron when not in use. This will prevent any accidents and protect your surfaces from heat damage.
- Organize Your Tools: Keep your ironing essentials nearby. This includes a spray bottle for water, a pressing cloth for delicate fabrics, and any additional accessories like a seam roll or a sleeve board.
- Proper Lighting and Ventilation: Ensure that your ironing area is well-lit, either with natural light or a bright lamp. Adequate ventilation is also important to prevent steam and heat buildup.
By setting up your ironing station thoughtfully, you’ll create a comfortable and functional space that makes ironing a breeze.
Ironing Shirts and Blouses
Ironing shirts and blouses can be a bit tricky due to their collars, buttons, and different fabric textures. However, with the right technique, you can achieve crisp and professional-looking results. Here’s how to iron shirts and blouses:
- Start with the Collar: Begin by ironing the collar. Flip it up and iron the underside first, then iron the top side. Pay attention to any creases or folds and make sure to smooth them out.
- Move to the Shoulders: Lay the shirt flat on the ironing board with the back facing up. Iron the shoulders in a straight motion, ensuring there are no wrinkles or creases left behind.
- Iron the Sleeves: For short sleeves, lay the shirt flat with one sleeve extended out. Iron from the shoulder to the cuff, ensuring to iron both sides of the sleeve. For long sleeves, flatten the sleeve on the ironing board and iron from the shoulder to the cuff on both sides.
- Focus on the Body: Lay the shirt flat with the front facing up. Start ironing from the top, working your way down. Smooth out any wrinkles on the fabric, paying close attention to the button areas.
- Finish with the Hemline: Iron the bottom hemline of the shirt, ensuring it’s properly pressed and wrinkle-free.
- Button-Up Shirts: If you’re ironing a button-up shirt, button it completely before ironing. This will help maintain the proper shape and alignment of the shirt.
- Use Steam: If your iron has a steam function, use it to remove stubborn wrinkles. Hold the iron slightly above the fabric and let the steam do its job. For delicate fabrics, use a pressing cloth to protect the fabric from direct heat and steam.
Remember to adjust the temperature settings of your iron based on the fabric type to prevent any damage. Take your time and iron one section at a time for the best results. With practice, you’ll master the art of ironing shirts and blouses.
Ironing Pants and Skirts
Ironing pants and skirts can be a bit challenging due to their different shapes and creases. However, with the right technique and attention to detail, you can achieve well-pressed bottoms. Here’s how to iron pants and skirts:
- Check the Creases: Before ironing, check for any existing creases on the pants or skirts. This will help guide your ironing process and ensure a uniform look.
- Start with the Waistband and Pockets: Lay the pants or skirt flat on the ironing board with the waistband facing up. Iron the waistband first, focusing on any wrinkles or creases. Open up the pockets and iron them flat as well.
- Iron the Front: Flip the pants or the skirt over so that the front is facing up. Start ironing from the waist down, moving the iron in long, straight strokes. Be mindful of any pleats or creases and iron them accordingly.
- Iron the Back: Flip the pants or skirt over again, so the back is facing up. Repeat the same technique as you did for the front, ironing from the waist down, and paying attention to any pleats or creases.
- Focus on the Hems: Iron the hems of the pants or skirt to ensure they are crisp and wrinkle-free. Use the edge of the ironing board to press the crease into the hems for a professional look.
- Press the Creases: If your pants or skirt have creases, use a steam iron or a spray bottle to dampen the crease area slightly. Then, press the iron firmly along the crease to create a sharp and defined line.
- Hang Them Properly: Once you’re finished ironing, hang the pants or skirt immediately to prevent any new wrinkles from forming. Use sturdy hangers and allow them to hang freely to maintain their shape.
It’s important to adjust the temperature settings of your iron based on the fabric of the pants or skirt. Taking your time and ironing each section carefully will result in well-pressed and polished bottoms.
When ironing clothes, start with the lowest heat setting and gradually increase as needed to avoid damaging delicate fabrics. Always iron inside out to prevent any shine or damage to the outer fabric.
Ironing Dresses and Suits
Ironing dresses and suits requires precision and attention to detail to maintain their formal and elegant appearance. To achieve a flawless finish, follow these steps:
- Read the Care Label: Before ironing a dress or suit, check the care label for any specific instructions or recommended ironing temperatures.
- Prepare the Garment: If the dress or suit has linings or delicate embellishments, use a pressing cloth to protect the fabric. Turn the garment inside out to iron certain areas.
- Start with the Collar and Lapels: Begin by ironing the collar and lapels of a suit jacket or the collar of a dress. Use gentle pressure and smooth out any wrinkles.
- Irons Shirts and Blouses for dresses with attached shirts or blouses, follow the same steps as mentioned in section “4. Ironing Shirts and Blouses”.
- Focus on the Top Half: Iron the upper half of the dress or suit, including sleeves, shoulder areas, and the front panel. Pay attention to any pleats, pockets, or buttons and iron them accordingly.
- Move to the Bottom Half: Iron the lower half of the dress or suit, ensuring proper creases and smoothness. For skirts, iron from the waistband down, and for pants, iron from the waist to the hemline.
- Press the Sleeves: When ironing sleeves, flatten them out and iron them from the shoulder to the cuff. Pay attention to any creases or folds and smooth them out.
- Use Steam for Fabrics: If the fabric allows, use the steam function of your iron to remove stubborn wrinkles. Hold the iron slightly above the fabric and let the steam penetrate the fibers.
- Hang with Care: After ironing, hang the dress or suit on a sturdy hanger to maintain its shape. Avoid squeezing it into a crowded closet to prevent wrinkles from forming.
Take your time and iron each section carefully to achieve a refined and professional look for your dresses and suits. Handling these garments with care will ensure that they continue to make a stylish impression.
Ironing Delicate Fabrics
Ironing delicate fabrics requires special care and attention to prevent damage. Delicate fabrics such as silk, chiffon, lace, and satin require a gentle touch and lower heat settings. Follow these steps to iron delicate fabrics:
- Read the Care Label: Always refer to the care label for specific ironing instructions and recommended temperatures for delicate fabrics.
- Use a Pressing Cloth: Place a clean, damp pressing cloth or a lightweight cotton cloth over the delicate fabric to protect it from direct heat. This also helps to prevent shine or burn marks on the fabric.
- Lower the Temperature: Adjust your iron to a low heat setting suitable for the delicate fabric. Test the iron on a small, inconspicuous area to ensure it doesn’t cause any damage.
- Press, Don’t Glide: Instead of gliding the iron over the fabric, gently press and lift the iron along the surface. This minimizes the risk of pulling or stretching delicate fibers.
- Iron in Layers: If the fabric is very delicate or prone to wrinkles, iron it in layers. Lay a towel or cloth underneath the fabric and iron it through the layers. This provides extra protection and prevents direct heat contact.
- Iron on the Reverse Side: For certain delicate fabrics, such as chiffon or lace, it’s recommended to iron them on the reverse side. This helps to preserve the delicate texture and prevent any damage from the heat.
- Steam with Caution: Use steam sparingly when ironing delicate fabrics. Excessive moisture can cause the fabric to become distorted or discolored. Use short bursts of steam, or opt for a spray bottle to lightly mist the fabric before ironing.
- Hang to Dry: After ironing, hang the delicate fabric to dry completely before storing or wearing it. This will help to set the shape and prevent any moisture from causing wrinkles.
By following these tips and taking extra precautions, you can iron delicate fabrics safely and maintain their beauty and integrity.
Removing Stubborn Wrinkles
Stubborn wrinkles can be frustrating, but with the right techniques, you can tackle them effectively. Here are some tips to help you remove stubborn wrinkles:
- Use Steam: If your iron has a steam function, utilize it to help loosen the wrinkles. Hold the iron slightly above the fabric and let the steam penetrate the fibers. Gently press down on the fabric to smooth out the wrinkles.
- Mist with Water: If you don’t have a steam iron, you can use a spray bottle to lightly mist the wrinkled areas with water. Then, press the iron on the dampened area, using a pressing cloth if necessary.
- Hang in a Steamy Bathroom: Another trick to remove wrinkles is to hang the garment in a steamy bathroom. Close the door, turn on the hot water in the shower, and let the steam work its magic. Afterward, gently smooth out the wrinkles by hand or lightly iron them.
- Use a Wrinkle Release Spray: Commercial wrinkle release sprays are available and can be very useful in tackling stubborn wrinkles. Spray the fabric lightly, then gently pull and smooth out the wrinkles by hand or use a cool iron to press them out.
- Bring in Professional Help: For extra stubborn wrinkles or delicate fabrics, it might be best to take the garment to a professional dry cleaner or tailor. They have the expertise and equipment to handle difficult wrinkles without causing damage.
- Apply Heat and Pressure: If you have a garment with thicker or stubborn fabric, such as denim or cotton, place a clean, damp cloth over the wrinkled area, and press a hot iron firmly on top of it. The combination of heat and pressure will help release the wrinkles.
- Steamer: Consider investing in a garment steamer, which can be effective in removing wrinkles from fabrics without direct contact. Steaming works well for delicate fabrics and large garments like dresses or curtains.
Remember to always test a small, inconspicuous area of the fabric before applying any heat or moisture to ensure it won’t cause damage. With these techniques, you can say goodbye to stubborn wrinkles and enjoy smooth, wrinkle-free clothing.
Ironing Tips and Tricks
Now that you have learned the essentials of ironing, here are some additional tips and tricks to make your ironing experience even more efficient and effective:
- Sort by Temperature: When ironing multiple garments, sort them by temperature requirements. This will allow you to iron them in batches without constantly adjusting the temperature settings of your iron.
- Iron Inside Out: For clothing items with delicate prints or embroidered designs, iron them inside out. This protects the design from direct heat and prevents any potential damage or fading.
- Always Empty Water Tank: If you’re using a steam iron, always empty the water tank after each use. This prevents mineral buildup and prolongs the lifespan of your iron.
- Use Distilled Water: To prevent mineral deposits on your iron’s soleplate and avoid potential staining on your clothes, use distilled or filtered water for the steam function.
- Iron in a Well-Ventilated Area: Ironing can release steam and heat, so it’s important to iron in a well-ventilated area. This helps to prevent steam buildup and keeps the room comfortable.
- Don’t Overload the Ironing Board: Avoid overcrowding the ironing board with too many clothes. Overloading can hinder your ability to iron efficiently and can create new wrinkles in the process.
- Store Iron Properly: Once you’re done with ironing, make sure to allow the iron to cool down completely before storing it. Wrap the cord neatly and store the iron in an upright position to prevent any accidental damage or fire hazards.
- Iron in the Morning: Ironing clothes in the morning can help you start the day with fresh and crisp attire. This also eliminates any last-minute ironing stress and gives you ample time to achieve the desired results.
- Practice Patience: Ironing can sometimes be a time-consuming task, but with practice, you’ll become quicker and more efficient. Remember to be patient, take breaks when needed, and focus on achieving the best results.
By incorporating these tips and tricks into your ironing routine, you’ll be able to iron your clothes with ease and transform wrinkled garments into crisp and perfectly pressed outfits.
Conclusion
Ironing clothes may seem like a mundane chore, but with the right techniques, tools, and a little bit of practice, you can turn it into a satisfying and enjoyable task. By following the steps and tips outlined in this comprehensive guide, you’ll be able to iron like a pro and achieve wrinkle-free, crisp garments that enhance your appearance and boost your confidence.
From choosing the right iron to setting up an efficient ironing station, we’ve covered all the essential aspects of ironing. We’ve also provided specific guidelines for ironing different types of clothing, including shirts, blouses, pants, skirts, dresses, suits, and delicate fabrics. With attention to detail and proper care, you can maintain the integrity and longevity of your clothing while ensuring they always look their best.
Remember, ironing is not just about removing wrinkles; it’s about taking pride in your appearance and caring for your clothes. The process can be made more enjoyable by playing some music, catching up on your favorite podcast, or inviting a friend to join in the ironing fun. Embrace ironing as a mindful and therapeutic activity that allows you to achieve a polished and put-together look.
So, the next time you find yourself faced with a pile of wrinkled clothes, approach it with confidence and utilize the knowledge and techniques you’ve gained from this guide. With practice, ironing will become second nature, and you’ll be able to transform your clothes into wrinkle-free masterpieces.
Now, it’s time to plug in your iron, heat it up, and let your clothes feel the pleasant touch of a hot soleplate. Happy ironing!
Frequently Asked Questions about Iron Clothes Like A Pro With These Hacks
Was this page helpful?
At Storables.com, we guarantee accurate and reliable information. Our content, validated by Expert Board Contributors, is crafted following stringent Editorial Policies. We're committed to providing you with well-researched, expert-backed insights for all your informational needs.


0 thoughts on “Iron Clothes Like A Pro With These Hacks”