Home>Articles>How To Lay Brick Paver Walkway Patterns For A Custom Look
Articles
How To Lay Brick Paver Walkway Patterns For A Custom Look
Modified: October 19, 2024
Discover the best articles on how to lay brick paver walkway patterns to achieve your desired custom look. Step-by-step guides and tips from experts.
(Many of the links in this article redirect to a specific reviewed product. Your purchase of these products through affiliate links helps to generate commission for Storables.com, at no extra cost. Learn more)
Introduction
Building a brick paver walkway is a great way to enhance the beauty and functionality of your outdoor space. With a wide range of brick paver patterns available, you can create a custom look that complements your home’s architecture and personal style. Whether you’re a seasoned DIY enthusiast or a first-time homeowner, this guide will walk you through step-by-step instructions on how to lay brick paver walkway patterns that will impress your friends and family.
A well-designed walkway not only adds curb appeal but also provides a practical pathway for you and your guests to navigate your yard. The right brick paver pattern can transform a dull, ordinary walkway into an eye-catching feature that adds value to your home. From classic herringbone to intricate basket weave, the possibilities are endless.
In this article, we will cover all the necessary steps involved in laying a brick paver walkway pattern. From preparing the area to finishing touches and clean-up, we’ve got you covered. So let’s roll up our sleeves and get started!
Key Takeaways:
- Create a visually appealing and durable brick paver walkway by following step-by-step instructions, from preparing the area to choosing the perfect pattern and completing meticulous installation.
- Enhance the beauty and functionality of your outdoor space with a custom brick paver walkway, adding value to your home and impressing friends and family.
Read more: How To Lay A Brick Walkway Over Concrete
Step 1: Preparing the Area
The first step in laying a brick paver walkway pattern is to prepare the area where the walkway will be installed. This involves clearing any existing vegetation, marking out the desired pathway, and ensuring a proper foundation for the bricks.
Start by removing any grass, weeds, or other plants in the designated area. Use a shovel or a garden hoe to dig up the vegetation, ensuring that you remove the roots as well. This will provide a clean slate for your walkway.
Next, mark out the pathway using stakes and string. Measure the width of the walkway and place the stakes accordingly, ensuring that they are aligned in a straight line. Attach the string to the stakes at the desired height, which will serve as a guide for leveling the ground.
Before proceeding further, it’s important to consider the drainage of the area. If your walkway is on a slope or if there is poor drainage in the area, you may need to make provisions for proper water runoff. This can be done by installing a French drain or using gravel or sand to create a slight slope away from your home.
Once the area is cleared and the pathway is marked, it’s time to prepare the foundation. Remove the top layer of soil to a depth of about 6-8 inches, ensuring that the excavation is even and level. This will create space for the base material and allow for proper compaction.
After the excavation is complete, use a rake or a hand tamper to smooth out the surface. Remove any large rocks or debris that may obstruct the installation of the bricks. It’s essential to have a level and compacted base to ensure a stable and long-lasting walkway.
With the area prepared, you’re now ready to move on to the next step: choosing the perfect brick paver pattern for your walkway.
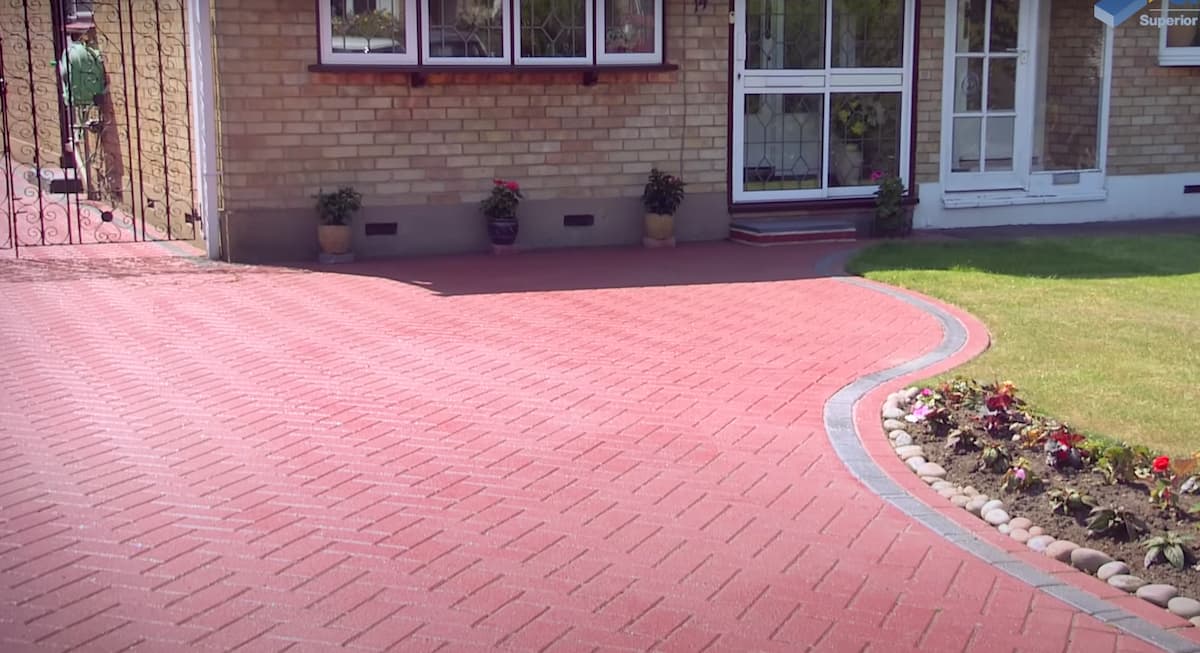
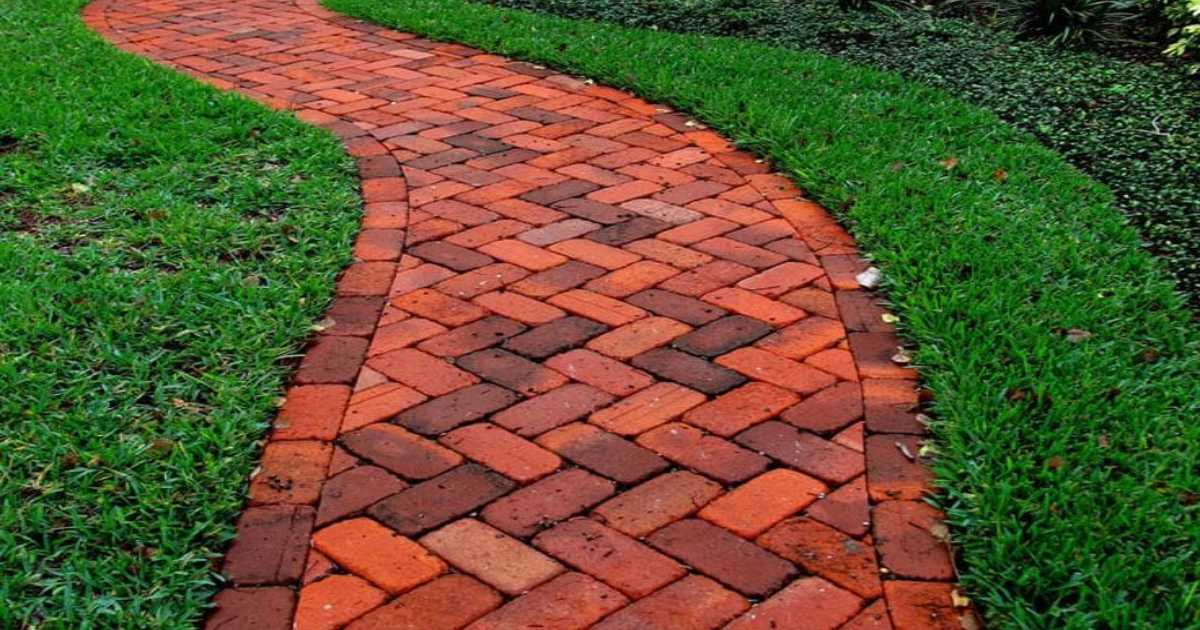
Step 2: Choosing the Brick Paver Pattern
Choosing the right brick paver pattern is an important step in creating a visually appealing and unique walkway. There are numerous patterns to choose from, each offering its own distinct aesthetic and level of complexity. Here are some popular brick paver patterns to consider:
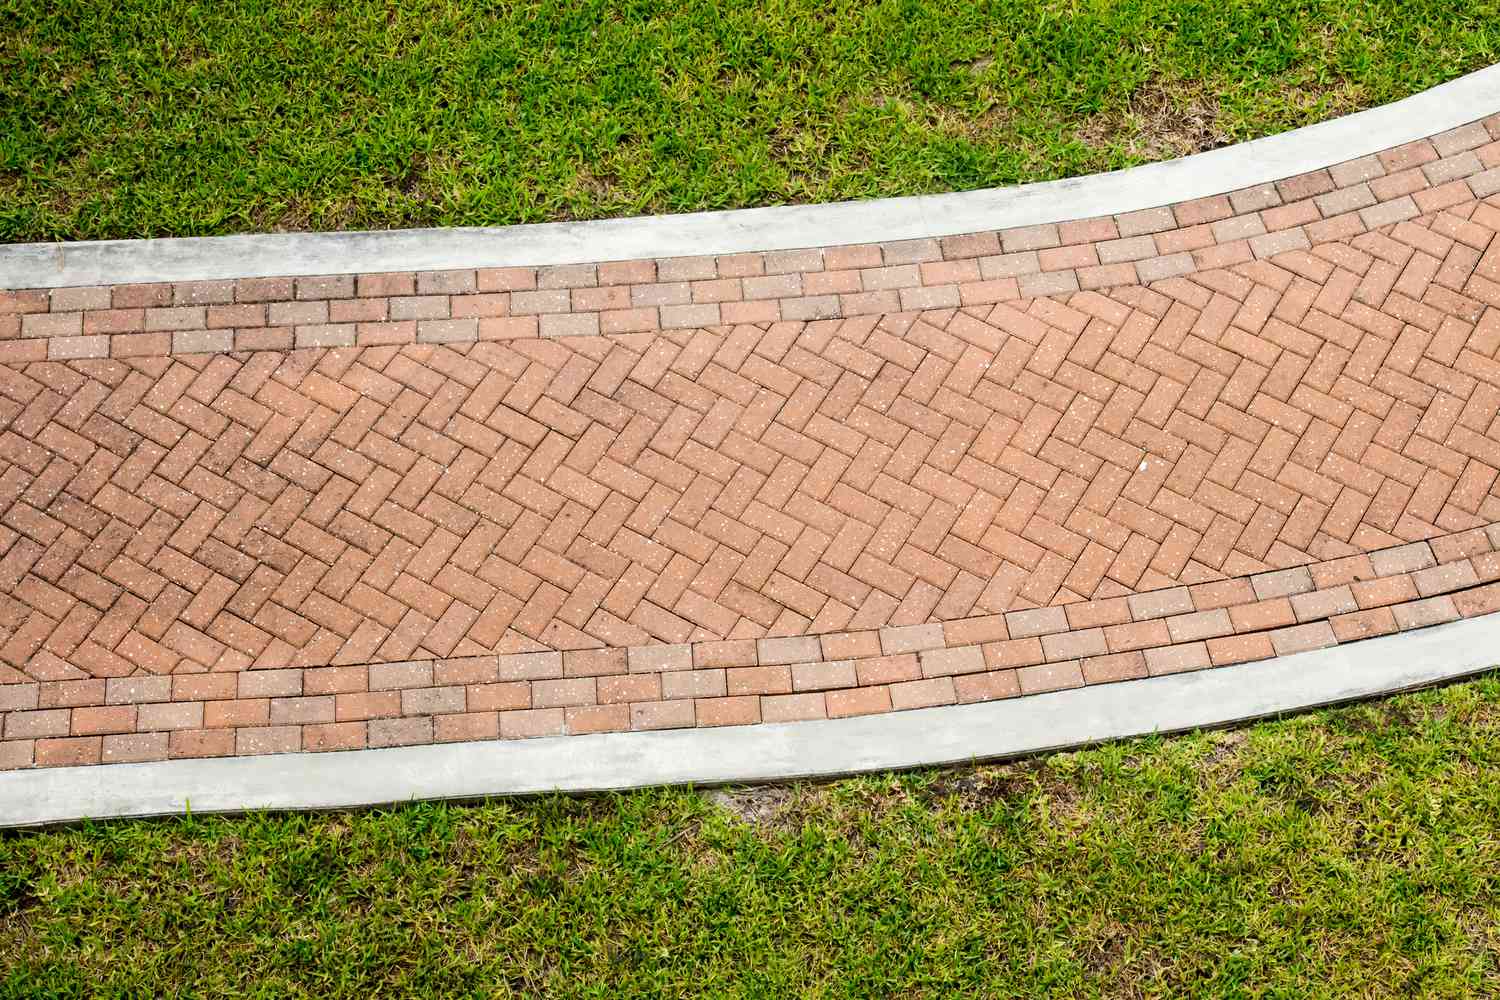
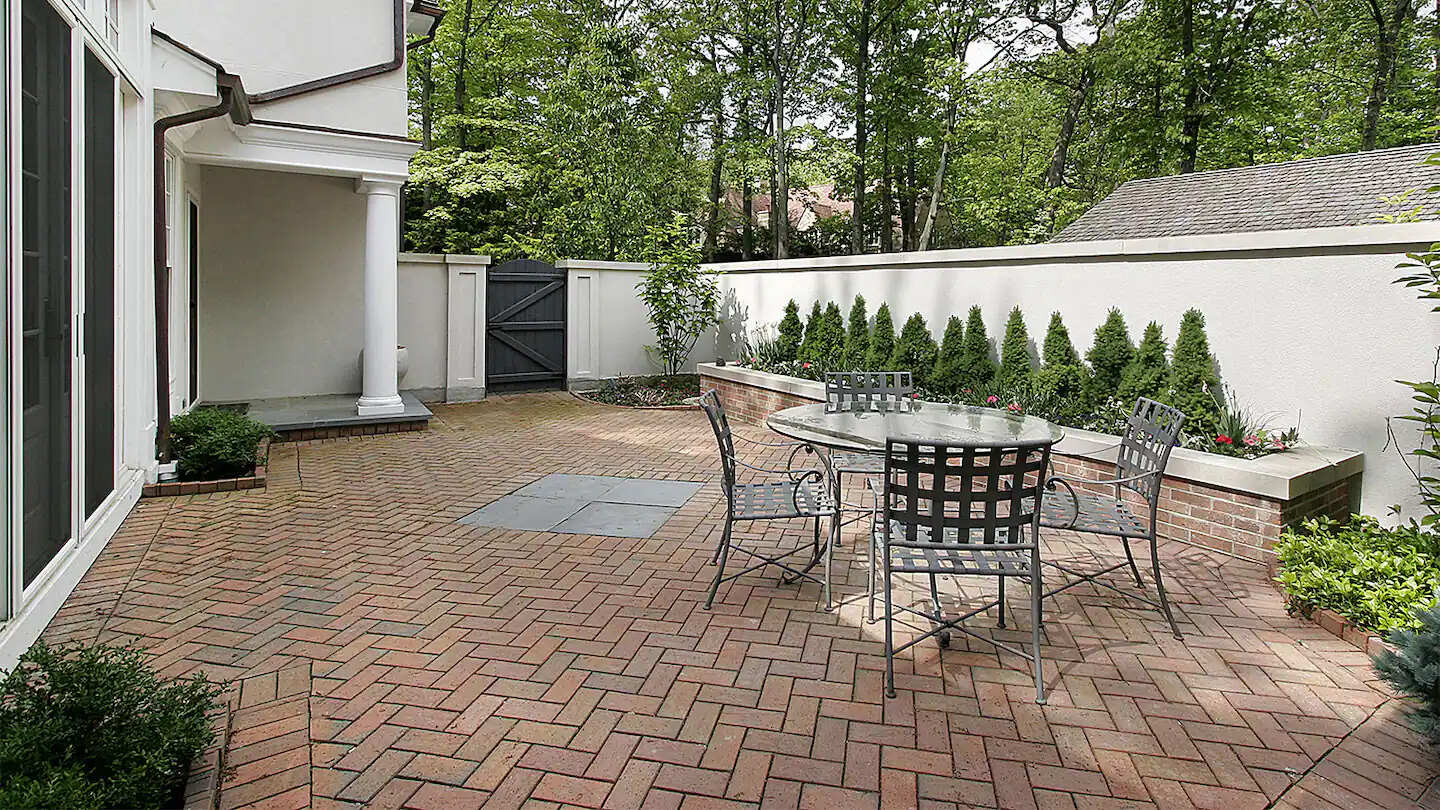
- Herringbone: This classic pattern features a series of interlocking rectangular bricks that create a zigzag effect. It is a popular choice for its timeless look and durability.
- Basket Weave: This pattern consists of pairs of rectangular bricks laid side by side in alternating directions. It creates a woven appearance and adds a touch of elegance to your walkway.
- Running Bond: Also known as a brick soldier course, this pattern involves laying the bricks in a straight line, with each brick overlapping halfway onto the next. It provides a clean and simple look.
- Circle Kit: If you’re looking to add a focal point or create a curved walkway, a circle kit pattern is an excellent choice. It consists of pre-cut bricks arranged in a circular or semi-circular design.
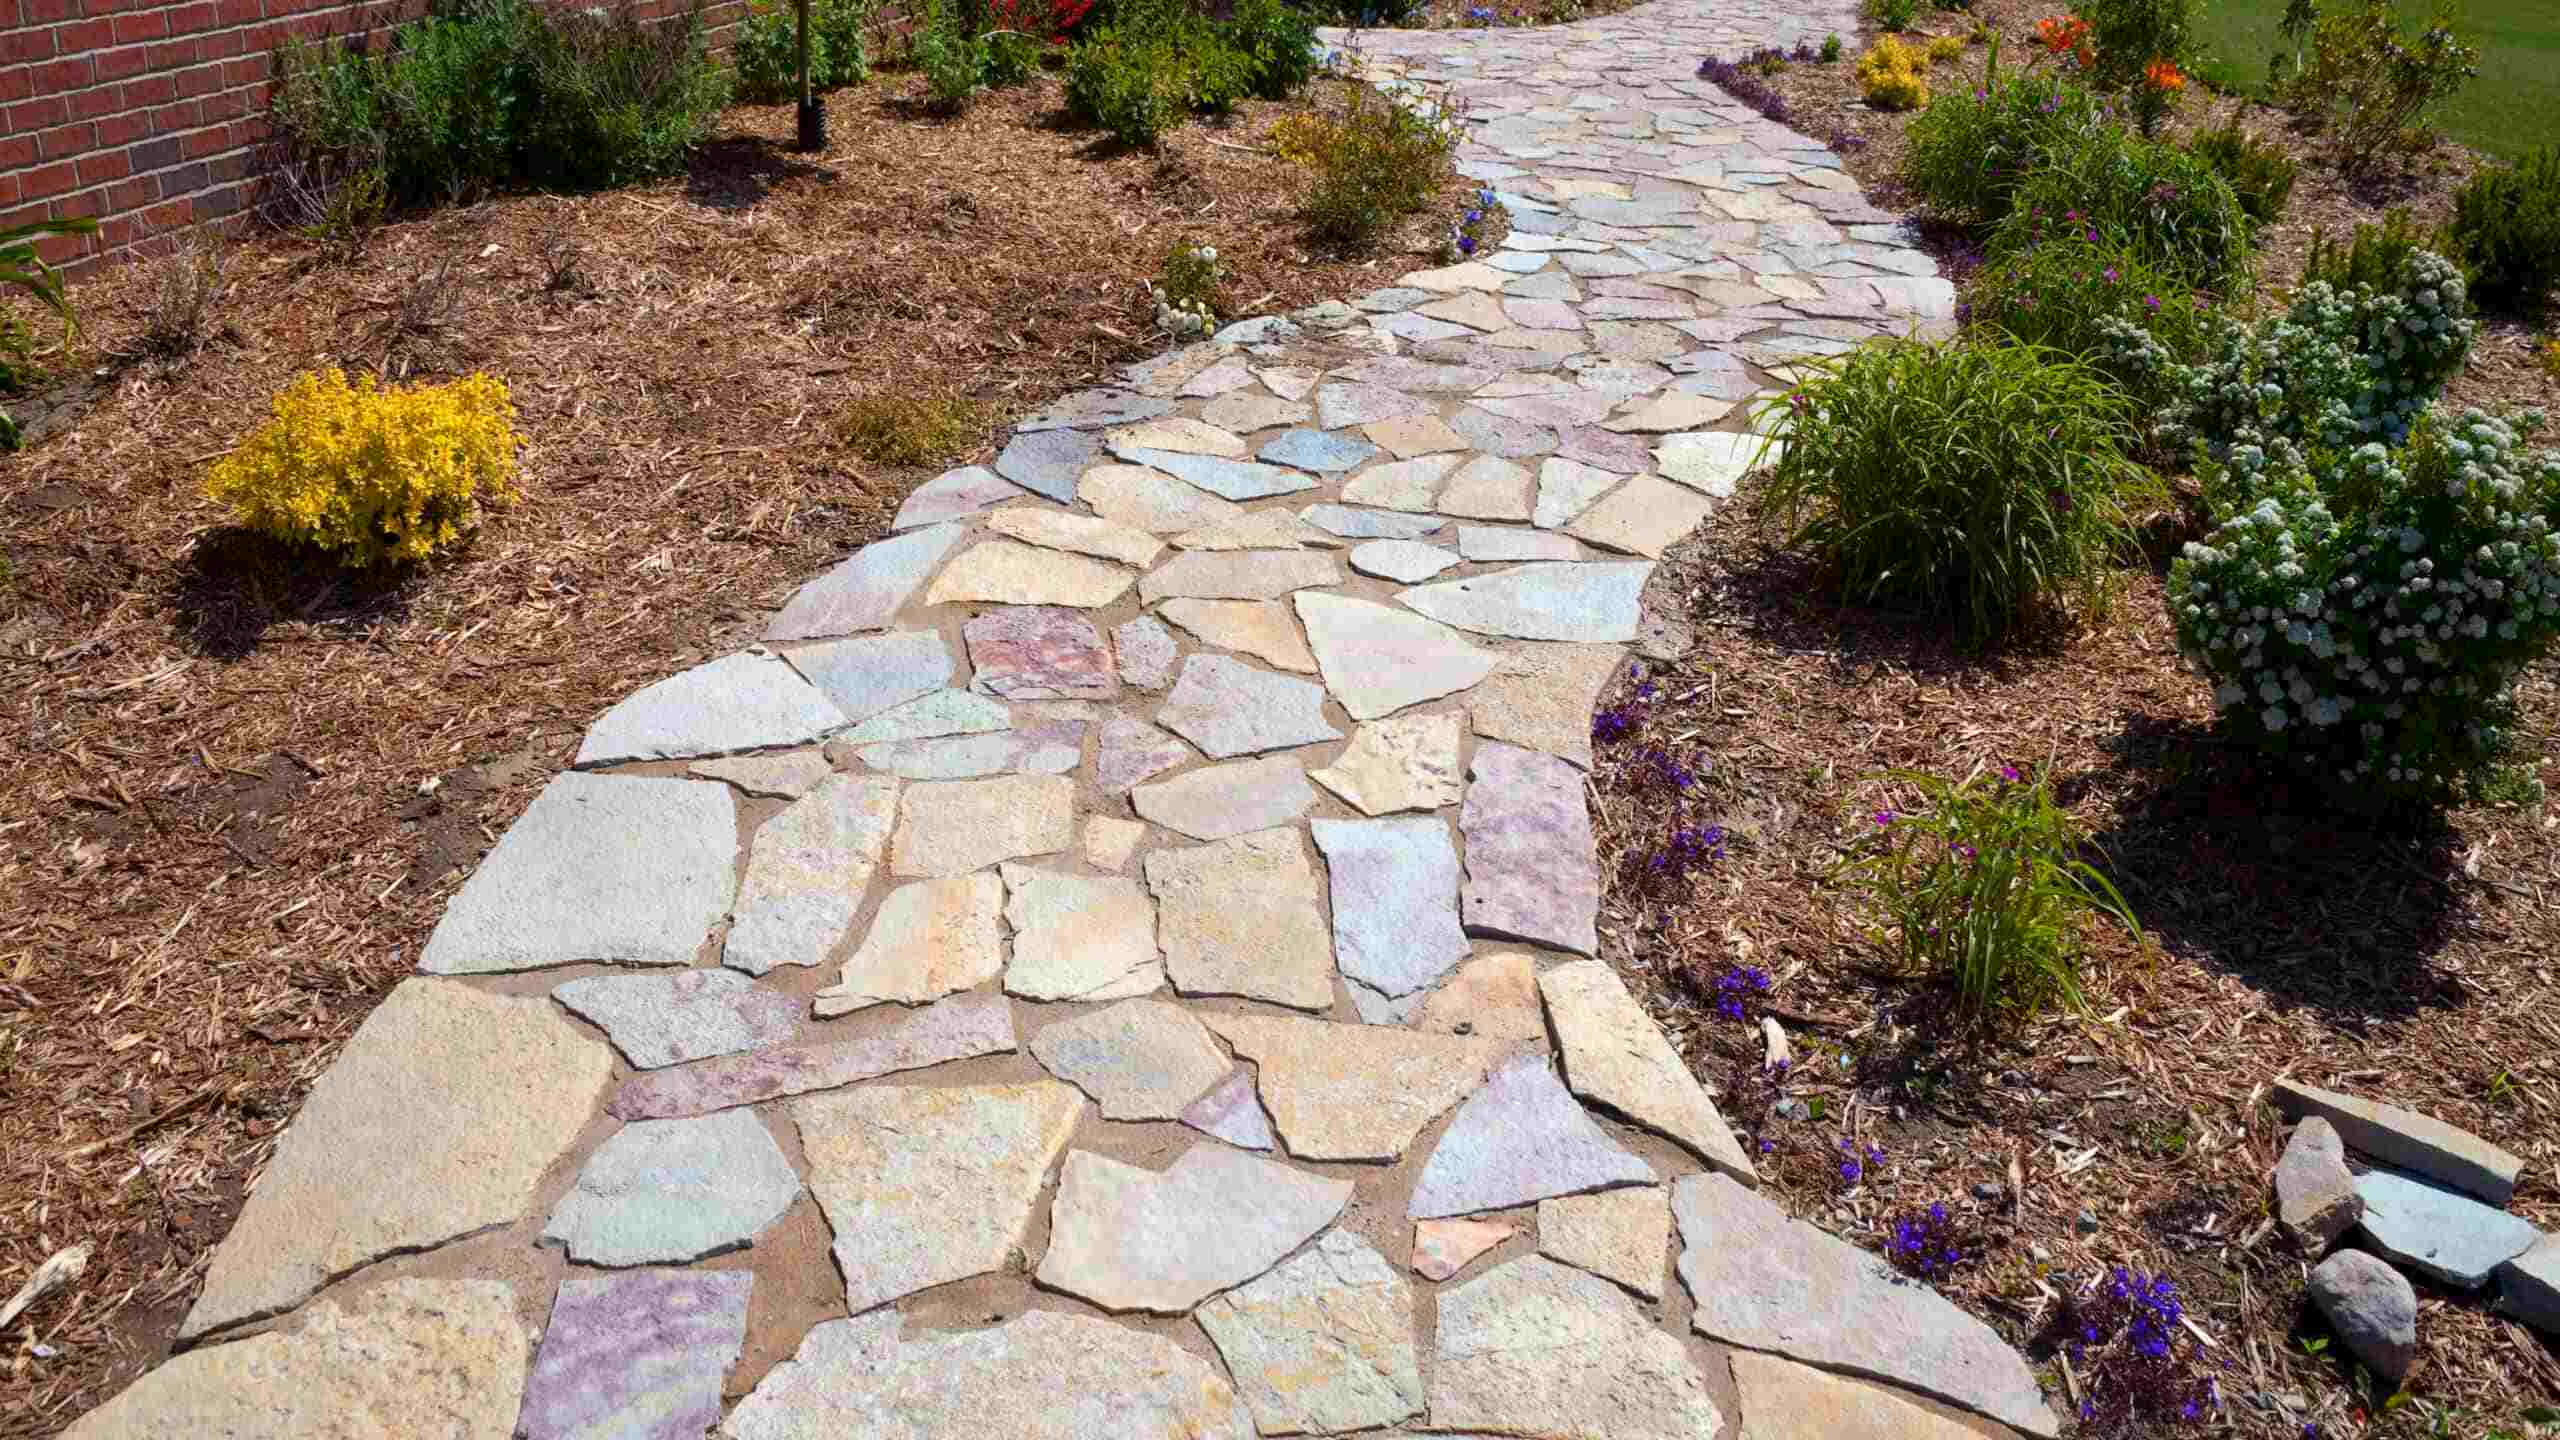
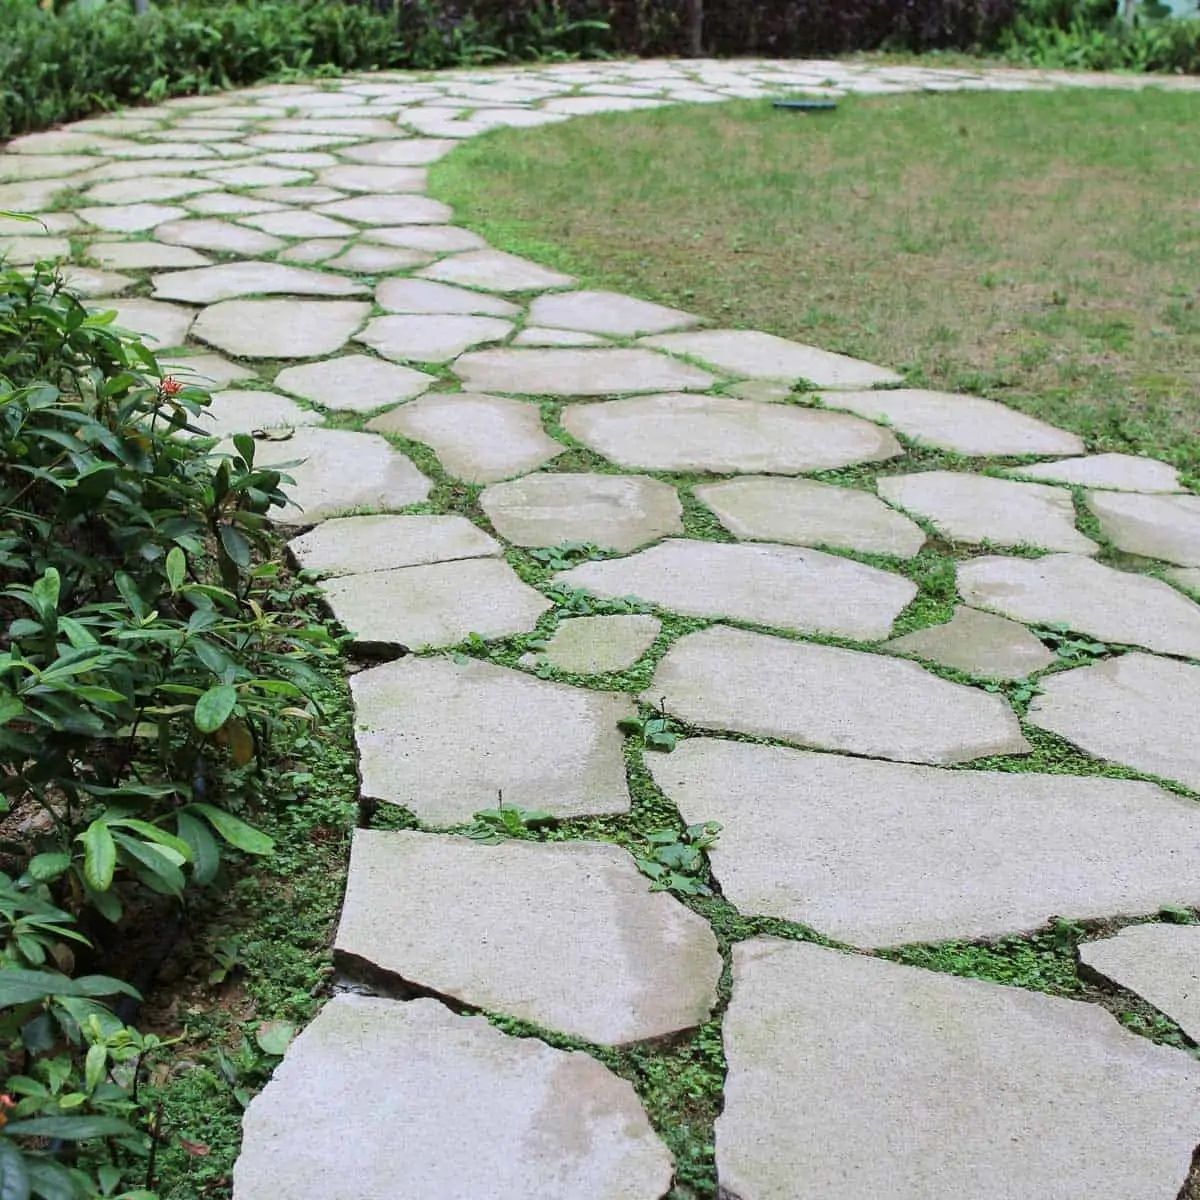
- Random Pattern: For a more natural and organic look, a random pattern is a great option. It involves using bricks of different sizes and shapes to create a unique and irregular arrangement.
When choosing a brick paver pattern, consider the architectural style of your home and the overall aesthetic you want to achieve. Additionally, think about the level of complexity and skill required for each pattern. Some patterns may require more precise cutting and fitting, while others are more straightforward.
It’s also important to keep in mind the size and color of the bricks. Brick pavers come in a variety of sizes, including standard rectangular, square, and specialty shapes. Consider the proportions of your walkway and select bricks that will complement the space. Similarly, choose colors that harmonize with your home’s exterior and landscaping.
Once you’ve chosen the brick paver pattern that best suits your preferences and the overall design of your walkway, you’re ready to gather the necessary materials for the installation process.
Step 3: Gathering the Necessary Materials
Before you start laying the brick paver walkway pattern, it’s important to gather all the necessary materials. Having everything prepared and readily available will make the installation process smoother and more efficient. Here are the materials you’ll need:
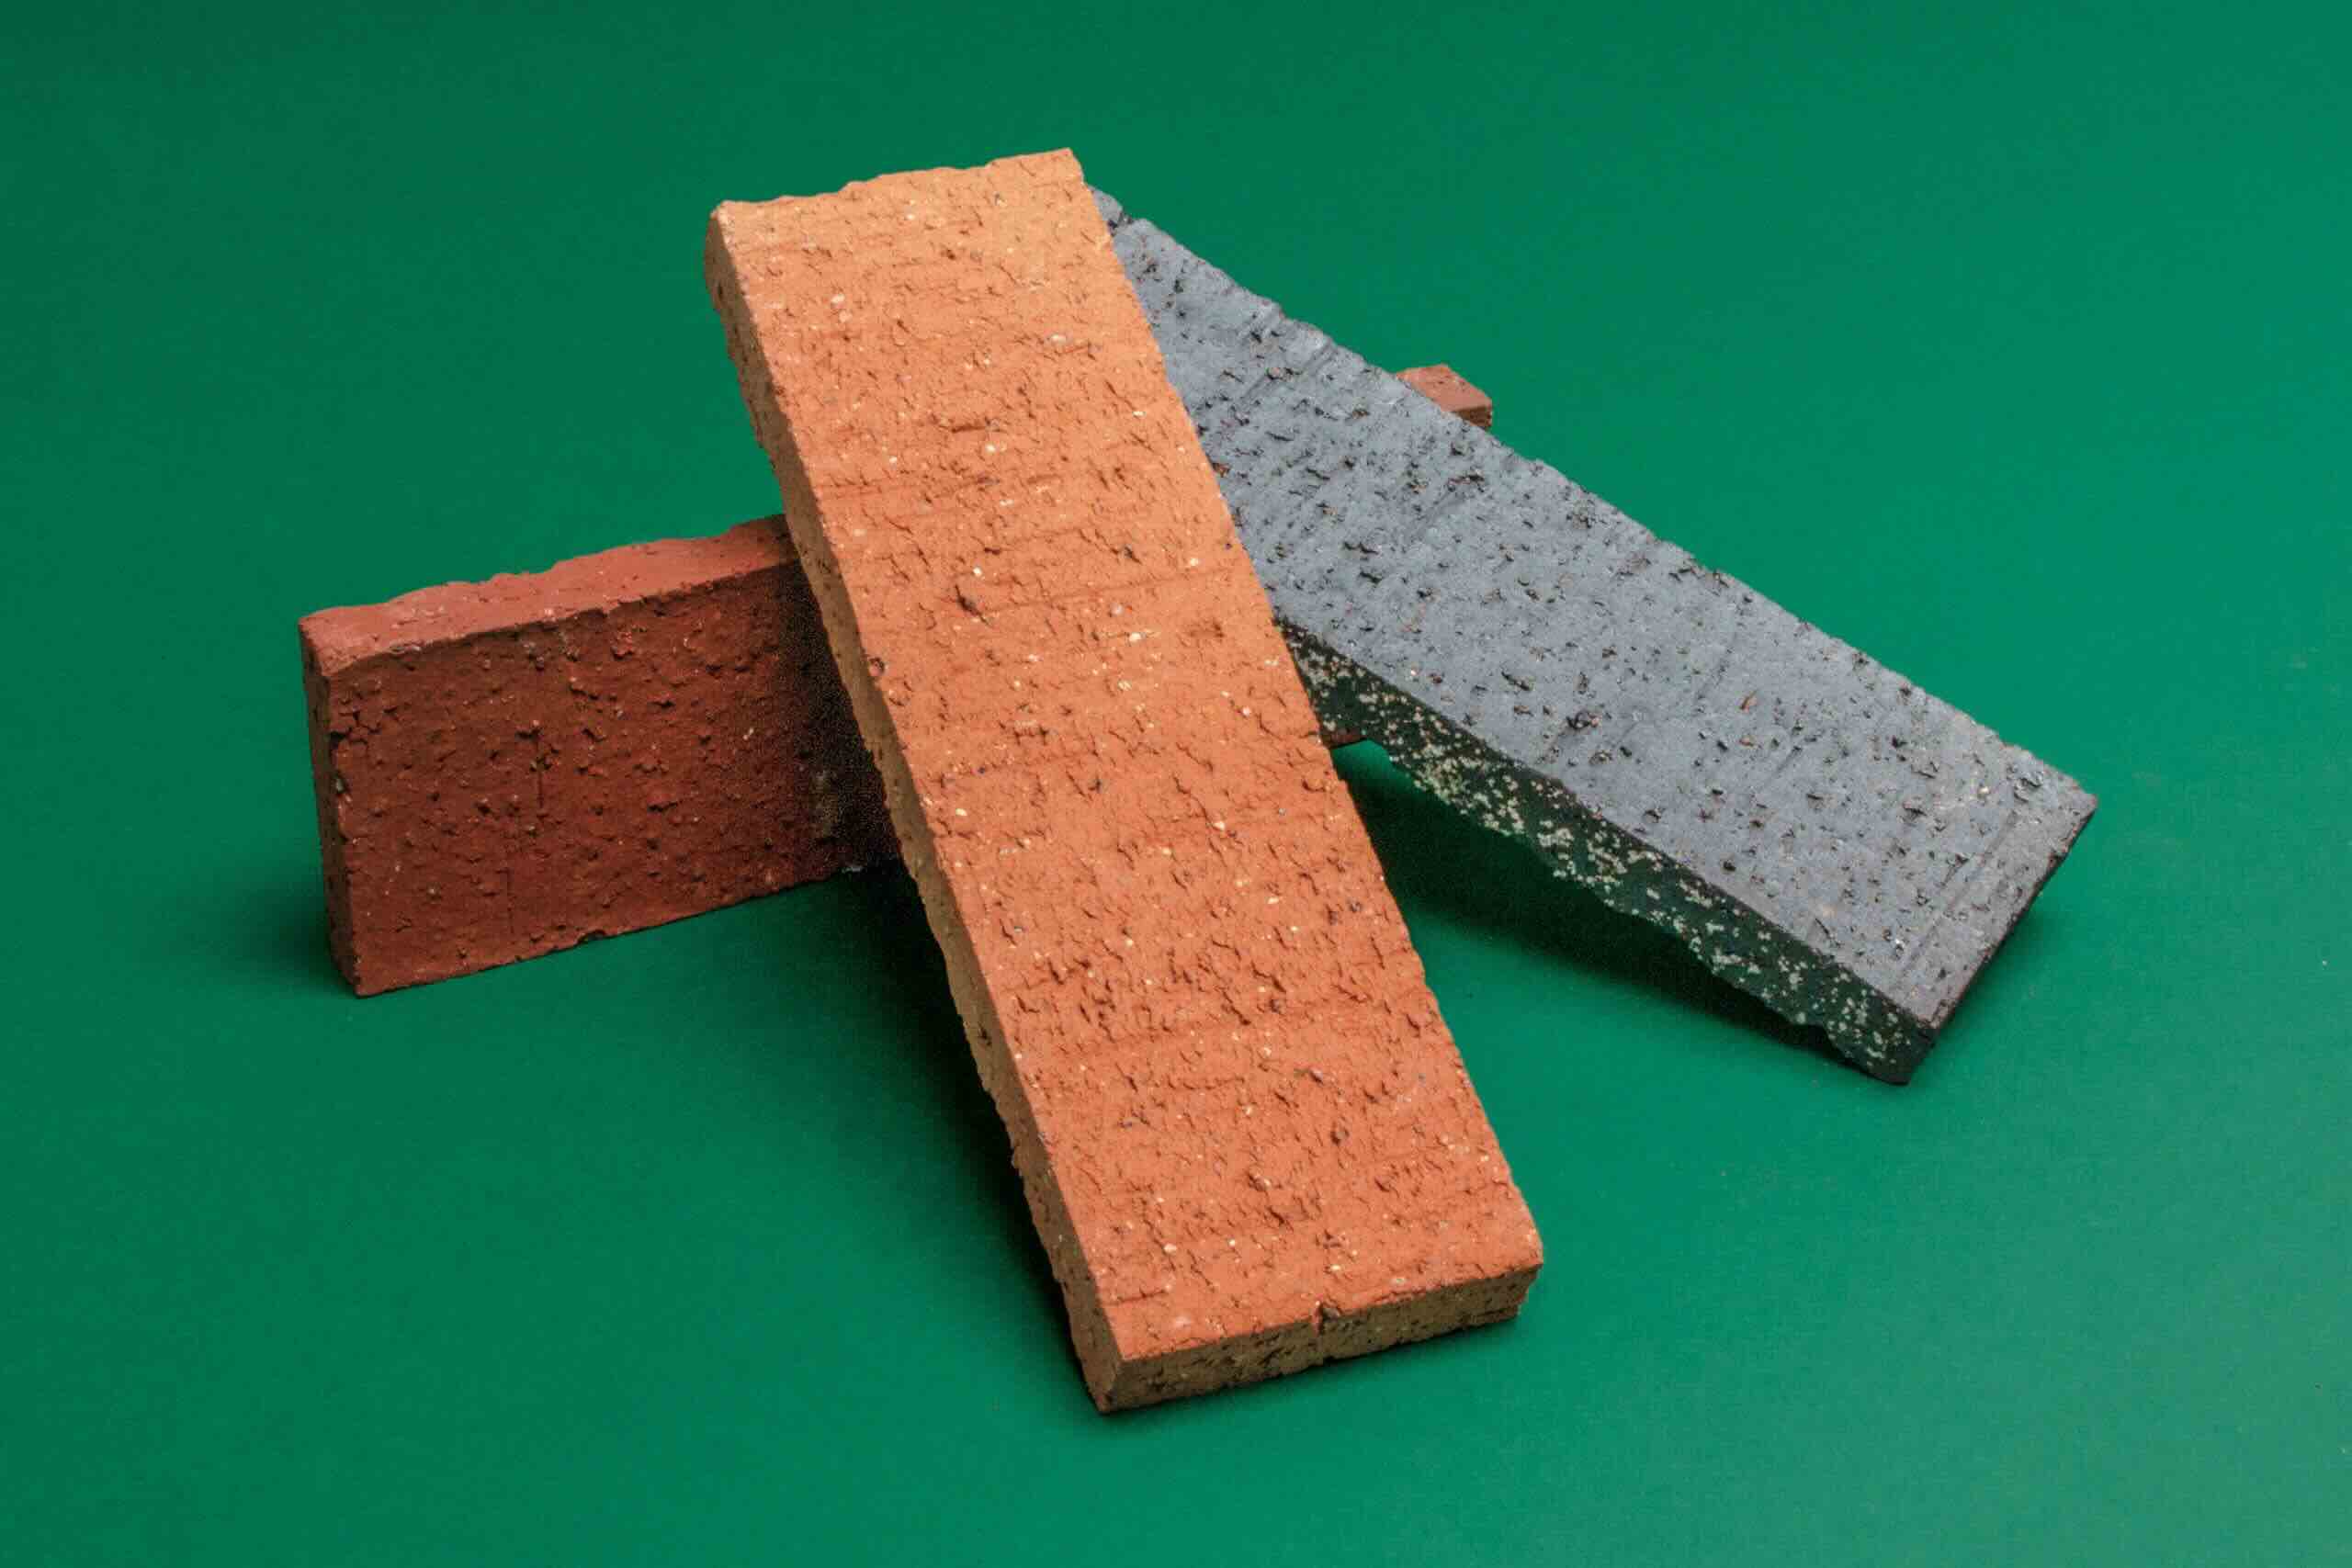
- Brick Pavers: Choose the type, size, and color of brick pavers that best suit your desired look. Measure the length and width of the walkway to determine the quantity of bricks needed.
- Base Material: The base material is essential for creating a stable foundation. This can include crushed stone, gravel, or sand. The exact type and thickness will depend on your specific location and climate.
- Edge Restraints: These are used to hold the bricks in place and prevent shifting over time. Options include plastic or metal edging, as well as concrete or brick border units.
- Sand: You’ll need sand to fill the gaps between the bricks, provide stability, and allow for proper drainage. Choose a sand specifically formulated for paver installations.
- Tools: Collect the necessary tools for the job, including a shovel, rake, wheelbarrow, measuring tape, string, stakes, a level, a hand tamper, a masonry saw (for cutting bricks if necessary), and a broom for cleaning.
- Protective Gear: It’s important to prioritize safety while working on your project. Wear gloves, safety glasses, and sturdy footwear to protect yourself from potential injury.
Before purchasing materials, measure the dimensions of the walkway area to ensure you buy the correct quantity. It’s also a good idea to purchase extra bricks and sand to account for any breakage or minor adjustments needed during the installation process.
Once you have gathered all the necessary materials, you’re ready to move on to the next step: excavating and leveling the ground for the walkway foundation.
Step 4: Excavating and Leveling the Ground
Excavating and leveling the ground is an important step in creating a solid foundation for your brick paver walkway. Proper excavation ensures that the walkway is level and stable, preventing future issues such as sinking or shifting. Here’s how to excavate and level the ground:
- Mark the boundaries: Use stakes and string to mark the boundaries of the walkway. Ensure that the strings are level and straight, as they will serve as a guide during the excavation process.
- Remove existing vegetation: Clear the pathway of any grass, weeds, or plants. Use a shovel or a garden hoe to dig up and remove the vegetation, making sure to dig deep enough to remove the roots.
- Excavate the soil: Use a shovel or a digging tool to excavate the soil within the marked boundaries. Remove the top layer of soil to a depth of around 6-8 inches. Ensure that the excavation is even and level across the entire walkway area.
- Check for proper slope: It’s crucial to ensure that the walkway has a slight slope to allow for water drainage. A slope of about 1/4 inch per foot away from your home is generally recommended. Use a level and a straightedge to check the slope of the excavated area and make any necessary adjustments.
- Compact the soil: Once the excavation is complete and the slope is properly set, use a hand tamper or a plate compactor to compact the soil in the walkway area. This will create a firm and stable base for your bricks.
- Check for levelness: Use a level and a straightedge to check that the excavated area is level. Ensure that there are no high or low spots that could impact the installation of the bricks.
It’s important to note that the exact depth of excavation and required slope may vary depending on your specific location and climate. Be sure to consult local building codes or seek professional advice if needed.
Once the ground is properly excavated and leveled, you can proceed to the next step: laying the base material for the walkway foundation.
Read more: How To Lay Cobblestone Walkway
Step 5: Laying the Base Material
After excavating and leveling the ground, it’s time to lay the base material for your brick paver walkway. The base material provides stability, drainage, and a solid foundation for the bricks. Here’s how to properly lay the base material:
- Choose the right base material: The type of base material you use will depend on your specific location and the recommendations of your local building codes. Common options include crushed stone, gravel, or sand. Consult with a professional or your local building department to determine the best option for your project.
- Add a layer of base material: Spread a 2-4 inch layer of the chosen base material evenly over the excavated area. Use a rake or a shovel to distribute the material and ensure a consistent thickness.
- Ensure proper compaction: Use a hand tamper or a plate compactor to compact the base material. This step is crucial to create a stable and solid foundation for the walkway. Start from one end and work your way to the other, overlapping each pass slightly to ensure thorough compaction.
- Check for levelness: Use a level and a straightedge to check for levelness across the entire base. Ensure that the base material is evenly distributed and compacted to prevent any unevenness or dips in the walkway.
- Make adjustments if necessary: If you encounter any low spots or high spots in the base material, add or remove material as needed to achieve a level surface. Use the straightedge and level to guide your adjustments.
It’s important to note that the thickness of the base material may vary depending on your specific project and the recommendations for your area. Consult with professionals or refer to local building codes to ensure that you meet the necessary requirements for a stable and long-lasting walkway.
Once you have properly laid and compacted the base material, you’re ready to prepare for the installation of the bricks by installing edge restraints, which will help hold the bricks in place.
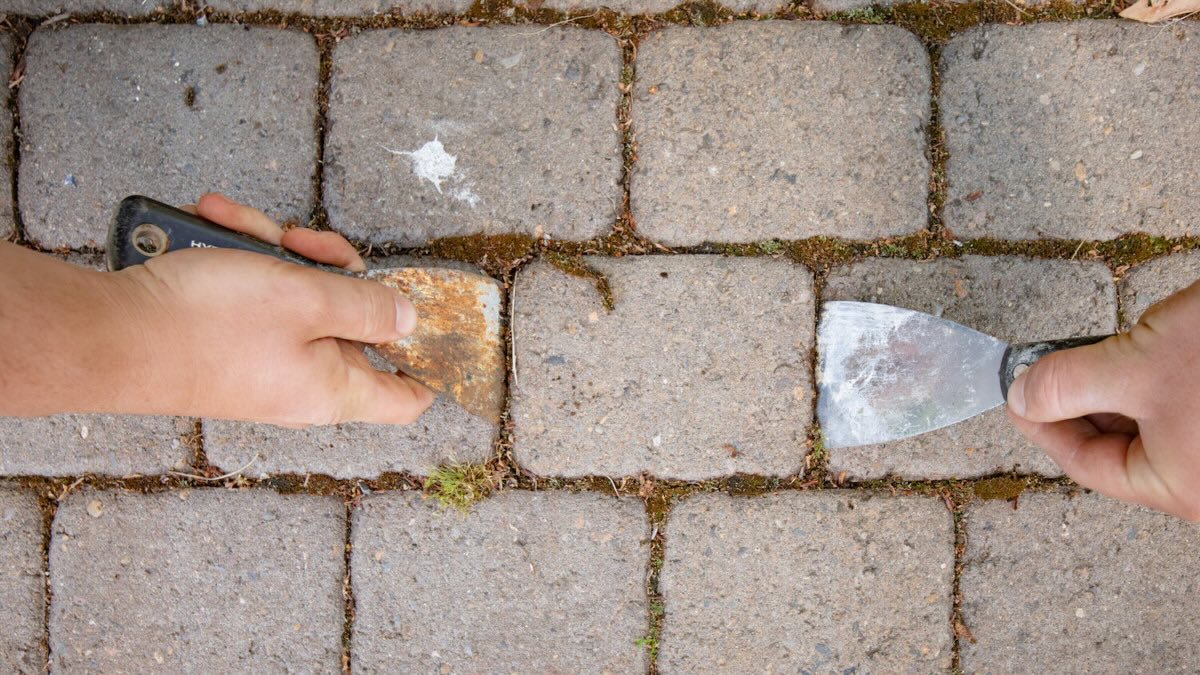
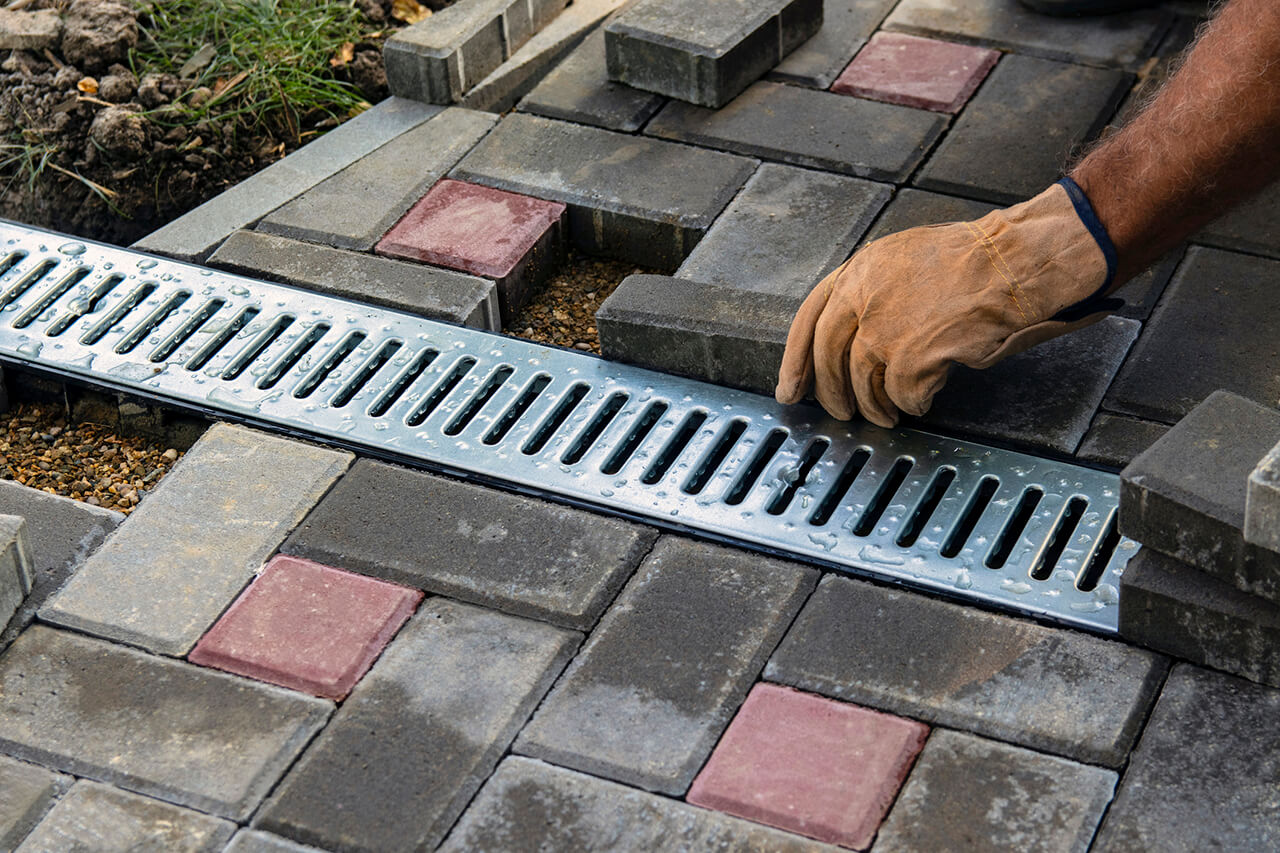
Step 6: Installing the Edge Restraints
Edge restraints are an essential component of any brick paver walkway. They help secure the bricks in place, prevent shifting or spreading, and create a clean and defined edge. Here’s how to properly install edge restraints:
- Choose the appropriate edge restraints: There are various options for edge restraints, including plastic or metal edging, as well as concrete or brick border units. Consider the style, durability, and compatibility with your chosen brick paver pattern.
- Prepare the area: Use a shovel or a garden trowel to create a shallow trench along the edges of the walkway. The trench should be wide and deep enough to accommodate the selected edge restraints.
- Install the edge restraints: Place the edge restraints into the trench along the edges of the walkway. Make sure they are positioned securely and evenly. For plastic or metal edging, use stakes or anchoring pins to secure them into the ground.
- Ensure proper alignment: Check that the edge restraints are aligned straight and level with the pathways being created. Adjust as necessary to maintain a consistent and uniform appearance.
- Secure the edge restraints: Once the edge restraints are properly positioned, use a rubber mallet or a hammer to tap them into place and ensure a tight fit. This will help stabilize the restraints and secure them in position.
- Backfill the trench: Fill the trench around the edge restraints with soil or gravel, firmly packing it in to provide additional support and stability. Ensure that the edge restraints are firmly embedded in the backfill material.
Installing edge restraints is crucial to the longevity and integrity of your brick paver walkway. They help prevent the bricks from spreading or shifting over time, maintaining the desired pattern and preventing potential tripping hazards.
Once the edge restraints are securely installed, you’re ready to move on to the exciting part – laying the bricks in the chosen pattern!
When laying brick paver walkway patterns for a custom look, consider using different shapes and sizes of pavers to create visual interest and uniqueness. This can add a personalized touch to your walkway design.
Step 7: Laying the Bricks in the Chosen Pattern
Now comes the fun part – laying the bricks in the chosen pattern for your brick paver walkway! This step requires attention to detail and precision to achieve a professional-looking result. Here’s how to lay the bricks:
- Start from a straight edge: Begin laying the bricks from a straight edge, such as a sidewalk or the edge of a patio. This will serve as your reference point and ensure a straight and even installation.
- Place the first brick: Position the first brick at the starting point, making sure it is snug against the edge restraints. Use a level and a rubber mallet to tap the brick into place, ensuring it is level with the surrounding area.
- Continue laying the bricks: Lay the bricks one by one in the desired pattern, following the manufacturer’s recommendations if available. Place each brick close to its neighboring brick, leaving a small gap of about 1/8 to 1/4 inch for joint sand.
- Check for levelness and alignment: Use a level and a straightedge regularly to check that the bricks are level and aligned with each other. Make adjustments as necessary by tapping them gently with a rubber mallet.
- Use a string or guide board: To ensure a consistent width between your bricks, you can use a string or a guide board as a reference. This will help maintain uniformity throughout the walkway.
- Consider a staggered joint pattern: For added stability and strength, consider using a staggered joint pattern. This involves positioning each row of bricks so that the joints are offset from the row above and below.
- Continue laying the bricks: Repeat the process of placing and aligning the bricks until you’ve reached the end of the walkway or have completed the desired area. Take your time and double-check the levelness and alignment as you go along.
Remember to periodically step back and assess your progress from a distance to ensure that the overall appearance of the pattern is visually pleasing and consistent. Take your time and have patience; precise brick placement will result in a stunning finished walkway.
Once all the bricks are laid, you’re ready to move on to the next step: cutting bricks for a perfect fit, if necessary.
Step 8: Cutting Bricks for a Perfect Fit
When laying a brick paver walkway, you may come across areas where full-sized bricks do not fit perfectly. In such cases, you’ll need to cut bricks to achieve a precise and professional finish. Here’s how to cut bricks for a perfect fit:
- Gather the necessary tools: You’ll need a masonry saw equipped with a diamond blade to cut the bricks. Make sure you have safety goggles and gloves to protect yourself during the cutting process.
- Measure and mark the brick: Use a measuring tape to determine the required size of the brick. Mark the measurement on the brick, using a pencil or chalk, indicating where the cut needs to be made.
- Set up the saw: Follow the manufacturer’s instructions to set up the masonry saw. Ensure that the blade is properly mounted and adjusted to the appropriate cutting depth.
- Safety first: Put on your safety goggles and gloves before operating the masonry saw. It’s important to protect yourself from any debris or potential hazards during the cutting process.
- Cut the brick: Position the marked brick securely on the cutting surface of the saw. Slowly and steadily push the brick into the saw blade, allowing the blade to do the cutting work. Take your time and apply even pressure to ensure a clean and accurate cut.
- Double-check the fit: Once the brick is cut, place it in the designated area to verify that it fits correctly. Make any necessary adjustments or additional cuts if required before proceeding further.
- Repeat the process if needed: If you have multiple bricks that need to be cut, repeat the measuring, marking, and cutting process for each one. Take your time to ensure precise cuts for a seamless and professional appearance.
Keep in mind that cutting bricks can be a challenging task, especially if you’re not experienced with using a masonry saw. Consider practicing on scrap bricks first, or consult a professional if you’re unsure about the cutting process.
Once all the necessary bricks are cut and fitted into place, you’re ready to move on to the next step: filling the gaps between the bricks with sand.
Read more: How To Install A Walkway With Pavers
Step 9: Filling the Gaps between Bricks with Sand
After you have laid the bricks and achieved the desired pattern, it’s time to fill the gaps between the bricks with sand. This will help stabilize the bricks, prevent weed growth, and provide a finished look to your brick paver walkway. Here’s how to fill the gaps with sand:
- Choose the right sand: Select a polymeric sand or fine masonry sand specifically designed for paver installations. Avoid using regular playground or beach sand, as they may not provide the necessary stability or durability.
- Clean the surface: Before filling the gaps, thoroughly sweep the surface of the walkway to remove any debris or loose particles. This will ensure a clean, even application of the sand.
- Spread the sand: Start by pouring a generous amount of sand onto the walkway surface. Use a broom or a trowel to sweep and spread the sand evenly across the entire area, making sure to push it into the gaps between the bricks.
- Compact the sand: Once the sand is spread, use a plate compactor or a handheld tamper to compact the sand into the gaps. This will help fill any voids or spaces, ensuring a stable and secure surface.
- Keep adding sand: If necessary, add more sand and repeat the process of spreading and compacting until the gaps are completely filled. Use a broom to brush off any excess sand from the surface of the bricks.
- Mist water on the sand: Lightly mist water over the sanded area to activate the polymeric sand or help the fine masonry sand set. Follow the manufacturer’s instructions regarding the amount of water and curing time required.
- Use a vibrating plate compactor: For polymeric sand, consider using a vibrating plate compactor to help settle and lock the sand into place. This will provide additional stability and prevent the sand from washing away.
It’s important to ensure that the sand is properly filled and compacted between the bricks to prevent shifting or movement over time. Take your time during this step to ensure a thorough and precise application of the sand.
Once the gaps are filled and the sand is compacted, you’re just one step away from completing your brick paver walkway. The next and final step is to compact the bricks and sand to create a solid and seamless surface.
Step 10: Compact the Bricks and Sand
To ensure the stability and longevity of your brick paver walkway, it’s crucial to properly compact both the bricks and the sand between them. This step helps to settle the materials, eliminate any gaps, and create a solid and seamless surface. Here’s how to compact the bricks and sand:
- Check for proper alignment: Before compacting, double-check that all the bricks are aligned correctly and the pattern is visually pleasing. Make any necessary adjustments to the bricks’ positioning.
- Lightly tap the bricks with a rubber mallet: Use a rubber mallet to lightly tap each brick, ensuring they are firmly set in place. This will help eliminate any gaps and settle the bricks into the sand bed.
- Compact the sand with a plate compactor: Use a plate compactor to compact the sand between the bricks. Start from one end of the walkway and work your way to the other, gently running the compactor over the surface. Make multiple passes to ensure even compaction.
- Continue compacting the entire area: Repeat the process of compacting the sand over the entire walkway, ensuring that every brick and joint is thoroughly compressed. This step will help lock the bricks in place and stabilize the walkway.
- Fill any remaining gaps: After compacting, there may be small gaps that have formed between the bricks or where the sand has settled. Fill these gaps with additional sand and repeat the compaction process as needed.
- Check for unevenness: Use a level or a straightedge to check for any uneven areas in the walkway surface. Pay close attention to transitions between different sections or patterns and make necessary adjustments to achieve a smooth, even surface.
- Inspect and repeat as necessary: Once the initial compacting is complete, inspect the walkway for any remaining gaps or unevenness. Repeat the process of filling and compacting until you achieve a solid and seamless surface.
Properly compacting the bricks and sand will help enhance the overall stability and durability of your walkway. It’s important to take your time during this step and ensure that all areas are thoroughly compacted for a long-lasting result.
With the bricks and sand compacted, you’re almost done! The final step is to add the finishing touches and complete any necessary clean-up.
Step 11: Finishing Touches and Clean-Up
You’re almost there! The final step in creating your beautiful brick paver walkway is adding the finishing touches and completing the necessary clean-up. These final steps will help ensure that your walkway looks polished and ready to be enjoyed for years to come. Here’s what you need to do:
- Inspect the walkway: Take a walk along the entire length of the walkway and inspect it closely. Look for any loose bricks, gaps, or areas that require additional attention.
- Reposition any loose bricks: If you notice any bricks that have shifted or become loose during the compaction process, gently tap them back into place with a rubber mallet.
- Fill any gaps with additional sand: If there are any small gaps between the bricks after compaction, fill them with extra sand. Using a broom or brush, sweep the sand into the gaps and ensure it is evenly distributed.
- Sweep off any excess sand: Use a broom to gently sweep off any excess sand from the surface of the bricks. This will give your walkway a clean and finished appearance.
- Clean the walkway: Use a garden hose or a pressure washer to rinse off the surface of the bricks and remove any dirt, debris, or leftover sand. Be careful not to use too much pressure, as it may dislodge the sand from the joints.
- Add a sealing agent (optional): If desired, you can apply a brick sealer to enhance the color, protect against stains, and prolong the life of your walkway. Follow the manufacturer’s instructions for the application and curing process.
- Enjoy your new walkway: Once the finishing touches and clean-up are complete, step back and admire your beautiful brick paver walkway. Take a moment to appreciate the hard work and craftsmanship that went into creating this stunning addition to your outdoor space.
With the final touches in place, your brick paver walkway is ready to be enjoyed! Take the time to add some additional landscaping elements, such as plants or lighting, to further enhance the beauty and functionality of your new walkway.
Remember to maintain your walkway by periodically sweeping off debris, removing any weeds, and reapplying sand as needed. This will help keep your walkway looking pristine for years to come.
Congratulations on completing the steps to lay a brick paver walkway pattern! It’s a significant accomplishment that adds value, aesthetics, and functionality to your outdoor space. Enjoy your new walkway and the compliments it will surely receive!
Conclusion
Laying a brick paver walkway pattern is a rewarding and transformative project that can enhance the beauty and functionality of your outdoor space. By following the steps outlined in this guide, you can create a custom look and achieve professional-looking results.
From preparing the area and choosing the right brick paver pattern to gathering the necessary materials and completing meticulous installation, each step is vital in creating a walkway that is both visually pleasing and structurally sound. Whether you’re a seasoned DIY enthusiast or a first-time homeowner, the careful attention to detail and the use of proper techniques will ensure a successful outcome.
Remember to take your time during each phase of the project, paying close attention to alignment, levelness, and proper compaction. Precision and patience are key to achieving a walkway that will withstand the test of time and weather.
Upon completing the installation, don’t forget the importance of the finishing touches and thorough clean-up. Inspect the walkway, reposition any loose bricks, fill gaps with sand, and give your walkway a final cleaning to reveal its true beauty.
As you step back and admire your finished brick paver walkway, take pride in the craftsmanship and effort you have put into creating a unique and inviting outdoor feature. Your new walkway will not only serve as a practical pathway but also enhance the curb appeal and value of your home.
Remember to maintain your walkway by regularly cleaning and inspecting for any necessary repairs. By doing so, you can ensure the longevity and beauty of your brick paver walkway for years to come.
Now, it’s time to gather your tools, roll up your sleeves, and bring your vision to life by creating a stunning brick paver walkway pattern that will truly make a statement in your outdoor space. Good luck, and enjoy the journey!
Frequently Asked Questions about How To Lay Brick Paver Walkway Patterns For A Custom Look
Was this page helpful?
At Storables.com, we guarantee accurate and reliable information. Our content, validated by Expert Board Contributors, is crafted following stringent Editorial Policies. We're committed to providing you with well-researched, expert-backed insights for all your informational needs.


0 thoughts on “How To Lay Brick Paver Walkway Patterns For A Custom Look”