Home>Storage Ideas>Kitchen Storage>How To Declutter Countertops: 8 Steps To A Tidier Kitchen
Kitchen Storage
How To Declutter Countertops: 8 Steps To A Tidier Kitchen
Modified: January 21, 2024
Learn how to declutter your kitchen countertops with these 8 simple steps. Discover effective kitchen storage ideas to create a tidier and more organized space.
(Many of the links in this article redirect to a specific reviewed product. Your purchase of these products through affiliate links helps to generate commission for Storables.com, at no extra cost. Learn more)
How to Declutter Countertops: 8 Steps to a Tidier Kitchen
Having a clutter-free kitchen is not only visually appealing but also makes it easier to prepare meals and work efficiently. Countertops are a common hotspot for clutter, accumulating various items over time. If you’re tired of a cluttered kitchen, follow these 8 steps to declutter your countertops and achieve a tidier kitchen.
Key Takeaways:
- Decluttering countertops involves assessing, clearing, and organizing items to create a functional and visually appealing kitchen space. Implementing a daily maintenance routine is key to preventing future clutter buildup.
- Creating designated zones for different items and regularly reassessing and decluttering countertops are essential for maintaining a tidy and efficient kitchen. By following these steps, you can achieve a clutter-free and organized cooking environment.
Step 1: Assess the Clutter
Start by taking a good look at your countertops and identifying the main sources of clutter. Is it piles of mail, small appliances, or random items? Understanding the root cause of the clutter will help you devise a plan to tackle it effectively.
Step 2: Clear off Non-Essential Items
Next, remove any items from your countertops that are not essential for everyday use. This could include decorative items, excessive utensils, or rarely used appliances. Place them in a designated storage area or consider donating them if they no longer serve a purpose in your kitchen.
Step 3: Find Homes for Misplaced Items
Often, clutter on countertops occurs because items are misplaced. Take the time to find appropriate storage solutions for these items. Use drawer dividers, cabinet organizers, or designated bins to store items like cooking utensils, spices, or cutting boards. Having a designated place for everything will prevent them from taking up valuable countertop space.
Step 4: Install Wall-Mounted Organizers
Make use of vertical space by installing wall-mounted organizers. These can be a great way to store frequently used items within easy reach while keeping your countertops clear. Consider installing hooks for hanging pots and pans, shelves for storing spices or cookbooks, or a magnetic strip for organizing knives.
Step 5: Utilize Under-Cabinet Storage
Don’t overlook the space under your cabinets. Install adjustable shelves or hanging baskets to maximize storage. Utilize this space for storing items like mugs, small appliances, or baking pans. This will free up valuable countertop space while keeping commonly used items easily accessible.
Step 6: Create Designated Zones for Different Items
Organize your countertops by creating designated zones for different items. For example, designate an area for meal preparation with a cutting board and knife, a coffee station with a coffee machine and mugs, and a baking station with measuring cups and mixing bowls. Having these clearly defined zones will help maintain order and prevent clutter from spreading.
Step 7: Implement a Daily Maintenance Routine
To keep your countertops clutter-free in the long run, establish a daily maintenance routine. Make it a habit to put away items immediately after use and avoid leaving things out on the countertops. Wipe down the surfaces regularly to prevent dust and dirt from accumulating. A few minutes of daily upkeep will save you from a major decluttering session in the future.
Step 8: Regularly Reassess and Declutter
Finally, make it a point to regularly reassess your countertops and declutter as needed. Over time, items may accumulate again, and reassessing allows you to identify what is still essential and what can be let go. Commit to decluttering on a regular basis to maintain a tidy and clutter-free kitchen.
By following these 8 steps, you can declutter your countertops and transform your kitchen into a tidy and efficient space. Say goodbye to kitchen clutter and hello to a streamlined and organized cooking environment!
Use vertical storage solutions like shelves or hanging racks to free up counter space and keep frequently used items easily accessible.
Step 1: Assess the clutter
Before you begin the process of decluttering your countertops, it’s important to assess the current state of clutter in your kitchen. This step will help you understand the extent of the problem and give you a starting point for your decluttering journey.
Start by taking a few moments to observe your countertops. Notice which items are taking up the most space and causing the most clutter. Are there any specific areas that seem particularly overwhelmed with items? Are there items that don’t belong on the countertops but have somehow found their way there?
As you assess the clutter, ask yourself some critical questions. Are all the items on your countertops necessary and used regularly? Are there any items that belong elsewhere in your kitchen? Are there any items that don’t serve a purpose anymore or are no longer in good condition?
It can be helpful to make a list or take some photos of the cluttered areas. This will give you a visual reminder of the state of your countertops and help you track your progress throughout the decluttering process.
Additionally, consider your overall kitchen layout and functionality. Are there any specific areas on your countertops that you would like to keep clear for food preparation or other activities? Identifying these areas will help you prioritize what needs to be removed or relocated.
Assessing the clutter is also an opportunity to reflect on your habits and lifestyle. Are there any underlying causes or patterns that contribute to the clutter? For example, do you tend to leave items out on the countertops instead of putting them away immediately? Understanding these habits can help you find long-term solutions to prevent clutter from returning.
Remember, decluttering is not just about tidying up your space; it’s about creating a more functional and organized kitchen that suits your needs. By taking the time to assess the clutter, you are setting the foundation for a successful and effective decluttering process.
Once you’ve completed the assessment, you can move on to the next step of clearing off non-essential items from your countertops.
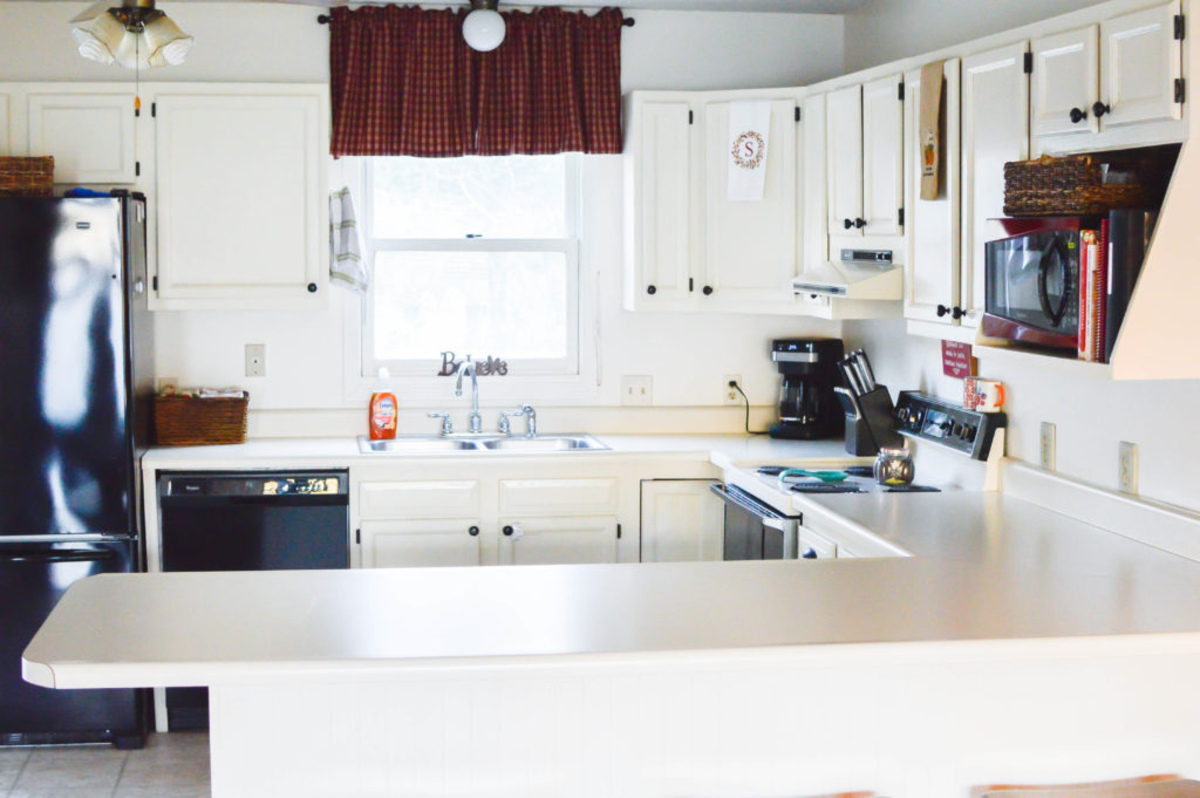
Step 2: Clear off non-essential items
Now that you’ve assessed the clutter on your countertops, it’s time to clear off any non-essential items. This step is crucial for creating a clean and functional kitchen space.
Start by taking a close look at each item on your countertops and ask yourself if it is truly necessary for your everyday cooking and food preparation. Items like small appliances that you rarely use or decorative pieces that serve no functional purpose can be the primary clutter culprits.
Begin by removing these non-essential items from your countertops. Find appropriate storage areas for each item, such as cabinets, drawers, or pantry shelves. If you find that you have too many items to store, consider donating or selling items that are in good condition but are no longer of use to you.
As you clear off non-essential items, focus on creating a minimalist and clutter-free environment. Minimalism in the kitchen can help create a sense of calm and make it easier to find and access essential items during meal prep.
If you have small appliances that you only use occasionally, consider storing them in a cabinet or cupboard. Only keep the appliances that you use on a regular basis, such as a toaster or blender, on the countertops.
Keep in mind that clearing off non-essential items doesn’t mean you have to completely empty your countertops. It’s about finding a balance between functionality and aesthetics. If you have a few decorative items that bring you joy and add a personal touch to your kitchen, it’s perfectly fine to keep them. Just ensure they are not taking up excessive space or causing unnecessary clutter.
By clearing off non-essential items, you not only declutter your countertops but also create a more spacious and organized kitchen. Removing these items will make it easier to clean your countertops and give you more room to work and prepare meals without feeling overwhelmed by clutter.
Once you have cleared off the non-essential items, you can move on to the next step: finding homes for misplaced items.
Step 3: Find homes for misplaced items
After clearing off non-essential items from your countertops, it’s time to find proper homes for the items that were misplaced. Often, clutter accumulates on countertops because items don’t have designated storage spaces. By finding suitable homes for these items, you can prevent future countertop clutter.
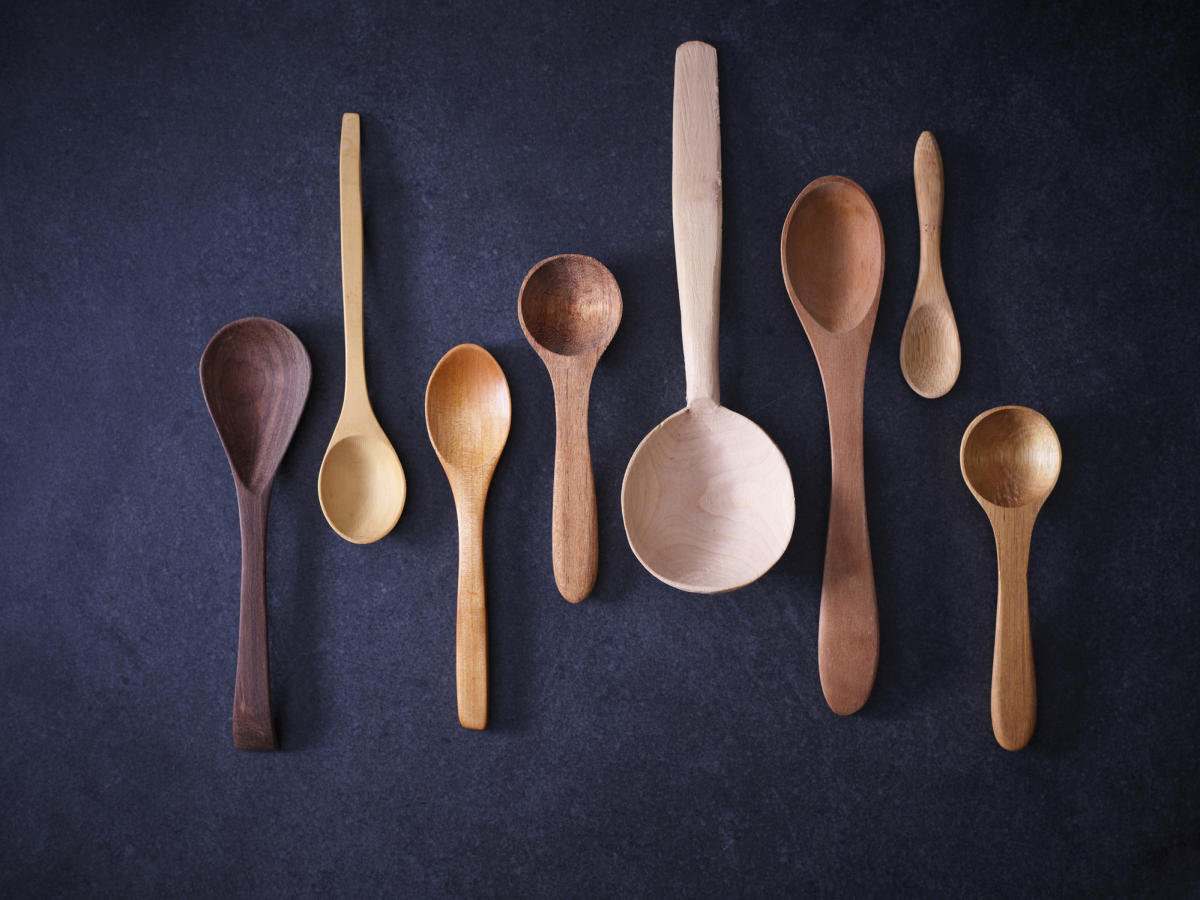
Start by gathering all the misplaced items and grouping them by category. This will help you identify patterns and determine specific storage needs. Common misplaced items on countertops include cooking utensils, spices, cutting boards, and small appliances.
Next, evaluate your available storage space in the kitchen. Take inventory of your cabinets, drawers, and pantry to identify areas where these items can be properly stored. Consider using drawer dividers, cabinet organizers, or labeled containers to keep everything organized and easily accessible.
Allocate specific areas for different categories of items. For example, designate a drawer for cooking utensils, a shelf for spices, and a cabinet for small appliances. This will ensure that everything has a designated place, making it easier to put items away after use and prevent them from cluttering your countertops.
If your storage space is limited, consider utilizing vertical storage options. Install hooks, racks, or magnetic strips on the walls or cabinet doors to hang items like pots and pans, cutting boards, or knives. This not only frees up countertop space but also adds an element of visual interest to your kitchen.
Don’t forget to consider the proximity of the storage area to the countertop where you use the items. Keeping frequently used items within reach will make your cooking and food preparation more efficient and enjoyable.
As you find homes for misplaced items, make sure to regularly organize and declutter these storage areas. Over time, items can accumulate and start to create new sources of clutter. Regular maintenance will help you stay on top of keeping your kitchen organized and prevent countertop clutter from reoccurring.
By finding homes for misplaced items, you are taking a proactive step to eliminate countertop clutter. With designated storage spaces, you can maintain a tidy and organized kitchen, making it easier to cook, clean, and enjoy your time in the heart of your home.
Once you have found homes for misplaced items, you can move on to the next step: installing wall-mounted organizers to maximize storage and further declutter your countertops.
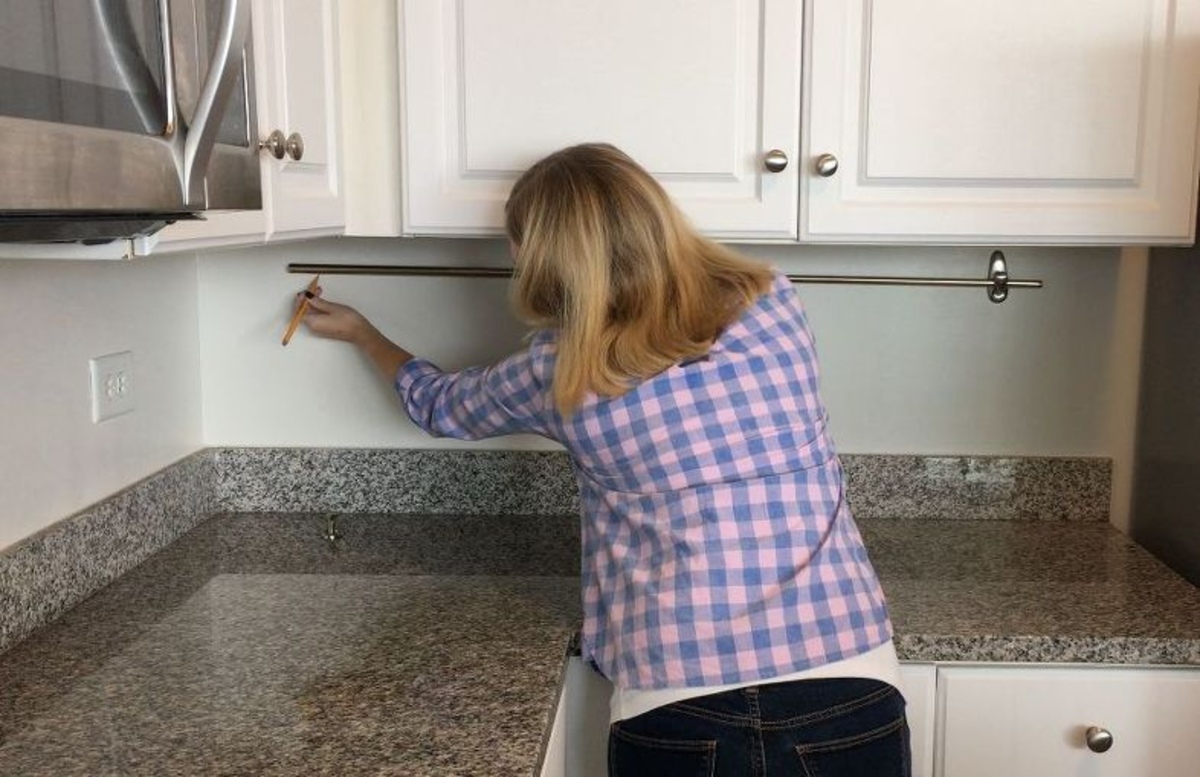
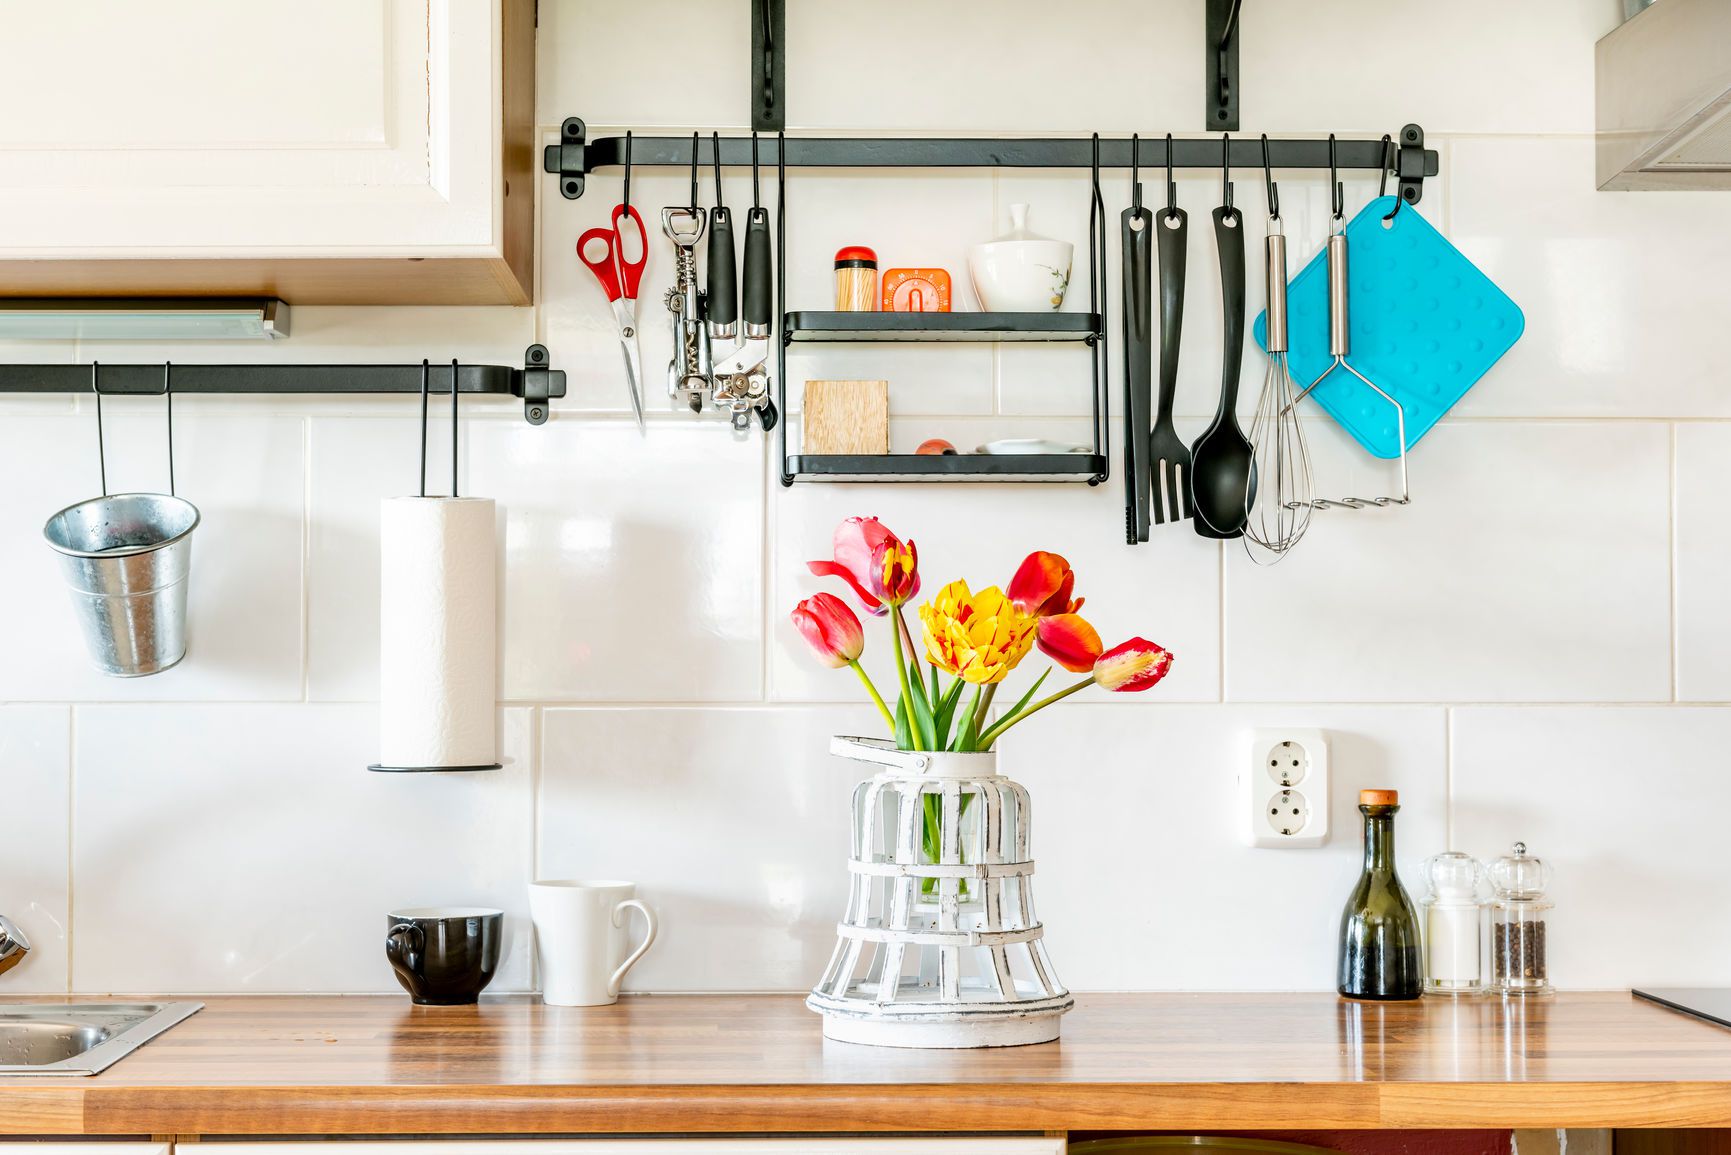
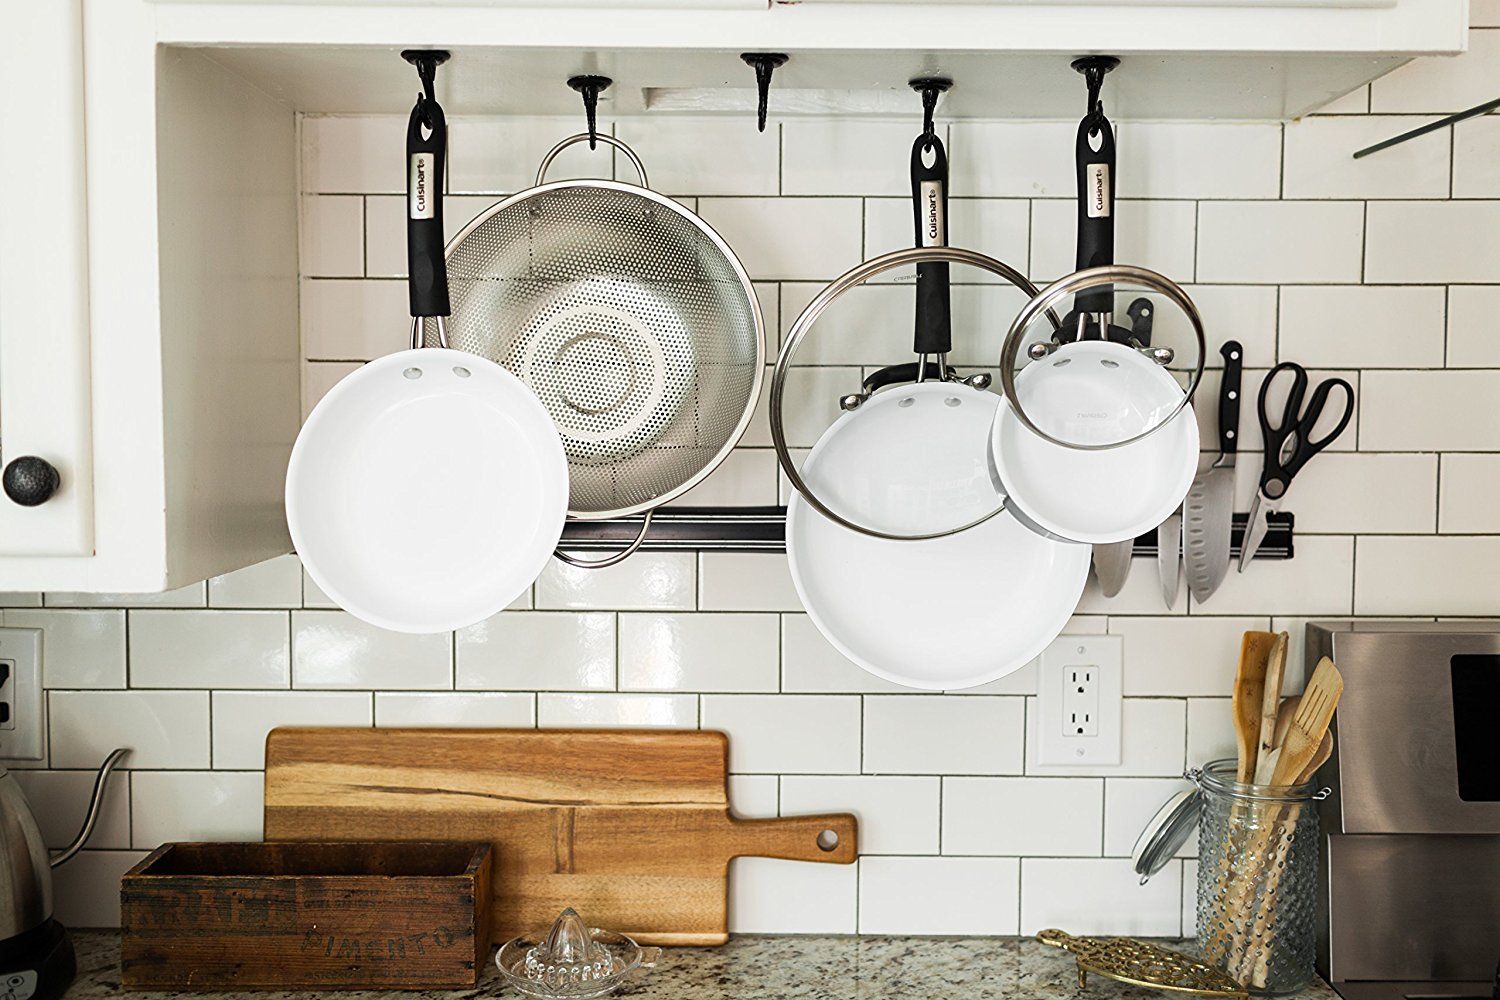
Step 4: Install wall-mounted organizers
As you continue your journey to declutter your countertops and create a tidy kitchen, installing wall-mounted organizers can be a game-changer. These organizers maximize vertical space and provide additional storage options, keeping your countertops clear and functional.
Start by assessing the available wall space in your kitchen. Look for areas where you can install wall-mounted organizers that won’t interfere with your workflow. Common areas include empty walls near your stove, sink, or kitchen island.
There are various types of wall-mounted organizers to choose from, depending on your needs and preferences. Here are a few popular options:
- Shelves: Install sturdy floating shelves or wall-mounted racks to display cookbooks, spices, or decorative items. This not only adds storage but also adds visual interest to your kitchen.
- Hooks: Hang hooks on the walls to keep frequently used pots, pans, and cooking utensils within easy reach. This saves cabinet space and makes it convenient to grab what you need while cooking.
- Magnetic Strips: Mount a magnetic strip on the wall to organize and display your collection of knives. This keeps them easily accessible while freeing up valuable drawer or countertop space.
- Pegboards: Consider installing a pegboard for versatile storage. With adjustable hooks and pegs, you can hang and organize various items like pots, pans, cutting boards, and even kitchen gadgets.
Before installing any wall-mounted organizers, ensure that you follow the manufacturer’s instructions and use appropriate tools and hardware for secure installation.
As you install the organizers, be mindful of their placement to optimize functionality. Place shelves or racks near your cooking area to keep frequently used ingredients or cooking tools. Hang hooks near your stove or sink to easily access pots, pans, and utensils. Customize the arrangement of pegs on a pegboard to accommodate your specific storage needs.
Remember to consider the aesthetics of your kitchen when installing wall-mounted organizers. Choose organizers that complement your kitchen’s style and create a cohesive look.
By installing wall-mounted organizers, you not only free up countertop space but also add visual appeal to your kitchen. These organizers offer convenient storage solutions and contribute to a well-organized and clutter-free cooking environment.
Once you have installed the wall-mounted organizers, you can proceed to the next step of utilizing under-cabinet storage to further declutter your countertops.
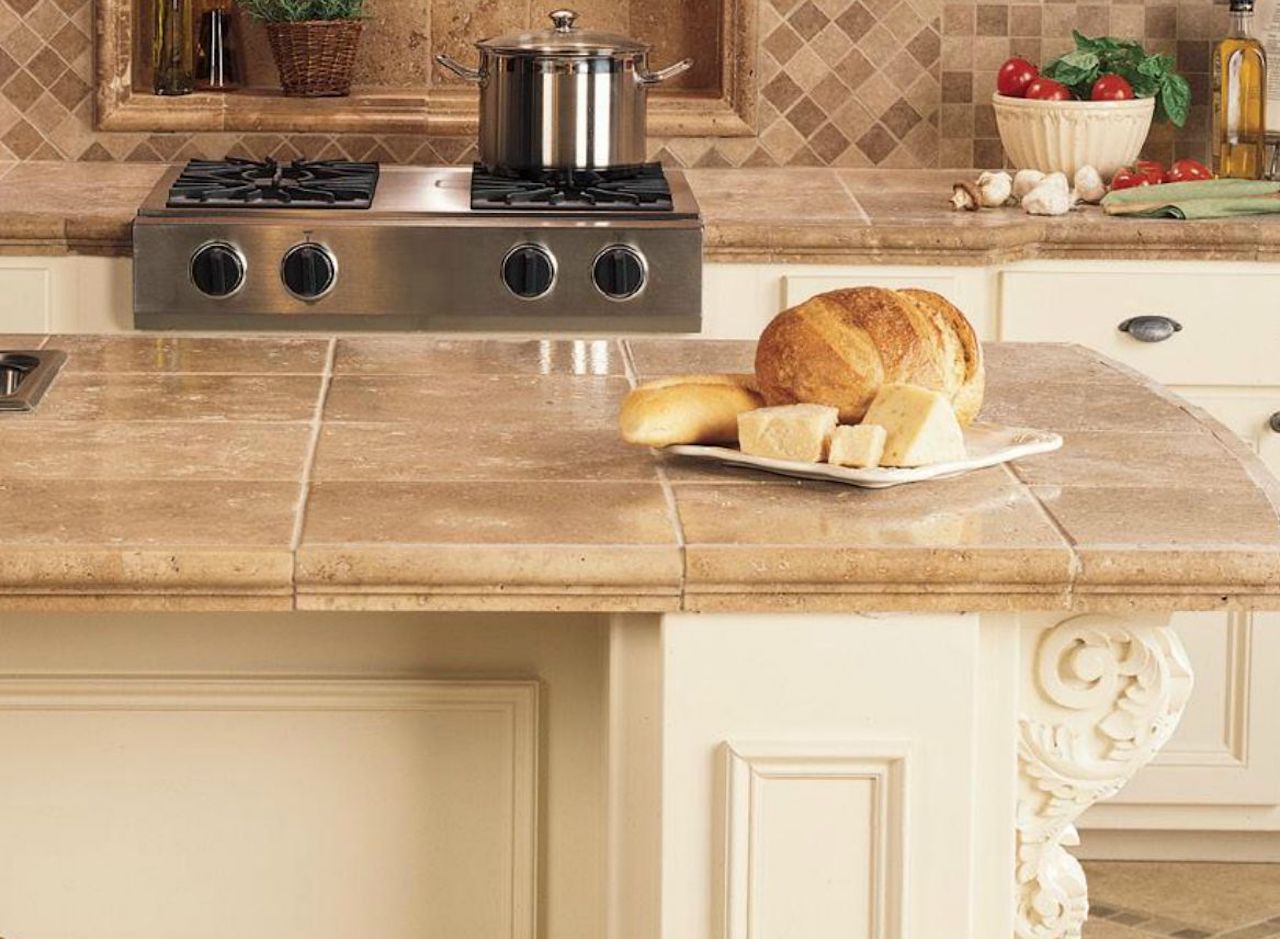
Read also: 8 Amazing Kitchen Countertop For 2024
Step 5: Utilize under-cabinet storage
When it comes to decluttering your countertops and creating a tidy kitchen, utilizing under-cabinet storage is a smart and effective strategy. This often-overlooked space offers valuable storage opportunities to keep your countertops clear and organized.
Start by evaluating the cabinets and cupboards directly underneath your countertops. Take note of the available space and consider how you can optimize it for storage.
One popular option for under-cabinet storage is installing adjustable shelves. These can be installed inside cabinets to create additional levels of storage. Adjust the shelves to accommodate items of different heights, such as mugs, bowls, or small appliances.
Besides adjustable shelves, there are other under-cabinet storage solutions you can explore:
- Hanging baskets: Attach wire or woven baskets underneath cabinets to store fruits, vegetables, or kitchen towels. This not only declutters your countertops but also adds a touch of charm to your kitchen.
- Drawer inserts: Install drawer inserts within your cabinets to create compartments for storing utensils, spices, or other small items. This helps keep everything organized and easily accessible.
- Undersink organizers: Maximize the space underneath your sink by using undersink organizers. These specialized storage solutions, such as pull-out racks or stackable bins, can help you declutter cleaning supplies, dish soap, and other frequently used items.
Make sure to make the most of vertical space within your cabinets by using hooks or adhesive organizers. Hang items like mugs, measuring cups, or oven mitts to keep them within reach and prevent them from cluttering your countertops.
As you utilize under-cabinet storage, remember to keep frequently used items in the most accessible locations. Arrange your storage so that everyday essentials are easily reachable, while items that are used less frequently can be placed in higher or lower cabinets.
Also, take the opportunity to declutter and organize the items that will be stored in the under-cabinet space. Get rid of duplicates, expired items, or anything that no longer serves a purpose in your kitchen.
By utilizing under-cabinet storage, you can free up valuable countertop space and create a more organized kitchen. These hidden storage solutions help maintain a clutter-free environment and ensure that your essentials are within easy reach.
After utilizing under-cabinet storage, you can move on to the next step: creating designated zones for different items on your countertops.
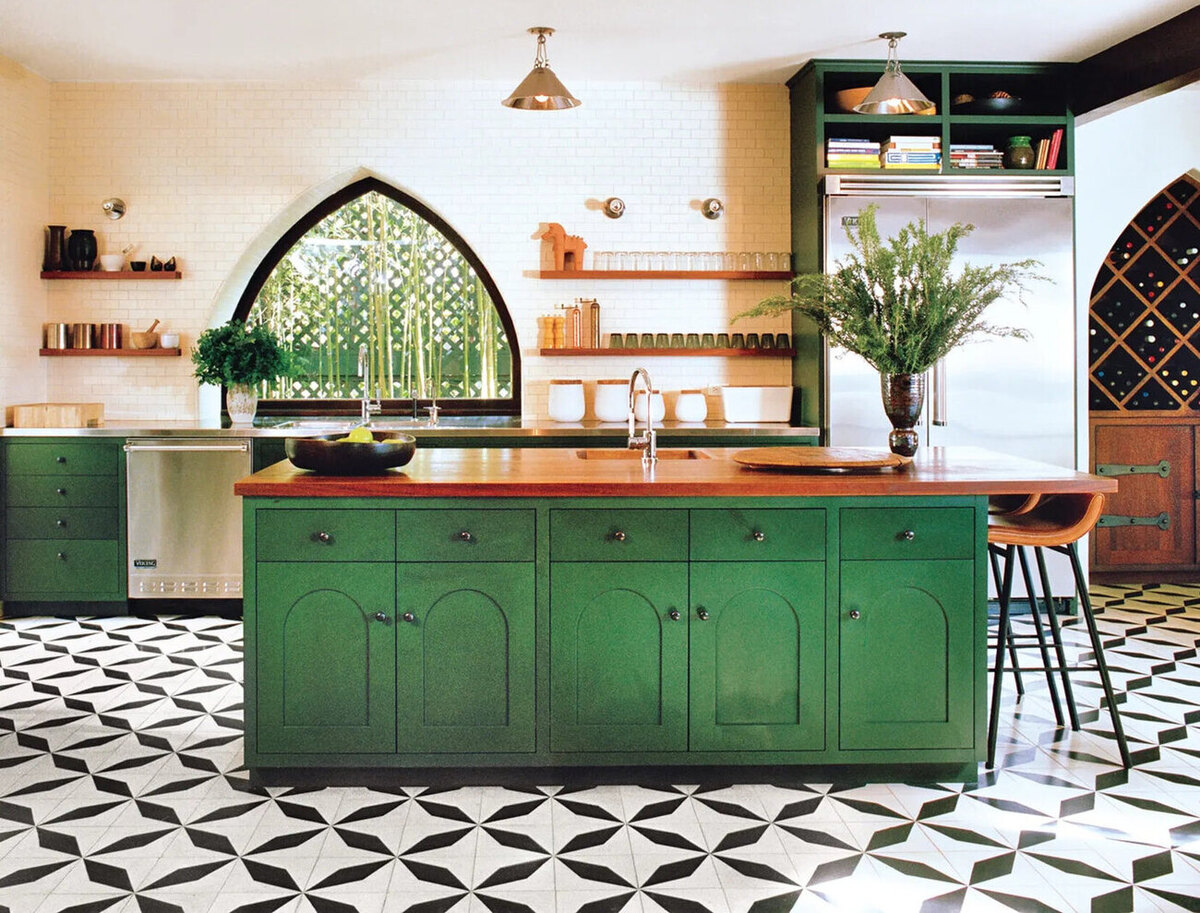
Step 6: Create designated zones for different items
To maintain a tidy and organized kitchen, creating designated zones for different items on your countertops is essential. By assigning specific areas for different functions and categories, you can prevent clutter from spreading and ensure that everything has its place.
Start by evaluating the layout and size of your countertops. Visualize how you typically use your kitchen and identify the different activities and categories that require space on your countertops.
For example, you may want to have a designated area for meal preparation. This zone can include essential items like a cutting board, knife block, and mixing bowls. Keep these items within easy reach and clear out unnecessary clutter from this area to make food preparation more efficient.
Another common zone is a coffee station. If you’re a coffee lover, allocate a space on your countertop for your coffee machine, mugs, and any other coffee-related items. By having this dedicated area, you can enjoy your morning brew without cluttering up the entire countertop.
You can create designated zones for other functions or categories as well. Consider having a baking zone with ingredients, measuring cups, and baking utensils, or a snack zone with a bowl of fresh fruits and a designated spot for snacks.
As you create these zones, think about how to arrange items within each area for maximum convenience. Keep frequently used items closest to the front or within easy reach. Utilize small containers or trays to keep similar items together and prevent them from spreading out and creating clutter.
Labeling or using signs for each zone can also be helpful in keeping everything organized. This not only adds a touch of visual appeal but also serves as a helpful reminder for family members or guests who may be using the kitchen.
Regularly clean and declutter these designated zones to maintain order and prevent clutter from accumulating. As you use your kitchen, be mindful of returning items to their designated areas after each use to keep the countertops clean and uncluttered.
By creating designated zones for different items on your countertops, you can maintain an organized and efficient kitchen. This approach ensures that everything has a proper place and helps you easily find what you need while keeping the surrounding areas clutter-free.
Once you have established these designated zones, you can move on to the next step: implementing a daily maintenance routine for your countertops.
Step 7: Implement a daily maintenance routine
To sustain a clutter-free and organized kitchen, implementing a daily maintenance routine is crucial. By incorporating simple habits into your daily routine, you can prevent clutter from building up and ensure that your countertops remain tidy and functional.
Here are some tips to help you establish an effective daily maintenance routine:
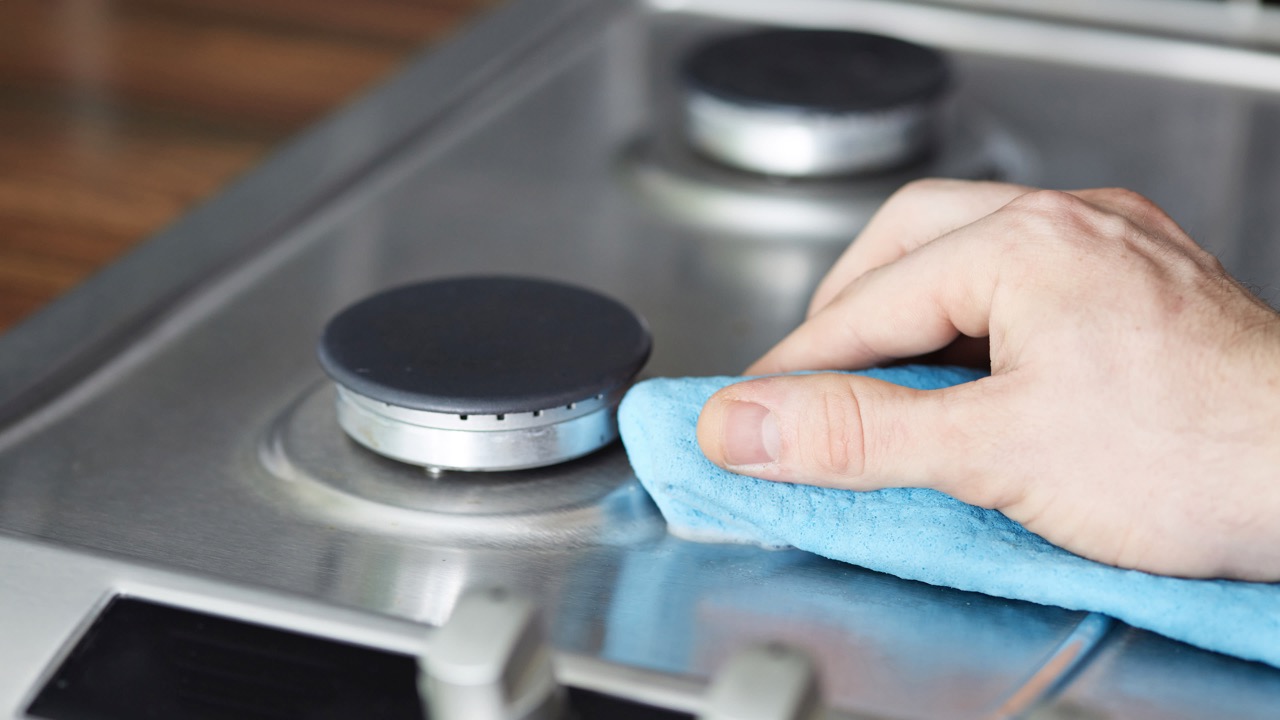
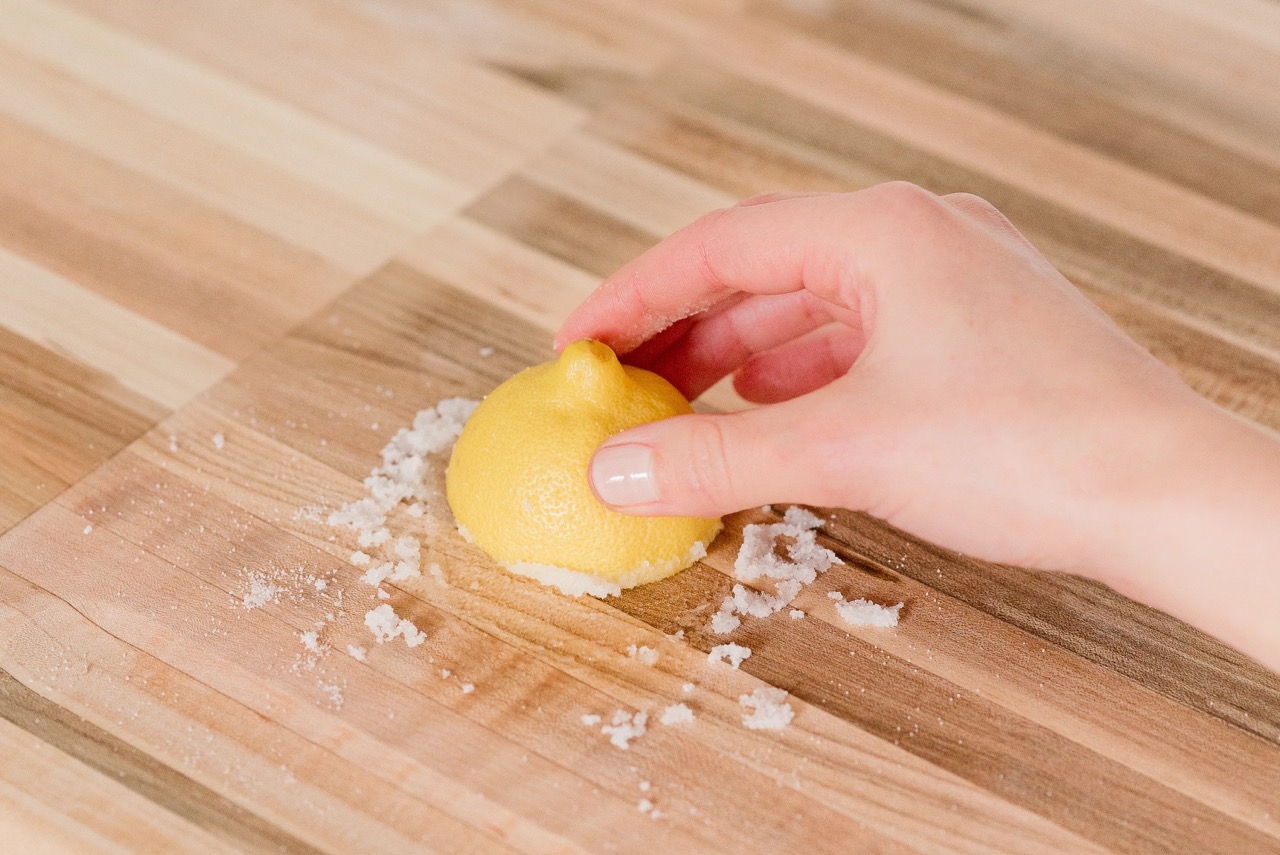
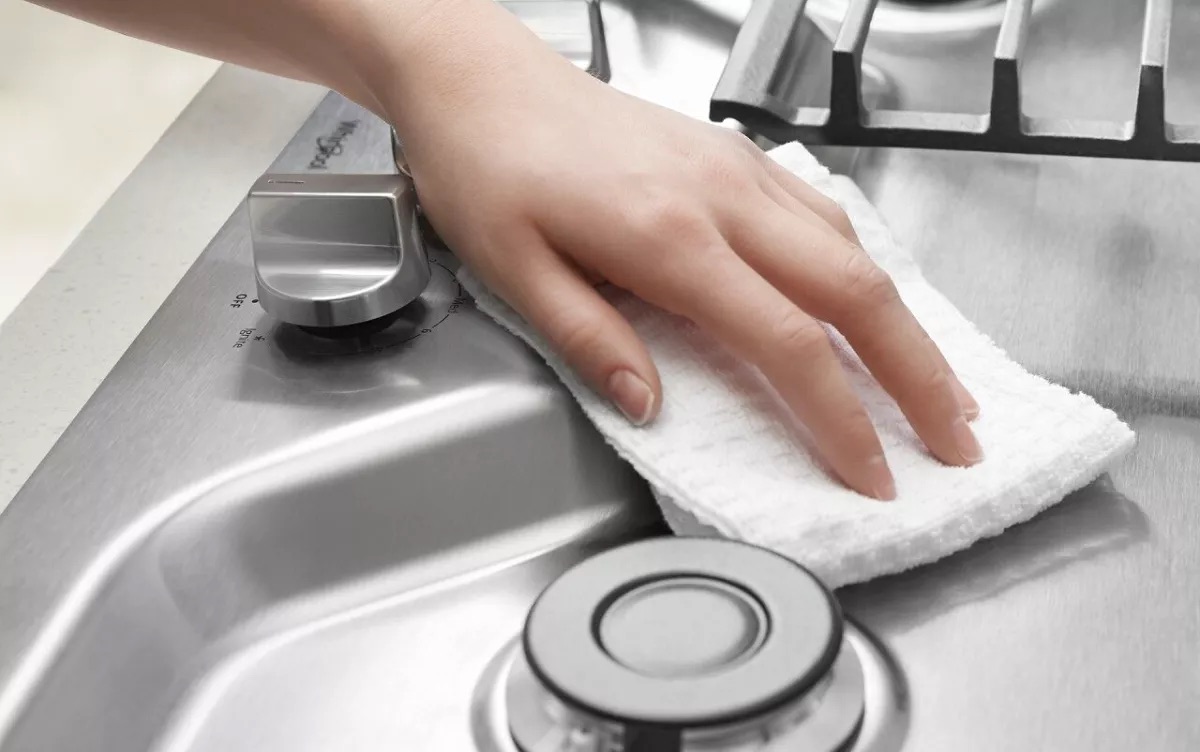
1. Clean as you go: Make it a habit to clean up as you cook. Wash utensils, cutting boards, and other tools while your food is cooking or baking. Wipe down countertops and surfaces immediately after spills or messes occur. By addressing these tasks in the moment, you can prevent clutter and avoid a daunting cleaning session later on.
2. Put items away immediately: After using any kitchen items, make it a priority to put them back in their designated storage spaces. Avoid leaving items on the countertops, as this can quickly lead to clutter. By developing the habit of returning items to their proper place, you maintain an organized kitchen and ensure that your countertops stay clear.
3. Sort and declutter regularly: Take a few minutes each day to sort through any items that have accumulated on your countertops. Discard any trash or expired items and put away items that have been left out. Regular decluttering prevents clutter from piling up and keeps your kitchen clean and inviting.
4. Establish a “home base”: Designate a specific area in your kitchen as a “home base” for frequently used items. This could be a small tray or a specific section of your countertop. Use this area to keep essentials like keys, wallets, and commonly used cooking utensils. By keeping these items in a designated spot, you’ll always know where to find them and minimize countertop clutter.
5. Involve the entire household: Encourage your family members or housemates to participate in the daily maintenance routine. Assign specific tasks or responsibilities to each person to ensure that everyone takes part in keeping the kitchen clean and organized.
By implementing a daily maintenance routine, you create a habit of cleanliness and prevent countertop clutter from accumulating over time. Consistency is key to maintaining an organized kitchen, so prioritize these simple tasks in your daily schedule.
Once you have established a daily maintenance routine, you can move on to the final step: regularly reassessing and decluttering your countertops for long-term success.
Step 8: Regularly reassess and declutter
The final step in achieving and maintaining a clutter-free kitchen is to regularly reassess and declutter your countertops. Over time, items can accumulate, habits can change, and clutter can slowly creep back in. By periodically reassessing and decluttering, you can stay on top of any potential clutter and keep your kitchen organized.
Set aside dedicated time, such as once a month or every few months, to go through your countertops and evaluate the items that have accumulated. During this reassessment, ask yourself the following questions:
1. Are all the items on your countertops still necessary and useful to you? Consider if there are any items that you no longer use or that have lost their functionality. If something doesn’t serve a purpose anymore, consider donating or discarding it.
2. Are there any items that have migrated back to the countertops? Sometimes, items find their way back onto the countertops over time. Take note of any recurring clutter and find a proper storage solution or designate a specific spot for those items to prevent them from cluttering your countertops again.
3. Have your needs or cooking habits changed? Consider if there are any new items you require or if you can eliminate any items that are no longer useful. Adapt your storage and organization accordingly to better suit your current needs.
During the decluttering phase, remove any unnecessary or out-of-place items from your countertops and find suitable homes for them. This may involve rearranging storage areas or reassessing the placement of certain items.
It’s important to approach decluttering with a critical eye and a willingness to let go of items that no longer serve a purpose. Remember, decluttering is not about simply moving items around or organizing them differently, but about reducing and eliminating excess to create a more streamlined and functional kitchen.
By periodically reassessing and decluttering your countertops, you establish a healthy habit of staying organized. Regular maintenance will prevent clutter from building up and help you maintain a clean and clutter-free kitchen space.
Congratulations! You’ve completed all eight steps to achieving and maintaining tidier countertops in your kitchen. By following these steps and integrating them into your routine, you’ll be able to enjoy a clutter-free and organized kitchen environment for years to come.
Frequently Asked Questions about How To Declutter Countertops: 8 Steps To A Tidier Kitchen
Was this page helpful?
At Storables.com, we guarantee accurate and reliable information. Our content, validated by Expert Board Contributors, is crafted following stringent Editorial Policies. We're committed to providing you with well-researched, expert-backed insights for all your informational needs.
0 thoughts on “How To Declutter Countertops: 8 Steps To A Tidier Kitchen”