Home>Technology>Home Entertainment Systems>How To Set My Universal Remote To My TV
Home Entertainment Systems
How To Set My Universal Remote To My TV
Modified: January 9, 2024
Learn how to easily program your universal remote to your TV for seamless control of your home entertainment system. Simplify your setup with our step-by-step guide.
(Many of the links in this article redirect to a specific reviewed product. Your purchase of these products through affiliate links helps to generate commission for Storables.com, at no extra cost. Learn more)
Introduction
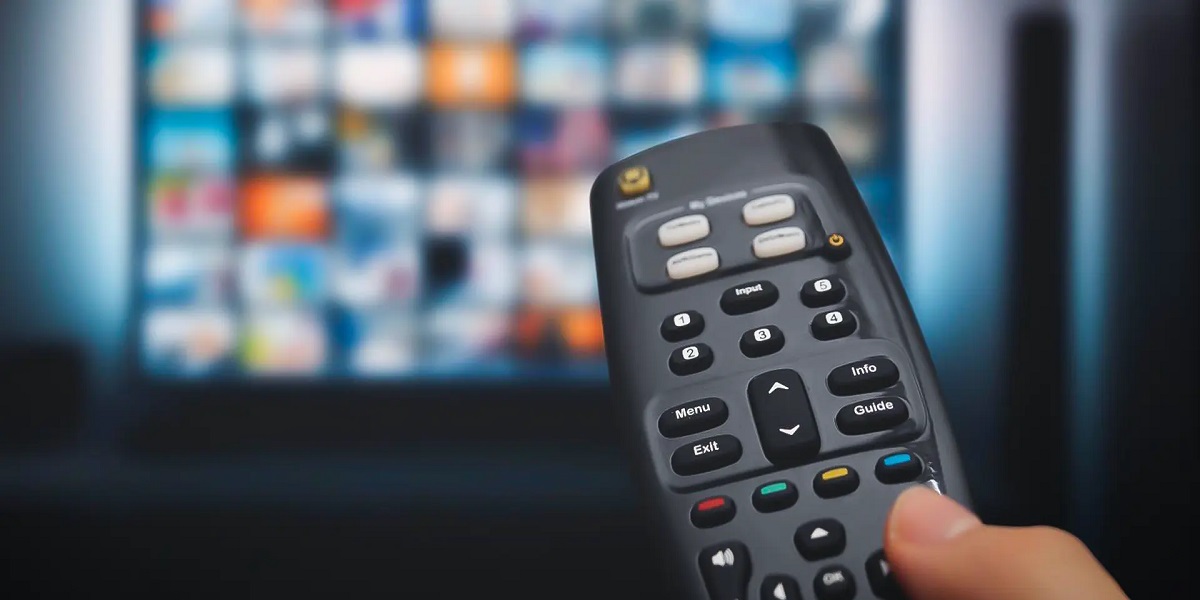
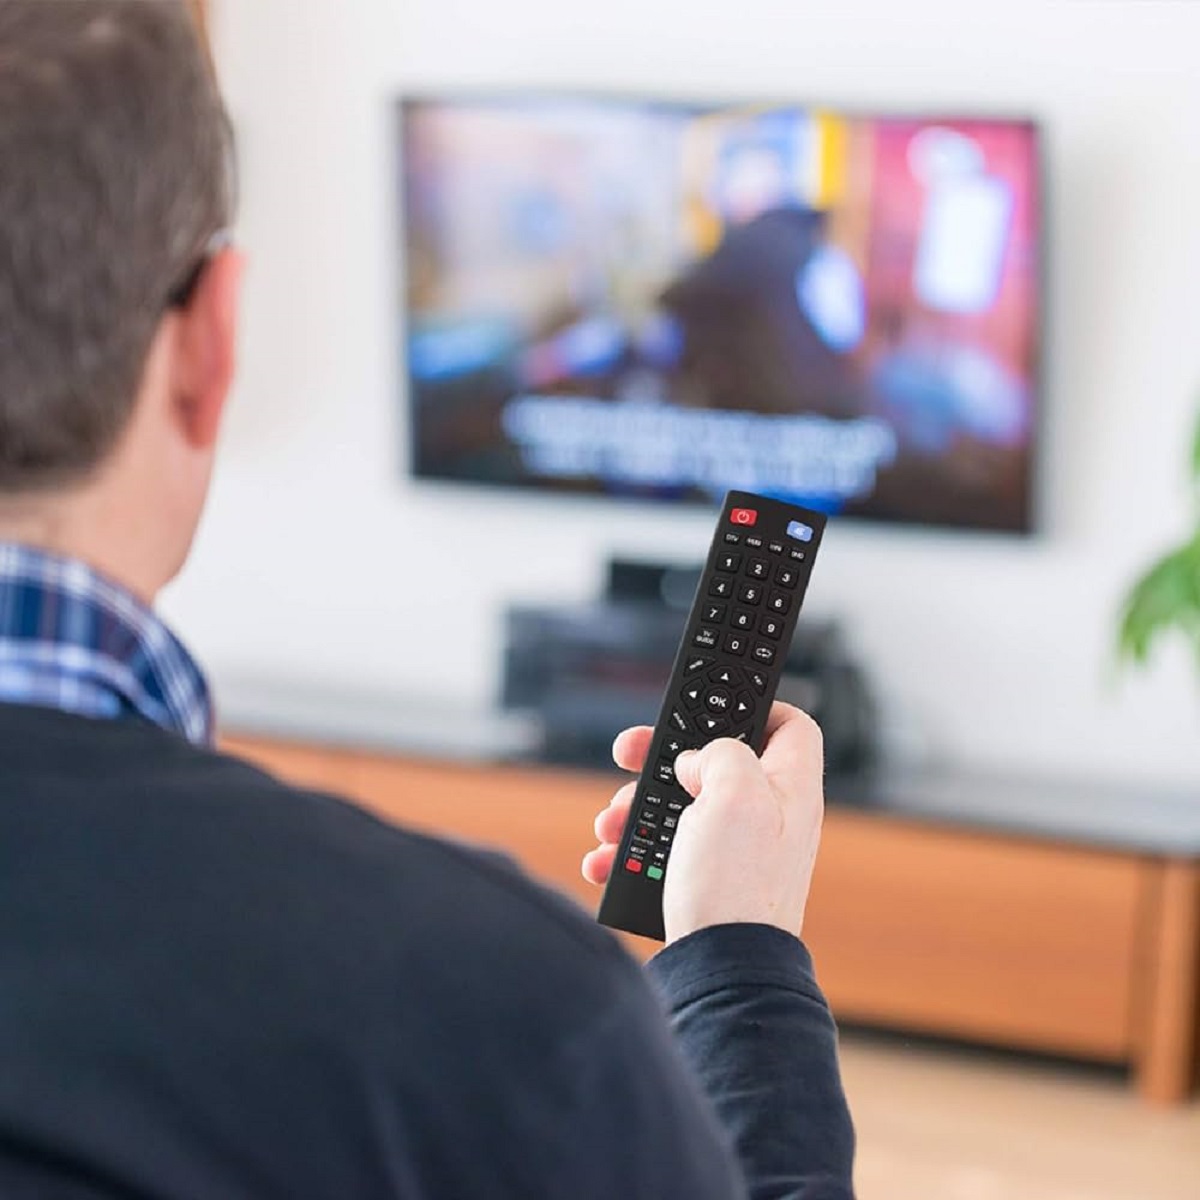
Welcome to the world of universal remote controls, where the convenience of controlling multiple devices with a single remote is nothing short of magic. If you’ve recently purchased a universal remote and are eager to set it up with your TV, you’ve come to the right place. In this guide, we’ll walk you through the step-by-step process of programming your universal remote to work with your TV, ensuring that you can seamlessly switch channels, adjust volume, and power your TV on and off without juggling multiple remotes.
Whether you’ve misplaced your TV’s original remote or simply want to streamline your entertainment system, setting up a universal remote is a practical and efficient solution. With a few simple steps, you’ll be able to enjoy the convenience and simplicity of having all your entertainment controls consolidated into a single device.
So, grab your universal remote, settle into your favorite spot on the couch, and let’s dive into the process of syncing it with your TV. Before you know it, you’ll be effortlessly navigating through your favorite shows and movies with the press of a button.
Key Takeaways:
- Say goodbye to juggling multiple remotes! Setting up a universal remote to work with your TV is a breeze. Enjoy seamless control over your entertainment system with just one remote.
- Simplify your home entertainment experience! With a universal remote, you can effortlessly power your TV on and off, switch channels, and adjust volume using a single, streamlined interface.
Step 1: Determine the Remote Control Code
Before embarking on the setup process, it’s crucial to determine the specific remote control code for your TV. The remote control code is a unique sequence that allows your universal remote to communicate with your TV. There are several methods to find this code:
- Consult the User Manual: The user manual that accompanies your universal remote typically contains a list of codes for various TV brands. Locate the section corresponding to your TV’s brand and model, and note down the associated code.
- Online Code Databases: Many universal remote manufacturers provide online databases where you can search for the correct code by entering your TV’s brand and model number. Simply navigate to the manufacturer’s website, access the code database, and follow the instructions to find the appropriate code for your TV.
- Auto Code Search: If you’re unable to find the specific code for your TV, your universal remote may offer an auto code search feature. This function allows the remote to automatically cycle through a range of codes until it identifies the one that pairs with your TV. Refer to your universal remote’s user manual for instructions on initiating the auto code search process.
Once you’ve obtained the remote control code, you’re ready to proceed to the next step in the setup process. The correct code is the key to establishing seamless communication between your universal remote and your TV, so take your time to ensure you have the accurate code for your specific TV model.
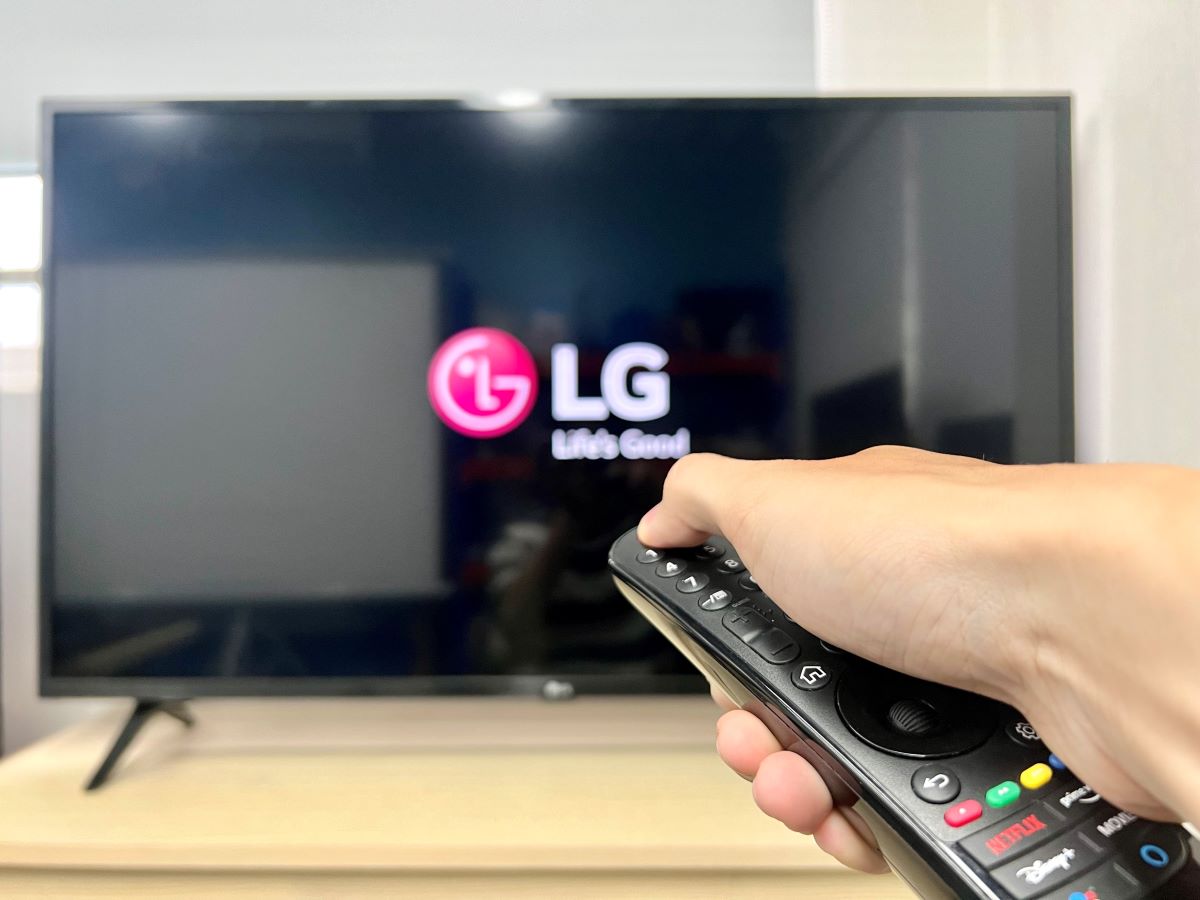
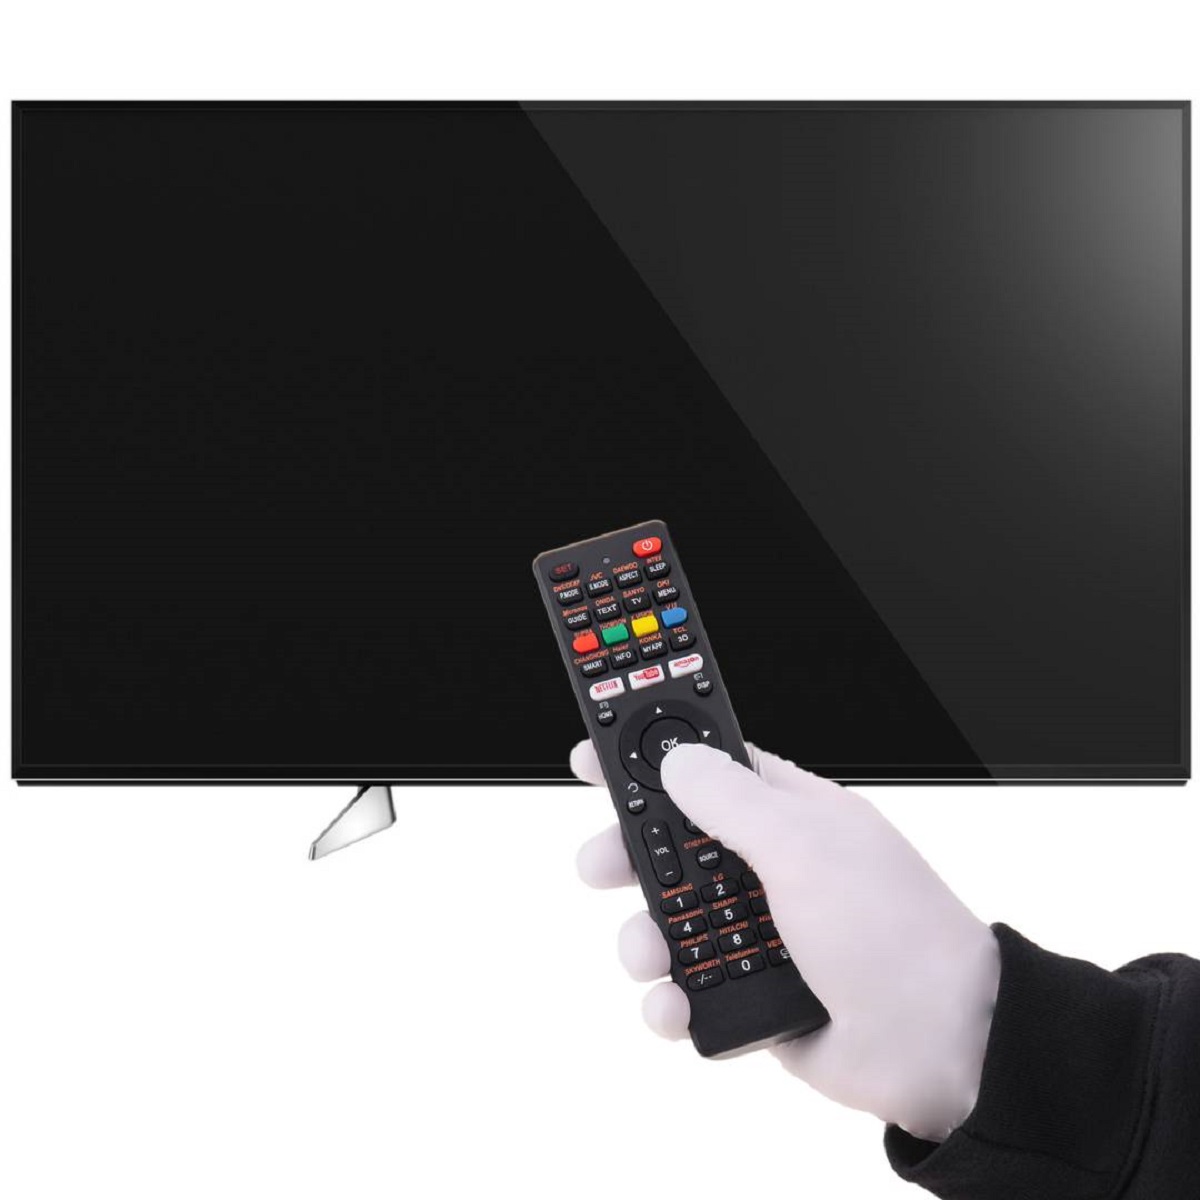
Step 2: Turn on the TV
Before initiating the programming process, ensure that your TV is powered on and ready to receive the setup signals from the universal remote. This step is essential for the remote to effectively establish a connection with your TV. Here’s how to proceed:
- Locate the Power Button: Identify the power button on your TV or its original remote control and press it to turn on the TV. If your TV is already powered on, proceed to the next step.
- Ensure Proper Functioning: Once the TV is powered on, verify that it is functioning as expected. Check for any error messages or issues that may hinder the setup process. It’s important to address any existing problems before proceeding with the remote programming.
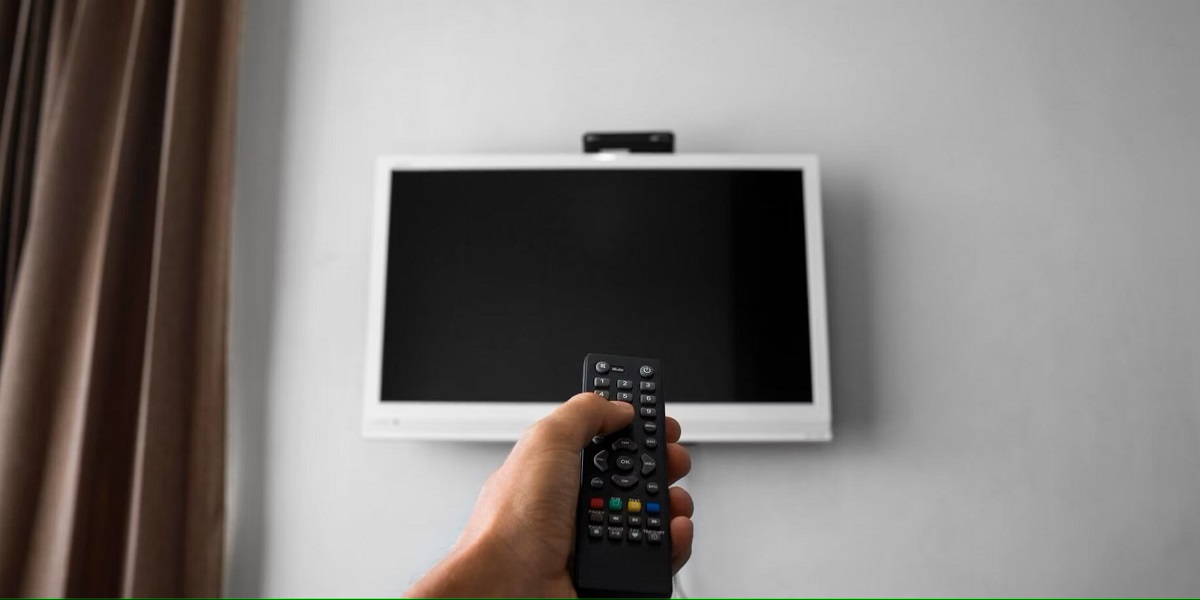
- Positioning: Ensure that the universal remote has a clear line of sight to the TV’s infrared sensor. This will facilitate the transmission of setup signals from the remote to the TV without any obstructions.
By ensuring that your TV is turned on and in optimal working condition, you’re setting the stage for a smooth and successful setup process. With the TV ready and waiting, you’re now prepared to move on to the next step and begin the synchronization process between your universal remote and your TV.
Step 3: Press and Hold the Setup Button
With your TV powered on and ready, it’s time to prepare the universal remote for programming. This involves pressing and holding the setup button on the remote, initiating the setup mode that allows you to input the remote control code for your TV. Follow these steps to proceed:
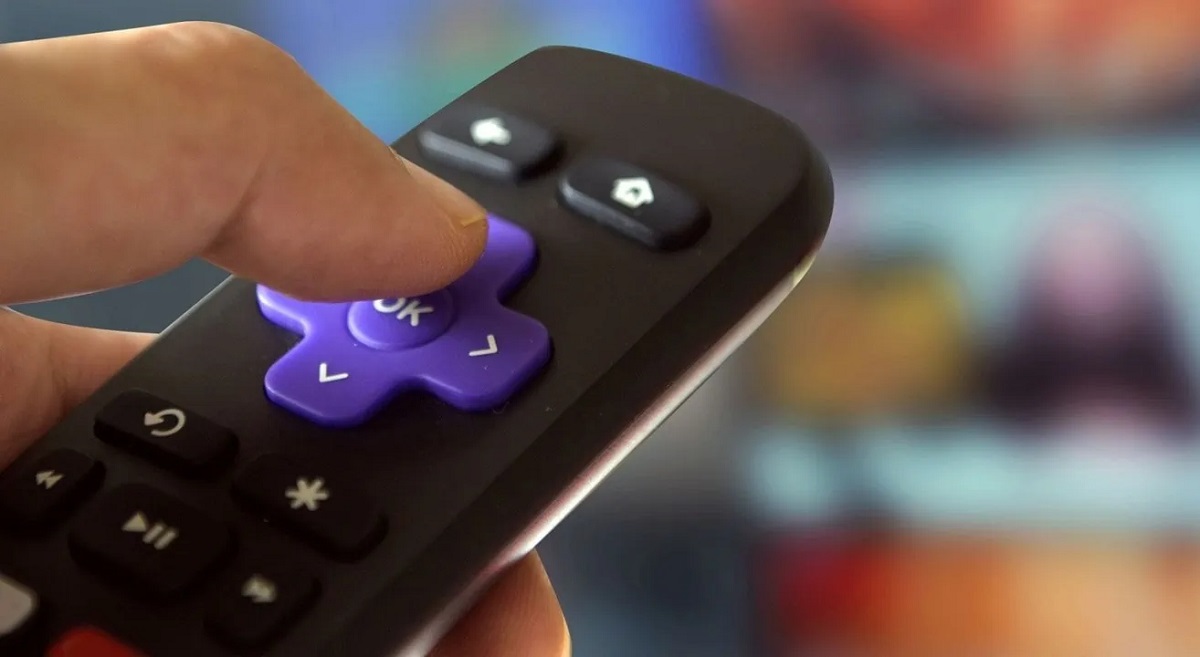
- Locate the Setup Button: Identify the setup button on your universal remote. This button is typically labeled as “Setup” or “Set” and is often positioned at the top or near the center of the remote’s layout.
- Press and Hold: Press and hold the setup button until the indicator light on the remote illuminates. This signifies that the remote has entered setup mode and is ready to receive the remote control code for your TV.
- Indicator Light Behavior: Pay attention to the behavior of the indicator light. Depending on the remote model, the light may blink, remain solid, or display a specific color to indicate that the remote is in setup mode and awaiting further input.
By pressing and holding the setup button, you’re activating the remote’s setup mode and preparing it to receive the necessary configuration to communicate with your TV. This crucial step sets the stage for entering the remote control code and establishing a functional connection between the universal remote and your TV.
To set your universal remote to your TV, find the code for your TV brand in the remote’s manual or online. Then, follow the instructions to input the code and sync the remote with your TV.
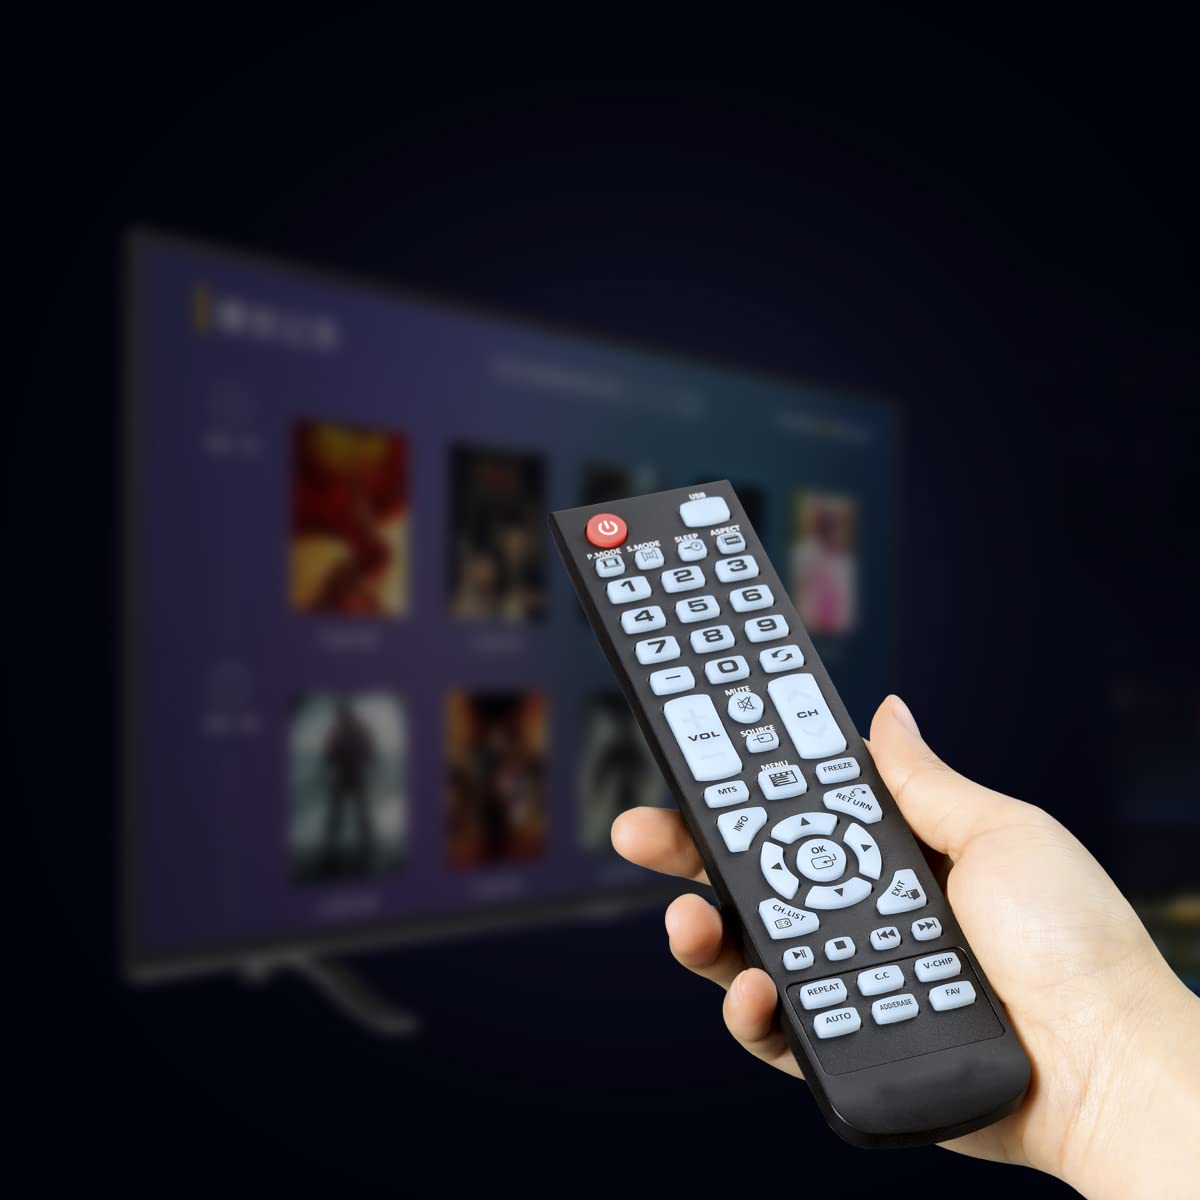
Step 4: Enter the Remote Control Code
Now that your universal remote is in setup mode, it’s time to input the specific remote control code that corresponds to your TV. This code serves as the digital handshake between the remote and your TV, allowing them to communicate seamlessly. Follow these steps to enter the code:
- Input the Code: Using the numerical keypad on the universal remote, carefully enter the remote control code for your TV. Take your time to ensure that each digit is accurately input to avoid potential setup errors.
- Indicator Light Response: As you input the code, observe the behavior of the indicator light on the remote. Depending on the model, the light may flash, remain solid, or exhibit a specific pattern to confirm the successful input of the code.
- Code Confirmation: Once the entire code is entered, wait for the indicator light to provide confirmation that the code has been accepted and stored by the remote. This indicates that the remote is now programmed to communicate with your TV using the specified code.
By accurately inputting the remote control code, you’re enabling the universal remote to establish a direct line of communication with your TV, ensuring that it can effectively control and interact with the TV’s functions. This step is pivotal in the setup process and sets the stage for the final testing phase.
Step 5: Test the Remote Control
With the remote control code successfully entered, it’s time to put your universal remote to the test and ensure that it seamlessly operates your TV. This testing phase allows you to verify that the remote can effectively control the TV’s functions, including power, volume, channel selection, and other essential features. Follow these steps to test the remote control:
- Power On and Off: Press the power button on the universal remote to turn on your TV. Observe the TV’s response to ensure that it powers on as expected. Subsequently, use the remote to power off the TV, confirming that it responds to the command.
- Volume Control: Adjust the volume using the remote’s dedicated volume buttons. Verify that the TV’s volume changes in response to the remote’s commands, indicating that the remote is effectively controlling this essential function.
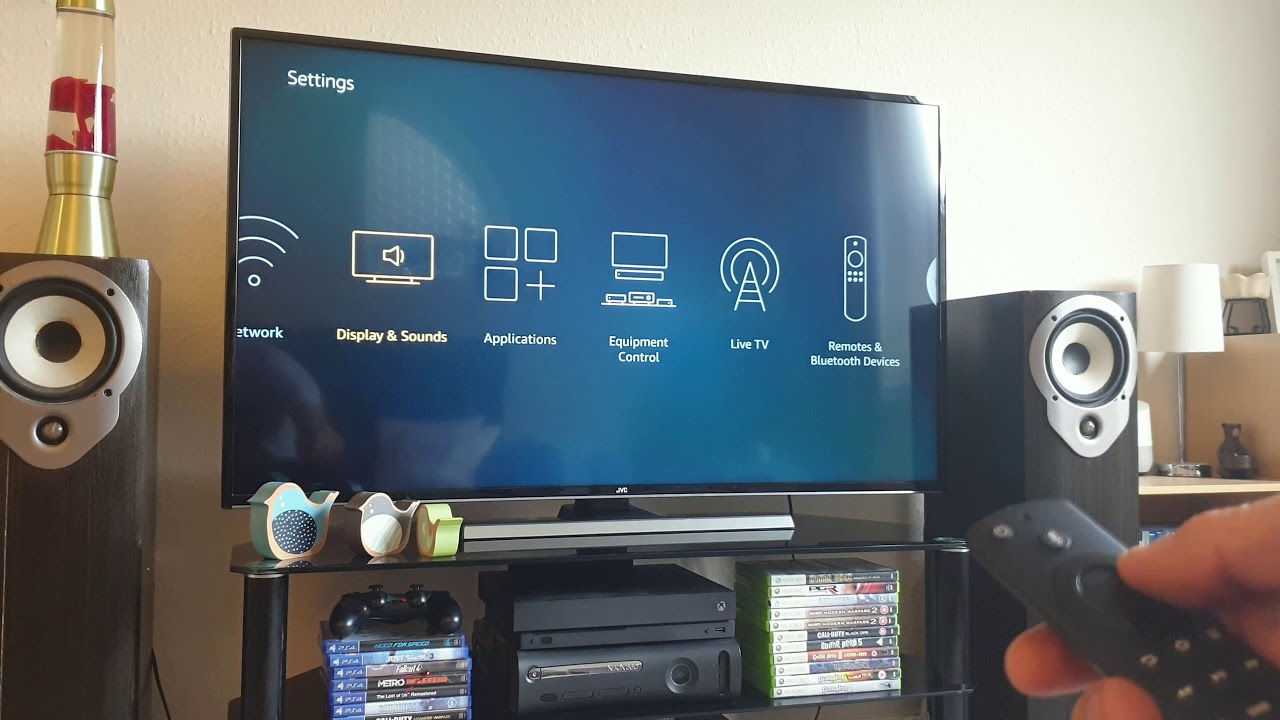
- Channel Selection: Navigate through the TV’s channels using the remote’s channel controls. Ensure that the TV switches channels in accordance with the remote’s commands, demonstrating that the remote can accurately control this aspect of the TV’s functionality.
- Additional Functions: Test any other features or functions on the TV, such as menu navigation, input selection, and mute control, using the corresponding buttons on the universal remote. Confirm that the remote can successfully operate these functions on the TV.
By thoroughly testing the remote control, you can ascertain its ability to effectively interact with your TV, providing you with the convenience and efficiency of a consolidated control system. If the remote seamlessly operates all essential TV functions, congratulations – you’ve successfully programmed your universal remote to work with your TV!
Conclusion
Congratulations on successfully setting up your universal remote to work with your TV! By following the step-by-step process outlined in this guide, you’ve taken a significant stride towards simplifying your home entertainment experience. With your universal remote now seamlessly integrated with your TV, you can enjoy the convenience of controlling multiple devices using a single, streamlined interface.
Embracing the versatility and efficiency of a universal remote empowers you to navigate through your favorite shows, adjust volume settings, and power your TV on and off with remarkable ease. Say goodbye to the hassle of juggling multiple remotes and revel in the simplicity of centralized control over your entertainment system.
As you bask in the convenience of your newly configured universal remote, remember that the setup process may vary slightly depending on the specific model and brand of your remote. Always refer to the accompanying user manual for detailed instructions tailored to your remote’s features and functionalities.
With your universal remote poised to enhance your TV viewing experience, you’re now equipped to immerse yourself in the captivating world of entertainment without the distractions of managing multiple remotes. Sit back, relax, and revel in the seamless control that your universal remote provides, unlocking a new level of convenience and enjoyment in your home entertainment endeavors.
Thank you for embarking on this setup journey with us. May your universal remote bring you unparalleled convenience and elevate your TV viewing pleasure to new heights!
Frequently Asked Questions about How To Set My Universal Remote To My TV
Was this page helpful?
At Storables.com, we guarantee accurate and reliable information. Our content, validated by Expert Board Contributors, is crafted following stringent Editorial Policies. We're committed to providing you with well-researched, expert-backed insights for all your informational needs.

0 thoughts on “How To Set My Universal Remote To My TV”