Home>Technology>Home Entertainment Systems>How To Use High Peak Projector

Home Entertainment Systems
How To Use High Peak Projector
Modified: January 4, 2024
Learn how to set up and use the High Peak projector for an immersive home entertainment experience. Discover tips and tricks for maximizing your home entertainment system.
(Many of the links in this article redirect to a specific reviewed product. Your purchase of these products through affiliate links helps to generate commission for Storables.com, at no extra cost. Learn more)
Introduction
Welcome to the world of high peak projectors, where cutting-edge technology meets the art of immersive visual experiences. Whether you're a cinephile, a gaming enthusiast, a professional presenter, or a casual entertainment seeker, a high peak projector can elevate your viewing and presentation experiences to new heights. In this comprehensive guide, we'll explore the ins and outs of using a high peak projector, from unboxing and setup to optimizing image quality and troubleshooting common issues.
A high peak projector is not just a device; it's a gateway to a myriad of possibilities. It brings the silver screen to your living room, transforms your presentations into captivating spectacles, and offers a versatile platform for sharing content from various devices. By understanding the nuances of using a high peak projector, you can unlock its full potential and tailor its features to suit your specific needs.
In the following sections, we'll delve into the practical aspects of using a high peak projector. You'll learn how to set it up seamlessly, connect it to different devices, adjust its settings for optimal image quality, and harness its capabilities for both professional and leisure purposes. Moreover, we'll address common troubleshooting issues, ensuring that you can overcome any technical hiccups with confidence.
Whether you're embarking on a cinematic journey, preparing a compelling presentation, or simply seeking a more immersive way to enjoy your favorite content, this guide will equip you with the knowledge and insights to make the most of your high peak projector. So, let's embark on this enlightening expedition into the realm of high peak projectors, where innovation and entertainment converge to redefine your visual experiences.
Key Takeaways:
- Unbox and set up your high peak projector with care, ensuring all components are present. Choose an ideal location, connect power, adjust angle, and configure basic settings for an immersive visual experience.
- Connect various devices to your high peak projector for versatile entertainment. Utilize HDMI, wireless, USB, and network options to access a wide array of content sources and enhance your viewing experience.
Read more: How High Should A Projector Screen Be
Unboxing and Setting Up the High Peak Projector
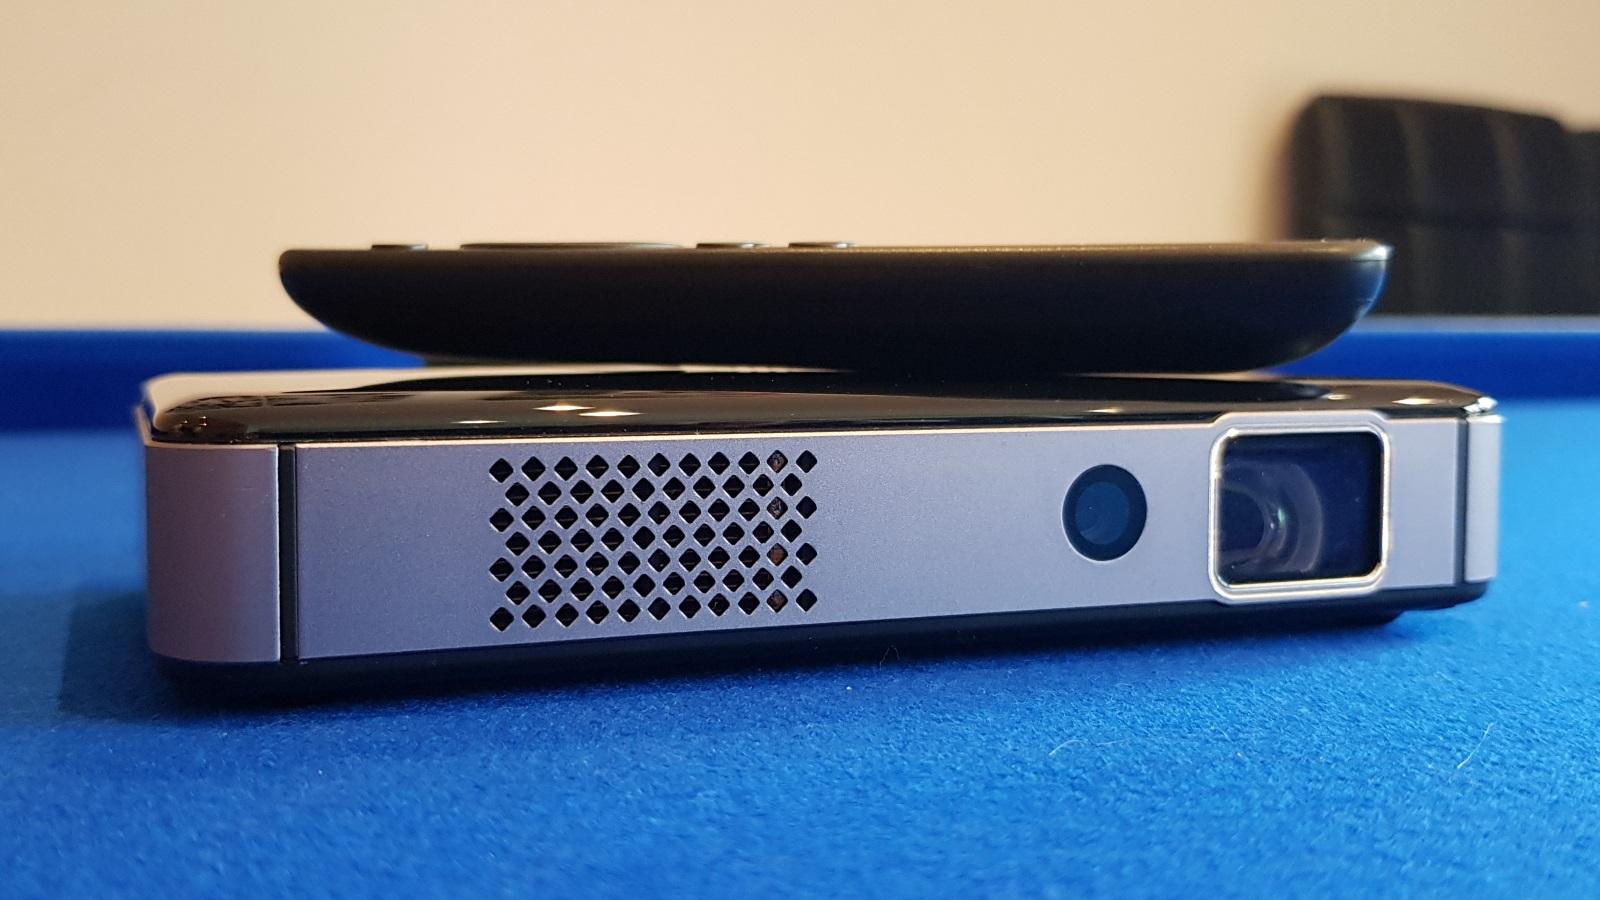
Unboxing a high peak projector is akin to unwrapping a portal to a world of captivating visuals. As you carefully open the packaging, you're greeted by a sleek and sophisticated device that holds the promise of transforming your viewing and presentation experiences. Here are the essential steps to set up your high peak projector:
- Inspect the Contents: Upon opening the box, carefully inspect the contents to ensure that all the components are included. Typically, you'll find the projector unit, a power cable, a remote control, and any additional accessories or cables required for connectivity.
- Choose the Ideal Location: Select a suitable location for your high peak projector. Consider factors such as distance from the screen or projection surface, ambient lighting, and access to power outlets. Ideally, the projector should be placed on a stable surface and positioned at an appropriate distance from the screen to achieve the desired image size.
- Connect the Power: Plug the power cable into the projector and a power outlet. Ensure that the voltage requirements match the electrical standards in your region to prevent any electrical issues.
- Adjust the Projection Angle: Position the projector at the desired angle to ensure that the projected image is aligned with the screen or surface. Some projectors feature adjustable feet or keystone correction to facilitate precise positioning.
- Power On the Projector: Press the power button on the projector or the remote control to activate the device. Allow the projector to initialize and reach its operational state.
- Navigate the On-Screen Setup: Many high peak projectors feature an intuitive on-screen setup wizard to guide you through the initial configuration. This may include language selection, display settings, and network connectivity options.
- Configure Basic Settings: Access the projector's settings menu to configure essential parameters such as display mode, aspect ratio, and keystone correction. These settings can significantly impact the visual output and should be adjusted according to your specific requirements.
- Connect External Devices: Depending on your intended use, connect external devices such as media players, gaming consoles, or laptops to the projector using the appropriate input ports. Ensure that the connections are secure and compatible with the devices being used.
By following these steps, you can set up your high peak projector with confidence, laying the foundation for immersive visual experiences that transcend conventional viewing and presentation norms. The next section will delve into the process of connecting various devices to your high peak projector, opening up a world of possibilities for entertainment and professional applications.
Connecting Devices to the High Peak Projector
Once your high peak projector is set up, the next step is to establish seamless connections with external devices, unlocking a diverse range of content and applications. Whether you’re aiming to stream your favorite movies, engage in immersive gaming experiences, or deliver impactful presentations, understanding the connectivity options is crucial. Here’s a comprehensive guide to connecting various devices to your high peak projector:
- HDMI Connectivity: One of the most common and versatile connection options, HDMI allows you to link your high peak projector to devices such as Blu-ray players, gaming consoles, streaming devices, and laptops. Simply connect the HDMI output of the device to the HDMI input on the projector for high-definition audio and video transmission.
- VGA and DVI Inputs: For older devices or certain professional equipment, VGA and DVI inputs on the projector provide compatibility with analog video signals. These connections are suitable for legacy computers, industrial equipment, and specific AV setups that utilize these interfaces.
- Wireless Connectivity: Many modern high peak projectors support wireless connectivity options, enabling seamless casting and screen mirroring from compatible devices. Utilize Wi-Fi or Bluetooth functionality to mirror the screen of smartphones, tablets, or laptops, offering a convenient and cable-free solution for sharing content.
- USB and SD Card Playback: Some high peak projectors feature USB and SD card slots, allowing direct playback of multimedia content such as photos, videos, and music. Simply insert a USB flash drive or SD card containing the desired media, and navigate the projector’s interface to access and play the content directly.
- Audio Output: While the primary focus is often on video connectivity, it’s essential to consider audio output as well. Ensure that the projector’s audio output options, such as built-in speakers or audio output ports, are compatible with your sound system or external speakers for a complete audio-visual experience.
- Network and Streaming Capabilities: Explore the projector’s network connectivity features, such as Ethernet ports or built-in Wi-Fi, to access streaming services, online content, and networked media servers. This opens up a world of entertainment and informational resources, allowing you to stream content directly to the projector.
By leveraging these connectivity options, you can seamlessly integrate your high peak projector into your multimedia ecosystem, ensuring that you can access and enjoy a wide array of content from diverse sources. The following section will delve into the crucial aspects of adjusting the settings and optimizing image quality on your high peak projector, enhancing the visual output to suit your preferences and specific applications.
Adjusting the Settings and Image Quality
Optimizing the settings and image quality of your high peak projector is paramount to achieving stunning visual experiences across various content types. Whether you’re fine-tuning the display parameters for cinematic immersion or ensuring optimal clarity for professional presentations, understanding the key settings is essential. Here’s a comprehensive exploration of the settings and image quality adjustments:
- Display Mode Selection: High peak projectors offer various display modes tailored for different content types. Options such as “Cinema,” “Presentation,” “Game,” and “Bright” modes optimize the color reproduction, brightness, and contrast to suit specific scenarios. Select the appropriate display mode based on the content being viewed or presented.
- Aspect Ratio Configuration: Adjust the aspect ratio settings to match the native aspect ratio of the content. Whether it’s standard 4:3, widescreen 16:9, or other aspect ratios, ensuring compatibility between the projector’s settings and the content source prevents distortion and letterboxing.
- Keystone Correction: In instances where the projector cannot be positioned perpendicular to the screen or surface, keystone correction comes into play. This feature digitally adjusts the projected image to compensate for trapezoidal distortion, ensuring a rectangular and true-to-scale display.
- Color Calibration: Fine-tuning the color settings allows you to achieve accurate and vibrant color reproduction. Adjust parameters such as color temperature, saturation, and individual color channels to achieve a visually pleasing and accurate color rendition that suits your preferences.
- Contrast and Brightness Adjustment: Tailor the contrast and brightness settings to achieve optimal visibility and dynamic range. Balancing these parameters ensures that dark scenes retain detail without appearing muddy, while bright scenes maintain clarity without being overexposed.
- Firmware and Software Updates: Stay abreast of firmware updates and software enhancements for your high peak projector. Manufacturers often release updates to improve performance, add new features, and address any known issues, ensuring that your projector operates at its full potential.
- Image Sharpness and Clarity: Utilize the projector’s sharpness and clarity adjustments to refine the image details and text legibility, especially in presentation scenarios. Fine-tune these settings to achieve crisp and well-defined visuals, enhancing the overall viewing and presentation experience.
By navigating and adjusting these settings, you can tailor the image quality and visual output of your high peak projector to suit your specific preferences and application requirements. Whether you’re immersing yourself in cinematic wonders or delivering impactful presentations, these optimizations ensure that the projected content shines with clarity and vibrancy. In the subsequent sections, we’ll explore how to harness the capabilities of the high peak projector for both professional presentations and entertainment endeavors, offering insights into maximizing its potential across diverse applications.
When using a High Peak projector, make sure to adjust the focus and keystone correction for a clear image. Also, connect your device using the appropriate cables and adjust the brightness and contrast settings for optimal viewing.
Using the High Peak Projector for Presentations
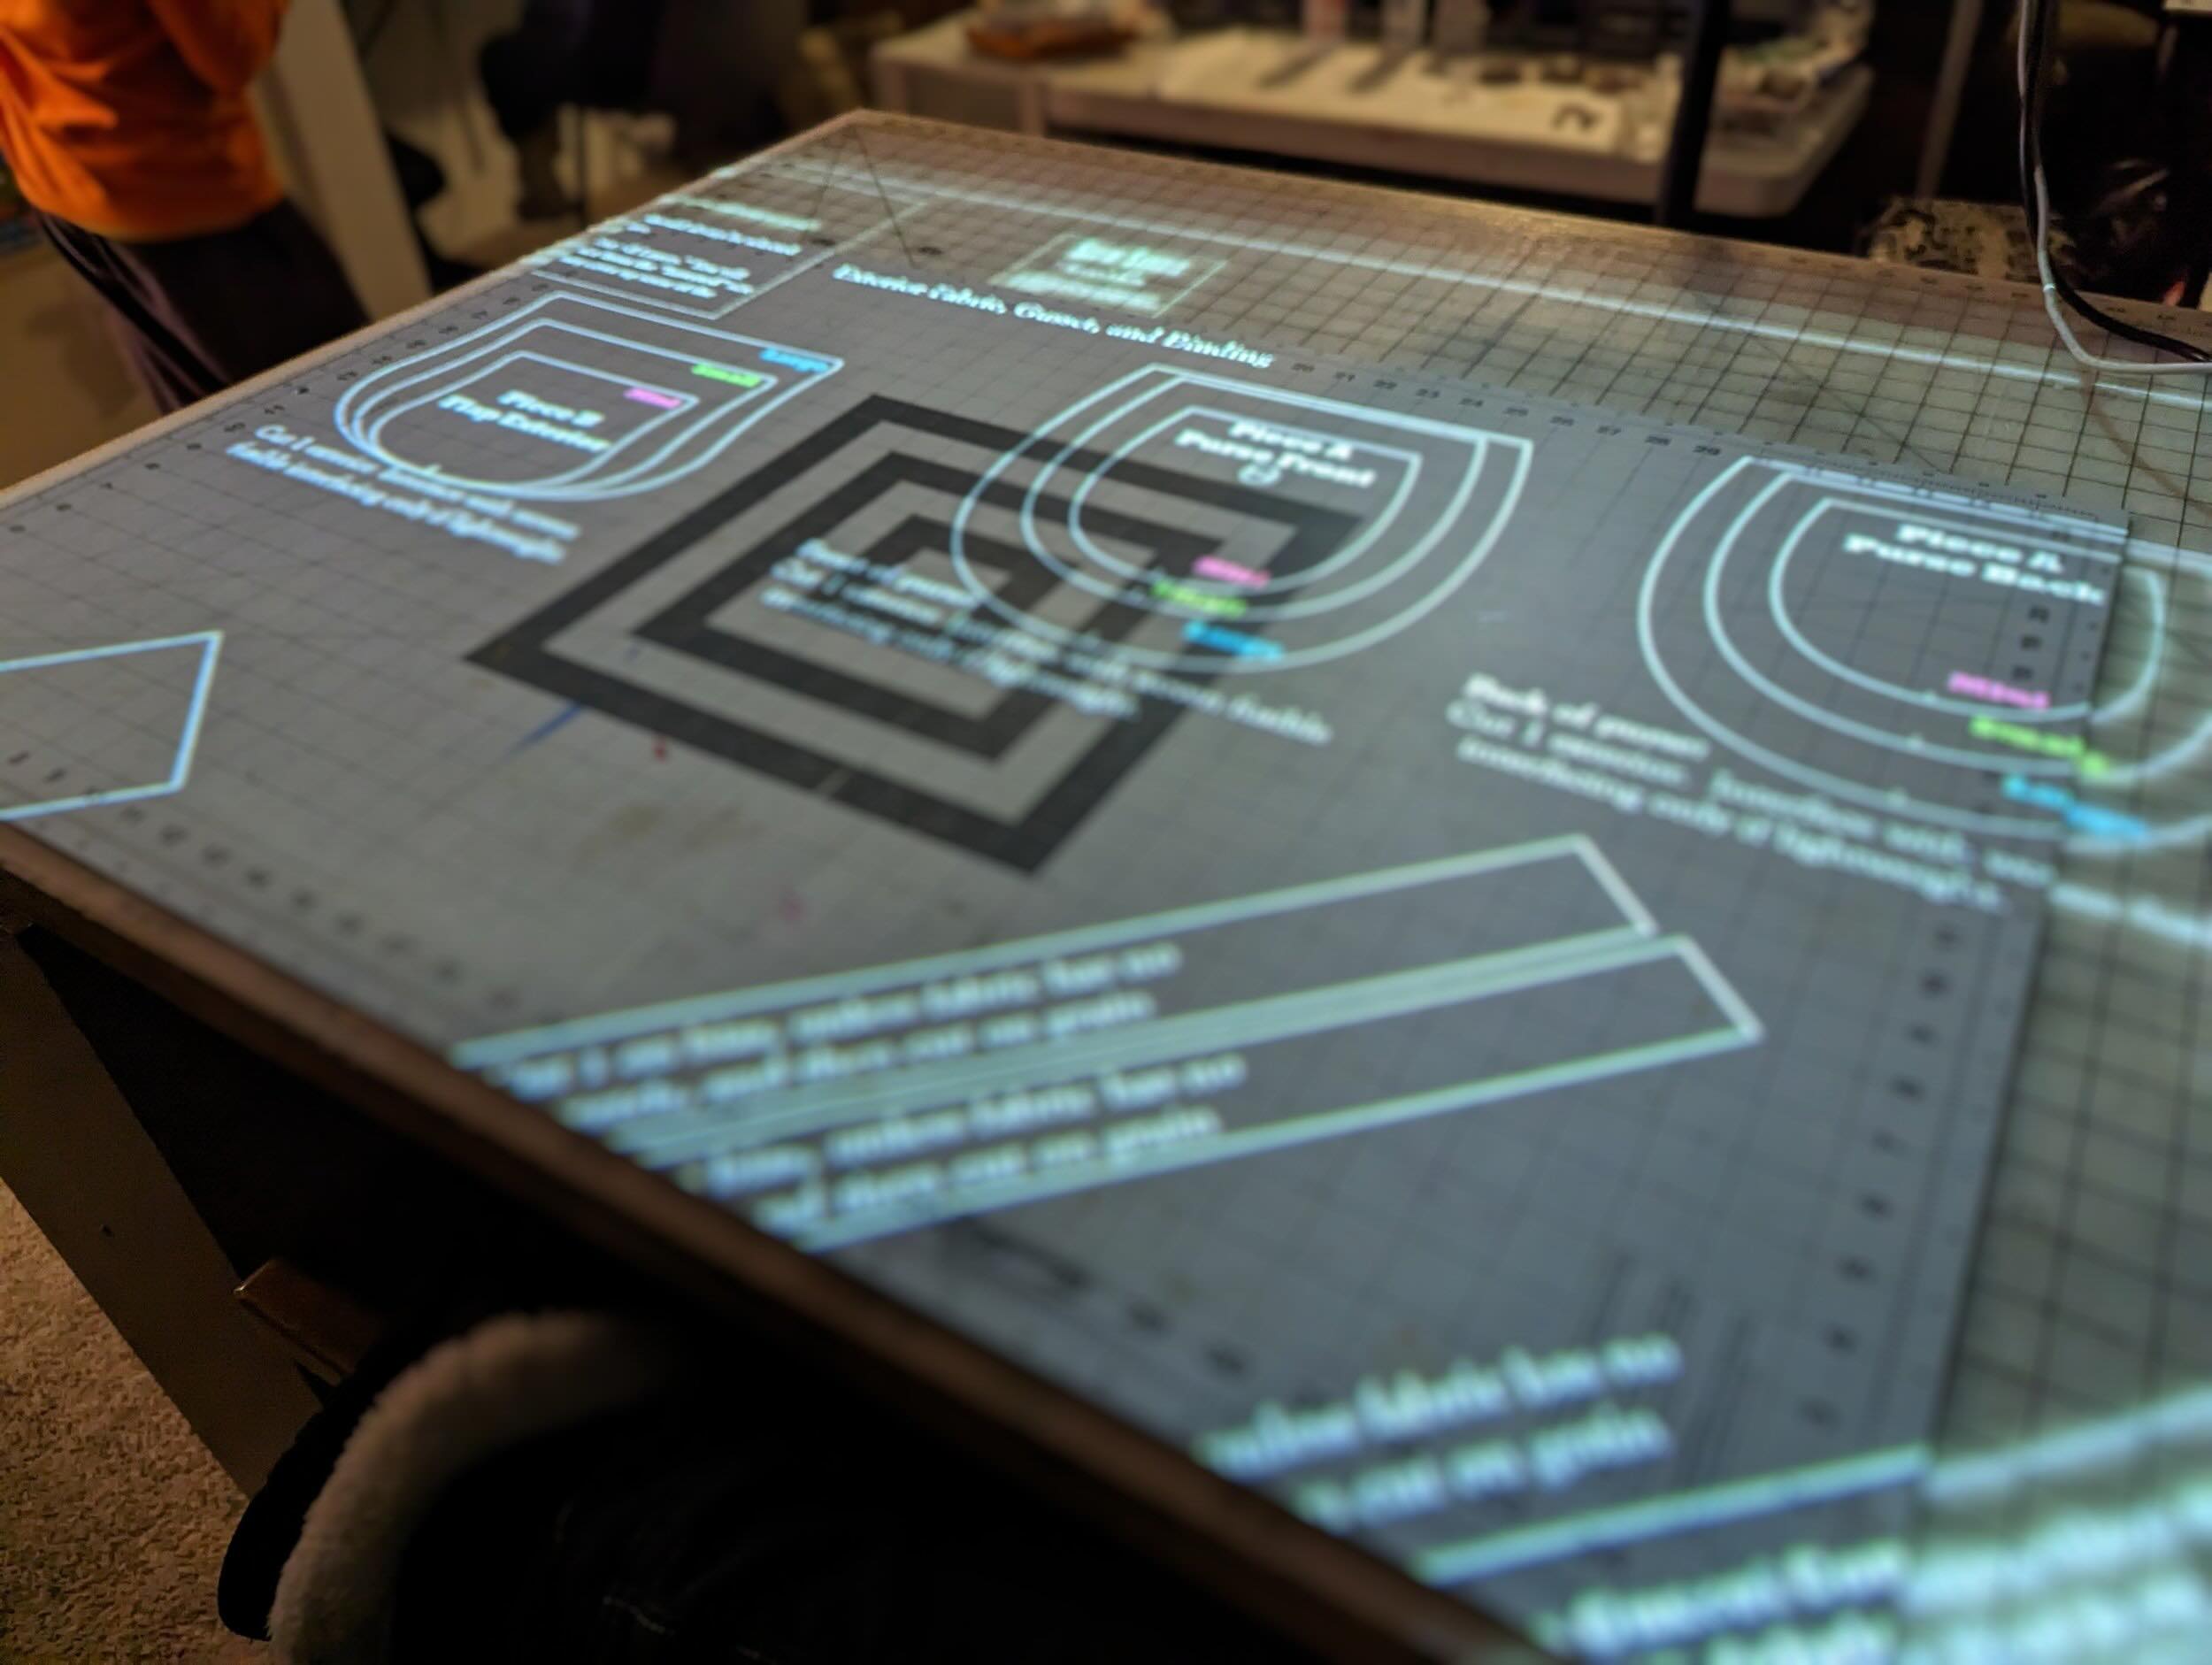
The versatility of a high peak projector extends beyond entertainment, making it an invaluable tool for delivering impactful presentations in professional and educational settings. Whether you’re conducting business meetings, educational lectures, or training sessions, the high peak projector elevates your presentations by offering immersive visuals and expansive display capabilities. Here’s a comprehensive guide to harnessing the high peak projector for presentations:
- Content Preparation: Organize and prepare your presentation content, ensuring that it’s optimized for projection. Consider the visual elements, font sizes, and overall layout to ensure clarity and legibility when projected onto a larger screen or surface.
- Connectivity and Compatibility: Ensure seamless connectivity between your presentation device, such as a laptop or tablet, and the high peak projector. Verify the compatibility of the output resolution and aspect ratio to ensure that the projected content appears as intended without distortion or loss of detail.
- Screen Size and Positioning: Adjust the projector’s distance and positioning to achieve the desired screen size and aspect ratio. Consider the viewing angles and sightlines for the audience to ensure that everyone has a clear view of the projected content without obstruction.
- Interactive Features: Explore any interactive features offered by the high peak projector, such as touchless control, interactive pens, or collaborative presentation capabilities. These features can enhance audience engagement and interaction during the presentation, fostering a more dynamic and immersive experience.
- Presenter Tools and Accessories: Familiarize yourself with the presenter tools and accessories that complement the high peak projector, such as wireless presentation remotes, laser pointers, and document cameras. These tools facilitate seamless navigation through the presentation and emphasize key points with precision.
- Adapt to Ambient Conditions: Consider the ambient lighting and environmental conditions when conducting presentations with the high peak projector. Adjust the projector’s brightness and color settings to compensate for ambient light, ensuring that the projected content remains clear and impactful even in well-lit environments.
- Engage the Audience: Leverage the immersive visual impact of the high peak projector to captivate and engage your audience. Utilize multimedia elements, animations, and high-resolution visuals to convey your message effectively and leave a lasting impression on the audience.
- Post-Presentation Interaction: After the presentation, encourage post-presentation interaction and feedback using the high peak projector. Utilize interactive features to facilitate Q&A sessions, collaborative brainstorming, or real-time feedback collection, fostering a more dynamic and participatory post-presentation experience.
By leveraging the high peak projector for presentations, you can elevate the impact and engagement of your content delivery, fostering a more immersive and memorable experience for your audience. The next section will explore the myriad possibilities of using the high peak projector for entertainment, from cinematic escapades to immersive gaming experiences, offering insights into maximizing its potential for leisure and recreational pursuits.
Read more: Optoma Projector: How To Use
Using the High Peak Projector for Entertainment
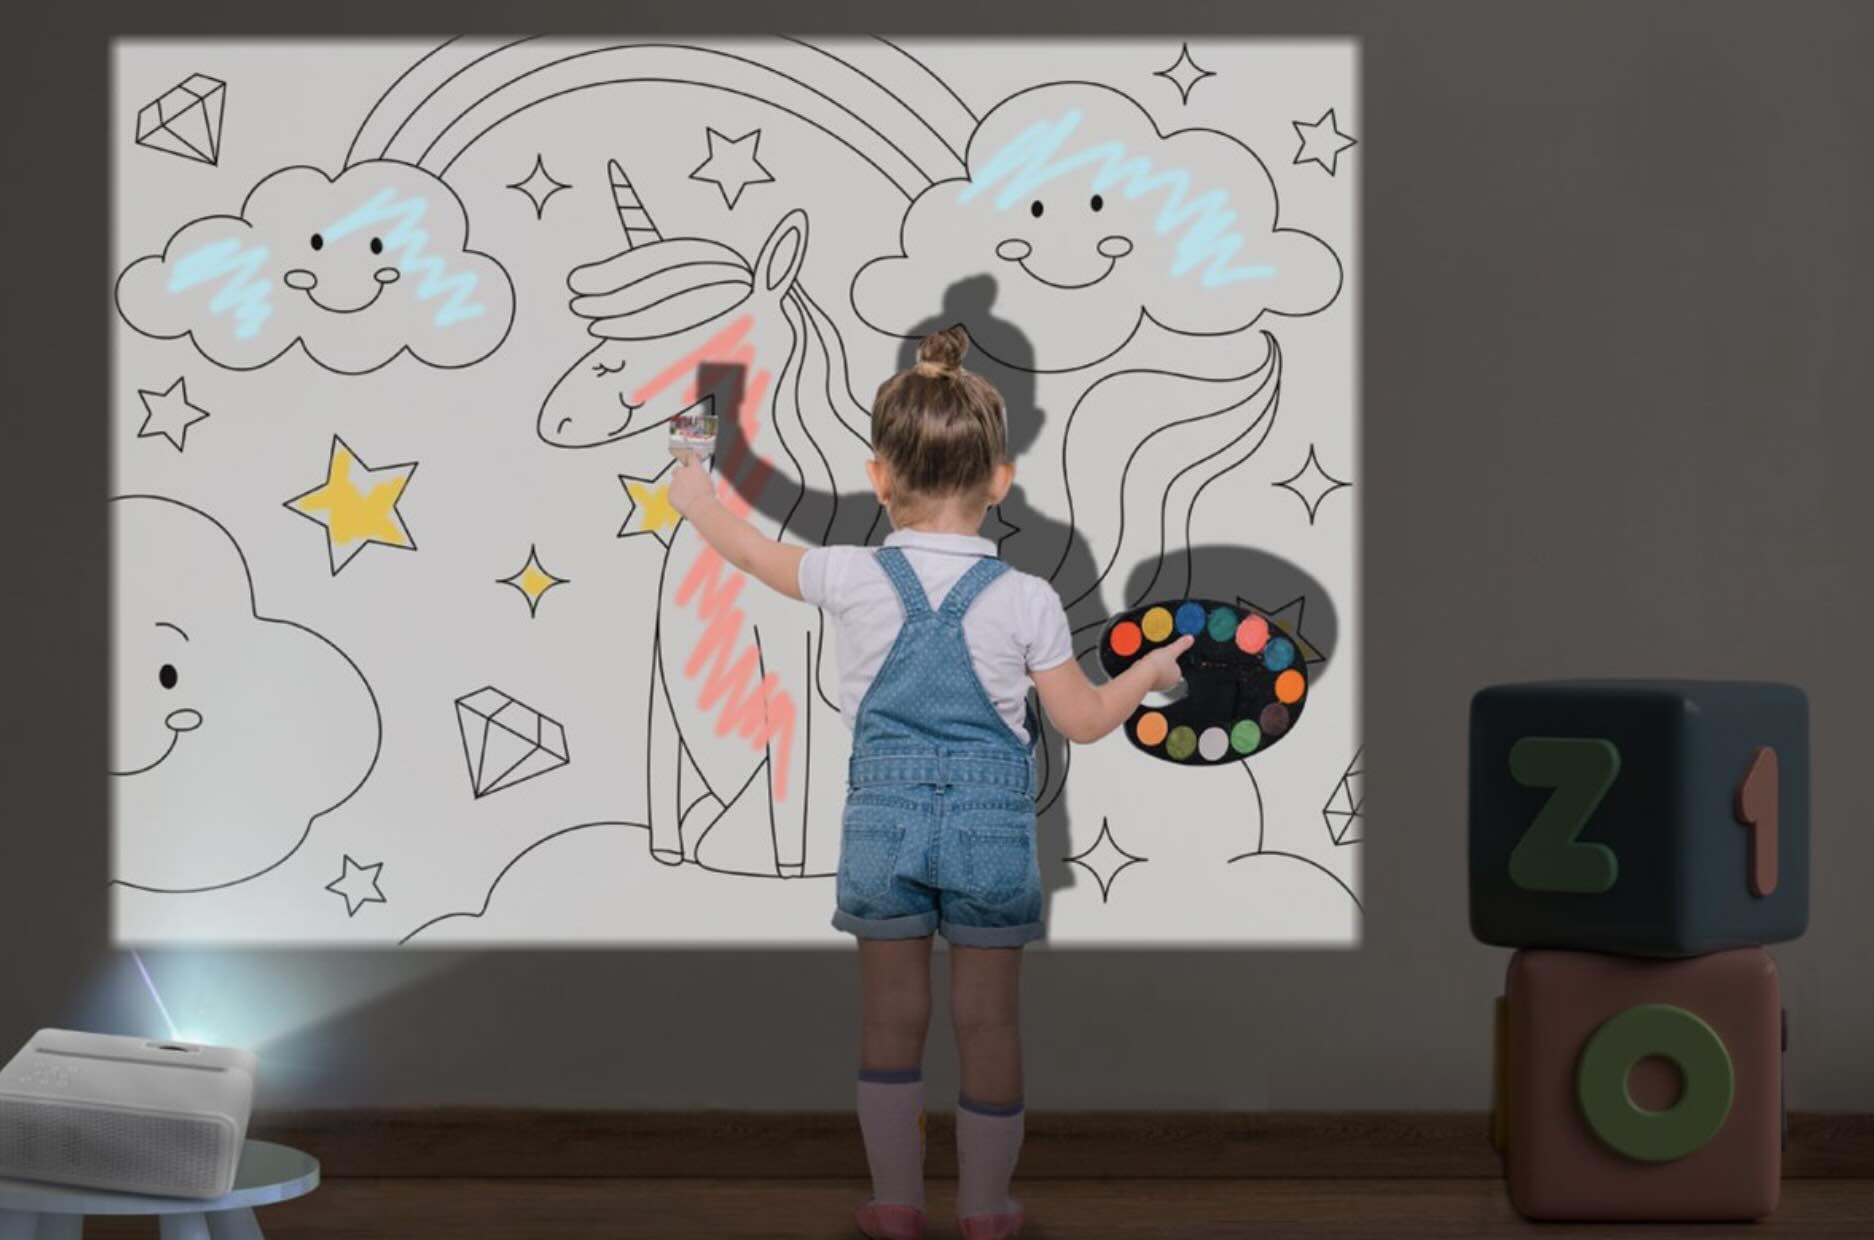
Embracing the high peak projector for entertainment purposes transcends conventional viewing experiences, offering a gateway to immersive cinematic adventures, captivating gaming escapades, and shared entertainment moments. Whether you’re hosting movie nights, gaming marathons, or creating a dynamic home entertainment setup, the high peak projector enriches your leisure pursuits with larger-than-life visuals and expansive viewing experiences. Here’s a comprehensive guide to harnessing the high peak projector for entertainment:
- Cinematic Viewing: Transform your living space into a private cinema by utilizing the high peak projector to project movies, TV shows, and streaming content onto a large screen or dedicated projection surface. Create a theater-like ambiance with dimmed lighting and immersive sound for an unparalleled cinematic experience.
- Gaming Extravaganza: Immerse yourself in the gaming realm by connecting gaming consoles, PCs, or compatible devices to the high peak projector. Enjoy larger-than-life gaming visuals and expansive gameplay environments, elevating your gaming experiences to new dimensions and fostering a more immersive and captivating gaming escapade.
- Outdoor Entertainment: Take your entertainment beyond the confines of indoor spaces by utilizing the high peak projector for outdoor movie screenings, gaming sessions, or social gatherings. Host backyard movie nights, gaming tournaments, or community events, offering a unique and memorable outdoor entertainment experience for friends and family.
- Multimedia Sharing: Utilize the high peak projector to share multimedia content from various devices, including smartphones, tablets, and media players. Share photo slideshows, home videos, and digital content with a larger audience, fostering shared entertainment moments and creating lasting memories through visual storytelling.
- Immersive Audio-Visual Setup: Enhance the entertainment experience by integrating the high peak projector with a high-quality sound system or immersive audio setup. Whether it’s a surround sound system, soundbar, or wireless speakers, synchronized audio-visual immersion elevates the overall entertainment experience to new heights.
- Themed Entertainment Events: Curate themed entertainment events and experiences using the high peak projector as the focal point. Whether it’s hosting themed movie marathons, gaming tournaments, or interactive storytelling sessions, the projector serves as the centerpiece for creating captivating and memorable entertainment experiences.
- Dynamic Content Selection: Explore a diverse range of content genres and formats to cater to varied entertainment preferences. From classic movie screenings and live sports events to interactive gaming experiences and multimedia art showcases, the high peak projector offers a versatile platform for dynamic content selection and entertainment diversity.
By leveraging the high peak projector for entertainment, you can craft immersive and memorable leisure experiences that transcend traditional viewing norms, fostering shared moments of entertainment and visual storytelling. The subsequent section will delve into troubleshooting common issues that may arise during the use of a high peak projector, equipping you with the knowledge to address technical challenges with confidence and efficiency.
Troubleshooting Common Issues
While high peak projectors offer an array of immersive experiences, occasional technical hiccups may arise. Understanding common issues and their troubleshooting methods empowers you to address challenges swiftly, ensuring uninterrupted enjoyment of your visual content. Here’s a comprehensive guide to troubleshooting common issues with high peak projectors:
- Projection Quality: If the projected image appears blurry or distorted, verify the focus and lens adjustments. Clean the projector’s lens and ensure that it’s free from dust or smudges that may affect the image clarity. Additionally, check the input resolution and aspect ratio settings to match the source content.
- Connectivity Problems: If the projector fails to detect or display content from connected devices, inspect the input connections and cables for secure attachment. Ensure that the correct input source is selected on the projector, and consider testing the connectivity with alternative devices or cables to isolate the issue.
- Overheating and Ventilation: In cases of overheating or thermal shutdown, verify that the projector’s ventilation pathways are unobstructed. Clean any dust or debris from the projector’s cooling vents and ensure that the surrounding environment allows for adequate airflow to prevent overheating issues.
- Color and Contrast Irregularities: If the projected colors appear inaccurate or the contrast seems imbalanced, review the color calibration settings and adjust the color temperature, saturation, and contrast parameters. Additionally, verify the integrity of the input signal and content source for color fidelity.
- Audio Output Concerns: When encountering audio playback issues, verify the audio input source and the projector’s audio settings. Ensure that the audio output ports are correctly connected to external speakers or sound systems, and check the volume levels and audio output configurations on the projector.
- Firmware Updates and Maintenance: Stay informed about firmware updates and maintenance requirements for your high peak projector. Regularly check for firmware updates from the manufacturer’s official sources and perform routine maintenance tasks, such as cleaning the projector’s filters and replacing the lamp as per the manufacturer’s recommendations.
- Remote Control and User Interface: If the projector’s remote control or user interface exhibits erratic behavior, replace the remote control batteries and ensure that it’s within the line of sight of the projector’s infrared receiver. Additionally, familiarize yourself with the projector’s on-screen menu navigation for manual adjustments.
By addressing these common issues and implementing the corresponding troubleshooting measures, you can maintain the optimal performance and functionality of your high peak projector, ensuring seamless and enjoyable visual experiences. As you navigate the world of high peak projectors, being equipped with troubleshooting insights enhances your confidence in overcoming technical challenges, allowing you to focus on the immersive and captivating aspects of visual content consumption.
Conclusion
Congratulations on embarking on a captivating journey into the realm of high peak projectors, where innovation and entertainment converge to redefine your visual experiences. Throughout this comprehensive guide, we’ve delved into the practical aspects of using a high peak projector, from unboxing and setup to optimizing image quality, harnessing its capabilities for professional presentations and entertainment, and troubleshooting common issues.
By understanding the nuances of using a high peak projector, you’ve unlocked its full potential to elevate your viewing, presentation, and entertainment endeavors. Whether you’re immersing yourself in cinematic wonders, delivering impactful presentations, or creating memorable entertainment experiences, the high peak projector serves as a versatile and transformative tool.
As you continue to explore the possibilities of high peak projectors, remember to leverage the connectivity options to seamlessly integrate external devices, fine-tune the settings to achieve optimal image quality, and troubleshoot common issues with confidence. By doing so, you can ensure uninterrupted and immersive visual experiences that captivate and engage your audience, whether for professional or leisure pursuits.
Embrace the art of visual storytelling and immersive entertainment, and let the high peak projector be your gateway to larger-than-life experiences. Whether it’s transforming your living space into a private cinema, delivering compelling presentations, or hosting dynamic entertainment events, the high peak projector empowers you to craft unforgettable moments and shared experiences.
As you venture forth with your high peak projector, may each visual journey be filled with captivating narratives, breathtaking visuals, and immersive interactions, redefining the way you perceive and engage with visual content. The world of high peak projectors awaits, ready to transform your visual experiences into unforgettable odysseys of imagination and wonder.
Frequently Asked Questions about How To Use High Peak Projector
Was this page helpful?
At Storables.com, we guarantee accurate and reliable information. Our content, validated by Expert Board Contributors, is crafted following stringent Editorial Policies. We're committed to providing you with well-researched, expert-backed insights for all your informational needs.

0 thoughts on “How To Use High Peak Projector”