Home>Technology>Home Entertainment Systems>How To Use A Projector For Cookie Decorating
Home Entertainment Systems
How To Use A Projector For Cookie Decorating
Published: December 30, 2023
Learn how to enhance your home entertainment system with a projector for cookie decorating. Discover tips and tricks for creating a fun and immersive experience. Ideal for family gatherings and parties.
(Many of the links in this article redirect to a specific reviewed product. Your purchase of these products through affiliate links helps to generate commission for Storables.com, at no extra cost. Learn more)
Introduction
Are you ready to elevate your cookie decorating game to the next level? Imagine being able to effortlessly transfer intricate designs onto your cookies with precision and ease. With the help of a projector, this dream can become a delightful reality. Using a projector for cookie decorating opens up a world of creative possibilities, allowing you to replicate intricate patterns, detailed characters, and beautiful designs with remarkable accuracy.
In this comprehensive guide, we will explore the exciting realm of using a projector for cookie decorating. From selecting the perfect projector to mastering the art of projecting images onto cookies, we will cover everything you need to know to embark on this enchanting culinary adventure. Whether you are a seasoned baking enthusiast or a budding cookie artist, the tips and techniques shared in this guide will inspire you to create edible masterpieces that are sure to impress.
Join us as we delve into the enchanting fusion of technology and culinary artistry, discovering how a simple projector can transform your cookie decorating experience and unlock a world of endless creativity. Let's embark on this delectable journey together and uncover the magic of using a projector to adorn your delectable treats with captivating designs.
Key Takeaways:
- Elevate your cookie decorating game with a projector, effortlessly transferring intricate designs onto cookies for visually stunning results. Select the right projector and master image adjustment for a seamless and enchanting decorating experience.
- Using a projector for cookie decorating unlocks endless creative possibilities, from personalized messages to multi-layered designs. Embrace innovation, patience, and precision to adorn your edible masterpieces with captivating visual splendor.
Read more: Optoma Projector: How To Use
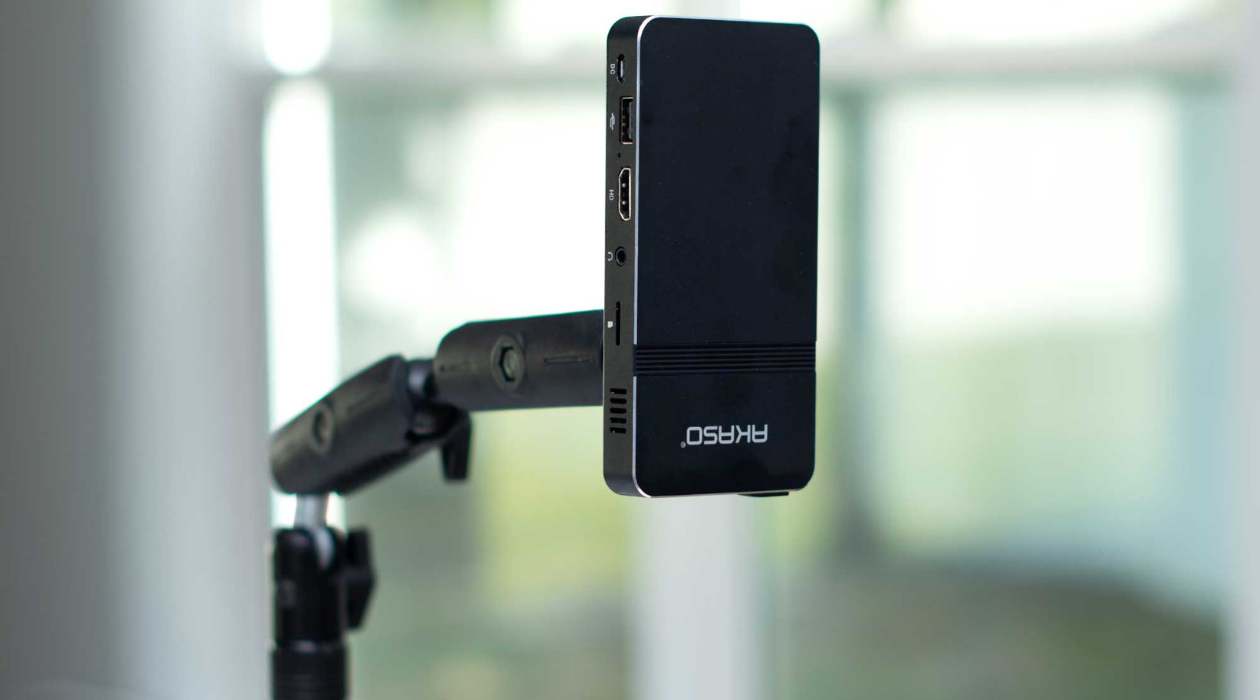
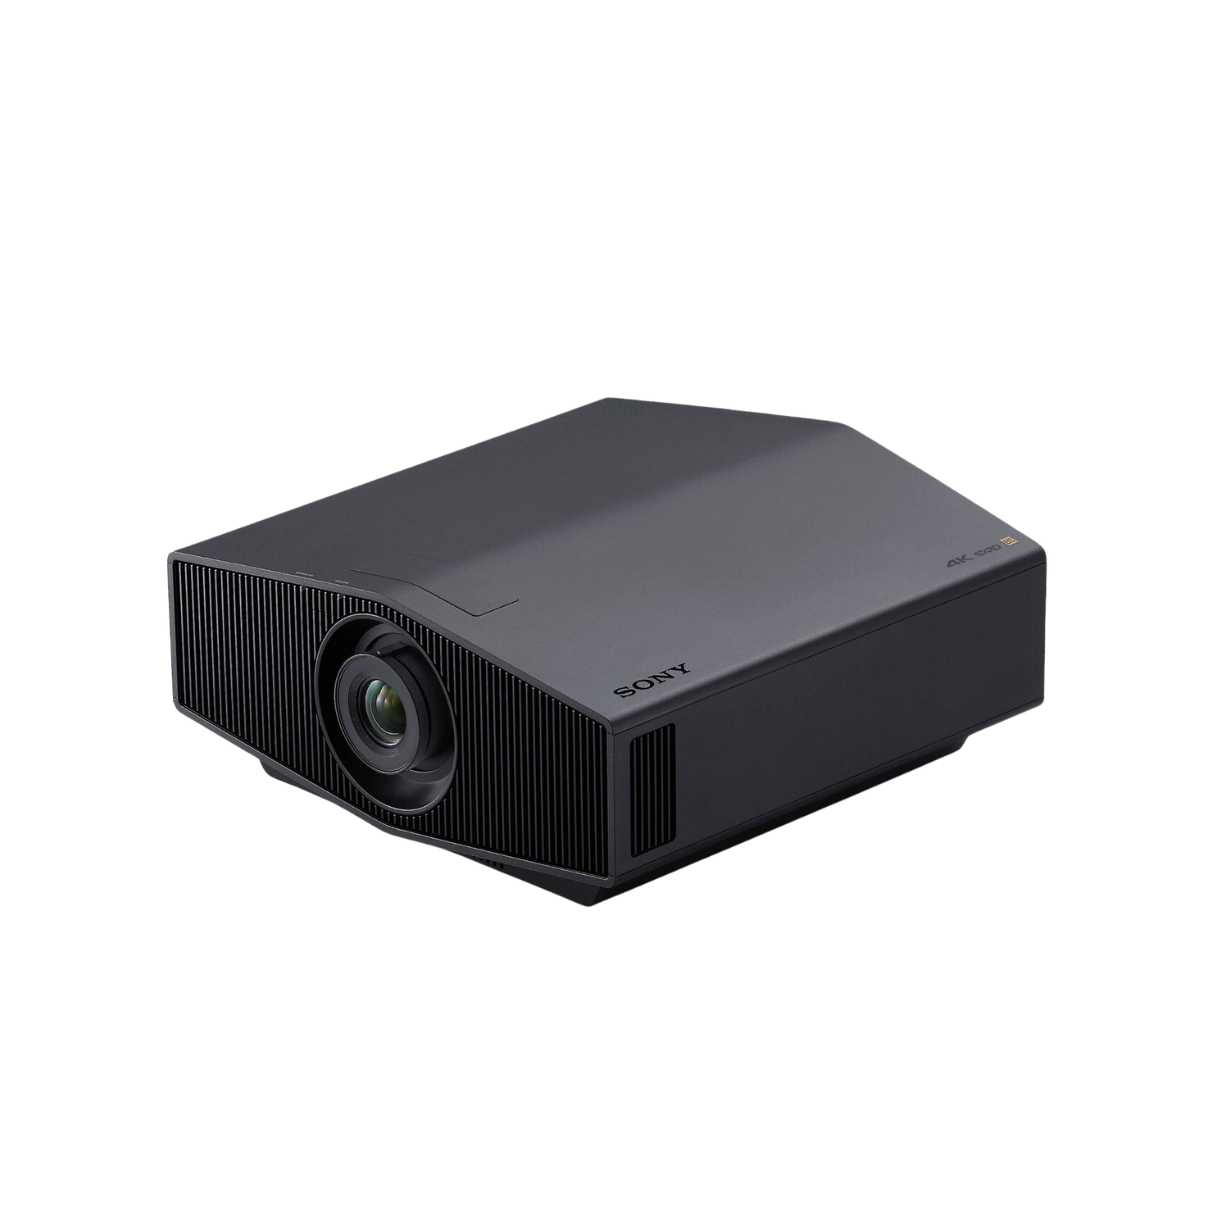
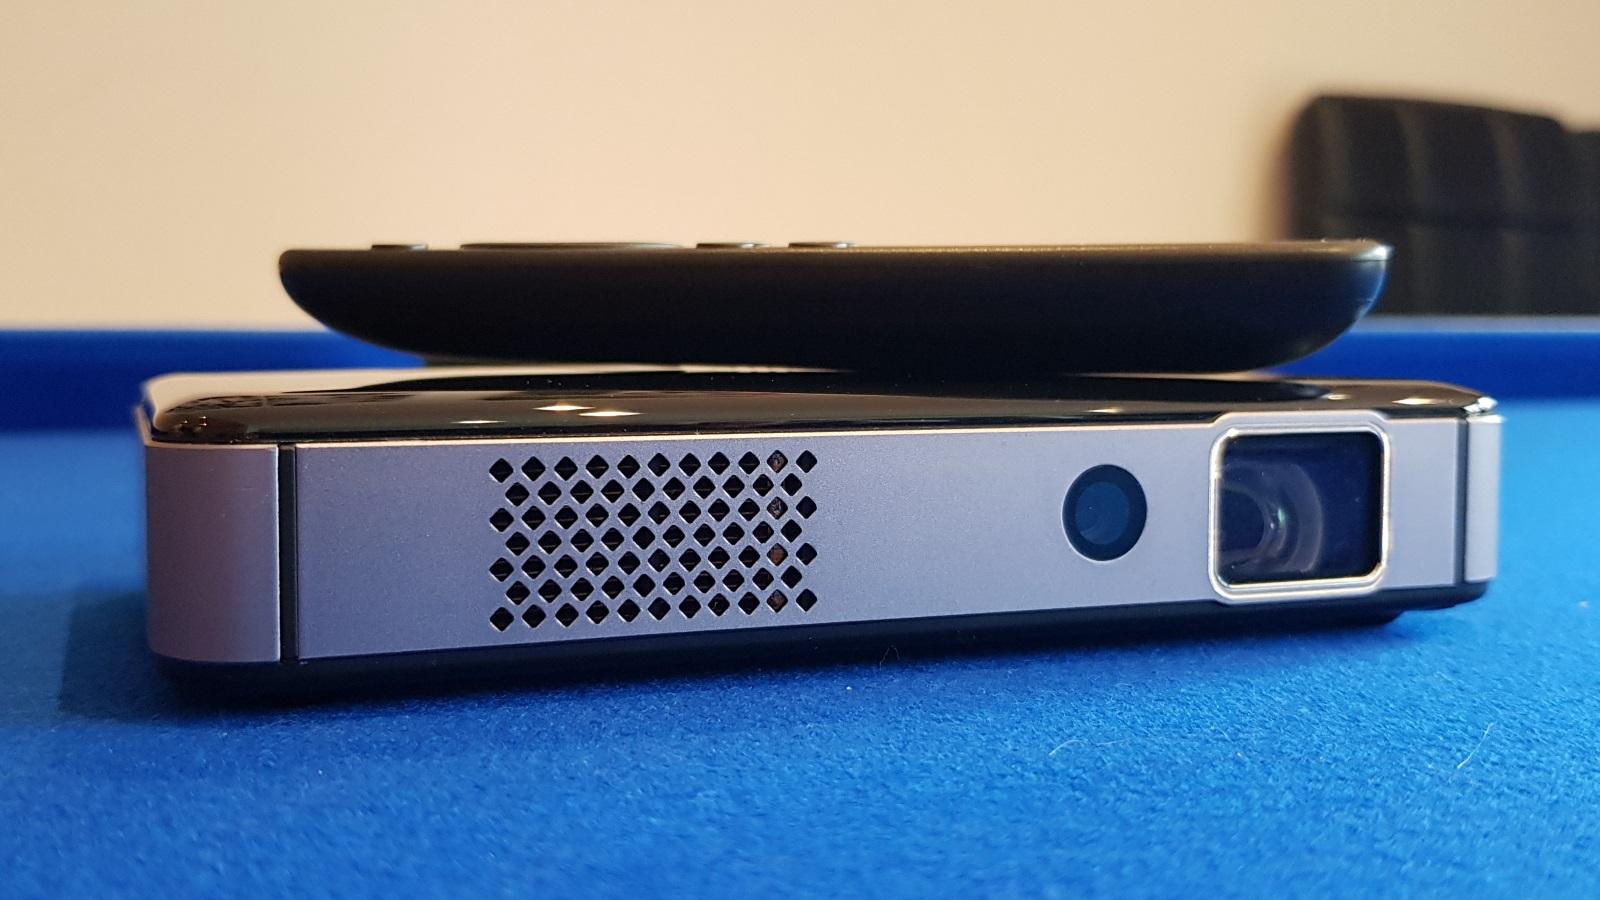
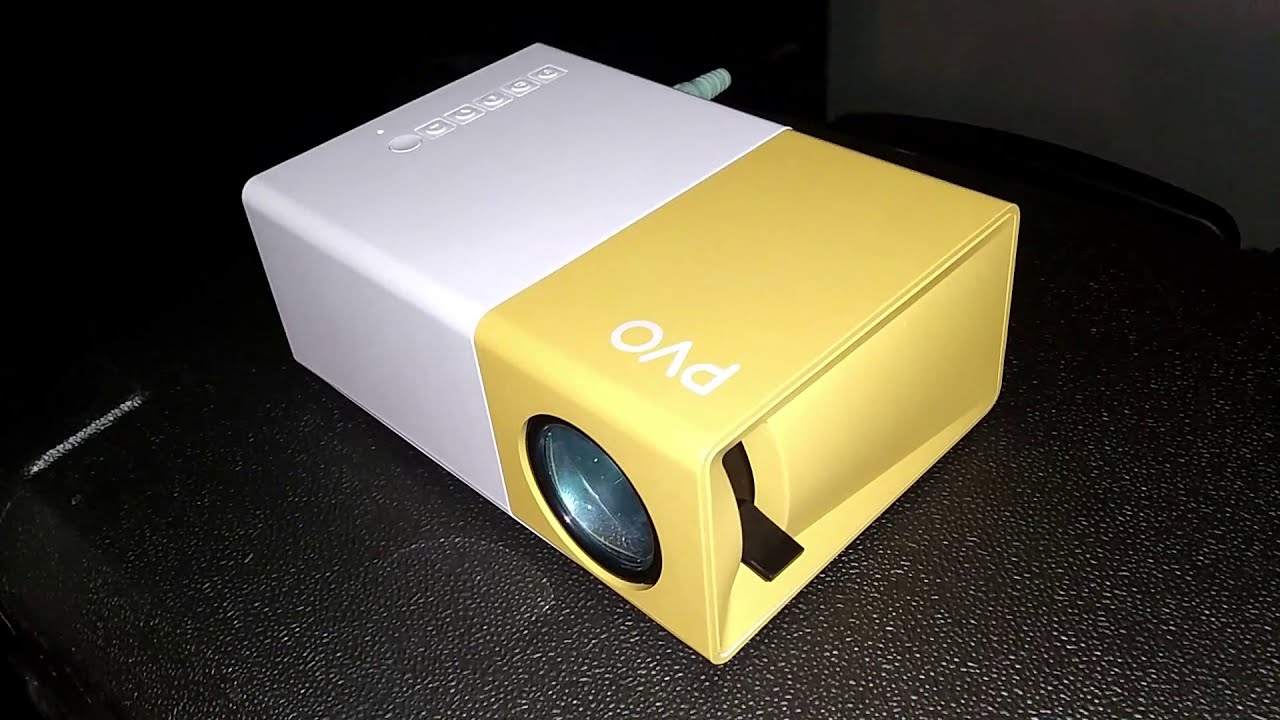
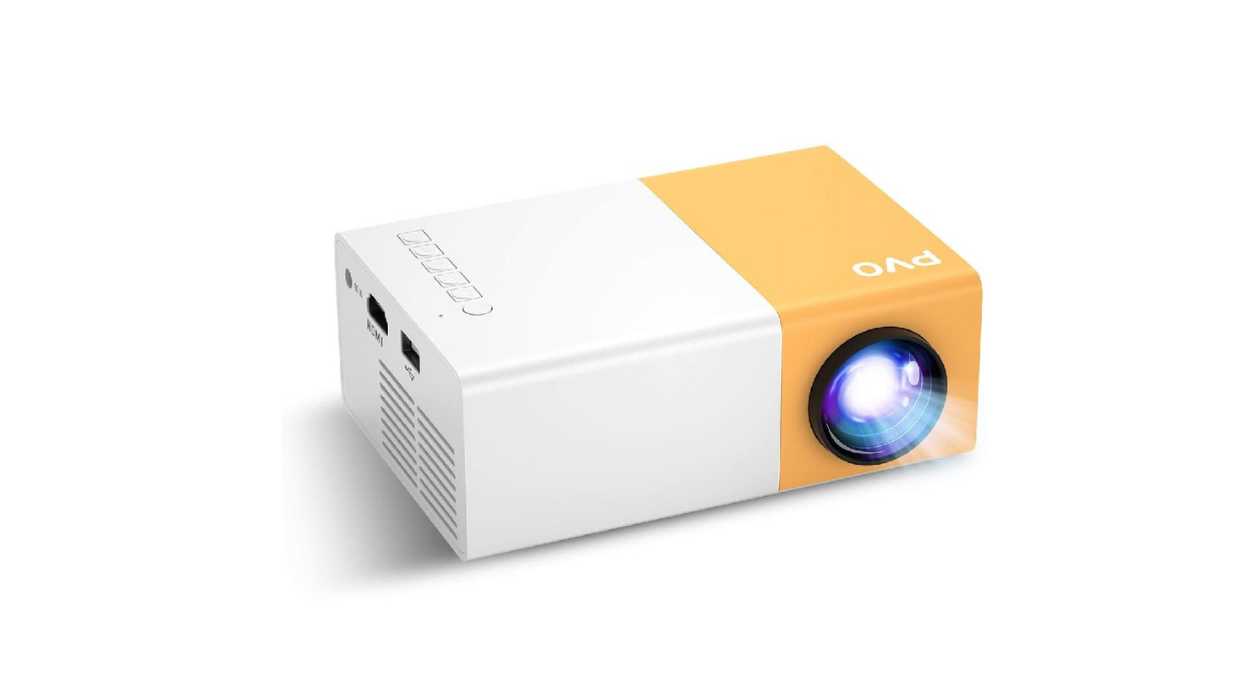
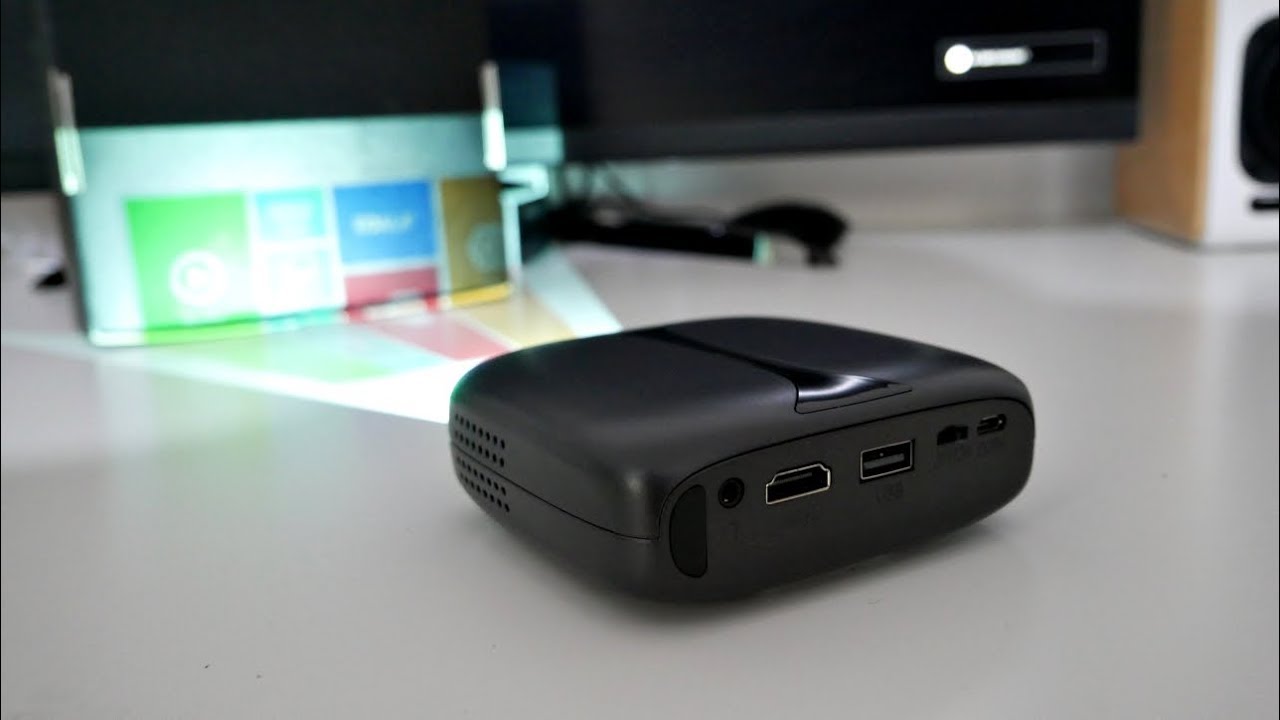
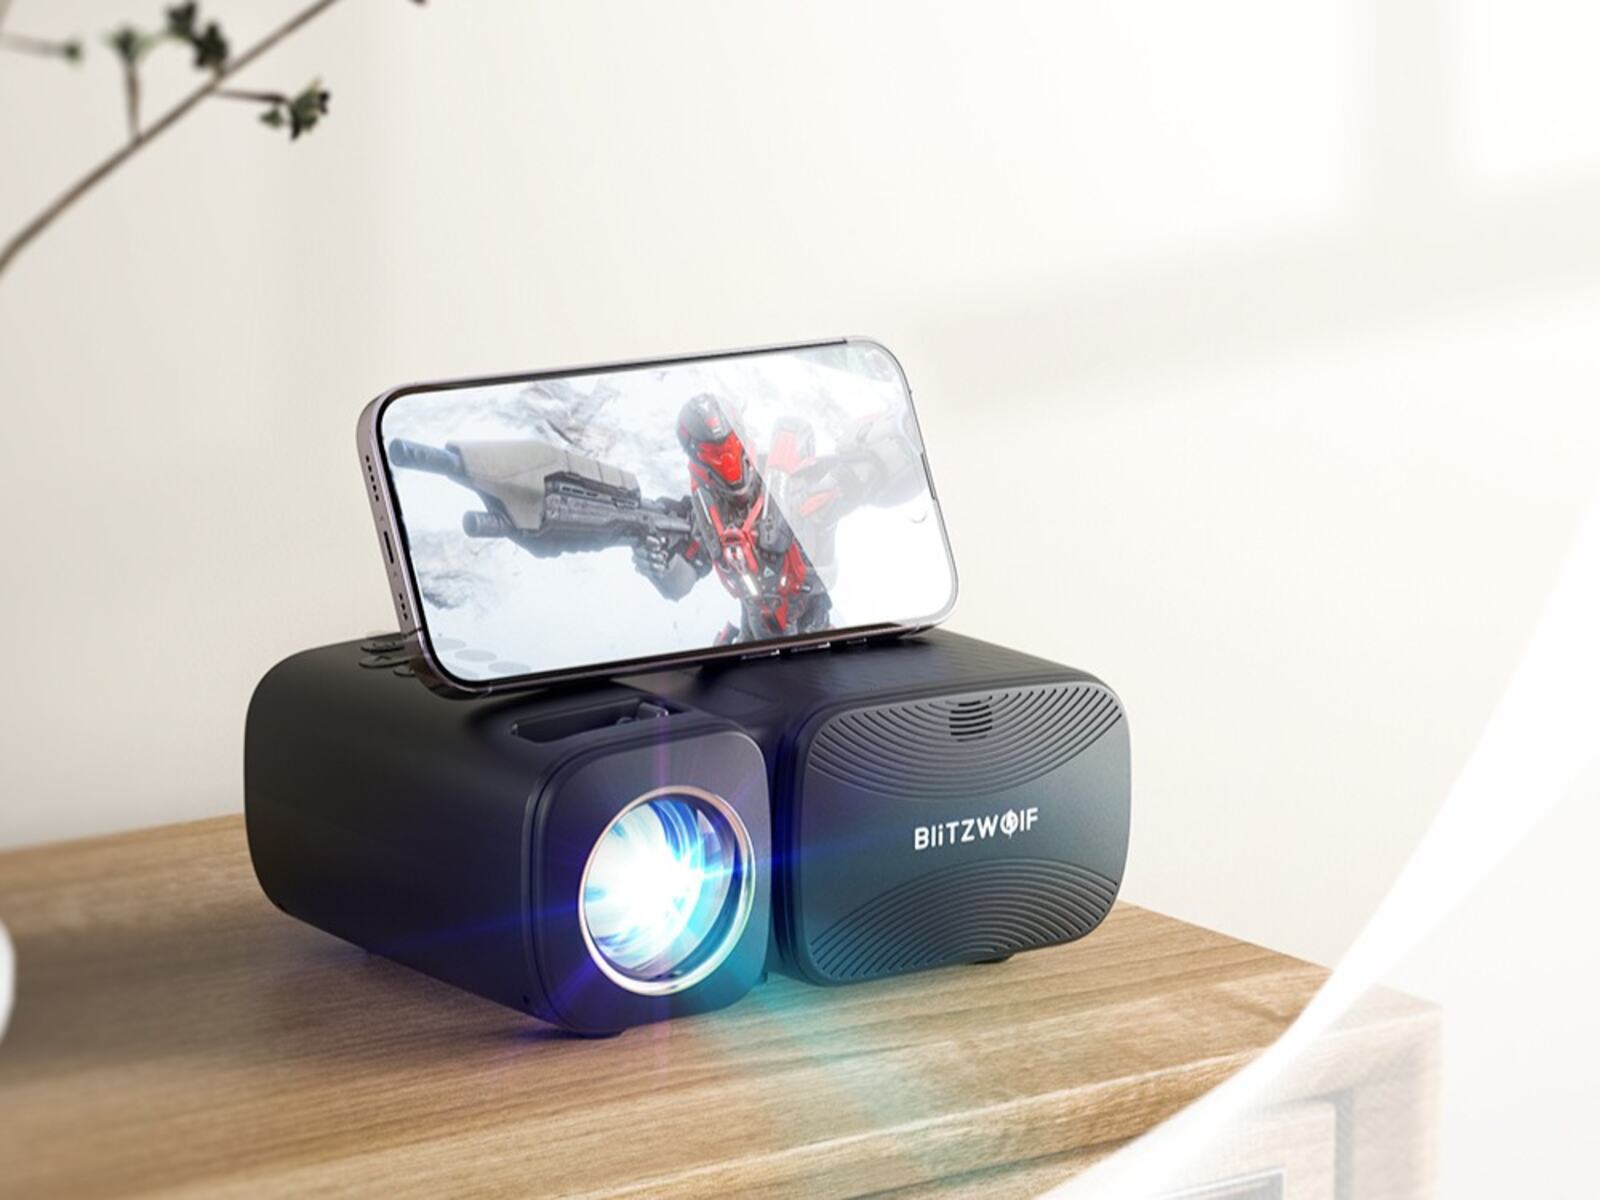
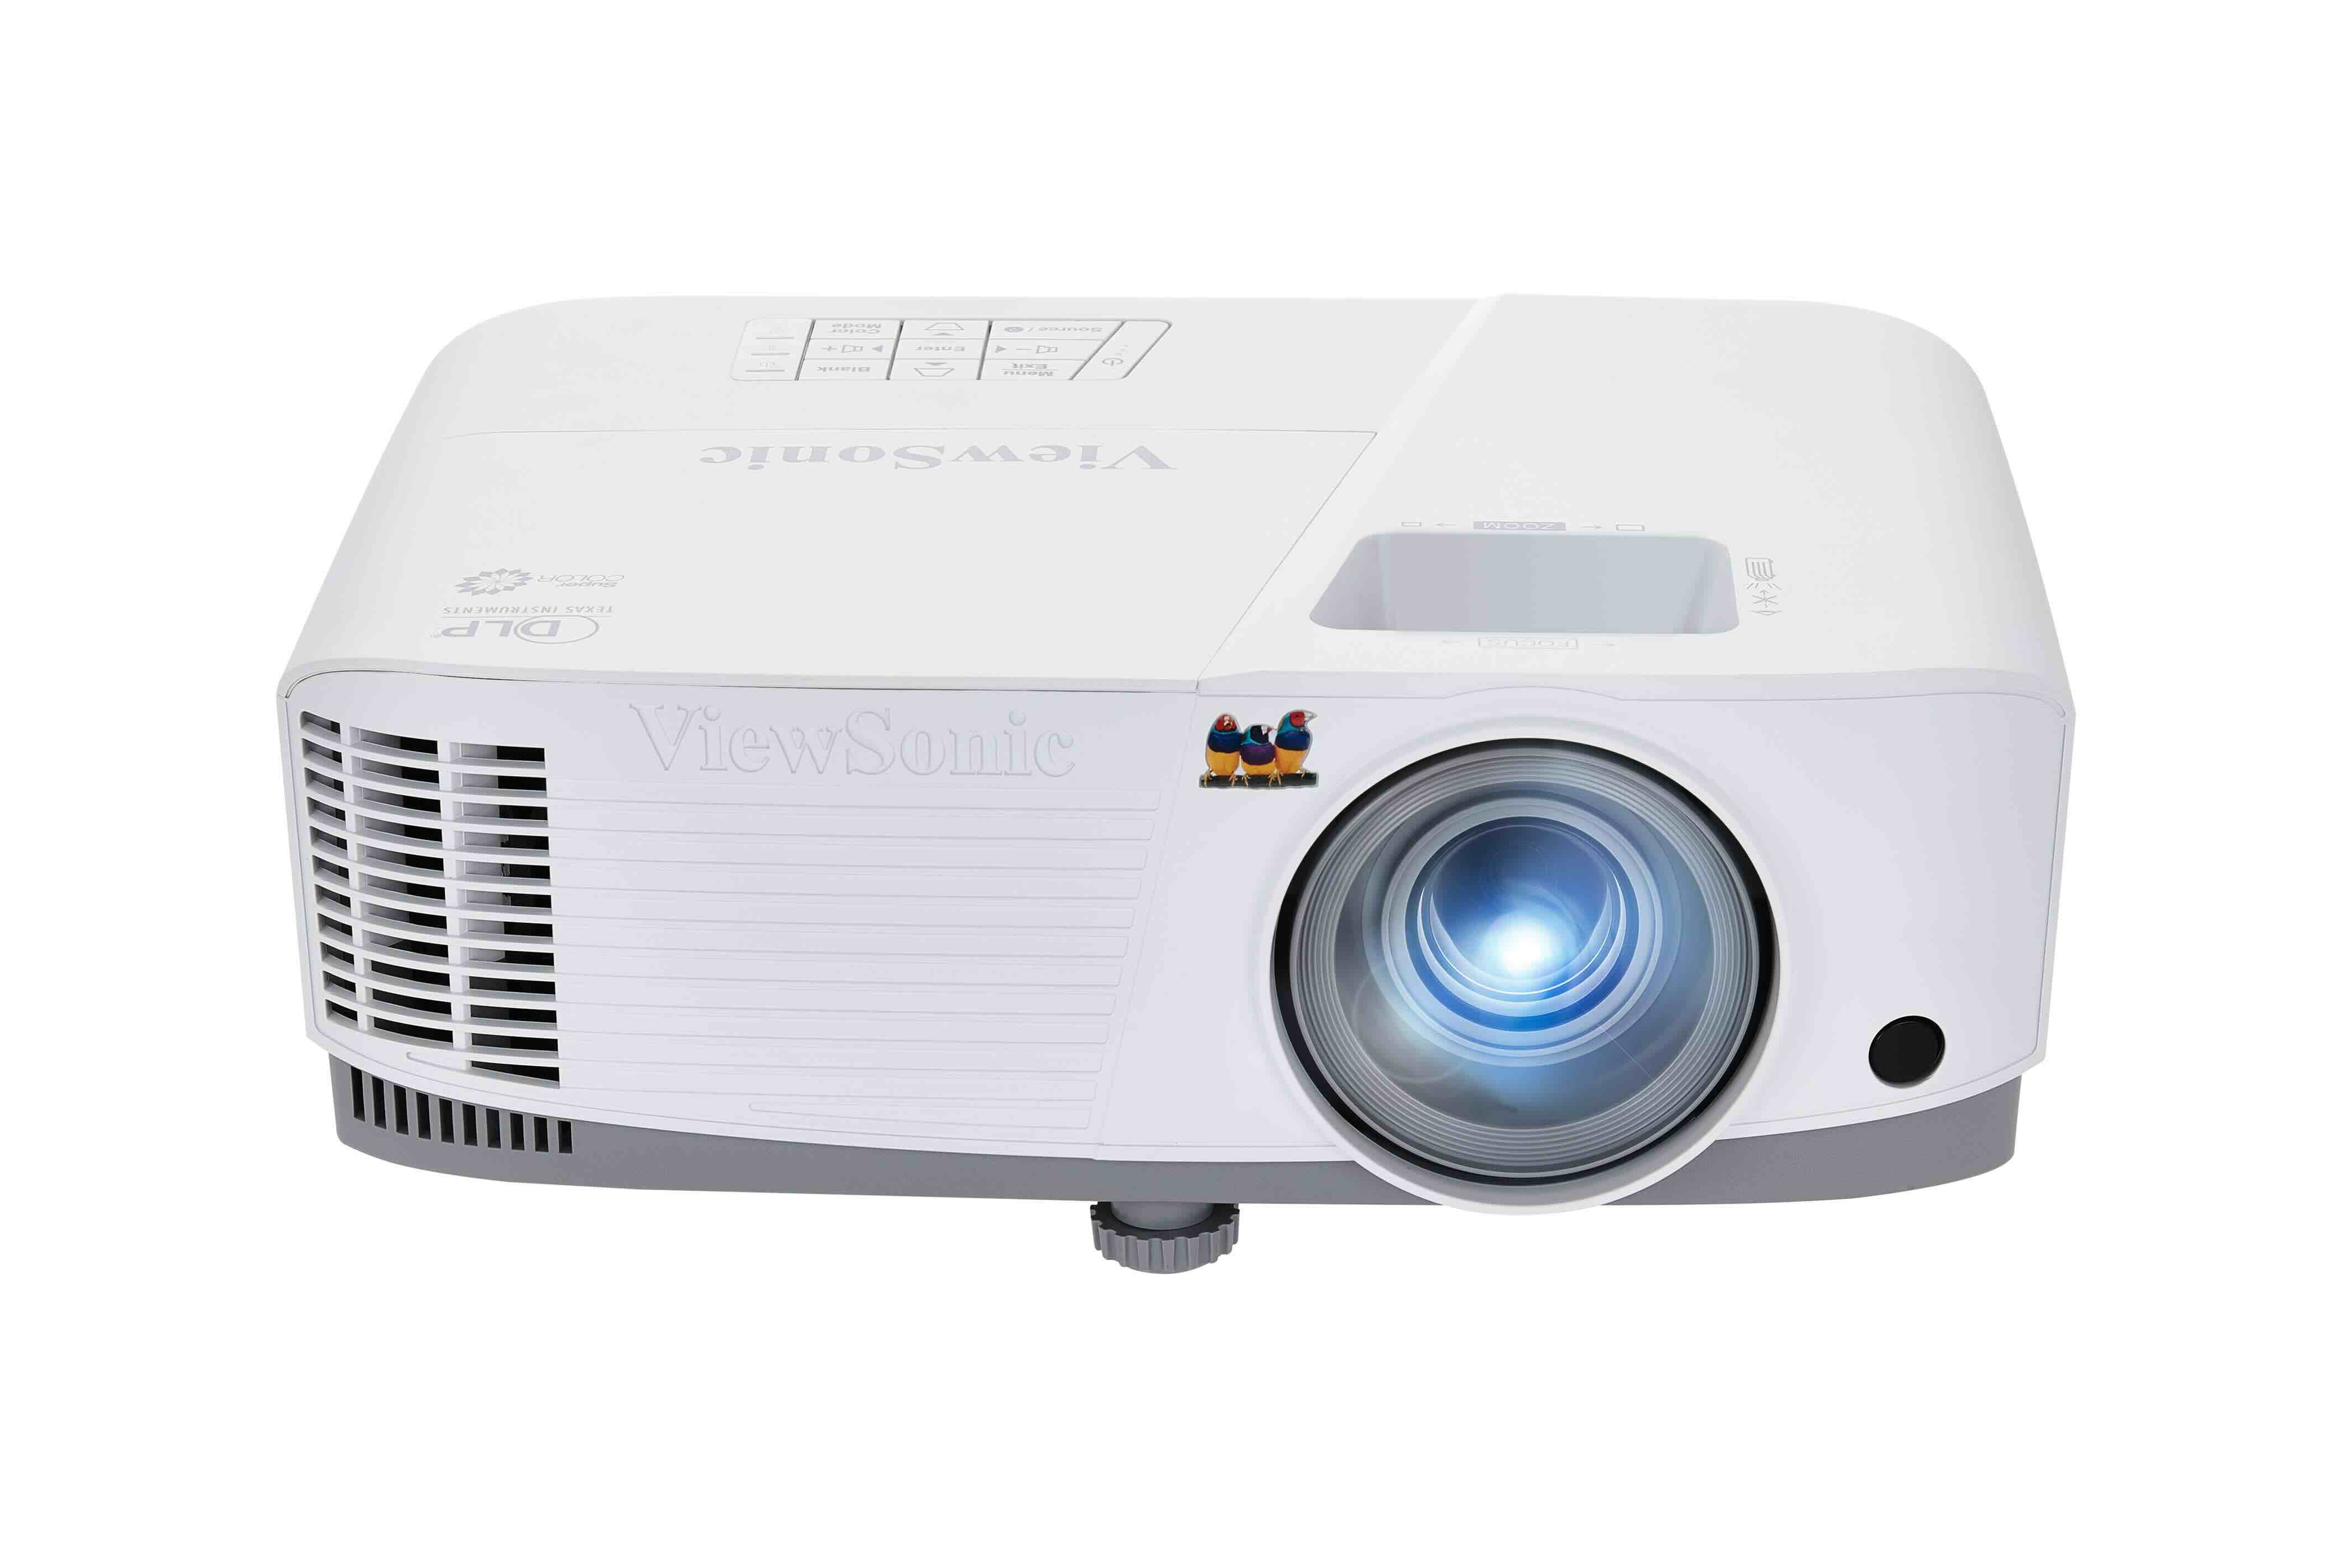
Choosing the Right Projector
When venturing into the world of using a projector for cookie decorating, selecting the right projector is a crucial first step. The ideal projector for this creative endeavor should possess specific features to ensure optimal performance and seamless integration with your cookie decorating process.
Here are key factors to consider when choosing the right projector:
- Resolution: Opt for a projector with high resolution to ensure that the projected images are clear and detailed. A higher resolution allows for intricate designs to be accurately transferred onto your cookies, resulting in stunning visual precision.
- Portability: Consider the portability of the projector, especially if you intend to use it for cookie decorating demonstrations or workshops. A lightweight and portable projector will provide flexibility and convenience, allowing you to effortlessly set up your decorating station anywhere.
- Adjustability: Look for a projector that offers versatile image adjustment options, including focus, zoom, and keystone correction. These features enable you to fine-tune the projected image to suit the size and shape of your cookies, ensuring a perfect fit every time.
- Connectivity: Ensure that the projector has multiple connectivity options, such as HDMI, USB, and wireless capabilities. This versatility allows you to easily connect various devices, such as laptops, tablets, or smartphones, to access and project a wide array of designs and patterns onto your cookies.
- Brightness: Opt for a projector with sufficient brightness to ensure vivid and well-defined projections, even in well-lit environments. Adequate brightness is essential for maintaining the clarity and vibrancy of the projected images, resulting in exceptional precision during the decorating process.
By carefully considering these factors, you can select a projector that aligns seamlessly with your cookie decorating aspirations, providing the essential features needed to bring your artistic visions to life. The right projector will serve as a valuable tool in your creative arsenal, empowering you to embark on a delightful journey of cookie decorating innovation and expression.
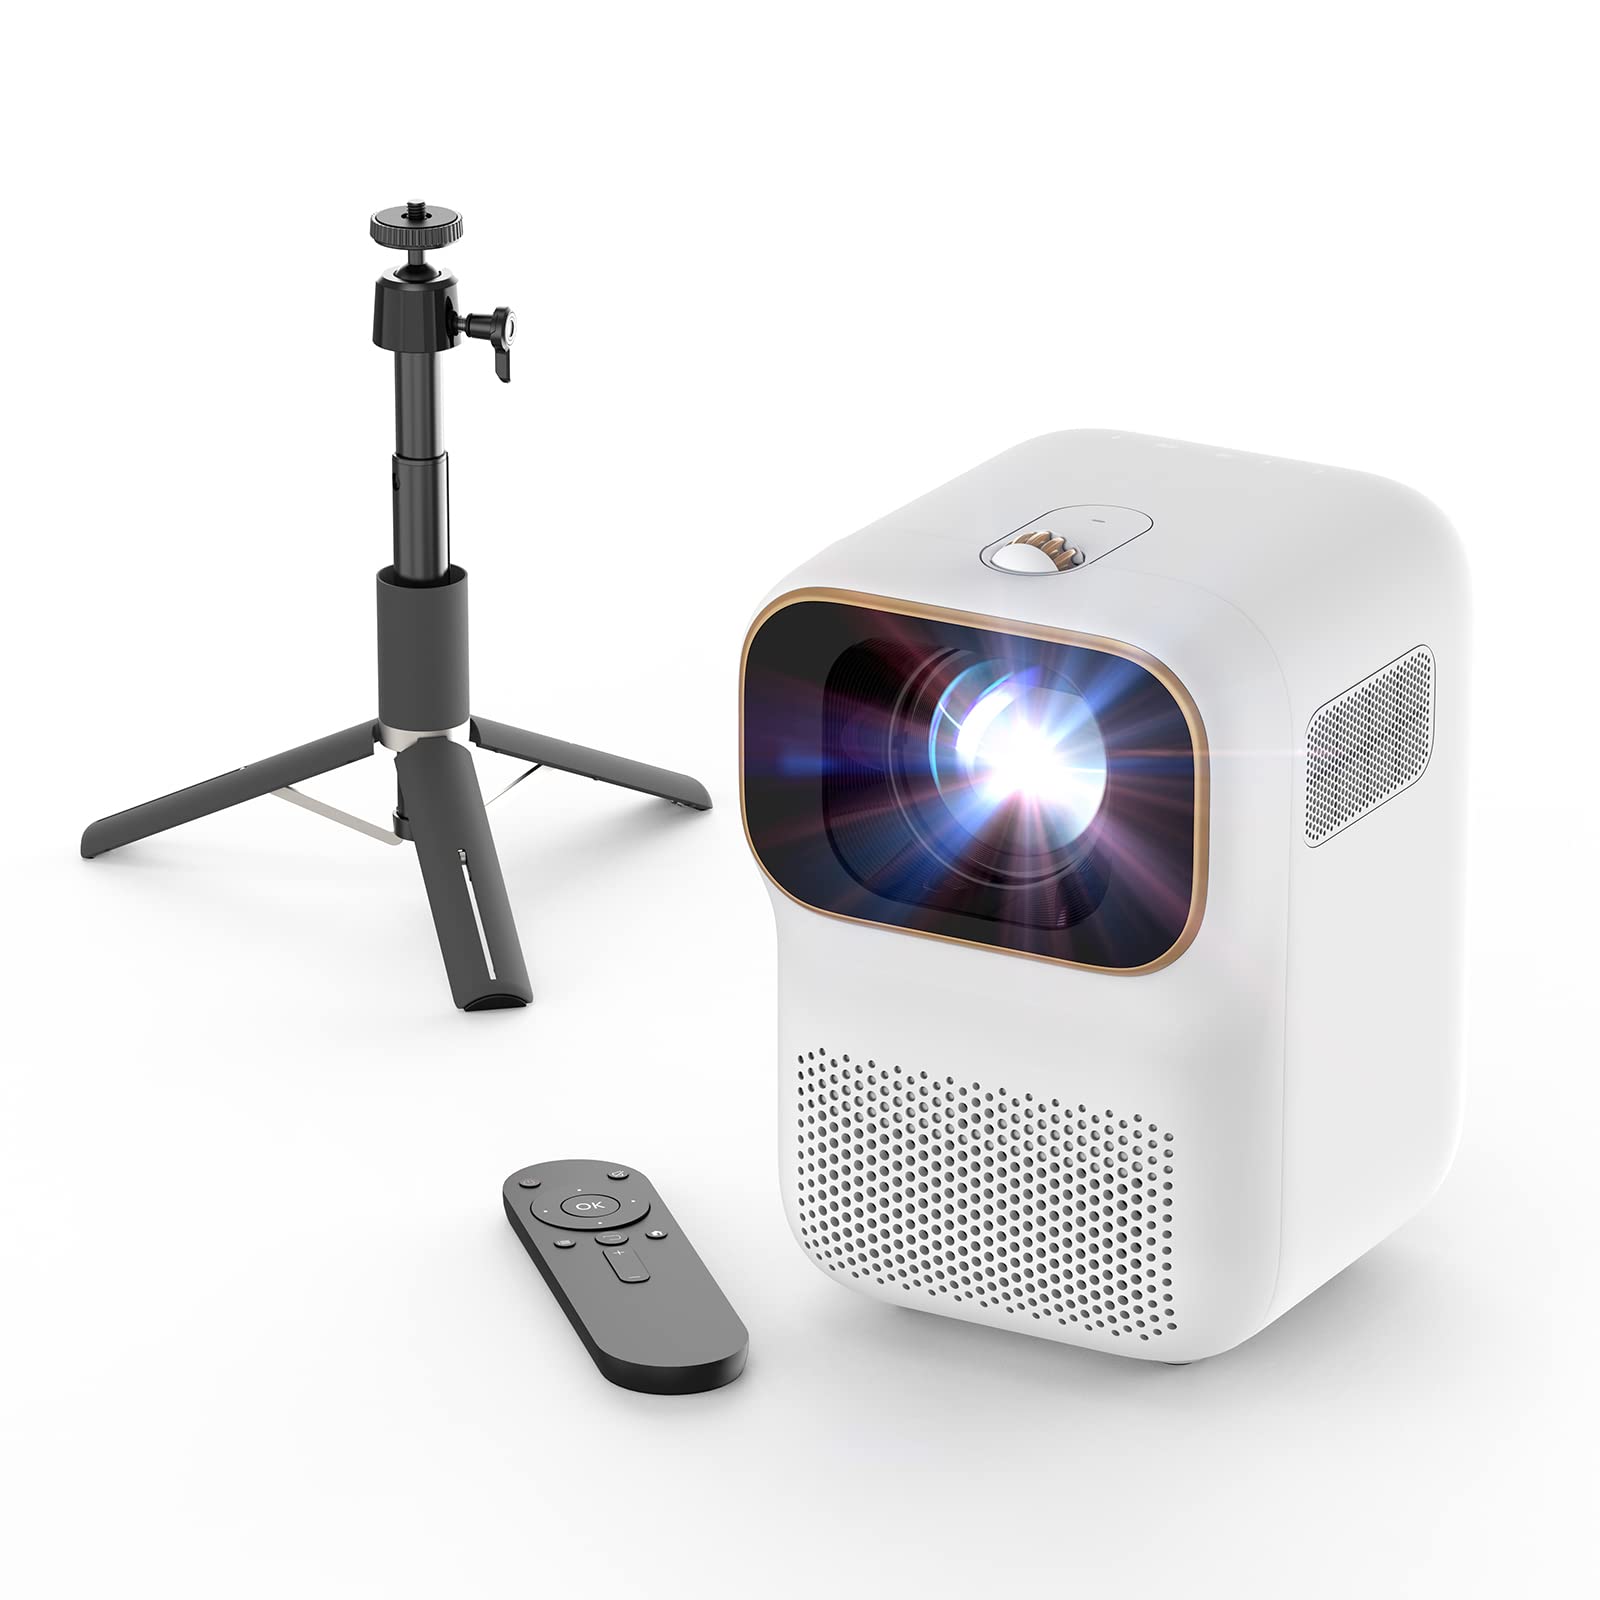
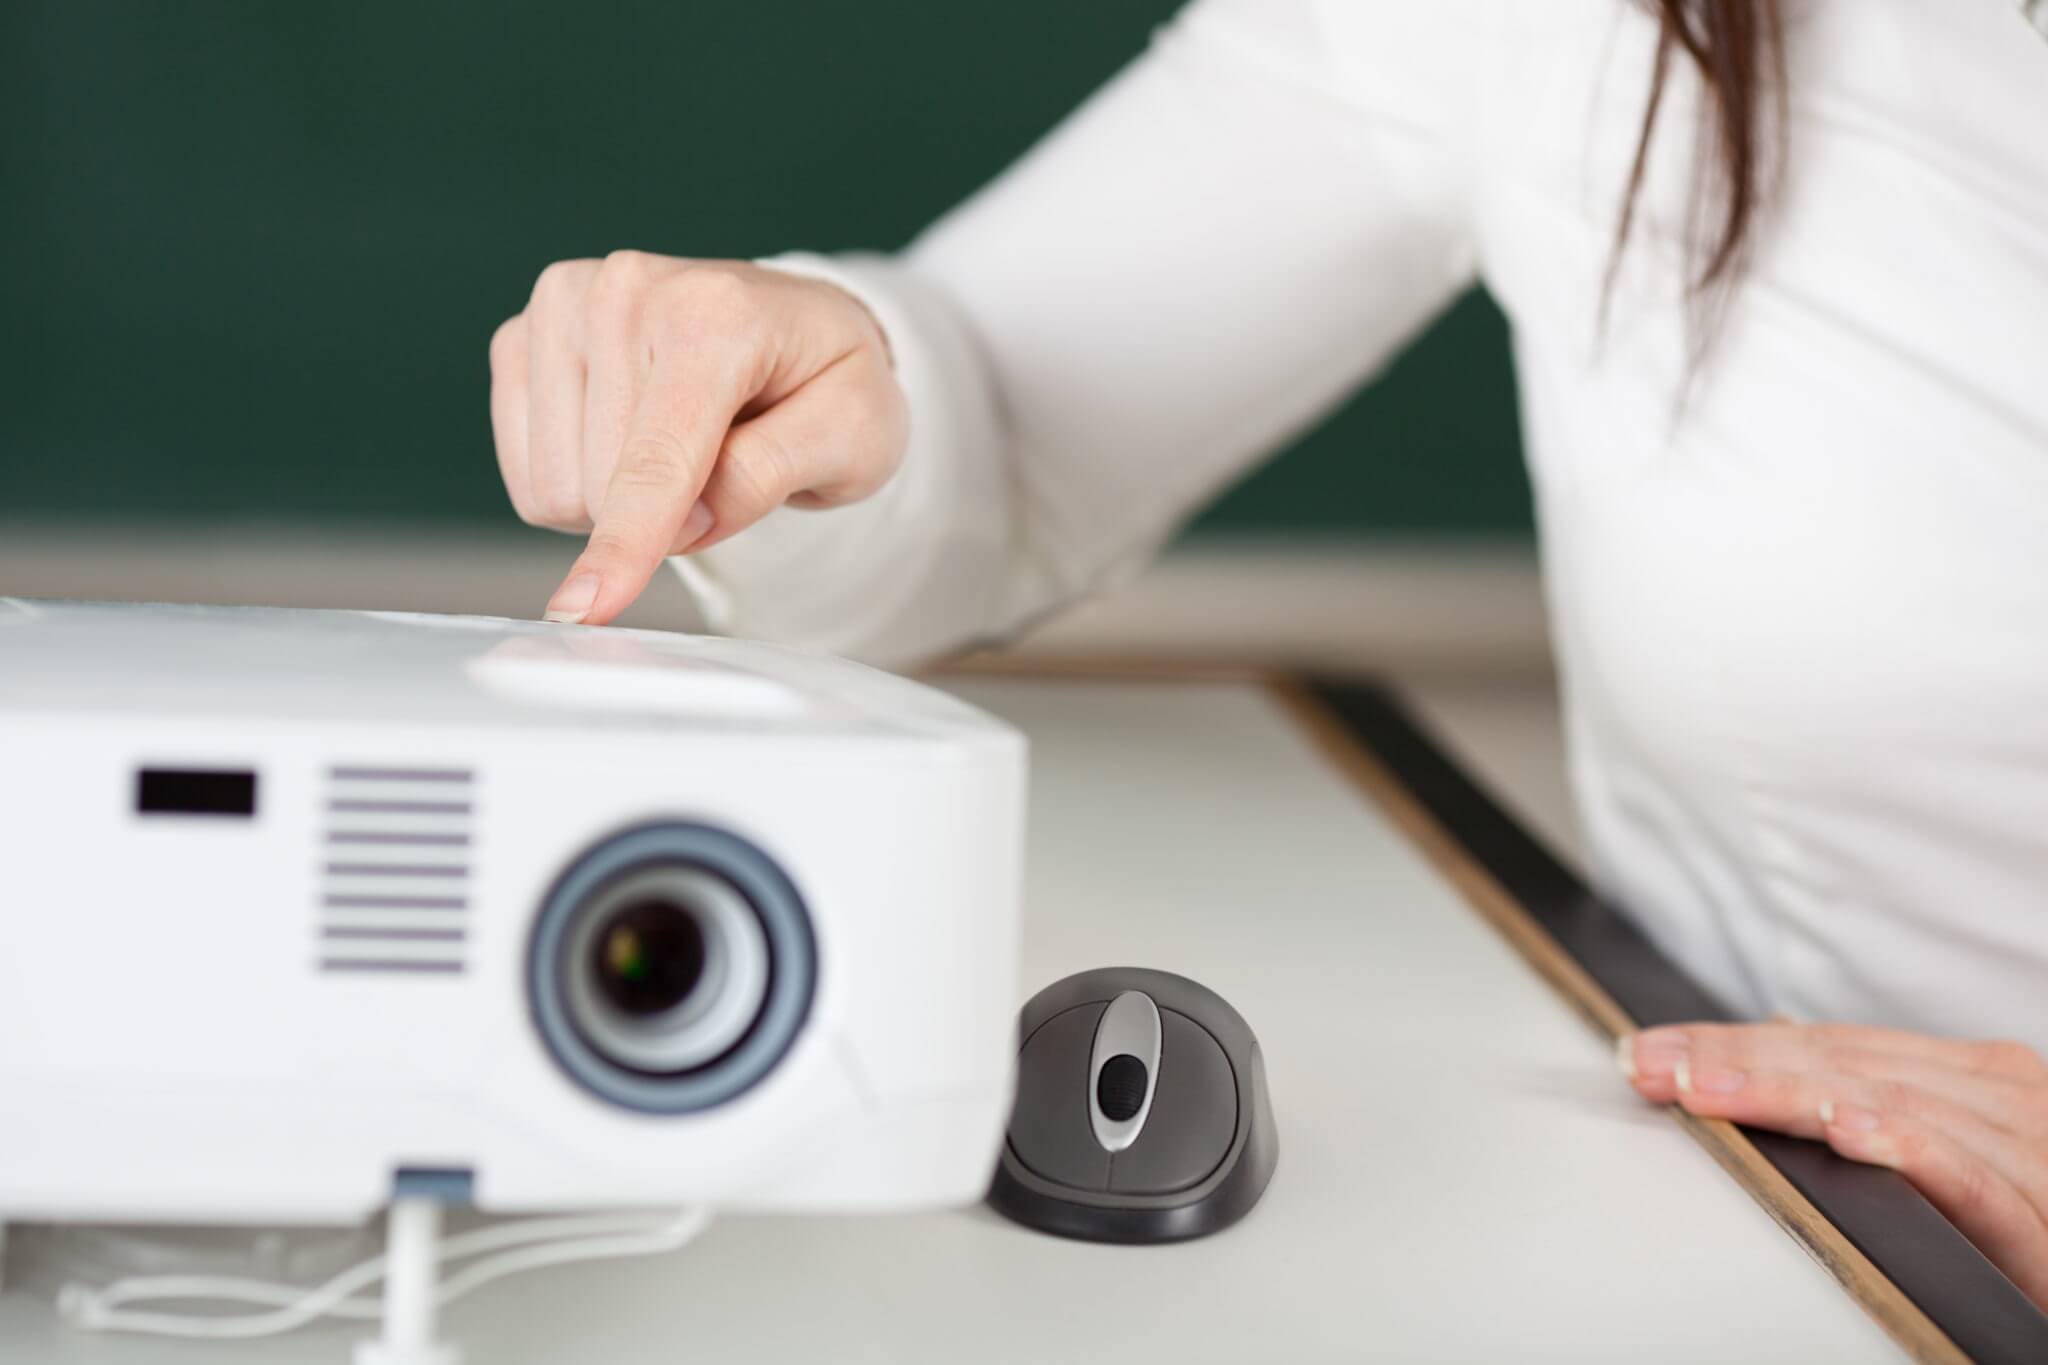
Setting Up the Projector
Once you have chosen the perfect projector for your cookie decorating endeavors, the next step is to set it up for seamless integration into your creative process. Properly setting up the projector ensures that you can effortlessly project intricate designs onto your cookies with precision and clarity. Follow these steps to set up your projector for cookie decorating success:
- Location and Stability: Select a stable surface or tripod to position the projector, ensuring that it is securely anchored to prevent any movement or vibrations during operation. A stable setup is essential for maintaining consistent image quality and focus.
- Connection and Power: Connect the projector to a power source and any necessary devices, such as a laptop or smartphone, using the appropriate cables or wireless connectivity options. Ensure that all connections are secure and that the projector is powered on and ready for operation.
- Projection Surface: Prepare a clean and flat surface for projecting the images onto your cookies. A smooth, white surface, such as a clean wall or a dedicated projection screen, provides an ideal backdrop for clear and vibrant image projections.
- Distance and Angle: Position the projector at an appropriate distance and angle relative to the projection surface to achieve the desired image size and focus. Experiment with the projector’s placement to determine the optimal distance and angle for projecting onto your cookies with precision.
- Image Orientation: Adjust the projector’s orientation settings to ensure that the projected images are displayed in the correct orientation relative to the surface of the cookies. This step is crucial for aligning the designs accurately and avoiding any distortion during the projection process.
- Test Projection: Project a test image or pattern onto the surface to verify the clarity, focus, and size of the projected design. Make any necessary adjustments to the projector’s settings to achieve the desired projection quality before proceeding to decorate your cookies.
By following these steps, you can effectively set up your projector for cookie decorating, laying the foundation for a seamless and enchanting creative process. With the projector poised and ready, you are now primed to embark on a captivating journey of adorning your delectable treats with mesmerizing designs and intricate details.
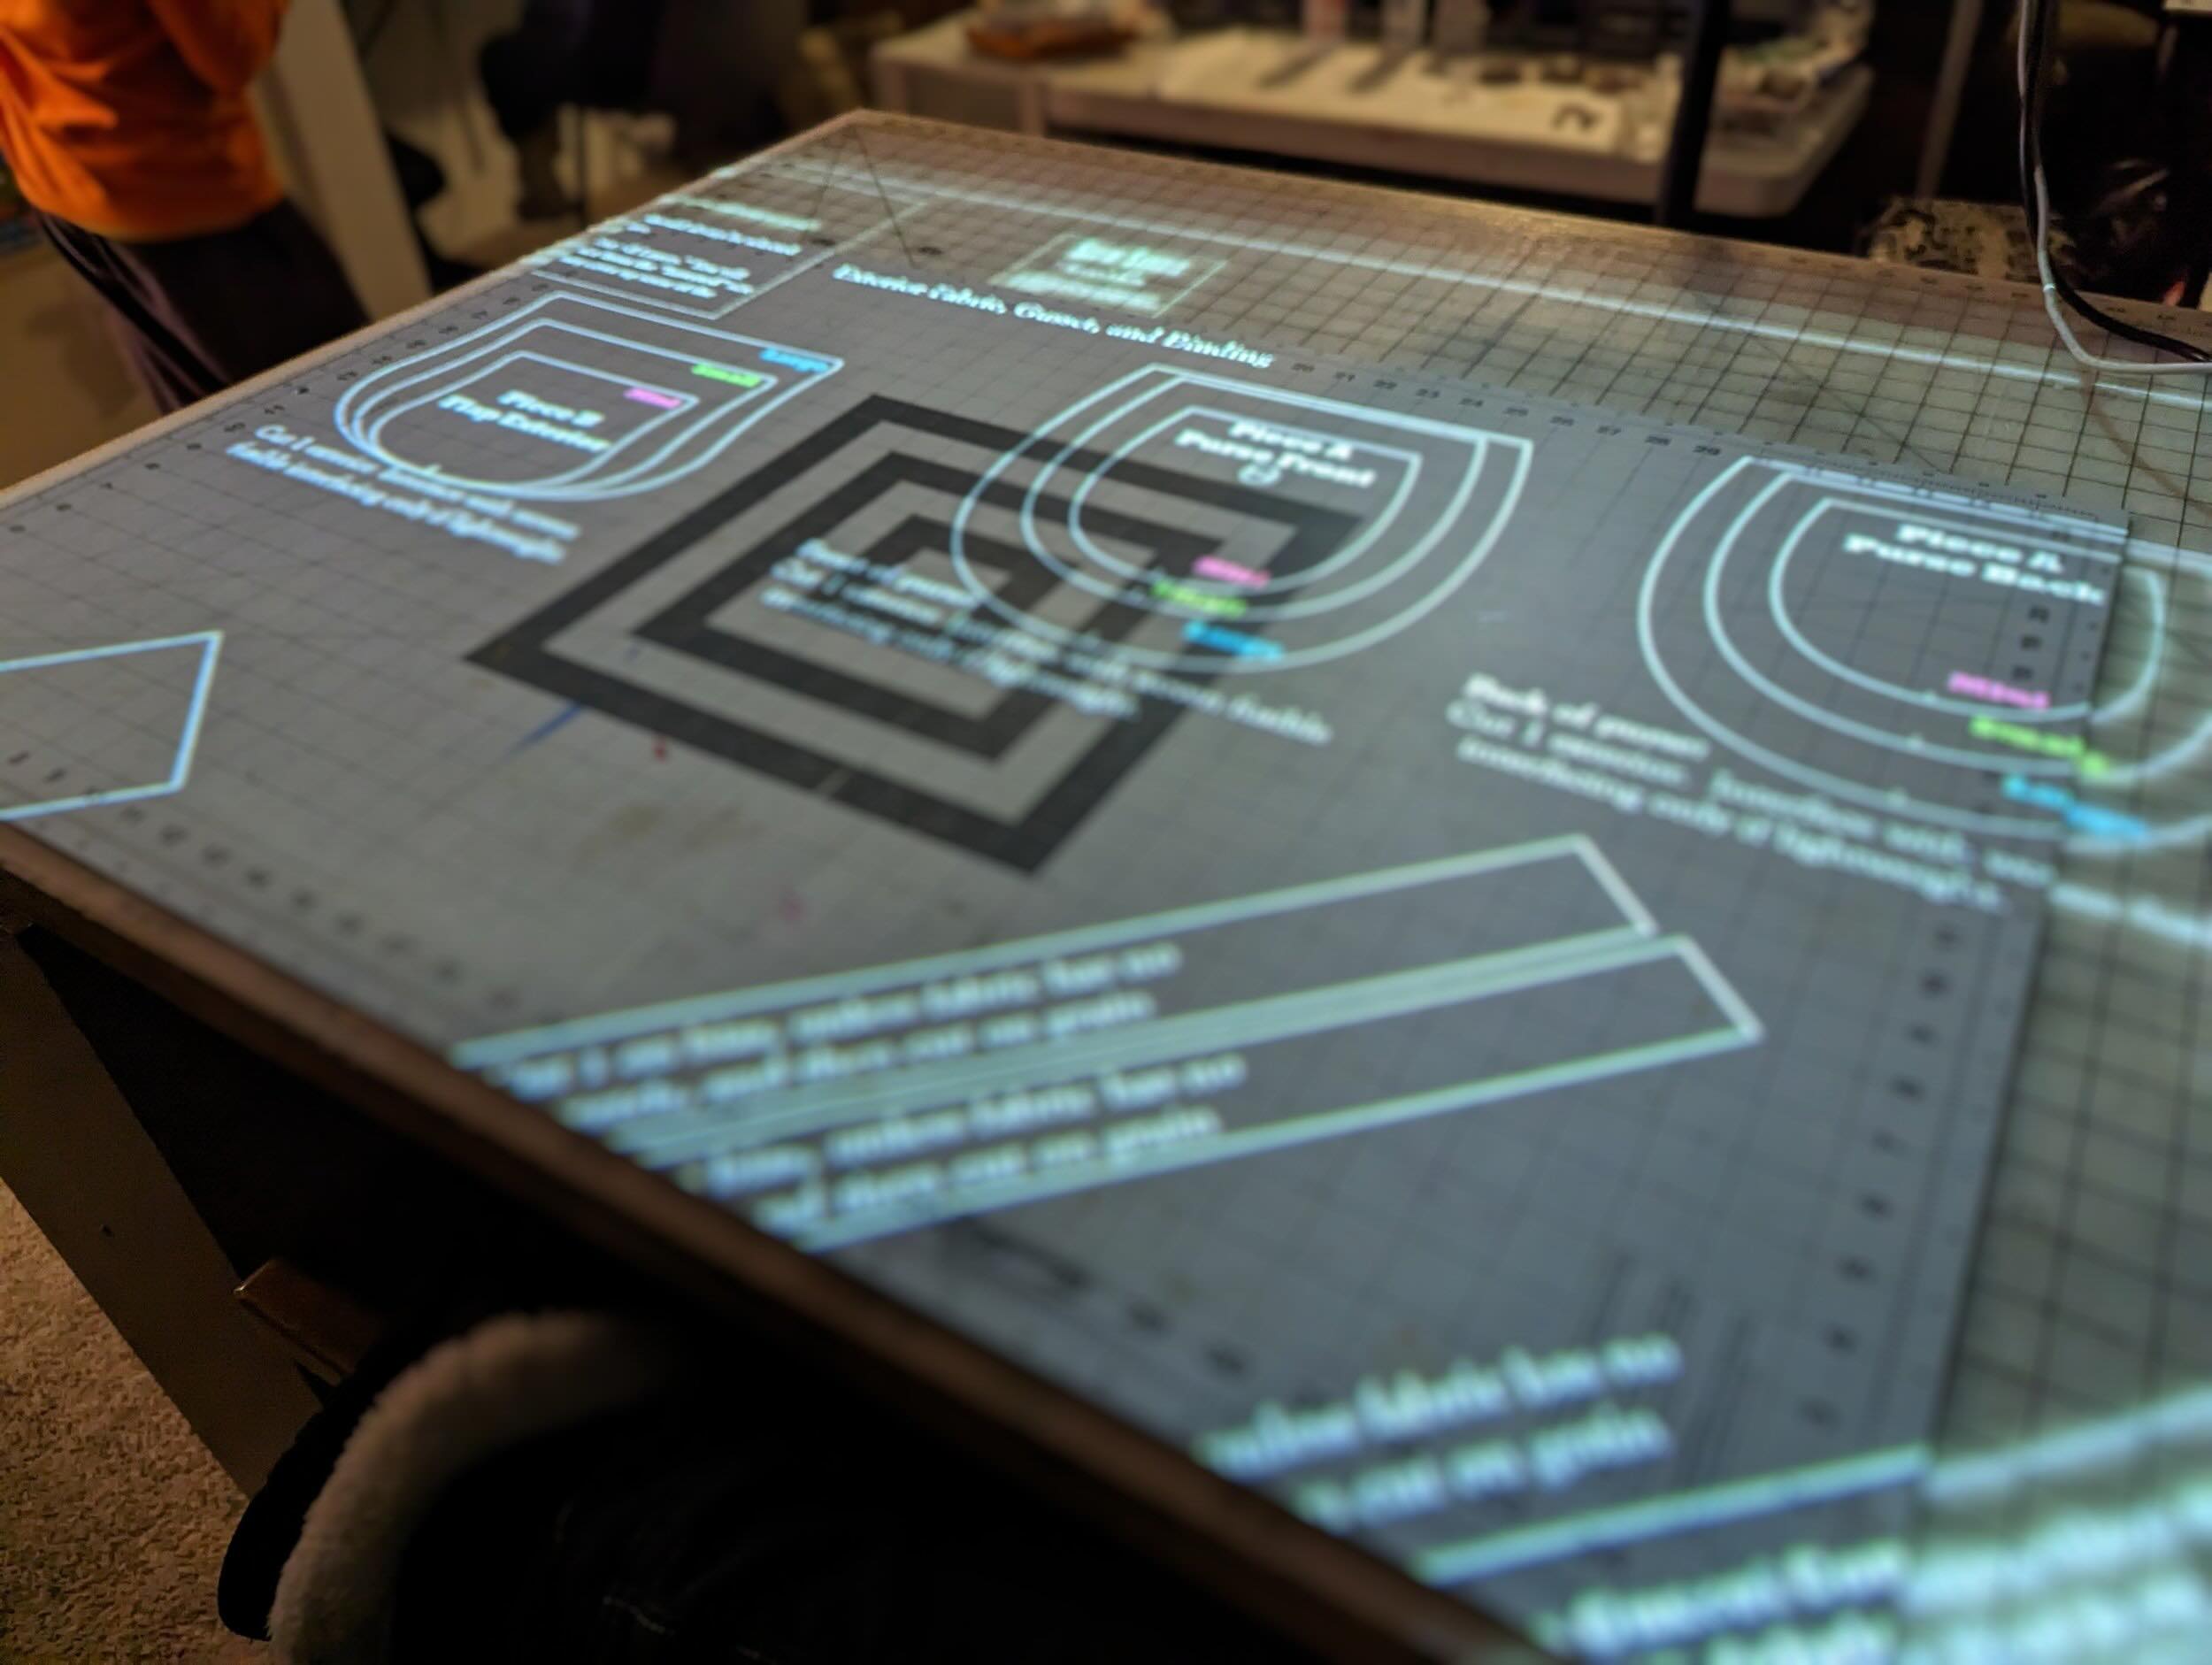
Adjusting the Image Size and Focus
Mastering the art of adjusting the image size and focus is essential for achieving precise and captivating projections onto your cookies. By carefully fine-tuning these settings, you can ensure that the projected designs align seamlessly with the surface of the cookies, resulting in visually stunning and meticulously detailed decorations.
Here’s how to adjust the image size and focus on your projector for optimal results:
- Image Size: Begin by adjusting the distance between the projector and the projection surface to achieve the desired image size on the cookies. Experiment with the projector’s distance to scale the projected designs to fit the dimensions of the cookies, ensuring that the images are neither too small nor too large for the decorating area.
- Focus Adjustment: Use the projector’s focus adjustment feature to sharpen and refine the clarity of the projected images. Fine-tune the focus settings until the designs appear crisp and well-defined on the surface of the cookies, allowing for intricate details to be accurately transferred during the decorating process.
- Test Projections: Project test images or patterns onto a flat surface to gauge the image size and focus accuracy. This allows you to make precise adjustments to the projector’s settings, ensuring that the projected designs align perfectly with the contours of the cookies, resulting in visually striking decorations.
- Consistency and Precision: Strive for consistency and precision in adjusting the image size and focus, as these factors directly impact the quality and accuracy of the projected designs. A meticulous approach to fine-tuning these settings will yield impressive results, elevating your cookie decorating endeavors to new heights of artistry.
By honing your skills in adjusting the image size and focus on the projector, you can unleash a world of creative possibilities, bringing intricate designs and captivating visuals to life on your delectable canvas of cookies. With precision and artistry at your fingertips, you are poised to embark on a delightful journey of projecting enchanting designs onto your edible masterpieces.
When using a projector for cookie decorating, make sure to adjust the focus and distance to get a clear image on the cookie. Use a food-safe marker to trace the image onto the cookie before decorating.
Using the Projector for Cookie Decorating
Now that your projector is set up and the image size and focus are adjusted to perfection, it’s time to embark on the enchanting process of using the projector for cookie decorating. This transformative tool will empower you to effortlessly transfer intricate designs, captivating patterns, and delightful characters onto your cookies with remarkable precision and artistry.
Here’s a step-by-step guide to using the projector for cookie decorating:
- Selecting Designs: Choose a selection of captivating designs, patterns, or images to project onto your cookies. These can include intricate floral motifs, charming characters, festive themes, or personalized messages. Ensure that the chosen designs are compatible with the size and shape of your cookies for optimal visual impact.
- Preparing the Cookies: Arrange your cookies on a clean and flat surface, ensuring that they are ready to receive the projected designs. Position the cookies in a manner that allows for seamless projection and decorating, providing ample space for maneuvering and embellishing the designs with precision.
- Activating the Projector: Power on the projector and select the desired design or image to project onto the cookies. Ensure that the projector is positioned at the appropriate distance and angle to achieve the desired image size and focus on the surface of the cookies.
- Aligning the Designs: Adjust the projector’s orientation and positioning to align the projected designs accurately with the surface of the cookies. Take care to ensure that the designs are positioned symmetrically and precisely on each cookie, creating a visually harmonious display of projected images.
- Decorating with Precision: Using edible decorating tools, such as icing, edible markers, or decorative sugar, trace and embellish the projected designs onto the cookies with meticulous precision. Follow the outlines of the projected images, infusing your artistic flair and creativity into the decorating process to bring the designs to life in vibrant detail.
- Admiring Your Edible Masterpieces: Once the decorating process is complete, step back and admire your edible masterpieces adorned with captivating designs and intricate details. Revel in the delightful transformation brought about by the seamless integration of technology and culinary artistry, culminating in a visual feast of enchanting cookie decorations.
Using a projector for cookie decorating is a delightful fusion of innovation and creativity, allowing you to infuse your cookies with mesmerizing designs and personalized touches. With the projector as your artistic ally, you can embark on a captivating journey of adorning your delectable treats with visual splendor and enchanting artistry.
Read more: How To Use An RCA Projector
Tips and Tricks for Successful Cookie Decorating with a Projector
Embarking on the delightful adventure of using a projector for cookie decorating opens up a realm of creative possibilities, offering a seamless way to transfer intricate designs onto your cookies with precision and artistry. To enhance your cookie decorating experience and achieve stunning results, consider these valuable tips and tricks:
- Optimize Image Contrast: Adjust the projector settings to enhance the contrast of the projected images, ensuring that the designs stand out vividly against the surface of the cookies for precise outlining and decorating.
- Utilize Edible Ink Printouts: Create or purchase edible ink printouts of intricate designs and patterns to project onto your cookies, providing a convenient way to transfer detailed images with exceptional accuracy.
- Experiment with Transparency Sheets: Print or draw designs on transparency sheets and project them onto your cookies, allowing for reusable templates and versatile design options for your decorating endeavors.
- Explore Multi-Layered Designs: Project multiple layers of designs onto your cookies, enabling the creation of captivating multi-dimensional decorations with intricate details and visual depth.
- Embrace Custom Stencils: Craft custom stencils or purchase pre-made ones to project onto your cookies, offering a versatile and precise method for adorning your treats with a wide array of designs and motifs.
- Enhance with Edible Glitter and Dust: After projecting and outlining the designs, embellish your cookies with edible glitter, shimmer dust, or luster dust to add a touch of sparkle and enchantment to the decorations.
- Practice Patience and Precision: Take your time to meticulously trace and decorate the projected designs onto the cookies, embracing patience and precision to achieve flawless results with each embellishment.
- Personalize with Monograms and Messages: Project personalized monograms, names, or messages onto your cookies, infusing them with heartfelt touches and customized expressions for special occasions and celebrations.
- Document Your Decorating Journey: Capture the mesmerizing process of projecting and decorating your cookies through photos or videos, preserving the enchanting moments of creativity and artistry.
- Share the Magic of Projected Cookie Decorating: Host interactive decorating sessions or share your techniques with fellow baking enthusiasts, spreading the joy and inspiration of using a projector for cookie decorating.
By incorporating these tips and tricks into your cookie decorating repertoire, you can elevate your creative endeavors and unlock a world of enchanting possibilities. Embrace the artistry and innovation of using a projector to adorn your cookies with captivating designs, and delight in the wondrous transformation of your edible canvases into visual masterpieces.
Conclusion
As we conclude our immersive exploration of using a projector for cookie decorating, we are reminded of the enchanting fusion of technology and culinary artistry that has unfolded before us. The journey of utilizing a projector to adorn cookies with captivating designs and intricate details has illuminated a path of innovation, creativity, and endless possibilities.
Through the careful selection of the right projector, meticulous setup, and precise adjustments of image size and focus, we have laid the foundation for a seamless and transformative decorating experience. The projector, with its ability to effortlessly transfer intricate designs onto cookies, serves as a remarkable tool that empowers us to infuse our edible creations with visual splendor and personalized touches.
As we project captivating designs onto our cookies and meticulously trace and embellish them with artistry and precision, we witness the magic of technology harmonizing with the art of cookie decorating. The seamless integration of projected images and edible canvases gives rise to a visual feast of enchanting decorations, each one a testament to the wondrous possibilities unlocked by the projector.
Armed with an array of valuable tips and tricks, we have expanded our creative horizons, embracing the versatility and ingenuity of using a projector for cookie decorating. From optimizing image contrast to exploring multi-layered designs and personalized messages, we have discovered a myriad of techniques that elevate our decorating endeavors to new heights of artistry and expression.
As we document our decorating journey and share the magic of projected cookie decorating with others, we spread the joy and inspiration of this innovative approach, inviting fellow baking enthusiasts to embark on their own delightful adventures of adorning edible masterpieces with captivating designs.
Let us carry forth the enchanting fusion of technology and culinary artistry, using the projector as our steadfast ally in the delightful pursuit of creating visually stunning and personalized cookie decorations. With each embellishment, we infuse our edible canvases with a touch of magic, transforming them into mesmerizing works of art that delight the senses and spark joy in every indulgent bite.
May the artistry and innovation of using a projector for cookie decorating continue to inspire and captivate, ushering in a world of endless creativity and visual splendor as we embark on this delectable journey together.
Frequently Asked Questions about How To Use A Projector For Cookie Decorating
Was this page helpful?
At Storables.com, we guarantee accurate and reliable information. Our content, validated by Expert Board Contributors, is crafted following stringent Editorial Policies. We're committed to providing you with well-researched, expert-backed insights for all your informational needs.


0 thoughts on “How To Use A Projector For Cookie Decorating”