Home>Technology>Home Entertainment Systems>How To Use A Projector To Trace Art
Home Entertainment Systems
How To Use A Projector To Trace Art
Modified: January 9, 2024
Learn how to enhance your home entertainment system with a projector for tracing art. Discover tips and techniques for maximizing your projector's potential. Elevate your creative process with these expert insights.
(Many of the links in this article redirect to a specific reviewed product. Your purchase of these products through affiliate links helps to generate commission for Storables.com, at no extra cost. Learn more)
Introduction
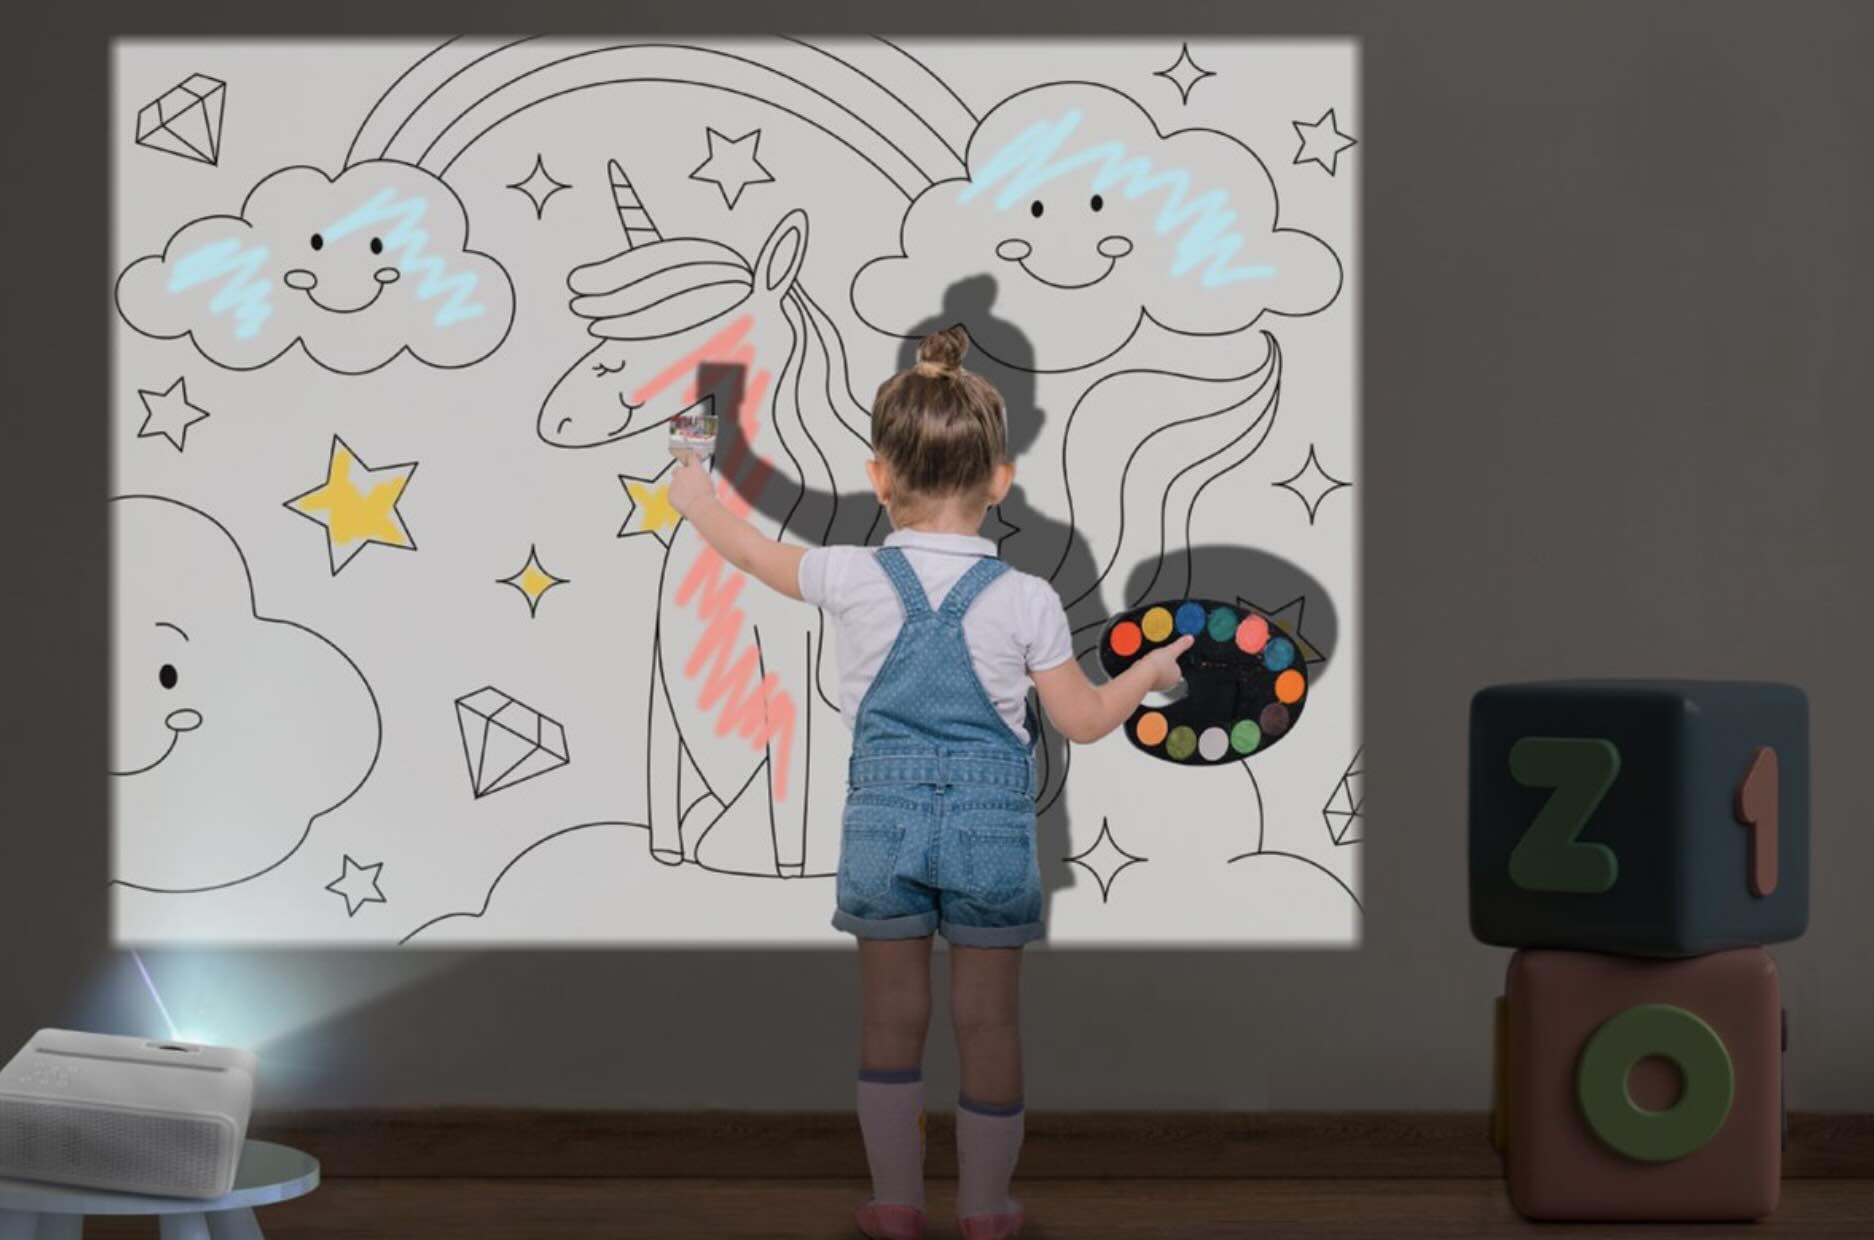
Welcome to the world of art projection! Whether you're a seasoned artist or a beginner looking to bring your sketches to life, using a projector to trace art can be a game-changer. This innovative technique allows you to enlarge and accurately transfer your artwork onto various surfaces, opening up a realm of creative possibilities.
Harnessing the power of a projector for art tracing can streamline the process of reproducing intricate designs, aiding in the creation of murals, large-scale paintings, and detailed illustrations. By understanding the fundamentals of selecting the right projector, setting up your artwork, and mastering the tracing process, you can elevate your artistic endeavors to new heights.
In this guide, we'll delve into the intricacies of using a projector to trace art, providing you with a comprehensive roadmap to unlock your artistic potential. From choosing the ideal projector to fine-tuning the projection for optimal tracing precision, we'll cover everything you need to know to embark on this exciting artistic journey. So, grab your favorite sketch, painting, or illustration, and let's explore the captivating world of art projection together.
Key Takeaways:
- Embrace the fusion of art and technology by using a projector to trace your artwork, unlocking new creative possibilities with precision and scale.
- Selecting the right projector, setting up your workspace, and mastering the tracing process can elevate your artistic endeavors to new heights, offering a seamless and immersive art-tracing experience.
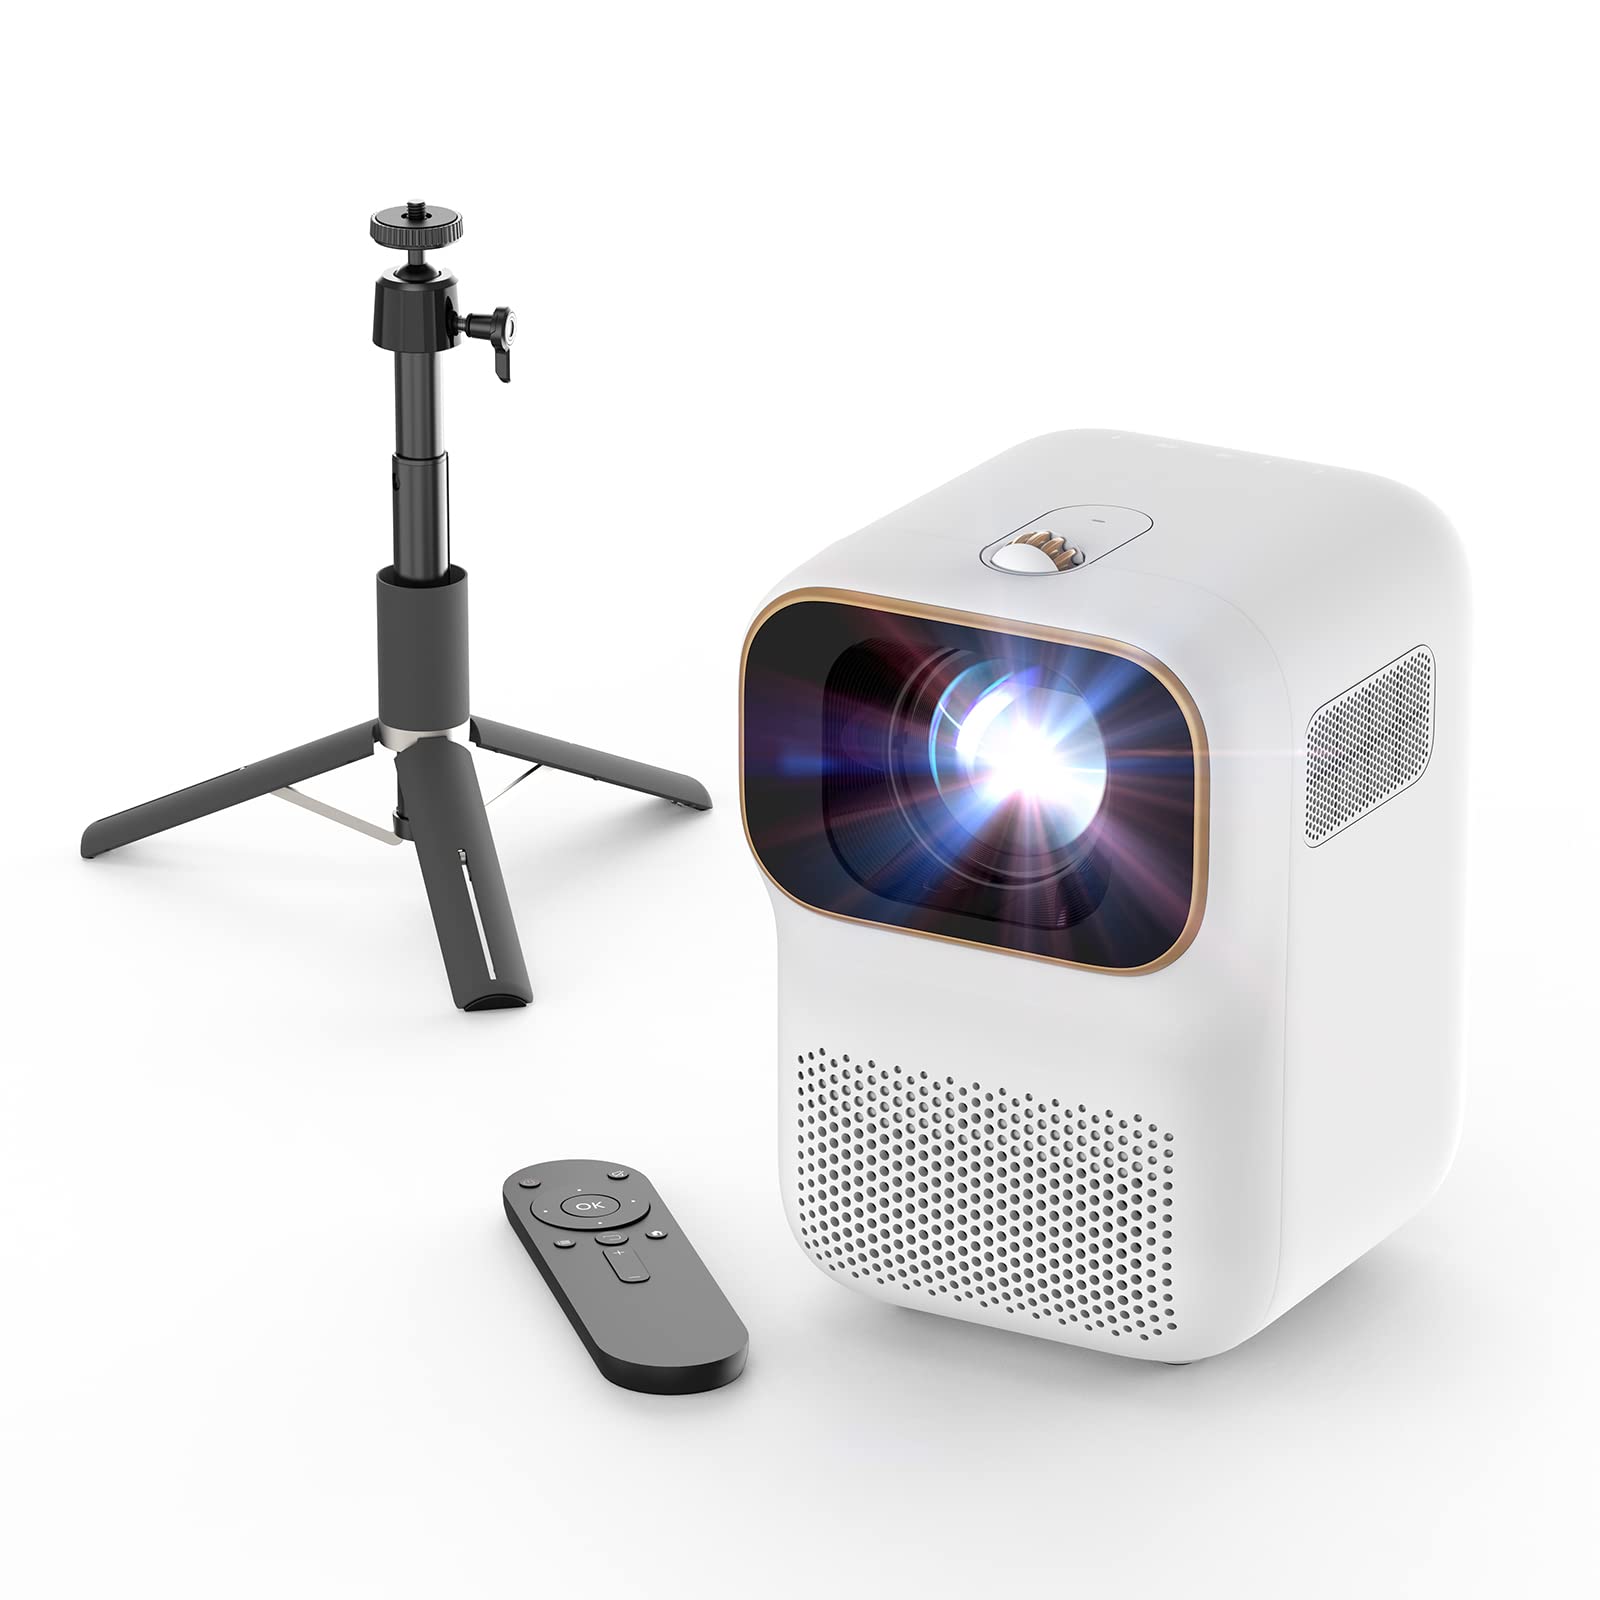
Choosing the Right Projector
When it comes to tracing art, selecting the right projector is paramount to achieving accurate and high-quality results. Consider the following factors to ensure you choose a projector that aligns with your artistic needs:
- Resolution: Opt for a projector with a high resolution to ensure that the projected image maintains the integrity and clarity of your original artwork. Look for a minimum resolution of 1920 x 1080 (1080p) to capture intricate details with precision.
- Brightness: Adequate brightness is essential for art tracing, especially if you plan to work in well-lit spaces. A projector with a higher lumens rating will deliver vibrant and visible projections, even in brightly lit environments.
- Projection Size and Distance: Consider the size of the artwork you intend to trace and the available space for projection. Choose a projector with adjustable projection size and a flexible throw distance to accommodate various artwork dimensions.
- Portability: If you anticipate tracing art in different locations or studios, a portable projector with easy setup and transportability can be advantageous. Look for lightweight and compact options that offer flexibility without compromising performance.
- Connectivity and Compatibility: Ensure that the projector is compatible with your art source, whether it’s a laptop, smartphone, or other devices. Check for multiple connectivity options such as HDMI, USB, and wireless connectivity for seamless integration with your preferred art-tracing setup.
By carefully evaluating these factors, you can narrow down your options and choose a projector that suits your artistic workflow and specific tracing requirements. Investing in a quality projector tailored to your artistic pursuits will set the stage for seamless and captivating art projection experiences.
Setting Up Your Artwork
Before diving into the art-tracing process, it’s crucial to prepare your artwork and workspace to optimize the projection and tracing experience. Follow these steps to set the stage for seamless art projection:
- Artwork Preparation: Ensure that your original artwork is clean, free of wrinkles, and positioned on a stable surface. If you’re working with a physical medium such as a sketch or painting, secure it in place to prevent movement during the projection.
- Workspace Organization: Choose a well-lit and spacious area for your art projection setup. Minimize clutter and ensure that the projector has sufficient distance and angle to project the artwork onto the desired surface without obstruction.
- Surface Selection: Opt for a smooth and flat surface for tracing, such as a blank canvas, drawing paper, or a wall suitable for mural projection. The chosen surface should accommodate the projected image without texture interference, ensuring accurate tracing.
- Projection Surface Alignment: Position the projector at an appropriate distance and angle to achieve the desired projection size and clarity. Adjust the projector’s height and tilt to align the projected image with the tracing surface, optimizing the visibility and accuracy of the projected artwork.
- Calibration and Focus: Fine-tune the projector’s focus and keystone correction to ensure a crisp and distortion-free projection. Take the time to calibrate the projector settings for optimal image quality, enhancing the sharpness and clarity of the projected artwork.
By meticulously preparing your artwork and workspace, you can create an environment conducive to seamless art projection and tracing. These foundational steps lay the groundwork for a smooth and immersive tracing experience, allowing you to focus on bringing your artistic vision to life with precision and creativity.
Adjusting the Projector
Once your artwork and workspace are ready, it’s time to fine-tune the projector settings to ensure optimal projection quality and alignment. Follow these steps to adjust the projector for an ideal tracing experience:
- Keystone Correction: If your projector offers keystone correction, utilize this feature to adjust the projected image’s geometry and ensure that lines and proportions remain accurate. Keystone correction helps rectify any distortion caused by the projector’s angle relative to the tracing surface.
- Image Orientation: Depending on your artwork’s orientation, adjust the projector settings to project the image in the desired orientation, whether it’s landscape or portrait. This step ensures that the projected artwork aligns seamlessly with your tracing surface.
- Projection Size and Position: Fine-tune the projector’s zoom and lens shift, if available, to adjust the projection size and position. Ensure that the projected artwork fits within the desired tracing area, allowing ample space for accurate and detailed tracing.
- Brightness and Contrast: Adjust the projector’s brightness and contrast settings to optimize the visibility and clarity of the projected artwork. Fine-tune these settings based on the ambient lighting conditions in your workspace, aiming for a well-defined and vivid projection.
- Color Calibration: If your projector offers color calibration features, such as color temperature adjustments, take advantage of these settings to achieve accurate color reproduction. Calibrating the color output ensures that the projected artwork maintains its original color integrity for precise tracing.
- Test Projections: Before commencing the tracing process, project a test image or pattern to assess the overall projection quality and make any necessary adjustments. This step allows you to confirm the clarity, focus, and alignment of the projected artwork before initiating the tracing phase.
By meticulously adjusting the projector settings, you can fine-tune the projection to align with your artistic vision, ensuring that the traced artwork faithfully captures the intricacies and nuances of your original creation. These adjustments set the stage for a seamless and immersive art-tracing experience, empowering you to bring your artistic endeavors to fruition with precision and clarity.
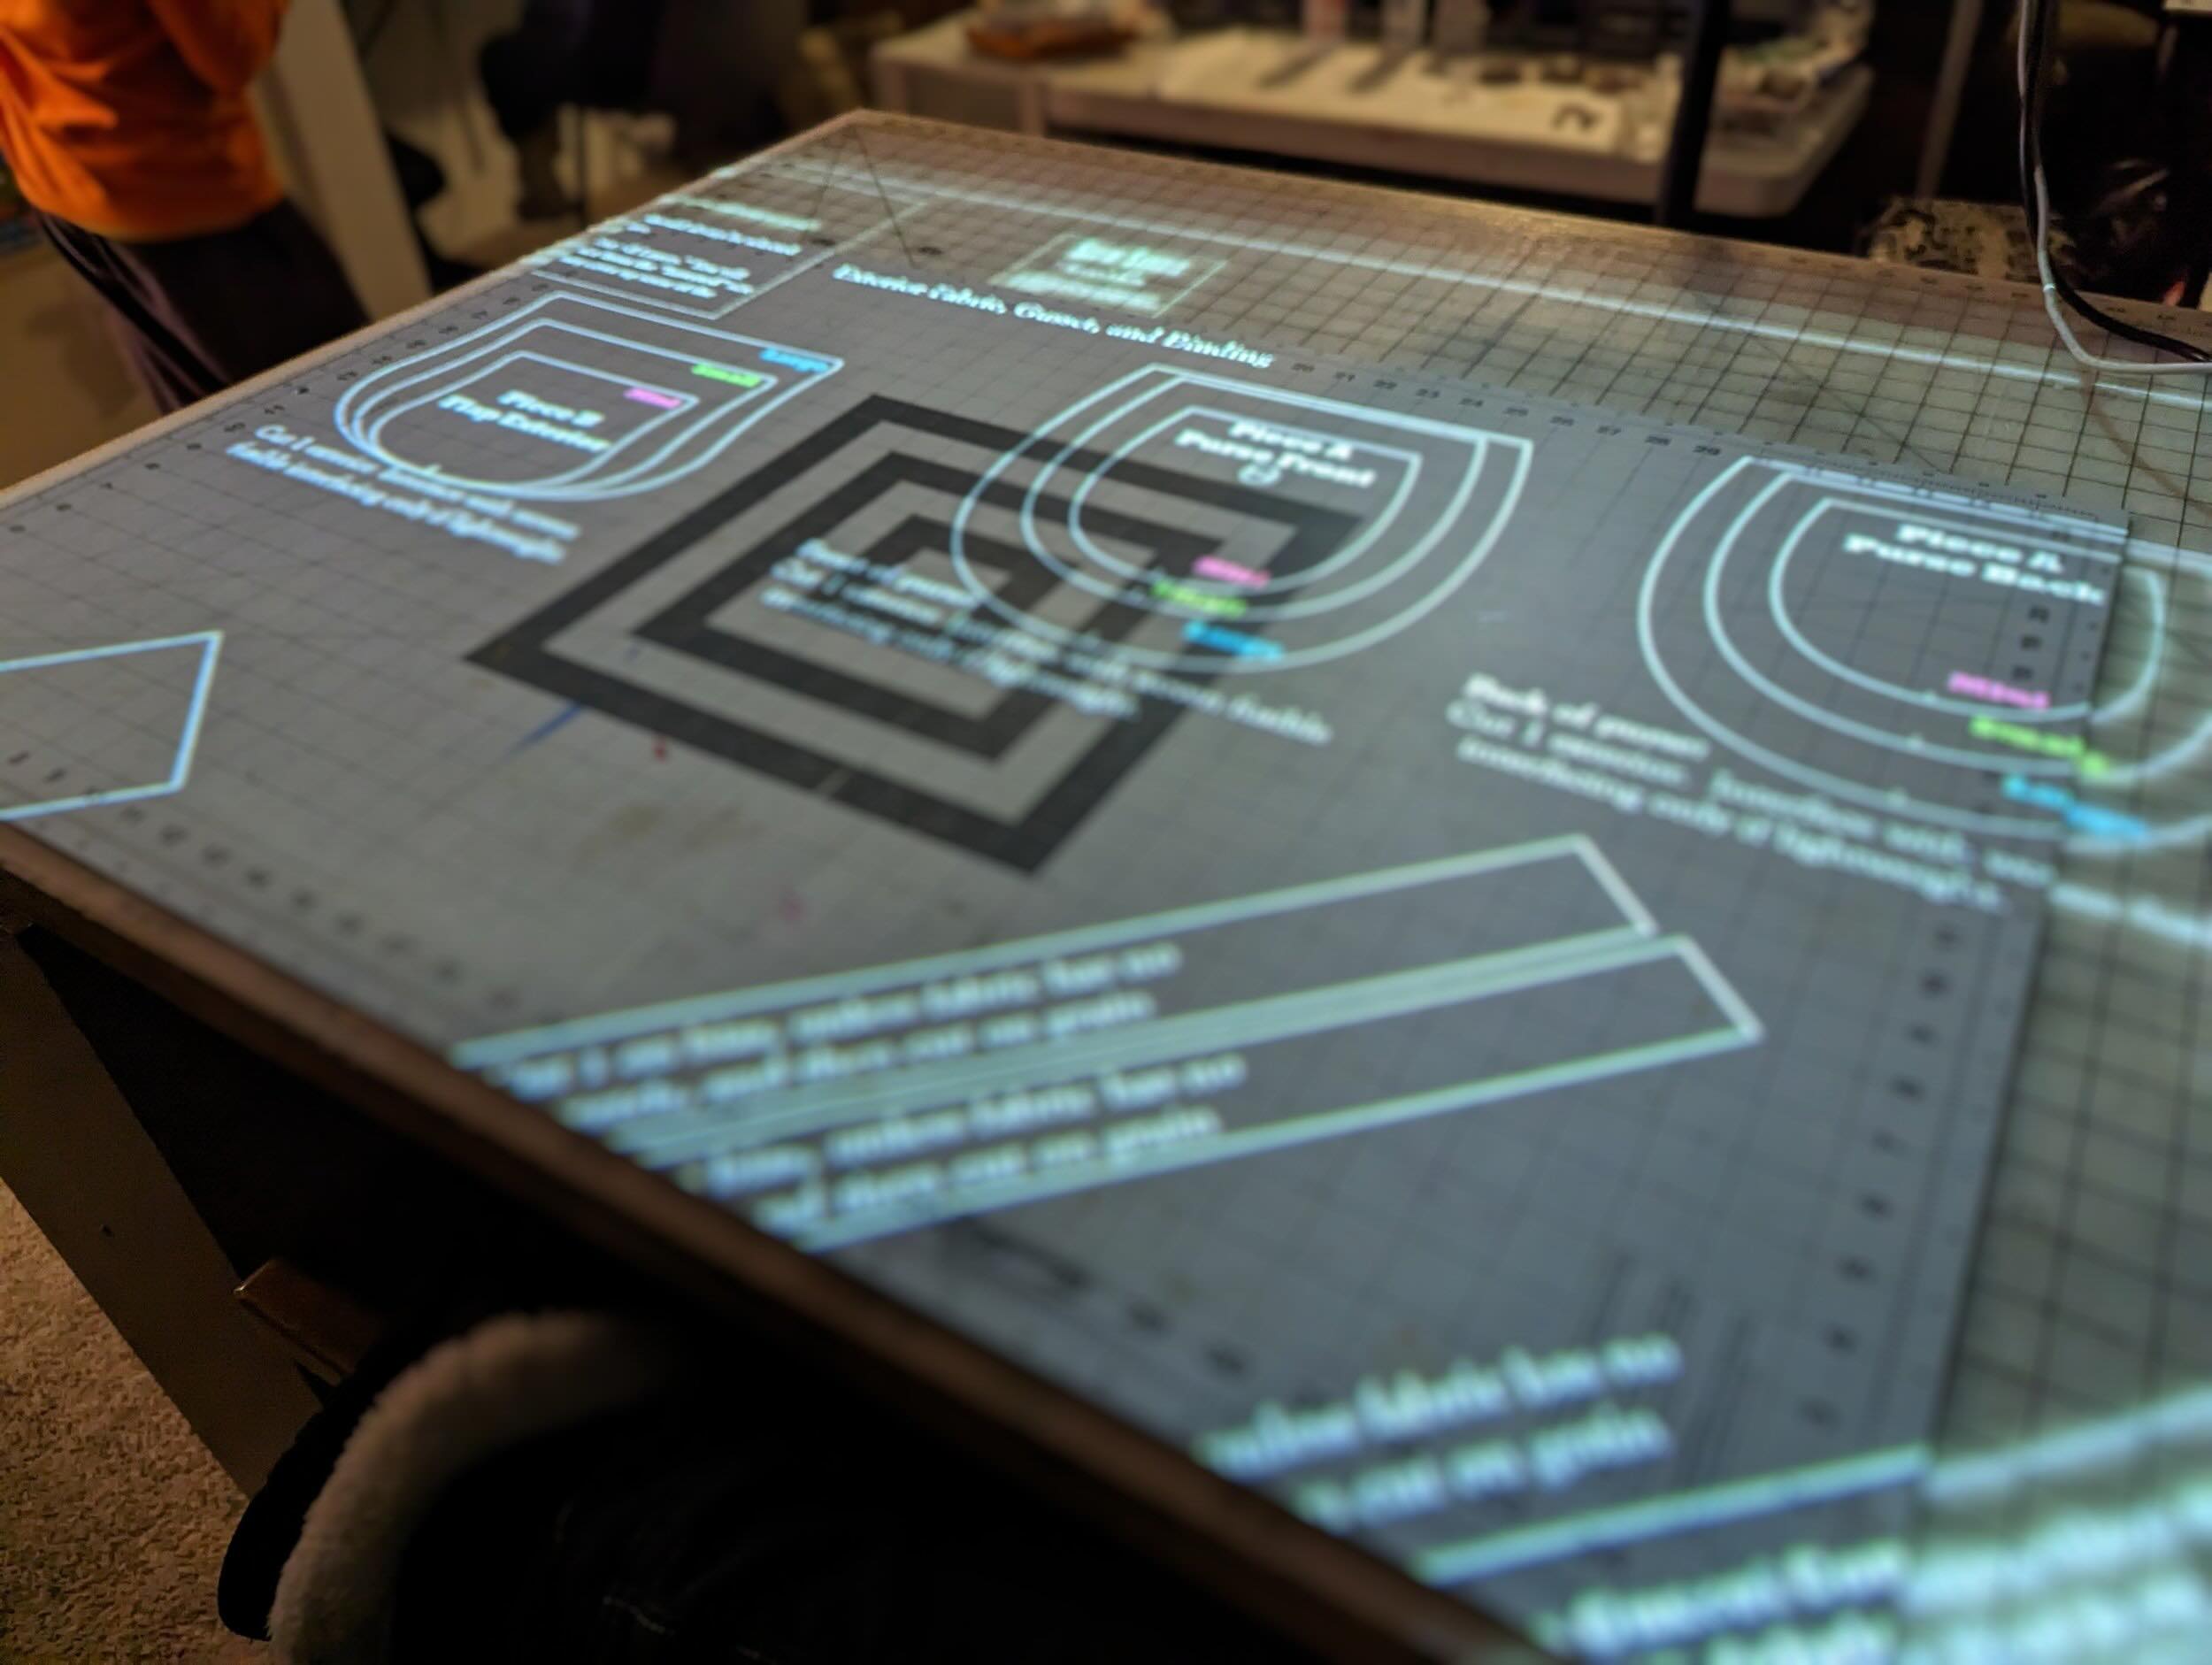
When using a projector to trace art, make sure the room is dark to see the image clearly. Adjust the focus and size of the image to fit your canvas. Use a pencil to trace the outlines accurately.
Tracing Your Artwork
With the projector and artwork meticulously set up, it’s time to embark on the captivating process of tracing your artwork. Follow these steps to ensure a smooth and rewarding tracing experience:
- Positioning: Situate yourself comfortably in front of the projected artwork, ensuring that your tracing surface is within easy reach and at an optimal angle for tracing. Maintain a steady posture to facilitate precise and controlled tracing movements.
- Tracing Tools: Equip yourself with suitable tracing tools, such as fine-tipped pencils, pens, or markers, depending on the intricacy and scale of your artwork. Choose tools that allow for detailed and controlled tracing without smudging or distorting the projected image.
- Start with Outlines: Begin tracing the outlines and defining features of your artwork, focusing on capturing the essential elements and proportions. Take your time to ensure accuracy, adjusting the projection brightness or ambient lighting if necessary to enhance visibility.
- Capture Details: Gradually work on intricate details, textures, and shading as you progress with the tracing process. Leverage the projected image’s clarity to replicate subtle nuances and fine details with precision, infusing depth and intricacy into your traced artwork.
- Refinement and Corrections: Periodically assess your traced artwork’s fidelity to the original, making refinements and corrections as needed. Pay attention to proportions, line consistency, and overall accuracy, refining your traced rendition to closely mirror your artistic vision.
- Enjoy the Creative Process: Embrace the art-tracing process as an opportunity to immerse yourself in the details and intricacies of your artwork. Explore the interplay of light and shadow, textures, and contours, allowing the projected image to guide your creative expression while infusing your artistic flair into the traced rendition.
Tracing your artwork with a projector offers a unique and immersive creative journey, allowing you to meticulously translate your original creation onto the tracing surface with enhanced precision and scale. Embrace the art-tracing process as a harmonious fusion of technology and artistic expression, culminating in a captivating and faithful rendition of your imaginative work.
Read more: How To Trace An Electrical Wire
Tips and Tricks
Embarking on the art-tracing journey with a projector opens up a world of creative possibilities. To further enhance your tracing experience and elevate the quality of your traced artwork, consider the following tips and tricks:
- Utilize Grids or Overlays: For complex compositions or precise proportions, consider using grid patterns or overlays to aid in accurate placement and scaling of elements during the tracing process.
- Experiment with Transparency: Explore the use of translucent or semi-opaque tracing papers to overlay multiple traced layers, allowing you to refine and composite intricate details with ease.
- Optimize Ambient Lighting: Adjust the ambient lighting in your workspace to minimize glare and enhance the visibility of the projected artwork, creating an optimal environment for focused and detailed tracing.
- Explore Artistic Filters: Experiment with the projector’s built-in artistic filters or image enhancement features to alter the projected image’s appearance, offering creative reinterpretations and inspiring new artistic directions.
- Document Your Process: Capture the progression of your art-tracing endeavor through photographs or time-lapse recordings, allowing you to reflect on your creative journey and share insights into your artistic process.
- Embrace Iterative Tracing: Consider tracing your artwork in multiple iterations, refining and embellishing different aspects with each tracing layer to achieve a multidimensional and meticulously detailed final rendition.
- Incorporate Mixed Media: Combine traditional and digital art techniques by integrating the traced artwork into mixed media compositions, merging the tactile charm of hand-drawn elements with digital precision.
- Seek Inspiration from Projection Art: Explore the realm of projection art and multimedia installations to draw inspiration from innovative uses of projected imagery, sparking fresh perspectives and creative insights for your art-tracing endeavors.
By integrating these tips and tricks into your art-tracing repertoire, you can expand the scope of your creative exploration and infuse your traced artwork with depth, intricacy, and imaginative flair. Embrace experimentation and innovation as you harness the power of projection to breathe life into your artistic vision with unparalleled precision and creativity.
Conclusion
As we conclude our exploration of using a projector to trace art, it’s evident that this innovative approach has the potential to revolutionize the way artists bring their creations to life. The seamless fusion of technology and artistic expression empowers creators to amplify the scale, precision, and intricacy of their artwork, opening doors to new realms of creative exploration.
By carefully selecting the right projector, meticulously setting up the artwork, and mastering the art-tracing process, artists can embark on a captivating journey that transcends traditional artistic boundaries. The marriage of projection technology and artistic ingenuity paves the way for immersive and detailed renditions that faithfully capture the essence and vision of the original artwork.
As you venture into the realm of art projection and tracing, remember to embrace the process as a harmonious collaboration between your artistic sensibilities and the capabilities of modern technology. Let the projected imagery guide your hand as you infuse your creative spirit into the traced rendition, resulting in a harmonious synthesis of traditional artistry and contemporary innovation.
Whether you’re embarking on a large-scale mural project, translating intricate sketches onto canvas, or exploring new dimensions of artistic expression, the art-tracing journey with a projector offers boundless opportunities for creativity and precision. Embrace the process with an open mind, experiment with different techniques, and allow the art of projection to elevate your artistic endeavors to new heights.
As you delve into the captivating world of art projection and tracing, remember that the journey itself is as enriching as the final traced artwork. Embrace the nuances, details, and creative revelations that unfold during the tracing process, and celebrate the seamless fusion of technology and artistry as you breathe life into your imaginative creations with unparalleled precision and scale.
Frequently Asked Questions about How To Use A Projector To Trace Art
Was this page helpful?
At Storables.com, we guarantee accurate and reliable information. Our content, validated by Expert Board Contributors, is crafted following stringent Editorial Policies. We're committed to providing you with well-researched, expert-backed insights for all your informational needs.


0 thoughts on “How To Use A Projector To Trace Art”