Home>Technology>Home Entertainment Systems>How To Use ViewSonic Projector
Home Entertainment Systems
How To Use ViewSonic Projector
Modified: August 28, 2024
Learn how to enhance your home entertainment system with our guide on using ViewSonic projectors. Discover tips and tricks for an immersive viewing experience.
(Many of the links in this article redirect to a specific reviewed product. Your purchase of these products through affiliate links helps to generate commission for Storables.com, at no extra cost. Learn more)
Introduction
Welcome to the world of home entertainment systems, where the ViewSonic projector takes center stage as a versatile and powerful device that can transform your living space into a captivating theater experience. Whether you're a movie buff, a gaming enthusiast, or a professional in need of a reliable presentation tool, the ViewSonic projector offers an array of features designed to meet your diverse needs.
In this comprehensive guide, we will delve into the various aspects of using a ViewSonic projector, from the initial setup to troubleshooting common issues that may arise. By the end of this article, you will have a solid understanding of how to maximize the potential of your ViewSonic projector, unlocking its full capabilities to elevate your entertainment and professional endeavors.
The ViewSonic projector is renowned for its exceptional image quality, user-friendly interface, and seamless connectivity options, making it a popular choice among consumers seeking a reliable and immersive viewing experience. Whether you're hosting a movie night with friends, delivering a compelling presentation at work, or indulging in the latest video game releases, the ViewSonic projector is poised to deliver stunning visuals and crisp audio to enhance your overall experience.
In the following sections, we will explore the step-by-step process of setting up the ViewSonic projector, connecting it to various devices, adjusting image and display settings to achieve optimal viewing conditions, and mastering the functionality of the remote control. Additionally, we will address common troubleshooting issues, ensuring that you are equipped with the knowledge to overcome technical challenges and make the most of your ViewSonic projector.
So, without further ado, let's embark on this exciting journey into the realm of home entertainment and professional presentations, where the ViewSonic projector stands ready to elevate your visual experiences to new heights. Whether you're a seasoned technophile or a novice enthusiast, this guide will equip you with the essential know-how to unleash the full potential of your ViewSonic projector, bringing your favorite content to life in stunning detail and vibrant color.
Key Takeaways:
- Elevate your home entertainment with ViewSonic projector’s easy setup, versatile device connections, and stunning image adjustments for an immersive visual experience.
- Master the ViewSonic projector’s remote control and troubleshoot common issues to ensure uninterrupted enjoyment of movies, games, and presentations.
Read more: Optoma Projector: How To Use
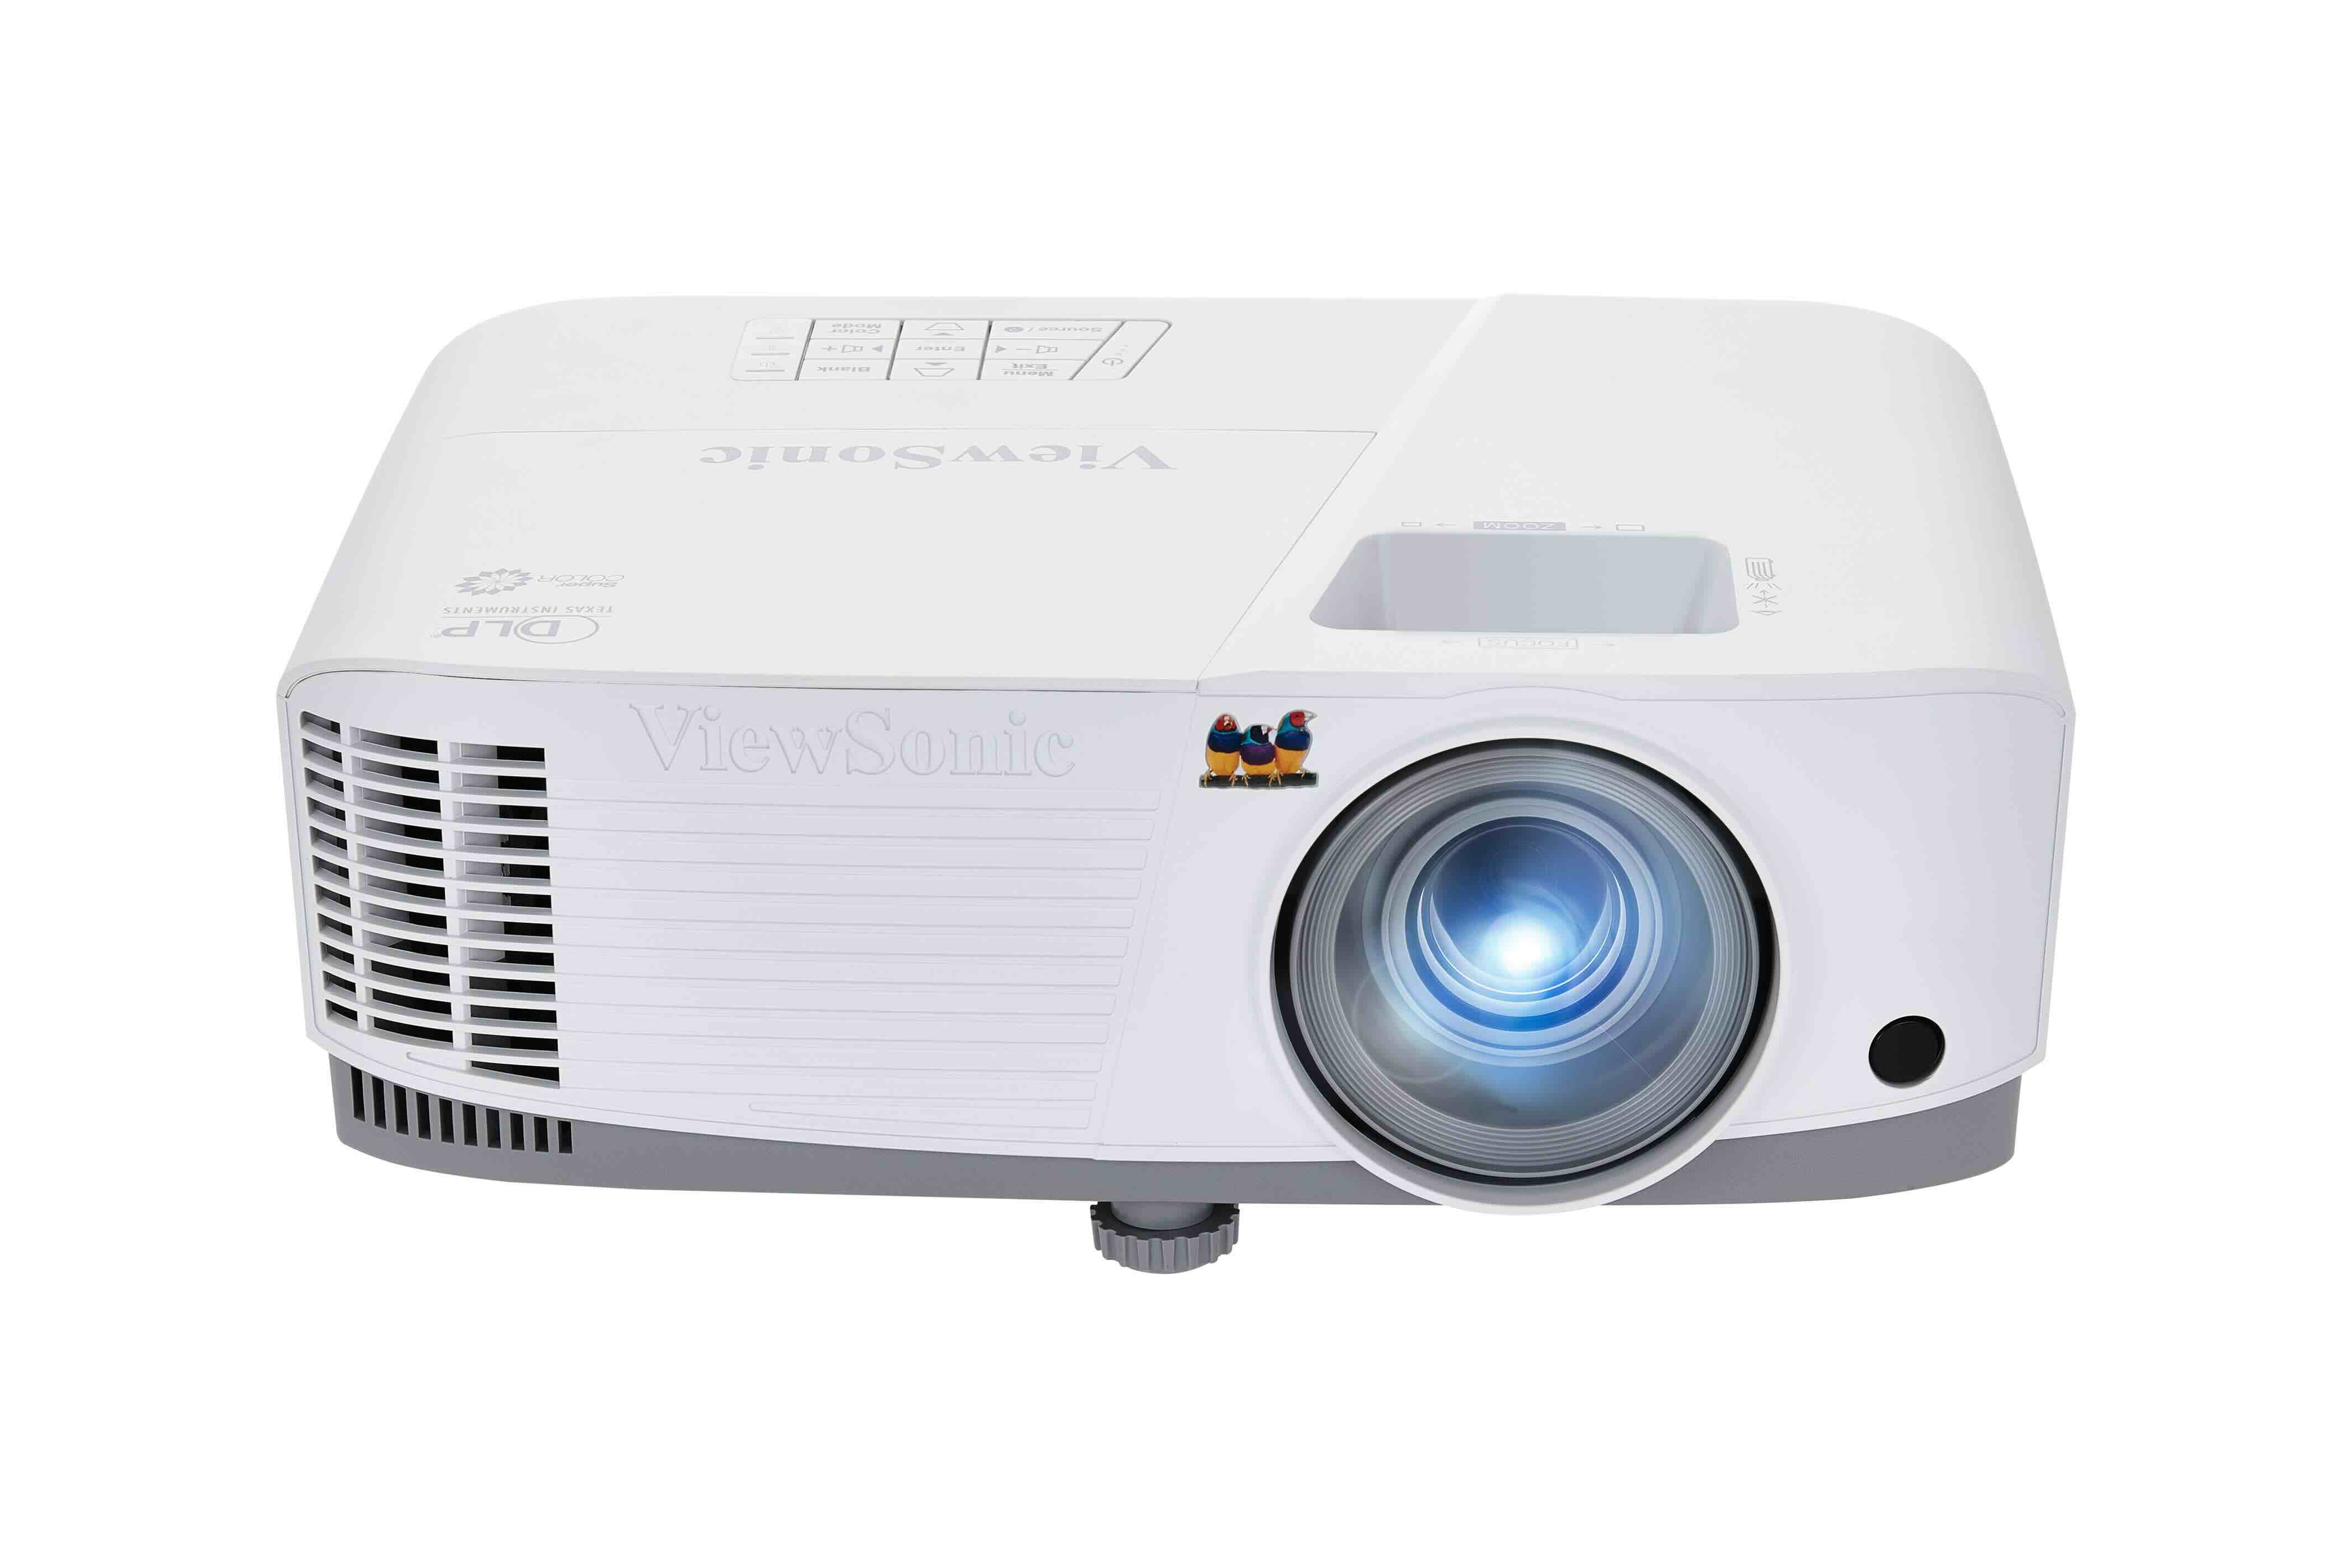
Setting Up the ViewSonic Projector
Before immersing yourself in the captivating world of visuals and sound that the ViewSonic projector offers, it is essential to ensure a seamless and proper setup. The following step-by-step guide will walk you through the process of setting up your ViewSonic projector, allowing you to unleash its full potential with ease.
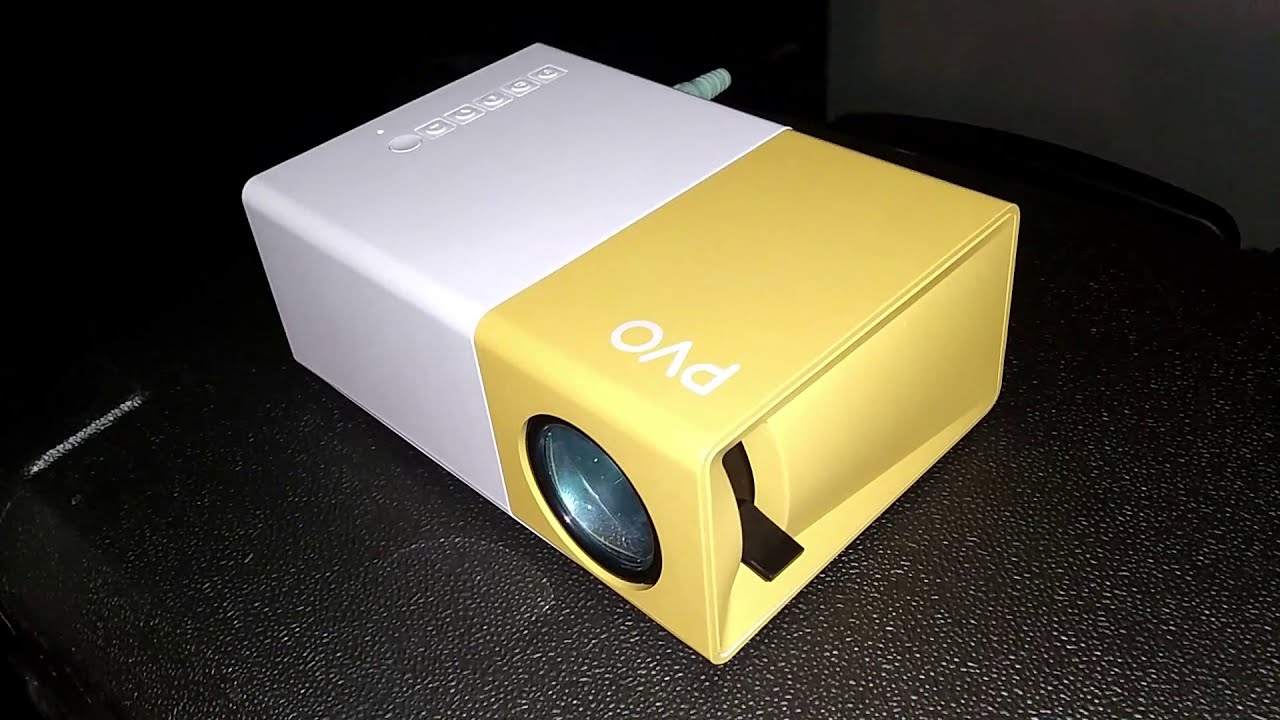
- Choose the Ideal Location: Select a suitable location for your ViewSonic projector, ensuring that it is positioned on a stable surface and has sufficient space for ventilation. Consider factors such as screen size, viewing distance, and ambient lighting to optimize the viewing experience.
- Connect the Power Source: Begin by connecting the power cord to the ViewSonic projector and plugging it into a power outlet. Ensure that the power source is stable and reliable to prevent interruptions during usage.
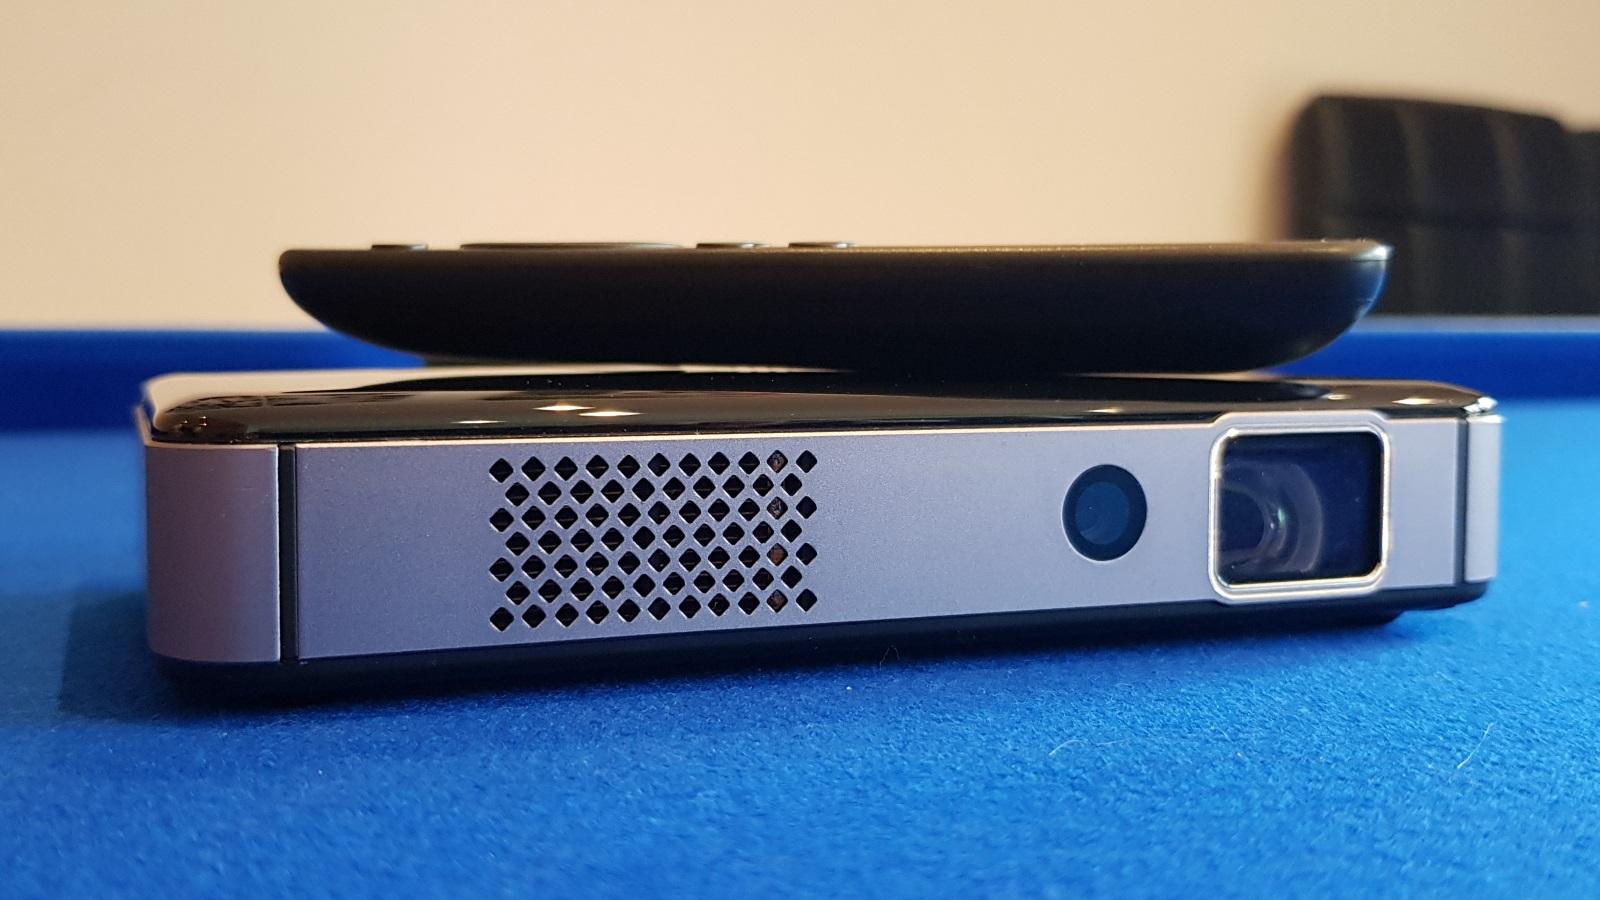
- Adjust the Lens and Focus: Position the projector at the desired distance from the screen or projection surface, then adjust the lens to achieve the appropriate image size. Use the focus ring to sharpen the image until it reaches optimal clarity.
- Connect External Devices: If you plan to connect external devices, such as a Blu-ray player, gaming console, or laptop, ensure that the necessary cables and adapters are readily available. The ViewSonic projector offers a range of connectivity options, including HDMI, VGA, and USB ports, allowing seamless integration with various devices.
By following these straightforward steps, you can set up your ViewSonic projector efficiently, creating the foundation for a mesmerizing visual experience. The next phase involves connecting the projector to your preferred devices, enabling you to unleash a world of captivating content and immersive entertainment.
Connecting the Projector to a Device
Once your ViewSonic projector is set up in its designated location, the next crucial step is to establish seamless connections with your preferred devices. Whether you intend to stream movies, play video games, or deliver impactful presentations, the ViewSonic projector offers versatile connectivity options to accommodate a wide range of devices. Let’s explore the process of connecting the projector to various devices, unlocking a world of captivating content and immersive experiences.
- HDMI Connection: For high-definition digital connectivity, utilize the HDMI port on the ViewSonic projector to connect to devices such as Blu-ray players, gaming consoles, or streaming devices. Simply plug one end of the HDMI cable into the projector’s HDMI port and the other end into the HDMI output of your device, ensuring a secure and snug connection.
- VGA Connection: If you are connecting older devices or computers to the projector, the VGA port offers a reliable analog connection. Use a VGA cable to link the device’s VGA output to the projector’s VGA port, providing a stable connection for video and audio transmission.
- USB Multimedia Playback: The USB port on the ViewSonic projector allows for convenient multimedia playback from compatible devices such as USB flash drives or external hard drives. Simply insert the USB storage device into the projector, and you can access and enjoy a wide array of multimedia content directly on the big screen.
- Wireless Streaming (Optional): Some ViewSonic projector models offer wireless connectivity options, enabling seamless streaming from compatible devices. Utilize the projector’s wireless features to mirror content from smartphones, tablets, or laptops, enhancing flexibility and convenience in accessing and displaying your preferred media.
By leveraging these connectivity options, you can seamlessly integrate the ViewSonic projector with your preferred devices, unlocking a world of captivating content and immersive experiences. Whether you’re indulging in cinematic adventures, engaging in thrilling gaming sessions, or delivering impactful presentations, the ViewSonic projector stands ready to elevate your visual experiences to new heights.
Adjusting the Image and Display Settings
With your ViewSonic projector set up and connected to your preferred devices, the next crucial step is to optimize the image and display settings to achieve stunning visuals tailored to your specific preferences and viewing environment. By fine-tuning these settings, you can ensure that your content is presented with exceptional clarity, vibrant colors, and optimal brightness. Let’s explore the process of adjusting the image and display settings on your ViewSonic projector to unlock its full visual potential.
- Aspect Ratio and Keystone Correction: Begin by adjusting the aspect ratio to match the native resolution of your content, ensuring that images and videos are displayed in their intended dimensions. Additionally, utilize keystone correction features to align the projected image if the projector is not perfectly centered or level with the screen.
- Brightness and Contrast: Tailor the brightness and contrast settings to achieve an optimal balance, taking into account ambient lighting conditions and the type of content being displayed. Adjust these settings to enhance image clarity and ensure that dark and bright elements are rendered with precision.
- Color Calibration: Fine-tune the color settings to achieve accurate and vibrant color reproduction. Utilize color temperature adjustments and color enhancement features to create a visually captivating experience that brings your content to life with rich and lifelike hues.
- Image Sharpness and Clarity: Use the projector’s sharpness and clarity controls to refine the focus and detail of the projected image. Adjust these settings to ensure that text, graphics, and visuals are presented with crispness and precision, enhancing overall image quality.
By carefully adjusting these image and display settings, you can elevate the visual experience delivered by your ViewSonic projector, ensuring that your favorite content is presented with exceptional clarity, vibrancy, and precision. Whether you’re enjoying blockbuster movies, immersing yourself in gaming adventures, or delivering compelling presentations, the optimized image and display settings will enhance every moment, bringing your content to life in stunning detail.
When setting up a ViewSonic projector, make sure to connect all necessary cables, power on the projector, and select the correct input source using the remote or control panel. Adjust the focus and keystone correction for a clear image.
Using the Remote Control
The remote control serves as a versatile and essential tool for navigating the features and settings of your ViewSonic projector with convenience and precision. Whether you’re adjusting display settings, accessing multimedia content, or navigating through presentation slides, the remote control empowers you to interact seamlessly with the projector’s functionality. Let’s explore the various capabilities and functions of the remote control, allowing you to harness its full potential for an enhanced user experience.
Key Functions and Navigation:
- Menu Navigation: Use the directional buttons on the remote control to navigate through the projector’s menu system, accessing a wide array of settings and features with intuitive control.
- Source Selection: Easily switch between different input sources, such as HDMI, VGA, or USB, to access content from various connected devices using the dedicated source selection buttons.
- Volume and Audio Control: Adjust the audio output and volume levels directly from the remote control, fine-tuning the sound to complement your viewing or presentation experience.
- Keystone Correction and Image Adjustment: Access keystone correction and image adjustment controls to refine the projected image’s alignment and visual characteristics, ensuring optimal viewing quality.
Specialized Functions and Shortcuts:
- Shortcut Buttons: Some remote controls feature dedicated shortcut buttons for quick access to specific functions, such as picture modes, aspect ratio adjustments, and multimedia playback controls.
- Remote Mouse Control (Optional): Certain ViewSonic projector models offer remote control functionality with a built-in mouse feature, allowing for precise cursor control and seamless interaction with on-screen content during presentations or multimedia playback.
By mastering the functionality of the remote control, you can effortlessly navigate the features and settings of your ViewSonic projector, customizing the viewing experience to suit your preferences and content requirements. Whether you’re fine-tuning display settings, switching between input sources, or accessing multimedia playback controls, the remote control serves as a versatile companion, empowering you to interact with your projector with ease and precision.
Read more: How To Use An RCA Projector
Troubleshooting Common Issues
While the ViewSonic projector is designed to deliver seamless and immersive visual experiences, occasional technical challenges may arise. By familiarizing yourself with common issues and their solutions, you can effectively troubleshoot and resolve potential hiccups, ensuring that your viewing or presentation experience remains uninterrupted. Let’s explore some common issues that users may encounter with their ViewSonic projectors and the corresponding troubleshooting steps to address them.
- No Image or Display: If the projector fails to display an image, verify that the input source is correctly connected and active. Check the projector’s input settings and ensure that the correct input source is selected. Additionally, confirm that the projector’s lens cap is removed, and the projection surface is compatible with the projector’s specifications.
- Audio Troubleshooting: In the event of audio issues, ensure that the audio cables are securely connected, and the volume levels are adjusted appropriately. Check the audio output settings on both the projector and the connected device to ensure compatibility and proper configuration.
- Overheating and Ventilation: If the projector exhibits signs of overheating, verify that the ventilation pathways are unobstructed and that the projector is placed in a well-ventilated area. Clean the projector’s air filters and ensure that the cooling fans are functioning correctly to prevent overheating issues.
- Remote Control Connectivity: If the remote control is unresponsive, replace the batteries with fresh ones and ensure that there are no obstructions between the remote control and the projector’s infrared receiver. If available, consider re-pairing the remote control with the projector to establish a reliable connection.
- Color or Image Quality Issues: To address color inaccuracies or image quality issues, review the projector’s display settings and perform color calibration adjustments to enhance visual fidelity. Ensure that the input source’s resolution and output settings are compatible with the projector’s specifications for optimal image quality.
By addressing these common issues through systematic troubleshooting steps, you can maintain the optimal performance of your ViewSonic projector, ensuring that technical challenges are swiftly resolved to preserve your viewing and presentation experiences. In the rare event of persistent issues, consult the projector’s user manual or contact ViewSonic’s customer support for expert assistance and guidance.
Conclusion
Congratulations on embarking on a journey into the realm of home entertainment and professional presentations with the versatile and powerful ViewSonic projector. Throughout this comprehensive guide, we’ve explored the essential aspects of using a ViewSonic projector, from the initial setup to troubleshooting common issues, equipping you with the knowledge and insights to unleash the full potential of this remarkable device.
By following the step-by-step instructions for setting up the ViewSonic projector, connecting it to various devices, and adjusting image and display settings, you have laid the foundation for a captivating visual experience tailored to your preferences and content requirements. Whether you’re indulging in cinematic adventures, immersing yourself in gaming thrills, or delivering impactful presentations, the ViewSonic projector stands ready to elevate your visual experiences to new heights.
Furthermore, mastering the functionality of the remote control empowers you to navigate the projector’s features with precision and convenience, while familiarizing yourself with troubleshooting techniques ensures that potential technical challenges are swiftly addressed, allowing you to enjoy uninterrupted viewing and presentation experiences.
As you continue to explore the possibilities offered by your ViewSonic projector, remember that the journey of discovery and enjoyment is ongoing. Experiment with different content types, fine-tune the settings to suit various environments, and relish the immersive and captivating experiences that the ViewSonic projector brings to your home or professional space.
Should you encounter any further questions or seek additional guidance, the ViewSonic community and customer support are valuable resources, ready to assist you in maximizing the potential of your projector and enhancing your visual experiences. Embrace the versatility, reliability, and stunning visual performance of the ViewSonic projector as you embark on countless hours of entertainment, learning, and professional presentations.
With your ViewSonic projector as your visual companion, the possibilities are boundless, and the experiences are bound to be extraordinary. Here’s to the countless moments of joy, inspiration, and visual splendor that await as you immerse yourself in the captivating world of home entertainment and professional presentations with your ViewSonic projector.
Frequently Asked Questions about How To Use ViewSonic Projector
Was this page helpful?
At Storables.com, we guarantee accurate and reliable information. Our content, validated by Expert Board Contributors, is crafted following stringent Editorial Policies. We're committed to providing you with well-researched, expert-backed insights for all your informational needs.


0 thoughts on “How To Use ViewSonic Projector”