Home>Technology>Security & Surveillance>How To Change Door Knob With Lock

Security & Surveillance
How To Change Door Knob With Lock
Modified: August 27, 2024
Learn how to enhance your home security with our step-by-step guide on changing a door knob with a lock. Upgrade your security and surveillance today!
(Many of the links in this article redirect to a specific reviewed product. Your purchase of these products through affiliate links helps to generate commission for Storables.com, at no extra cost. Learn more)
**
Introduction
**
Welcome to the world of home security and DIY home improvement! Whether you've recently moved into a new home or are simply looking to upgrade your existing door hardware, knowing how to change a door knob with a lock is a valuable skill that can enhance both the aesthetic appeal and security of your living space.
In this comprehensive guide, we will walk you through the step-by-step process of replacing a door knob with a built-in lock. By following these instructions, you can take control of your home security and gain the satisfaction of completing a practical home improvement project on your own.
Changing a door knob may seem like a daunting task, especially for those who are new to DIY projects. However, with the right tools, materials, and guidance, you can successfully tackle this project with confidence. Not only will you gain a sense of accomplishment, but you will also have the opportunity to customize your door hardware to better suit your personal style and security needs.
So, roll up your sleeves, gather your tools, and let's embark on this journey to upgrade your home's security and aesthetic appeal by learning how to change a door knob with a lock. With a bit of patience and attention to detail, you'll soon be enjoying the enhanced functionality and peace of mind that comes with a newly installed door knob.
Key Takeaways:
- Changing a door knob with a lock is a manageable and rewarding DIY project that enhances home security and adds a personalized touch to your living space. With the right tools and guidance, you can upgrade your door hardware with confidence.
- By following step-by-step instructions, you can successfully install a new door knob with a lock, ensuring reliable and stylish security for your home. Enjoy the peace of mind and satisfaction that comes with a secure and stylish entryway.
Read more: How To Install A Door Knob With A Lock
Tools and Materials Needed
Before you begin the process of changing a door knob with a lock, it’s essential to gather the necessary tools and materials. Having the right equipment at your disposal will ensure a smooth and efficient transition from the old door knob to the new one.
Tools:
- Screwdriver: A flathead or Phillips screwdriver, depending on the type of screws used in your existing door knob assembly.
- Allen Wrench: If your door knob has set screws, an Allen wrench will be required to loosen and remove them.
- Tape Measure: To ensure the new door knob and lockset fit properly, it's helpful to measure the existing holes and dimensions on the door.
- Hammer: In case the old door knob is stubborn and requires gentle tapping to loosen it from the door.
- Utility Knife: Useful for removing any paint or debris around the edge of the door where the latch and strike plate are installed.
- Optional: Power Drill – If you're replacing the strike plate or need to make new holes for the latch or strike plate, a power drill can be useful.
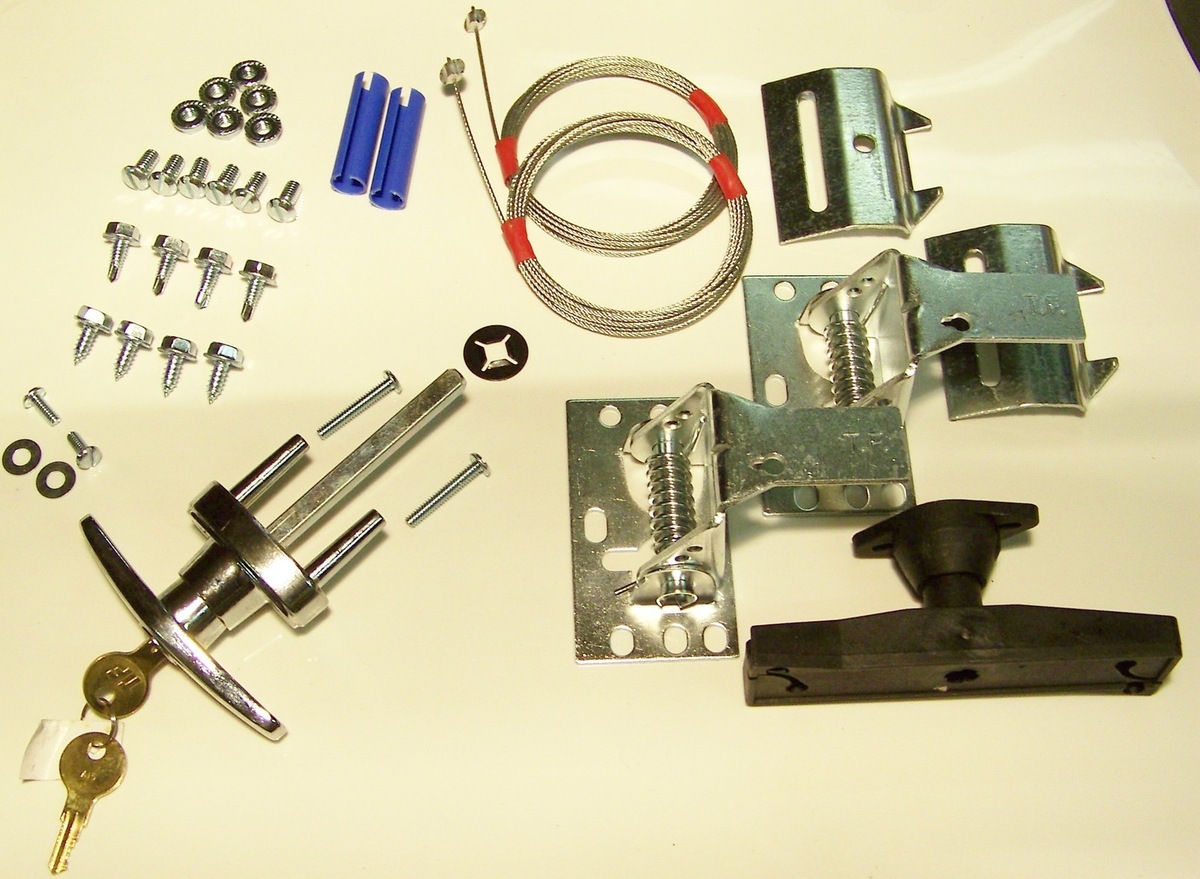
Materials:
- New Door Knob with Lock: Ensure you select a lockset that matches the door's boring and the style you desire.
- Latch and Strike Plate: If you're replacing the entire lockset, you may need a new latch and strike plate that are compatible with the new door knob.
- Screws: Check the new door knob's packaging to see if it includes the necessary screws. If not, ensure you have screws that are the appropriate length and type for your door.
- Wood Filler or Putty: In case the new door knob requires holes that are different from the existing ones, wood filler or putty can be used to fill the old holes before installing the new hardware.
By having these tools and materials prepared, you'll be fully equipped to begin the process of removing the old door knob and installing the new one with ease and confidence. With everything in hand, you're ready to take the next step towards enhancing the security and functionality of your door.
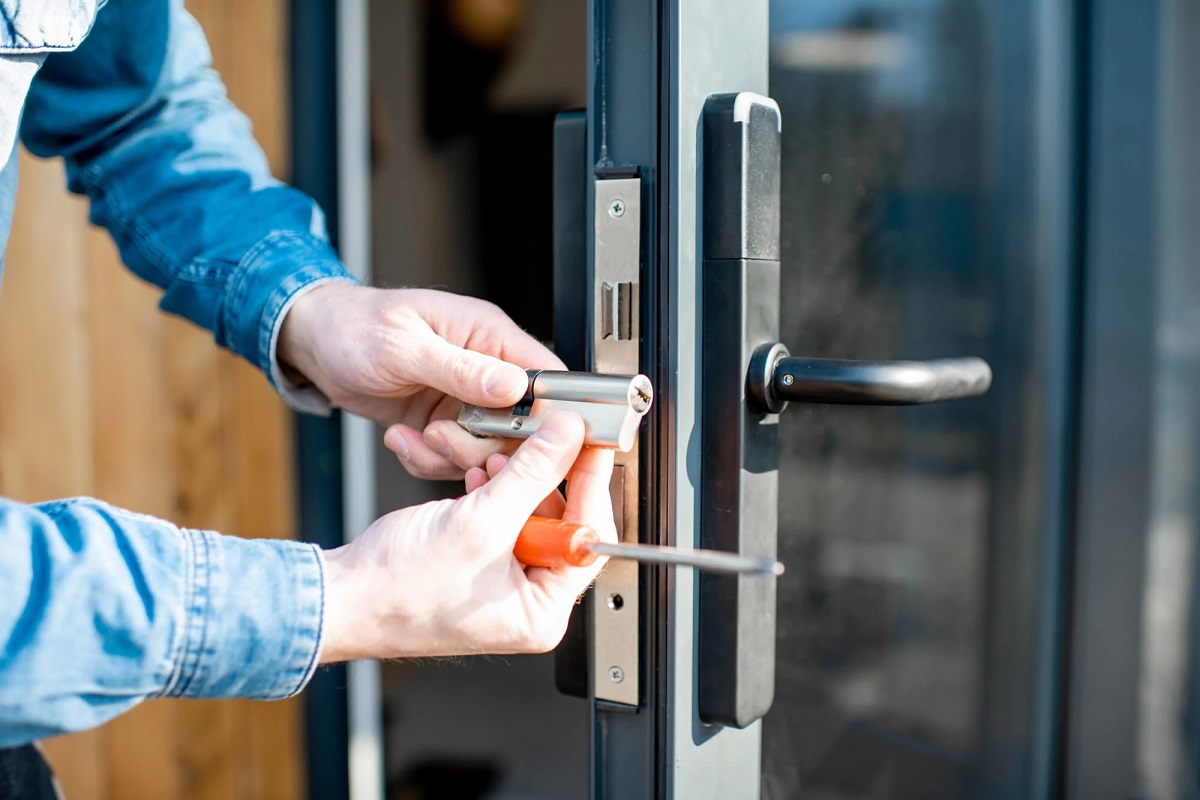
Removing the Old Door Knob
Now that you have gathered the necessary tools and materials, it’s time to embark on the first phase of the door knob replacement process: removing the old door knob. This step requires careful attention to detail and a systematic approach to ensure a smooth transition to the new hardware.
Step 1: Prepare the Work Area
Before beginning, ensure the area around the door is clear and free of any obstacles. This will provide you with ample space to maneuver and work comfortably as you remove the old door knob and prepare for the installation of the new one.
Step 2: Identify the Type of Door Knob
Examine the existing door knob to determine its specific type and mechanism. Door knobs can vary in design, and understanding the type you are working with will help you approach the removal process with greater confidence. Common types include knob-style door handles, lever-style door handles, and keyed entry knobs.
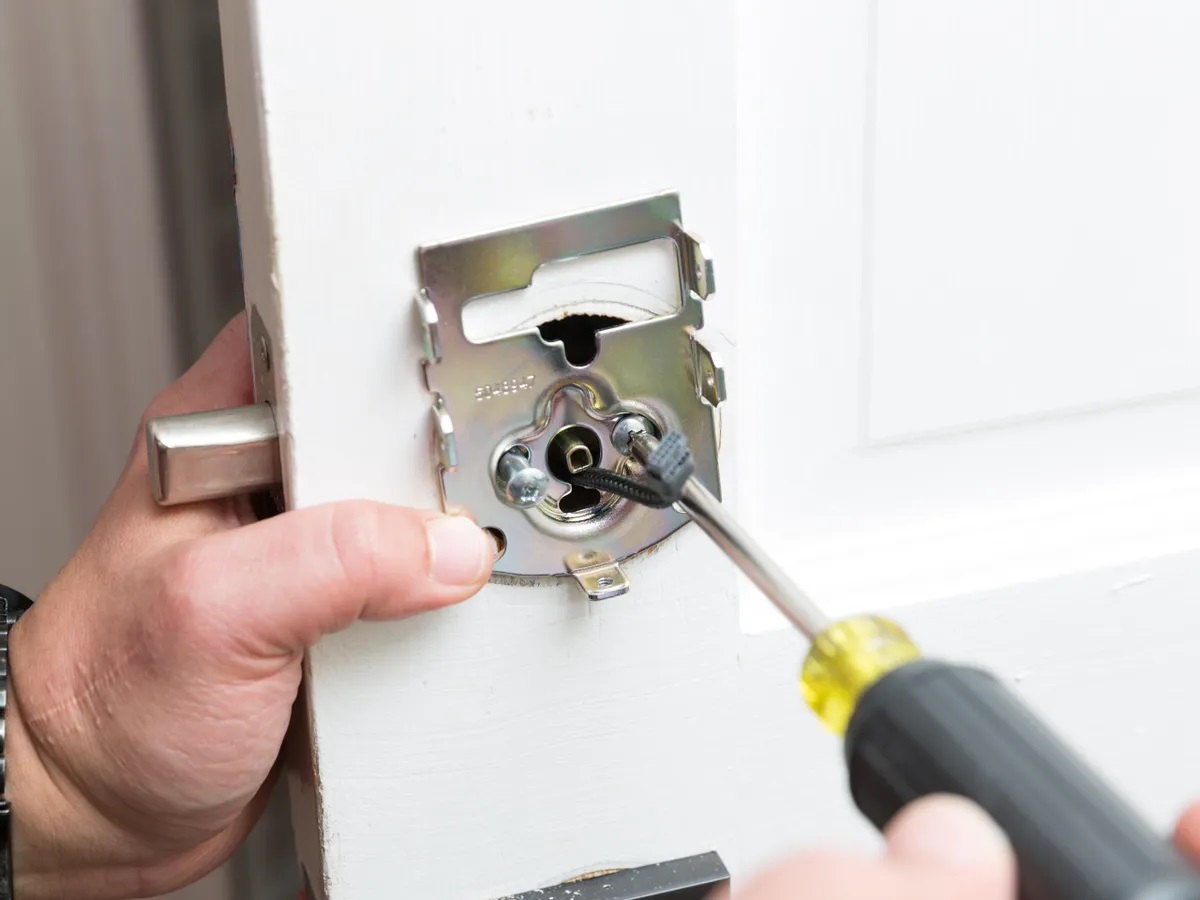
Step 3: Locate and Remove the Screws
Using the appropriate screwdriver, locate and remove the screws that secure the door knob to the door. In most cases, these screws are located on the interior side of the door. Once the screws are removed, gently pull the two knob halves apart to expose the latch mechanism.
Step 4: Remove the Latch Assembly
After separating the knob halves, you will need to remove the latch assembly from the edge of the door. This component is typically held in place by screws, which can be loosened and removed to free the latch from the door. Once the screws are removed, the latch assembly should slide out easily.
Step 5: Remove the Strike Plate
If you are replacing the entire lockset, you will also need to remove the strike plate from the door jamb. Using a screwdriver, carefully remove the screws securing the strike plate in place. With the screws removed, the strike plate can be detached, allowing for a clean slate to install the new hardware.
By following these steps with precision and care, you will successfully remove the old door knob and prepare the door for the installation of the new hardware. With the old components removed, you are now ready to move on to the exciting phase of installing the new door knob with a lock, bringing enhanced security and style to your door.
Before starting, make sure to have the right tools such as a screwdriver and a new door knob with a lock. Remove the old knob by unscrewing the screws and then install the new knob by following the manufacturer’s instructions.
Installing the New Door Knob
With the old door knob successfully removed, it’s time to usher in a new era of security and style by installing the new door knob. This phase of the process requires precision and attention to detail to ensure that the new hardware is installed correctly and functions seamlessly.
Step 1: Prepare the New Door Knob and Lockset
Before beginning the installation, unpack the new door knob and familiarize yourself with its components. Ensure that all the necessary parts, including the latch assembly and strike plate, are included and in good condition. Familiarizing yourself with the new hardware will streamline the installation process.
Step 2: Install the Latch Assembly
Begin by installing the latch assembly into the edge of the door. The latch should be inserted with the beveled side facing the direction the door closes. Secure the latch in place using the provided screws, ensuring that it sits flush and operates smoothly when the door is closed and opened.
Step 3: Attach the Exterior and Interior Knob Halves
With the latch assembly in place, align the exterior and interior knob halves on either side of the door. Ensure that the spindle of the interior knob fits into the latch mechanism. Once aligned, secure the two knob halves together using the provided screws, taking care not to over-tighten them.
Step 4: Install the Strike Plate
If you are replacing the entire lockset, position the new strike plate on the door jamb and secure it in place using the provided screws. The strike plate should align with the latch assembly to ensure a proper fit when the door is closed and locked.
Step 5: Test the Door Knob and Lock
Before considering the installation complete, test the functionality of the new door knob and lock. Ensure that the knob turns smoothly, the latch retracts and extends properly, and the lock mechanism engages and disengages as intended. This step is crucial to confirm that the new hardware is installed correctly and operates seamlessly.
By following these steps with care and attention to detail, you will successfully install the new door knob with a lock, elevating the security and aesthetic appeal of your door. With the new hardware in place, you can take pride in the enhanced functionality and peace of mind that comes with a freshly installed door knob.
Testing the New Door Knob
After installing the new door knob with a lock, it’s essential to conduct thorough testing to ensure that the hardware functions as intended. Testing the new door knob will allow you to verify its operational integrity and identify any potential issues that may require adjustment before considering the installation complete.
Step 1: Turning and Operating the Knob
Begin by testing the turning mechanism of the door knob. Ensure that the knob turns smoothly and without resistance, allowing for easy and effortless operation when opening and closing the door. Pay attention to any unusual sounds or sensations that may indicate misalignment or improper installation.
Step 2: Testing the Latch and Strike Plate Alignment
Close the door and test the alignment of the latch and strike plate. The latch should extend and retract smoothly when the door is closed and opened, engaging securely with the strike plate to hold the door in place. Verify that the latch aligns with the strike plate without any friction or obstruction.
Step 3: Engaging and Disengaging the Lock
If the new door knob includes a built-in lock, thoroughly test the lock mechanism to ensure that it engages and disengages as intended. Insert the key, if applicable, and confirm that it turns smoothly, locking and unlocking the door without any difficulty or resistance. Test the interior thumb turn or button to ensure it operates the lock smoothly from the inside.
Step 4: Checking for Secure Installation
After testing the operational aspects of the new door knob and lock, inspect the installation for secure and stable positioning. Verify that all components are firmly attached to the door and jamb, with no loose screws or wobbly hardware. Confirm that the strike plate aligns precisely with the latch and that there are no gaps or misalignments that could compromise security.
Step 5: Conducting a Final Visual Inspection
Conduct a visual inspection of the installed door knob and lock, ensuring that all components are aligned, properly seated, and aesthetically pleasing. Verify that the finish and style of the new hardware complement the door and surrounding decor, adding a touch of elegance and functionality to your living space.
By conducting thorough testing of the new door knob and lock, you can identify and address any potential issues before they escalate, ensuring that the installation is completed to the highest standards of quality and functionality. With the new hardware successfully installed and tested, you can enjoy the peace of mind and satisfaction that comes with a secure and stylish door knob.
Read more: How To Open A Door Knob Lock
Conclusion
Congratulations on successfully completing the process of changing a door knob with a lock! By following the step-by-step instructions outlined in this guide, you have not only enhanced the security of your home but also gained valuable DIY skills that can be applied to future home improvement projects.
Changing a door knob with a lock may initially seem like a daunting task, but with the right tools, materials, and guidance, it becomes a manageable and rewarding endeavor. By taking the initiative to upgrade your door hardware, you have demonstrated a commitment to both practical security measures and the aesthetic appeal of your living space.
As you reflect on the journey of replacing the old door knob with a new, stylish, and secure lockset, take pride in the sense of accomplishment that comes with completing a DIY project that directly contributes to the safety and functionality of your home. Your efforts have not only enhanced the security of your living space but have also added a personalized touch to your home’s entryways.
With the new door knob in place, you can enjoy the peace of mind that comes with knowing your home is equipped with reliable and stylish security hardware. The seamless operation of the new door knob and the smooth engagement of the lock provide reassurance that your home is well-protected and secure.
As you move forward, remember that the skills and knowledge gained from this project can be applied to future home improvement endeavors. Whether it’s installing new hardware, making repairs, or embarking on additional DIY projects, your newfound expertise will serve you well as you continue to enhance and personalize your living space.
Thank you for joining us on this journey to upgrade your home’s security and aesthetic appeal. We hope this guide has empowered you to take control of your home’s security and embark on future DIY projects with confidence and enthusiasm. With your newly installed door knob, may you enjoy the peace of mind and satisfaction that comes with a secure and stylish entryway to your home.
Frequently Asked Questions about How To Change Door Knob With Lock
Was this page helpful?
At Storables.com, we guarantee accurate and reliable information. Our content, validated by Expert Board Contributors, is crafted following stringent Editorial Policies. We're committed to providing you with well-researched, expert-backed insights for all your informational needs.


0 thoughts on “How To Change Door Knob With Lock”