Articles
How To Frame A Closet Door
Modified: October 19, 2024
Learn how to frame a closet door with our informative articles. Discover tips and techniques to create the perfect door for your closet.
(Many of the links in this article redirect to a specific reviewed product. Your purchase of these products through affiliate links helps to generate commission for Storables.com, at no extra cost. Learn more)
Introduction
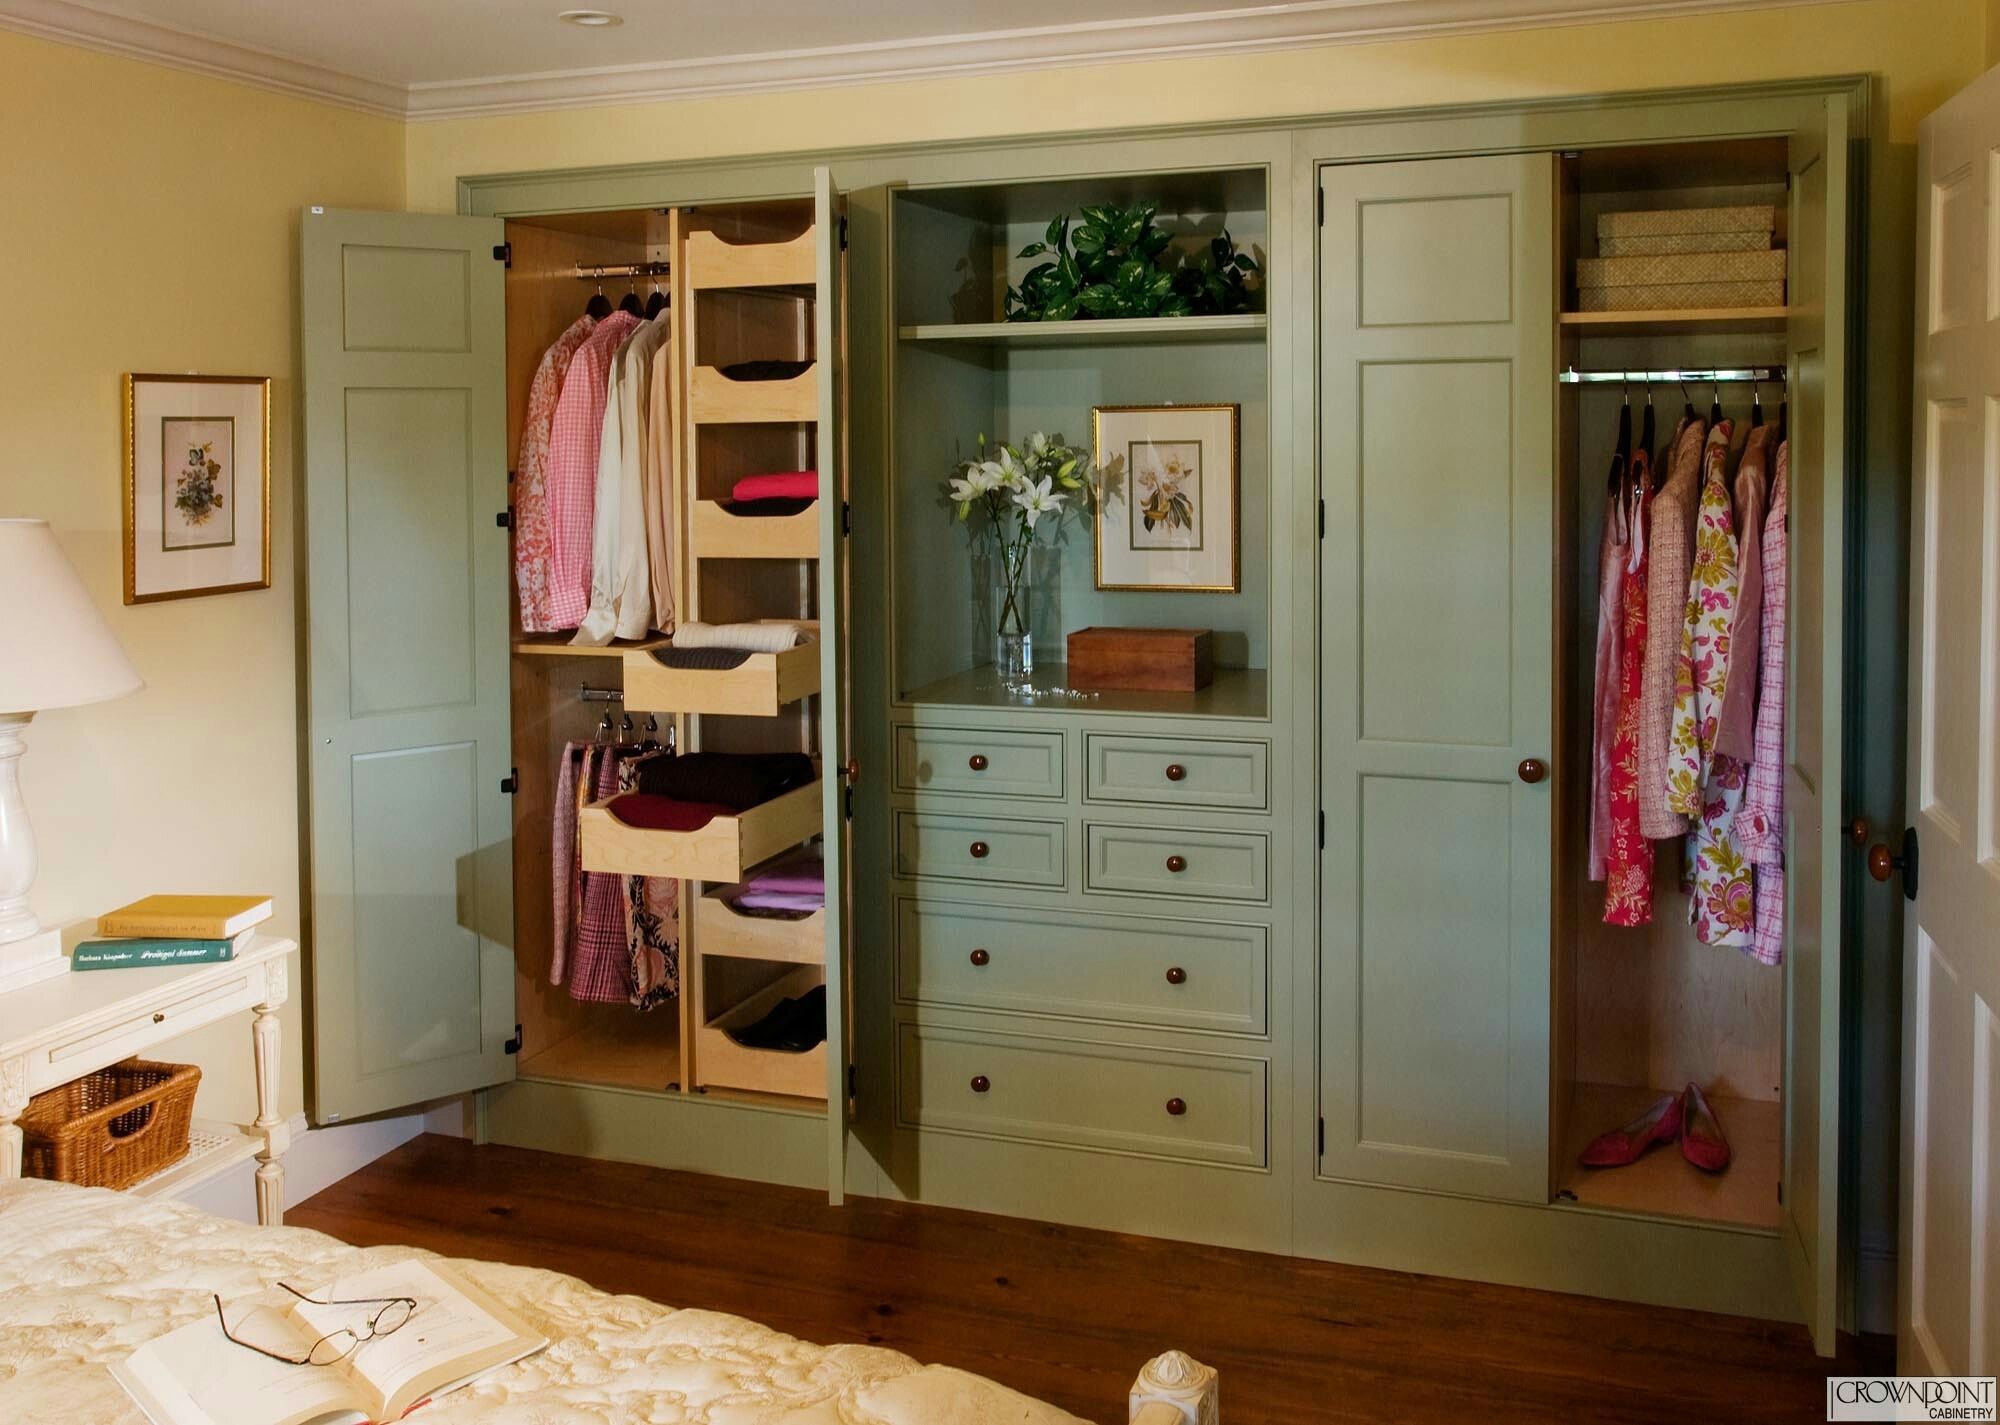
When it comes to home improvement projects, framing a closet door might not be the first thing that comes to mind. However, properly framing a closet door is essential for its structural integrity and functionality. Whether you’re replacing an old door or installing a new one, following the right steps will ensure a successful outcome.
Framing a closet door involves accurately measuring the door opening, selecting the appropriate door style and material, gathering the necessary tools and materials, removing the existing door and frame, taking precise measurements for the new frame, cutting and assembling the frame components, installing the closet door frame, checking for proper alignment and making adjustments if needed, securing the frame in place, and finally, installing the closet door.
In this comprehensive guide, we will walk you through each step of the process, providing useful tips and insights along the way. So, let’s get started with measuring the door opening in the next section.
Key Takeaways:
- Properly framing a closet door involves accurate measurements, careful selection of door style and materials, and precise installation techniques to ensure a sturdy, functional, and visually appealing result.
- Taking your time to ensure proper alignment, making necessary adjustments, and securing the frame and door will result in a well-designed, organized, and stylish closet door that enhances the functionality and aesthetics of your space.
Read more: How To Frame Closet
Step 1: Measuring the Door Opening
Before you can begin framing your closet door, it is crucial to accurately measure the door opening. This will ensure that the door fits properly and functions smoothly. Here are the steps to follow:
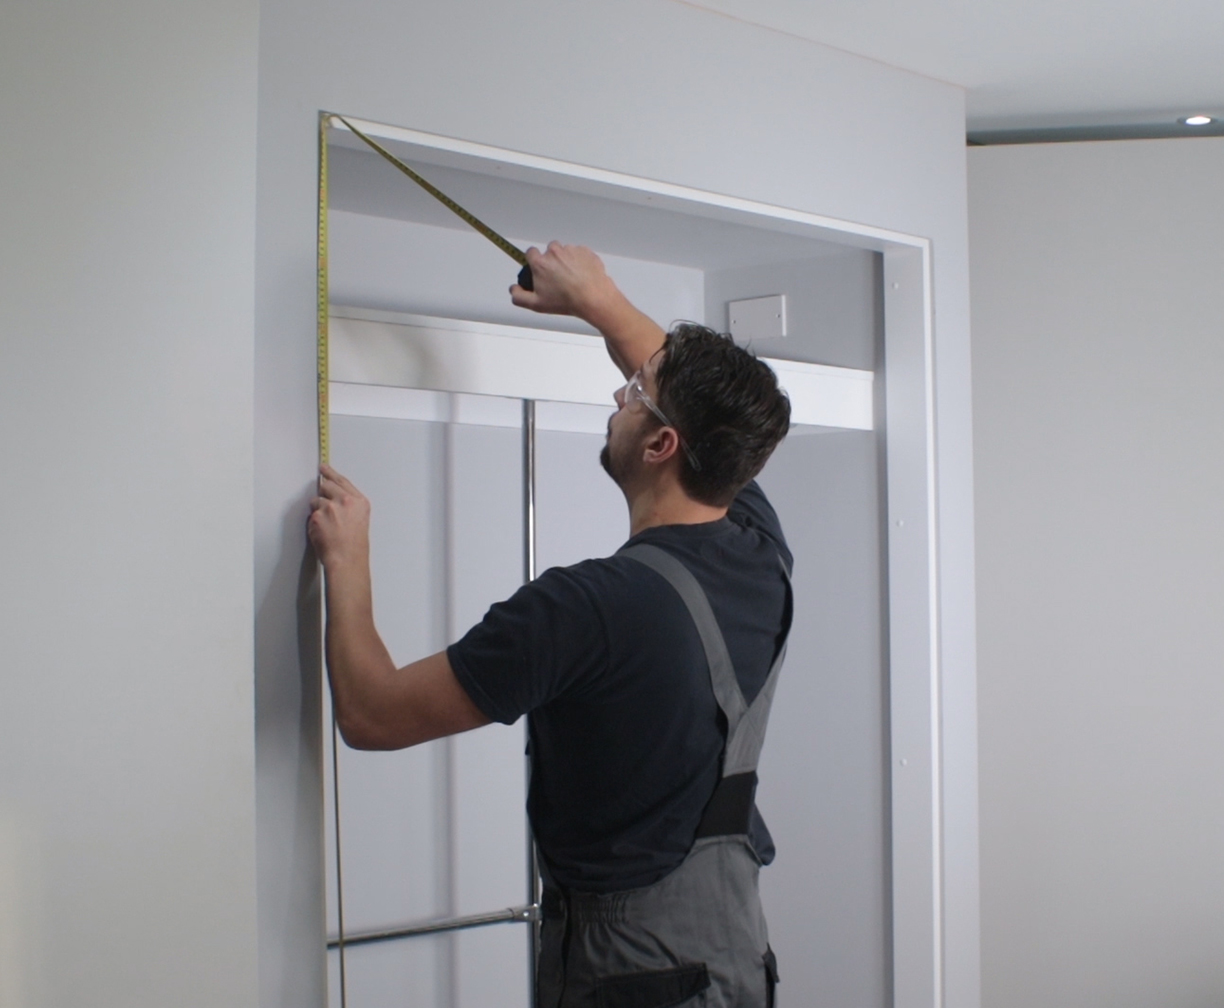
- Measure the width: Use a tape measure to determine the width of the door opening. Start by measuring the distance from one side of the opening to the other. It’s important to measure at both the top and bottom of the opening, as walls can sometimes be uneven.
- Measure the height: Next, measure the height of the door opening. Measure from the floor to the top of the opening, again taking measurements at both sides and in the middle to account for any variations.
- Check for squareness: To ensure that the opening is square, measure the distance diagonally from one corner to the opposite corner. Repeat this process on the other diagonal. If the measurements are equal, the opening is square. If not, you may need to make adjustments during the framing process to ensure that the door fits correctly.
It is important to note that when measuring the door opening, you should make allowances for the door jamb. The jamb is the vertical frame onto which the door hinges are attached. Typically, the jamb is around 1 1/2 inches wide. So, subtract this measurement from the width and height of the opening to determine the actual size of the door that you will need.
By taking accurate measurements of the door opening, you will be able to plan and execute the framing process effectively. This ensures that the door will fit snugly within the opening, minimizing gaps and providing a visually appealing result. With the measurements in hand, you are now ready to move on to Step 2: Selecting the Door Style and Material.
Step 2: Selecting the Door Style and Material
Once you have measured the door opening, the next step in framing a closet door is selecting the appropriate door style and material. There are several factors to consider when making this decision, including the overall aesthetic of your home, the functionality of the door, and your personal preferences. Here are some key points to keep in mind:
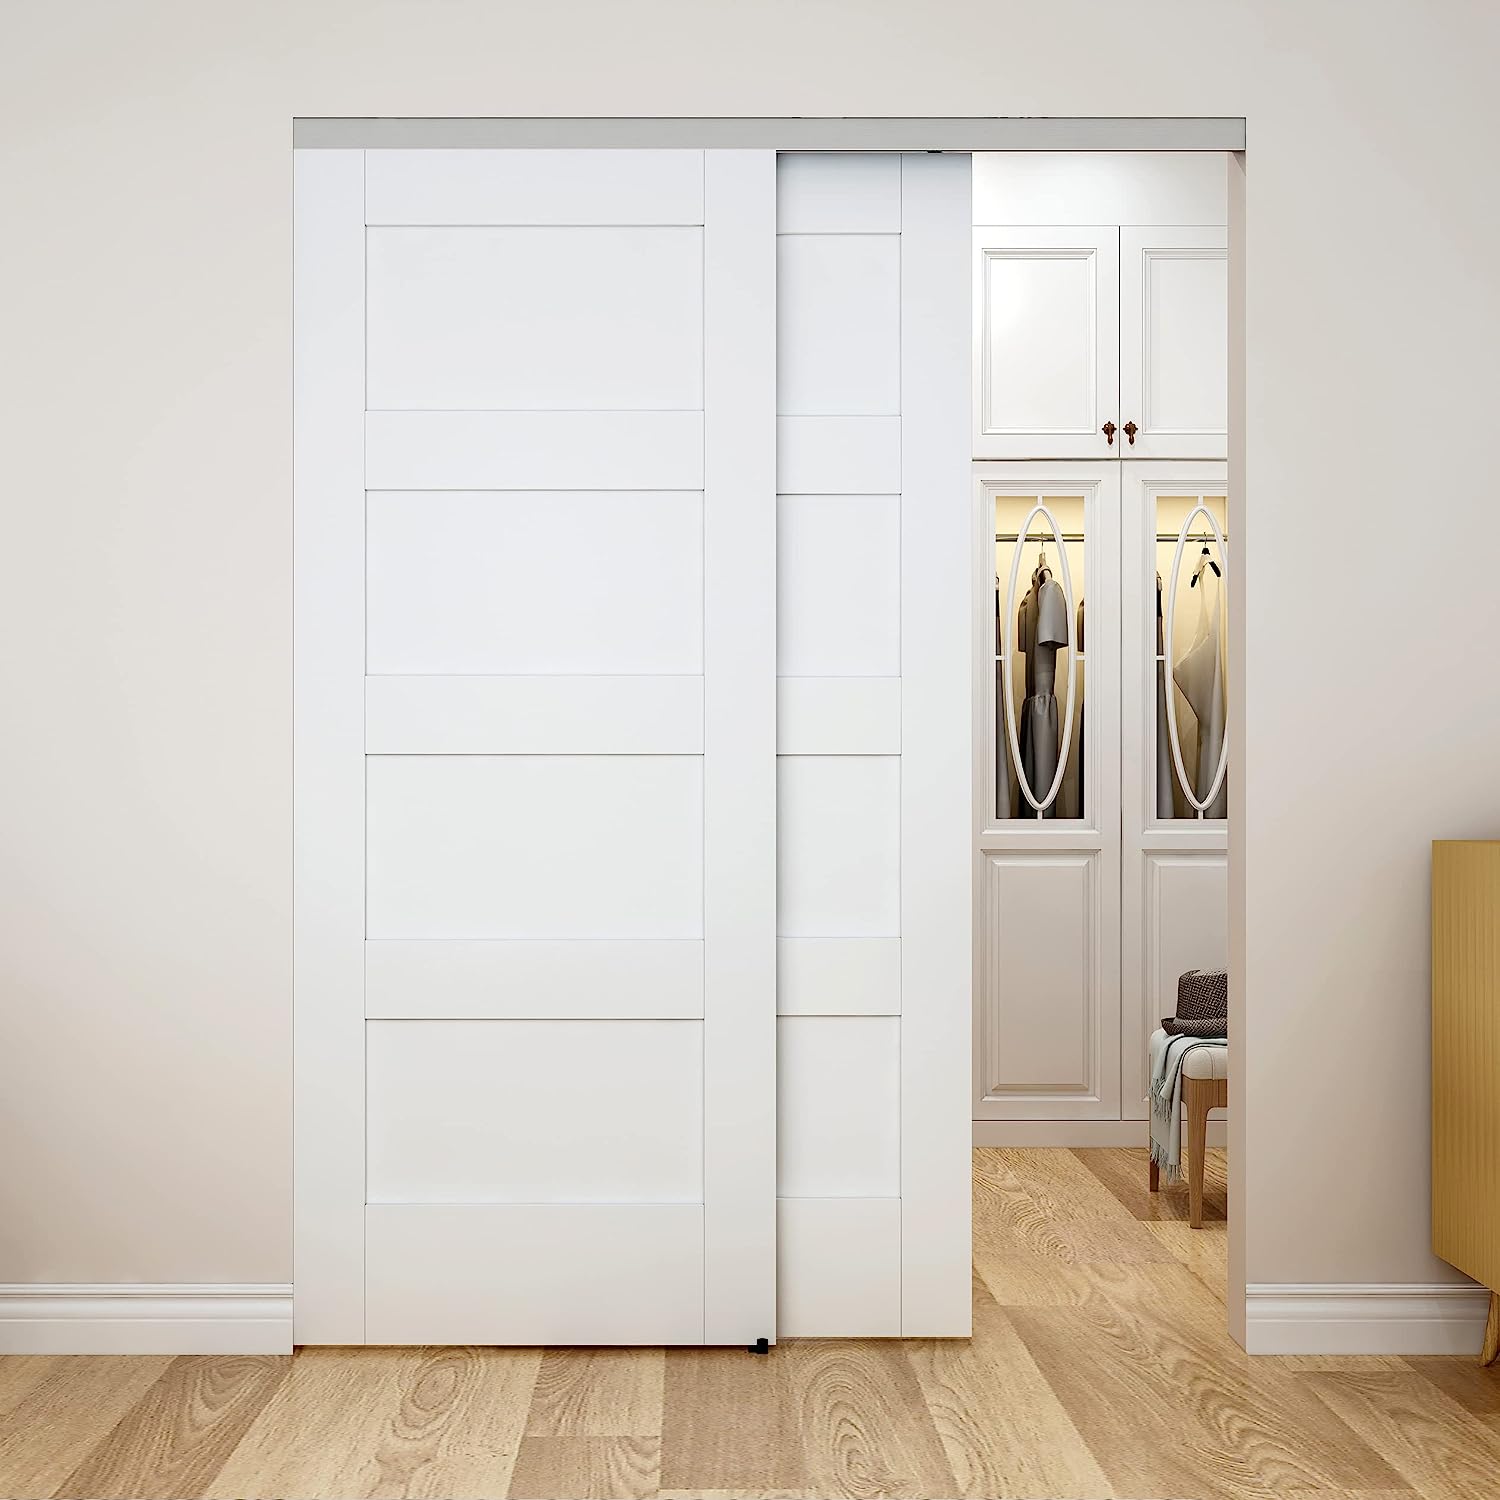
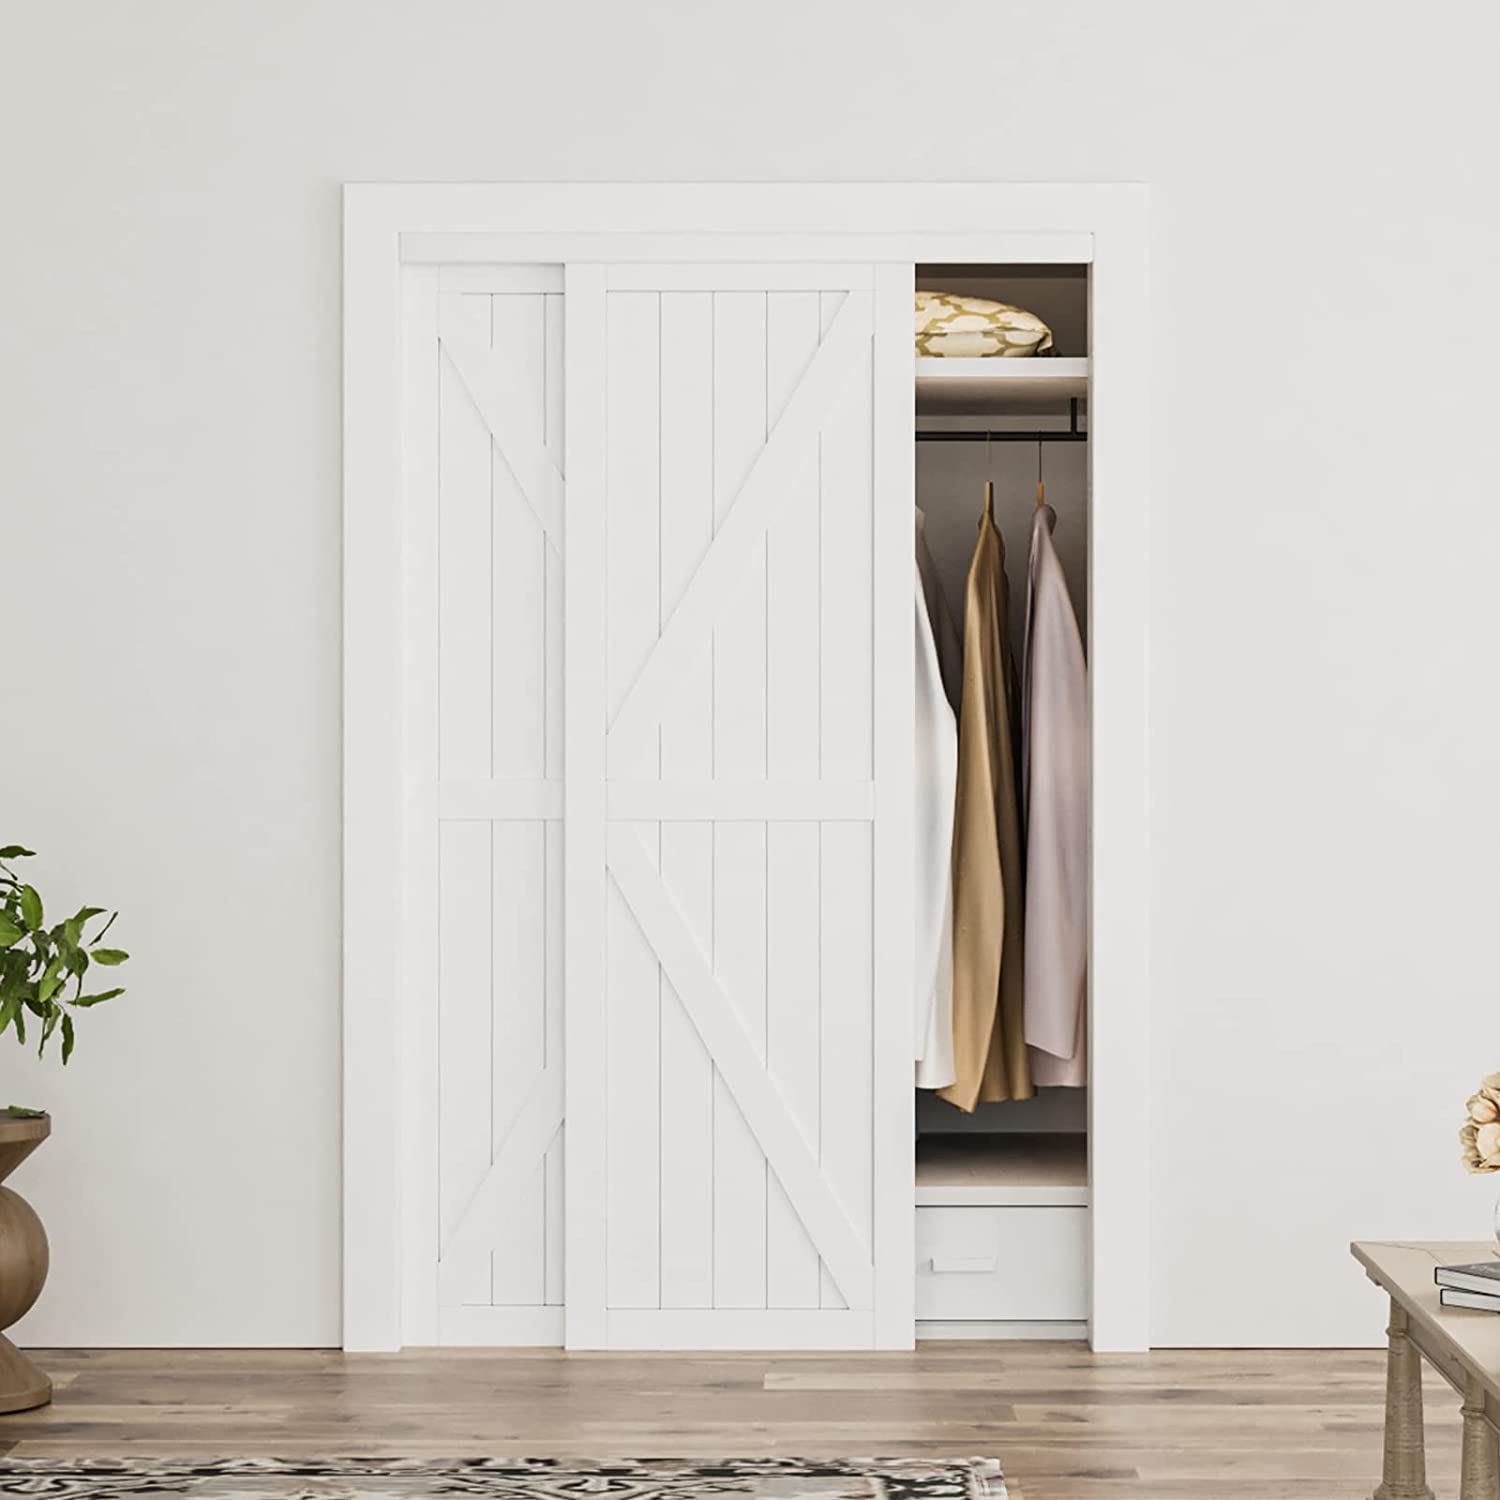
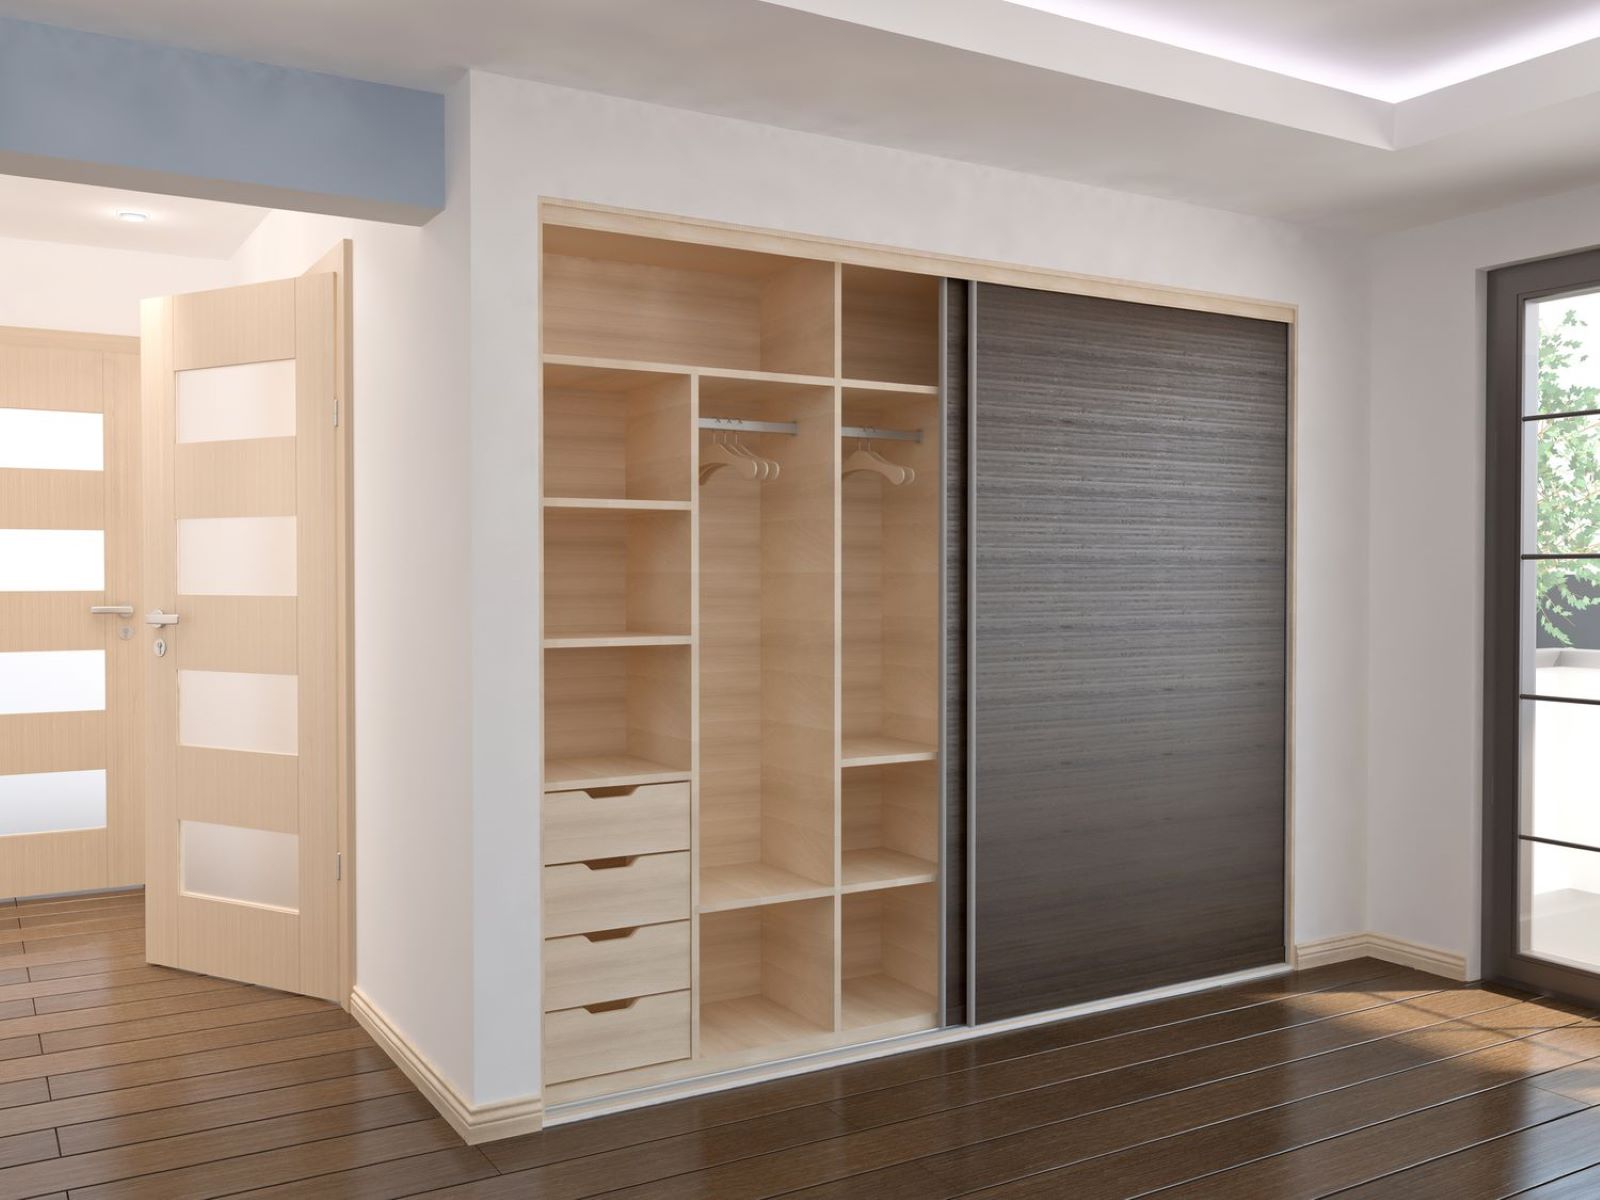
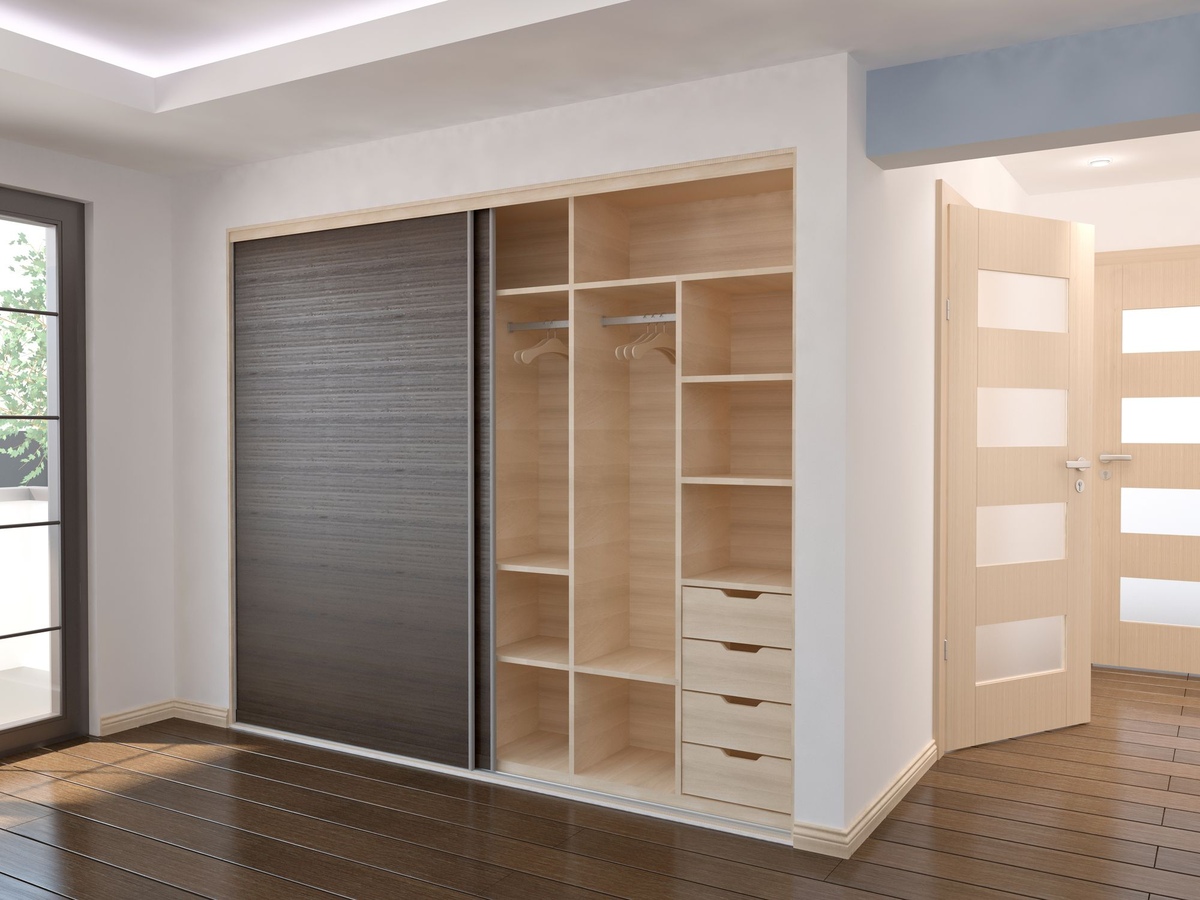
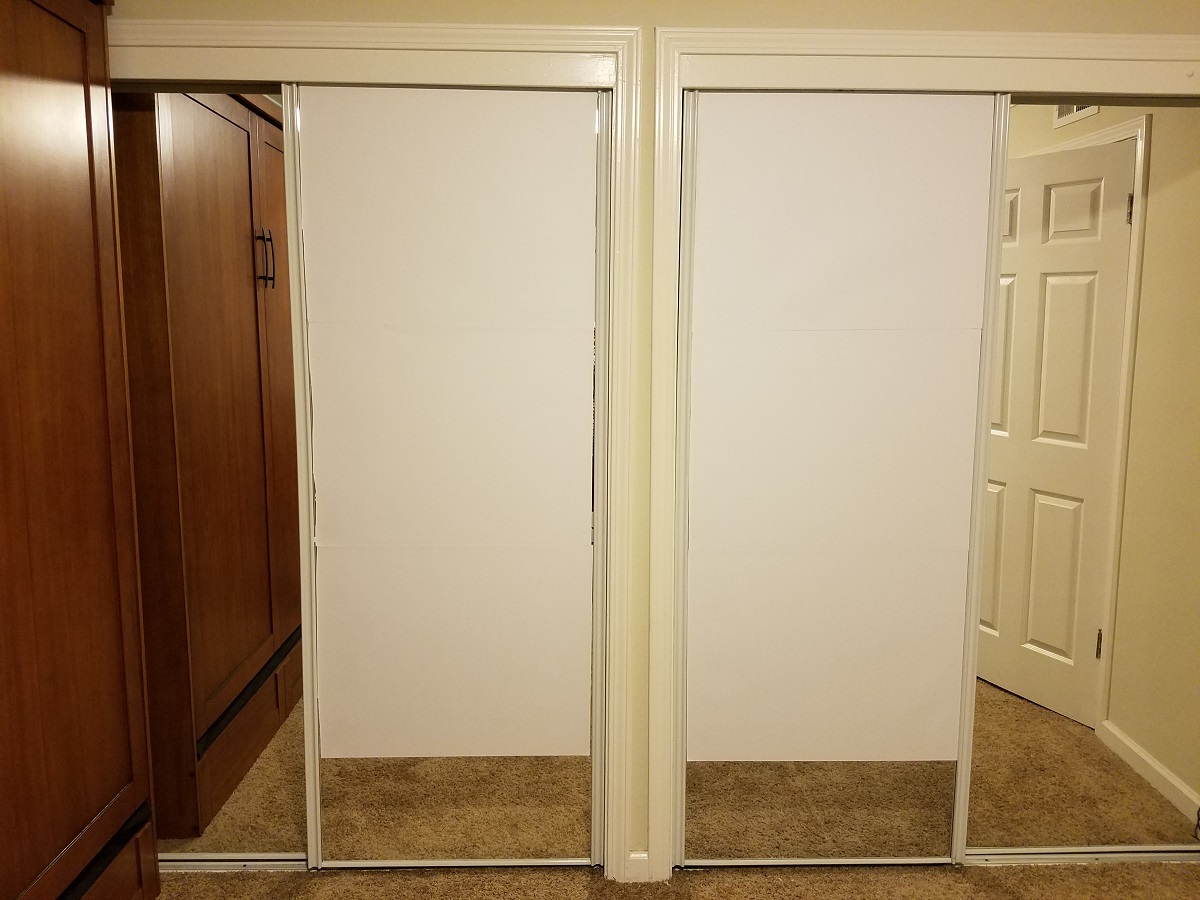
1. Style: Consider the style of the door that would best suit your space and complement the overall design of your home. There are various options available, such as traditional hinged doors, sliding doors, bi-fold doors, and pocket doors. Each style has its advantages and limitations, so choose one that fits your needs and preferences.
2. Material: The material of the door will impact its durability, appearance, and maintenance requirements. Common door materials include wood, metal, fiberglass, and composite. Wood doors offer a classic and natural look but may require regular upkeep. Metal doors are sturdy and low-maintenance but may not provide the same warmth as wood. Fiberglass and composite doors are durable and can mimic the look of wood without the maintenance.
3. Functionality: Consider how the door will function in your space. Will it need to be able to withstand heavy traffic? Should it provide privacy or allow for natural light to pass through? Understanding the specific functional requirements of the door will help you make a more informed decision.
4. Budget: Set a budget for your closet door project, keeping in mind that the style and material of the door will affect its cost. Research different options and prices to find the best fit for your budget.
It is important to take your time when selecting the door style and material. Consider consulting with a professional or visiting a showroom to see samples and gather inspiration. Once you have decided on the door style and material, you can proceed to the next step: gathering the necessary tools and materials.
Step 3: Gathering the Necessary Tools and Materials
Before you begin framing a closet door, it is essential to gather all the necessary tools and materials. Having everything ready will streamline the process and prevent unnecessary delays. Here’s a list of tools and materials to gather for the project:
Tools:
- Tape Measure: Used to take accurate measurements of the door opening.
- Pencil: For marking measurements and guidelines on the wall.
- Square: Helps ensure that the framing is 90 degrees and the measurements are precise.
- Saw: Needed for cutting the frame components to size.
- Hammer: Used for nailing the frame together.
- Screwdriver: Required for attaching hinges and securing the frame.
- Level: Ensures that the frame is plumb and level during installation.
- Chisel: Helps in removing any excess wood or adjusting the frame to fit properly.
- Drill: May be needed for pre-drilling holes or attaching hardware.
- Safety Glasses and Gloves: Provide protection while working with tools and materials.
Materials:
- Lumber: Choose the appropriate size and type of lumber for the frame, such as 2×4 boards.
- Screws and Nails: Select the appropriate length and type of fasteners for securing the frame.
- Hinges: If you are installing a hinged door, choose hinges that match the door style and weight.
- Door Knob or Handle: Select the desired hardware for opening and closing the door.
- Finishing Materials: Depending on your preference, you may need paint, stain, or varnish to finish the door frame.
By gathering the necessary tools and materials ahead of time, you can avoid interrupting the framing process to search for missing items. It also allows you to anticipate any additional materials or tools that may be required based on specific door style or installation requirements. With everything in place, you are now ready to move on to Step 4: Removing the Existing Door and Door Frame.
Step 4: Removing the Existing Door and Door Frame
Before you can proceed with framing a new closet door, it is necessary to remove the existing door and door frame. Here are the steps to follow:
- Prepare the work area: Clear the immediate area around the door and remove any obstacles that may interfere with the removal process. This includes furniture, decorations, and accessories.
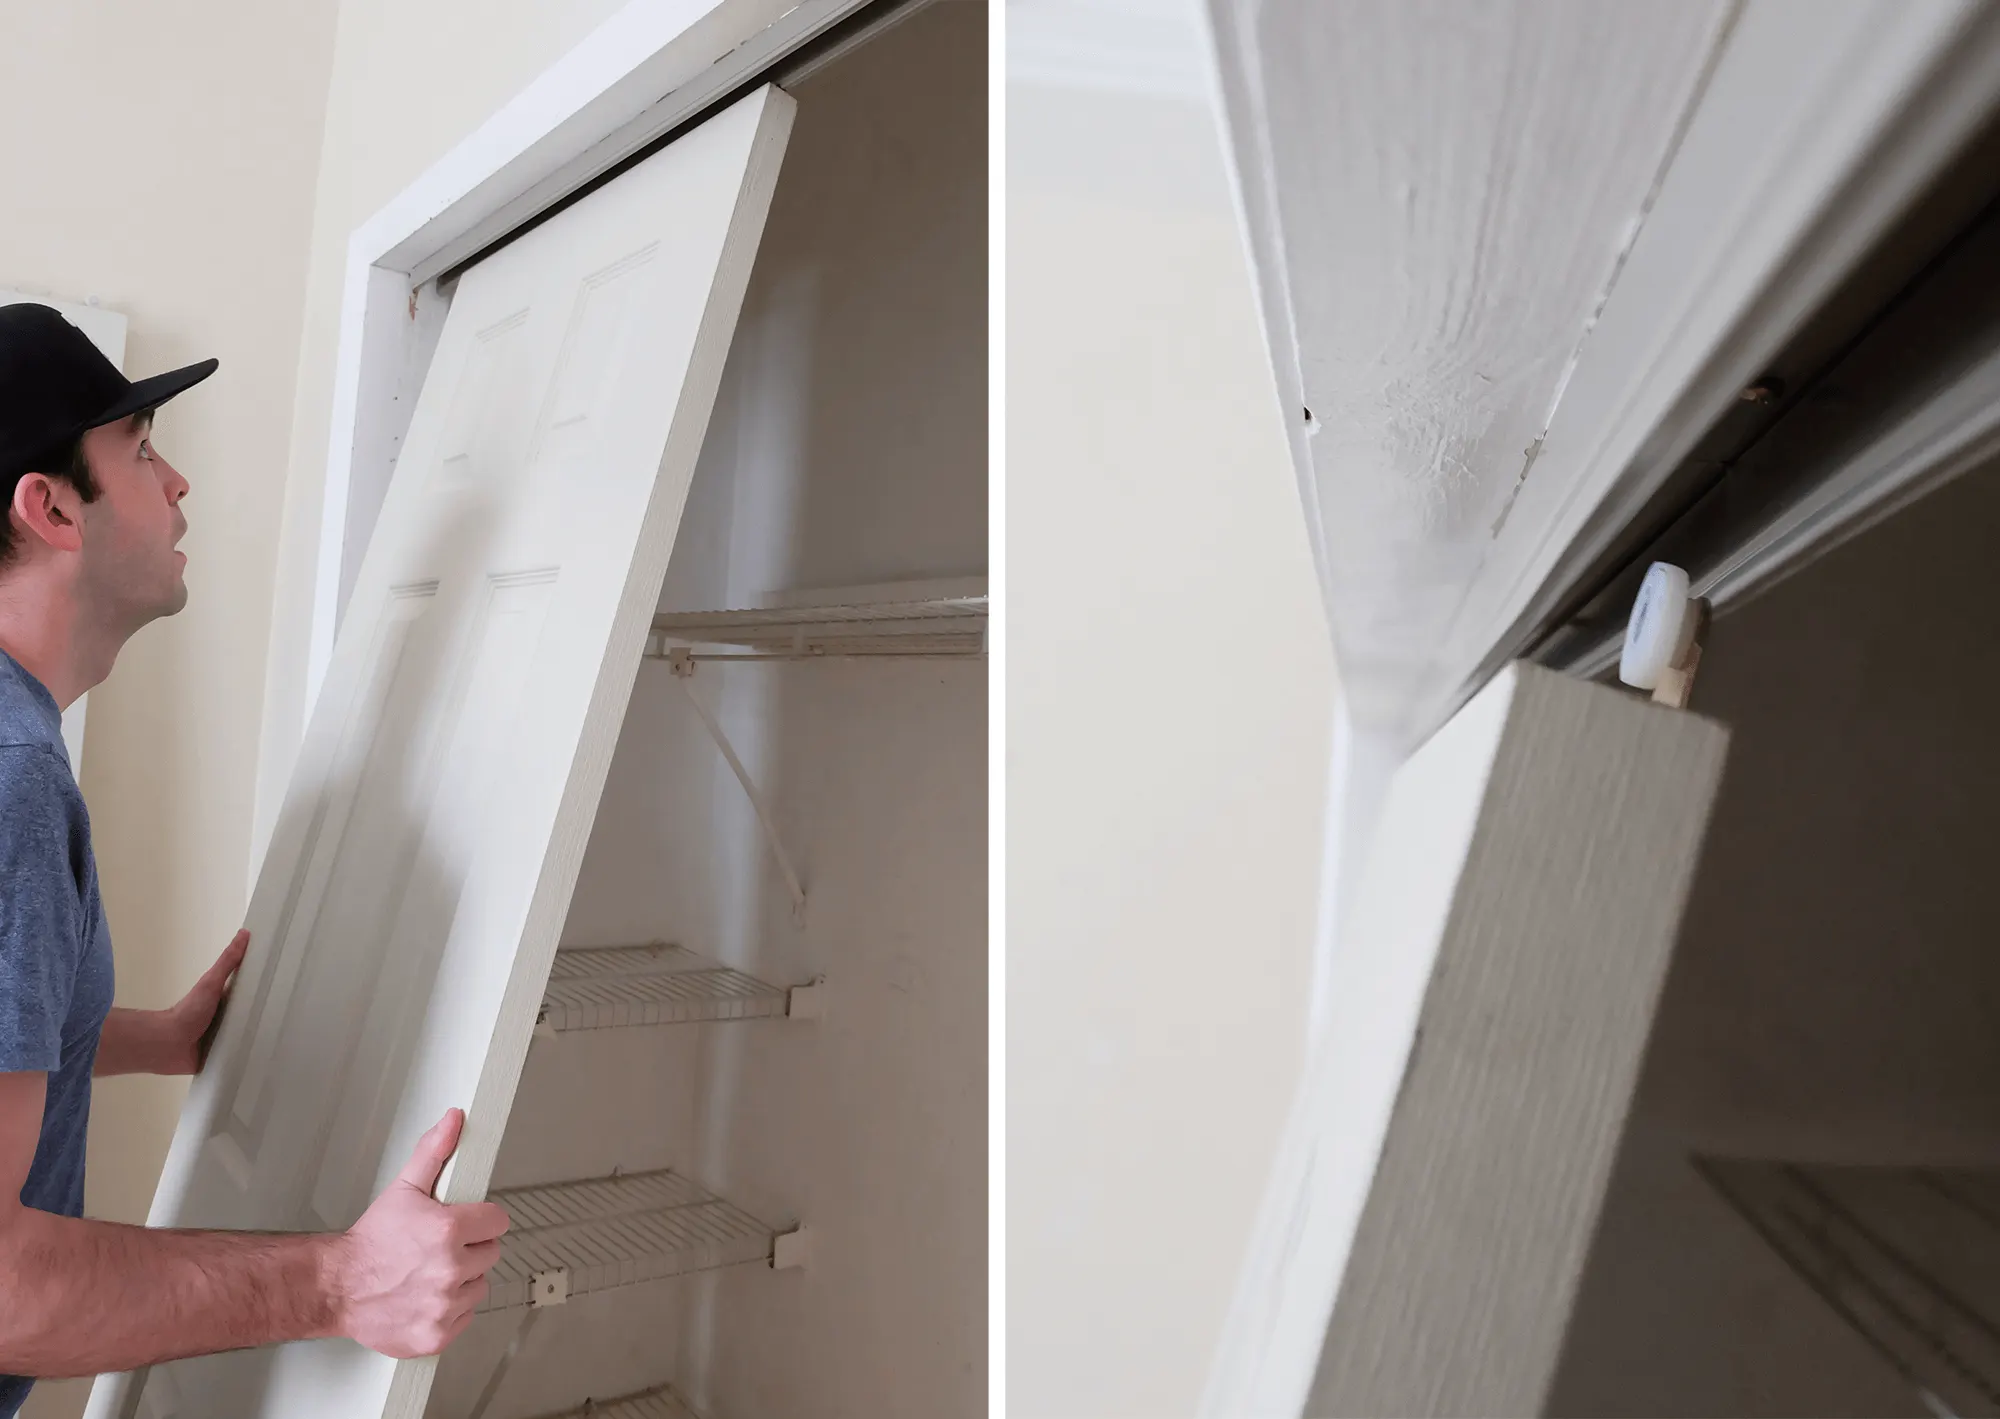
- Remove the door: Open the door to its widest position and lift it off its hinges. Have someone assist you if the door is heavy or large. Set the door aside safely.
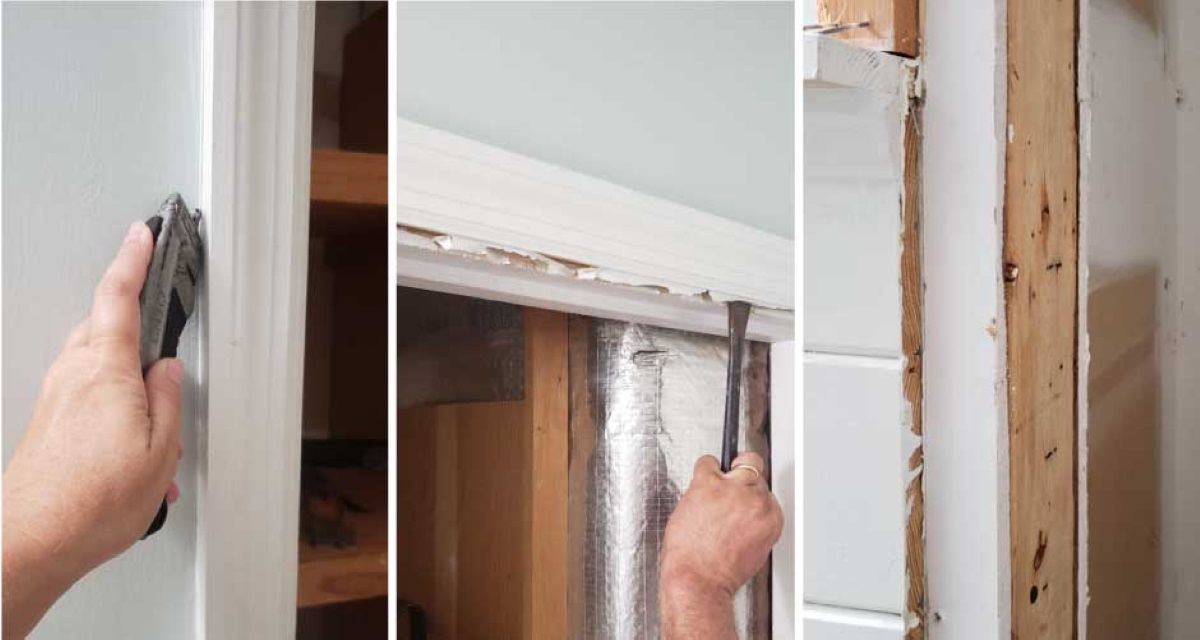
- Remove the door frame: Use a pry bar and hammer to carefully remove the door frame. Start by removing the trim pieces around the door frame, such as the casing and molding. Insert the pry bar between the frame and the wall, then gently pry the frame outwards, working your way around all sides. Take caution not to damage the wall during this process.
- Clean the area: Once the door and frame are removed, clean the area to remove any debris, nails, or adhesive residue. Vacuum or sweep the floor, and wipe down the walls to create a clean surface for framing the new door.
- Inspect the walls: Take this opportunity to inspect the walls for any damage or repairs needed. Patch up any holes or cracks using spackling compound and sand the areas smooth if necessary.
Removing the existing door and door frame can be a relatively straightforward process, but it requires careful handling and attention to detail. Take your time to ensure that the area is properly cleaned and prepared for the installation of the new door frame. With the existing door and frame successfully removed, you are now ready to proceed to Step 5: Taking Accurate Measurements for the New Frame.
Read more: How To Decorate Closet Doors
Step 5: Taking Accurate Measurements for the New Frame
Once the old door and door frame are removed, it’s time to take accurate measurements for the new frame. Precise measurements are crucial to ensure that the new frame fits properly and functions correctly. Here’s what you need to do:
- Measure the width: Use a tape measure to determine the width of the door opening. Measure from one side to the other at the top, middle, and bottom of the opening. Record the smallest measurement, as this will ensure a tight fit for the new frame.
- Measure the height: Measure the height of the door opening from the floor to the top at both sides and in the middle. Record the smallest measurement, as this will ensure that the frame doesn’t scrape the ceiling or the floor.
- Check for squareness: To confirm that the opening is square, measure the diagonals from one corner to the opposite corner. The two measurements should be equal. If they are not, adjustments may be necessary during the framing process.
It’s important to note that you should measure the door opening and not the old frame. The old frame may have warped or become misaligned over time, so relying on those measurements could lead to an ill-fitting frame for your new door.
Once you have recorded the accurate measurements, add the thickness of the new frame material to each dimension. This will account for the space that the frame will occupy within the opening and provide the correct dimensions for cutting the frame components.
Taking accurate measurements for the new frame is essential to ensure a proper fit. Be precise in your measurements and double-check each dimension to avoid any errors. Now that you have the measurements, you’re ready to move on to Step 6: Cutting and Assembling the Frame Components.
When framing a closet door, make sure to measure the opening accurately and use a level to ensure the door frame is straight and plumb. This will ensure the door operates smoothly and looks professional.
Step 6: Cutting and Assembling the Frame Components
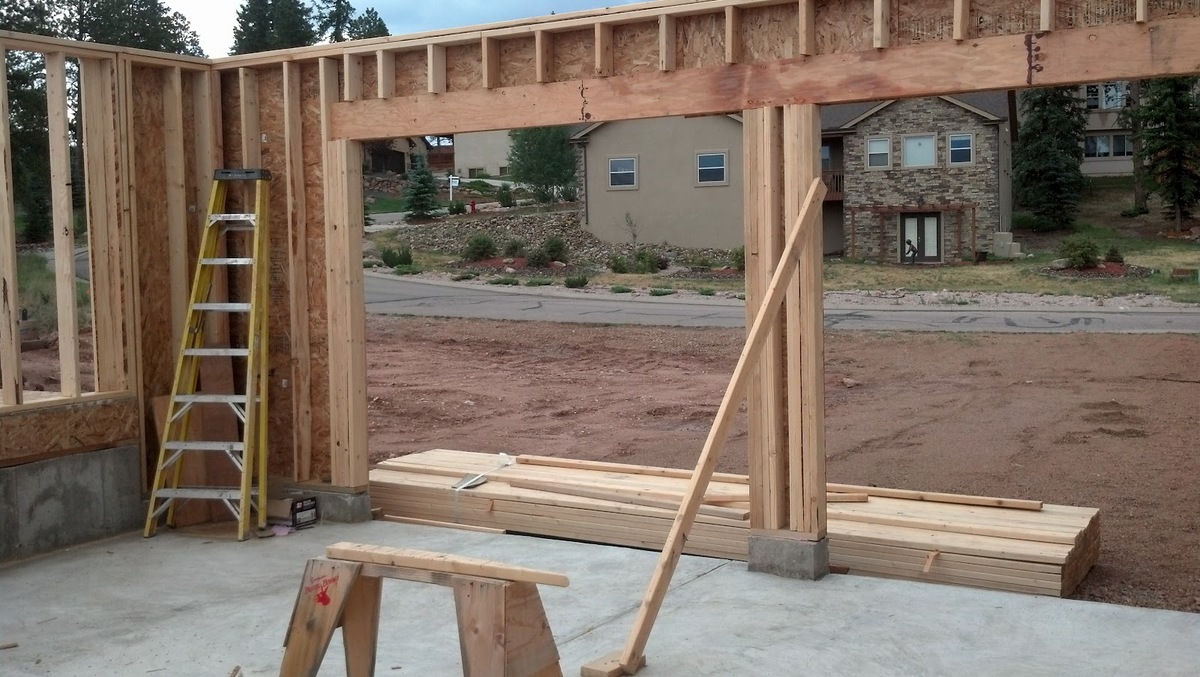
Once you have the accurate measurements for the new frame, it’s time to cut and assemble the frame components. This step involves cutting the lumber to the appropriate sizes and joining them together to create the frame structure. Here’s how to do it:
- Cut the vertical frame pieces: Measure and mark the length of the vertical frame pieces based on the height measurement obtained in Step 5. Use a saw to cut the lumber to the desired size. Repeat this process for the number of vertical frame pieces required for your door type.
- Cut the horizontal frame pieces: Measure and mark the length of the horizontal frame pieces based on the width measurement obtained in Step 5. Use a saw to cut the lumber to the desired size. Repeat this process for the number of horizontal frame pieces required for your door type.
- Assemble the frame components: Lay out the cut pieces on a flat surface and begin assembling the frame. Place the horizontal pieces between the vertical pieces and align them flush at the corners. Use a square to ensure that the frame is 90 degrees. Pre-drill pilot holes at the connection points and then attach the pieces using screws or nails. Repeat this process for all corners of the frame.
- Reinforce the frame: To add stability to the frame, you can install additional support pieces across the vertical and horizontal members. Measure and cut these support pieces to fit snugly within the frame. Attach them using screws or nails, ensuring they are evenly spaced.
During the cutting and assembly process, be mindful of making clean and accurate cuts, as well as maintaining squareness and alignment in the frame. Taking your time and double-checking your measurements will help ensure a sturdy and well-fitting frame for your new closet door.
Once the frame components are cut and assembled, you are ready to proceed to Step 7: Installing the Closet Door Frame.
Step 7: Installing the Closet Door Frame
With the closet door frame components prepared, it’s time to install the frame. Installing the frame properly is essential for ensuring a secure and stable structure for your closet door. Follow these steps to install the closet door frame:
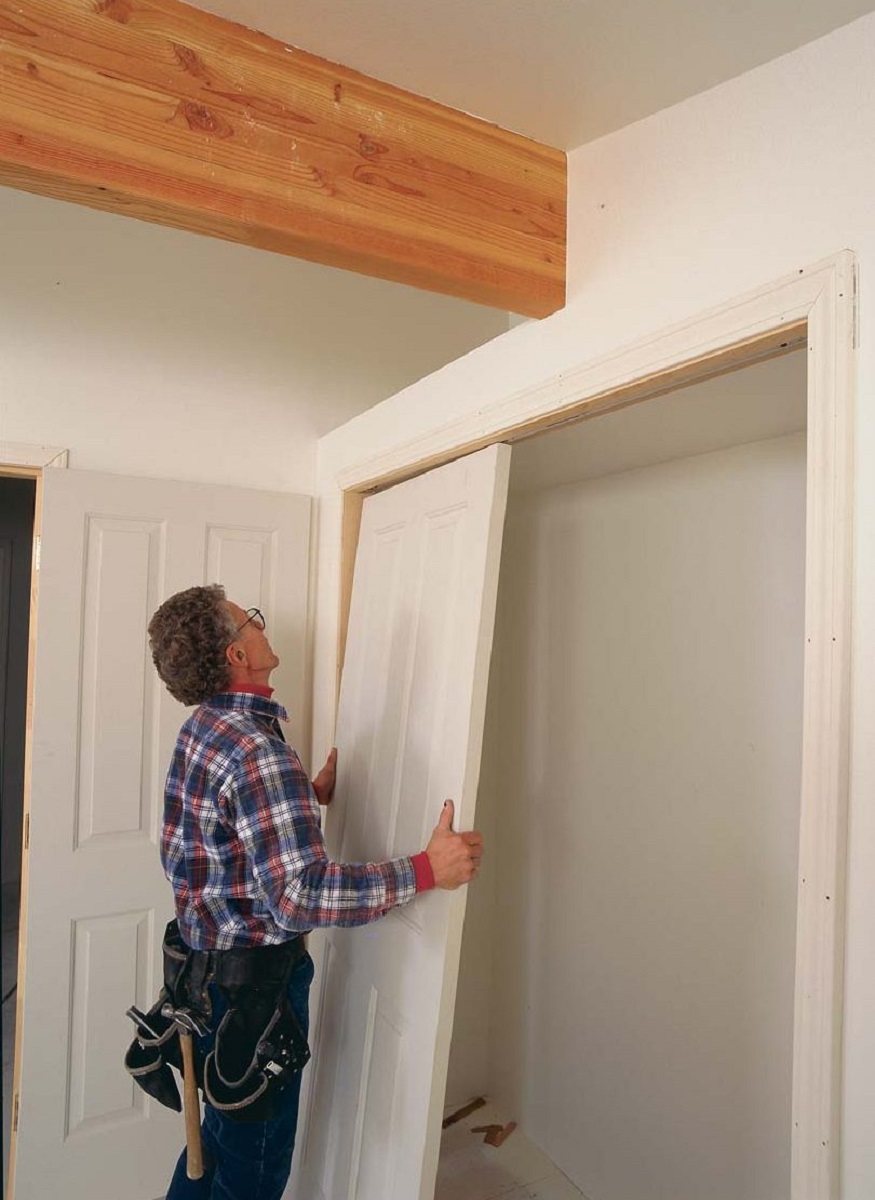
- Position the frame: First, position the frame in the door opening, ensuring that it fits snugly and aligns with the measurements taken in Step 5. Use shims if necessary to level the frame and adjust it for any uneven walls or floors.
- Secure the frame: Once the frame is properly positioned, use a level to ensure it is plumb and level. Insert screws or nails through the frame into the surrounding wall studs to secure it in place. Start by securing the top of the frame, then work your way down to the sides and bottom.
- Check for proper alignment: After securing the frame, check for proper alignment by opening and closing the frame doors. Ensure that the doors swing freely and don’t scrape against the frame. Make any adjustments if necessary to ensure smooth operation.
It’s important to note that door frames may require additional support, such as header boards or bracing, depending on the size and weight of the door. Consult any manufacturer’s guidelines or building codes to determine if additional reinforcement is needed for your specific installation.
During the installation process, take care to avoid over-tightening screws or nails, as this can warp or damage the frame. Use a power drill or hammer to drive the fasteners, but avoid excessive force.
Once the closet door frame is securely installed and properly aligned, move on to Step 8: Checking for Proper Alignment and Adjustments. This step ensures that the frame is correctly positioned before proceeding with the final installation of the closet door.
Step 8: Checking for Proper Alignment and Adjustments
After installing the closet door frame, it’s important to check for proper alignment and make any necessary adjustments. This step ensures that the frame is correctly positioned and allows for smooth operation of the closet door. Here’s what you need to do:
- Check frame plumb and level: Use a level to verify that the frame is plumb vertically and level horizontally. If adjustments are needed, insert shims between the frame and the wall to achieve the desired alignment.
- Check door swing: Open and close the closet door to ensure that it swings smoothly and doesn’t rub or scrape against the frame. If there are any issues with the door swing, adjust the frame as necessary to provide clearance and proper operation.
- Check gaps: Inspect the gaps between the door and the frame to ensure they are consistent and uniform. Uneven gaps may need adjustments to ensure proper sealing and aesthetics. Use shims or adjust the frame as necessary to achieve even gaps around the entire door perimeter.
- Test latch and hardware: Test the latch, hinges, and any other hardware to ensure they function properly. Check for any loose connections or sticking points that may affect the door’s operation. Tighten screws if needed or make any necessary adjustments.
Taking the time to check for proper alignment and make any necessary adjustments will ensure the functionality and aesthetics of your closet door installation. It’s crucial to address any issues before proceeding with the final steps to avoid any difficulties or repairs later on.
If you encounter significant alignment or adjustment challenges, consider seeking guidance from a professional. They can provide expert insight and assistance to ensure your closet door is properly aligned and functioning smoothly.
Once the frame is properly aligned and adjusted, you’re ready to move on to Step 9: Securing the Frame in Place. This step ensures the frame remains stable and secure for long-lasting performance.
Read more: How To Replace Closet Door
Step 9: Securing the Frame in Place
After ensuring proper alignment and making necessary adjustments, the next step is to secure the closet door frame in place. This will ensure stability and longevity for your door installation. Follow these steps to securely fasten the frame:
- Insert shims: If you haven’t already done so during the alignment process, insert shims between the frame and the wall as needed. This will help provide additional support and stability.
- Pre-drill holes: To avoid splitting the wood, pre-drill pilot holes through the frame and into the wall studs. Use an appropriate drill bit size for the screws or nails you will be using.
- Secure the frame: Begin by securing the top of the frame. Insert screws or nails through the pre-drilled holes and into the wall studs. Work your way down to the sides and then the bottom, ensuring each section of the frame is securely fastened.
- Check stability: Once the frame is secured, check for any movement or instability. Gently shake the frame and see if it feels solid and immovable. If there is any wobbling or shifting, reinforce the frame by inserting additional screws or nails where needed.
It’s important to use appropriate fasteners (screws or nails) for securing the frame. The size and type of fasteners will depend on the frame material, wall construction, and the weight of the door. Consult manufacturer guidelines or seek professional advice if necessary.
Take care not to over-tighten the screws or nails, as this can cause the wood to split or damage the frame. Use a power drill or hammer to drive the fasteners in firmly but avoid excessive force.
Once the frame is securely fastened in place, proceed to Step 10: Installing the Closet Door. This final step will complete the installation process and allow you to enjoy your newly framed closet door.
Step 10: Installing the Closet Door
The final step in framing a closet door is the installation of the actual door. Installing the closet door will bring your project to completion and allow you to fully enjoy the functionality and aesthetics of your new closet space. Follow these steps for a successful installation:
- Prepare the door: If your door is not pre-hung, you will need to install the hinges. Measure and mark the position of the hinges on the door and use a chisel to create recesses for them to sit flush. Attach the hinges with screws, ensuring they are aligned and secure.
- Attach the door to the frame: With the hinges in place, align the door with the frame. Insert the hinge pins into the hinges and test the door swing to ensure smooth movement. Adjust the hinges if necessary to achieve proper alignment.
- Install the door hardware: Install the door knob or handle according to the manufacturer’s instructions. Ensure that the hardware is aligned properly and securely attached to the door.
- Test the door: Open and close the door multiple times to ensure it operates smoothly and without any issues. Check for any rubbing, scraping, or sticking, and make any necessary adjustments to achieve proper alignment and functionality.
- Finish the door: If desired, apply a final coat of paint, stain, or varnish to the door to enhance its appearance and protect the surface. Follow the manufacturer’s instructions for the chosen finish and allow adequate drying time before regular use.
Ensure that the door is properly aligned within the frame and that there are even gaps around the edges for a professional and aesthetically pleasing look. Use shims if necessary to adjust the positioning of the door within the frame.
Once the door is installed and functioning correctly, take a moment to appreciate your hard work and enjoy the newly framed closet door. The installation process is now complete, and you can start utilizing your closet in a functional and stylish manner.
Remember, if you encounter any difficulties or you’re unsure about any part of the installation process, it’s always a good idea to consult a professional for guidance and assistance.
Conclusion
Framing a closet door is a rewarding home improvement project that enhances both the functionality and aesthetics of your space. By following the steps outlined in this guide, you can successfully frame a closet door and create a stylish entryway to your closet.
Throughout the process, accurate measurements, careful selection of door style and materials, and proper installation techniques are essential. Taking your time to ensure proper alignment, making necessary adjustments, and securing the frame and door will result in a sturdy, functional, and visually appealing closet door.
Remember to gather all the necessary tools and materials before starting the project, and don’t hesitate to seek professional guidance or assistance if needed. Safety should always be a priority, so use appropriate safety gear and exercise caution when working with tools and materials.
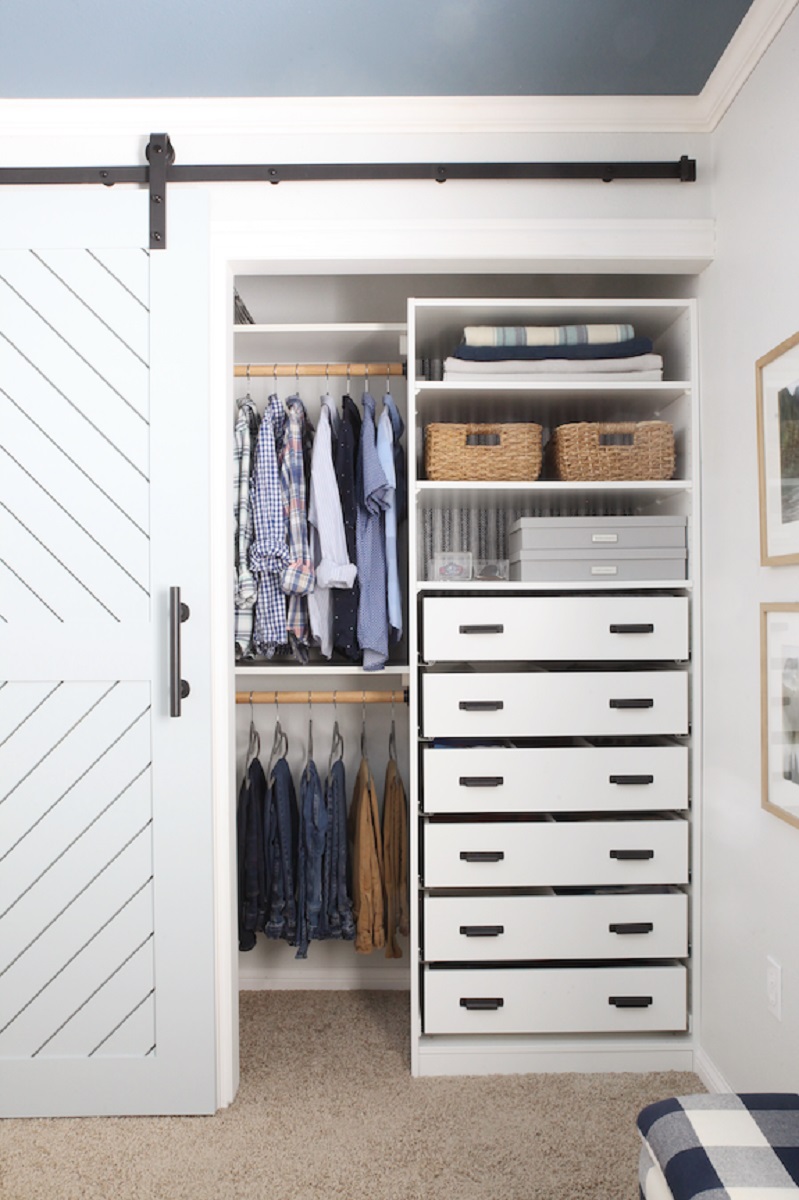
By framing your closet door correctly, you will transform an ordinary closet into a well-designed and organized space. The new door will provide privacy, improve accessibility, and add a touch of style to your home.
Now that you have completed the steps to framing a closet door, take pride in your accomplishment and enjoy the functionality and beauty it brings to your living space. Step back and appreciate the transformation you have achieved, knowing that your closet door is not only structurally sound but also visually appealing.
So, go ahead, open your newly framed closet door, and discover the joy of a well-organized and stylish storage area within your home.
Now that you've mastered framing a closet door, why not take your project to the next level? For those eager to create a space that’s both functional and stylish, learning how to design a closet is the next step. Our guide covers all you need to craft a personalized, efficient closet that suits your space perfectly. Dive into the details of optimizing your storage and enhancing the aesthetic appeal of your closet. Get ready to transform your ordinary closet into an impeccably organized haven.
Frequently Asked Questions about How To Frame A Closet Door
Was this page helpful?
At Storables.com, we guarantee accurate and reliable information. Our content, validated by Expert Board Contributors, is crafted following stringent Editorial Policies. We're committed to providing you with well-researched, expert-backed insights for all your informational needs.

0 thoughts on “How To Frame A Closet Door”