Home>Technology>Security & Surveillance>How To Fix A Push Bar Door Lock
Security & Surveillance
How To Fix A Push Bar Door Lock
Modified: August 27, 2024
Learn how to fix a push bar door lock for enhanced security and surveillance. Our step-by-step guide will help you secure your property with ease.
(Many of the links in this article redirect to a specific reviewed product. Your purchase of these products through affiliate links helps to generate commission for Storables.com, at no extra cost. Learn more)
Introduction
Welcome to our comprehensive guide on fixing a push bar door lock. Whether you're a business owner concerned about the security of your premises or a homeowner looking to ensure the safety of your family, understanding how to maintain and troubleshoot a push bar door lock is essential. These types of locks are commonly found in commercial and public buildings due to their ease of use and ability to provide quick egress in case of an emergency.
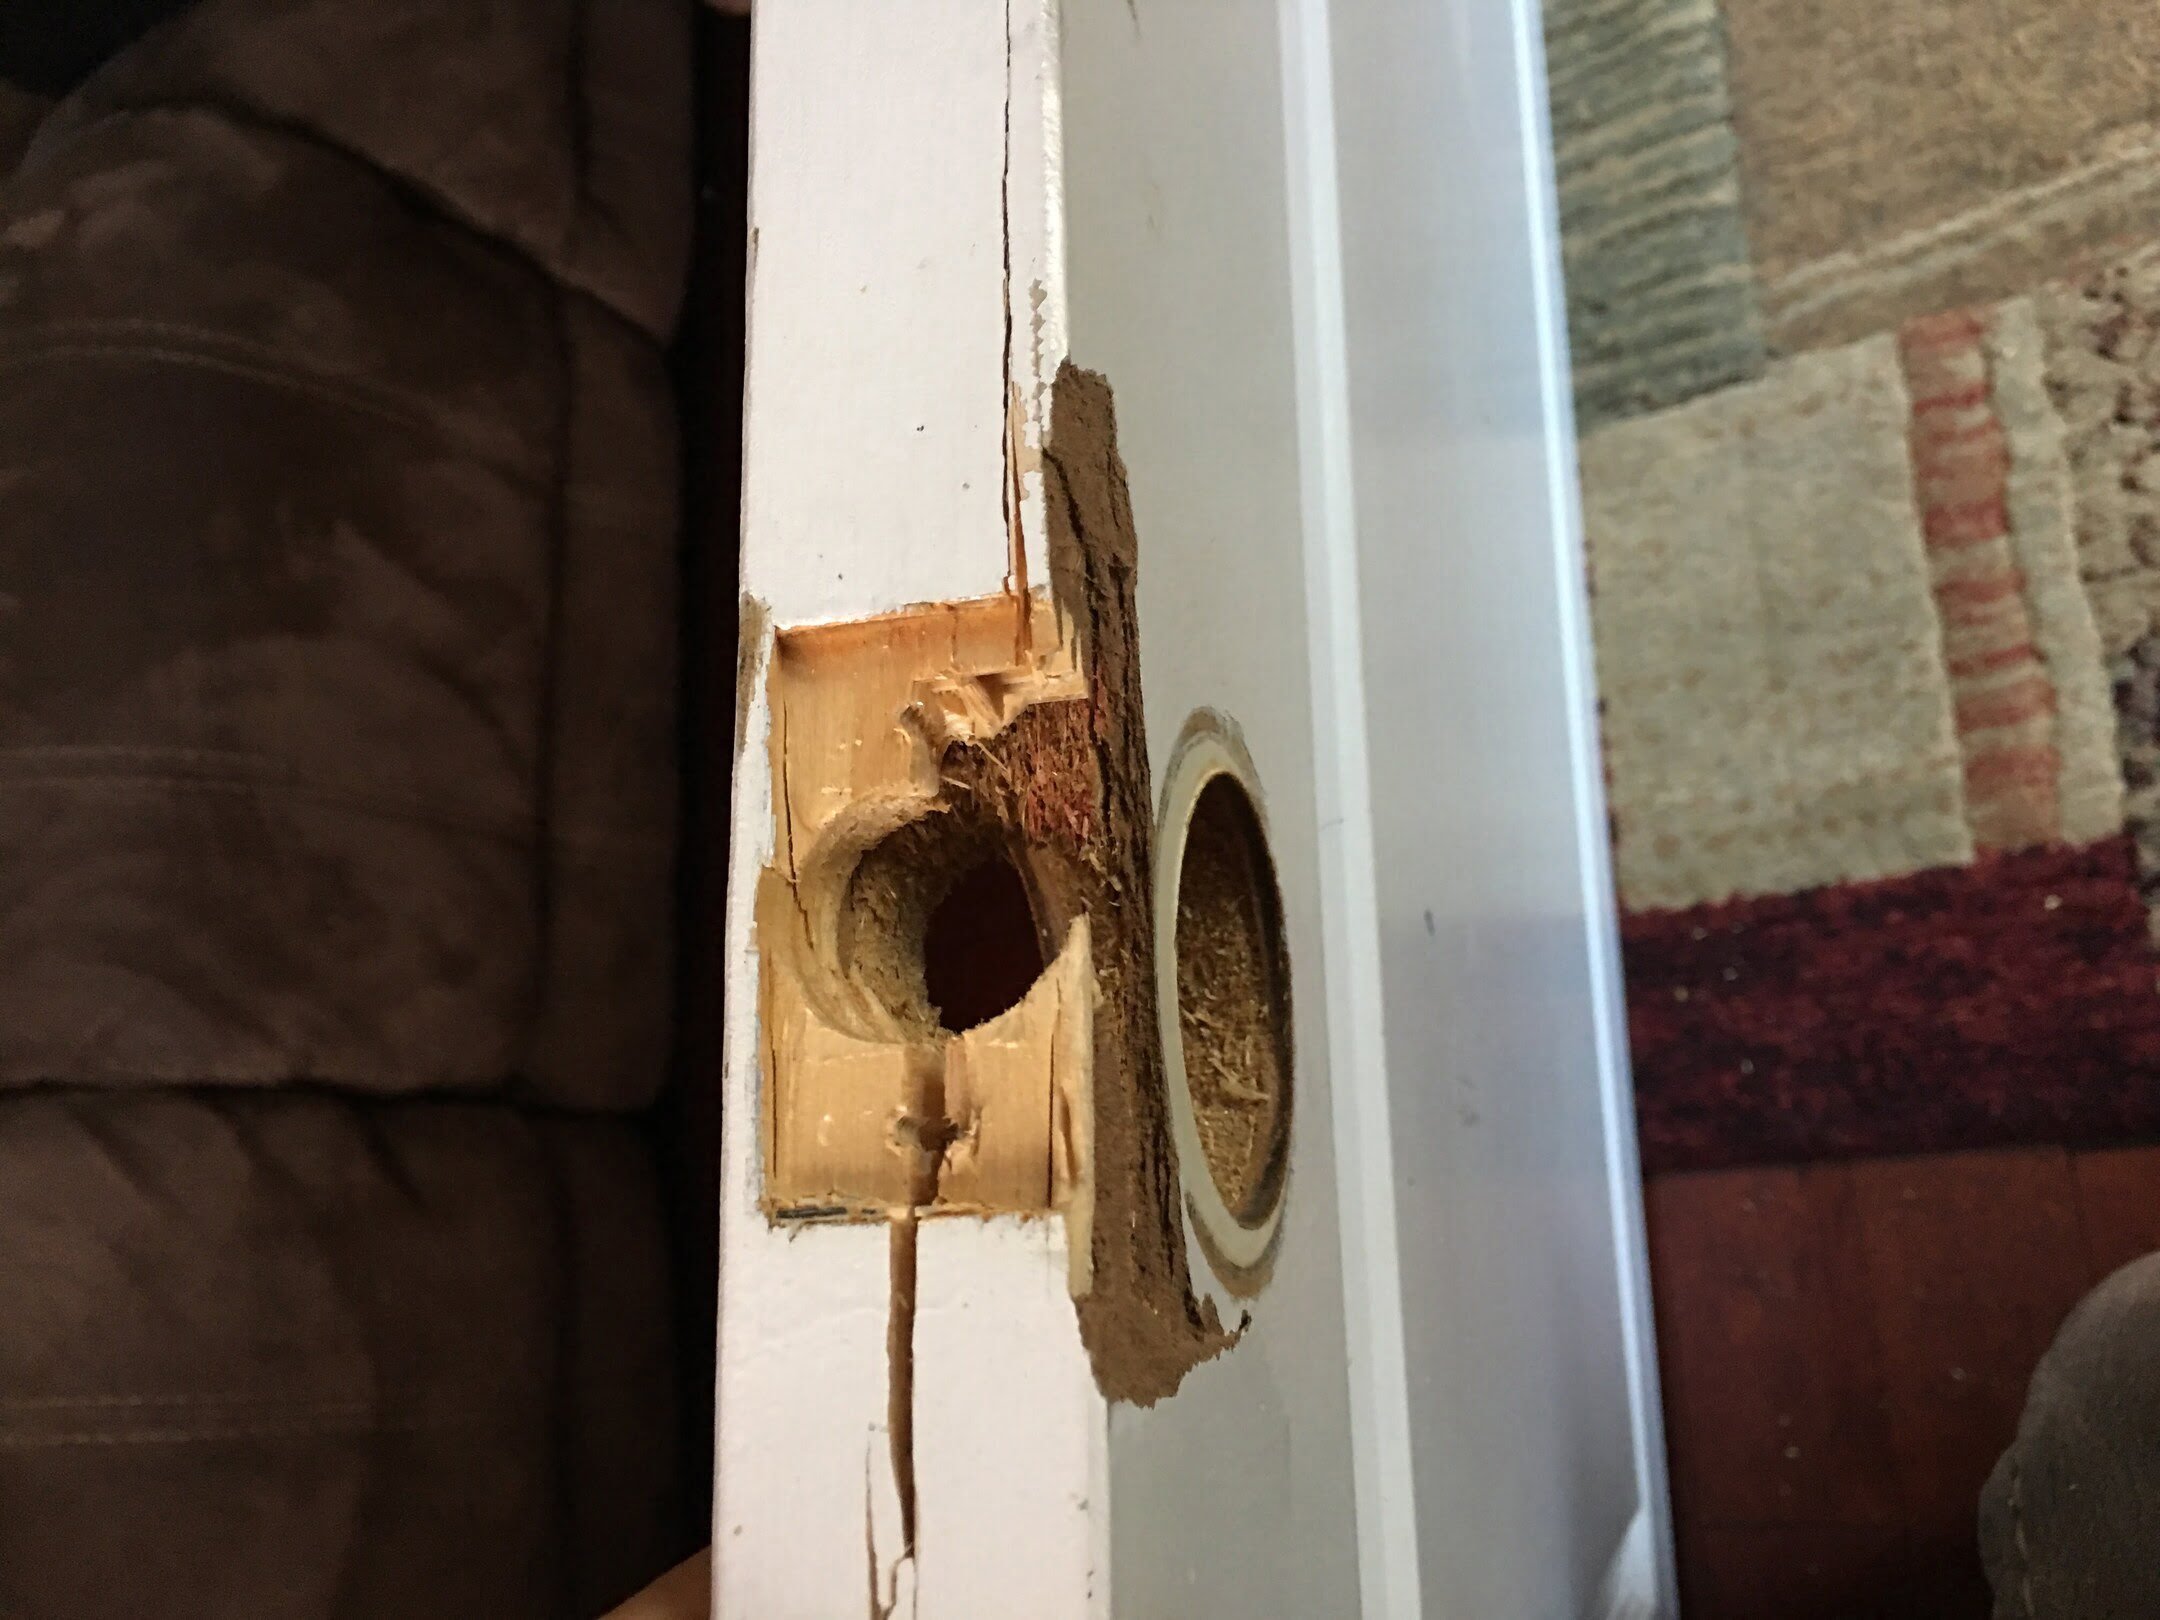
Over time, push bar door locks can experience issues such as sticking, misalignment, or general wear and tear. These problems can compromise the security of a building and even pose safety hazards in emergency situations. Fortunately, many of these issues can be addressed with some basic maintenance and troubleshooting techniques, saving you time and money on professional repairs.
In this guide, we'll walk you through the process of fixing a push bar door lock, from understanding its mechanism to the tools and materials you'll need, and the step-by-step procedures to inspect, clean, adjust, and lubricate the lock to ensure smooth operation. By following these steps, you can restore the functionality of your push bar door lock and gain peace of mind knowing that your property is secure and your occupants are safe.
So, grab your toolkit and let's dive into the world of push bar door locks, learning how to keep them in optimal working condition.
Key Takeaways:
- Maintaining push bar door locks is crucial for building safety. Regular inspection, cleaning, and lubrication ensure smooth operation, contributing to the security and well-being of occupants.
- Understanding the mechanism and performing DIY fixes for push bar door locks is empowering. With the right tools and steps, you can ensure the reliability of these essential security devices.
Read more: How To Fix A Push Lock Door Handle
Understanding the Push Bar Door Lock
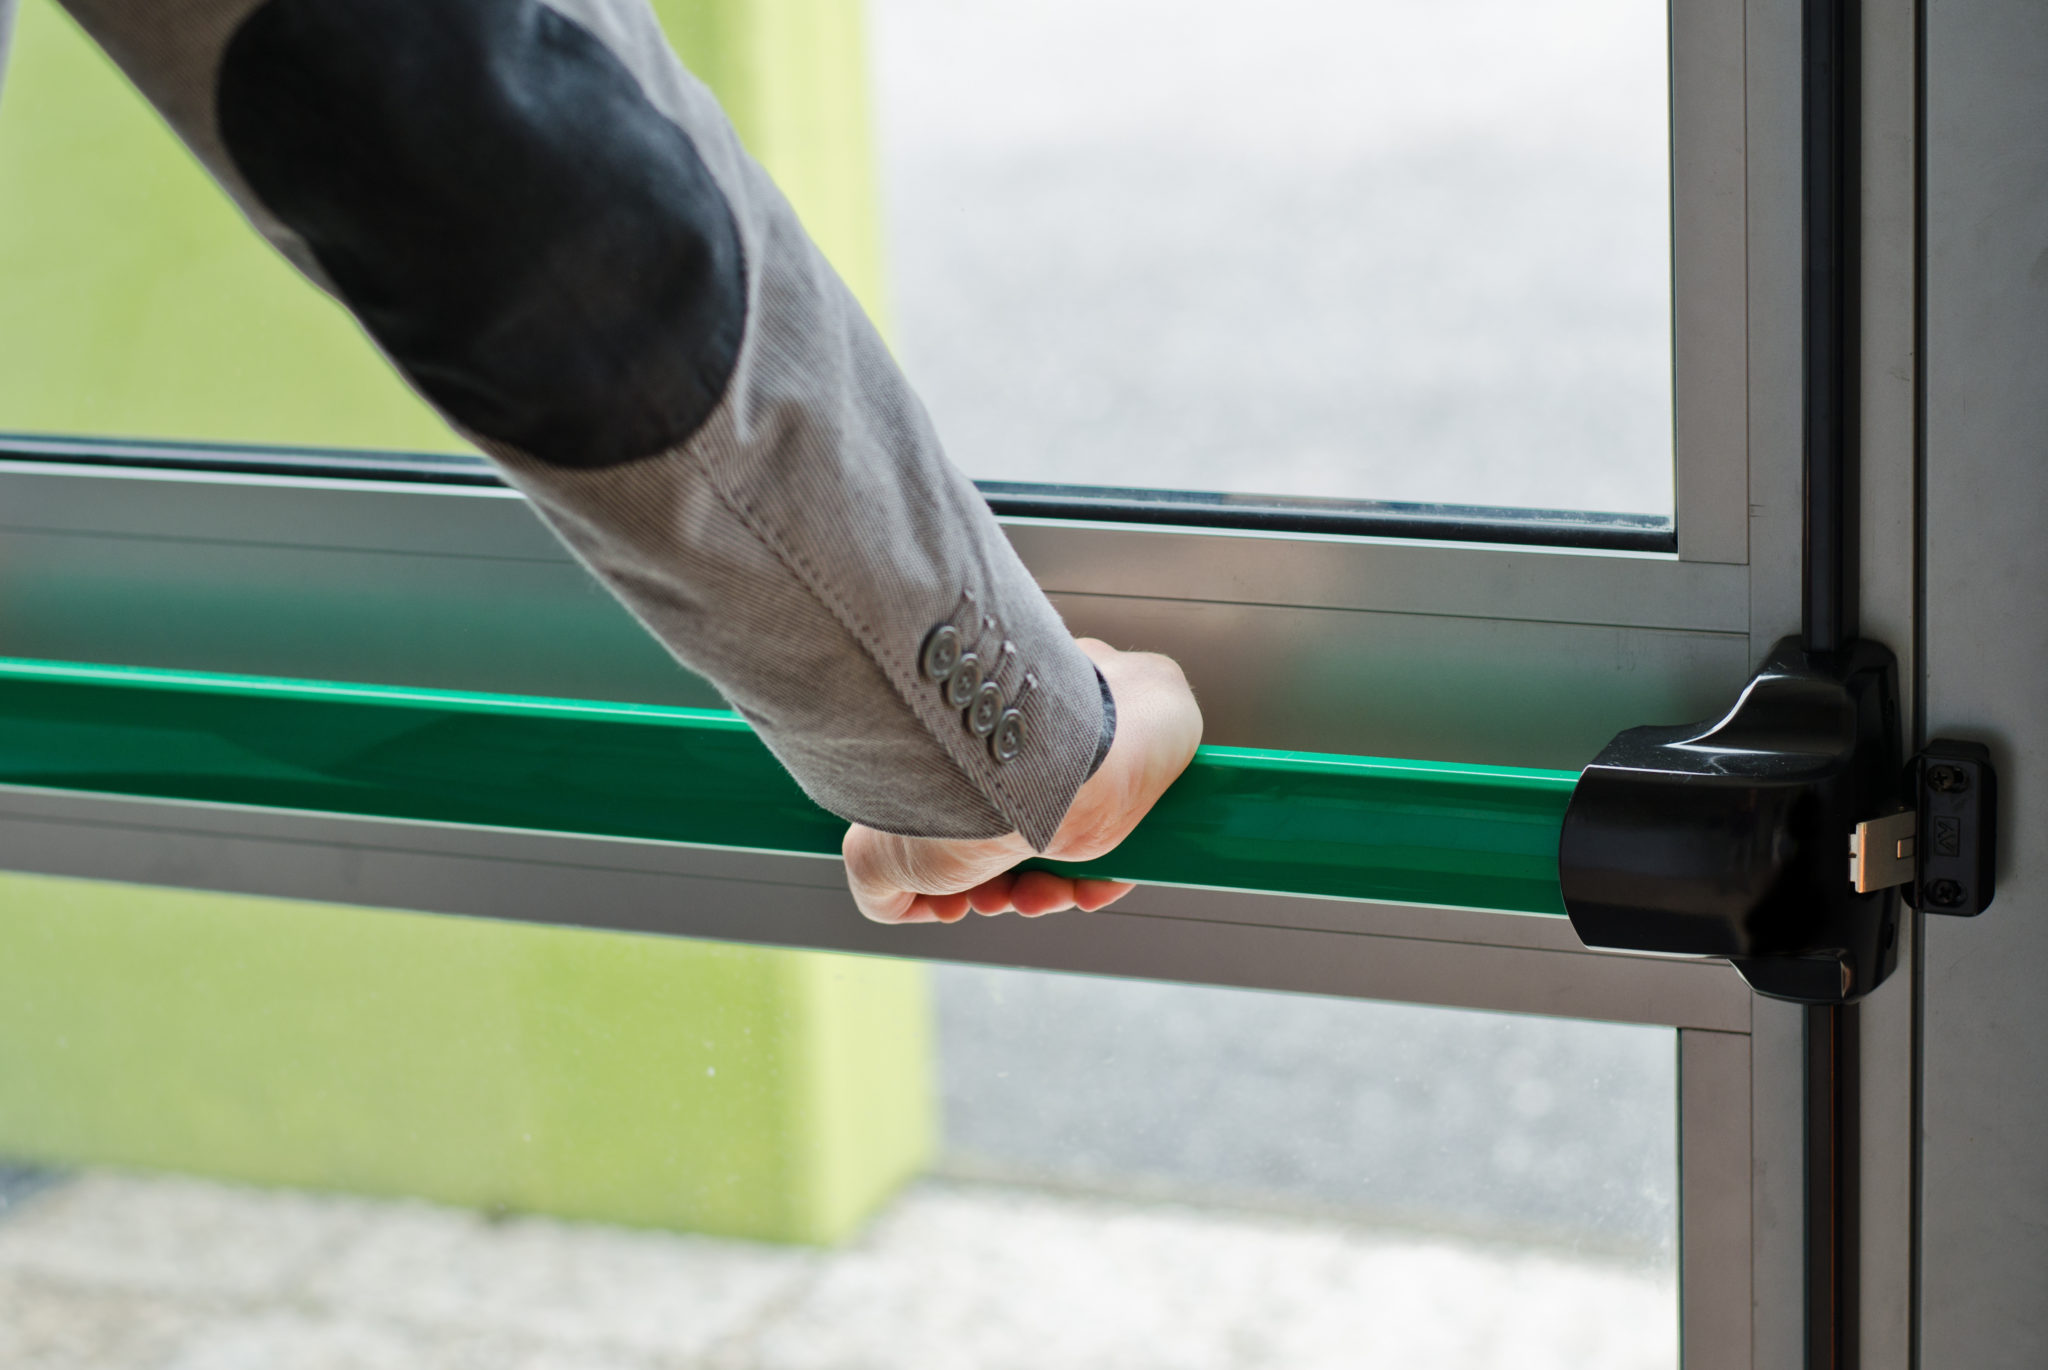
Before delving into the process of fixing a push bar door lock, it’s crucial to have a clear understanding of how this type of lock operates. Also known as a panic exit device or crash bar, a push bar door lock is designed to provide a quick and easy means of egress in emergency situations, particularly in public buildings and commercial settings.
These locks are typically installed on doors that are required to provide emergency exits, such as those in theaters, schools, office buildings, and other public spaces. The primary function of the push bar is to allow individuals to push the door open with minimal effort, facilitating a swift exit in the event of a fire, natural disaster, or any other emergency scenario.
The mechanism of a push bar door lock is relatively straightforward. When pressure is applied to the bar, it activates a mechanism inside the lock, allowing the door to be opened from the inside with ease. This design ensures that occupants can quickly exit a building without the need for turning a knob or engaging in complex maneuvers.
Push bar door locks are subject to rigorous safety standards and building codes to ensure their reliability and effectiveness in emergency situations. It’s important to note that these locks should only be installed and maintained by qualified professionals to ensure compliance with safety regulations and to guarantee their proper operation when needed most.
By understanding the purpose and functionality of push bar door locks, you can appreciate their critical role in building safety and emergency preparedness. With this knowledge in mind, you’ll be better equipped to tackle any issues that may arise with these essential security devices.
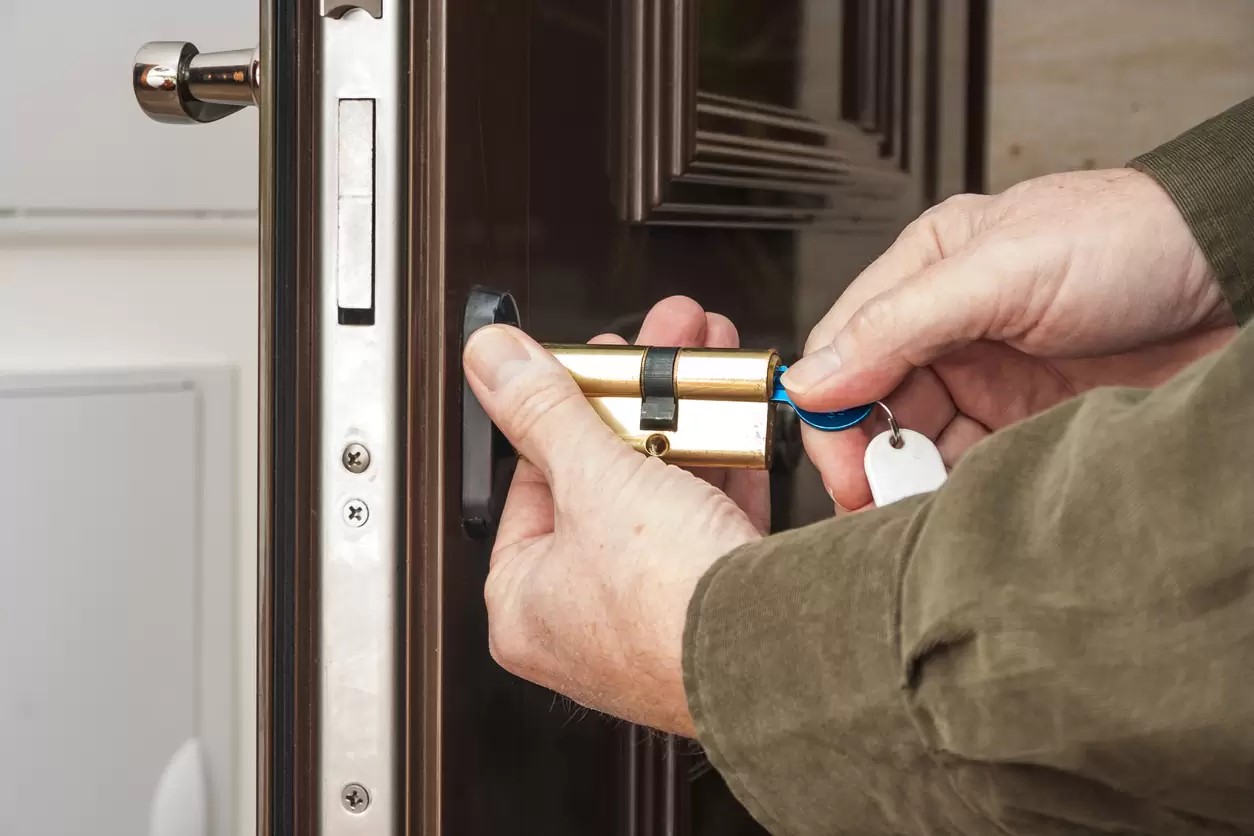
Tools and Materials Needed
Before embarking on the task of fixing a push bar door lock, it’s essential to gather the necessary tools and materials. Having the right equipment at your disposal will streamline the repair process and ensure that you can address any issues effectively. Here’s a list of the tools and materials you’ll need:
- Screwdriver: A set of screwdrivers, including flathead and Phillips head varieties, will be indispensable for removing the screws that secure the lock components.
- Hex Key Set: Also known as Allen keys, these tools are essential for adjusting and tightening various components of the push bar door lock.
- Lubricant: A high-quality lubricant, such as silicone-based spray or graphite powder, is necessary for ensuring smooth operation of the lock mechanism.
- Cleaning Solution: A mild cleaning solution and a soft cloth will be required for cleaning and removing any debris or buildup from the lock components.
- Replacement Parts: Depending on the condition of the lock, you may need to have replacement parts on hand, such as springs, screws, or other components specific to your push bar door lock model.
- Protective Gear: Safety goggles and gloves are crucial for protecting your eyes and hands while working on the lock.
- Reference Manual: If available, consult the manufacturer’s reference manual for your specific push bar door lock model to understand its components and maintenance requirements.
By ensuring that you have these tools and materials ready, you’ll be well-prepared to address any issues that may arise with your push bar door lock. With the right equipment at your disposal, you can proceed with confidence, knowing that you have everything you need to restore the functionality of your lock.
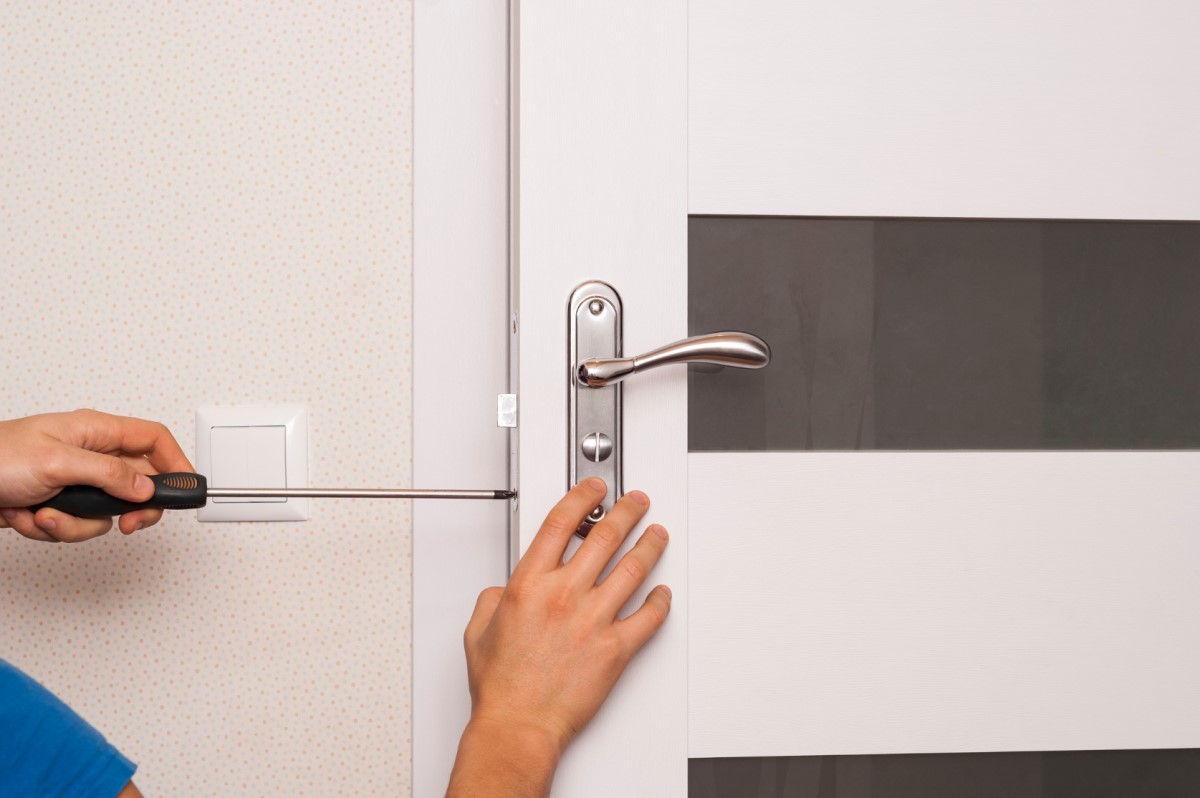
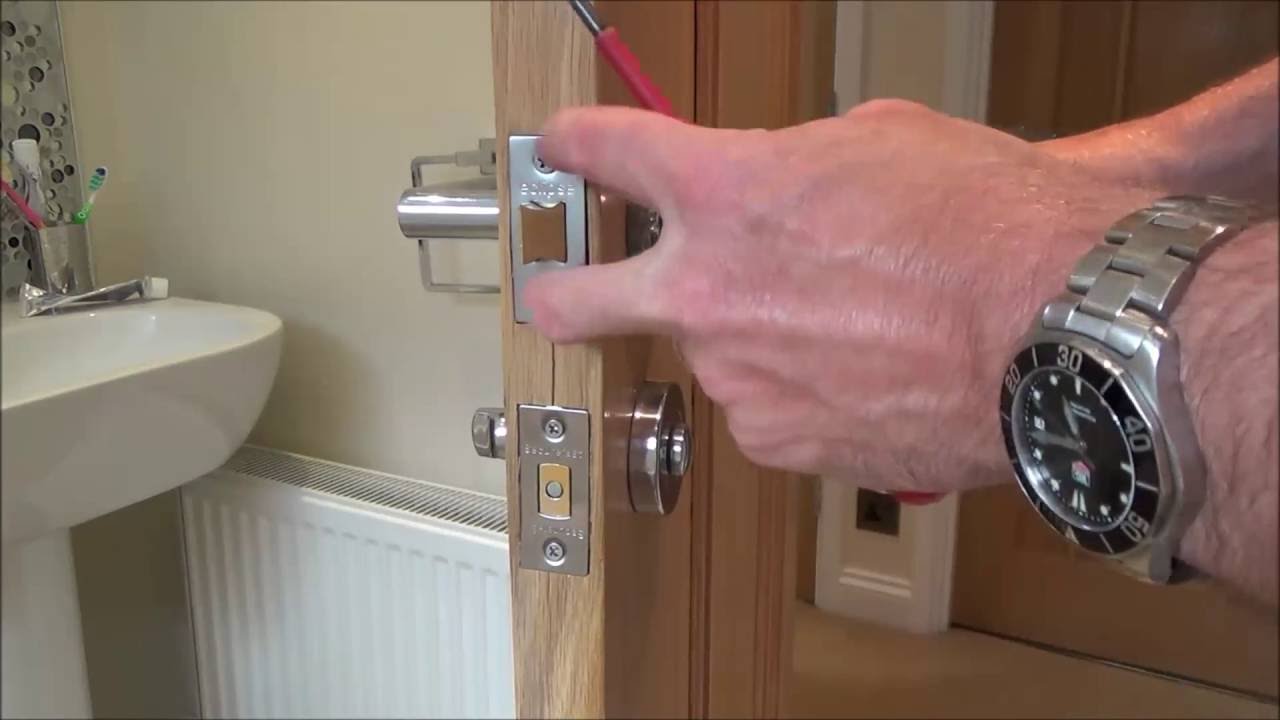
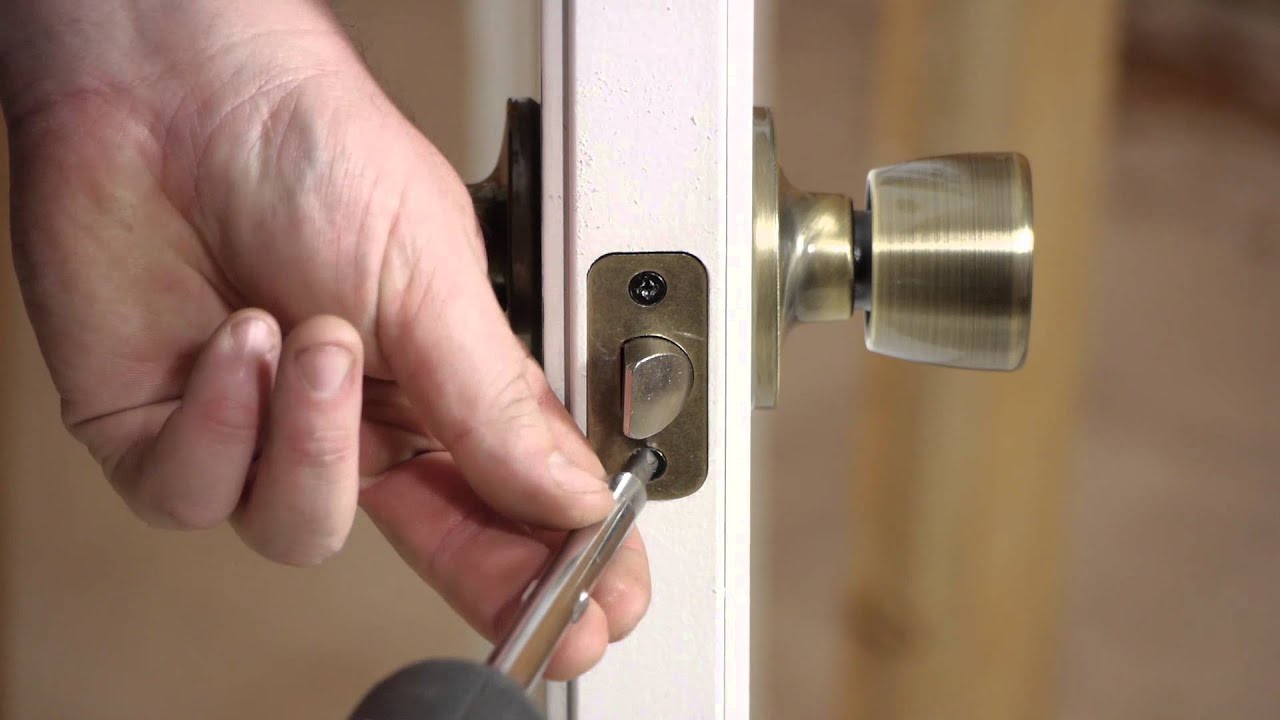
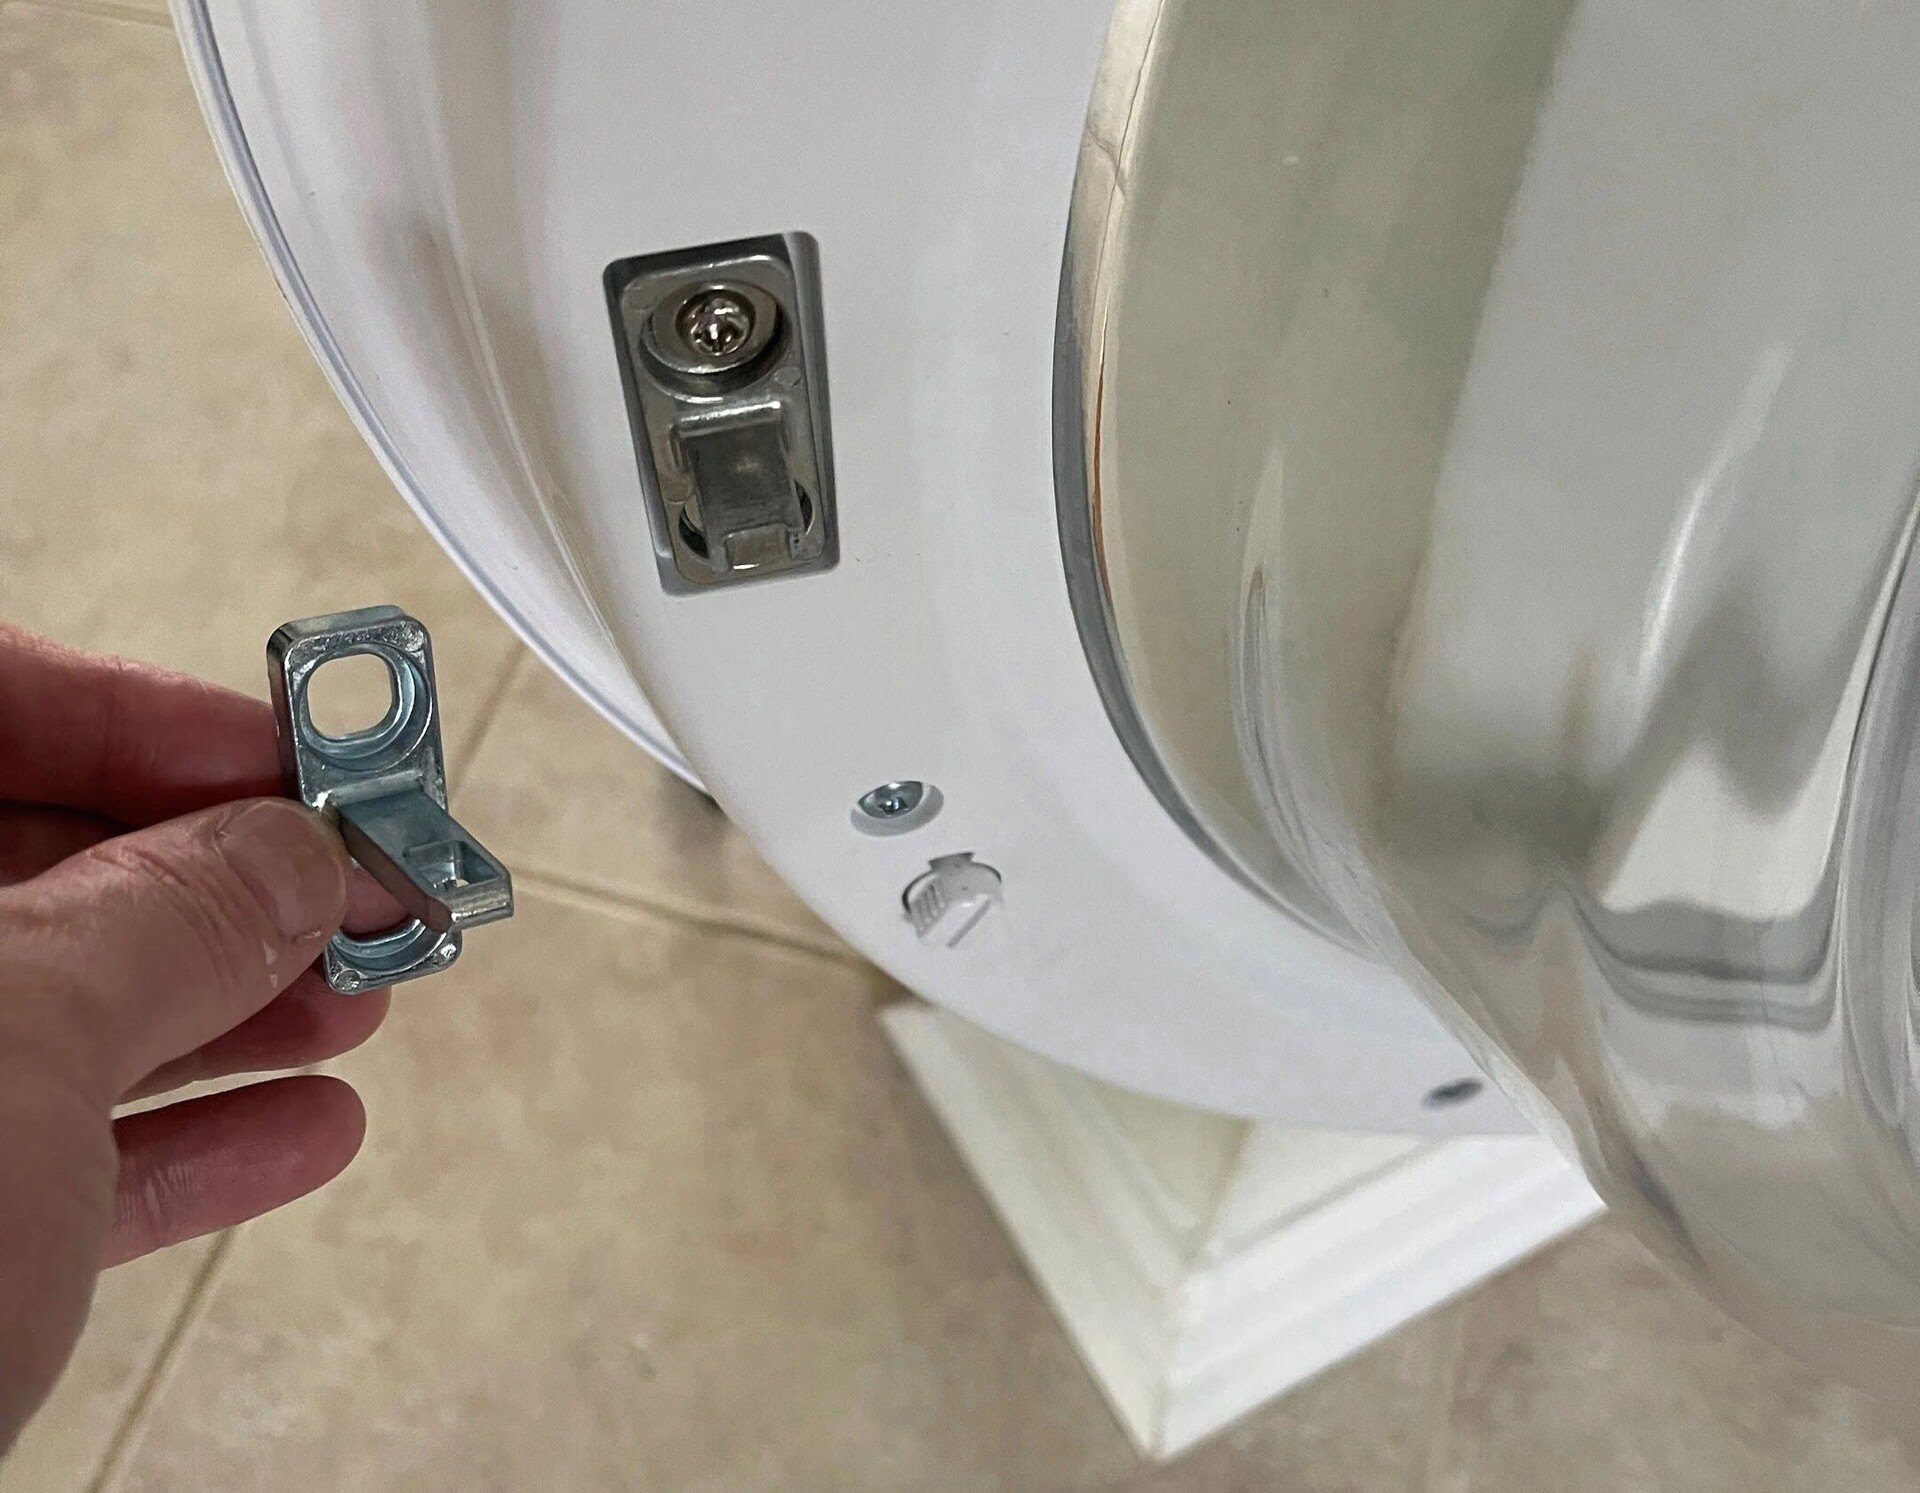
Step 1: Removing the Door Lock Cover
Before you can begin inspecting and troubleshooting the internal mechanism of the push bar door lock, you’ll need to access its components by removing the door lock cover. This cover is typically located on the inside of the door and is designed to protect the internal workings of the lock while providing easy access for maintenance and repairs.
To remove the door lock cover, follow these steps:
- Locate the Mounting Screws: Using a screwdriver, identify and loosen the mounting screws that secure the door lock cover in place. These screws are usually located along the edges of the cover.
- Remove the Cover: Once the mounting screws are loosened, carefully detach the door lock cover from the door. Take care not to force the cover, as it may have hooks or additional fasteners that need to be disengaged before it can be fully removed.
- Set Aside the Cover: Place the removed cover in a safe and easily accessible location, ensuring that it is protected from damage and any potential contaminants.
With the door lock cover successfully removed, you’ll now have a clear view of the internal components of the push bar door lock, allowing you to proceed with the inspection and maintenance of its mechanism. This initial step sets the stage for addressing any issues that may be affecting the functionality of the lock, bringing you one step closer to restoring its optimal performance.
Step 2: Inspecting and Cleaning the Mechanism
With the door lock cover removed, you can now proceed to inspect and clean the internal mechanism of the push bar door lock. Over time, dirt, debris, and accumulated grime can impede the smooth operation of the lock, leading to sticking or difficulty in actuating the push bar. By conducting a thorough inspection and cleaning, you can address these issues and restore the functionality of the lock.
Follow these steps to inspect and clean the mechanism:
- Visual Inspection: Carefully examine the internal components of the lock, paying close attention to the moving parts, springs, and the push bar itself. Look for any signs of wear, corrosion, or obstruction that may be hindering the operation of the lock.
- Remove Debris: Using a mild cleaning solution and a soft cloth, gently clean the components of the lock to remove any dirt, dust, or buildup. Ensure that the push bar and its surrounding area are free from obstructions that could affect its movement.
- Inspect Springs and Hinges: Check the condition of the springs and hinges within the lock mechanism. Ensure that they are free from rust and corrosion, and apply a small amount of lubricant to promote smooth movement.
- Test the Operation: Actuate the push bar to test its operation after cleaning. Verify that it moves freely and returns to its original position without sticking or resistance.
By conducting a thorough inspection and cleaning of the mechanism, you can address common issues that may be affecting the performance of the push bar door lock. This proactive maintenance step ensures that the internal components are in optimal condition, setting the stage for the subsequent adjustments and lubrication that will further enhance the functionality of the lock.
Make sure the push bar is properly aligned with the strike plate. Check for any obstructions or debris in the locking mechanism. Lubricate the moving parts with a silicone-based lubricant to ensure smooth operation.
Read more: How To Unlock A Push Lock Door
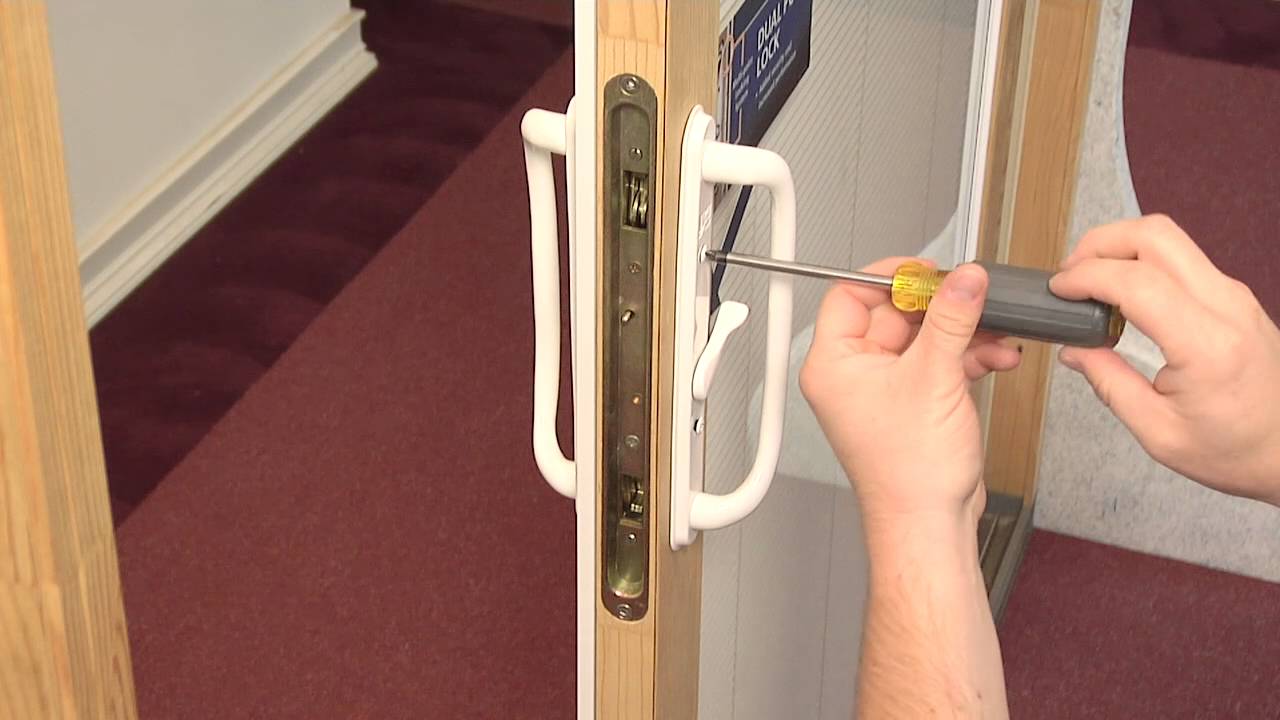
Step 3: Adjusting the Push Bar
Once the internal mechanism of the push bar door lock has been inspected and cleaned, the next step is to address any misalignment or tension issues by adjusting the push bar. Misaligned or improperly tensioned push bars can lead to difficulties in operation, potentially compromising the security and safety of the door. By making precise adjustments, you can ensure that the push bar functions smoothly and reliably.
Follow these steps to adjust the push bar:
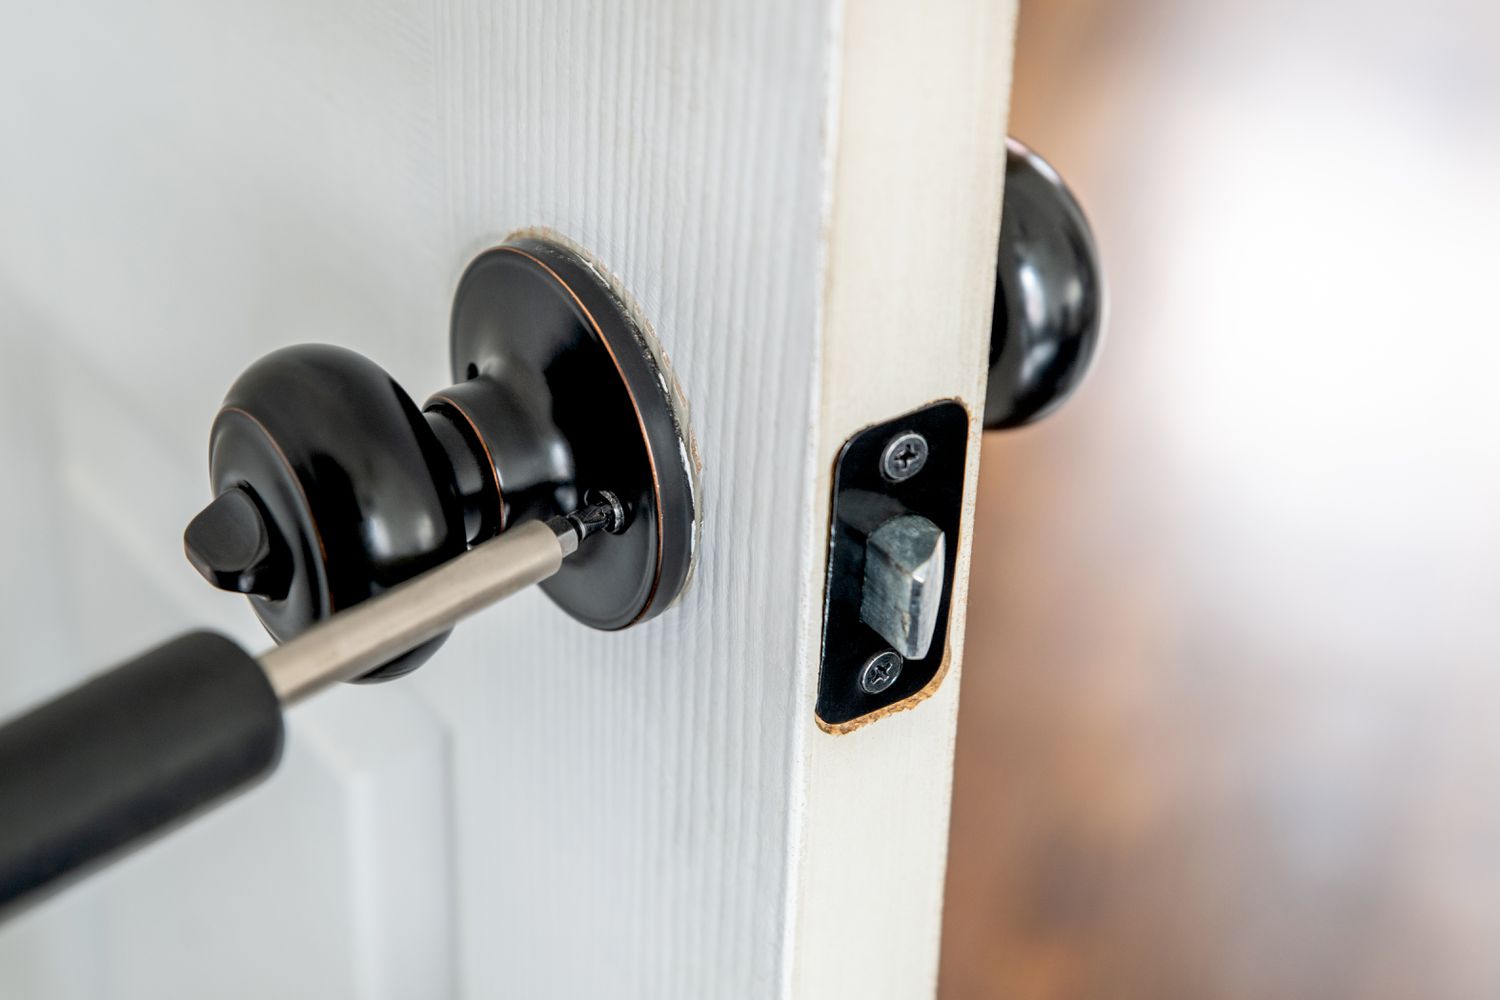
- Identify Misalignment: Carefully observe the alignment of the push bar with the door frame and strike plate. Look for any deviations or gaps that indicate misalignment.
- Loosen Mounting Screws: Using the appropriate screwdriver, loosen the mounting screws that secure the push bar to the door. Take care not to remove the screws completely, as they will need to be tightened after the adjustment.
- Align the Push Bar: Gently adjust the position of the push bar to achieve proper alignment with the door frame and strike plate. Ensure that the bar makes full and even contact with the strike plate when engaged.
- Test the Operation: Actuate the push bar to test its alignment and ensure that it operates smoothly without sticking or binding. Make further adjustments if necessary to achieve optimal functionality.
- Secure the Mounting Screws: Once the push bar is properly aligned, securely tighten the mounting screws to maintain its position and alignment.
By carefully adjusting the push bar to achieve proper alignment and tension, you can eliminate potential issues that may hinder the smooth operation of the door lock. This step plays a pivotal role in ensuring that the push bar engages with the strike plate effectively, providing reliable security and ease of egress when needed.
Step 4: Lubricating the Lock Mechanism
After inspecting and adjusting the push bar, the next crucial step in maintaining a push bar door lock is to apply lubrication to its internal mechanism. Over time, friction and wear can lead to stiffness and resistance in the lock’s components, hindering its smooth operation. Proper lubrication ensures that the moving parts function seamlessly, enhancing the overall performance and longevity of the lock.
Follow these steps to lubricate the lock mechanism:
- Clean the Components: Ensure that the internal components of the lock are free from debris and residue before applying lubricant. Use a mild cleaning solution and a soft cloth to remove any remaining dirt or grime.
- Select the Lubricant: Choose a high-quality lubricant suitable for lock mechanisms, such as a silicone-based spray or graphite powder. Avoid using oil-based lubricants, as they can attract dust and debris, potentially leading to further issues.
- Apply the Lubricant: Using the nozzle or applicator straw provided with the lubricant, apply a small amount to the moving parts of the lock, including the hinges, springs, and any areas of metal-to-metal contact. Ensure that the lubricant is distributed evenly and sparingly to prevent excess buildup.
- Work the Mechanism: Actuate the push bar and handle to allow the lubricant to penetrate the internal components. Verify that the operation of the lock feels smooth and effortless, indicating that the lubricant has effectively reduced friction.
- Wipe Excess Lubricant: After applying the lubricant, use a clean cloth to wipe away any excess residue, ensuring that the lock’s exterior remains clean and free from lubricant buildup.
By applying the appropriate lubricant to the lock mechanism, you can mitigate the effects of wear and friction, promoting smooth and reliable operation. This maintenance step contributes to the overall longevity and performance of the push bar door lock, ensuring that it remains in optimal working condition for the safety and security of the premises.
Step 5: Reassembling the Door Lock
With the necessary maintenance and adjustments completed, the final step in fixing a push bar door lock is to reassemble its components, ensuring that everything is securely in place and functioning as intended. Proper reassembly is crucial to guaranteeing the lock’s reliability and security, providing peace of mind for building occupants and property owners alike.
Follow these steps to reassemble the door lock:
- Position the Door Lock Cover: Align the door lock cover with its original position on the interior side of the door. Ensure that any hooks or fasteners are engaged before proceeding.
- Secure the Mounting Screws: Using a screwdriver, tighten the mounting screws that secure the door lock cover in place. Verify that the cover is snug and properly aligned with the door.
- Test the Lock Operation: Actuate the push bar and handle to verify that the lock functions smoothly and effortlessly. Ensure that the push bar engages with the strike plate without sticking or resistance.
- Verify Alignment: Check the alignment of the push bar and its interaction with the strike plate, confirming that any previous misalignment issues have been successfully addressed through adjustments.
- Perform a Final Inspection: Conduct a visual inspection of the reassembled door lock, ensuring that all components are securely in place and that the lock operates as expected.
By carefully reassembling the door lock and verifying its proper operation, you can conclude the maintenance process with confidence, knowing that the push bar door lock has been restored to optimal working condition. This final step ensures that the lock provides reliable security and ease of egress, meeting the essential requirements for building safety and emergency preparedness.
Conclusion
Congratulations! You’ve successfully navigated the process of fixing a push bar door lock, equipping yourself with the knowledge and skills to maintain the security and functionality of this essential component of building safety. By understanding the mechanism of the push bar door lock, gathering the necessary tools and materials, and following the step-by-step procedures for inspection, cleaning, adjustment, lubrication, and reassembly, you’ve taken proactive steps to ensure the reliability and effectiveness of the lock.
It’s important to recognize the critical role that push bar door locks play in providing quick and safe egress during emergency situations, particularly in public and commercial buildings. By investing time and effort in maintaining and troubleshooting these locks, you contribute to the overall safety and security of building occupants, fostering a sense of confidence and preparedness in the face of unforeseen events.
Remember, regular maintenance and inspection of push bar door locks are essential to preempt potential issues and address them before they compromise the lock’s performance. By incorporating these tasks into your building maintenance routine, you can uphold the integrity of the locks and ensure their readiness for any emergency scenario.
As you conclude this maintenance endeavor, take pride in your proactive approach to building security and safety. Your dedication to understanding and maintaining push bar door locks reflects a commitment to the well-being of those who rely on these crucial devices for secure and efficient egress.
Thank you for joining us on this journey of enhancing your knowledge and skills in maintaining push bar door locks. Your efforts contribute to the collective goal of creating secure and resilient environments for all.
Now that you've got the hang of fixing push bar door locks, why not expand your DIY skills with other types of door fixes? Our comprehensive guide on door repair offers practical advice for tackling common issues. Whether you're dealing with creaky hinges, misaligned doors, or damaged frames, this resource provides all the know-how you'll need. Perfecting these techniques not only keeps your entrances functioning smoothly but also ensures your home stays secure.
Frequently Asked Questions about How To Fix A Push Bar Door Lock
Was this page helpful?
At Storables.com, we guarantee accurate and reliable information. Our content, validated by Expert Board Contributors, is crafted following stringent Editorial Policies. We're committed to providing you with well-researched, expert-backed insights for all your informational needs.
0 thoughts on “How To Fix A Push Bar Door Lock”