Home>Technology>Security & Surveillance>How To Remove A Mortise Lock From A Locked Door
Security & Surveillance
How To Remove A Mortise Lock From A Locked Door
Modified: August 24, 2024
Learn how to safely remove a mortise lock from a locked door with our step-by-step guide. Enhance your security and surveillance skills today!
(Many of the links in this article redirect to a specific reviewed product. Your purchase of these products through affiliate links helps to generate commission for Storables.com, at no extra cost. Learn more)
Introduction
Removing a mortise lock from a locked door may seem like a daunting task, but with the right tools and a clear understanding of the process, it can be accomplished with relative ease. Whether you're replacing the lock, refurbishing the door, or simply addressing a malfunction, knowing how to remove a mortise lock is a valuable skill for any homeowner or DIY enthusiast.
In this comprehensive guide, we will walk you through the step-by-step process of removing a mortise lock from a locked door. By following these instructions, you can effectively disassemble the lock and gain access to the internal components, allowing for repairs or replacements as needed.
Before diving into the removal process, it's important to gather the necessary tools and materials. Additionally, familiarizing yourself with the anatomy of a mortise lock will provide valuable insight into how the various components work together. With a bit of patience and attention to detail, you'll soon be equipped to tackle this task with confidence. Let's get started!
Key Takeaways:
- Removing a mortise lock from a locked door requires patience and the right tools. By following the step-by-step process, you can gain valuable DIY skills and ensure the security of your home.
- Reassembling the door after removing the mortise lock is crucial for a functional and secure outcome. Your diligence and attention to detail contribute to the optimal performance of the lock and the door.
Read more: How To Mortise A Door Lock
Tools and Materials Needed
Before embarking on the process of removing a mortise lock from a locked door, it’s essential to gather the following tools and materials:
- Phillips-head screwdriver
- Flat-head screwdriver
- Needle-nose pliers
- Allen wrench (if applicable)
- Putty knife or chisel
- Replacement mortise lock (if the existing one is being replaced)
- Lubricant or penetrating oil
- Rag or paper towels
Having these tools at your disposal will streamline the removal process and ensure that you can address any unforeseen complications that may arise. The Phillips-head screwdriver will be used to remove screws, while the flat-head screwdriver can help pry and maneuver components. Needle-nose pliers are handy for gripping small parts, and an Allen wrench may be necessary for certain lock models.
If the mortise lock is being replaced, it’s advisable to have the replacement lock on hand to facilitate a smooth transition. Additionally, having lubricant or penetrating oil available can aid in loosening any stubborn components, while a rag or paper towels will help keep the work area tidy.
By preparing these tools and materials in advance, you’ll be well-equipped to tackle the task of removing a mortise lock from a locked door, setting the stage for a successful and efficient endeavor.
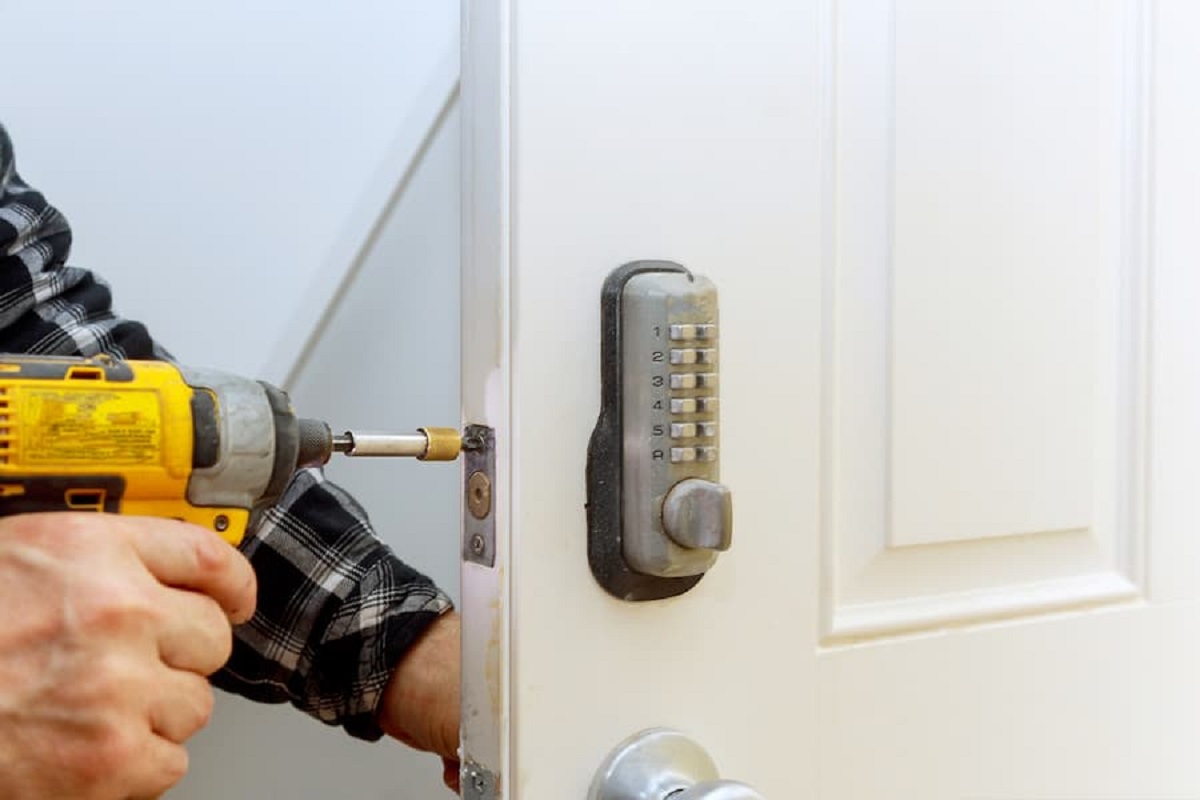
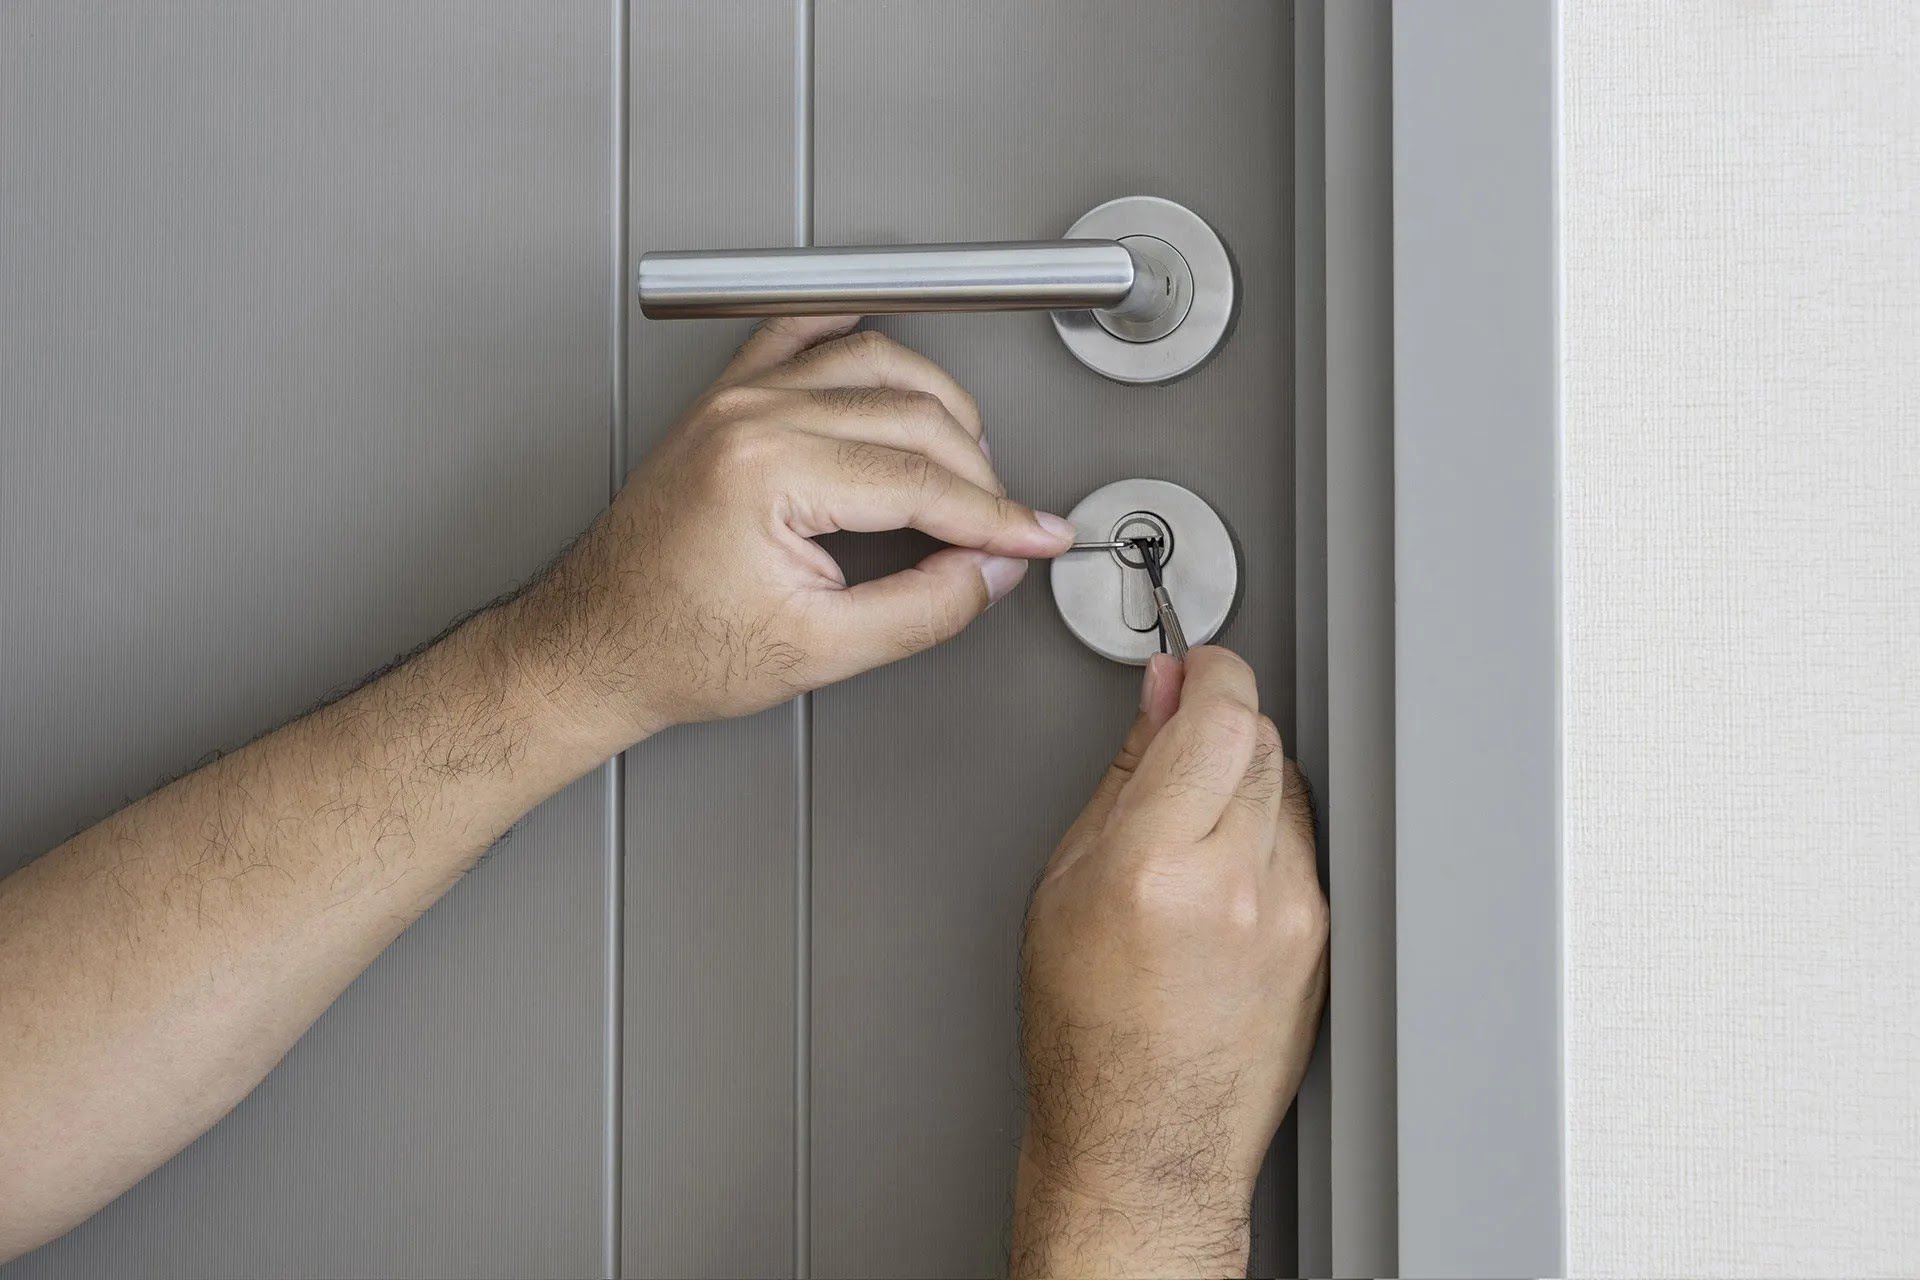
Step 1: Remove the Doorknob
The first step in removing a mortise lock from a locked door is to take out the doorknob. Start by locating the screws that secure the knob to the door. These screws are typically found on the escutcheon plate or the collar beneath the knob.
Using a Phillips-head screwdriver, carefully remove the screws and set them aside in a safe place. Once the screws are removed, you can gently pull the knob and the escutcheon plate away from the door. Be mindful of any concealed screws or additional fasteners that may be present, as these will also need to be removed before the knob can be fully detached.
If the knob appears to be stuck, a flat-head screwdriver can be used to gently pry it away from the door. Take care not to force the knob, as this can cause damage to the surrounding components. Once the knob is removed, set it aside in a secure location, as it will be reinstalled later in the process.
With the knob successfully detached, you have completed the initial step in the process of removing a mortise lock from a locked door. The next phase will involve accessing the interior components of the lock by removing the faceplate, bringing you one step closer to disassembling the mortise lock body.
Step 2: Remove the Faceplate
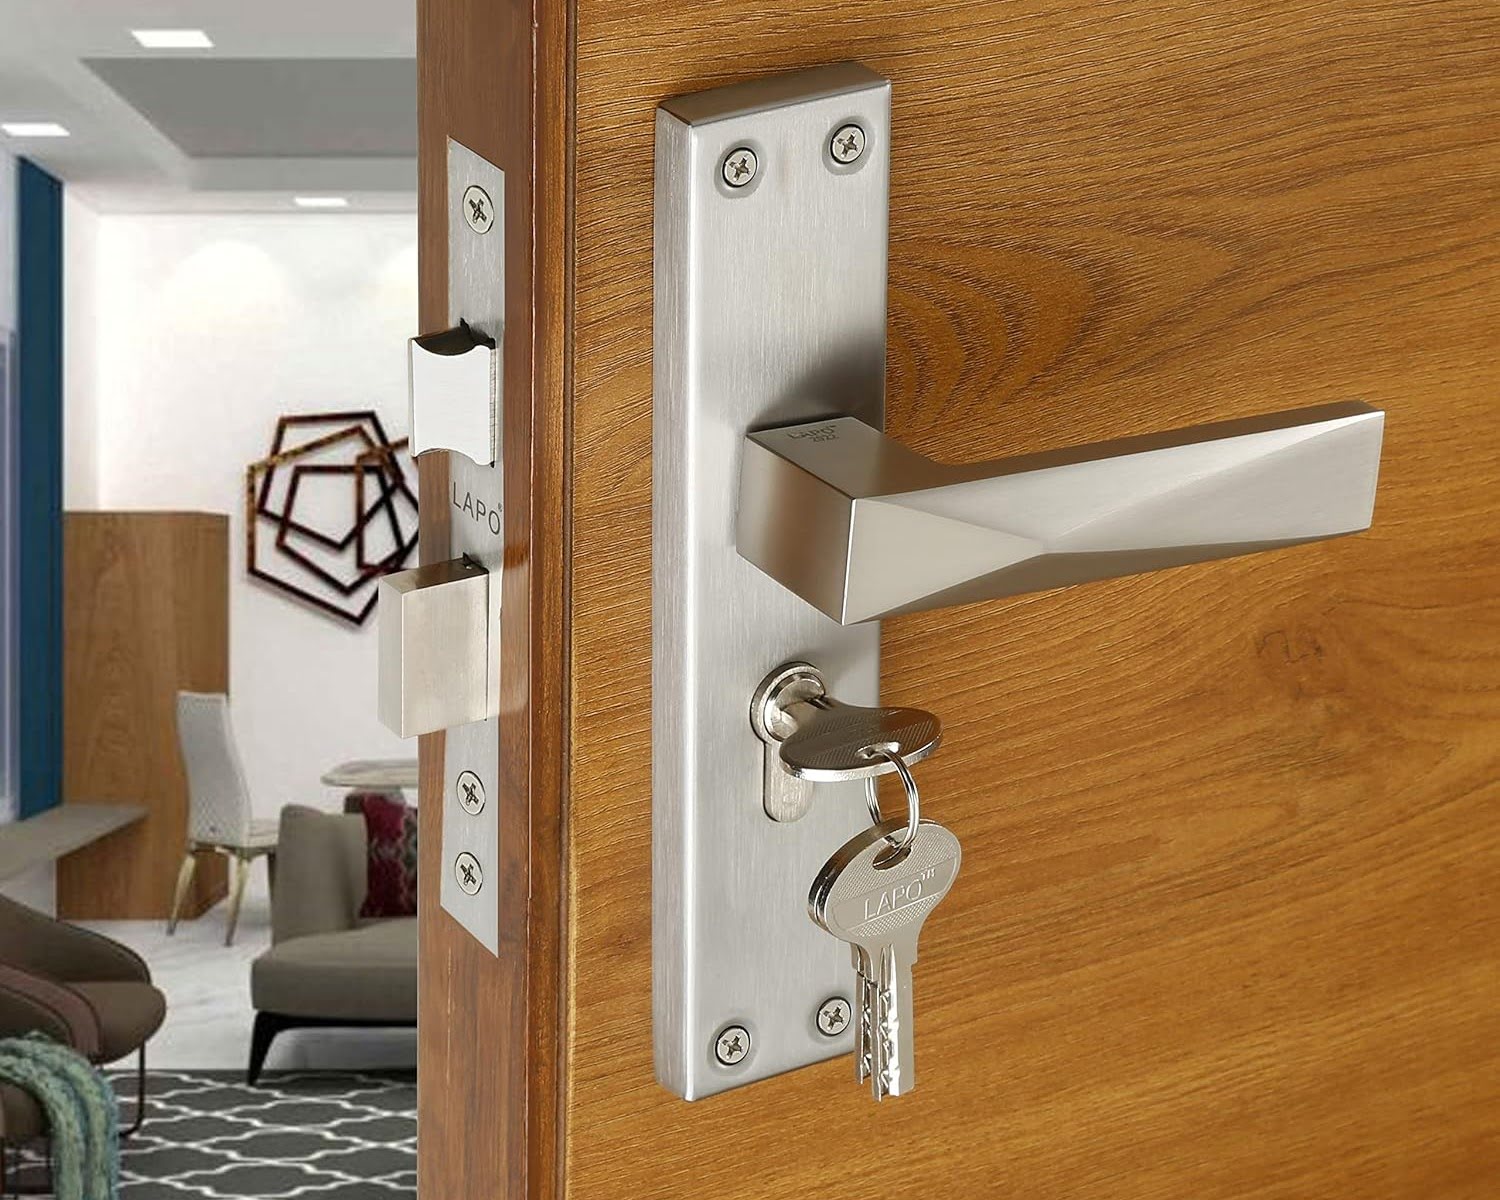
After removing the doorknob, the next step in disassembling a mortise lock from a locked door involves removing the faceplate. The faceplate is the metal plate that surrounds the mortise lock cylinder and is typically held in place by screws or small bolts.
Inspect the perimeter of the faceplate to locate the fasteners securing it to the door. Using a Phillips-head screwdriver or the appropriate tool, carefully remove these fasteners and set them aside for reassembly later. In some cases, the faceplate may be held in place by concealed screws, requiring a thorough examination to identify and access them.
Once the fasteners are removed, gently pull the faceplate away from the door. Take care to maneuver it slowly, as there may be connecting rods or other mechanisms attached to the interior mortise lock assembly. If the faceplate seems stuck, a putty knife or chisel can be used to carefully pry it away from the door, ensuring that no damage is caused to the surrounding surfaces.
With the faceplate successfully detached, set it aside in a secure location. This will reveal the inner workings of the mortise lock, providing access to the lock body and related components. The subsequent step will involve removing the mortise lock body itself, allowing for further inspection, repair, or replacement as needed.
By methodically progressing through the removal process, you are well on your way to disassembling the mortise lock from the locked door, paving the way for subsequent maintenance or upgrade endeavors.
If you need to remove a mortise lock from a locked door, you can use a screwdriver to remove the screws on the lock plate and then carefully pull out the lock mechanism. Be sure to consult a professional if you are unsure about the process.
Step 3: Remove the Mortise Lock Body
As you advance in the process of disassembling a mortise lock from a locked door, the next crucial step involves removing the mortise lock body from its housing within the door. This pivotal component houses the internal mechanisms of the lock, and its removal is essential for maintenance, repair, or replacement purposes.
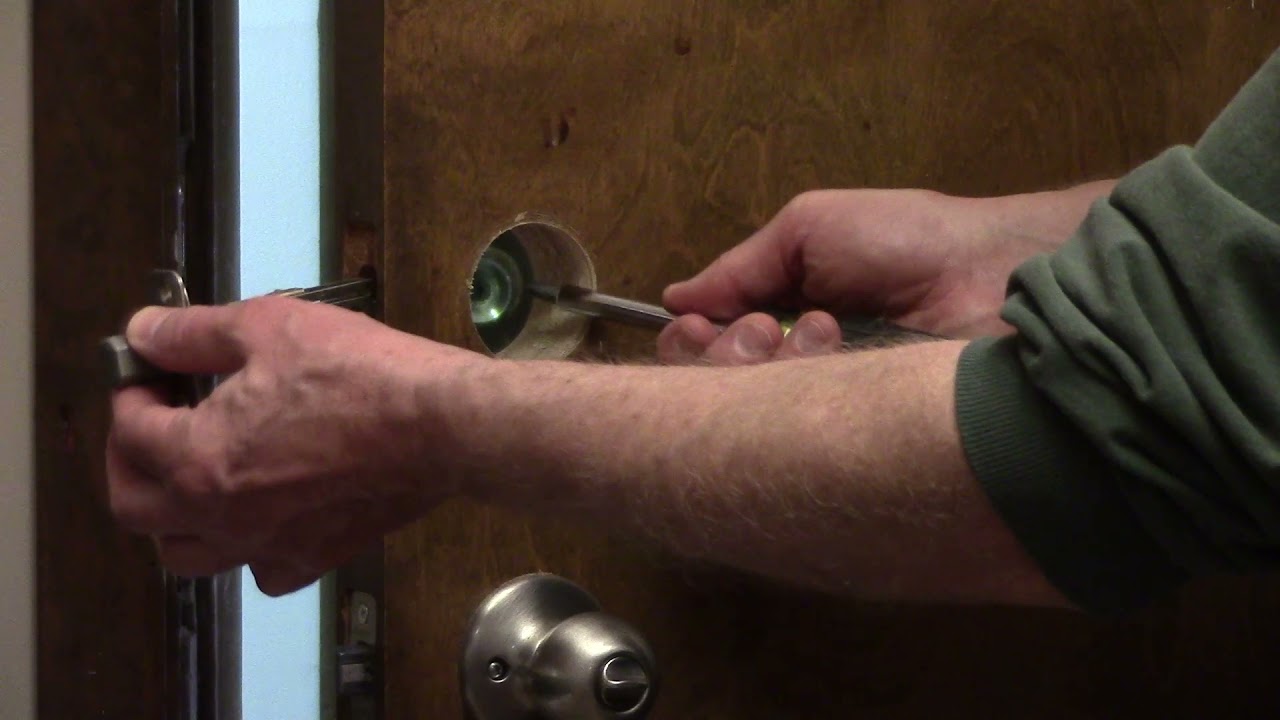
Begin by examining the mortise lock body to identify any securing screws or fasteners that hold it in place within the door. Using a Phillips-head screwdriver or the appropriate tool, carefully remove these fasteners, ensuring that they are safely stored for reassembly later. Some mortise locks may feature additional securing mechanisms, such as bolts or connecting rods, which should be addressed accordingly.
Once the securing elements are disengaged, gently pull the mortise lock body out of its housing within the door. Take care to note the orientation and arrangement of any interconnected components, as this will aid in reassembly and troubleshooting. If the lock body appears to be stuck, a lubricant or penetrating oil can be applied to facilitate its removal, allowing for a smoother extraction process.
With the mortise lock body successfully removed, take a moment to inspect its condition and the surrounding components. This vantage point provides an opportunity to address any issues, such as worn parts or internal malfunctions, and to determine the appropriate course of action, whether it involves repair, refurbishment, or replacement.
By successfully navigating through this step, you have accomplished the critical task of removing the mortise lock body from the locked door, setting the stage for further assessment and potential restoration. The subsequent phase will involve reassembling the door, culminating in the completion of the removal process.
Read more: How To Remove Schlage Lock From Door
Step 4: Reassemble the Door
After successfully removing the mortise lock from the locked door, the final step involves reassembling the various components to restore the door to a functional and secure state. This phase is crucial for ensuring that the door operates smoothly and that the newly installed or refurbished mortise lock functions as intended.
Begin by carefully inspecting the interior of the door to ensure that it is free of debris and that the surfaces are clean and undamaged. This preparatory step sets the stage for the seamless reinstallation of the mortise lock and related components.
Next, carefully position the mortise lock body back into its housing within the door, taking care to align it properly and secure it with the appropriate fasteners. Ensure that any interconnected components, such as rods or bolts, are reattached according to their original configuration, promoting the smooth operation of the lock.
Following the reinstallation of the mortise lock body, proceed to affix the faceplate to the door. Align the faceplate with the mortise lock assembly and secure it in place using the previously removed screws or fasteners. Confirm that the faceplate is snugly positioned, as this component not only enhances the aesthetic appeal of the door but also provides essential protection for the internal lock mechanisms.
With the faceplate in place, reattach the doorknob and escutcheon plate, ensuring that they are securely fastened to the door. Take care to align the components properly and tighten the screws to prevent any unnecessary movement or instability. Verify that the doorknob operates smoothly and that the lock functions as intended.
Upon completing the reassembly process, test the door to confirm that the mortise lock operates effectively and that the door functions seamlessly. This final assessment ensures that the components are properly aligned and that the lock engages and disengages without impediment, providing peace of mind regarding the door’s security and functionality.
By methodically reassembling the door and the mortise lock components, you have successfully concluded the removal and restoration process, achieving a functional and secure outcome. Whether the endeavor involved maintenance, repair, or replacement, your diligence has contributed to the optimal performance of the door and its integral locking mechanism.
Conclusion
Removing a mortise lock from a locked door is a task that demands precision, patience, and a fundamental understanding of the lock’s components and mechanisms. By following the step-by-step process outlined in this guide, you have gained valuable insight into the disassembly and reassembly of a mortise lock, empowering you to address maintenance, repair, or replacement needs with confidence.
Throughout the removal process, you have navigated through the intricacies of removing the doorknob, faceplate, and mortise lock body, each step contributing to a comprehensive understanding of the lock’s inner workings. This hands-on experience not only equips you with the practical skills necessary for addressing lock-related issues but also fosters a deeper appreciation for the craftsmanship and engineering behind mortise locks.
As you reassemble the door and ensure the seamless operation of the mortise lock, take pride in the diligence and attention to detail that have characterized your approach. Whether the task at hand involved routine maintenance, troubleshooting, or the installation of a new lock, your commitment to achieving a secure and functional outcome reflects your dedication to the maintenance and enhancement of your living space.
By mastering the art of removing a mortise lock from a locked door, you have expanded your DIY skill set and cultivated a deeper understanding of home security and maintenance. Whether you embark on future projects or assist others in similar endeavors, the knowledge and proficiency you have acquired will serve you well, contributing to the safety, functionality, and aesthetic appeal of your living environment.
As you reflect on the successful completion of the removal process, take pride in the newfound expertise and the tangible impact it has on the security and maintenance of your home. Your ability to navigate through the complexities of mortise lock removal exemplifies your resourcefulness and commitment to maintaining a safe and well-maintained living space.
With the removal process behind you, you can confidently address lock-related challenges and embark on future home improvement projects with a heightened sense of capability and assurance. Whether it’s a matter of maintenance, repair, or enhancement, your proficiency in removing a mortise lock from a locked door positions you as a capable steward of your living environment, ready to tackle new endeavors with confidence and expertise.
Frequently Asked Questions about How To Remove A Mortise Lock From A Locked Door
Was this page helpful?
At Storables.com, we guarantee accurate and reliable information. Our content, validated by Expert Board Contributors, is crafted following stringent Editorial Policies. We're committed to providing you with well-researched, expert-backed insights for all your informational needs.


0 thoughts on “How To Remove A Mortise Lock From A Locked Door”