Home>Technology>Smart Home Devices>How To Change Tray On Printer
Smart Home Devices
How To Change Tray On Printer
Published: January 18, 2024
Learn how to easily change the tray on your printer and optimize your smart home devices for seamless printing. Master the process in just a few simple steps!
(Many of the links in this article redirect to a specific reviewed product. Your purchase of these products through affiliate links helps to generate commission for Storables.com, at no extra cost. Learn more)
**
Introduction
**
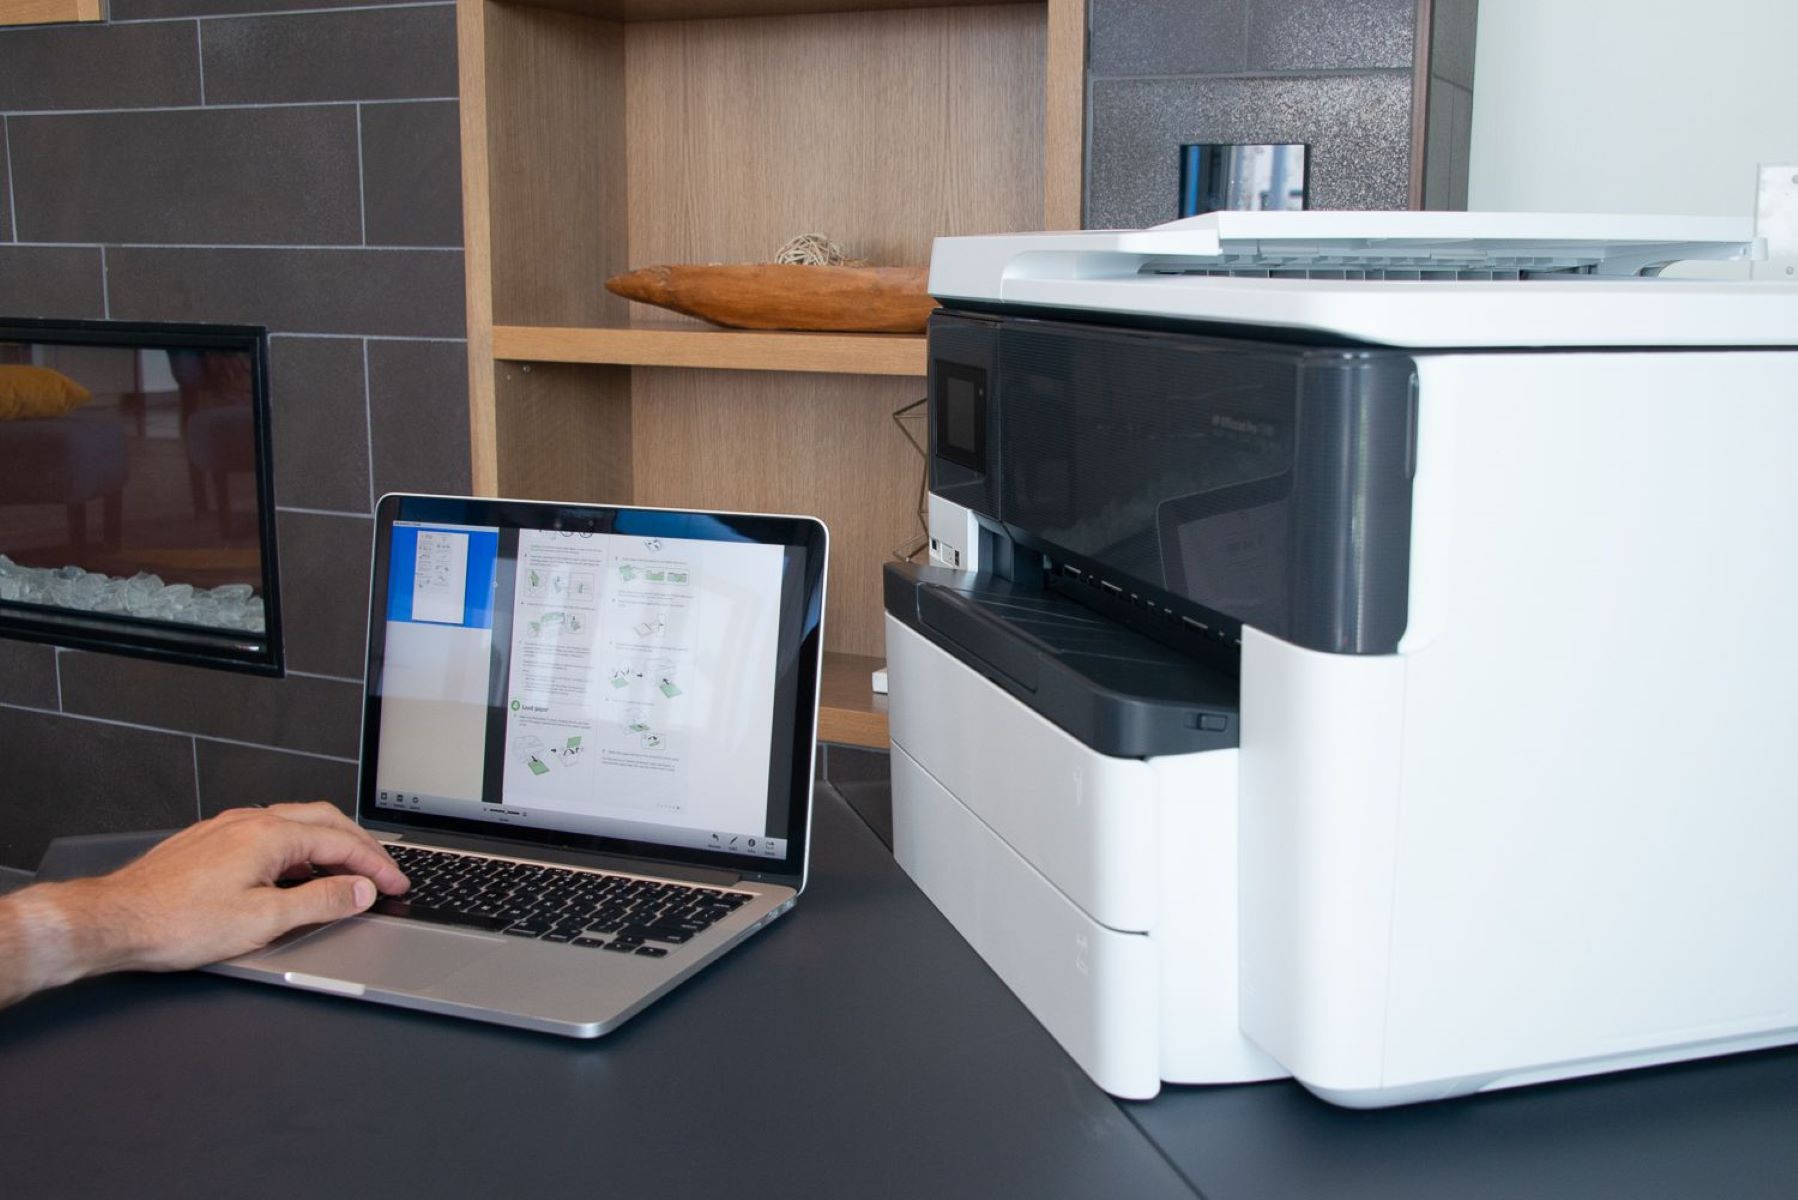
So, you've decided to change the tray on your printer. Whether you're upgrading to a larger capacity tray or replacing a damaged one, this simple task can make a significant difference in your printing experience. Understanding the process of changing the printer tray can help you maintain your printer and ensure seamless printing operations. In this guide, we'll walk you through the step-by-step process of changing the tray on your printer, providing you with the confidence and knowledge to tackle this task with ease.
Changing the printer tray may seem daunting at first, but with the right guidance, it can be a straightforward and rewarding endeavor. By following the instructions outlined in this article, you'll be equipped to handle this maintenance task efficiently and effectively. So, let's dive in and explore the process of changing the tray on your printer, empowering you to optimize your printing setup and enhance your overall printing experience.
**
Key Takeaways:
- Changing the printer tray is a simple task that can enhance your printing experience. Understanding the tray’s role, following the steps, and testing the new tray ensures a seamless transition to upgraded paper-handling capabilities.
- By carefully removing the old tray, installing the new one, and adjusting printer settings, you can optimize your printer’s functionality. Thorough testing validates the new tray’s performance, leading to an enhanced printing experience.
Read more: What Is A Dual Tray Printer
Understanding the Printer Tray
**
Before delving into the process of changing the printer tray, it's essential to understand the role and functionality of this component. The printer tray, also known as the paper tray or paper cassette, is a crucial part of the printer that holds the paper during the printing process. It serves as the primary source of paper for printing, providing a steady supply of sheets for your printing needs.
Printers typically come with one or more trays, each designed to accommodate specific paper sizes and types. These trays are often adjustable to accommodate various paper sizes, such as letter, legal, or A4, and may have adjustable sliders to secure the paper in place. Additionally, some printers offer multiple trays to hold different paper types simultaneously, allowing for seamless switching between various media.
Understanding the capacity of the printer tray is essential, as it determines the quantity of paper that can be loaded at once. Larger capacity trays can hold more paper, reducing the frequency of refills and accommodating high-volume printing tasks. Moreover, certain printer models offer optional accessory trays that expand the paper capacity, catering to the needs of businesses and individuals with demanding printing requirements.
When considering a new tray for your printer, it's important to ensure compatibility with your specific printer model. Different printers require trays that are compatible with their design and paper handling mechanisms. Therefore, when selecting a new tray, be sure to verify its compatibility with your printer to avoid compatibility issues and ensure seamless integration.
By understanding the printer tray and its significance in the printing process, you gain valuable insight into the pivotal role it plays in maintaining a smooth and efficient printing workflow. With this knowledge in mind, you're ready to proceed with the process of changing the printer tray, equipped with a clear understanding of its purpose and functionality.
**
Removing the Old Tray
**
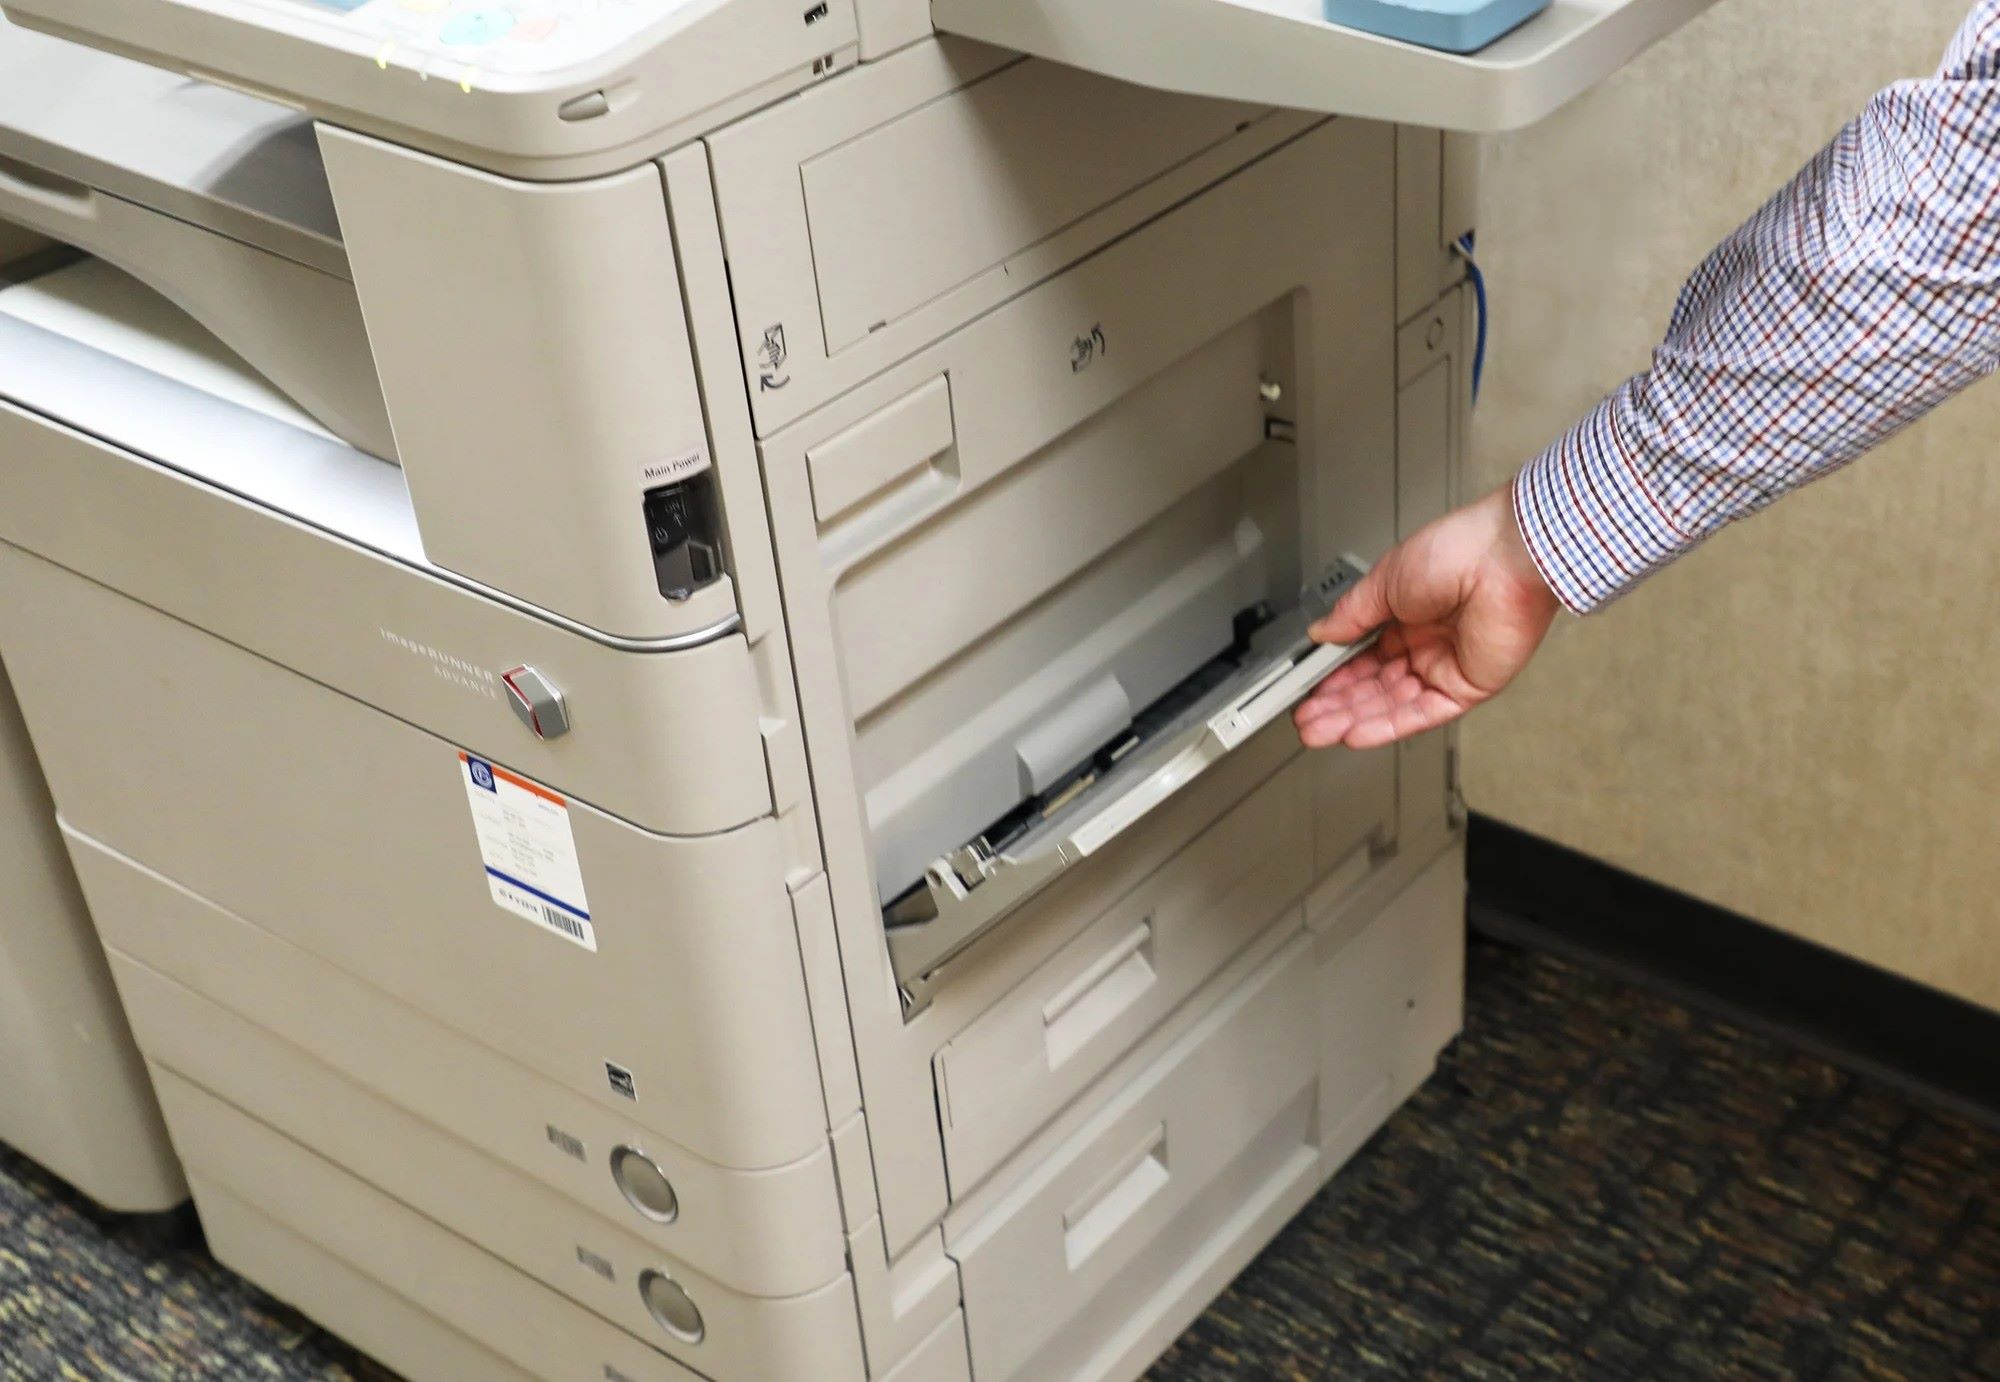
Before embarking on the process of removing the old tray from your printer, it's crucial to ensure that the printer is powered off and unplugged from the electrical outlet. This precautionary measure is essential for safety and prevents any potential mishaps during the tray replacement process.
Once the printer is safely disconnected from the power source, locate the existing tray on the printer. Depending on the printer model, the tray may be situated at the bottom of the printer or within a designated compartment at the front or rear of the device. Carefully assess the tray's placement and identify any latches, buttons, or levers that secure it in place.
When removing the old tray, follow these general steps:
- Step 1: Release any Locking Mechanisms – If the tray is equipped with locking mechanisms, such as tabs or levers, ensure that they are disengaged to allow for the removal of the tray. These locking features are designed to secure the tray in place and prevent accidental dislodging during printing operations.
- Step 2: Gently Slide Out the Tray – With the locking mechanisms released, gently slide the tray out of its compartment. Exercise caution to prevent any abrupt movements that could potentially damage the printer or the tray itself.
- Step 3: Set Aside the Old Tray – Once the tray is removed, place it in a safe and easily accessible location. This step ensures that the old tray is readily available in the event that you need to reference its design or specifications when installing the new tray.
As you remove the old tray, take note of any specific instructions or guidelines provided in the printer's user manual. These resources may offer valuable insights into the proper removal procedure tailored to your specific printer model, enhancing the precision and safety of the tray removal process.
By carefully removing the old tray from your printer, you pave the way for the seamless installation of the new tray, setting the stage for an enhanced printing experience with upgraded capacity and functionality.
**
Installing the New Tray
**
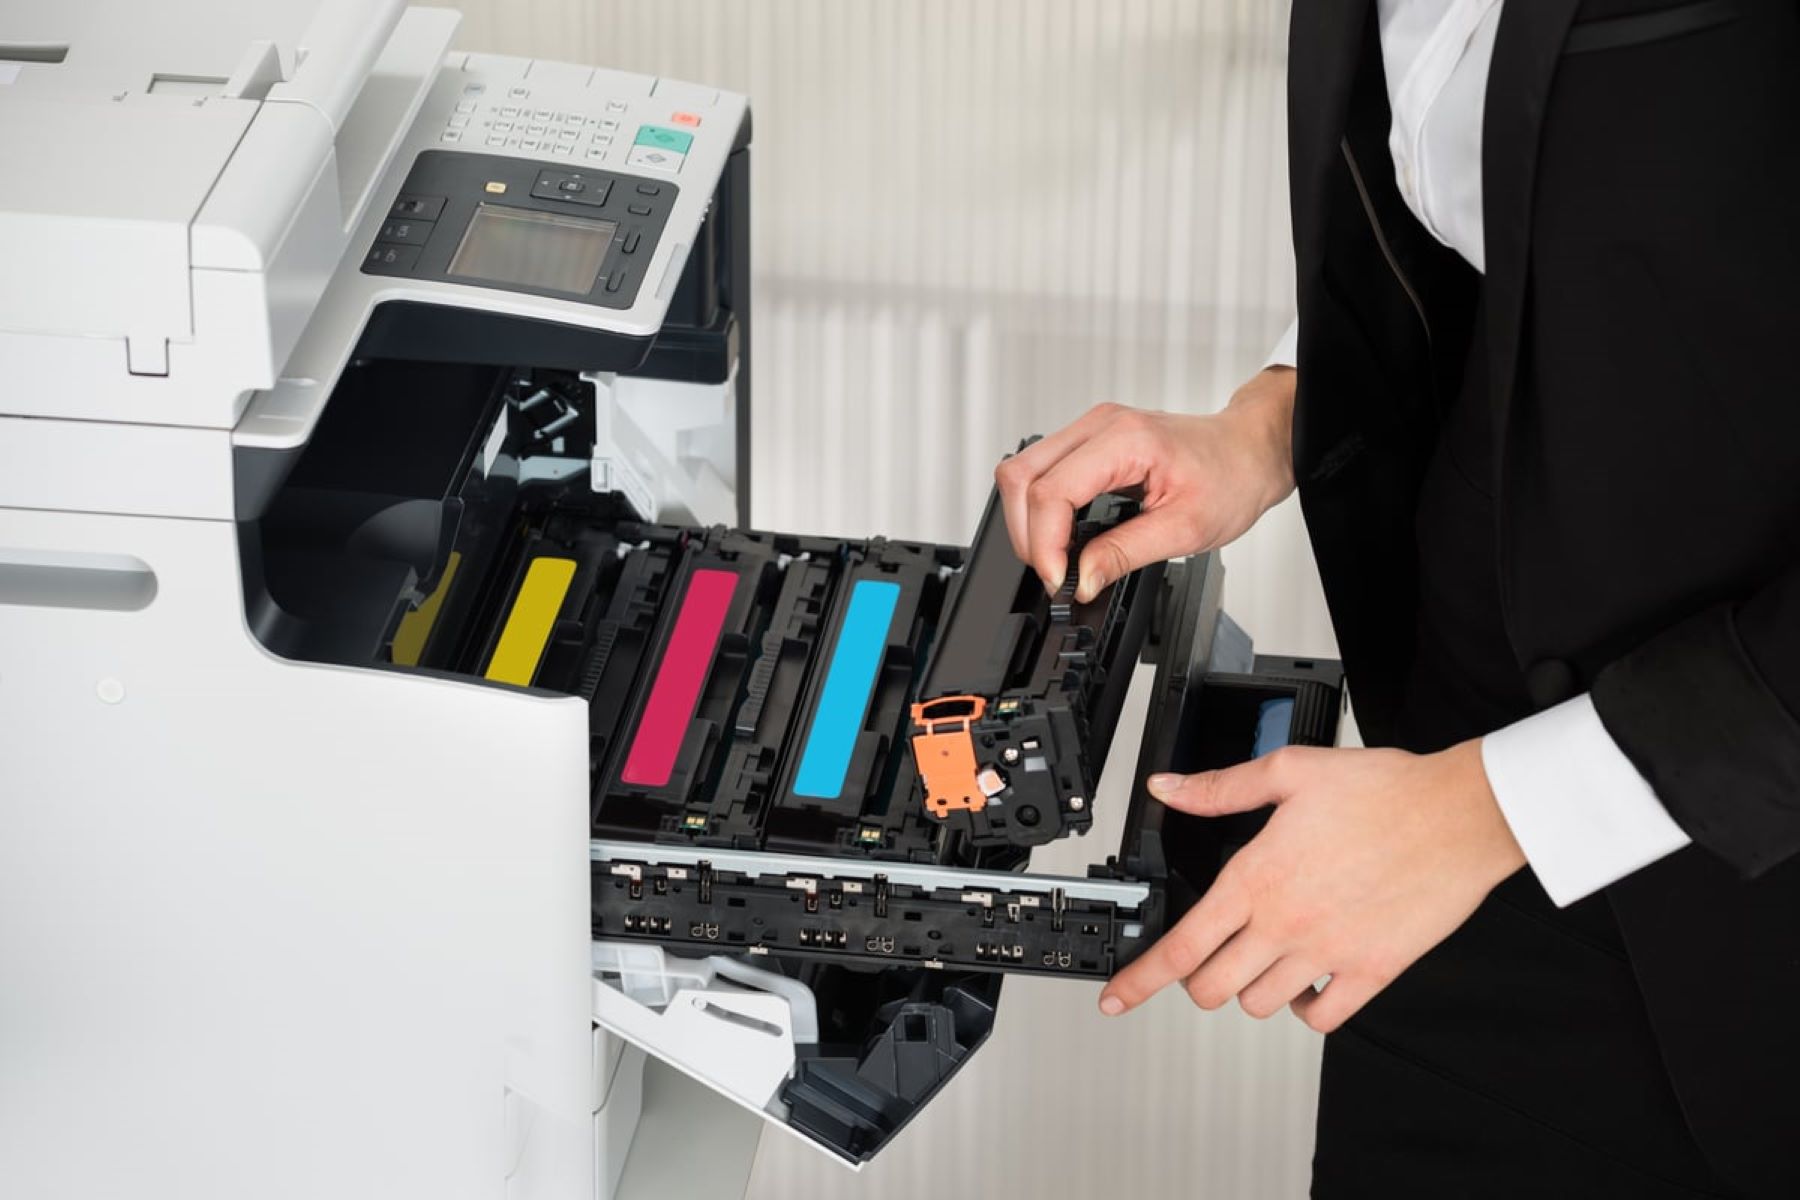
With the old tray successfully removed, you’re now ready to install the new tray and elevate your printer’s paper-handling capabilities. Before proceeding, ensure that the new tray is compatible with your specific printer model, as compatibility is essential for seamless integration and optimal performance.
Follow these steps to install the new tray:
- Step 1: Position the New Tray – Align the new tray with the designated slot or compartment in the printer, ensuring that it fits snugly and securely in place. Take note of any alignment guides or markers that facilitate the proper positioning of the tray within the printer.
- Step 2: Secure the Tray in Place – If the new tray features locking mechanisms, such as tabs or levers, engage them to secure the tray within the printer. These locking features are designed to prevent the tray from shifting or dislodging during printing operations, contributing to a stable and reliable paper feed.
- Step 3: Verify Proper Alignment – Double-check the alignment of the new tray to ensure that it is correctly positioned within the printer. Proper alignment is crucial for seamless paper handling and prevents potential issues such as paper jams or misfeeds.
As you install the new tray, refer to the manufacturer’s instructions and guidelines provided with the tray. These resources may offer specific insights tailored to your printer model, ensuring that you follow the recommended installation procedures for optimal results.
Upon successfully installing the new tray, you’ve taken a significant step toward enhancing your printer’s paper-handling capabilities. The new tray’s compatibility and capacity can contribute to a more efficient and streamlined printing experience, accommodating your diverse printing needs with ease.
With the new tray securely in place, you’re poised to maximize your printer’s potential and enjoy enhanced functionality, setting the stage for seamless printing operations and improved productivity.
**
Before changing the tray on your printer, make sure to power off the printer and unplug it from the power source to avoid any electrical accidents. Then, carefully remove the old tray and replace it with the new one, ensuring it is securely in place before turning the printer back on.
Adjusting Settings
**
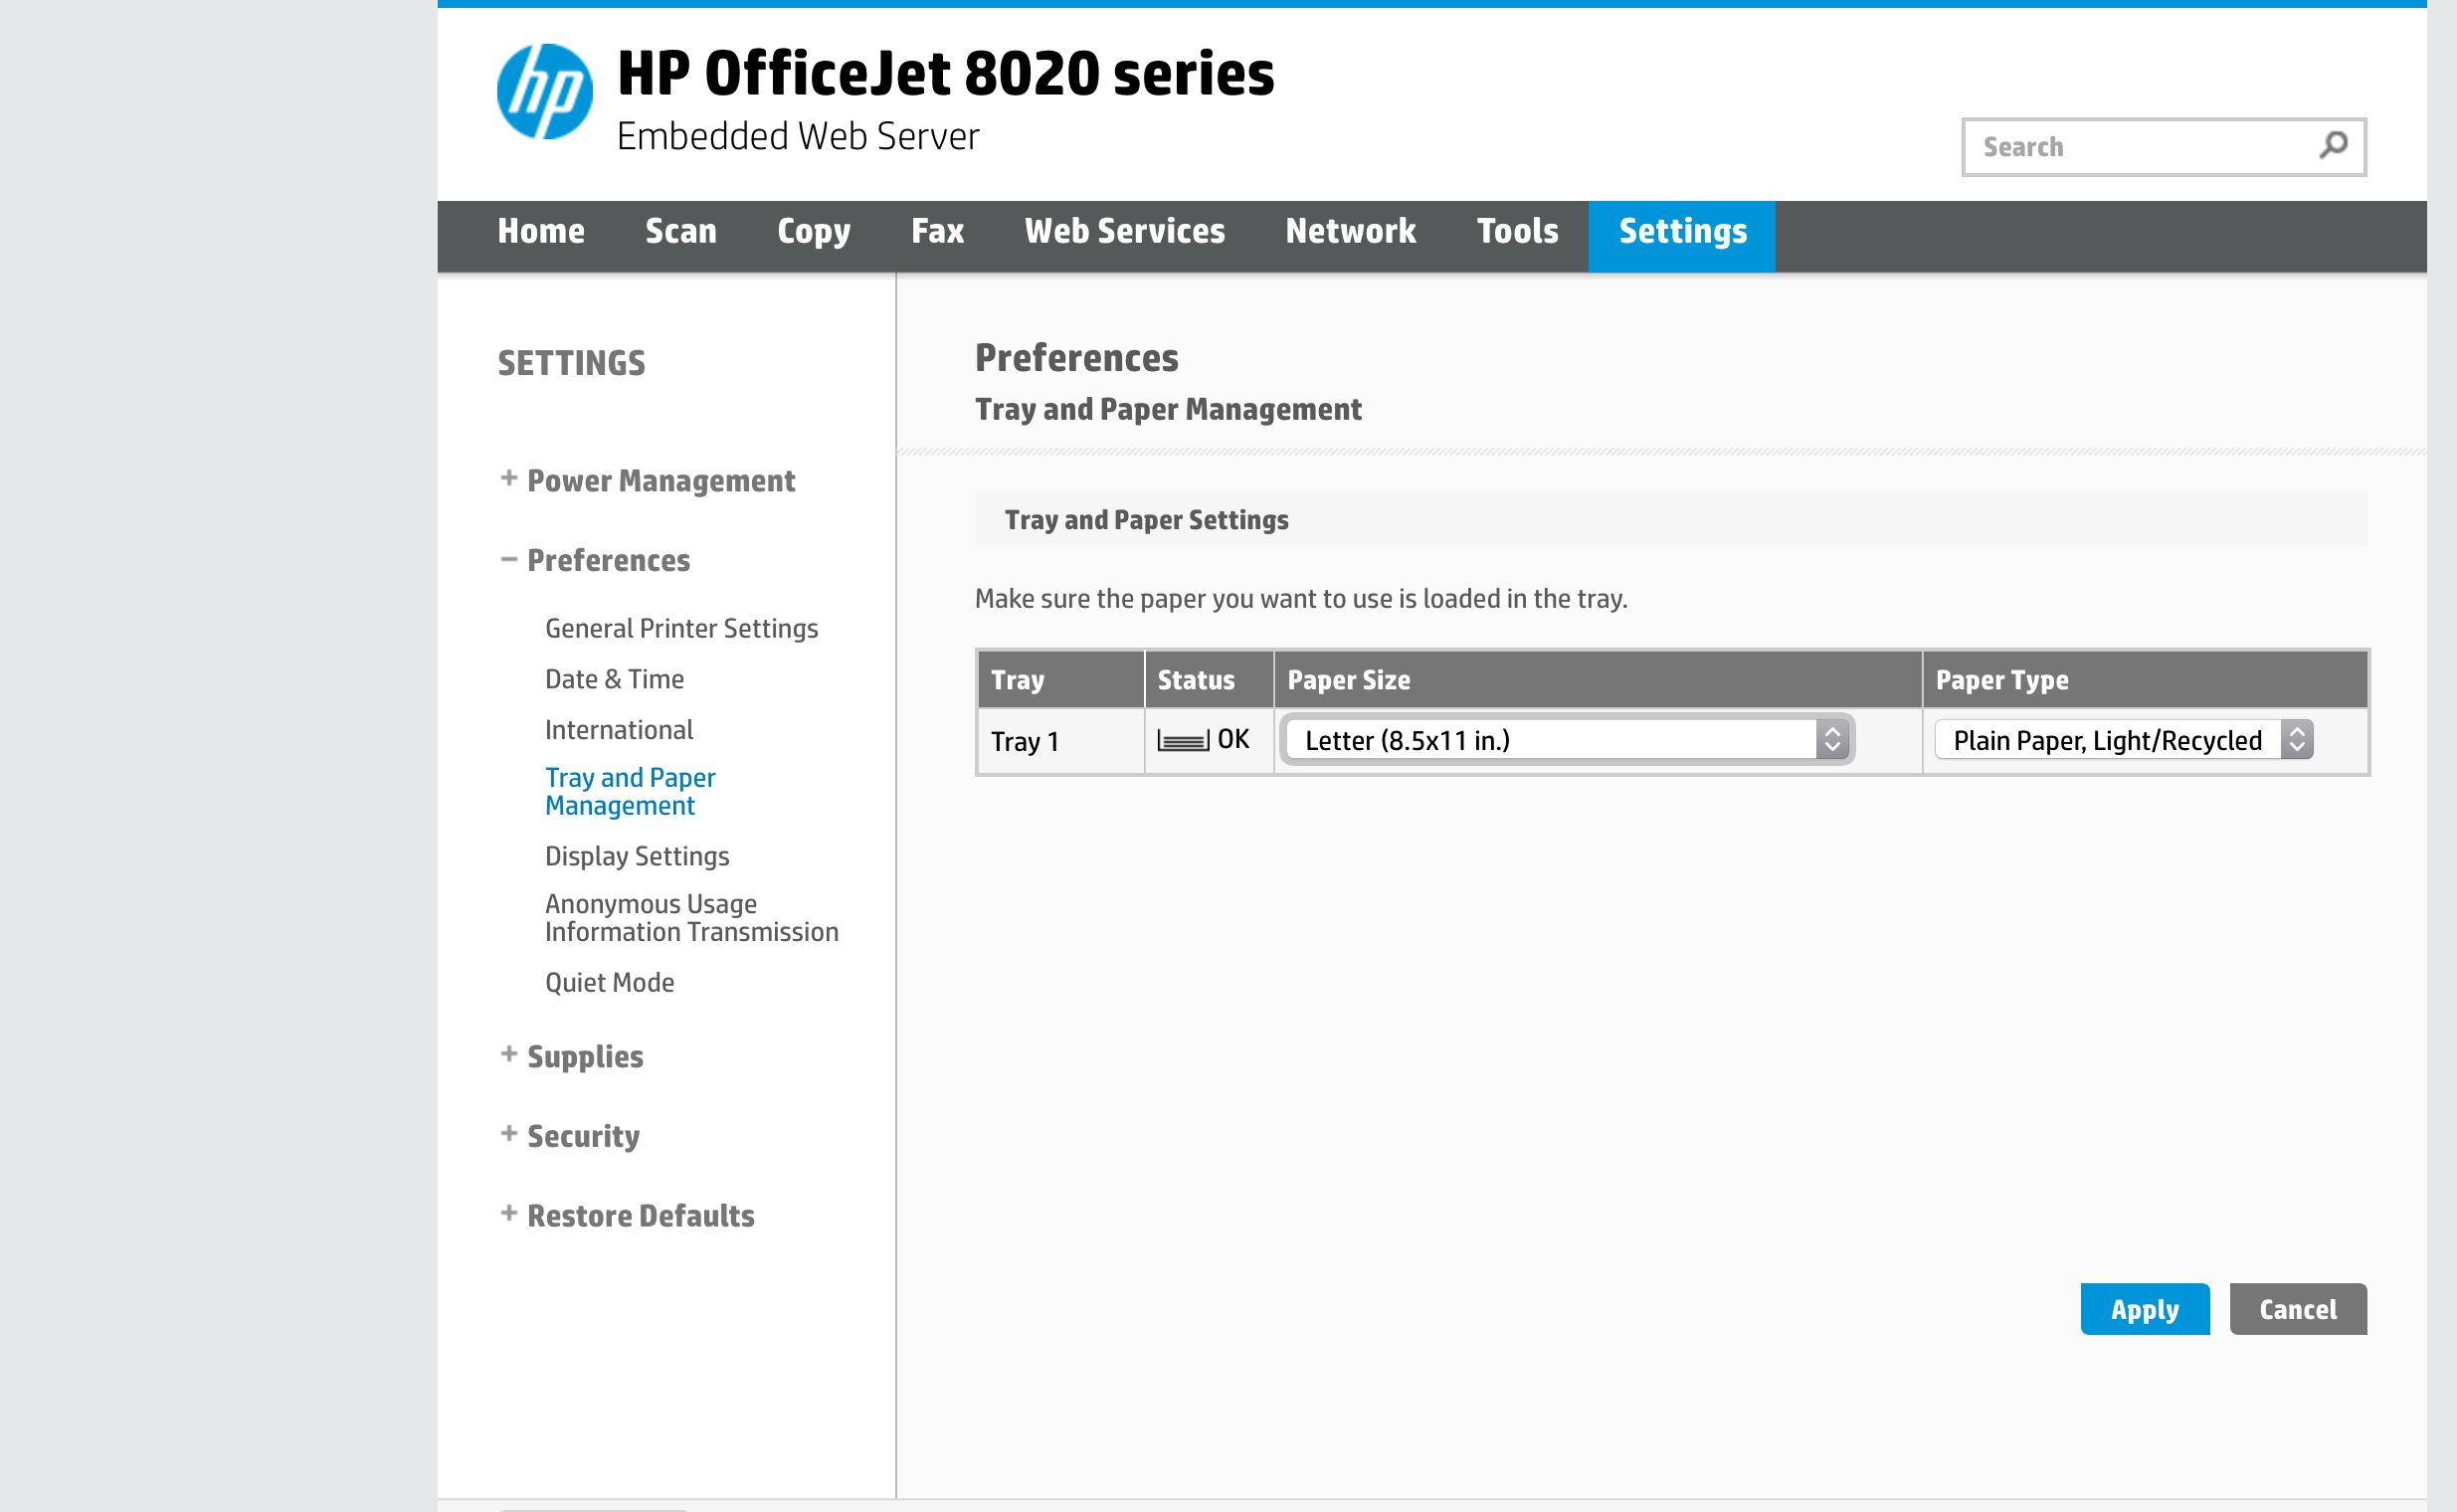
After installing the new tray, it’s essential to adjust the printer settings to accommodate the specifications of the newly installed tray. By configuring the settings to align with the new tray’s capacity, paper size, and type, you ensure that the printer operates optimally and efficiently handles printing tasks.
Here’s how you can adjust the settings:
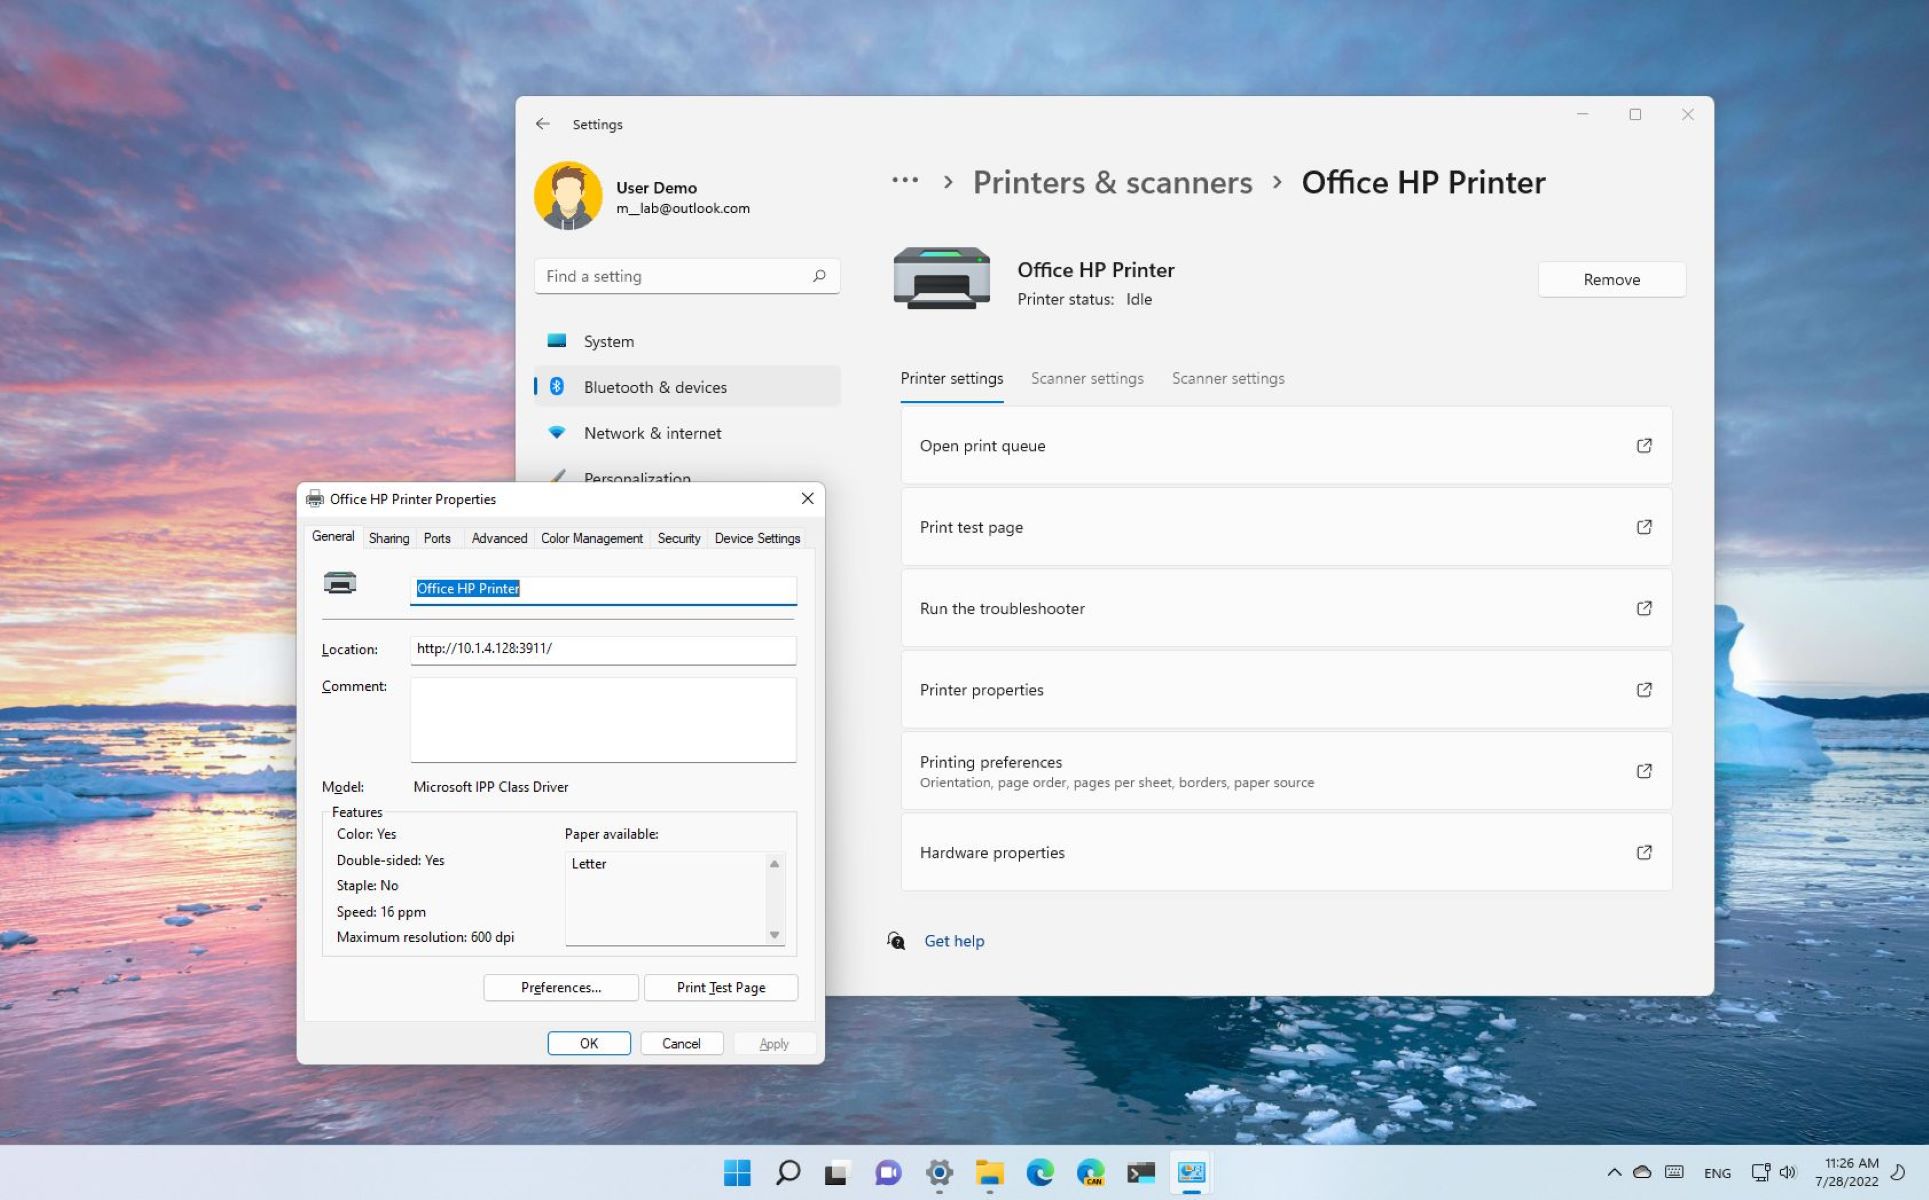
- Step 1: Access the Printer Settings – Navigate to the printer’s control panel or access the printer settings through the accompanying software on your computer. Look for the option to adjust paper tray settings, typically found within the printer’s menu or settings interface.
- Step 2: Select the New Tray – If your printer offers multiple tray options, select the newly installed tray from the available tray settings. This step directs the printer to utilize the new tray for specific printing tasks, leveraging its capacity and paper type to optimize the printing process.
- Step 3: Configure Paper Type and Size – Specify the paper type and size associated with the new tray. Whether it’s standard letter-size paper, legal-size paper, or a custom paper type, accurately configuring these settings ensures that the printer accurately processes print jobs and avoids potential errors or misfeeds.
- Step 4: Confirm Settings – Double-check the adjusted settings to verify that they align with the specifications of the new tray. Confirm that the selected paper type, size, and tray designation accurately reflect the capabilities of the newly installed tray.
By adjusting the printer settings to accommodate the new tray, you optimize the printer’s functionality and ensure seamless integration with the upgraded paper-handling capabilities. This proactive step enhances the printer’s ability to handle diverse printing tasks while leveraging the features of the new tray for improved efficiency and performance.
With the settings accurately configured, your printer is primed to deliver exceptional results, harnessing the full potential of the new tray and elevating your printing experience to new heights.
**
Read more: What Is Bypass Tray On Printer
Testing the New Tray
**
After installing the new tray and adjusting the printer settings, it’s crucial to conduct thorough testing to ensure that the printer seamlessly integrates the new tray and operates as expected. Testing the new tray allows you to validate its functionality, assess paper handling, and confirm that the printer accurately processes print jobs with the upgraded paper source.
Here’s a comprehensive approach to testing the new tray:
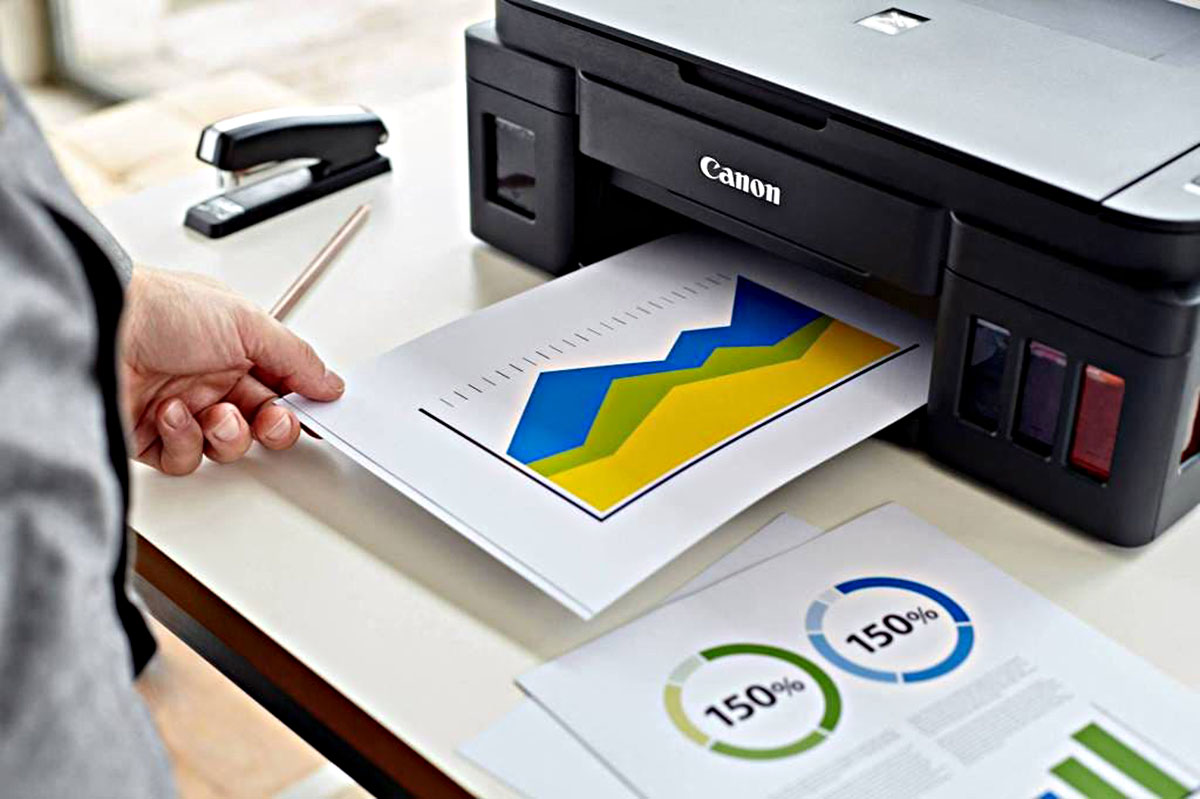
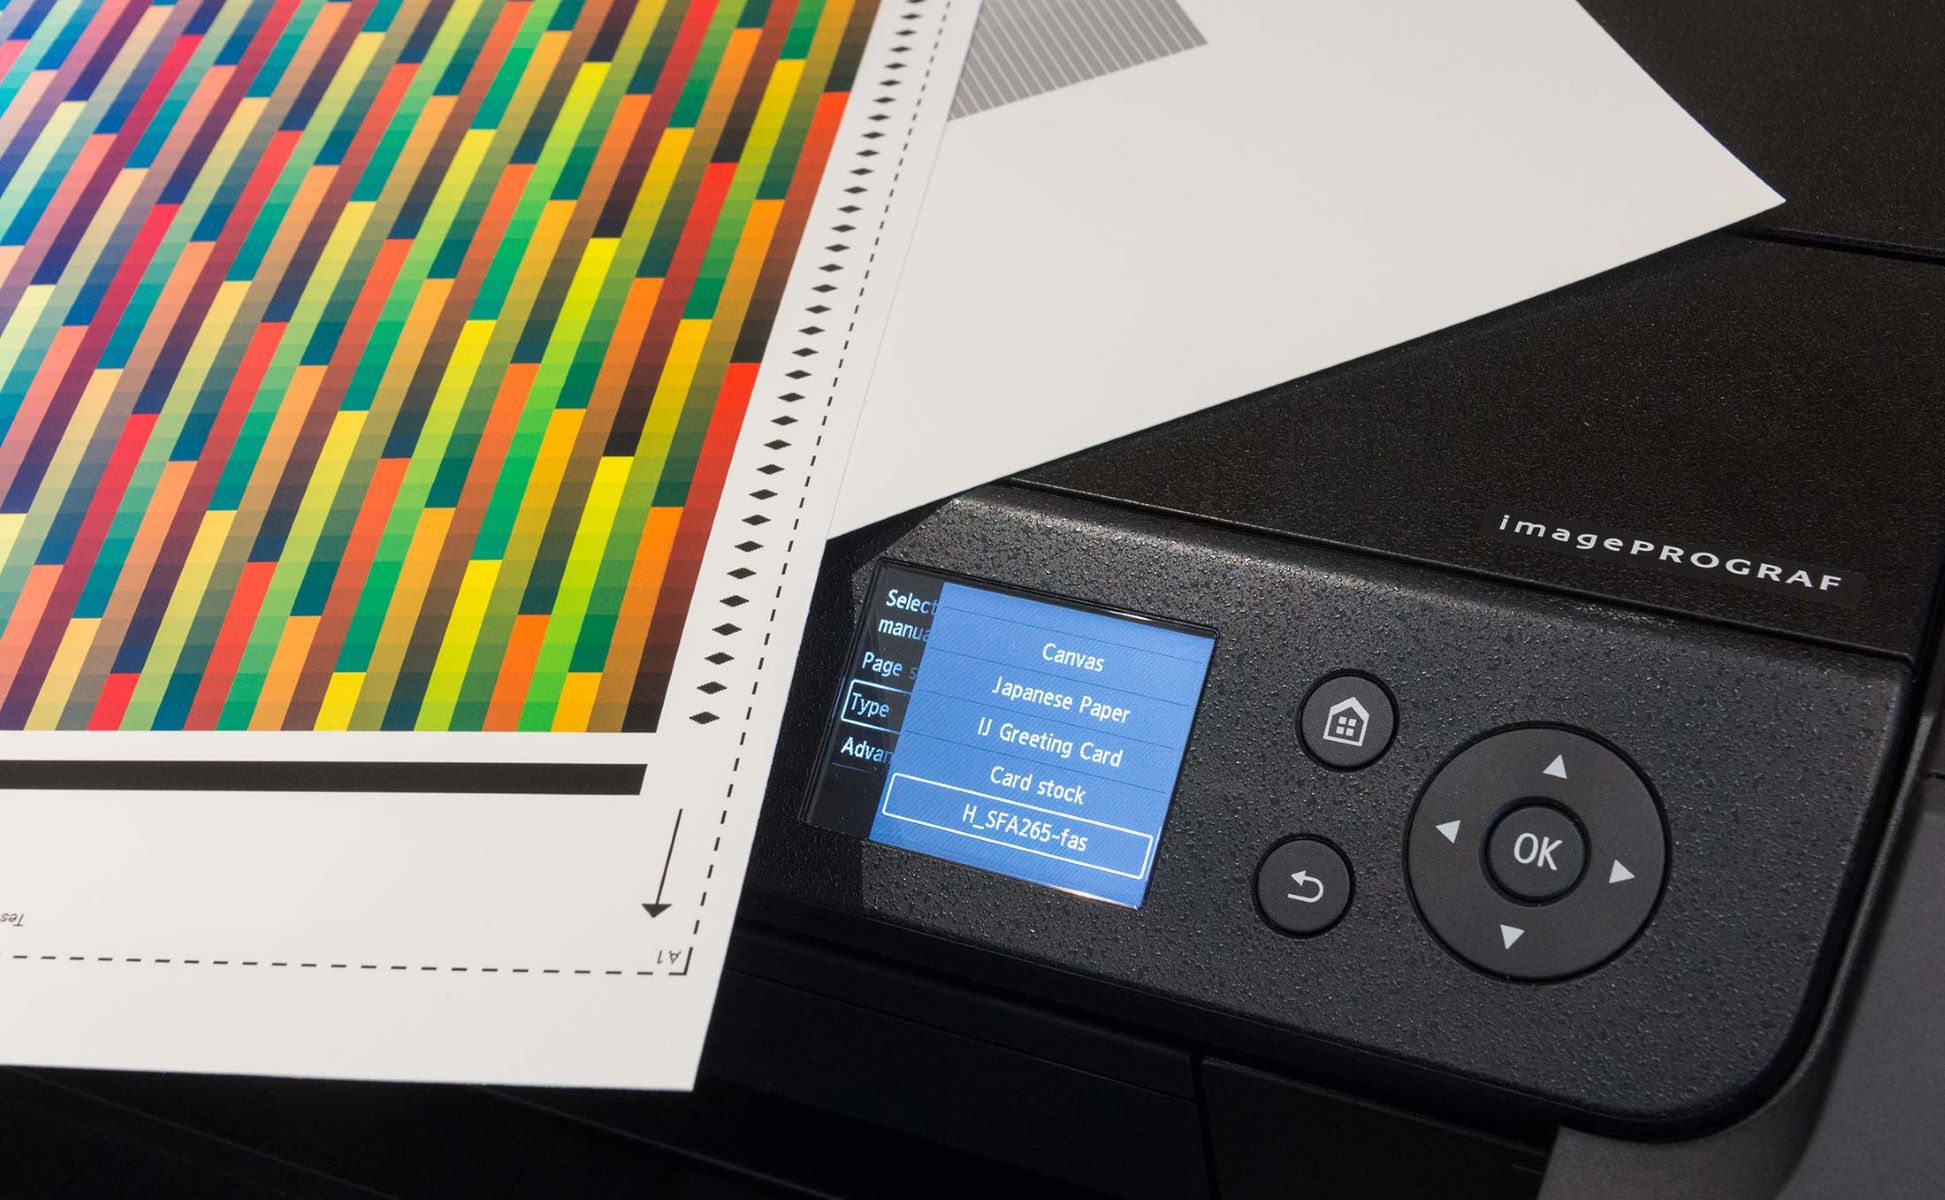
- Step 1: Load Paper into the New Tray – Place a suitable quantity of paper into the newly installed tray, ensuring that it aligns with the tray’s capacity and paper type specifications. Properly loading the tray sets the stage for evaluating its paper-handling capabilities during the testing phase.
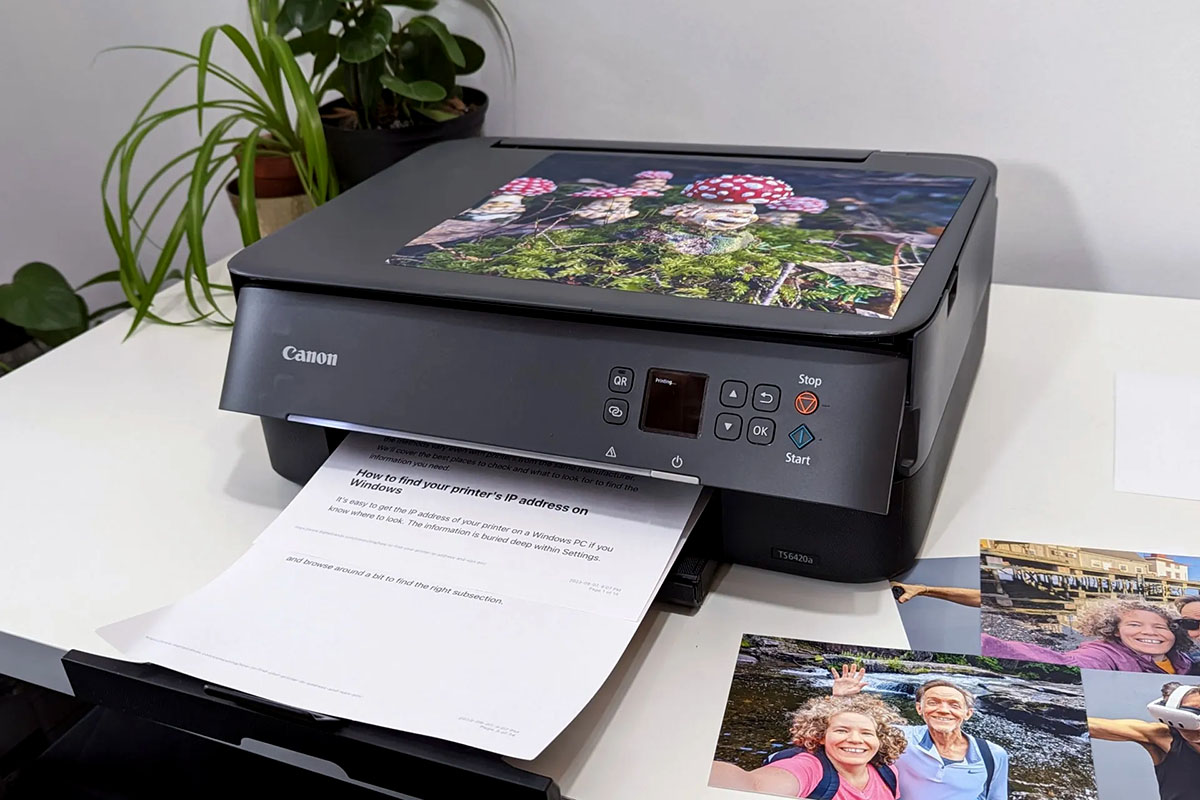
- Step 2: Initiate Test Prints – Print a series of test documents or images to gauge the printer’s performance with the new tray. These test prints allow you to observe the printer’s paper feed, print quality, and overall functionality when utilizing the upgraded paper source.
- Step 3: Monitor Print Output – As the test prints emerge from the printer, carefully monitor the print output for any irregularities or issues. Pay attention to factors such as paper alignment, print consistency, and the absence of paper jams to assess the new tray’s integration with the printer.
- Step 4: Evaluate Print Job Completion – Upon the completion of test prints, evaluate the printer’s handling of multiple print jobs to confirm that the new tray facilitates uninterrupted printing operations. Assessing the printer’s ability to draw paper from the new tray and deliver consistent print results is essential for validating its seamless integration.
By conducting comprehensive testing, you gain valuable insights into the performance of the new tray and its impact on the printer’s overall functionality. This proactive approach allows you to identify and address any potential issues, ensuring that the new tray enhances the printer’s capabilities without compromising print quality or reliability.
Upon successful testing, you can proceed with confidence, knowing that the new tray seamlessly integrates with the printer and contributes to an optimized printing experience. With thorough testing, you’ve validated the new tray’s functionality and set the stage for a seamless transition to enhanced paper-handling capabilities.
**
Conclusion
**
Changing the tray on your printer is a task that, when approached with the right knowledge and guidance, can significantly impact your printing experience. By understanding the printer tray’s role and functionality, you gain valuable insight into its significance in maintaining a smooth and efficient printing workflow. Whether you’re upgrading to a larger capacity tray or replacing a damaged one, the process of changing the printer tray empowers you to optimize your printing setup and enhance your overall printing experience.
Removing the old tray and installing the new one involves careful attention to detail and adherence to the manufacturer’s guidelines, ensuring a seamless transition to upgraded paper-handling capabilities. Adjusting the printer settings to align with the specifications of the new tray is a crucial step that optimizes the printer’s functionality and ensures seamless integration with the upgraded paper source.
Thoroughly testing the new tray allows you to validate its functionality, assess paper handling, and confirm that the printer accurately processes print jobs with the upgraded paper source. By conducting comprehensive testing, you gain valuable insights into the performance of the new tray and its impact on the printer’s overall functionality, ensuring a seamless transition to enhanced paper-handling capabilities.
With the new tray securely in place and seamlessly integrated with the printer, you’re poised to maximize your printer’s potential and enjoy an enhanced printing experience. The upgraded tray’s compatibility and capacity contribute to a more efficient and streamlined printing workflow, accommodating diverse printing needs with ease.
By following the step-by-step process of changing the printer tray outlined in this guide, you’re equipped with the confidence and knowledge to tackle this maintenance task efficiently and effectively. With the right approach and attention to detail, changing the printer tray becomes a rewarding endeavor that enhances your printing setup and elevates your overall printing experience.
Armed with a clear understanding of the printer tray’s significance and the meticulous approach to changing, installing, and testing the new tray, you’re ready to embrace an optimized printing experience, characterized by seamless paper handling and exceptional print results.
Frequently Asked Questions about How To Change Tray On Printer
Was this page helpful?
At Storables.com, we guarantee accurate and reliable information. Our content, validated by Expert Board Contributors, is crafted following stringent Editorial Policies. We're committed to providing you with well-researched, expert-backed insights for all your informational needs.

0 thoughts on “How To Change Tray On Printer”