Home>Technology>Smart Home Devices>How To Change Toner In A Brother Printer
Smart Home Devices
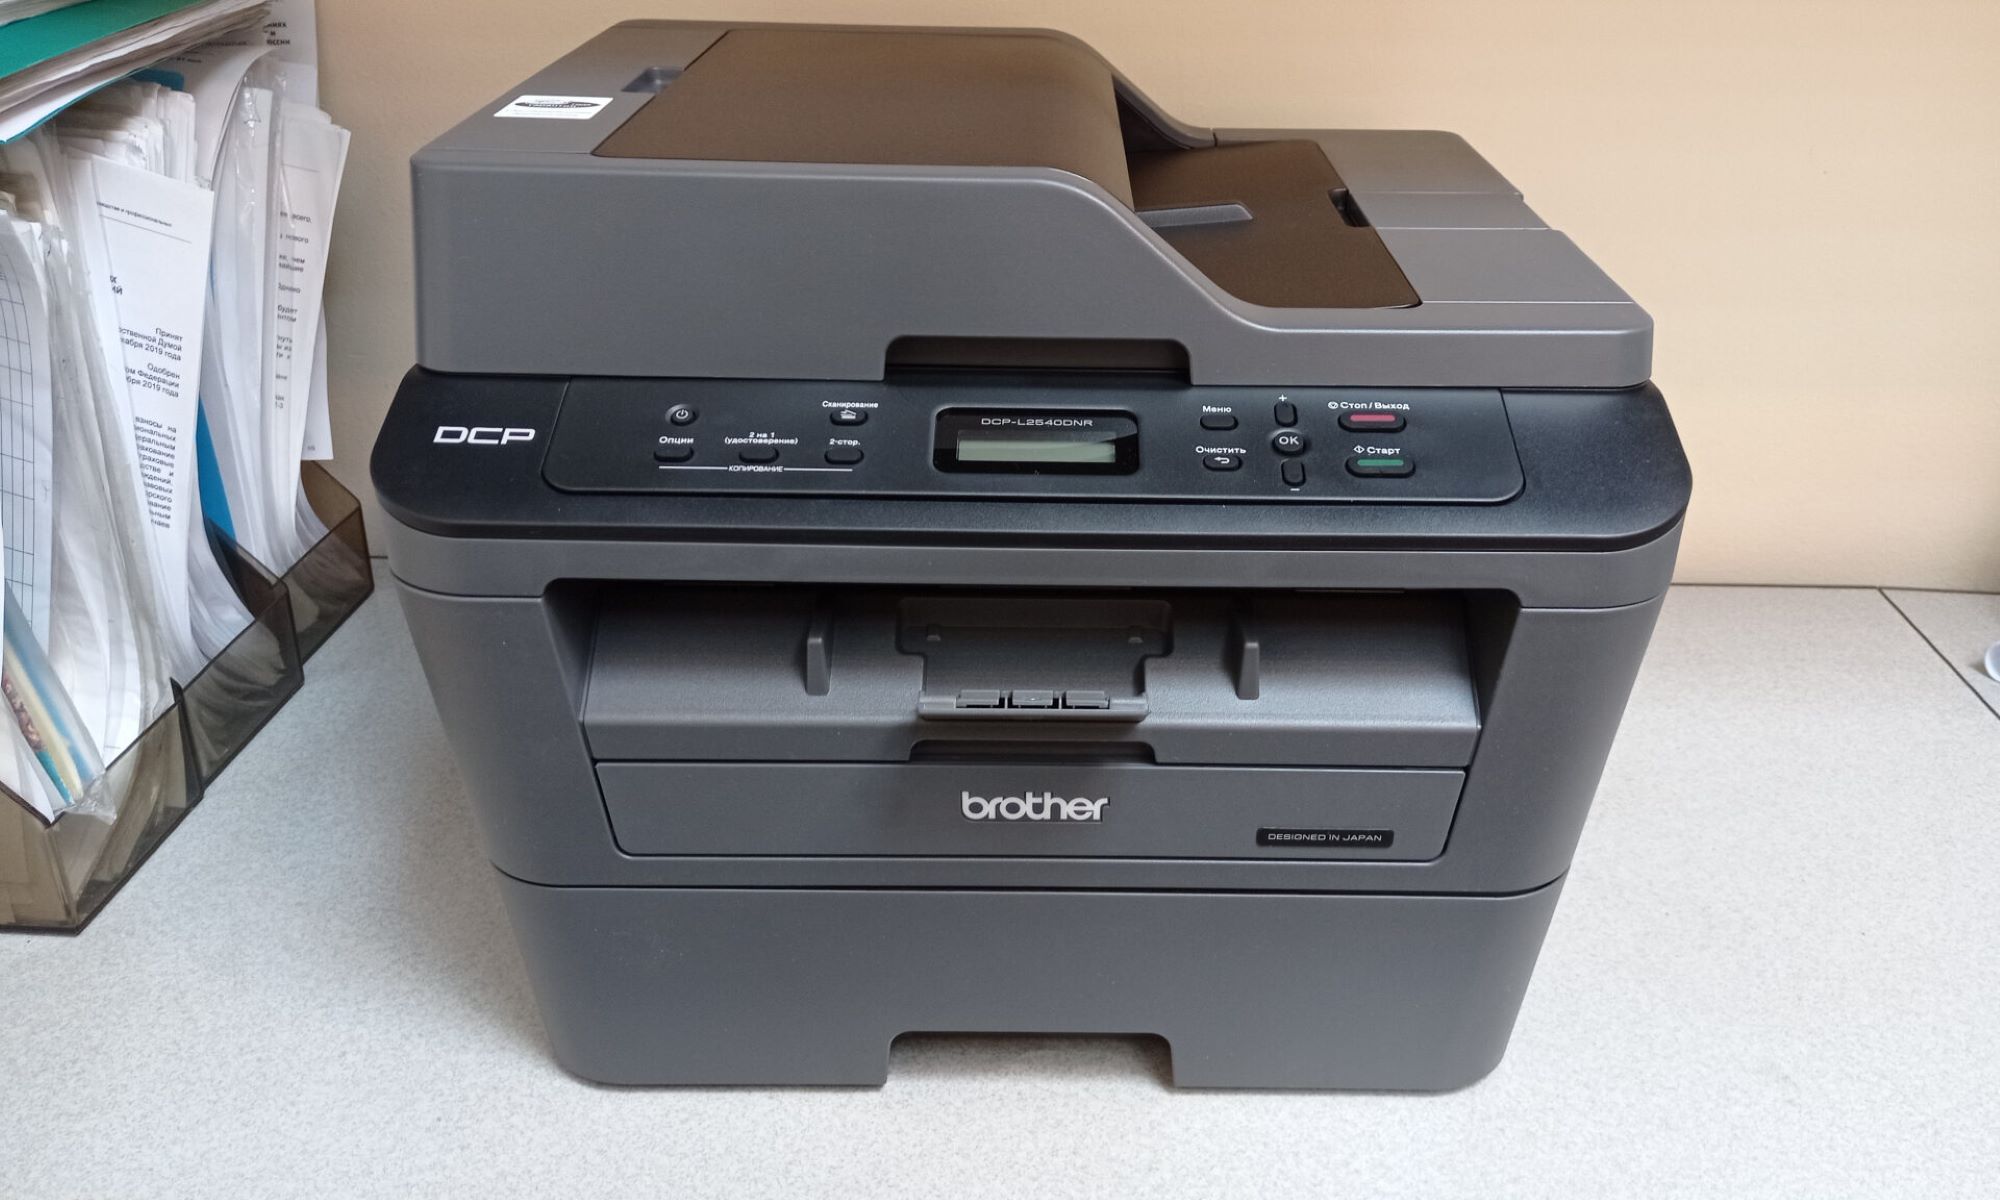
How To Change Toner In A Brother Printer
Modified: August 28, 2024
Learn how to change the toner in your Brother printer with our step-by-step guide. Keep your smart home devices running smoothly with this simple maintenance task.
(Many of the links in this article redirect to a specific reviewed product. Your purchase of these products through affiliate links helps to generate commission for Storables.com, at no extra cost. Learn more)
Introduction
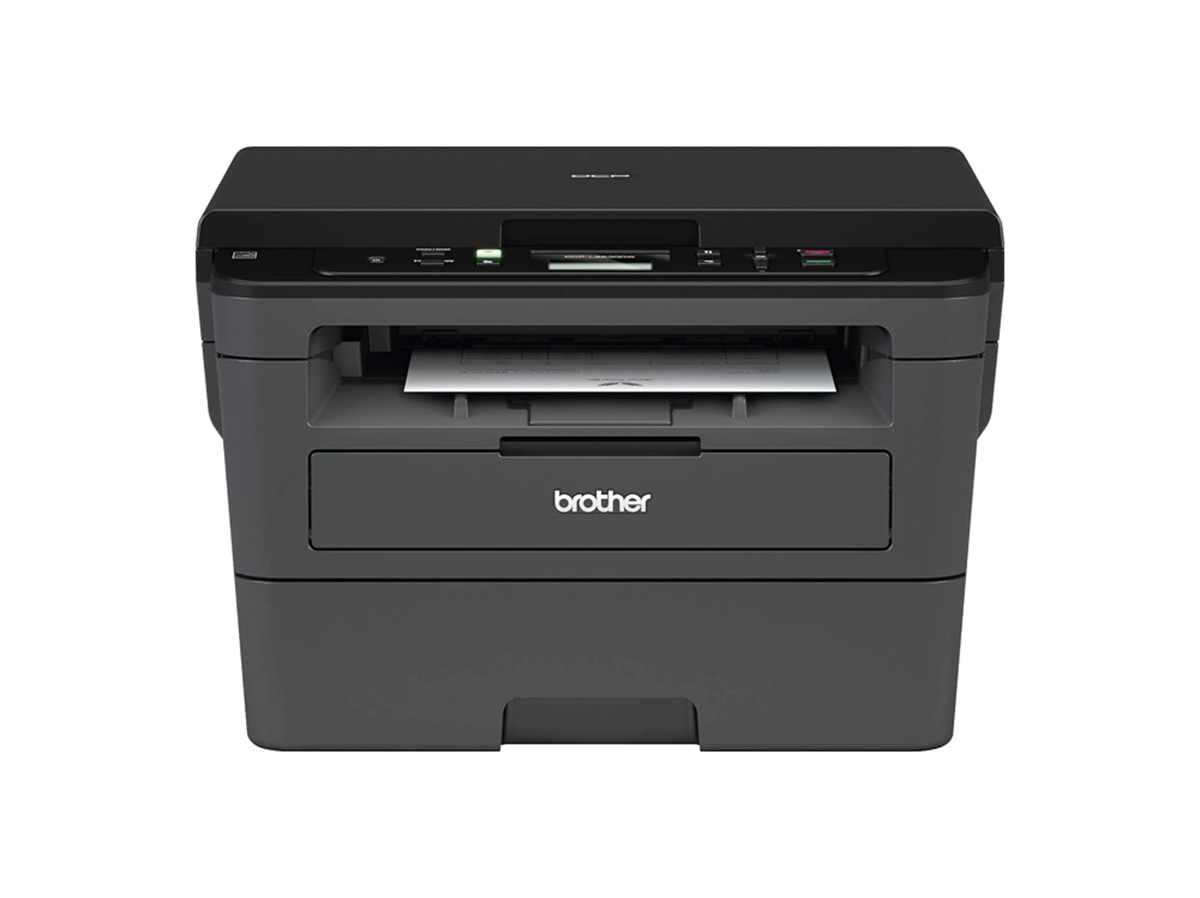
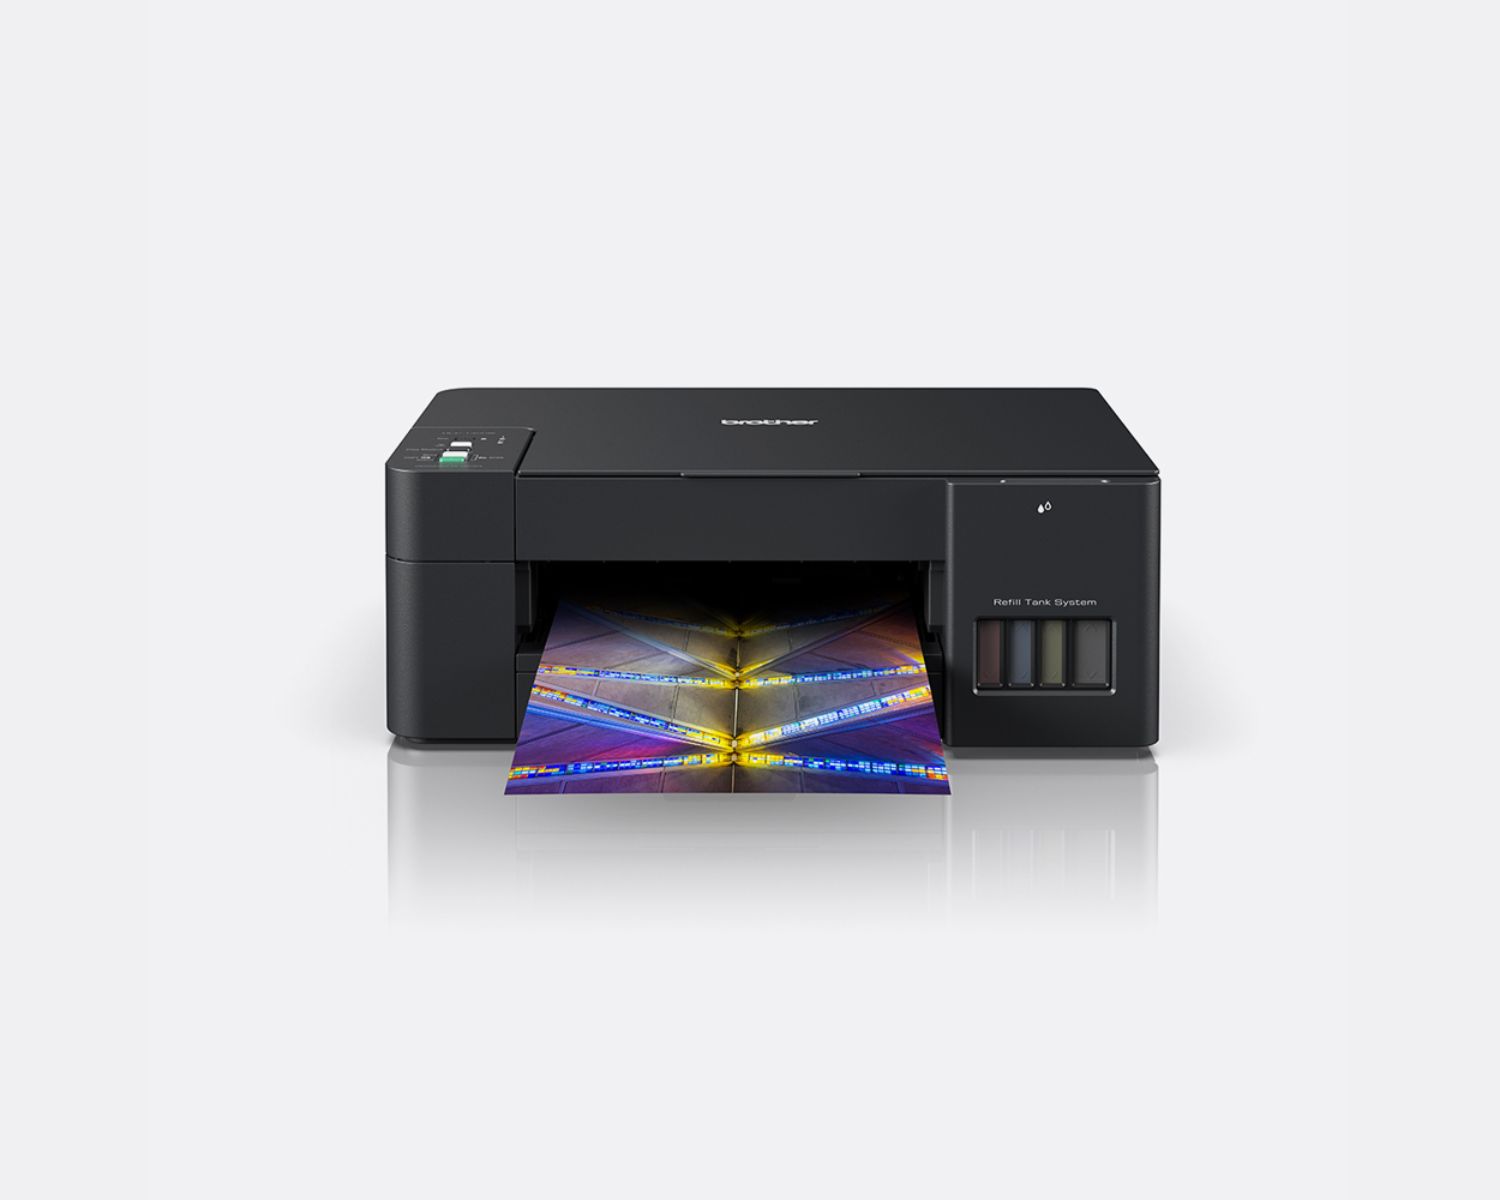
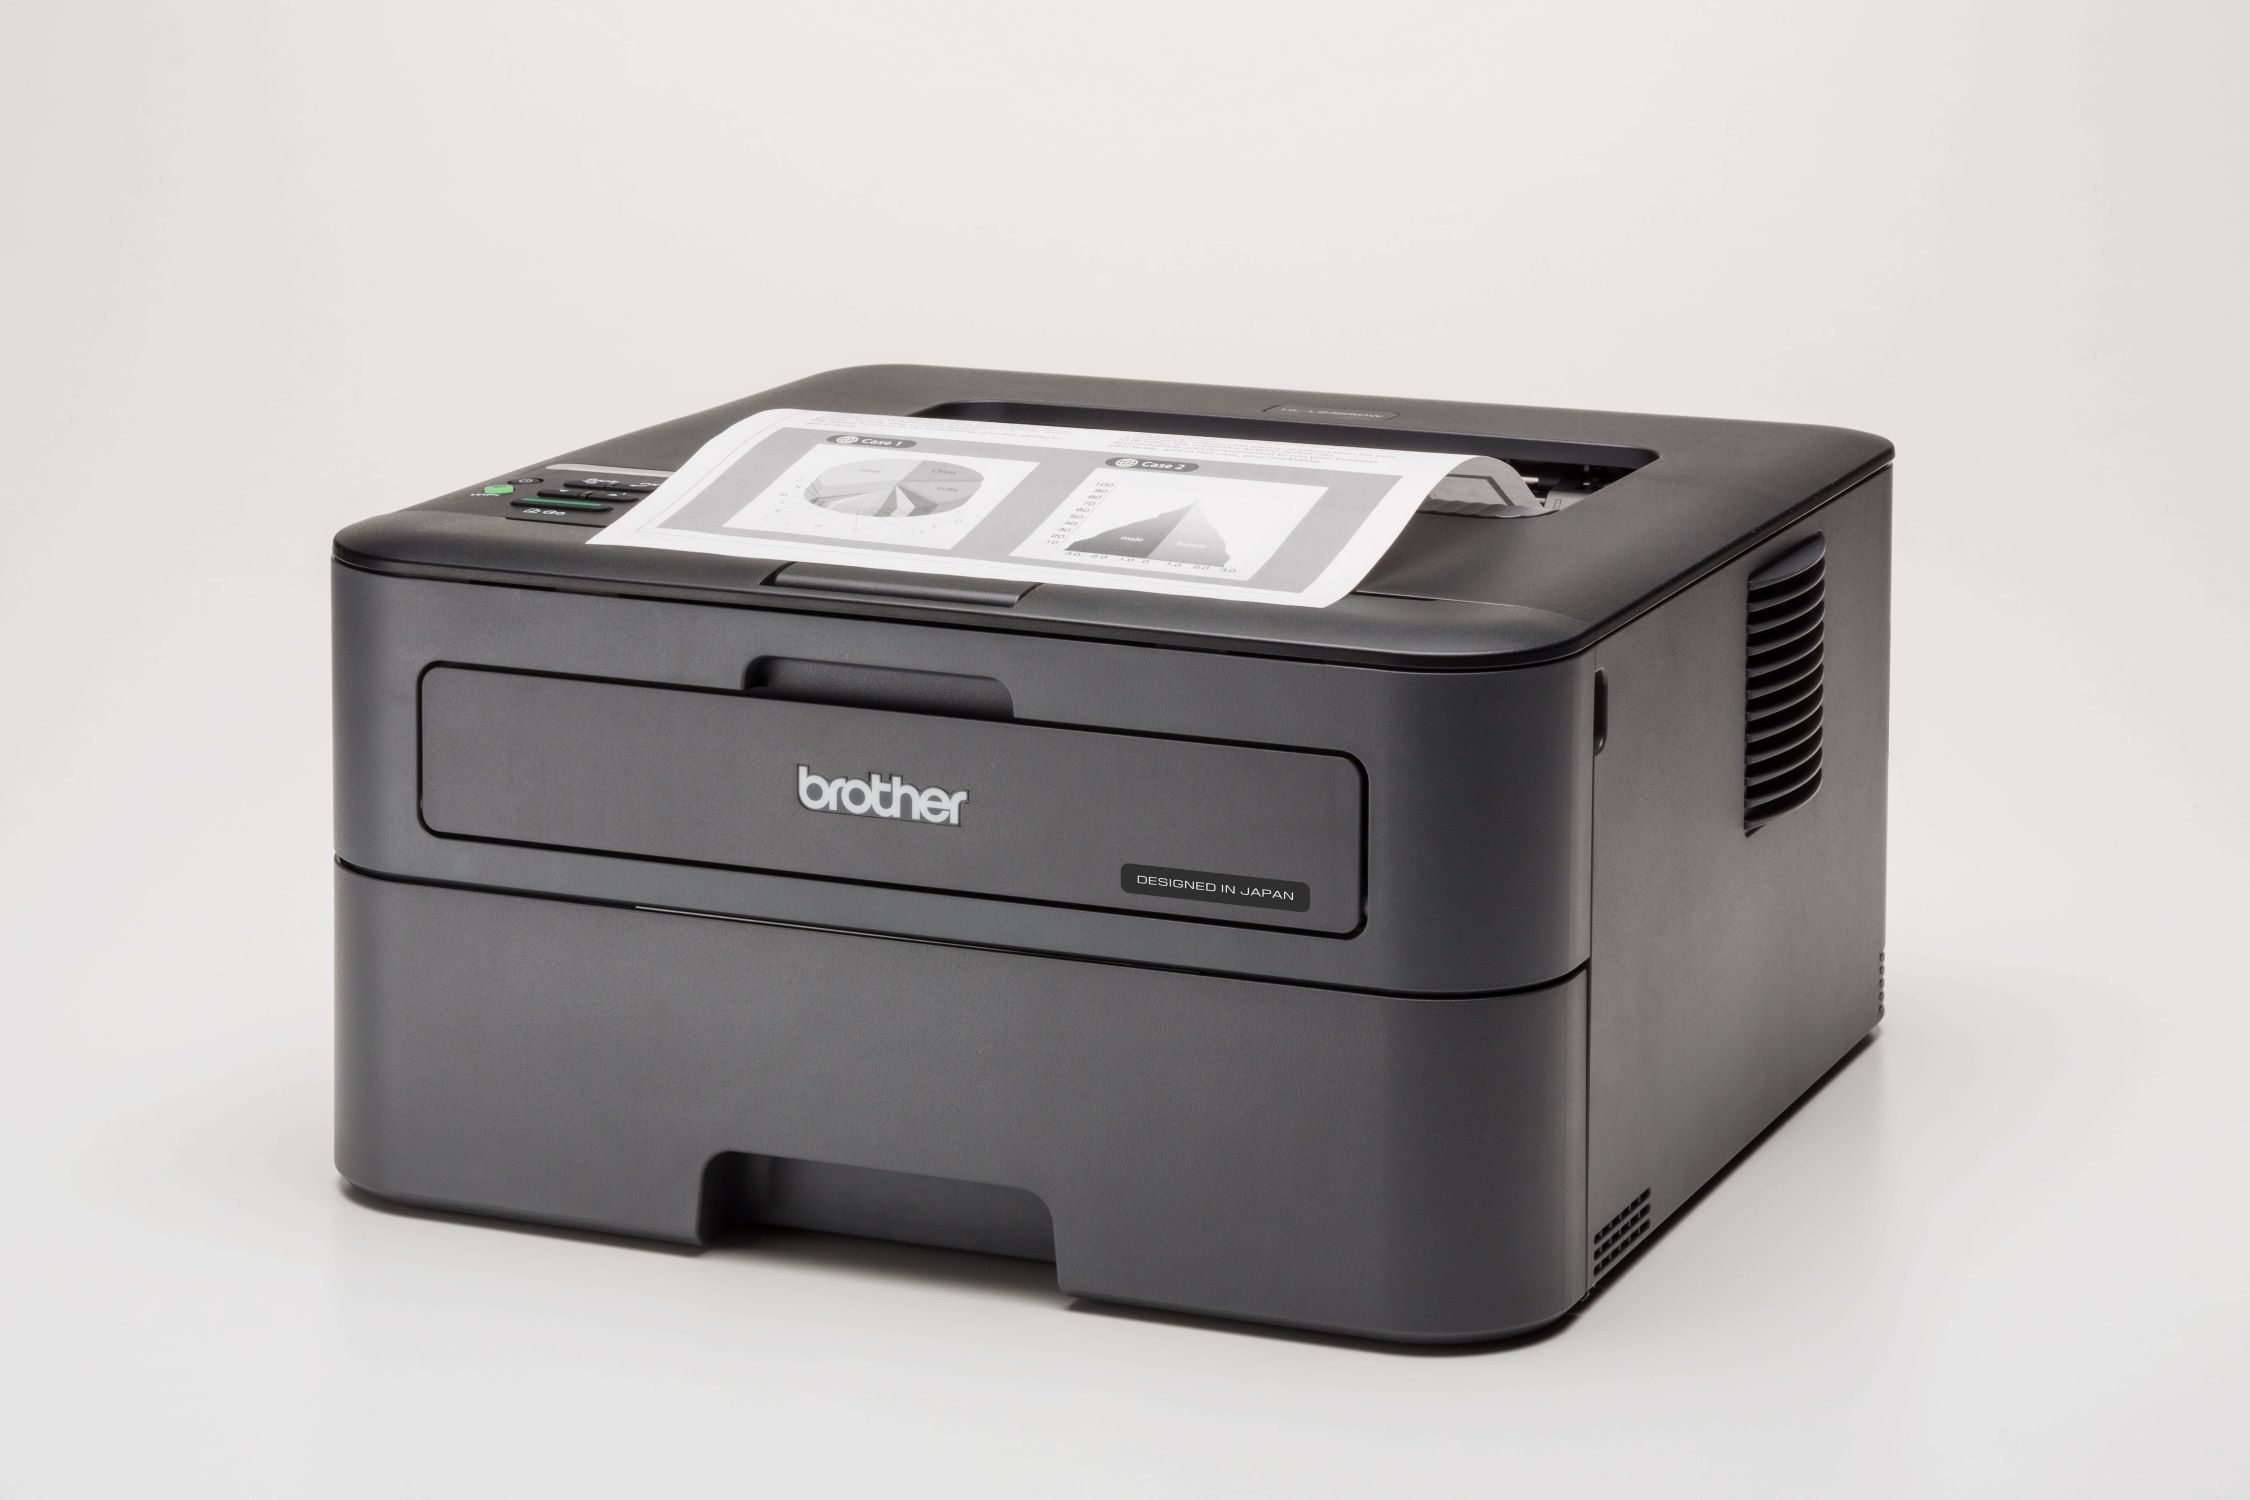
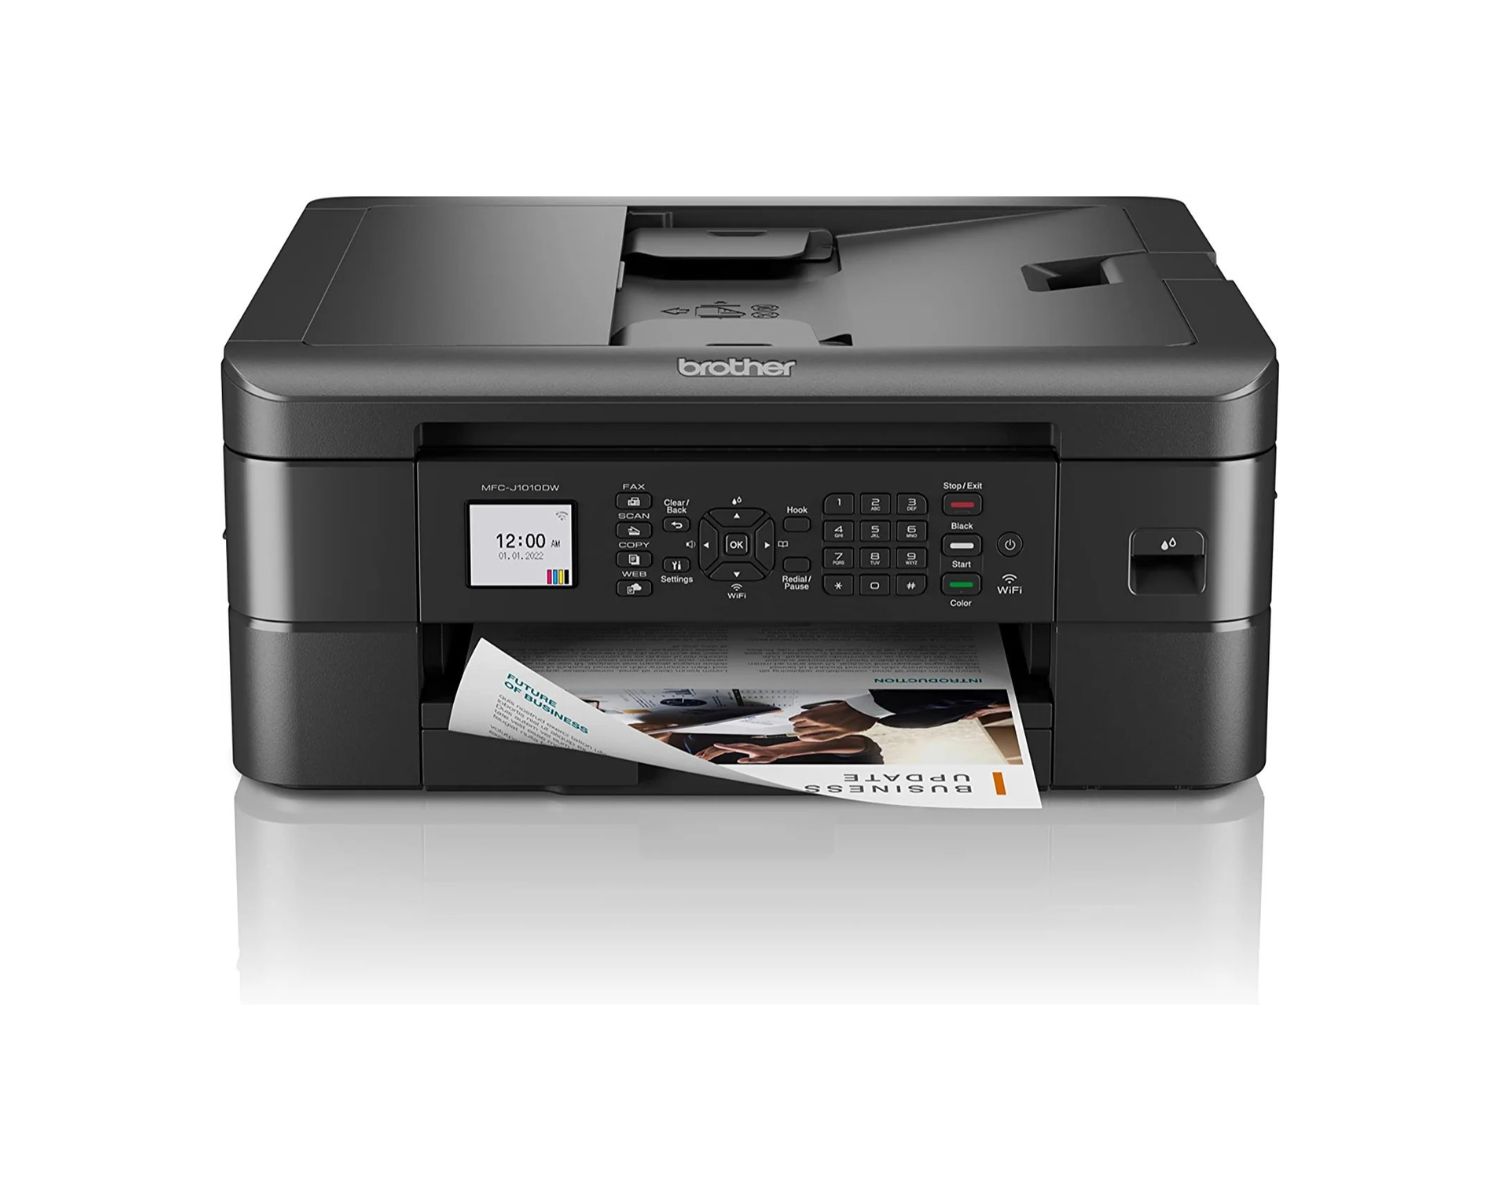
Welcome to the world of Brother printers, where efficiency meets excellence. Brother printers are renowned for their exceptional print quality and reliable performance. Whether you are a home user or a professional, maintaining your Brother printer is essential to ensure consistent and high-quality prints. One of the key maintenance tasks for your Brother printer is changing the toner cartridge.
In this comprehensive guide, we will walk you through the step-by-step process of changing the toner in your Brother printer. By following these simple instructions, you can ensure that your printer continues to produce crisp, clear documents without any interruptions.
So, grab your new toner cartridge and let's dive into the easy and rewarding process of changing the toner in your Brother printer. Whether you are a tech-savvy enthusiast or a first-time printer owner, this guide is designed to make the process seamless and hassle-free. Let's get started!
Key Takeaways:
- Changing the toner in your Brother printer is a simple and rewarding task that ensures vibrant, high-quality prints. With the right supplies and careful steps, you can confidently maintain your printer’s performance and reliability.
- By following the step-by-step guide, you can seamlessly transition to a new toner cartridge, setting the stage for uninterrupted printing excellence. Remember, regular maintenance, including toner replacement, is crucial for enjoying consistent and vibrant prints from your Brother printer.
Read more: How To Reset Toner On A Brother Printer
Step 1: Gather the Necessary Supplies
Before you begin the toner replacement process, it’s essential to gather all the necessary supplies to ensure a smooth and efficient experience. Here’s what you’ll need:
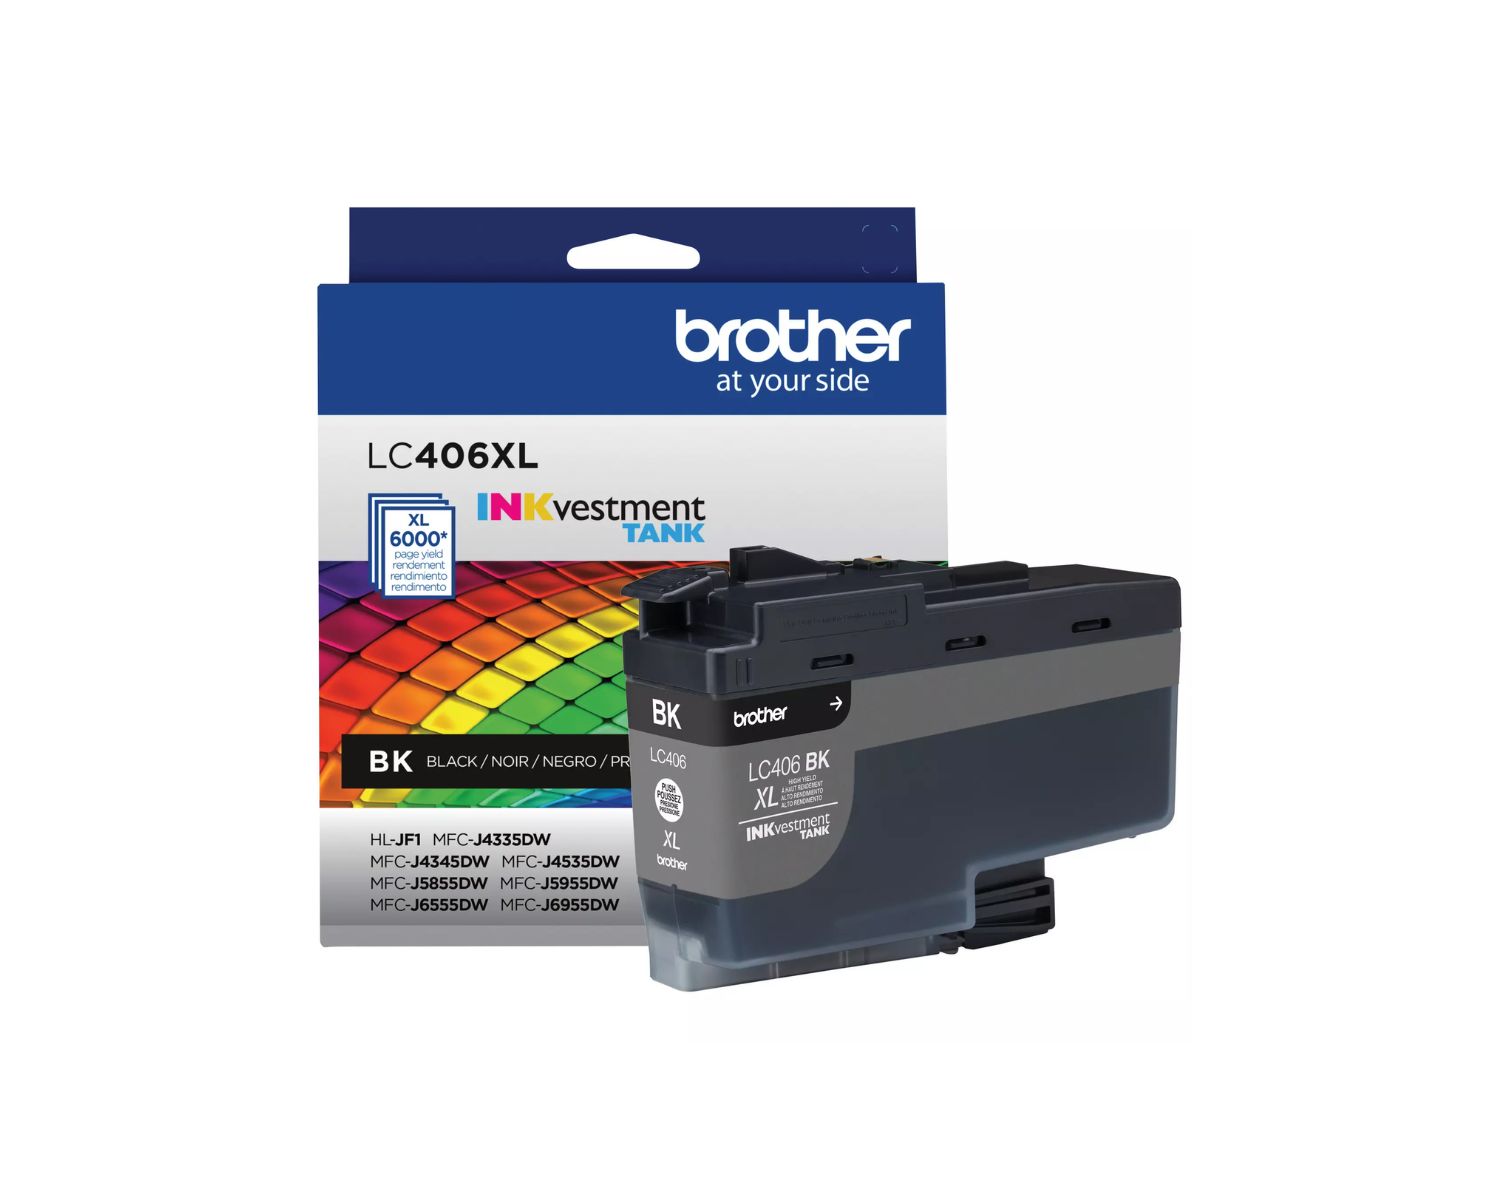
- A replacement toner cartridge compatible with your specific Brother printer model. Ensure that you have the correct cartridge to avoid any compatibility issues.
- Protective gloves to prevent any toner residue from coming into contact with your skin. While toner is non-toxic, it’s always best to handle it with care.
- A lint-free cloth or paper towel to clean any toner spills or residue that may occur during the replacement process.
- Clear and well-lit workspace to provide ample room for maneuvering and accessing the printer without any obstructions.
- Access to a power source and the printer’s user manual for reference, if needed.
By ensuring that you have all the necessary supplies at hand, you can streamline the toner replacement process and minimize any potential disruptions. With these items ready, you’re well-prepared to proceed to the next step and embark on the journey of refreshing your Brother printer with a new toner cartridge.
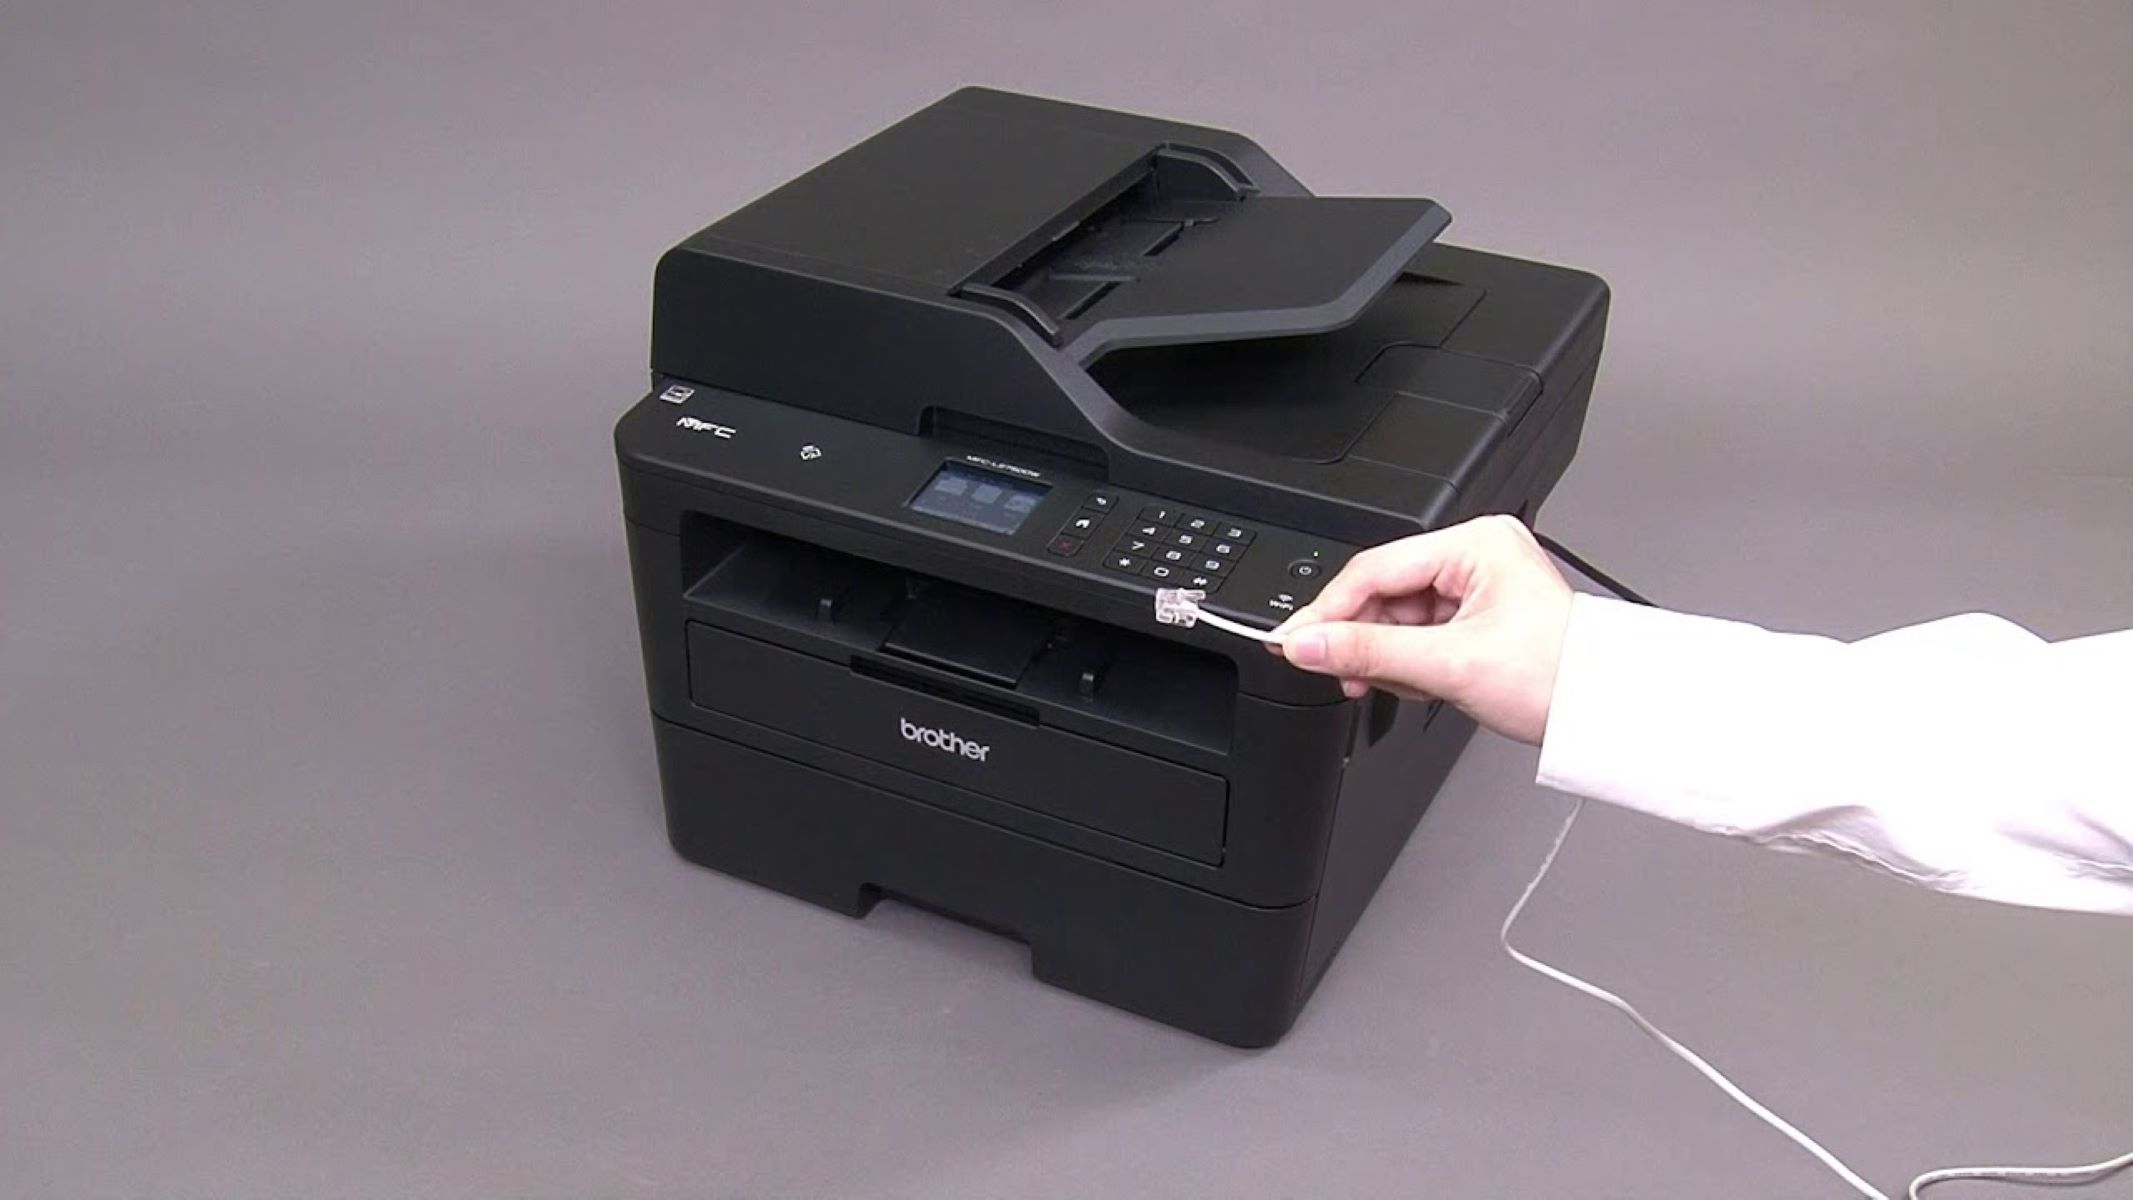
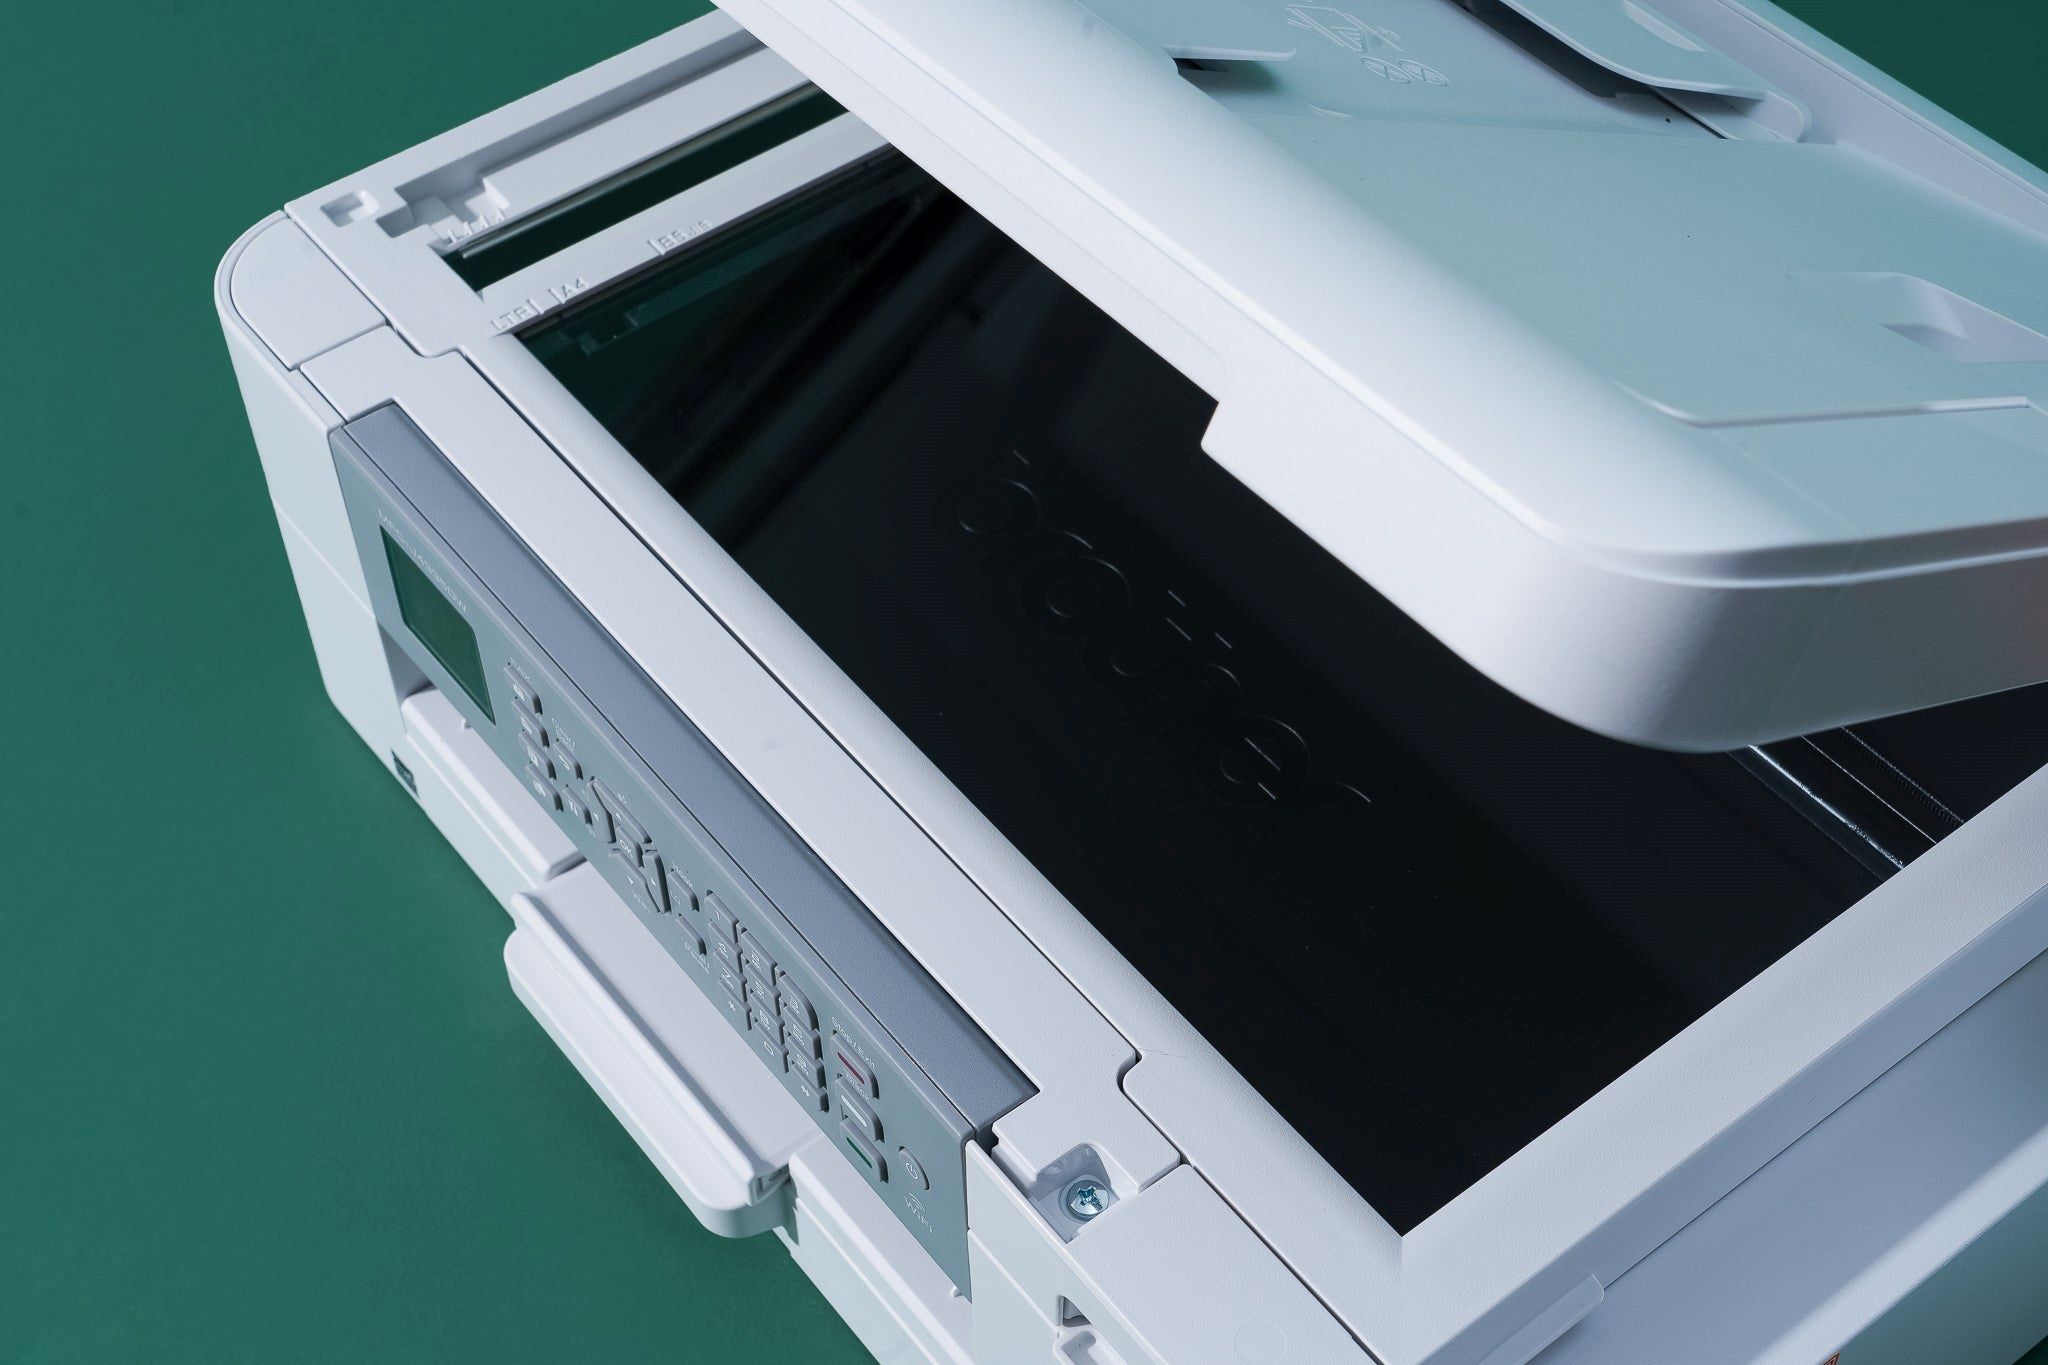
Step 2: Open the Printer Cover
Now that you have gathered all the necessary supplies, it’s time to begin the toner replacement process. Before opening the printer cover, ensure that the printer is turned off and unplugged from the power source to avoid any electrical mishaps. Once the printer is safely disconnected, follow these steps to open the printer cover:
- Locate the printer’s cover or top panel. This is usually situated at the top of the printer and can be easily identified by the manufacturer’s logo or branding.
- Gently place your hands on either side of the printer cover, ensuring a firm yet gentle grip.
- Apply slight pressure and lift the cover upwards. Depending on the model of your Brother printer, the cover may open upwards or slide to the side.
- Once the cover is open, carefully prop it open or use any built-in mechanisms to secure it in place. This will provide unobstructed access to the toner cartridge compartment.
With the printer cover open, you are now ready to proceed to the next step and prepare for the safe removal of the old toner cartridge. Opening the printer cover is a crucial initial step in the toner replacement process, and by following these simple instructions, you can ensure that the process is both safe and efficient.
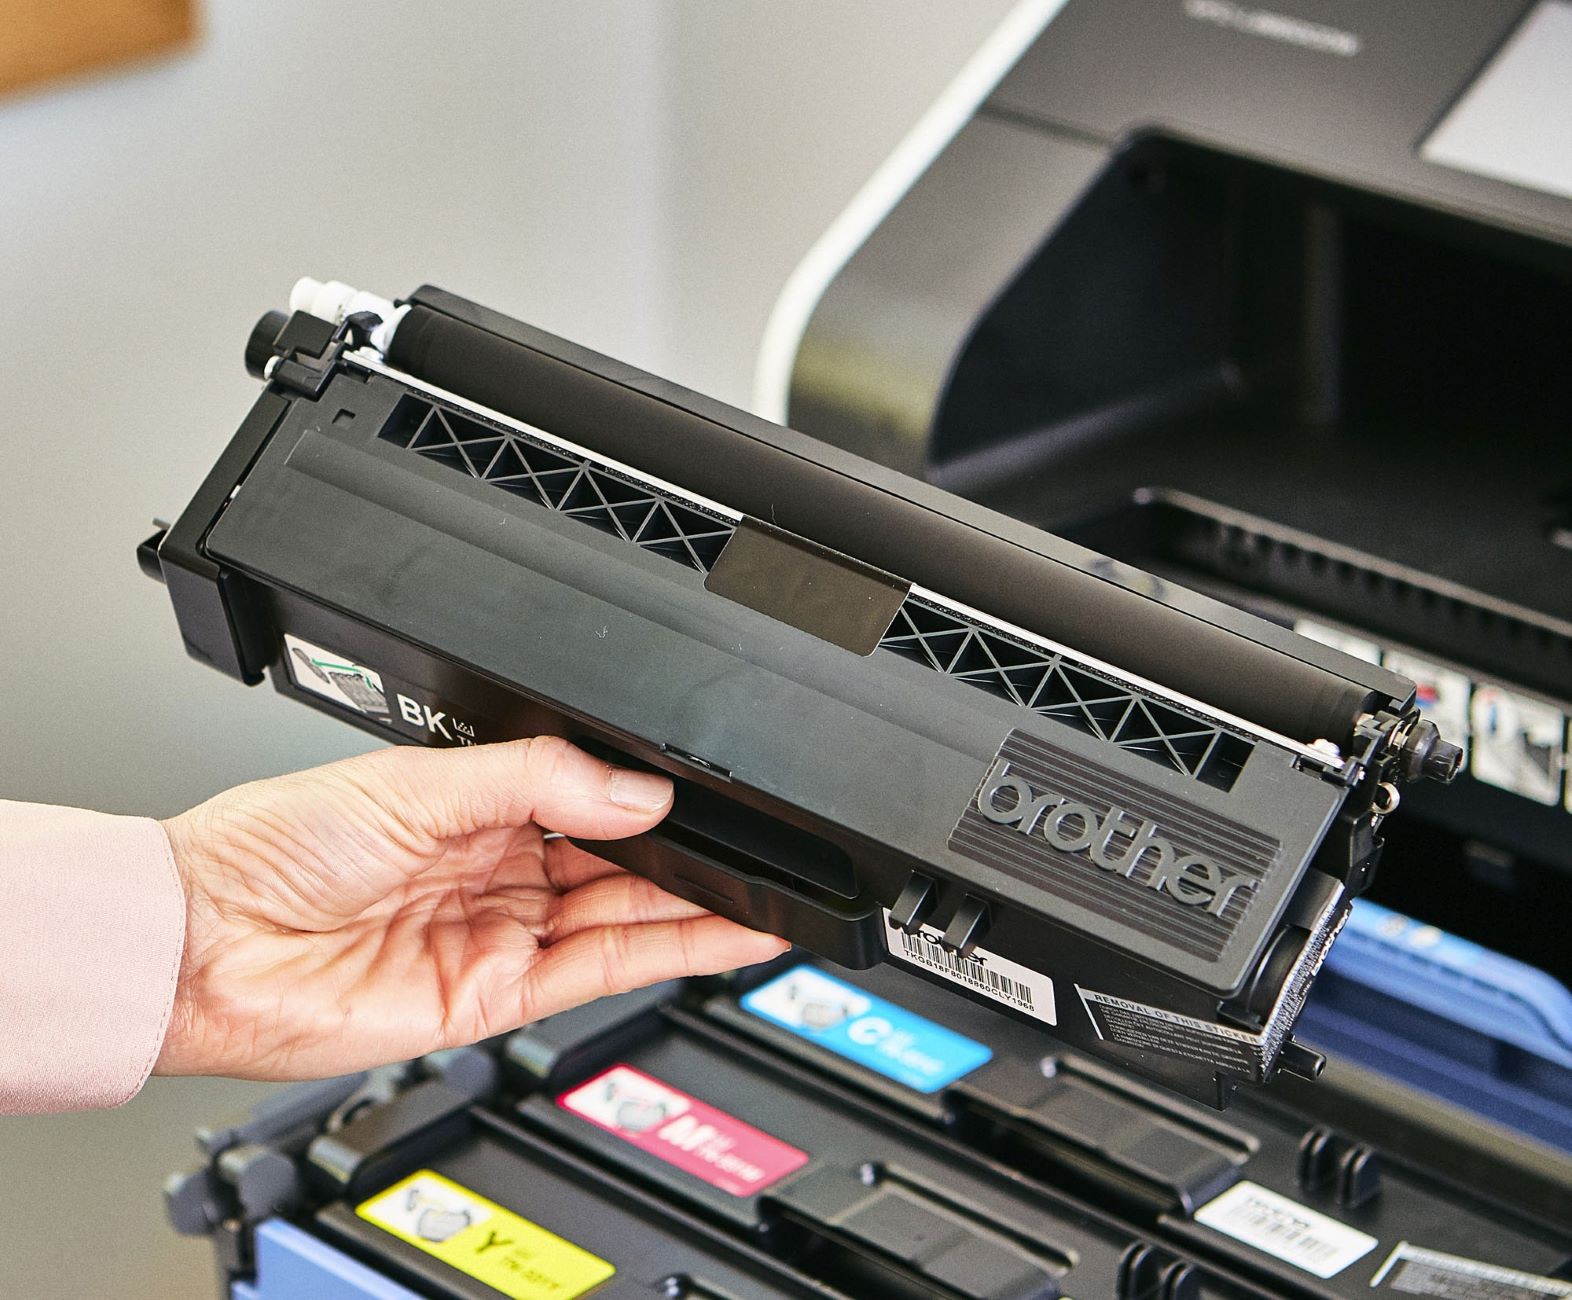
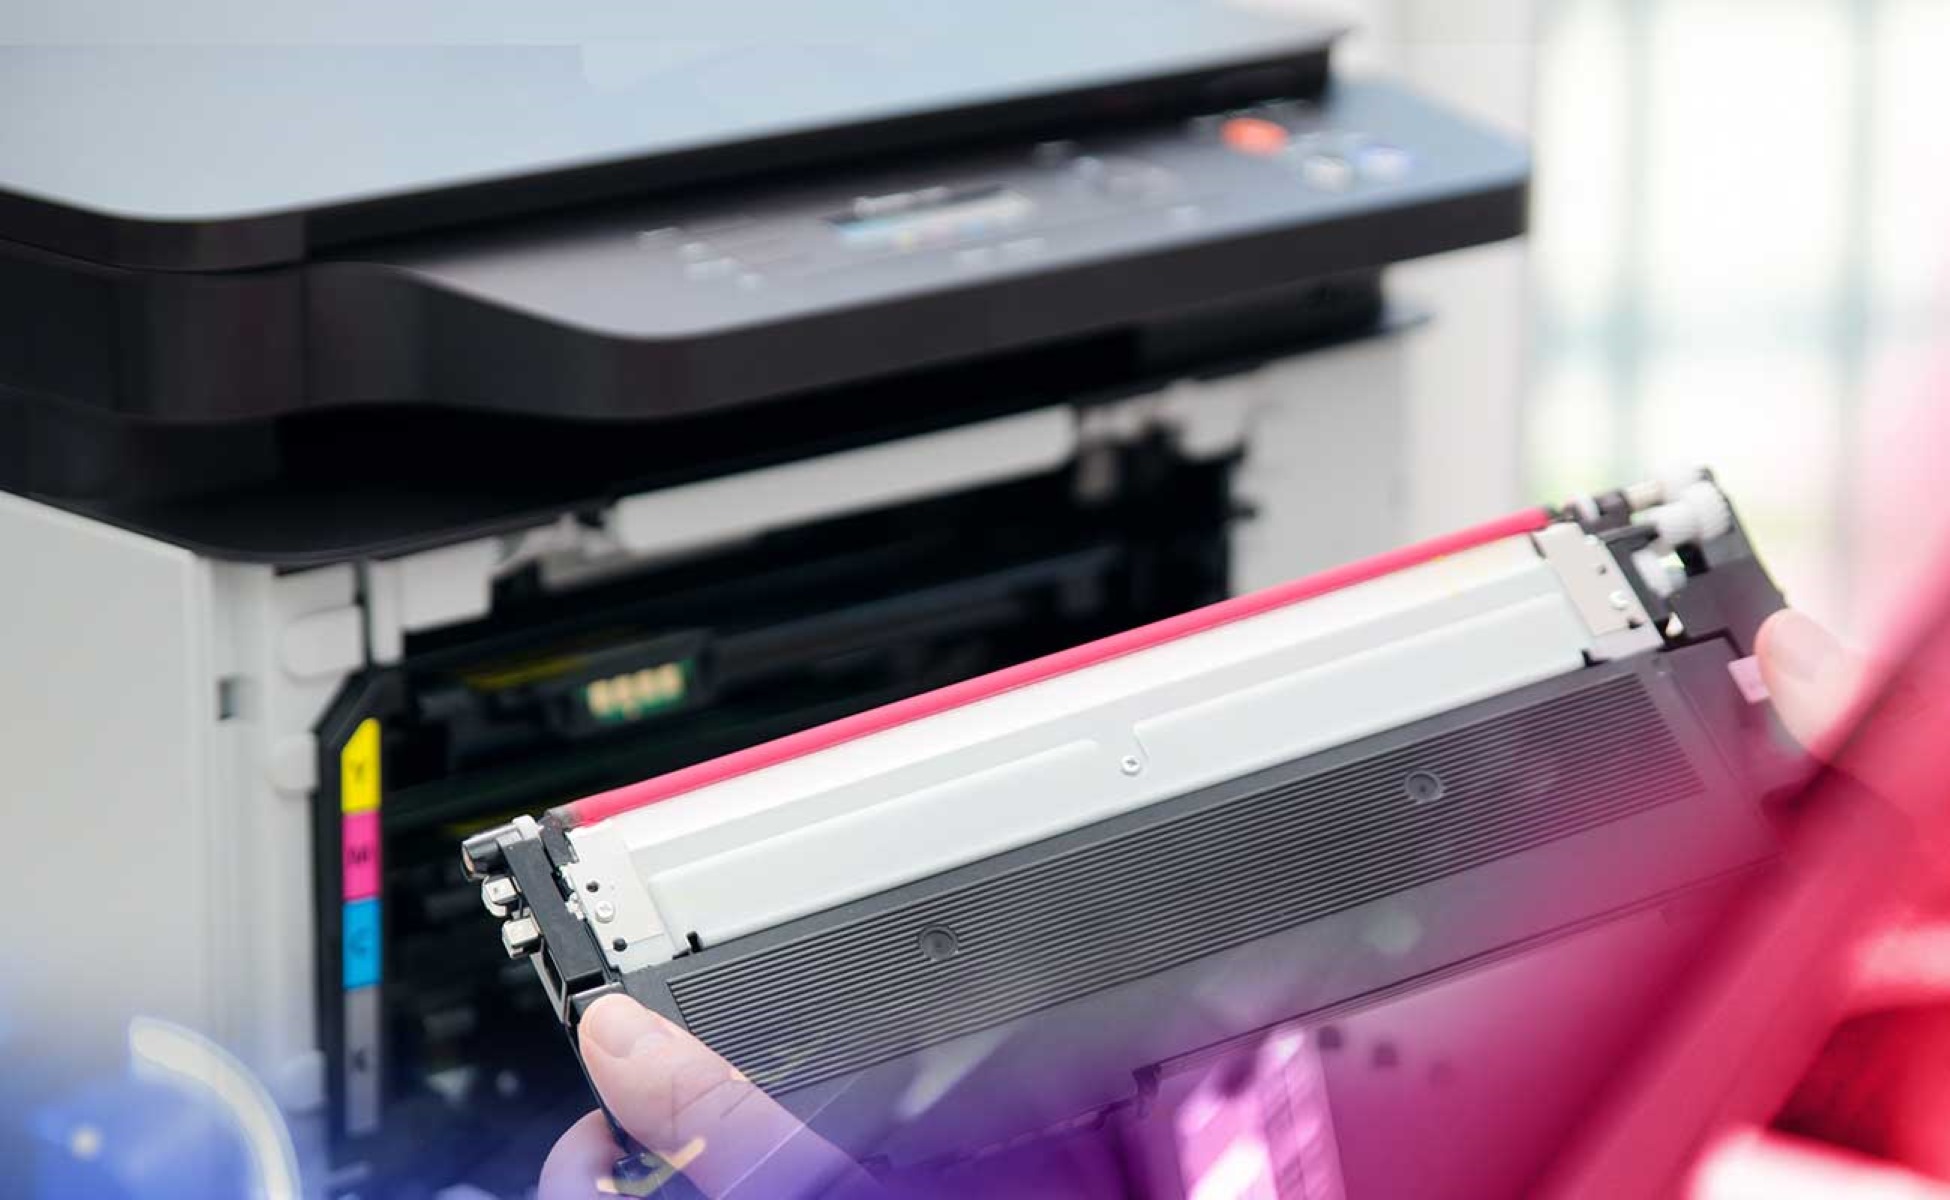
Step 3: Remove the Old Toner Cartridge
With the printer cover open, you are now ready to remove the old toner cartridge from your Brother printer. Follow these steps carefully to ensure a smooth and hassle-free removal process:
- Locate the existing toner cartridge inside the printer. The cartridge is typically situated in the toner compartment, which is easily accessible once the printer cover is opened.
- Identify the toner cartridge by referencing your printer’s user manual or looking for the manufacturer’s label on the cartridge itself. This will help you differentiate it from other components inside the printer.
- Using both hands, carefully grasp the old toner cartridge and gently pull it towards you to disengage it from the printer’s internal mechanism.
- Once the cartridge is free from its housing, place it on a flat, stable surface. Be cautious not to tip or shake the cartridge excessively to prevent any toner spillage or damage.
- Before proceeding further, take a moment to inspect the toner compartment for any residual toner or debris. Use a lint-free cloth or paper towel to gently clean the area, ensuring that it is free from any obstructions or contamination.
By following these steps, you can safely remove the old toner cartridge from your Brother printer and prepare for the installation of the new cartridge. Proper handling and attention to detail during this step will contribute to a seamless toner replacement process and help maintain the integrity of your printer’s internal components.
To change the toner in a Brother printer, open the printer’s front cover, remove the old toner cartridge, and then gently shake the new cartridge before installing it. Close the cover and you’re good to go!
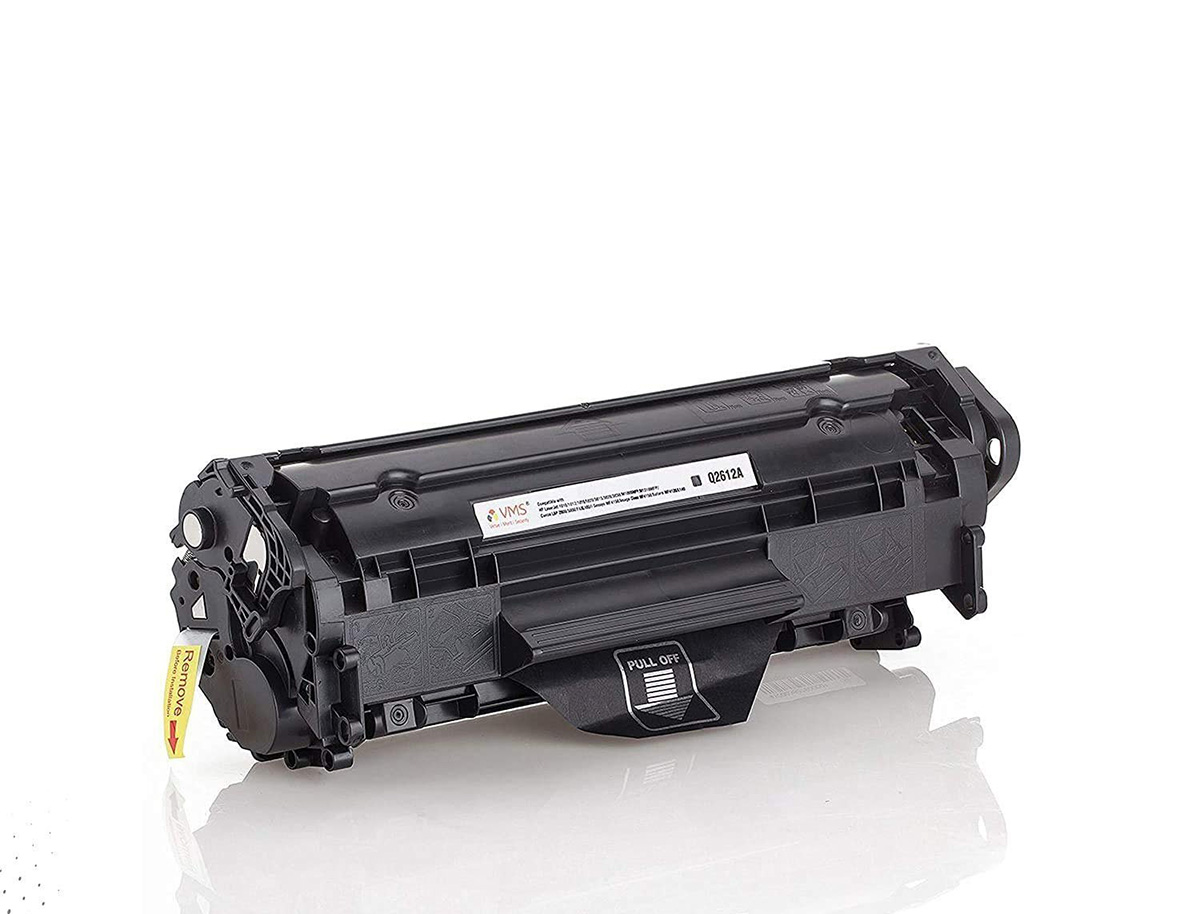
Step 4: Prepare the New Toner Cartridge
Before installing the new toner cartridge into your Brother printer, it’s essential to prepare the cartridge to ensure optimal performance and longevity. Follow these steps to prepare the new toner cartridge for installation:
- Unpack the new toner cartridge from its packaging, ensuring that you handle it with care to avoid any damage to the cartridge or spillage of toner.
- Before removing the protective cover or seal from the new cartridge, gently rock it from side to side. This helps distribute the toner evenly inside the cartridge, ensuring consistent print quality.
- Once the toner is evenly distributed, locate the protective cover or seal on the cartridge. This cover is designed to prevent toner leakage and should be removed just before installation into the printer.
- Check the cartridge for any protective tabs or tapes that may need to be removed before installation. These tabs are typically color-coded or marked for easy identification.
- Inspect the cartridge for any visible damage or irregularities. If you notice any issues with the cartridge, such as cracks or leaks, refrain from installing it and contact the supplier for a replacement.
By carefully preparing the new toner cartridge, you can ensure that it is ready for seamless installation into your Brother printer. Following these steps will help maintain the integrity of the cartridge and contribute to the consistent and high-quality printing performance that Brother printers are known for.
Read more: How To Remove Toner From Brother Printer
Step 5: Install the New Toner Cartridge
Now that you’ve prepared the new toner cartridge, it’s time to install it into your Brother printer. Follow these simple steps to ensure a successful installation:
- Locate the toner compartment inside the printer where the old cartridge was removed. Ensure that the area is clean and free from any residual toner or debris.
- Hold the new toner cartridge by the handles and gently shake it from side to side to further distribute the toner inside the cartridge.
- Remove any protective covers or tabs from the new cartridge as per the manufacturer’s instructions. These may include protective tapes, seals, or tabs that prevent toner leakage.
- Align the new toner cartridge with the corresponding guides or tracks inside the toner compartment. Ensure that it is positioned correctly and securely seated within the compartment.
- Gently push the cartridge into place until it clicks or locks into position. This indicates that the cartridge is securely installed and ready for use.
- Double-check the installation to ensure that the cartridge is firmly seated and properly aligned. Any loose or misaligned cartridges may cause printing issues or errors.
By following these steps, you can confidently install the new toner cartridge into your Brother printer, setting the stage for consistent and high-quality print output. Proper installation is crucial for the printer’s performance and longevity, and these simple instructions will help you achieve a seamless transition to the new cartridge.
Step 6: Close the Printer Cover
With the new toner cartridge successfully installed, the final step in the toner replacement process is to close the printer cover. Follow these straightforward instructions to securely close the printer cover:
- Gently lift the printer cover if it is not already in the closed position. Ensure that the cover is free from any obstructions or items that may interfere with its closure.
- Align the cover with the corresponding hinges or slots on the printer’s body. Take care to position it correctly to prevent any misalignment or potential damage to the cover.
- Apply gentle pressure to the cover to lower it back into its closed position. Depending on the printer model, you may need to press firmly or guide the cover into place until it securely latches.
- Listen for any audible clicks or locking sounds that indicate the cover is securely closed. This ensures that the internal components are protected and the printer is ready for operation.
- Double-check the edges and seams of the cover to ensure that it is uniformly closed and flush with the printer’s body. Any gaps or misalignments should be corrected to maintain the printer’s integrity.
By following these simple steps, you can confidently close the printer cover, signaling the completion of the toner replacement process. A securely closed cover not only protects the internal components of the printer but also maintains a tidy and professional appearance. With the cover securely in place, your Brother printer is ready to resume its printing duties with a fresh toner cartridge.
Conclusion
Congratulations! You’ve successfully navigated the process of changing the toner in your Brother printer. By following the step-by-step instructions outlined in this guide, you’ve not only refreshed your printer with a new toner cartridge but also ensured its continued performance and reliability.
Changing the toner in your Brother printer is a straightforward and rewarding maintenance task that contributes to the longevity and quality of your printing experience. With the right supplies and a methodical approach, you can confidently undertake this process whenever the need arises.
As you close the printer cover and prepare to resume printing, take a moment to appreciate the seamless transition to a new toner cartridge. The vibrant, crisp prints that await are a testament to your diligence in maintaining your printer’s optimal performance.
Remember, proper maintenance, including regular toner replacement, is key to enjoying consistent and high-quality prints from your Brother printer. By staying proactive and attentive to your printer’s needs, you can continue to benefit from its exceptional performance for years to come.
Thank you for entrusting us with guiding you through the toner replacement process. We hope this guide has empowered you to confidently maintain your Brother printer and enjoy uninterrupted printing excellence.
Frequently Asked Questions about How To Change Toner In A Brother Printer
Was this page helpful?
At Storables.com, we guarantee accurate and reliable information. Our content, validated by Expert Board Contributors, is crafted following stringent Editorial Policies. We're committed to providing you with well-researched, expert-backed insights for all your informational needs.

0 thoughts on “How To Change Toner In A Brother Printer”