Home>Technology>Smart Home Devices>How To Override Replace Toner On Brother Printer
Smart Home Devices
How To Override Replace Toner On Brother Printer
Modified: October 28, 2024
Learn how to easily override and replace toner on your Brother printer to keep your smart home devices running smoothly. Expert tips and step-by-step instructions.
(Many of the links in this article redirect to a specific reviewed product. Your purchase of these products through affiliate links helps to generate commission for Storables.com, at no extra cost. Learn more)
Introduction
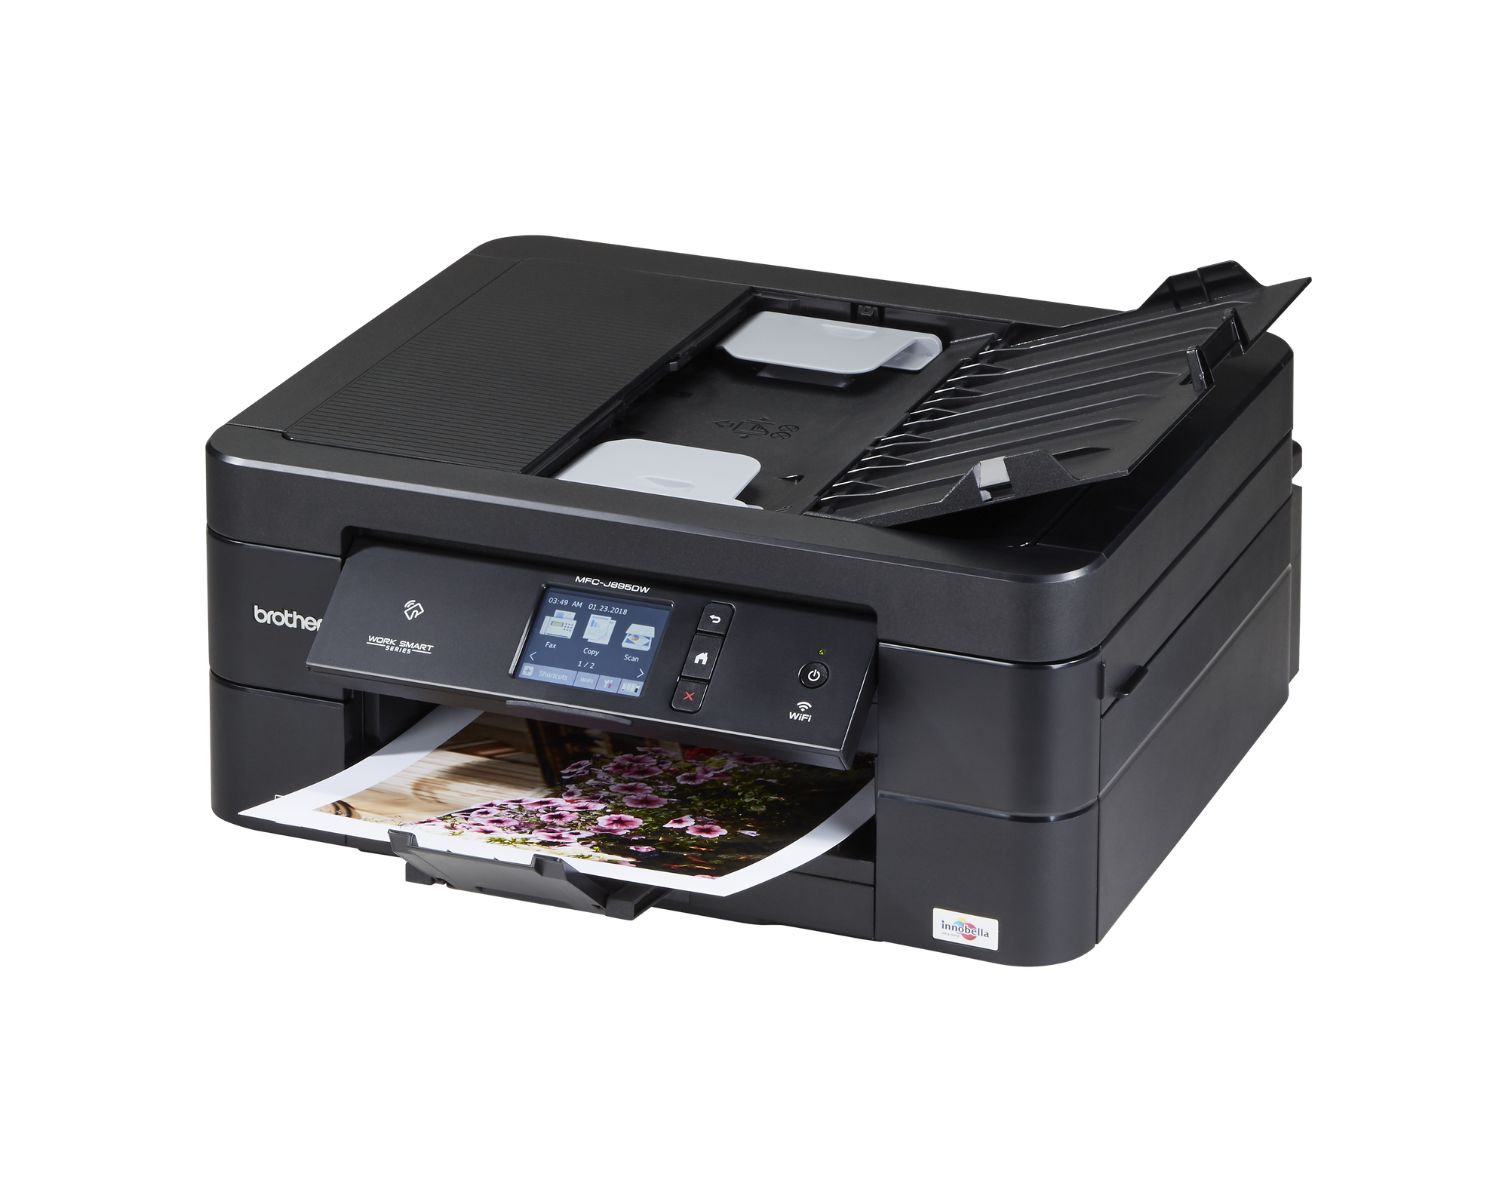
Welcome to the comprehensive guide on how to override and replace the toner on a Brother printer. If you're encountering low toner warnings or poor print quality, it may be time to replace the toner cartridge. This step-by-step guide will walk you through the process, ensuring that you can seamlessly replace the toner and resume printing high-quality documents.
Whether you're a seasoned printer user or a newcomer to the world of printer maintenance, this guide is designed to be user-friendly and easy to follow. By the end of this tutorial, you'll have the confidence and know-how to effectively replace the toner cartridge in your Brother printer, keeping your printing tasks running smoothly.
Let's dive in and explore the simple yet essential steps to override and replace the toner on your Brother printer. Whether you're working in a home office or a professional setting, maintaining your printer's toner cartridge is a crucial aspect of ensuring consistent and high-quality printouts.
Key Takeaways:
- Replacing the toner on a Brother printer is easy! Just gather the materials, open the front cover, remove the old toner, prepare the new one, install it, and close the cover. Your printer will be ready for high-quality printing in no time!
- Maintaining your printer’s toner cartridge is crucial for great print quality. By following the simple steps in this guide, you can ensure that your Brother printer continues to deliver reliable and exceptional printouts for all your needs.
Read more: How To Override Low Toner On Brother Printer
Step 1: Gather Necessary Materials
Before beginning the toner replacement process, it’s essential to gather the necessary materials. Here’s what you’ll need:
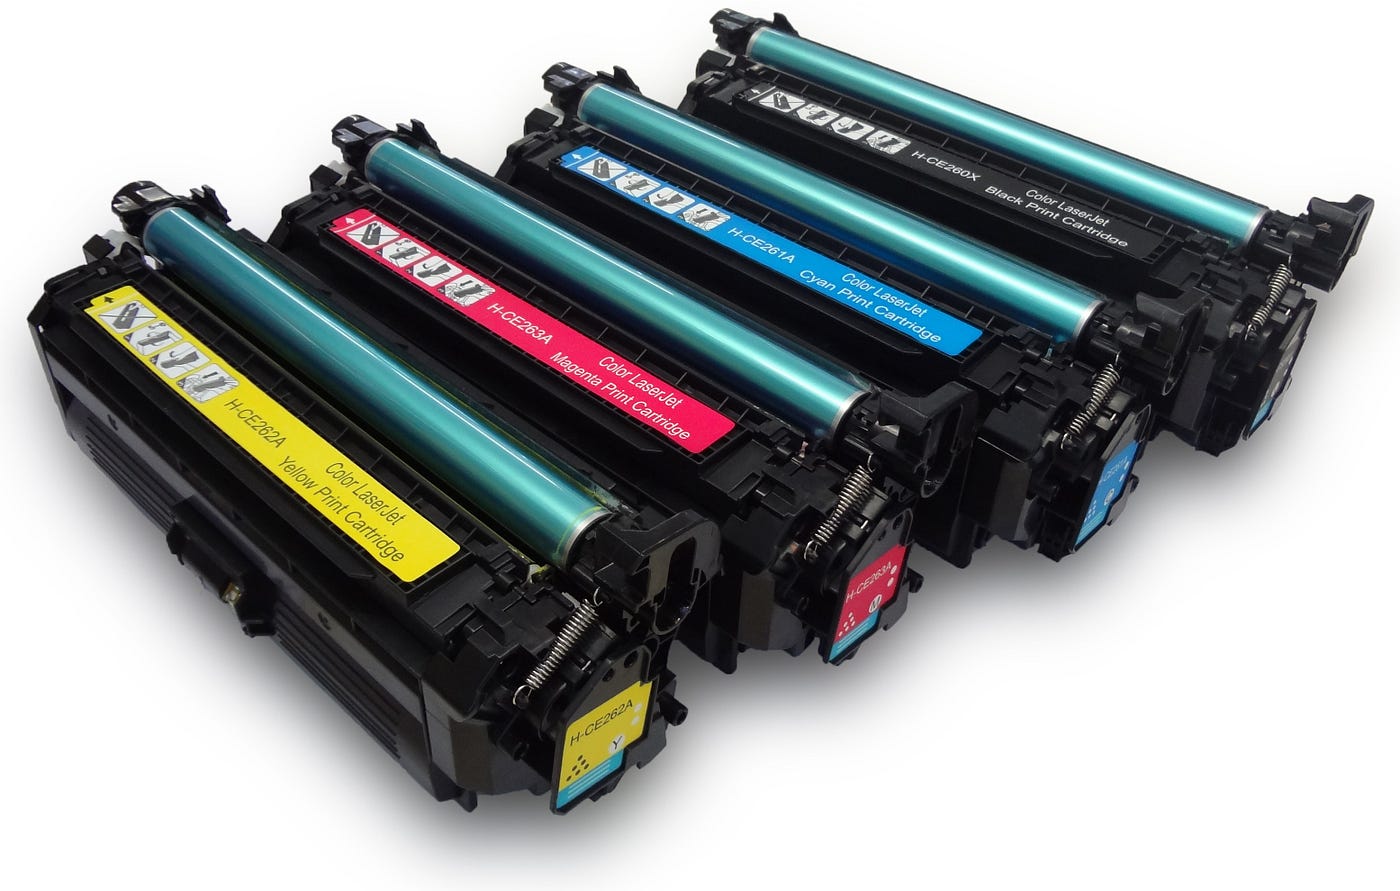
- A replacement toner cartridge compatible with your specific Brother printer model. Ensure that you have the correct cartridge to guarantee seamless installation.
- Protective gloves to prevent any toner particles from coming into direct contact with your skin. This is especially important as toner can be messy and may cause irritation if not handled carefully.
- A clean, lint-free cloth to wipe away any toner residue or dust that may have accumulated inside the printer during the toner replacement process.
- Clear and well-lit workspace to comfortably access the printer and perform the toner replacement without any hindrances.
- Optional: A vacuum cleaner with a soft brush attachment to gently remove any loose toner or debris from the printer’s interior. This step can help maintain the printer’s overall cleanliness and performance.
By ensuring that you have all the necessary materials at hand, you can streamline the toner replacement process and minimize any potential disruptions. Once you’ve gathered these materials, you’re ready to proceed with opening the printer’s front cover and accessing the toner cartridge.
Step 2: Open the Front Cover
Now that you have all the necessary materials assembled, it’s time to begin the process of replacing the toner cartridge in your Brother printer. Follow these steps to open the front cover:
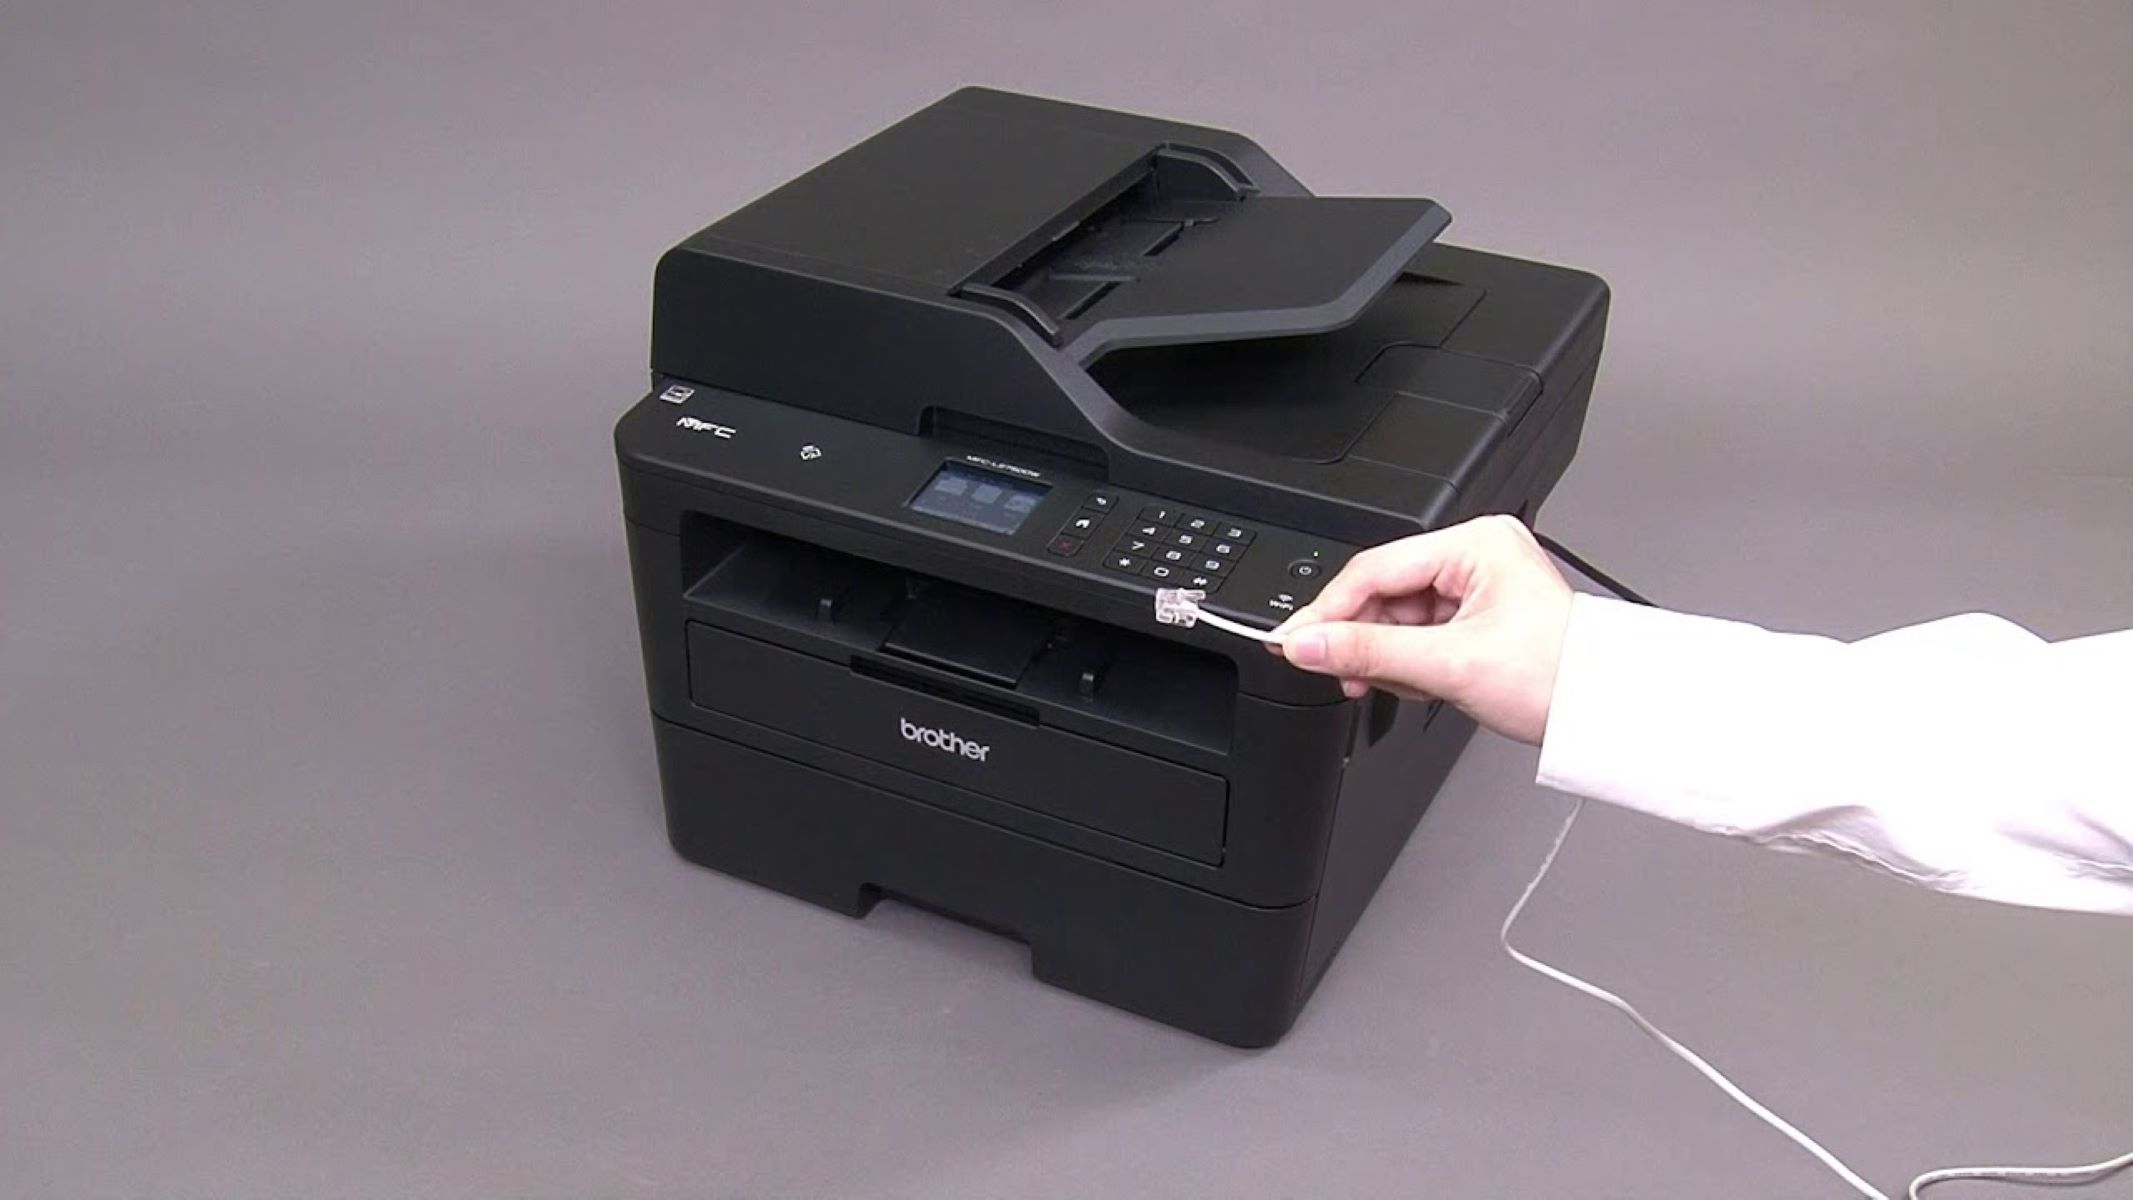
- Locate the front cover of your Brother printer. This is typically positioned at the front of the printer and can be easily identified by the manufacturer’s logo or branding.
- Ensure that the printer is powered on and in a ready state before proceeding to open the front cover. This ensures that the internal components are correctly positioned for the toner replacement process.
- Gently grasp the front cover’s handle or designated indentation, taking care to apply even pressure to avoid any damage to the cover or the printer’s internal mechanisms.
- With a smooth and deliberate motion, open the front cover of the printer. You may hear a slight click or release as the cover opens, indicating that it has been fully accessed.
- Once the front cover is open, take a moment to visually inspect the interior of the printer. Check for any visible toner residue or debris, and use a lint-free cloth to gently remove any loose particles, ensuring a clean working environment for the toner replacement process.
By carefully following these steps, you can safely and effectively open the front cover of your Brother printer, setting the stage for the seamless removal and replacement of the toner cartridge. With the front cover open, you’re now ready to proceed to the next crucial step: removing the old toner cartridge from the printer.
Step 3: Remove the Old Toner Cartridge
With the front cover of your Brother printer open, it’s time to remove the old toner cartridge. Follow these steps to safely and effectively remove the existing toner cartridge:
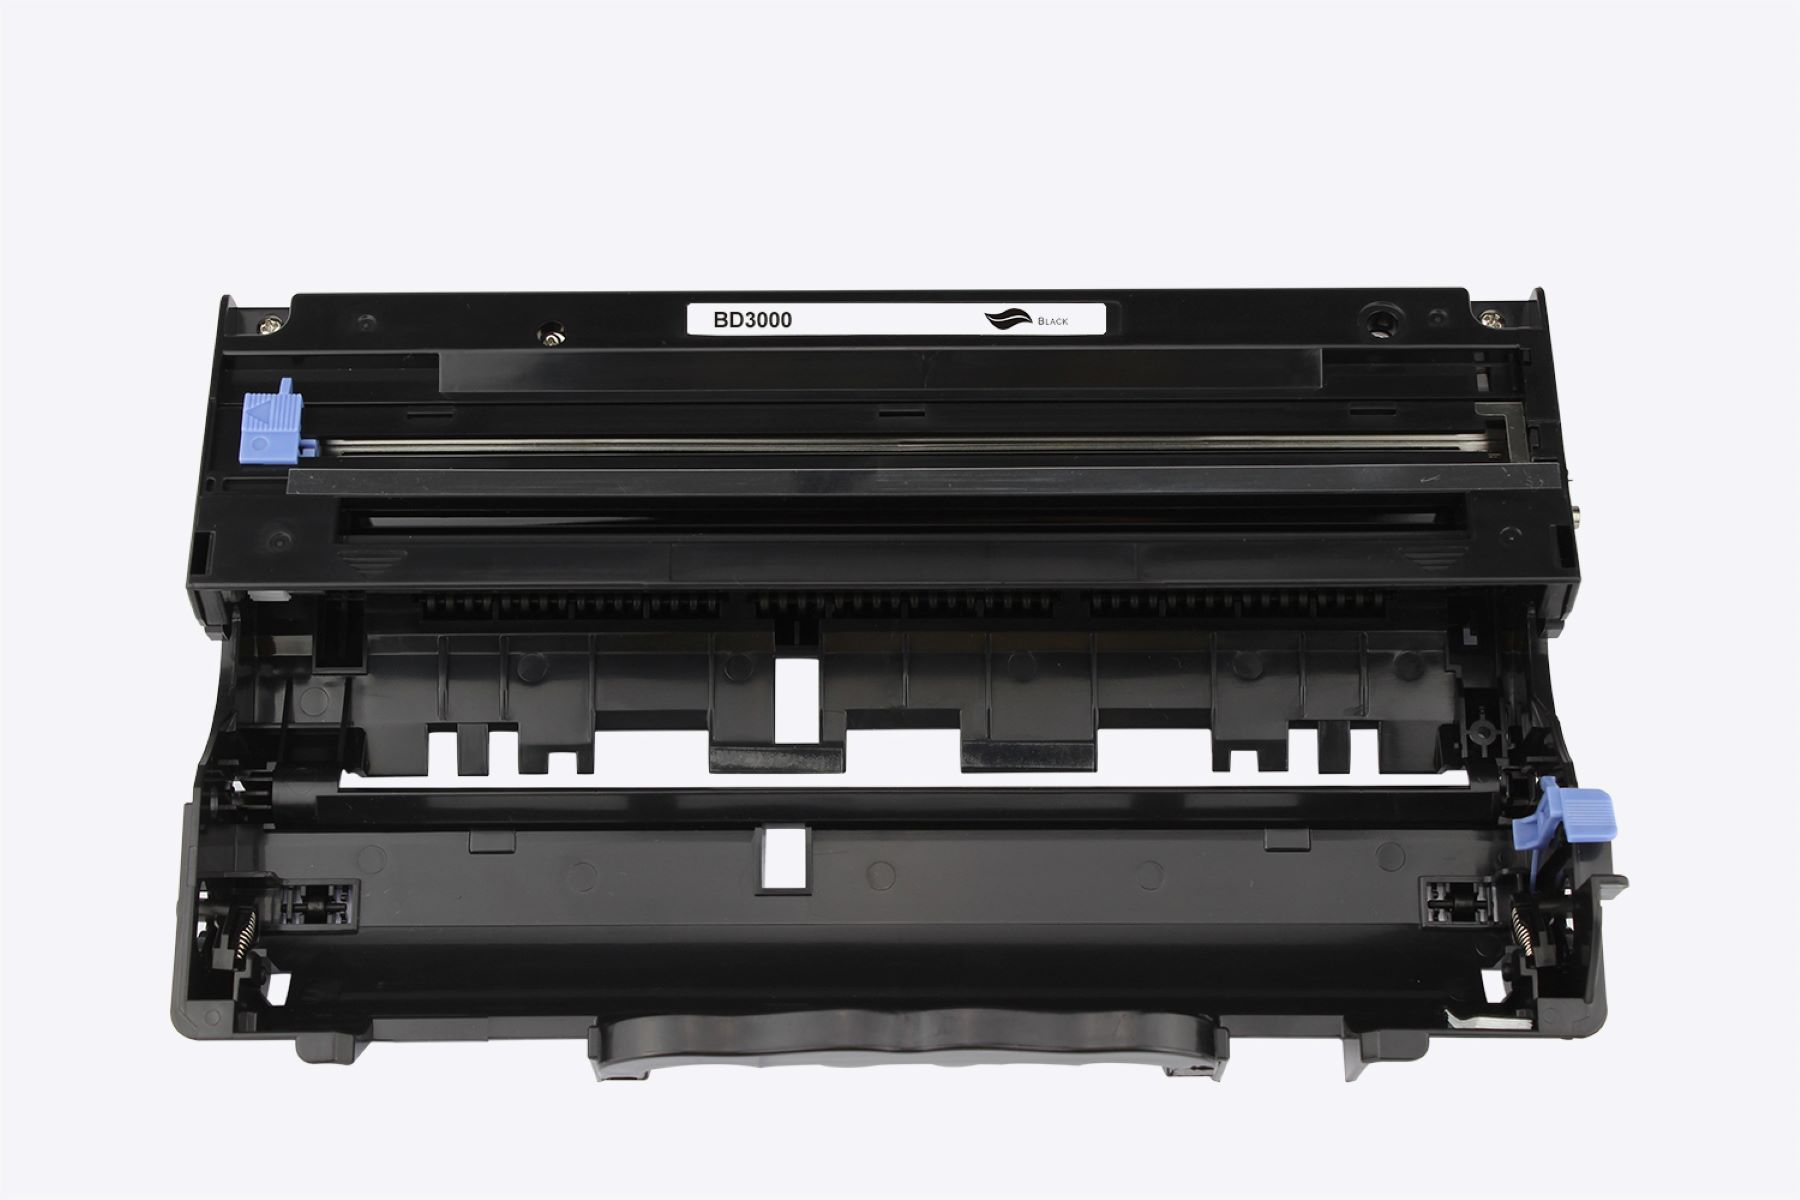
- Locate the toner cartridge assembly inside the printer. Depending on your specific Brother printer model, the toner cartridge may be readily visible upon opening the front cover, or it may be positioned slightly deeper within the printer’s interior.
- Identify the toner cartridge by its distinctive shape and labeling. Take note of its position and orientation to ensure that you can confidently reinstall the new toner cartridge later in the process.
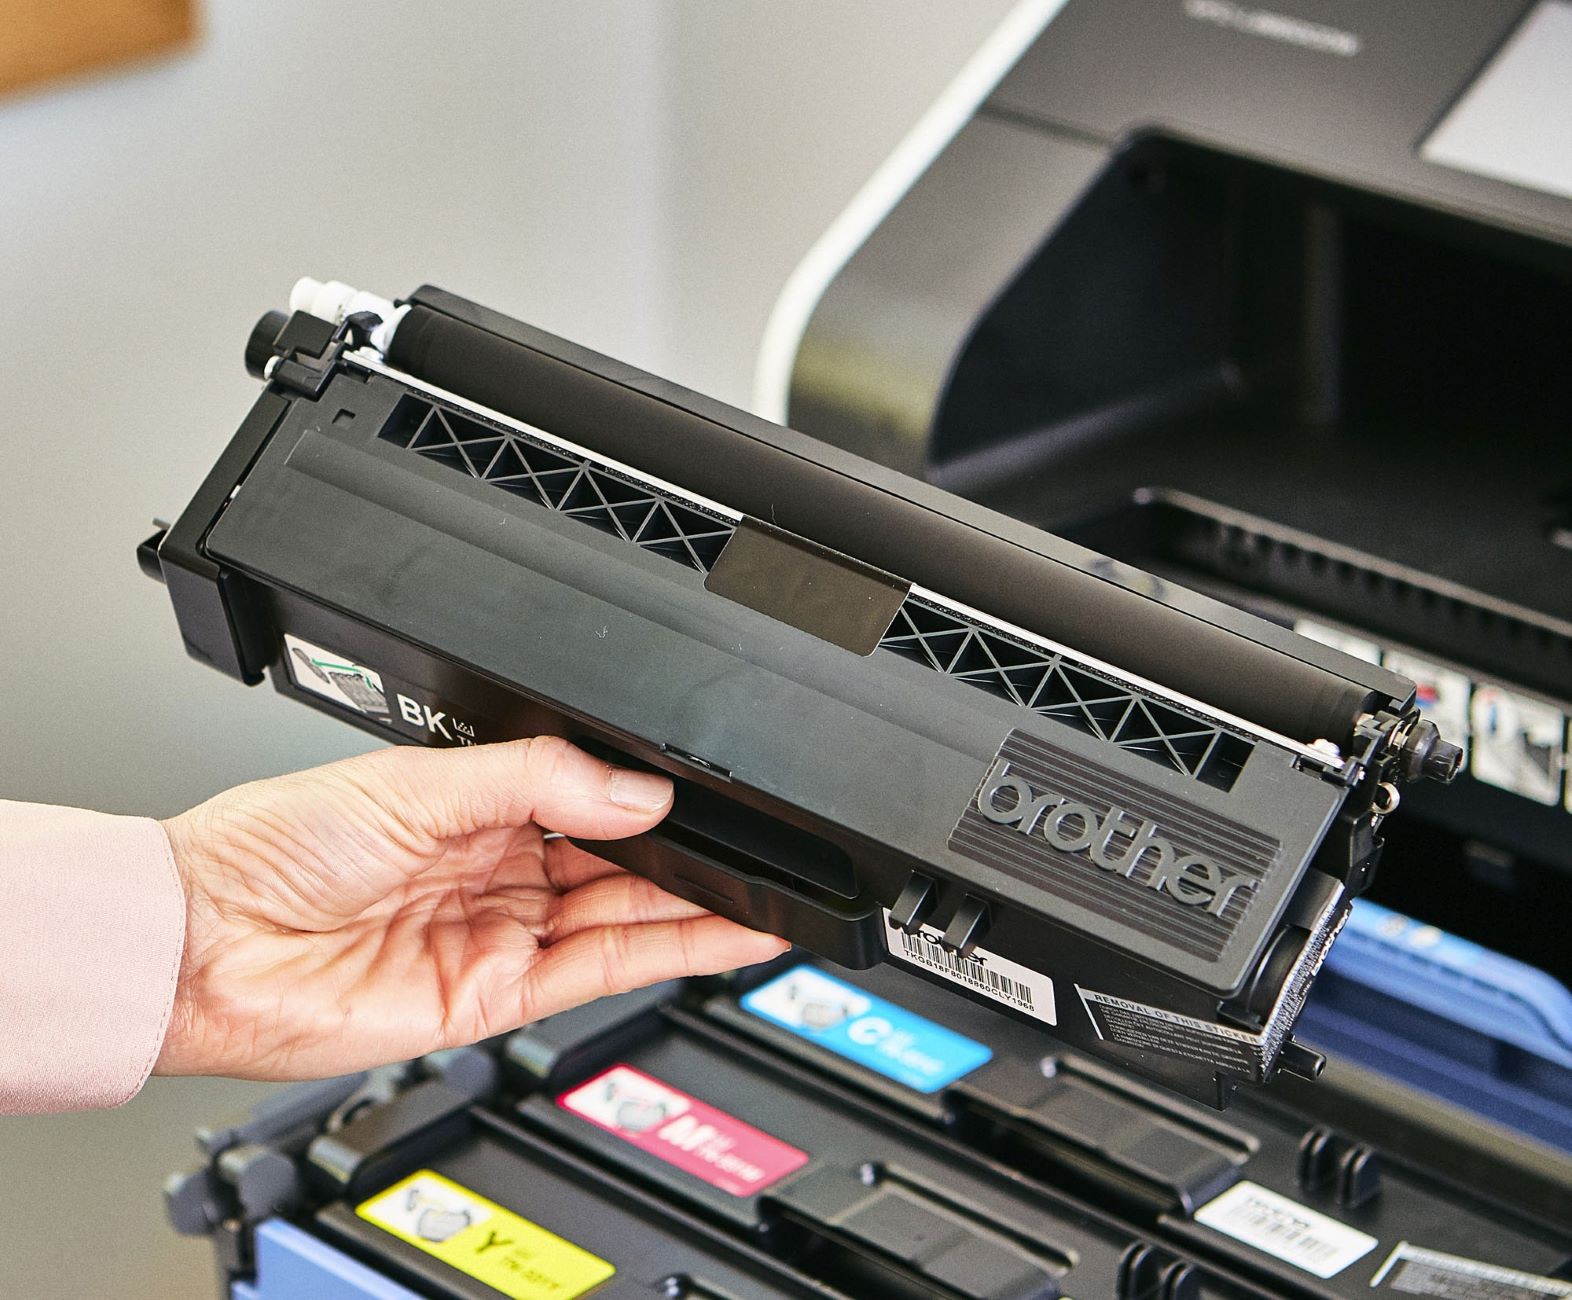
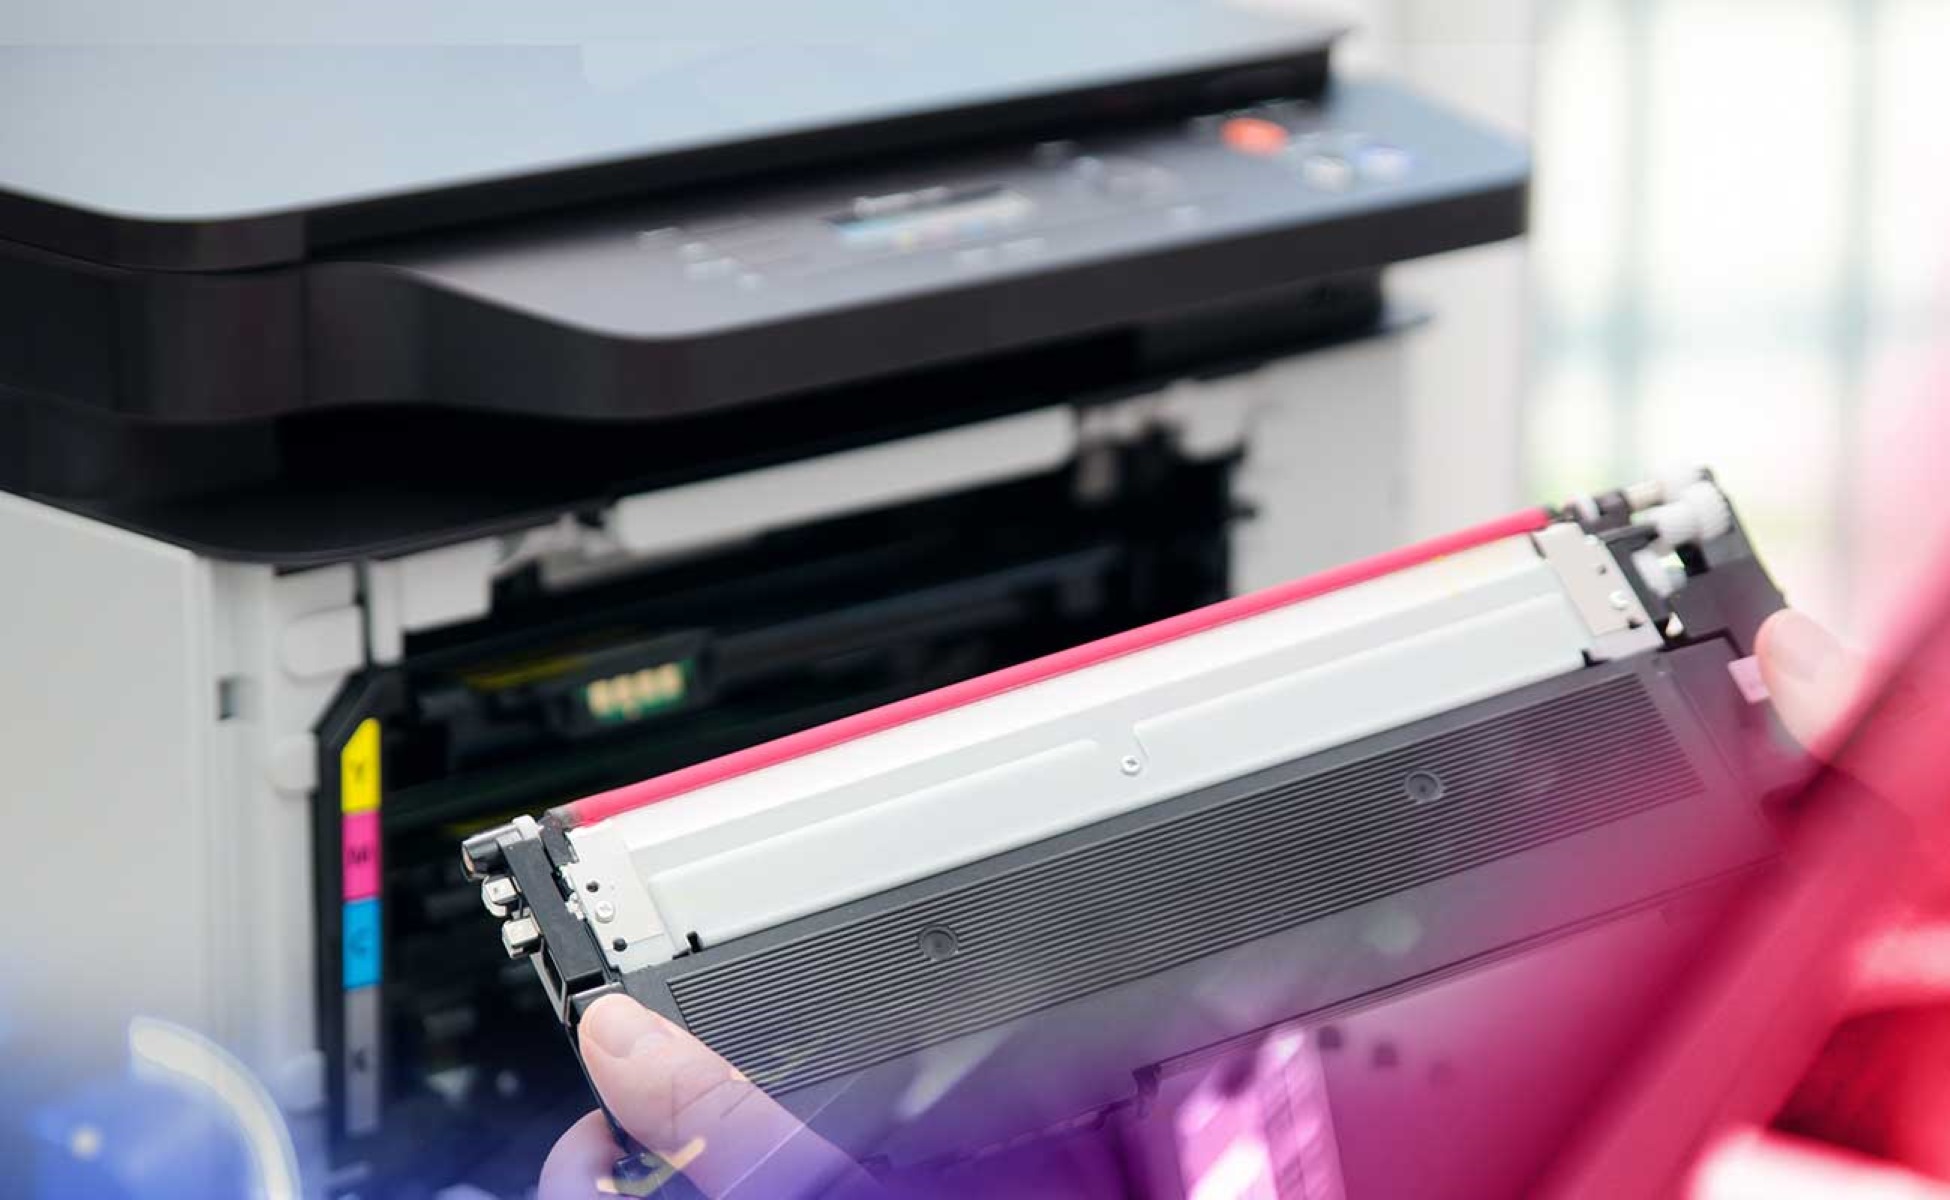
- Using the designated handle or grip, carefully lift the old toner cartridge out of its housing. Take care to maintain a steady grip and avoid any sudden movements that may dislodge residual toner or cause spills.
- Set the old toner cartridge aside in a safe and secure location. If the cartridge is empty, it is recommended to follow proper disposal guidelines for toner cartridges to minimize environmental impact.
- Inspect the interior of the printer’s toner cartridge cavity for any remaining toner particles or debris. Use a lint-free cloth or a gentle vacuum cleaner with a soft brush attachment to remove any loose particles and ensure a clean environment for installing the new toner cartridge.
By carefully following these steps, you can safely remove the old toner cartridge from your Brother printer, paving the way for the seamless installation of the new toner cartridge. With the old cartridge removed, you’re ready to prepare the new toner cartridge for installation in the next step.
To override and replace the toner on a Brother printer, open the printer cover, remove the old toner cartridge, and insert the new one. Follow the printer’s instructions for resetting the toner counter.
Step 4: Prepare the New Toner Cartridge
As you embark on the toner replacement process for your Brother printer, it’s essential to prepare the new toner cartridge for seamless installation. Follow these steps to ensure that the new toner cartridge is ready for placement in your printer:
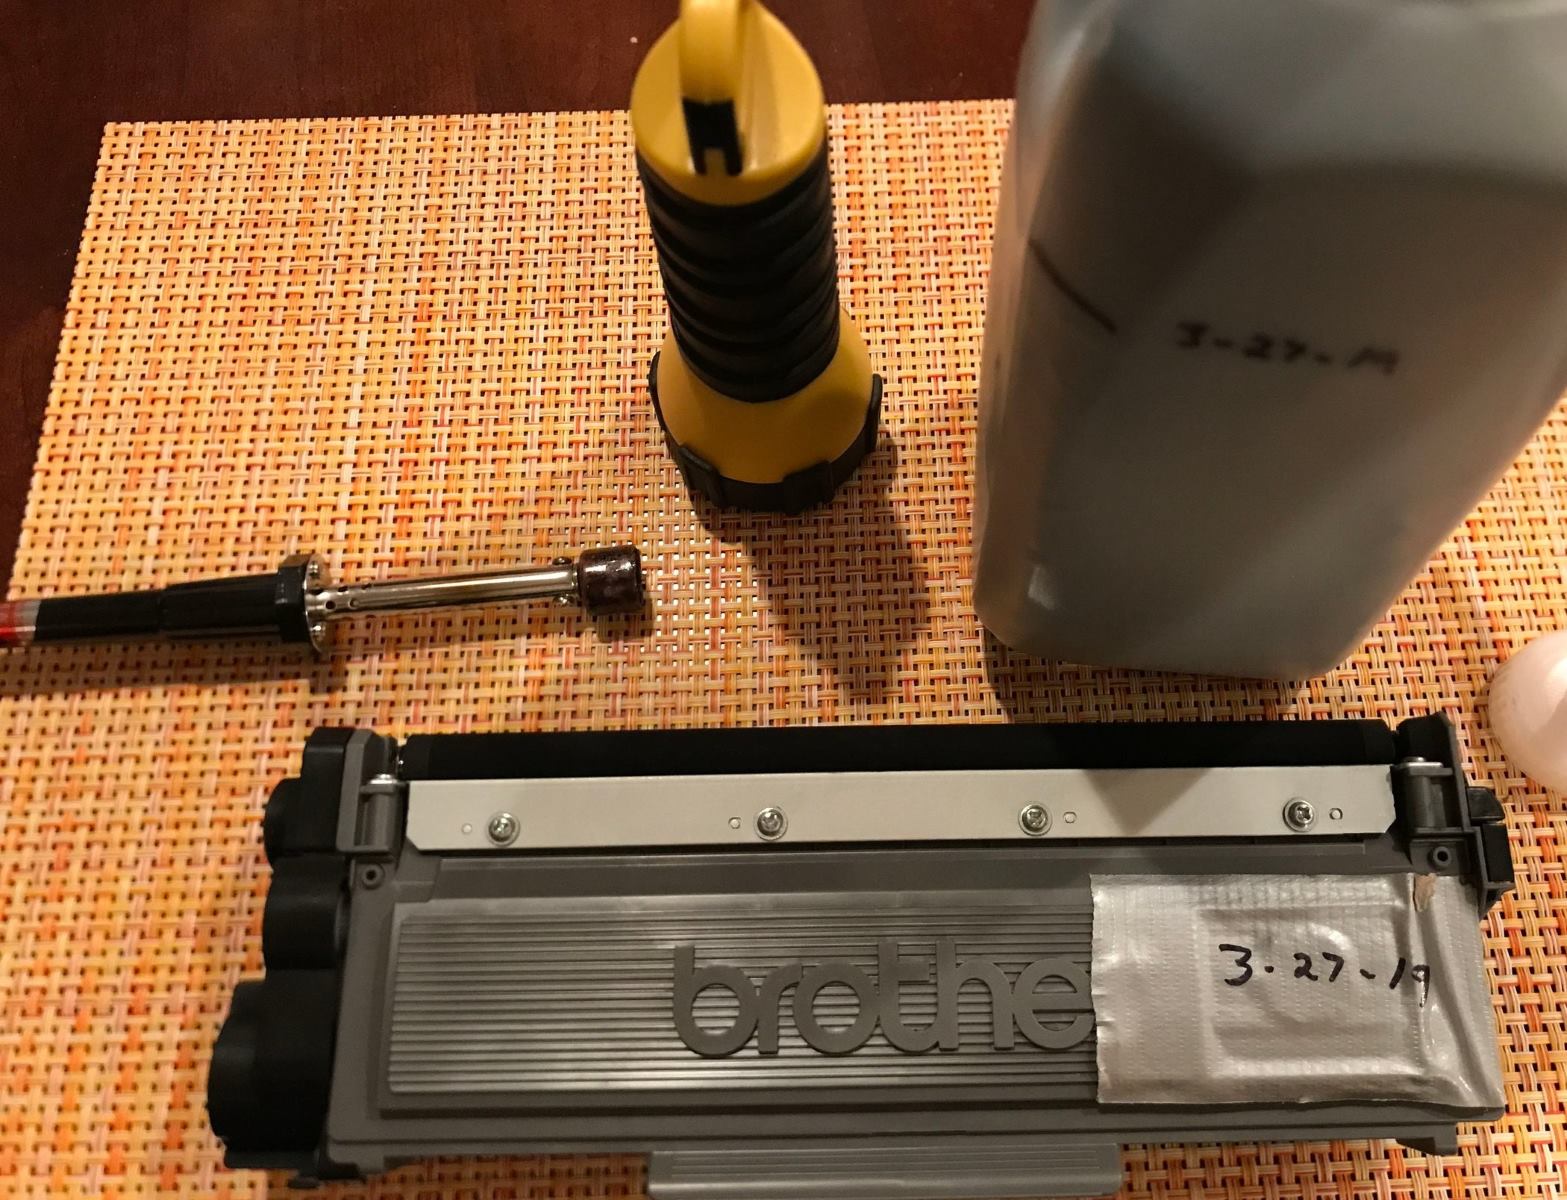
- Retrieve the new toner cartridge from its packaging, ensuring that you handle it with care to avoid any damage to the cartridge or exposure to excessive light.
- Before proceeding, gently rock the new toner cartridge from side to side several times. This simple step helps distribute the toner evenly inside the cartridge, ensuring optimal print quality and performance.
- Locate the protective tab or tape on the new toner cartridge. This tab is designed to secure the toner and prevent any spillage or contamination during transportation and storage.
- Hold the toner cartridge securely and pull the protective tab straight out to remove it. Take care to avoid touching the toner roller or any sensitive components inside the cartridge.
- After removing the protective tab, take a moment to inspect the toner cartridge for any residual tape or packaging materials. Ensure that the cartridge is free from any obstructions before proceeding to install it in the printer.
By meticulously following these steps, you can effectively prepare the new toner cartridge for installation in your Brother printer. This careful preparation sets the stage for a smooth and trouble-free installation process, ensuring that your printer continues to deliver high-quality printouts with the new toner cartridge in place.
Read more: How To Reset Toner On A Brother Printer
Step 5: Install the New Toner Cartridge
With the new toner cartridge prepared and ready for installation, it’s time to proceed with placing the cartridge in your Brother printer. Follow these steps to ensure a seamless and secure installation of the new toner cartridge:
- Position the new toner cartridge near the printer, ensuring that you have a clear and unobstructed path to the toner cartridge cavity inside the printer.
- Align the new toner cartridge with the designated slot or compartment inside the printer. Take note of the cartridge’s orientation and ensure that it matches the alignment of the slot for a proper fit.
- Gently insert the new toner cartridge into the printer, applying even pressure to guide it into place. Be mindful of any resistance, and avoid forcing the cartridge to prevent any potential damage to the printer or the cartridge itself.
- Once the new toner cartridge is securely inserted, listen for a click or locking sound, indicating that the cartridge has been correctly positioned and is ready for use.
- Carefully close the front cover of the printer, ensuring that it latches securely and aligns with the printer’s body. Take care to avoid any obstructions or misalignments that may hinder the cover from closing properly.
By following these steps attentively, you can successfully install the new toner cartridge in your Brother printer, setting the stage for consistent and high-quality printouts. With the new cartridge in place and the front cover securely closed, your printer is ready to resume its essential printing tasks with renewed toner capacity and performance.
Step 6: Close the Front Cover
As you near the completion of the toner replacement process, it’s crucial to ensure that the front cover of your Brother printer is securely closed. Follow these steps to finalize the toner replacement and ensure that the printer is ready for seamless operation:
- With the new toner cartridge successfully installed, ensure that any protective materials or packaging from the toner replacement process are safely disposed of, maintaining a clean and organized workspace.
- Gently grasp the front cover of the printer, ensuring that it is positioned correctly and aligned with the printer’s body. Take care to avoid any abrupt movements that may dislodge the cover or cause misalignment.
- Close the front cover of the printer with a smooth and deliberate motion, ensuring that it latches securely and aligns with the printer’s body. Listen for a reassuring click or locking sound, indicating that the cover is properly closed and secured.
- Take a moment to visually inspect the front cover, ensuring that it is flush with the printer’s body and that there are no gaps or misalignments. A securely closed front cover is essential for maintaining the printer’s optimal performance and print quality.
- Power on the printer and initiate a test print to confirm that the new toner cartridge has been successfully installed and that the printer is ready to resume its essential printing tasks.
By carefully following these steps, you can confidently close the front cover of your Brother printer, completing the toner replacement process and ensuring that the printer is poised for seamless operation. With the front cover securely closed and the printer powered on, you can look forward to high-quality printouts and consistent performance from your Brother printer.
Conclusion
Congratulations on successfully completing the toner override and replacement process for your Brother printer. By following the step-by-step guide outlined in this tutorial, you’ve gained the knowledge and confidence to maintain your printer’s toner cartridge, ensuring consistent and high-quality printouts for your essential documents and projects.
It’s essential to remember that proper maintenance, including timely toner cartridge replacement, is key to preserving your printer’s performance and print quality. By adhering to the recommended replacement intervals and following the manufacturer’s guidelines, you can optimize your printer’s functionality and prolong its lifespan.
As you embark on your printing tasks with the new toner cartridge in place, take note of the improved print quality and the seamless operation of your Brother printer. Whether you’re printing documents for personal, professional, or academic purposes, the reliable performance of your printer is now bolstered by the fresh toner cartridge, ensuring that your printouts consistently meet your expectations.
Should you encounter any challenges or uncertainties during the toner replacement process, don’t hesitate to refer back to this guide for comprehensive assistance. Additionally, consulting the printer’s user manual or reaching out to Brother’s customer support can provide valuable insights and troubleshooting guidance.
Thank you for investing the time and effort to maintain your Brother printer, and may your future printing endeavors be met with seamless functionality and exceptional print quality.
Frequently Asked Questions about How To Override Replace Toner On Brother Printer
Was this page helpful?
At Storables.com, we guarantee accurate and reliable information. Our content, validated by Expert Board Contributors, is crafted following stringent Editorial Policies. We're committed to providing you with well-researched, expert-backed insights for all your informational needs.

0 thoughts on “How To Override Replace Toner On Brother Printer”