Home>Technology>Smart Home Devices>How To Remove Toner From Brother Printer
Smart Home Devices
How To Remove Toner From Brother Printer
Modified: August 17, 2024
Learn how to easily remove toner from your Brother printer with our step-by-step guide. Keep your smart home devices running smoothly.
(Many of the links in this article redirect to a specific reviewed product. Your purchase of these products through affiliate links helps to generate commission for Storables.com, at no extra cost. Learn more)
**
Introduction
**
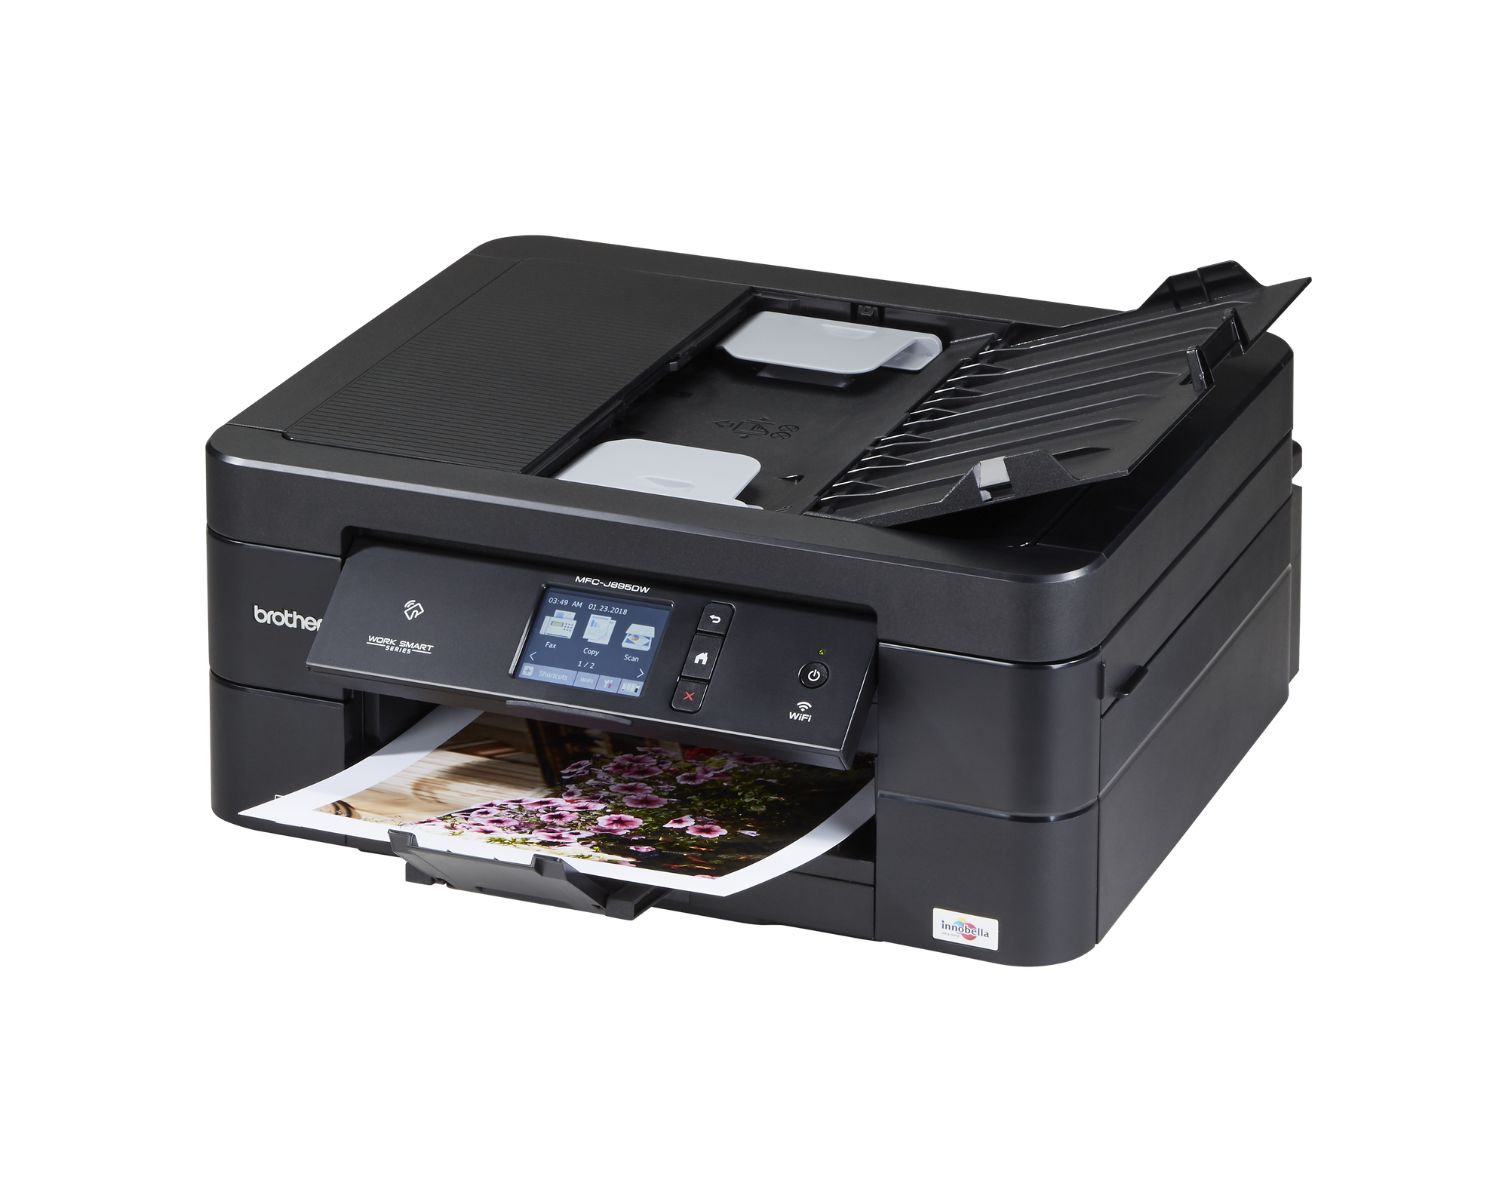
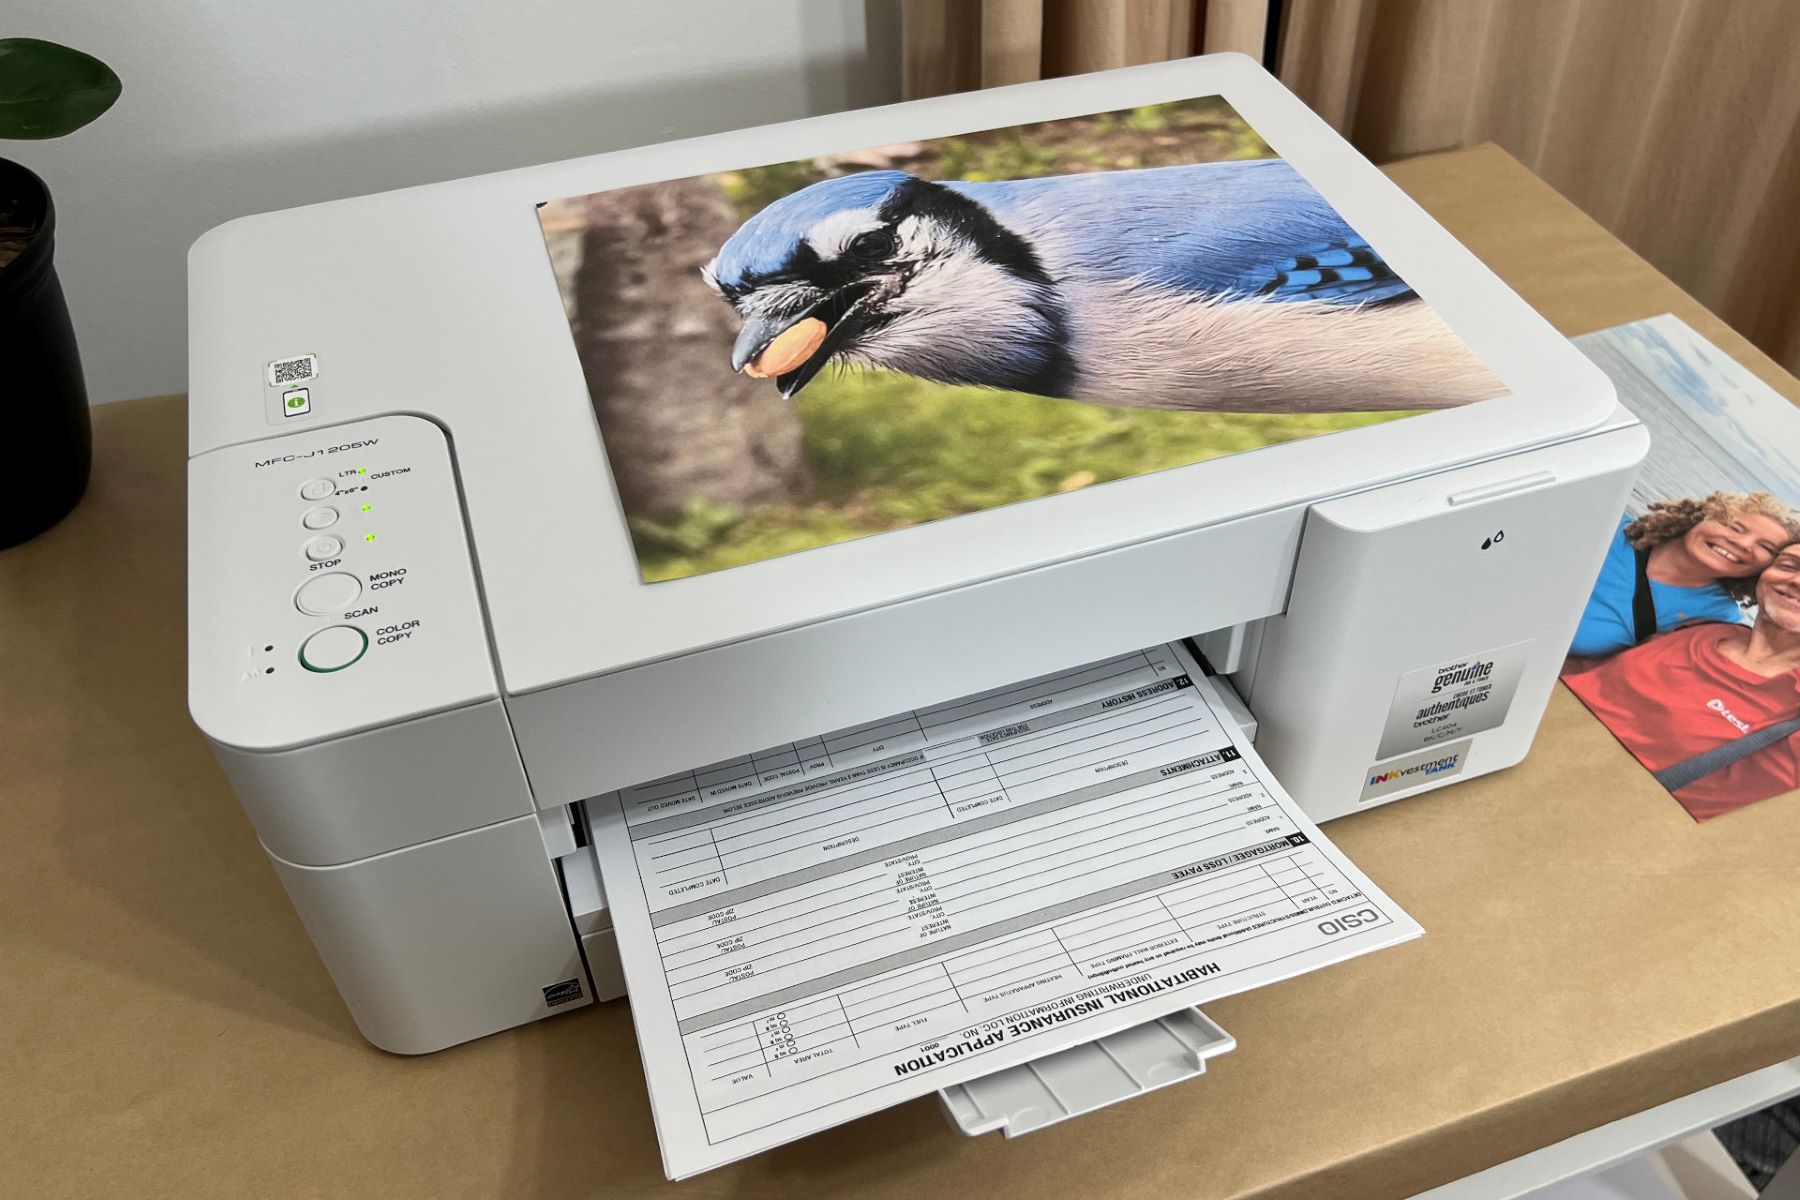
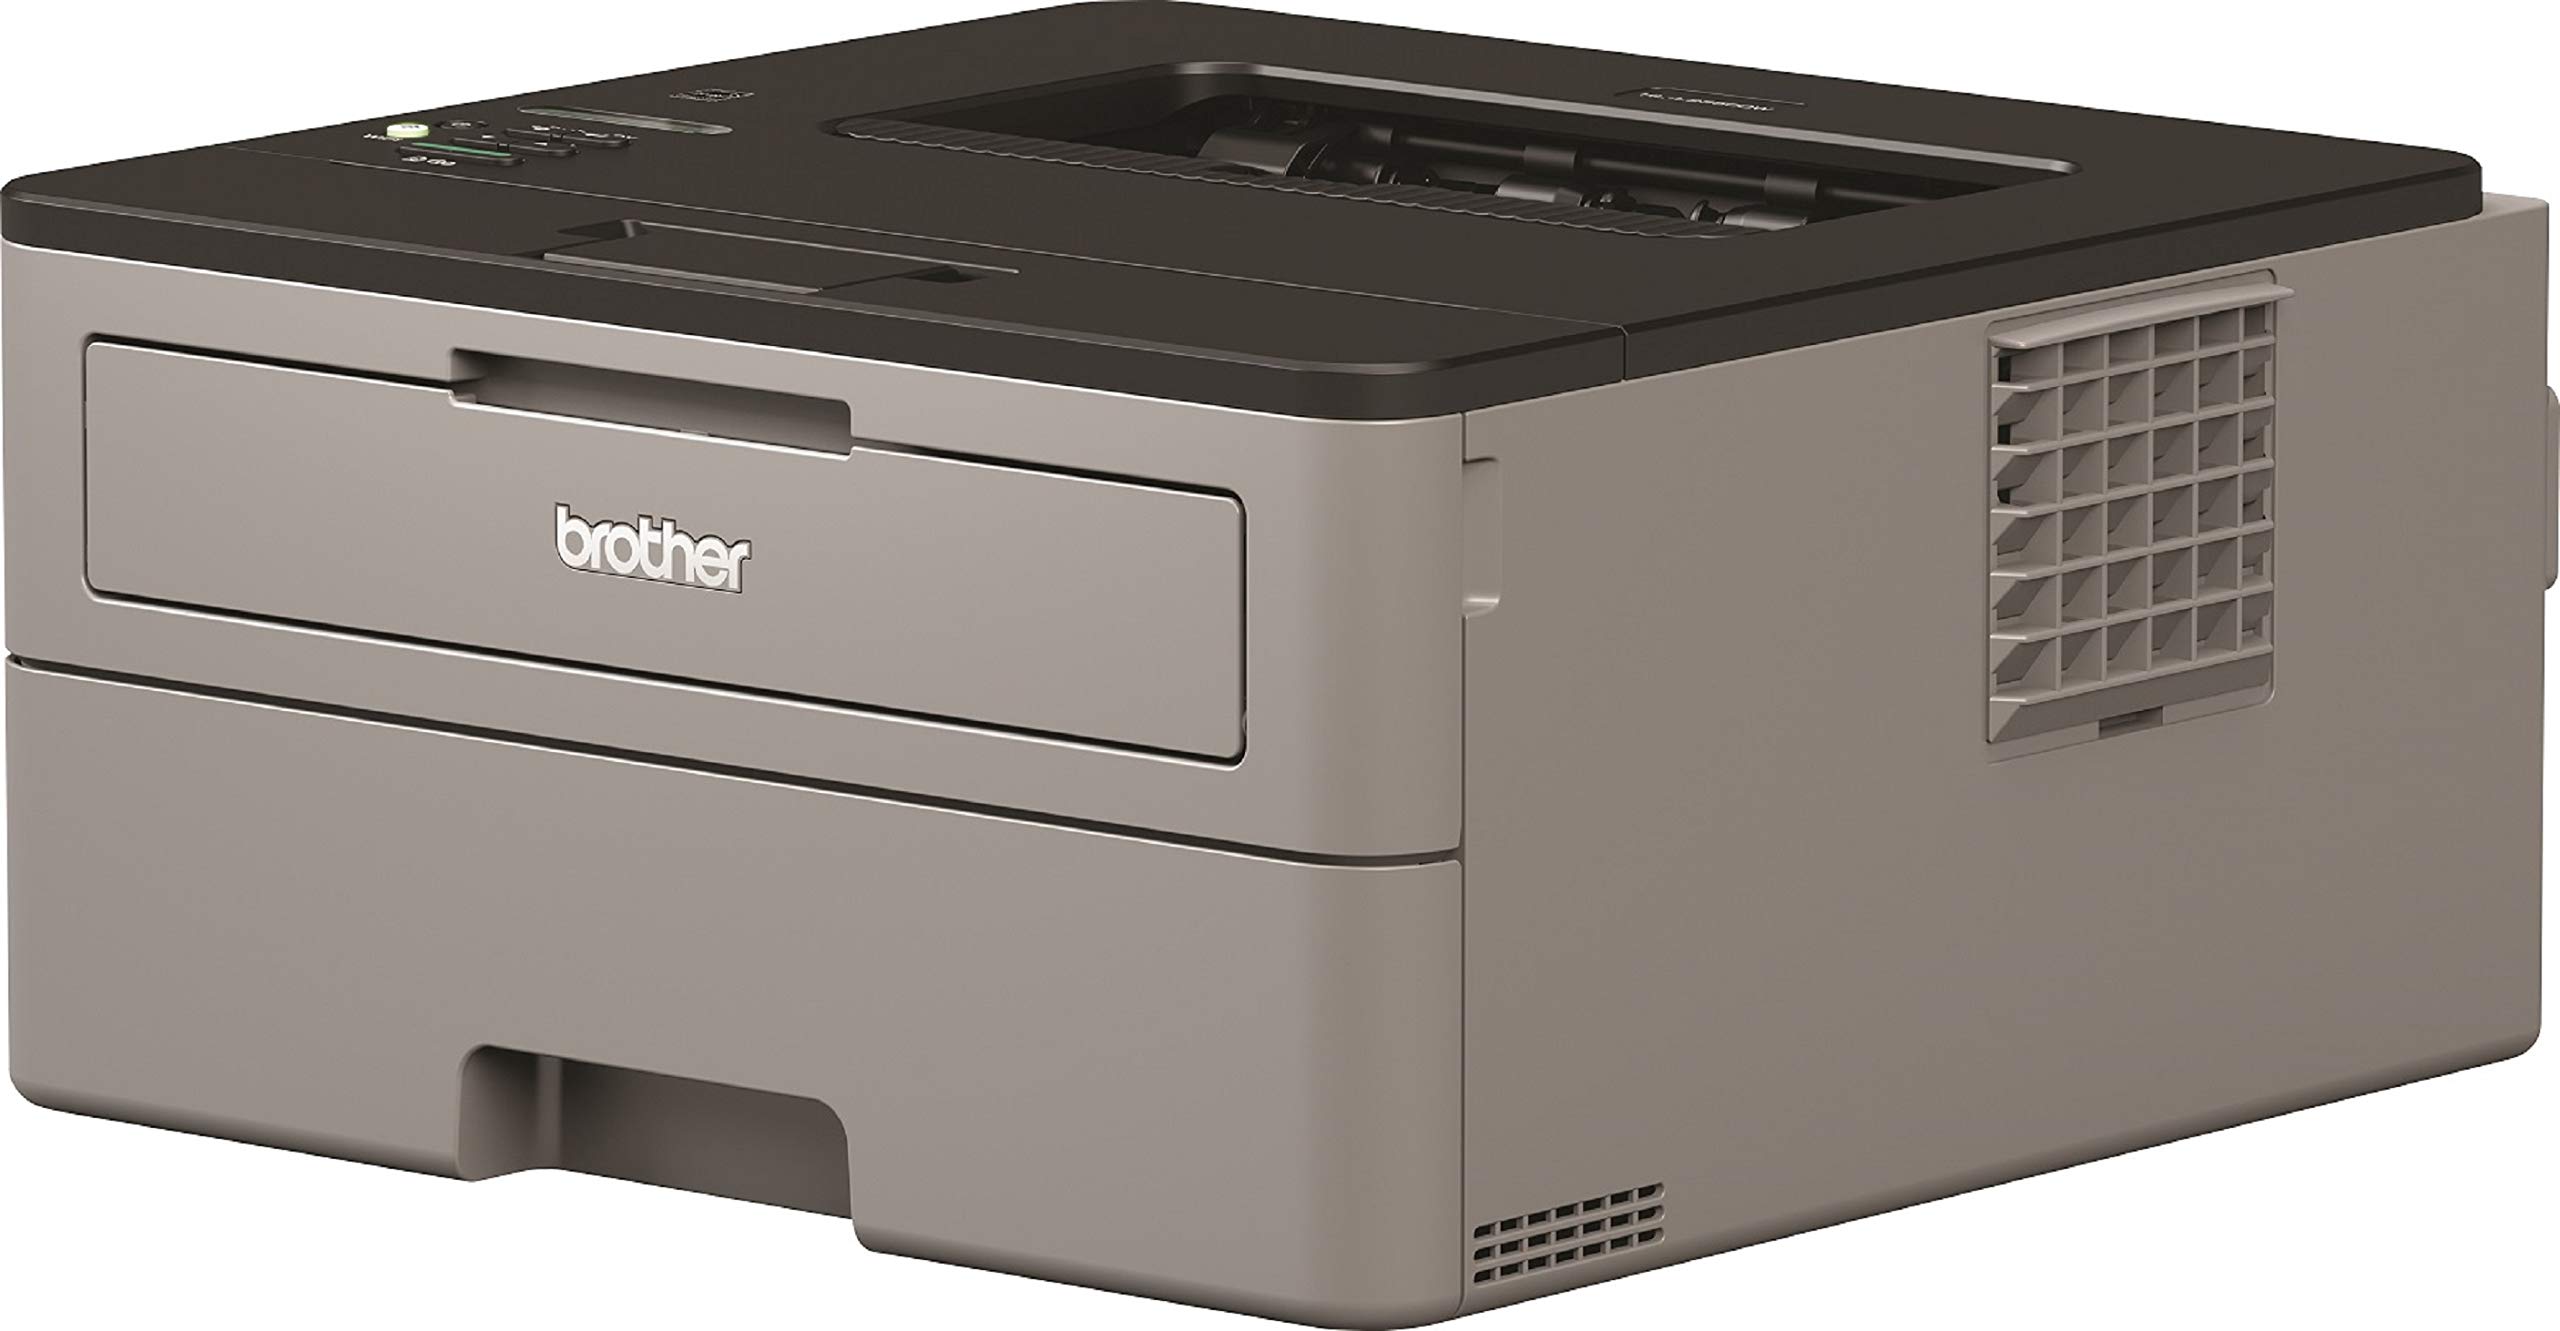
Welcome to the world of Brother printers, where seamless functionality meets exceptional print quality. Brother printers are renowned for their reliability and efficiency, delivering crisp documents and vibrant images with every use. However, maintaining the printer's performance involves occasional maintenance, including the removal of toner residue.
Toner residue can accumulate over time, affecting the printer's output quality and potentially causing internal damage if left unaddressed. In this comprehensive guide, we will walk you through the step-by-step process of removing toner from your Brother printer. By following these instructions, you can ensure that your printer continues to produce professional-grade prints without any compromise in quality.
Whether you are a seasoned printer enthusiast or a novice user, understanding the proper procedure for toner removal is essential for the longevity of your Brother printer. With our detailed instructions and expert tips, you will be equipped to maintain your printer in top condition, ensuring consistent and reliable performance for years to come. Let's dive into the process and learn how to effectively remove toner from your Brother printer.
Key Takeaways:
- To remove toner from a Brother printer, start by turning off the printer to ensure safety. Then, open the printer cover and carefully remove the toner cartridge to clean the toner residue using a soft cloth and compressed air.
- After cleaning, reinstall the toner cartridge by aligning it properly and closing the printer cover securely. Regular maintenance ensures your Brother printer continues to deliver high-quality prints and reliable performance.
Read more: How To Reset Toner On A Brother Printer
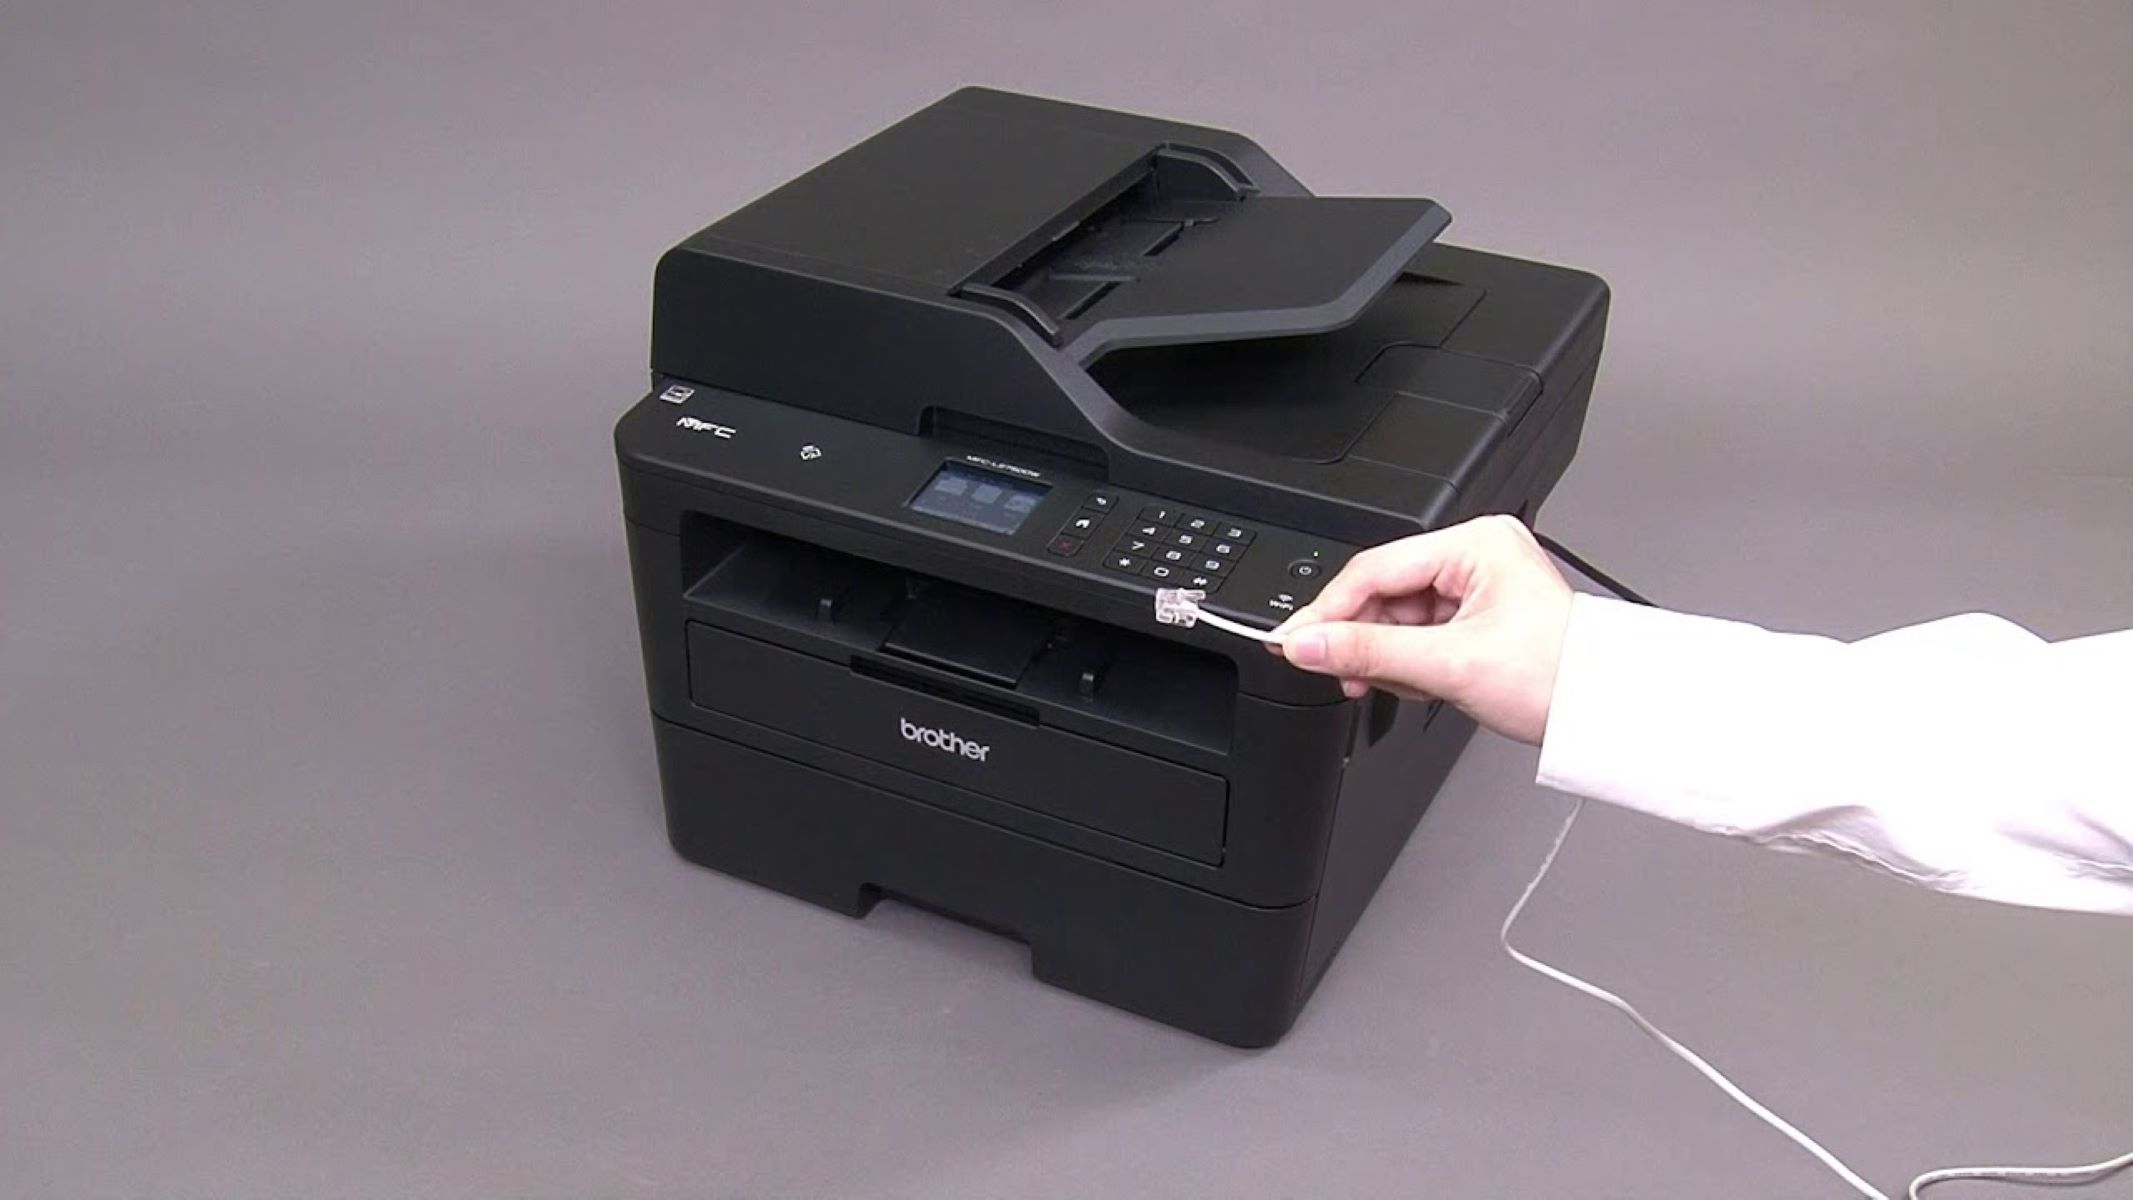
Step 1: Turn off the Printer
Before embarking on the toner removal process, it is crucial to ensure that the printer is powered off. This initial step serves as a safety precaution, preventing any potential accidents or damage to the printer during the toner removal process.
To turn off your Brother printer, locate the power button, typically situated on the control panel or front face of the printer. Press and hold the power button until the display or indicator lights turn off, indicating that the printer is fully powered down. It is essential to wait for a few moments to allow the printer to completely shut down before proceeding to the next step.
By switching off the printer, you mitigate the risk of electrical hazards and minimize the likelihood of toner spillage or contact with moving components within the printer. This proactive approach ensures a safe and controlled environment for the subsequent steps of toner removal.
Remember, safety should always be the top priority when handling any maintenance tasks related to your printer. By starting with the simple yet critical step of turning off the printer, you set the stage for a smooth and secure toner removal process, preserving the integrity of your Brother printer while achieving optimal results.
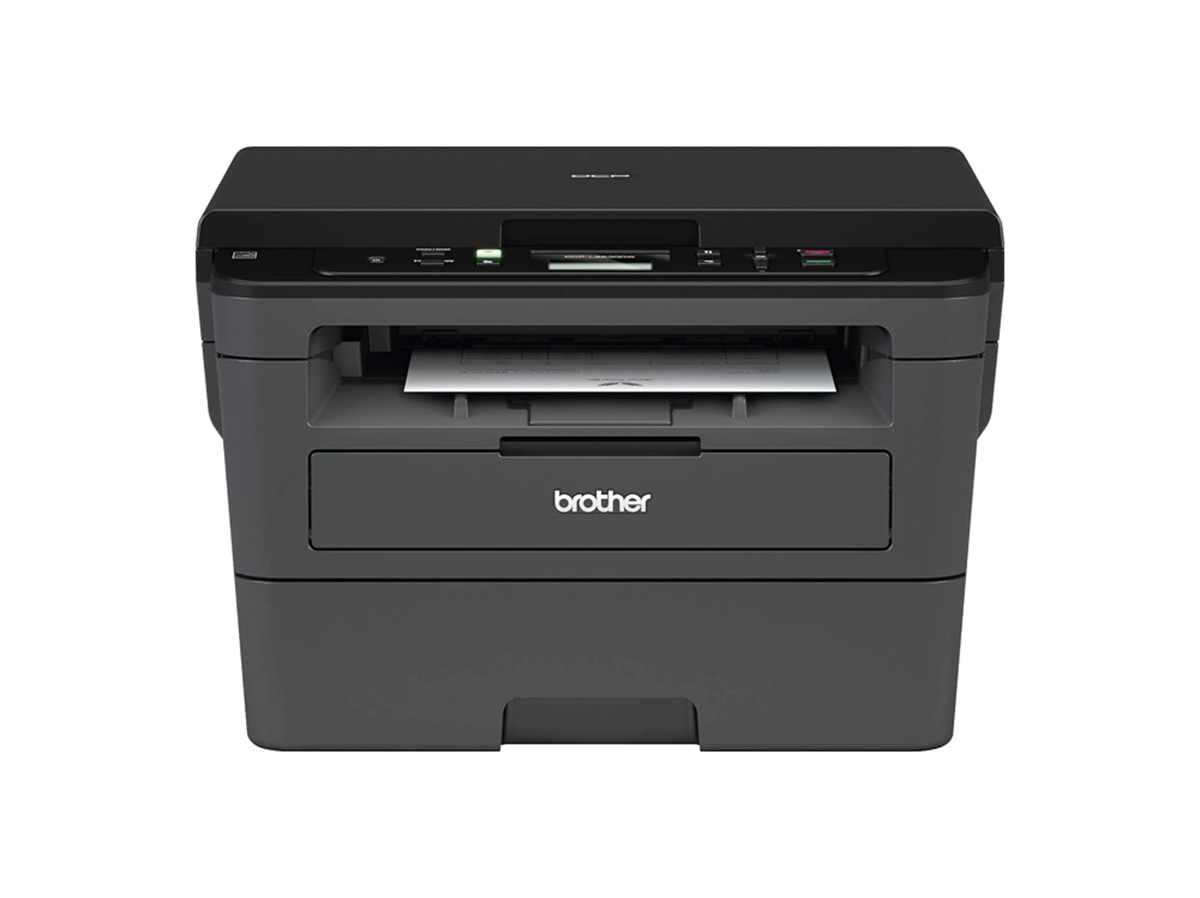
Step 2: Open the Printer Cover
With the printer safely powered off, the next step in the toner removal process involves accessing the internal components by opening the printer cover. The location and mechanism for opening the printer cover may vary depending on the specific model of your Brother printer, but the general approach remains consistent across most models.
Start by identifying the designated area where the printer cover is situated. This is typically located at the top or front of the printer and may feature a prominent handle or release button for easy access. Carefully inspect the periphery of the printer to locate any latches or locking mechanisms that secure the cover in place.
Once you have identified the access point and any securing mechanisms, gently release or disengage them to open the printer cover. Exercise caution and follow any specific instructions provided in the printer’s user manual to ensure a smooth and safe opening process.
Upon successfully opening the printer cover, you will gain clear visibility and access to the toner cartridge compartment. This unobstructed access is essential for the subsequent steps of toner removal and cleaning. Take a moment to familiarize yourself with the internal layout of the printer, noting the position of the toner cartridge and any relevant components that will be involved in the removal process.
Opening the printer cover marks a pivotal point in the toner removal procedure, setting the stage for the precise and methodical handling of the toner cartridge and associated components. With the printer cover open, you are now ready to proceed to the next step and begin the process of removing the toner cartridge from your Brother printer.
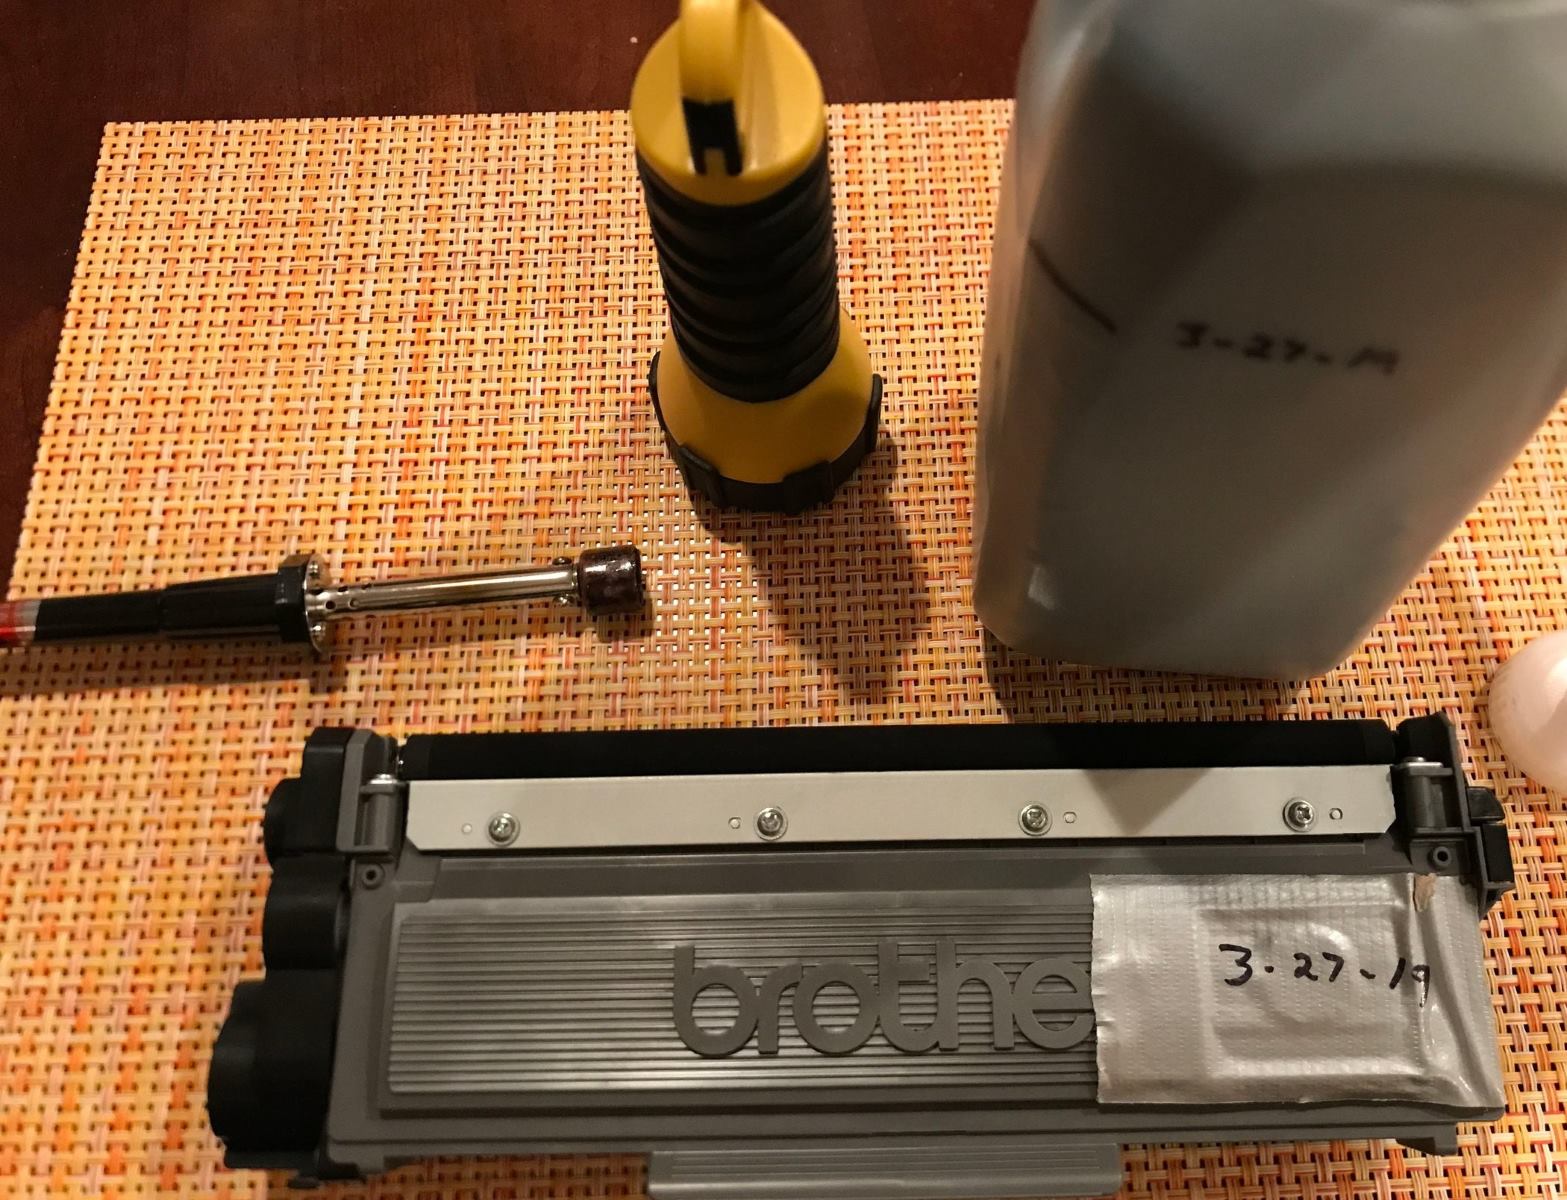
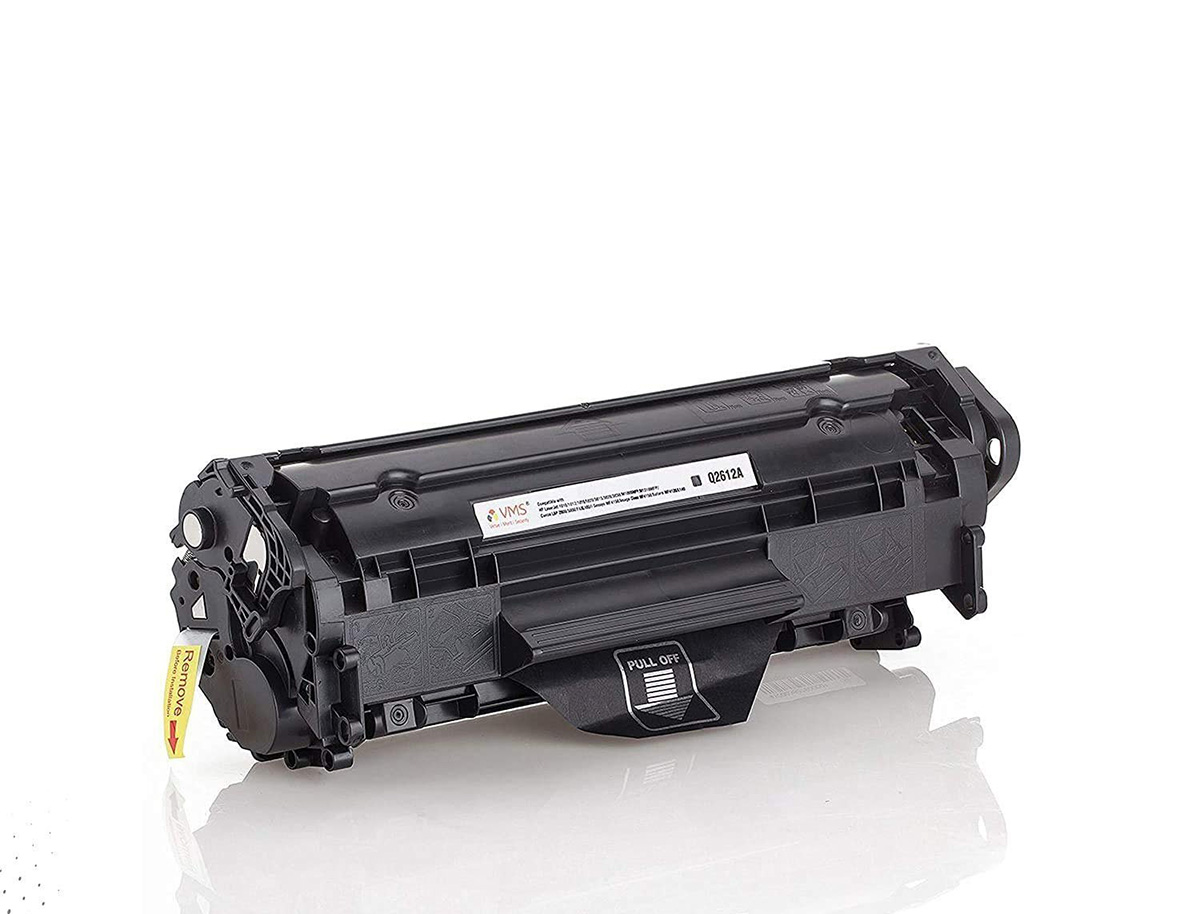
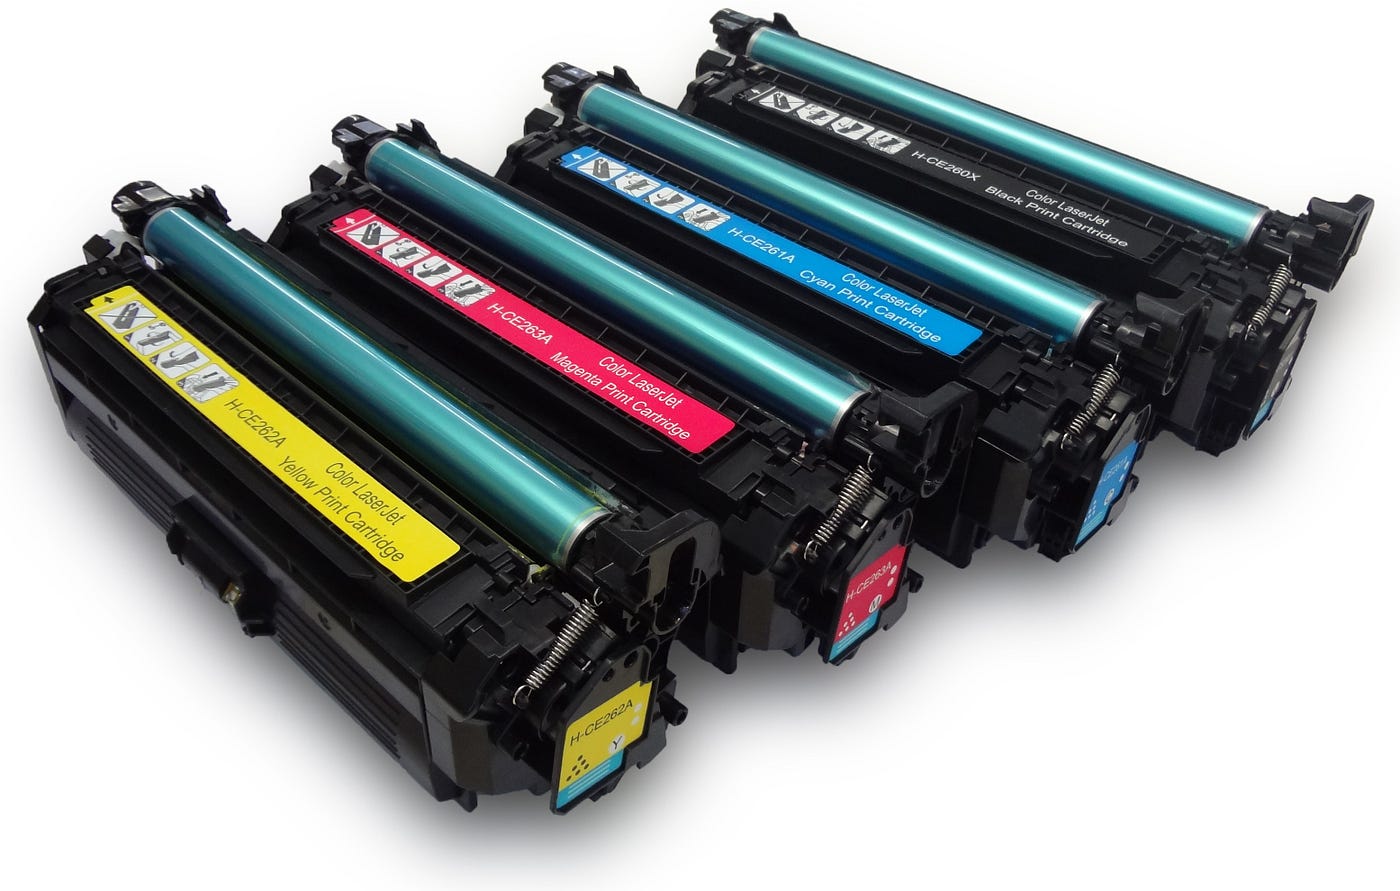
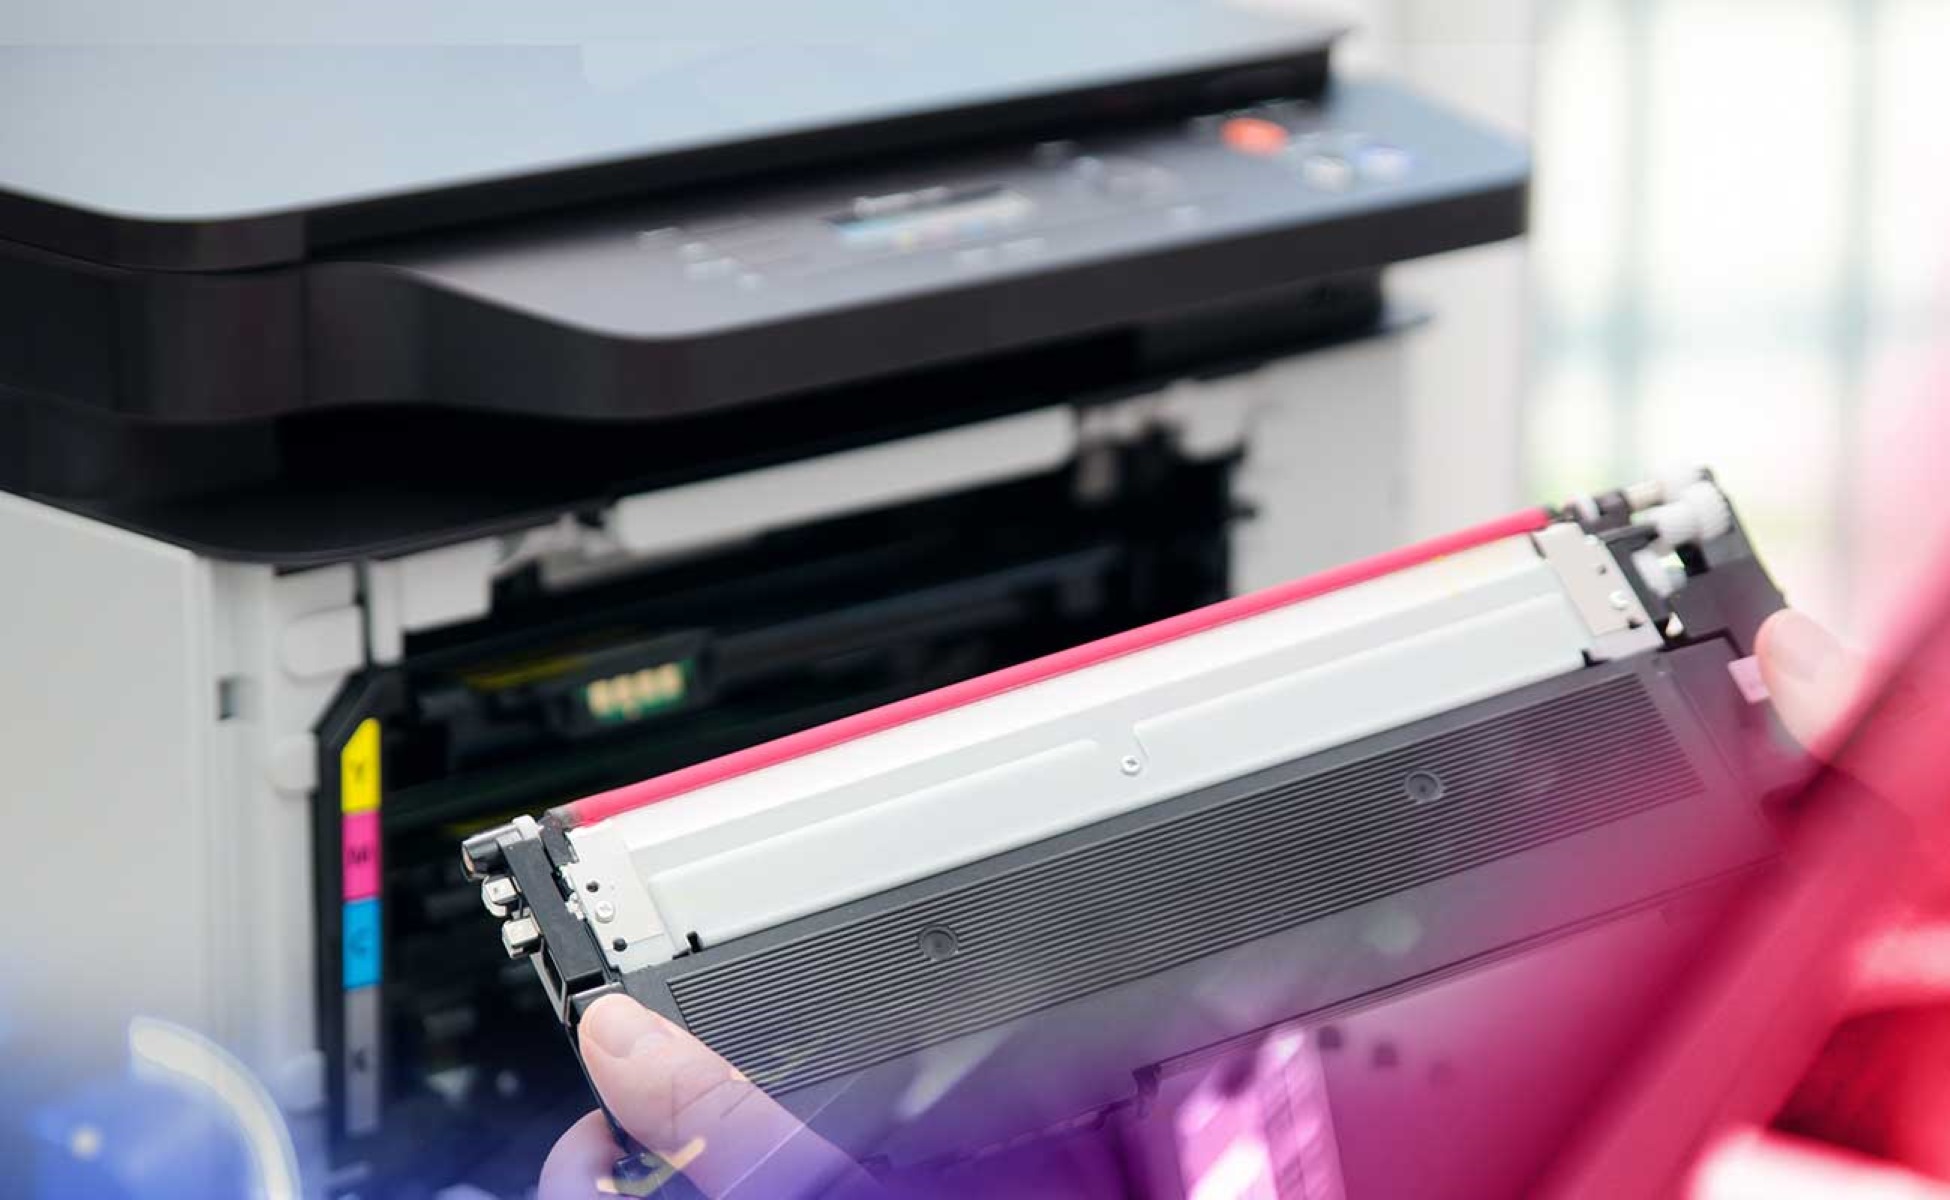
Step 3: Remove the Toner Cartridge
Now that you have accessed the toner cartridge compartment by opening the printer cover, the next crucial step is to remove the toner cartridge from your Brother printer. The toner cartridge is a vital component responsible for depositing toner onto the paper during the printing process, and proper handling during removal is essential to prevent any spills or damage.
Begin by locating the toner cartridge within the printer. In most Brother printer models, the toner cartridge is readily accessible once the printer cover is opened. The cartridge is typically secured in place by a locking mechanism or retaining clips to ensure stability during printing and transportation.
Before proceeding with the removal, it is advisable to refer to the printer’s user manual for specific instructions tailored to your model. This will provide valuable insights into the precise method for removing the toner cartridge and any model-specific considerations that may apply.
To remove the toner cartridge, carefully grasp the designated handle or tabs provided on the cartridge. Apply gentle pressure and follow any directional indicators to release the cartridge from its secured position within the printer. Exercise caution to maintain a steady grip on the cartridge and avoid excessive tilting or shaking, as this can lead to toner spillage or damage to the cartridge.
Once the toner cartridge is successfully disengaged from its housing, carefully pull it out of the printer, ensuring smooth and controlled movement to prevent any accidental spills or smudges. Place the removed toner cartridge on a flat and stable surface, preferably covered with a protective layer or disposable material to contain any residual toner.
By methodically and attentively removing the toner cartridge from your Brother printer, you set the stage for the subsequent steps of toner residue removal and maintenance. With the toner cartridge safely extracted, you are now ready to proceed with the next phase of the toner removal process, ensuring thorough cleaning and restoration of your printer’s performance.
To remove toner from a Brother printer, first turn off the printer and unplug it. Then carefully open the printer and remove the toner cartridge. Use a dry, lint-free cloth to gently wipe away any excess toner. Be careful not to touch the drum or any electrical contacts. Dispose of the used toner properly and then reinstall the toner cartridge back into the printer.
Step 4: Clean the Toner Residue
With the toner cartridge safely removed from your Brother printer, the next critical step involves addressing any toner residue that may have accumulated within the printer’s interior. Toner residue can manifest in various forms, including loose toner particles and residual dust, and addressing this buildup is essential to maintain the printer’s performance and print quality.
Begin by equipping yourself with the necessary cleaning supplies, including a soft lint-free cloth, compressed air duster, and potentially a small handheld vacuum cleaner with a soft brush attachment. These tools will enable you to effectively remove toner residue without causing damage to the printer’s internal components.
Using the compressed air duster, carefully blow away any loose toner particles and dust from the interior of the printer. Pay close attention to areas surrounding the toner cartridge compartment, paper path, and any accessible crevices where toner residue may have settled. The gentle force of the compressed air will dislodge and disperse the loose toner particles, facilitating their removal from the printer.
Following the initial air dusting, use a soft lint-free cloth to gently wipe the interior surfaces of the printer, including the areas previously addressed with the compressed air. Exercise caution and avoid applying excessive pressure, as this can spread the toner residue or potentially damage sensitive components within the printer.
If persistent toner residue is present in hard-to-reach areas or intricate components, consider using a small handheld vacuum cleaner with a soft brush attachment to delicately extract the remaining particles. The soft brush attachment will prevent any scratching or abrasion to the printer’s surfaces while effectively capturing residual toner particles.
By meticulously cleaning the toner residue from your Brother printer, you ensure that the internal components remain free from buildup and potential obstructions. This proactive maintenance approach not only enhances the printer’s performance but also contributes to prolonged longevity and consistent print quality.
With the toner residue effectively addressed, you are now prepared to proceed to the subsequent step of reinstalling the toner cartridge and finalizing the toner removal process, revitalizing your Brother printer for continued exceptional performance.
Read more: How To Change Toner In A Brother Printer
Step 5: Reinstall the Toner Cartridge
After successfully addressing the toner residue within your Brother printer, the next pivotal step is to reinstall the toner cartridge, ensuring that it is securely positioned and ready to resume its essential role in the printing process. Proper installation of the toner cartridge is crucial for maintaining print quality and ensuring the seamless functionality of your printer.
Before reinstalling the toner cartridge, take a moment to inspect the cartridge itself and the interior of the printer for any residual toner particles or dust that may have been overlooked during the cleaning process. This visual inspection ensures that the cartridge and surrounding areas are free from any potential contaminants that could compromise print quality or cause operational issues.
When reinserting the toner cartridge, align it with the designated slot or compartment within the printer, following any directional indicators or guides provided by the manufacturer. It is essential to position the cartridge correctly to prevent installation errors and ensure a secure fit within the printer.
Gently slide the toner cartridge back into its designated slot, applying even pressure to ensure that it smoothly engages with the internal mechanisms of the printer. Take care to align the cartridge precisely, following any prescribed alignment features or tracks to guarantee proper seating within the printer.
Once the toner cartridge is securely reinstalled, listen for any audible clicks or locking sounds that indicate the cartridge has been properly seated and secured within the printer. This tactile and auditory feedback confirms that the cartridge is in place and ready to resume its printing duties without any risk of dislodgment or instability.
By diligently reinstalling the toner cartridge in your Brother printer, you ensure that the printer’s essential components are in optimal working condition, setting the stage for consistent and reliable print output. With the toner cartridge securely in place, you are now poised to progress to the final step of closing the printer cover and completing the toner removal process.
Step 6: Close the Printer Cover
As the final step in the toner removal process for your Brother printer, closing the printer cover signifies the completion of the maintenance procedure and the readiness of the printer for continued operation. Properly securing the printer cover is essential for safeguarding the internal components, maintaining optimal print quality, and ensuring the overall integrity of the printer.
Begin by gently lowering the printer cover back into its original position, taking care to align it with the corresponding hinges or guides that facilitate a secure closure. Exercise caution to avoid any abrupt or forceful movements that could potentially disrupt the internal components or misalign the cover.
Once the printer cover is positioned correctly, engage any latches, locking mechanisms, or fasteners that secure the cover in place. Depending on the specific model of your Brother printer, these securing features may vary, so refer to the printer’s user manual for any model-specific instructions regarding the proper closure of the printer cover.
After securing the printer cover, take a moment to ensure that it is firmly in place and aligned with the printer’s exterior casing. A snug and secure closure not only protects the internal components from dust and debris but also contributes to the overall aesthetic appeal and functionality of the printer.
With the printer cover successfully closed and secured, power on your Brother printer by pressing the designated power button and allow it to initialize. As the printer undergoes the startup process, observe the indicator lights and display to verify that the printer is functioning normally and that the toner removal process has not impacted its operational status.
By closing the printer cover and confirming the printer’s operational status, you have effectively completed the toner removal process for your Brother printer. The meticulous execution of each step ensures that your printer is primed for continued exceptional performance, delivering professional-grade prints with uncompromised quality.
With the toner removal process successfully concluded, you can now resume your printing tasks with the confidence that your Brother printer has been maintained to the highest standards, ready to produce outstanding results with every use.
Conclusion
Congratulations! You have successfully navigated the comprehensive process of removing toner from your Brother printer, ensuring that it remains in optimal condition for delivering exceptional print quality and reliable performance. By following the step-by-step instructions outlined in this guide, you have demonstrated a proactive approach to printer maintenance, safeguarding the longevity and functionality of your valuable printing equipment.
Throughout this journey, you have gained valuable insights into the precise steps required to remove the toner cartridge, address toner residue, and reinstall the cartridge with precision. Each phase of the toner removal process was meticulously outlined to empower you with the knowledge and confidence to maintain your Brother printer with ease and efficiency.
Remember, regular maintenance, including toner removal and cleaning, is essential for preserving the integrity of your printer and ensuring consistent print output. By incorporating these maintenance practices into your printer care routine, you contribute to prolonged durability and sustained print quality, maximizing the value of your Brother printer investment.
As you reflect on the journey of toner removal, consider integrating these maintenance tasks into your regular printer care schedule, establishing a proactive approach to preserving the performance and reliability of your Brother printer. Additionally, consult the printer’s user manual for model-specific guidance and recommendations to further optimize your maintenance efforts.
With your Brother printer rejuvenated and poised for continued excellence, you are now equipped to embark on your printing endeavors with confidence, knowing that your printer has been meticulously maintained and primed for outstanding performance. Embrace the seamless functionality and professional-grade prints that your Brother printer is renowned for, and revel in the convenience of a well-maintained printing companion.
Thank you for entrusting us with guiding you through the toner removal process for your Brother printer. We trust that this experience has empowered you with the knowledge and skills to proactively maintain your printer, ensuring that it continues to exceed your expectations with every print job. Here’s to a future filled with exceptional prints and hassle-free maintenance, courtesy of your expertly maintained Brother printer!
Frequently Asked Questions about How To Remove Toner From Brother Printer
Was this page helpful?
At Storables.com, we guarantee accurate and reliable information. Our content, validated by Expert Board Contributors, is crafted following stringent Editorial Policies. We're committed to providing you with well-researched, expert-backed insights for all your informational needs.

0 thoughts on “How To Remove Toner From Brother Printer”