Home>Technology>Smart Home Devices>How To Connect Brother Printer To Computer
Smart Home Devices
How To Connect Brother Printer To Computer
Modified: August 28, 2024
Learn how to easily connect your Brother printer to your computer and start printing with smart home devices. Follow our step-by-step guide for a seamless setup process.
(Many of the links in this article redirect to a specific reviewed product. Your purchase of these products through affiliate links helps to generate commission for Storables.com, at no extra cost. Learn more)
Introduction
Welcome to the world of smart home devices! In this digital era, the integration of technology into our daily lives has revolutionized the way we interact with our surroundings. One such innovation is the Brother printer, a reliable and efficient tool that seamlessly connects to your computer, allowing you to bring your digital creations to life with just a few clicks.
Connecting your Brother printer to your computer is a straightforward process that enables you to harness the power of modern printing technology. Whether you are a seasoned tech enthusiast or a novice in the realm of smart home devices, this guide will walk you through the steps to establish a seamless connection between your Brother printer and computer.
So, grab your favorite beverage, settle into your comfort zone, and let’s embark on this exciting journey to connect your Brother printer to your computer, unlocking a world of possibilities right at your fingertips.
Key Takeaways:
- Connecting your Brother printer to your computer is easy! Just make sure both devices are ready, choose a wired or wireless connection, install the software, and test the connection for seamless printing.
- By following the simple steps in this guide, you can unlock the potential of your Brother printer and enjoy hassle-free printing. Embrace the convenience and creativity it brings to your digital world!
Read more: How To Connect Munbyn Printer To Computer
Step 1: Check the Printer and Computer
Before delving into the process of connecting your Brother printer to your computer, it’s essential to ensure that both your printer and computer are prepared for the seamless integration. This preliminary step sets the foundation for a smooth and hassle-free connection, allowing you to transition effortlessly into the subsequent phases of the setup.
Here’s a checklist to guide you through the initial assessment:
- Printer Power: Verify that your Brother printer is powered on and in a ready state. Ensure that it is adequately connected to a power source and that the power indicator is illuminated.
- Computer Status: Check your computer to ensure that it is powered on and operational. Make sure that all essential peripherals, such as the keyboard and mouse, are functioning properly.
- Network Connection: If you plan to connect your Brother printer to your computer wirelessly, confirm that your Wi-Fi network is active and that your computer is connected to the same network.
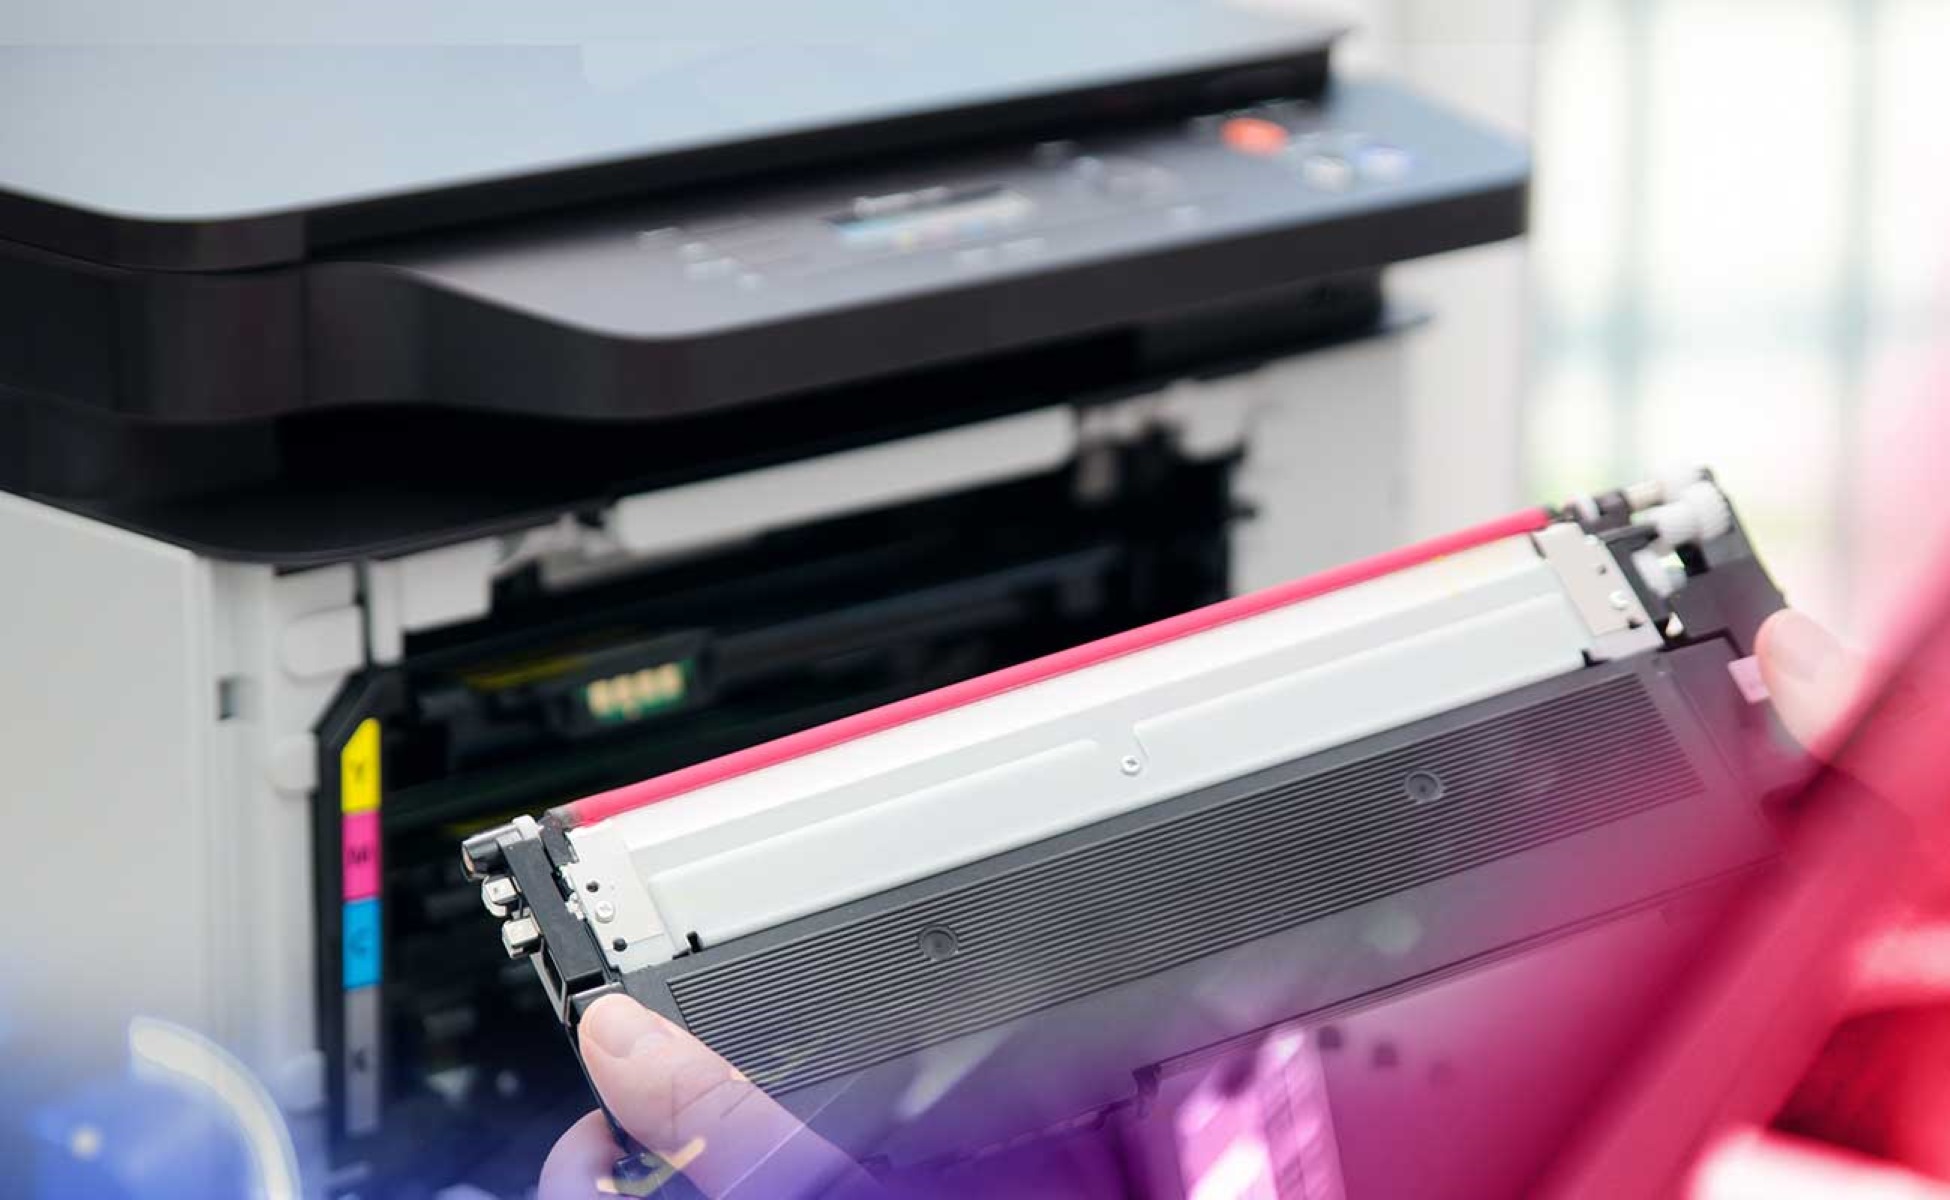
- Printer Supplies: Assess the printer’s ink or toner levels and ensure that there is an adequate supply for the printing tasks you intend to perform.
- Physical Connections: If you are opting for a wired connection, inspect the cables to ensure that they are securely plugged into both the printer and the computer.
By meticulously reviewing these aspects, you are laying the groundwork for a successful connection between your Brother printer and computer. This proactive approach minimizes the likelihood of encountering unexpected hurdles during the setup process, allowing you to proceed with confidence and peace of mind.
Step 2: Connect the Printer to the Computer
Now that you have verified the readiness of your Brother printer and computer, it’s time to establish the physical connection between the two devices. Depending on your preferences and the available resources, you can opt for a wired or wireless connection to link your printer to your computer.
If you prefer a wired connection:
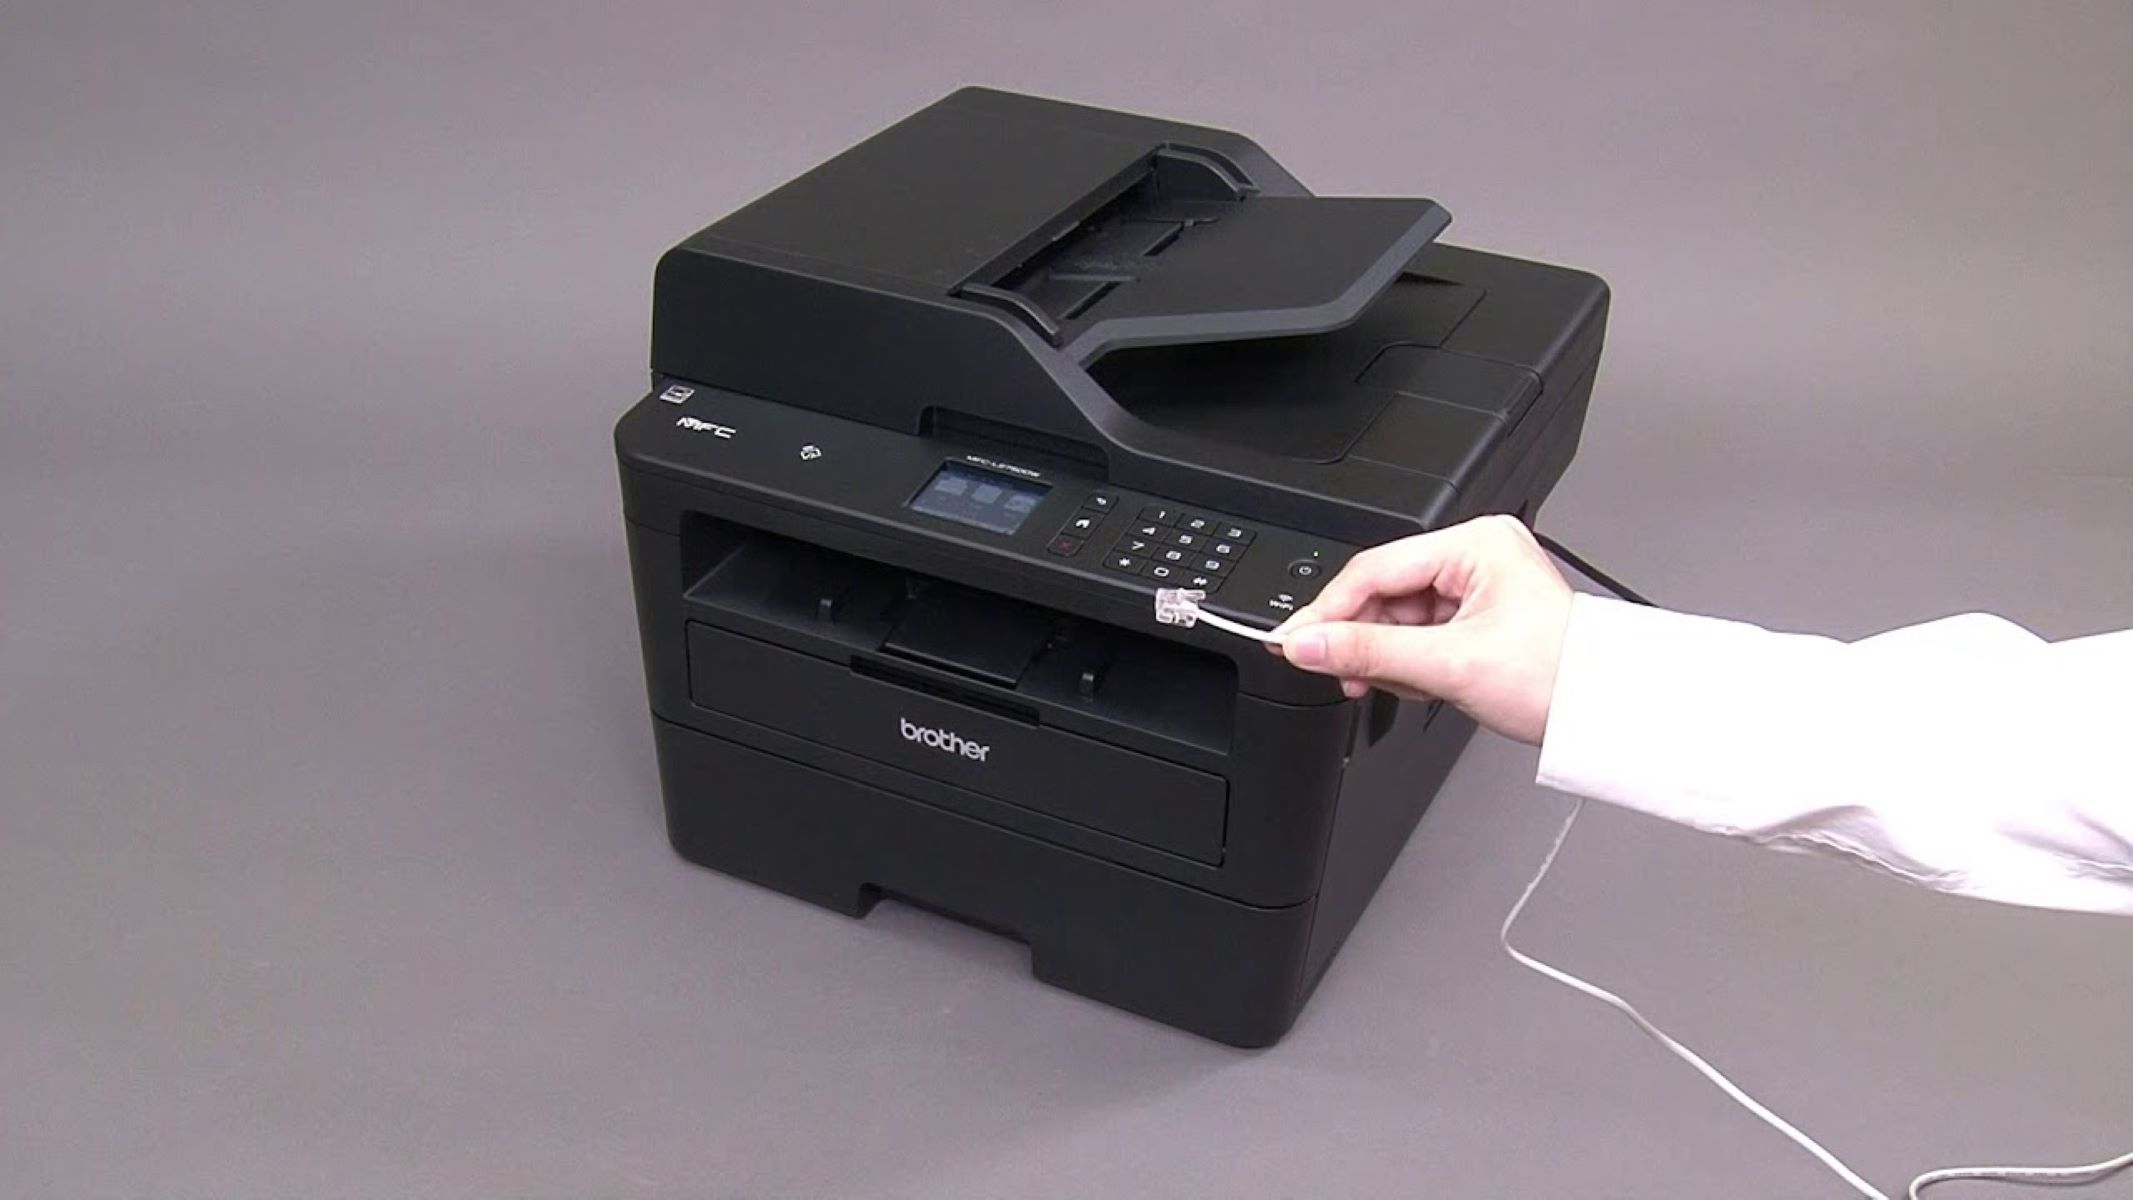
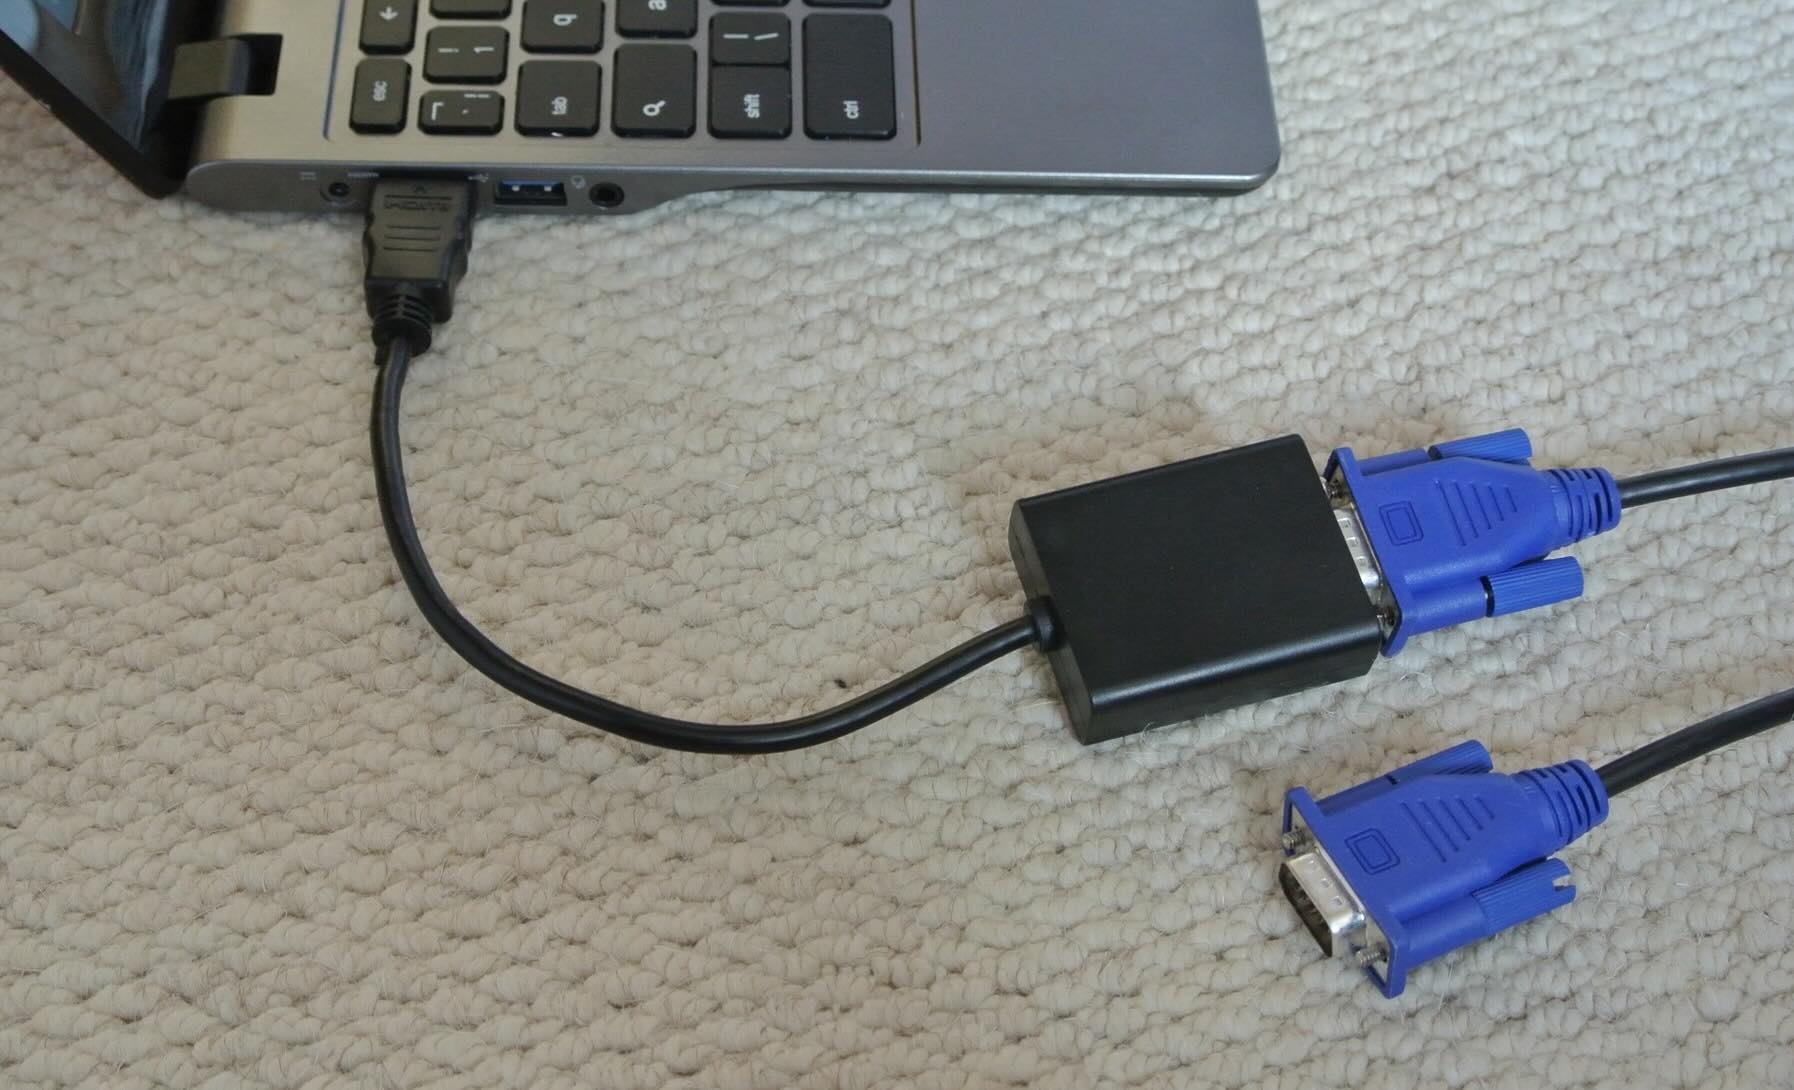
- USB Connection: Locate an available USB port on your computer and connect one end of the USB cable to the port. Then, connect the other end of the cable to the appropriate port on your Brother printer. Ensure that the connection is secure to prevent any disruptions during printing tasks.
- Ethernet Connection (if applicable): If your Brother printer supports Ethernet connectivity and you prefer a wired network connection, you can use an Ethernet cable to link the printer to your router or network switch. This method enables multiple devices on the same network to access the printer seamlessly.
If you opt for a wireless connection:
- Wi-Fi Setup: Access the printer’s control panel to navigate through the settings and locate the wireless setup wizard. Follow the on-screen prompts to connect your Brother printer to your Wi-Fi network. Once the printer is successfully connected to the network, your computer can communicate with the printer wirelessly, eliminating the need for physical cables.
Regardless of the connection method you choose, ensuring a stable and reliable connection between your Brother printer and computer is pivotal to streamline your printing experience. Once the physical connection is established, you are ready to proceed to the next phase of the setup process, which involves installing the necessary software to enable seamless communication between the devices.
Make sure your Brother printer is turned on and connected to the same Wi-Fi network as your computer. Then, download and install the printer driver from the Brother website. Follow the on-screen instructions to complete the setup and connect your printer to your computer.
Step 3: Install the Printer Software
With the physical connection between your Brother printer and computer in place, the next crucial step is to install the necessary printer software to facilitate seamless communication and functionality. The printer software, often referred to as drivers, serves as the intermediary that enables your computer to send printing tasks to the Brother printer accurately and efficiently.
Here’s a comprehensive guide to installing the printer software:
- Driver Installation: Begin by inserting the installation CD that accompanied your Brother printer into your computer’s optical drive. If your computer lacks an optical drive, you can download the latest printer drivers from the official Brother website. Follow the on-screen instructions to install the printer drivers on your computer.
- Software Configuration: Once the drivers are installed, you may be prompted to configure the printer software settings, such as language preferences, printing resolution, and network connectivity options. Ensure that you customize these settings according to your specific requirements to optimize the printing experience.
- Wireless Setup (if applicable): If you have opted for a wireless connection, the printer software installation process may include a step to configure the wireless settings. Follow the prompts to connect your Brother printer to your Wi-Fi network, allowing seamless wireless communication between the printer and your computer.
- Test Print: After completing the software installation, initiate a test print to verify that the printer is successfully communicating with your computer. This step allows you to confirm that the installation was executed accurately and that the printer is ready to fulfill your printing needs.
By meticulously following these steps, you can ensure that the printer software is installed correctly, paving the way for a harmonious interaction between your Brother printer and computer. The installation process empowers you to harness the full potential of your printer, enabling you to produce high-quality prints with ease and precision.
Step 4: Test the Connection
Upon completing the installation of the printer software, it’s imperative to conduct a comprehensive test to validate the seamless connection between your Brother printer and computer. This pivotal step allows you to confirm that the devices are communicating effectively, ensuring that you can embark on your printing endeavors with confidence and assurance.
Here’s a detailed guide to testing the connection:
- Print a Test Page: Initiate the printing of a test page from your computer to gauge the performance and functionality of the newly established connection. This test page serves as a tangible demonstration of the successful integration between your Brother printer and computer, providing insights into the print quality and accuracy.
- Wireless Printing (if applicable): If you have opted for a wireless connection, ensure that your computer can seamlessly send printing tasks to the Brother printer without encountering any connectivity issues. This step validates the reliability of the wireless communication, affirming that you can leverage the convenience of wireless printing.
- Functionality Assessment: Explore the various printing features offered by your Brother printer, such as duplex printing, color accuracy, and paper handling capabilities. Verify that these functions are operational and aligned with your expectations, ensuring a seamless printing experience for your diverse needs.
- Diagnostic Checks: Utilize the diagnostic tools provided within the printer software to assess the status of the connection, ink or toner levels, and any potential error messages. Address any identified issues promptly to maintain the optimal performance of your Brother printer.
By meticulously conducting these tests, you can ascertain that the connection between your Brother printer and computer is robust, reliable, and conducive to a productive printing environment. This comprehensive evaluation empowers you to leverage the full spectrum of printing capabilities offered by your Brother printer, ensuring that your digital creations are brought to life with precision and finesse.
Conclusion
Congratulations! You have successfully navigated the process of connecting your Brother printer to your computer, unlocking a realm of possibilities for seamless printing and digital creativity. By adhering to the systematic steps outlined in this guide, you have established a robust and reliable connection between your printer and computer, setting the stage for a harmonious collaboration between these essential devices.
As you embark on your printing endeavors, remember that the integration of your Brother printer into your digital ecosystem empowers you to materialize your ideas with unparalleled convenience and precision. Whether you are producing vibrant photographs, crisp documents, or captivating presentations, your Brother printer stands ready to bring your digital creations to life at the touch of a button.
Embrace the versatility and efficiency of your Brother printer, leveraging its advanced features and intuitive functionality to elevate your printing experience. Whether you opt for wired or wireless connectivity, the seamless interaction between your printer and computer ensures that your printing tasks are executed with finesse and reliability.
As technology continues to evolve, your Brother printer remains a steadfast companion, poised to meet your diverse printing needs with unwavering performance and quality. By nurturing this connection and exploring the myriad capabilities of your printer, you are poised to embark on a journey of digital expression and productivity, empowered by the seamless integration of smart home devices.
With your Brother printer seamlessly connected to your computer, the possibilities are endless. So, unleash your creativity, embrace the efficiency of modern printing technology, and embark on a fulfilling journey of digital expression and productivity, fueled by the seamless connection between your Brother printer and computer.
Here’s to a future filled with vibrant prints, seamless connectivity, and limitless creativity. Happy printing!
Frequently Asked Questions about How To Connect Brother Printer To Computer
Was this page helpful?
At Storables.com, we guarantee accurate and reliable information. Our content, validated by Expert Board Contributors, is crafted following stringent Editorial Policies. We're committed to providing you with well-researched, expert-backed insights for all your informational needs.

0 thoughts on “How To Connect Brother Printer To Computer”