Home>Technology>Smart Home Devices>How To Scan With A Brother Printer

Smart Home Devices
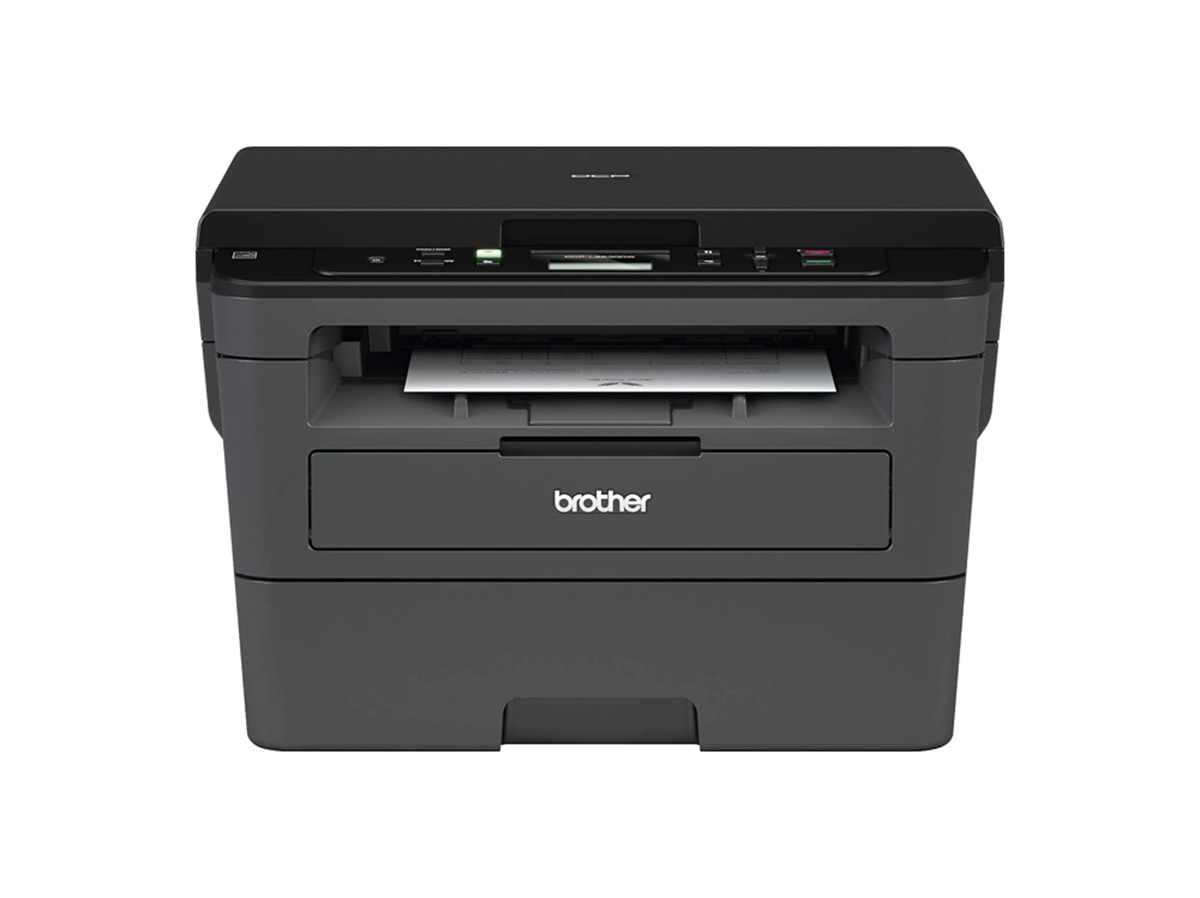
How To Scan With A Brother Printer
Modified: August 17, 2024
Learn how to easily scan with a Brother printer and integrate it with your smart home devices. Follow our step-by-step guide for seamless scanning.
(Many of the links in this article redirect to a specific reviewed product. Your purchase of these products through affiliate links helps to generate commission for Storables.com, at no extra cost. Learn more)
Introduction
Welcome to the world of smart home devices, where convenience and efficiency converge to simplify everyday tasks. Among these innovative devices, Brother printers stand out as reliable and versatile tools for both printing and scanning needs. In this comprehensive guide, you will learn how to harness the scanning capabilities of your Brother printer to digitize documents and photos with ease.
Scanning documents and photos with your Brother printer empowers you to create digital backups, share important information electronically, and streamline your workflow. Whether you are a student, a professional, or a tech-savvy individual, mastering the art of scanning with your Brother printer will undoubtedly elevate your productivity and organizational skills.
Through step-by-step instructions and insightful tips, this guide aims to demystify the scanning process, enabling you to make the most of your Brother printer’s scanning functionality. From setting up your printer to troubleshooting common issues, you will gain a comprehensive understanding of how to optimize your scanning experience.
So, without further ado, let’s embark on this scanning journey and unlock the full potential of your Brother printer. Whether you are a seasoned user or a newcomer to the world of smart home devices, this guide is designed to equip you with the knowledge and confidence needed to scan with ease and efficiency. Let’s dive in and explore the exciting possibilities that await!
Key Takeaways:
- Scanning with your Brother printer is easy! Just set it up, install the scanning software, and follow simple steps to digitize documents and photos. It’s a convenient way to organize and share important materials.
- If you encounter scanning issues, don’t worry! Check the connectivity, software, and scanning settings. With troubleshooting tips, you can ensure a smooth and reliable scanning experience with your Brother printer.
Setting Up Your Brother Printer
Before delving into the scanning process, it is crucial to ensure that your Brother printer is properly set up and ready to fulfill its scanning duties. Whether you have just unboxed a new printer or need to reconfigure an existing one, the following steps will guide you through the setup process.
1. Unboxing and Assembly:
- Unpack your Brother printer and carefully remove all packaging materials.
- Follow the instructions provided in the user manual to assemble the printer components, such as installing ink cartridges and loading paper.
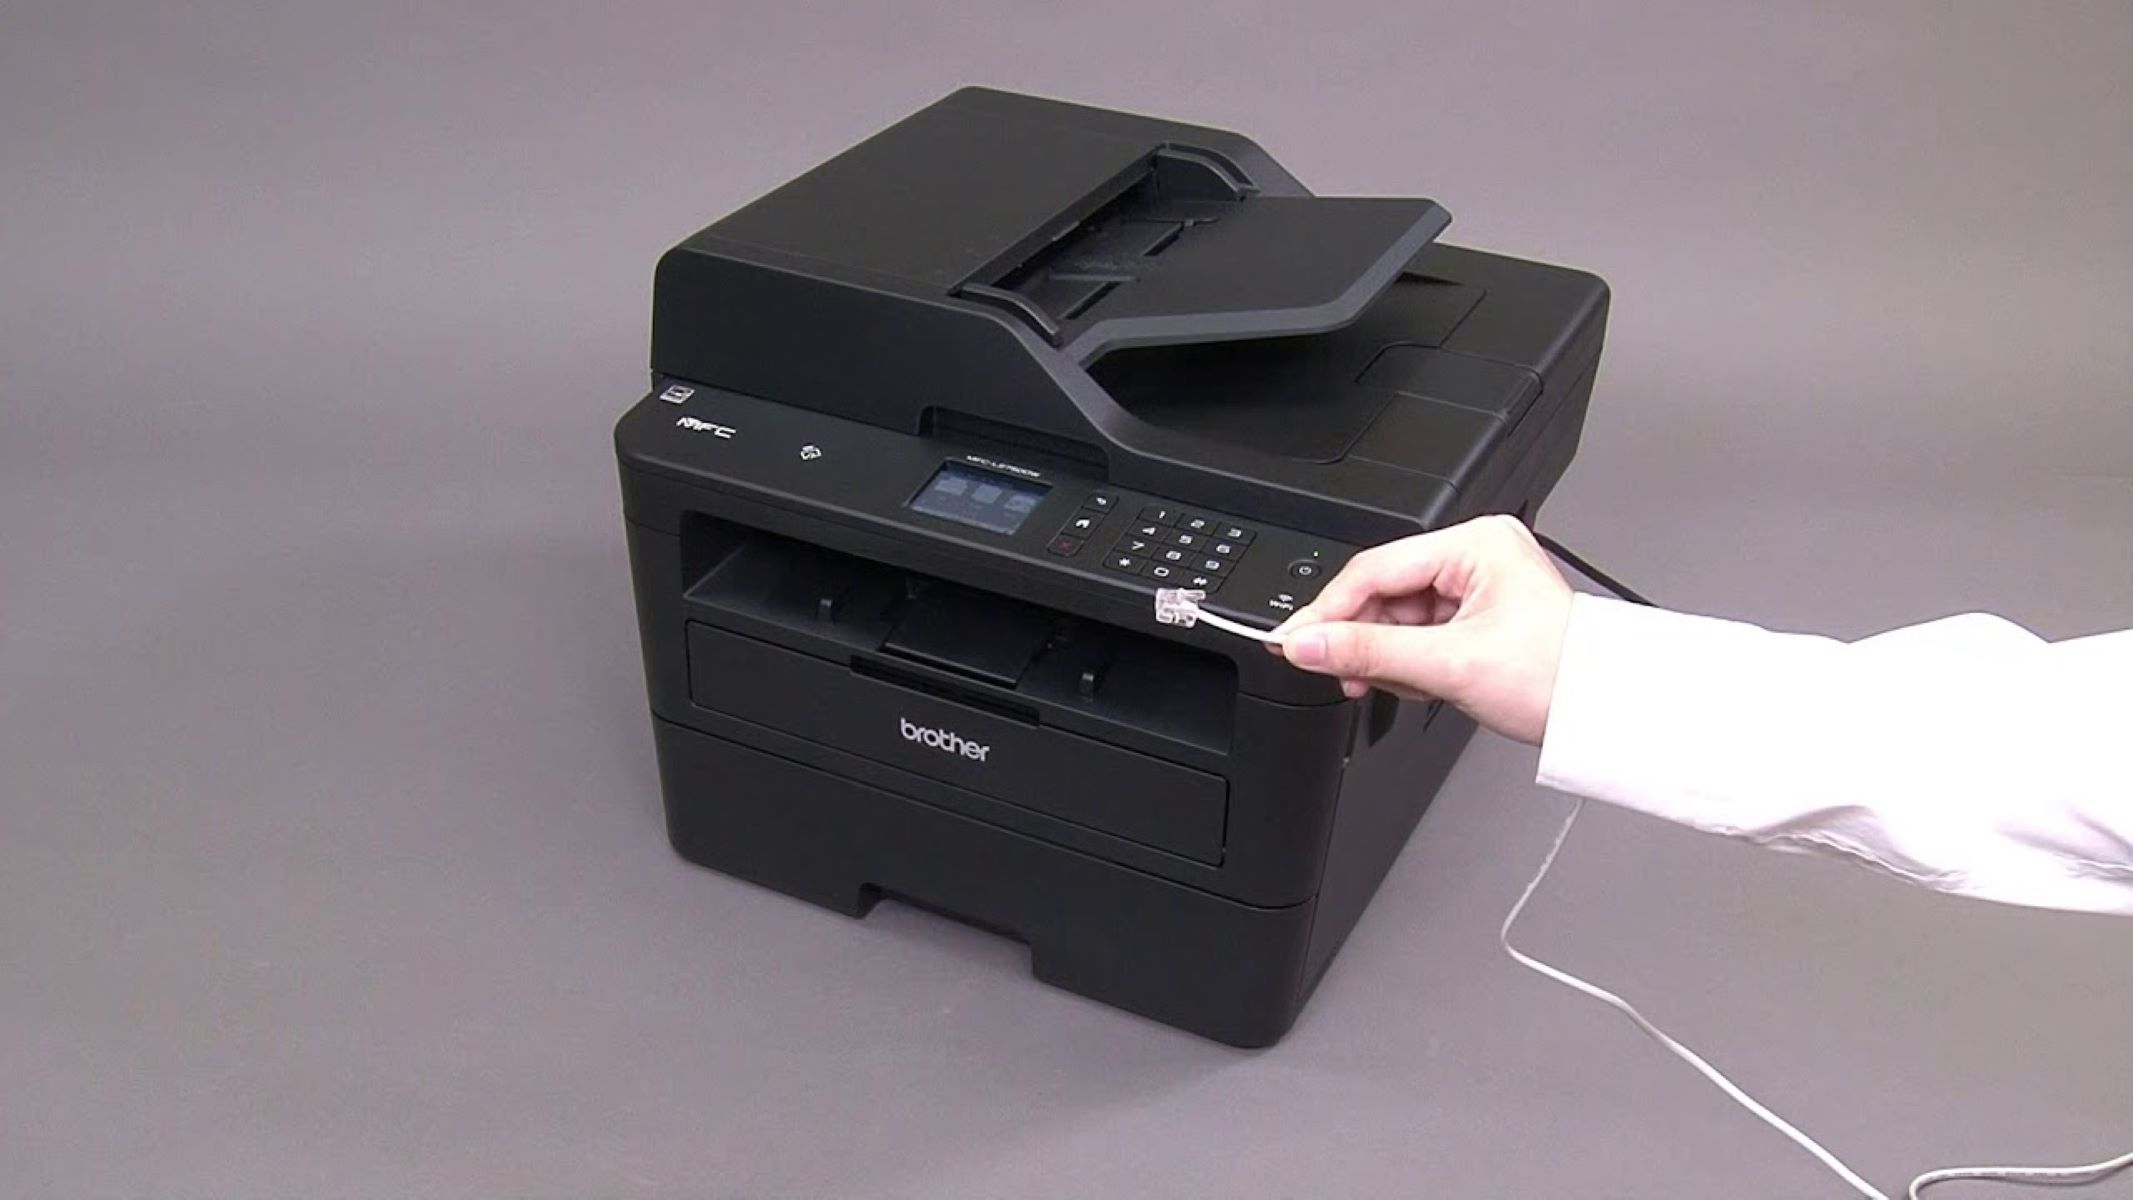
- Connect the power cord and turn on the printer.
2. Connecting to Power and Network:
- Ensure that the printer is connected to a power source and powered on.
- If your printer supports wireless connectivity, navigate to the settings menu on the printer’s control panel and follow the on-screen prompts to connect it to your Wi-Fi network. Alternatively, use a USB cable to connect the printer to your computer.
3. Installing Printer Drivers:
- Visit the official Brother website to download the appropriate printer drivers for your specific model.
- Follow the installation instructions to install the drivers on your computer, ensuring seamless communication between your computer and the printer.
4. Calibration and Test Print:
- Once the drivers are installed, run a test print to verify that the printer is functioning correctly.
- If necessary, calibrate the printer settings to optimize print quality and ensure smooth operation.
By following these steps, you can establish a solid foundation for your Brother printer, setting the stage for seamless scanning operations. With the printer set up and ready to go, you are now prepared to explore the world of scanning with confidence and ease.
Installing the Scanning Software
Once your Brother printer is set up and connected to your computer or network, the next crucial step is to install the scanning software that will facilitate the scanning process. The scanning software serves as the bridge between your printer and computer, enabling you to initiate and manage scanning tasks efficiently. Here’s how you can install the scanning software and prepare for seamless scanning experiences:
1. Downloading the Software:
Visit the official Brother website and navigate to the support or downloads section. Locate the scanning software specific to your printer model and operating system. Download the software package to your computer, ensuring that you select the appropriate version compatible with your operating system.
2. Software Installation:
Locate the downloaded software package and initiate the installation process. Follow the on-screen prompts to install the scanning software on your computer. Ensure that you carefully read and acknowledge any user agreements or additional software options that may be presented during the installation.
3. Configuration and Connectivity:
Once the scanning software is installed, launch the application and proceed with the initial configuration. The software may prompt you to select your Brother printer from a list of available devices. Follow the instructions to establish a connection between the software and your printer, ensuring seamless communication.
4. Testing the Connection:
After the software is installed and configured, perform a test scan to verify that the connection between your computer and the printer is functioning as intended. This test scan will also allow you to familiarize yourself with the scanning software’s interface and options.
By following these steps, you can successfully install the scanning software for your Brother printer, paving the way for efficient and streamlined scanning operations. With the software in place, you are now ready to embark on the exciting journey of digitizing documents and photos with your Brother printer.
Scanning Documents
Scanning documents with your Brother printer is a straightforward process that empowers you to create digital copies of important paperwork, contracts, or any other textual materials. Whether you need to archive documents or share them electronically, the scanning functionality of your Brother printer offers a convenient solution. Here’s a step-by-step guide to scanning documents with ease:
1. Preparation:
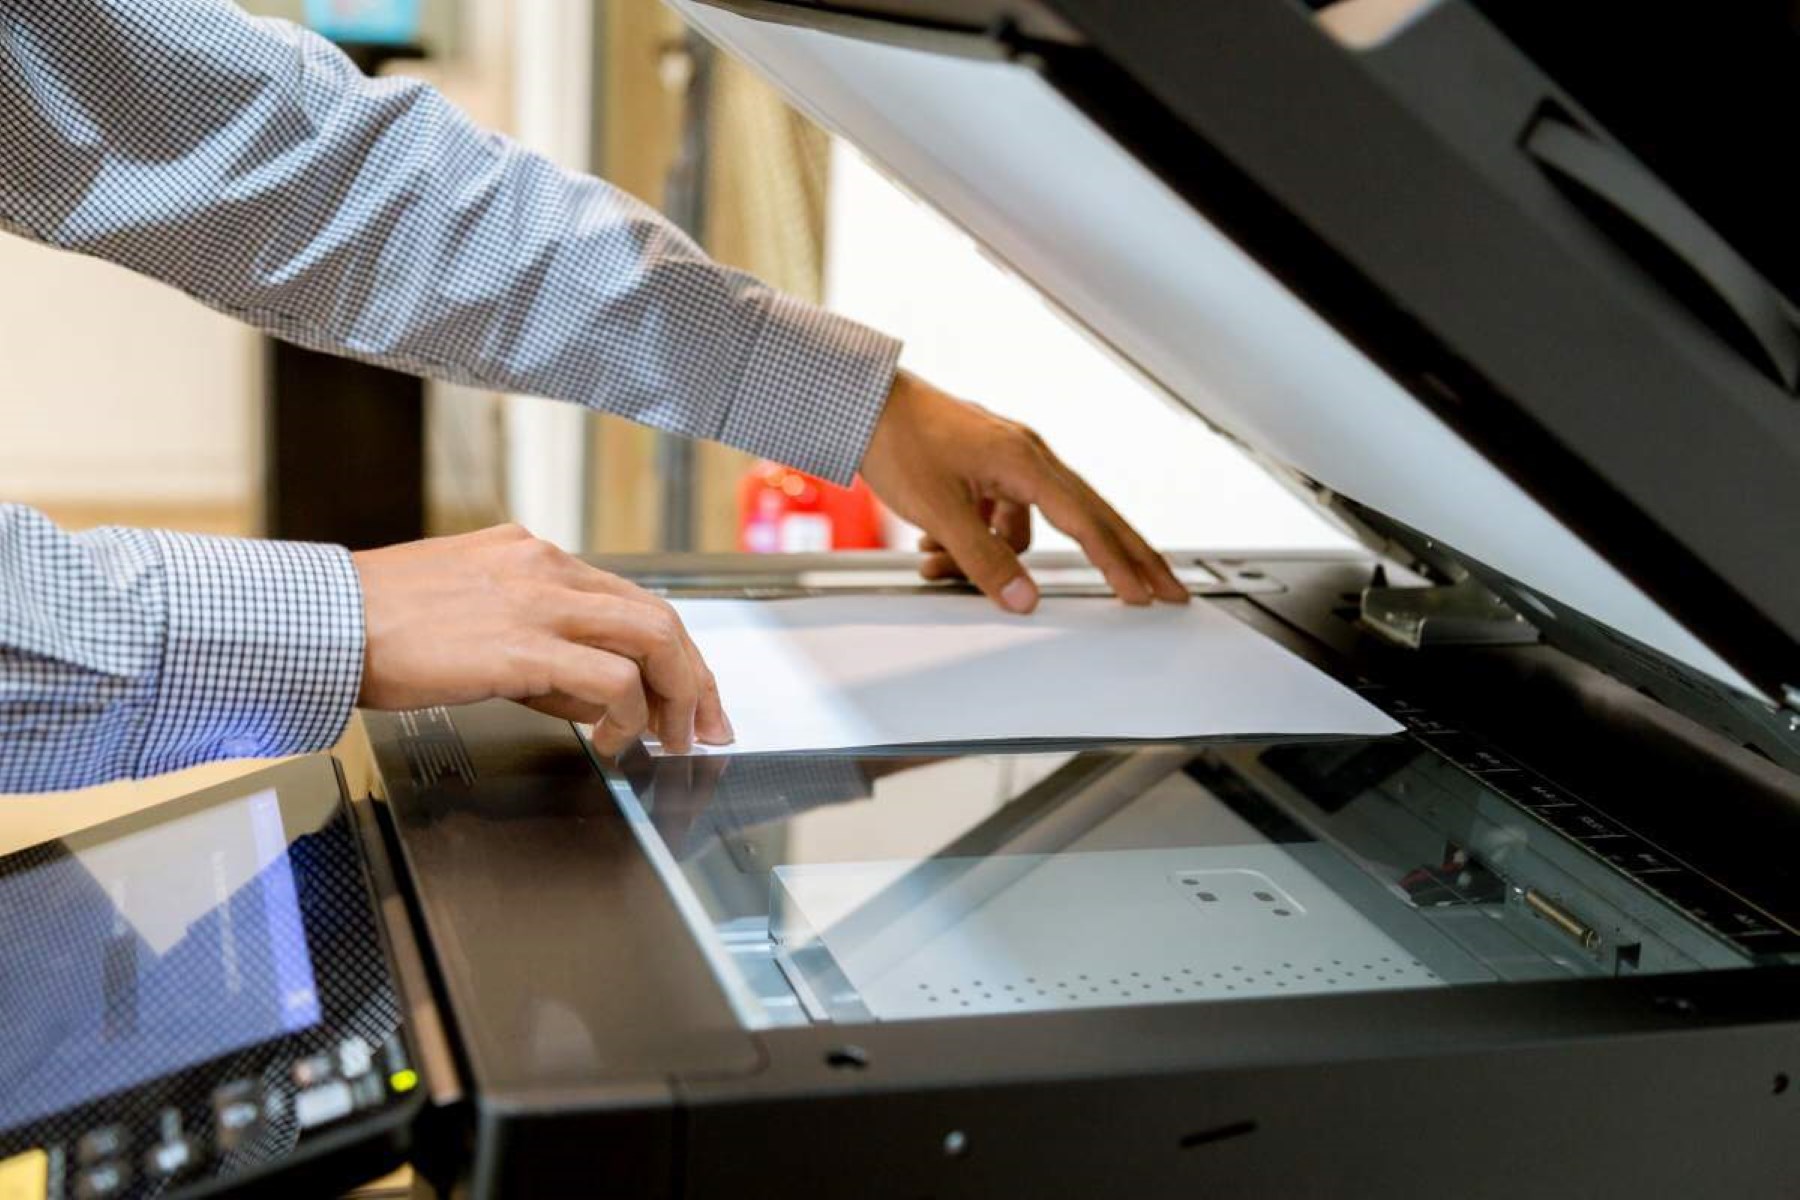
Ensure that the document you intend to scan is free of any folds, tears, or creases that could impede the scanning process. Place the document face down on the scanner glass, aligning it with the designated markers or guides to ensure a straight and accurate scan.
2. Initiating the Scan:
Launch the scanning software on your computer and select the option to initiate a new scan. Choose the appropriate settings, such as color mode (black and white or color) and resolution, depending on the nature of the document and your specific requirements.
3. Preview and Adjustment:
Before proceeding with the final scan, take advantage of the software’s preview function to assess the positioning and quality of the document. Make any necessary adjustments, such as cropping or rotating the image, to ensure that the scanned copy accurately represents the original document.
4. Finalizing the Scan:
Once you are satisfied with the preview and adjustments, proceed to initiate the final scan. Depending on the scanning software, you may have the option to save the scanned document in various file formats, such as PDF or image files. Select the desired format and save the scanned document to your preferred location on your computer.
By following these steps, you can effortlessly scan documents with your Brother printer, transforming physical paperwork into digital assets with remarkable ease. Whether you are digitizing receipts, contracts, or handwritten notes, the scanning process offers a versatile and efficient way to manage and share important documents in the digital age.
When scanning with a Brother printer, make sure to place the document face down on the scanner glass for best results. Use the printer’s control panel or the accompanying software to select the scan settings and start the scanning process.
Scanning Photos
Preserving cherished memories and capturing the essence of special moments is made effortless with the scanning capabilities of your Brother printer. Whether you have a collection of vintage photographs or recent snapshots, the ability to digitize and archive these images opens up a world of possibilities. Here’s a guide to scanning photos with your Brother printer, allowing you to breathe new life into your visual memories:
1. Preparation:
Handle your photos with care, ensuring that they are free of dust, fingerprints, or any other debris that could affect the scanning process. Place the photos on the scanner glass, aligning them carefully to capture the desired composition and framing.
2. Selecting Scan Settings:
Launch the scanning software on your computer and select the option to scan photos. Depending on the software, you may have the flexibility to choose settings such as color mode, resolution, and image enhancement options to optimize the scanned images.
3. Preview and Adjustment:
Utilize the software’s preview function to assess the scanned images before finalizing the process. This step allows you to make adjustments such as cropping, color correction, and red-eye removal to enhance the visual quality of the scanned photos.
4. Saving and Organizing:
Upon achieving the desired adjustments, proceed to save the scanned photos in your preferred file format, such as JPEG or TIFF. Organize the scanned images into relevant folders or albums on your computer to maintain a structured and accessible digital photo collection.
Scanning photos with your Brother printer not only safeguards your visual memories from the effects of time but also enables you to share and relive these moments with friends and family in the digital realm. Whether you are digitizing old family albums or preserving recent snapshots, the scanning process offers a seamless and reliable method for transforming physical photos into enduring digital assets.
Read more: Epson Printer: How To Scan
Troubleshooting Common Scanning Issues
While scanning with your Brother printer is generally a smooth and efficient process, occasional issues may arise that disrupt the seamless flow of operations. Understanding and addressing these common scanning issues can help you overcome challenges and ensure consistent scanning performance. Here are some troubleshooting tips to resolve common scanning issues:
1. Connectivity Problems:
If your computer is unable to detect the Brother printer during the scanning process, ensure that the printer is powered on and properly connected to the computer or network. Check the cable connections or wireless settings to verify the stability of the connection. Restarting both the printer and the computer can also help resolve connectivity issues.
2. Scanner Not Detected:
If the scanning software fails to detect the scanner, ensure that the scanning software is installed correctly and is compatible with your operating system. Reinstalling the scanning software and updating the printer drivers can often resolve this issue. Additionally, restarting the computer and the printer can refresh the connection and resolve detection issues.
3. Quality and Resolution:
If the scanned documents or photos exhibit poor quality or resolution, review the scanning settings in the software to ensure that the appropriate settings are selected. Adjusting the resolution and color mode can significantly improve the quality of the scanned images. Additionally, cleaning the scanner glass and ensuring proper lighting in the scanning area can enhance the overall scanning quality.
4. Paper Jams and Feeding Issues:
If the scanner encounters paper jams or feeding problems, carefully remove any obstructing paper or debris from the scanner’s paper path. Refer to the printer’s user manual for specific instructions on clearing paper jams. Additionally, ensure that the paper being used is within the recommended specifications and is free from damage or creases.
5. Software Compatibility:
If the scanning software exhibits compatibility issues with your operating system, visit the official Brother website to check for software updates or patches. Installing the latest software version can often resolve compatibility issues and ensure smooth scanning functionality.
By familiarizing yourself with these common scanning issues and their respective solutions, you can navigate the scanning process with confidence and address any challenges that may arise with ease. Troubleshooting scanning issues empowers you to maintain a consistent and reliable scanning experience, ensuring that your Brother printer continues to deliver exceptional performance.
Conclusion
Congratulations on embarking on this enlightening journey into the world of scanning with your Brother printer. By mastering the art of scanning documents and photos, you have unlocked a realm of possibilities, enabling you to digitize, organize, and share important materials with remarkable ease and efficiency.
Through the process of setting up your Brother printer, installing the scanning software, and delving into the intricacies of scanning documents and photos, you have gained valuable insights and practical skills that will undoubtedly enhance your daily workflow and productivity. The ability to seamlessly transition from physical to digital formats empowers you to streamline your document management and preservation efforts, all while embracing the convenience of modern technology.
As you navigate the world of scanning with your Brother printer, remember that occasional challenges may arise, but armed with the troubleshooting tips provided, you are well-equipped to address and overcome any obstacles that come your way. The journey of scanning with your Brother printer is a testament to the seamless integration of technology into our daily lives, offering a harmonious blend of innovation and practicality.
Embrace the power of scanning with your Brother printer to preserve cherished memories, organize important documents, and elevate your efficiency in both personal and professional endeavors. The transformation of physical materials into digital assets marks a significant step toward a more streamlined and connected digital lifestyle.
With your newfound knowledge and expertise, you are poised to make the most of your Brother printer’s scanning capabilities, harnessing its potential to simplify and enrich your daily experiences. As you continue to explore the diverse applications of scanning, may your journey be filled with seamless operations, captivating discoveries, and a deep appreciation for the transformative power of smart home devices.
Here’s to a future filled with efficient scanning, seamless digitization, and the boundless possibilities that await as you continue to integrate smart home technology into your everyday life.
Frequently Asked Questions about How To Scan With A Brother Printer
Was this page helpful?
At Storables.com, we guarantee accurate and reliable information. Our content, validated by Expert Board Contributors, is crafted following stringent Editorial Policies. We're committed to providing you with well-researched, expert-backed insights for all your informational needs.


0 thoughts on “How To Scan With A Brother Printer”