Home>Technology>Smart Home Devices>How To Install A Brother Printer On A Mac
Smart Home Devices
How To Install A Brother Printer On A Mac
Modified: August 28, 2024
Learn how to easily install a Brother printer on your Mac to start printing from your smart home devices. Follow our step-by-step guide for a seamless setup.
(Many of the links in this article redirect to a specific reviewed product. Your purchase of these products through affiliate links helps to generate commission for Storables.com, at no extra cost. Learn more)
Introduction
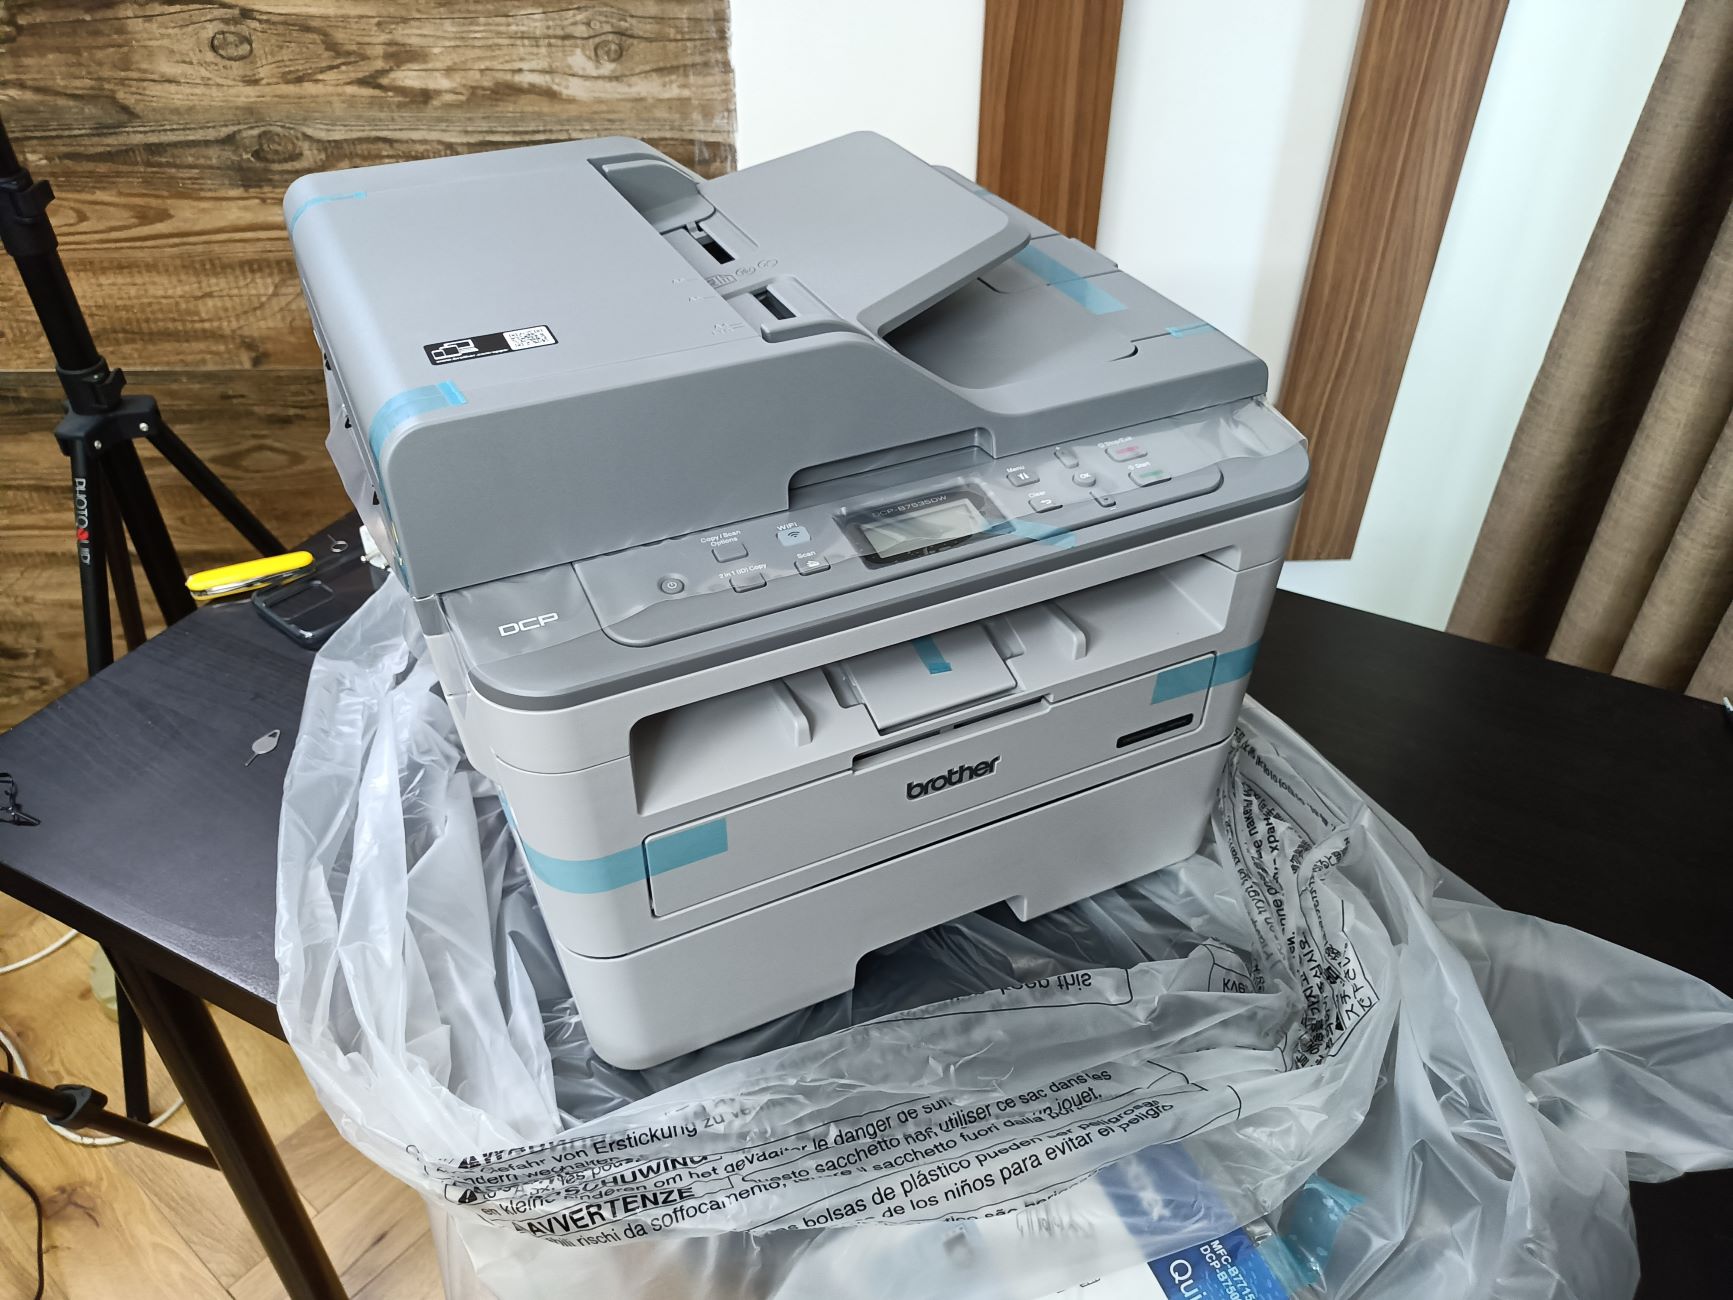
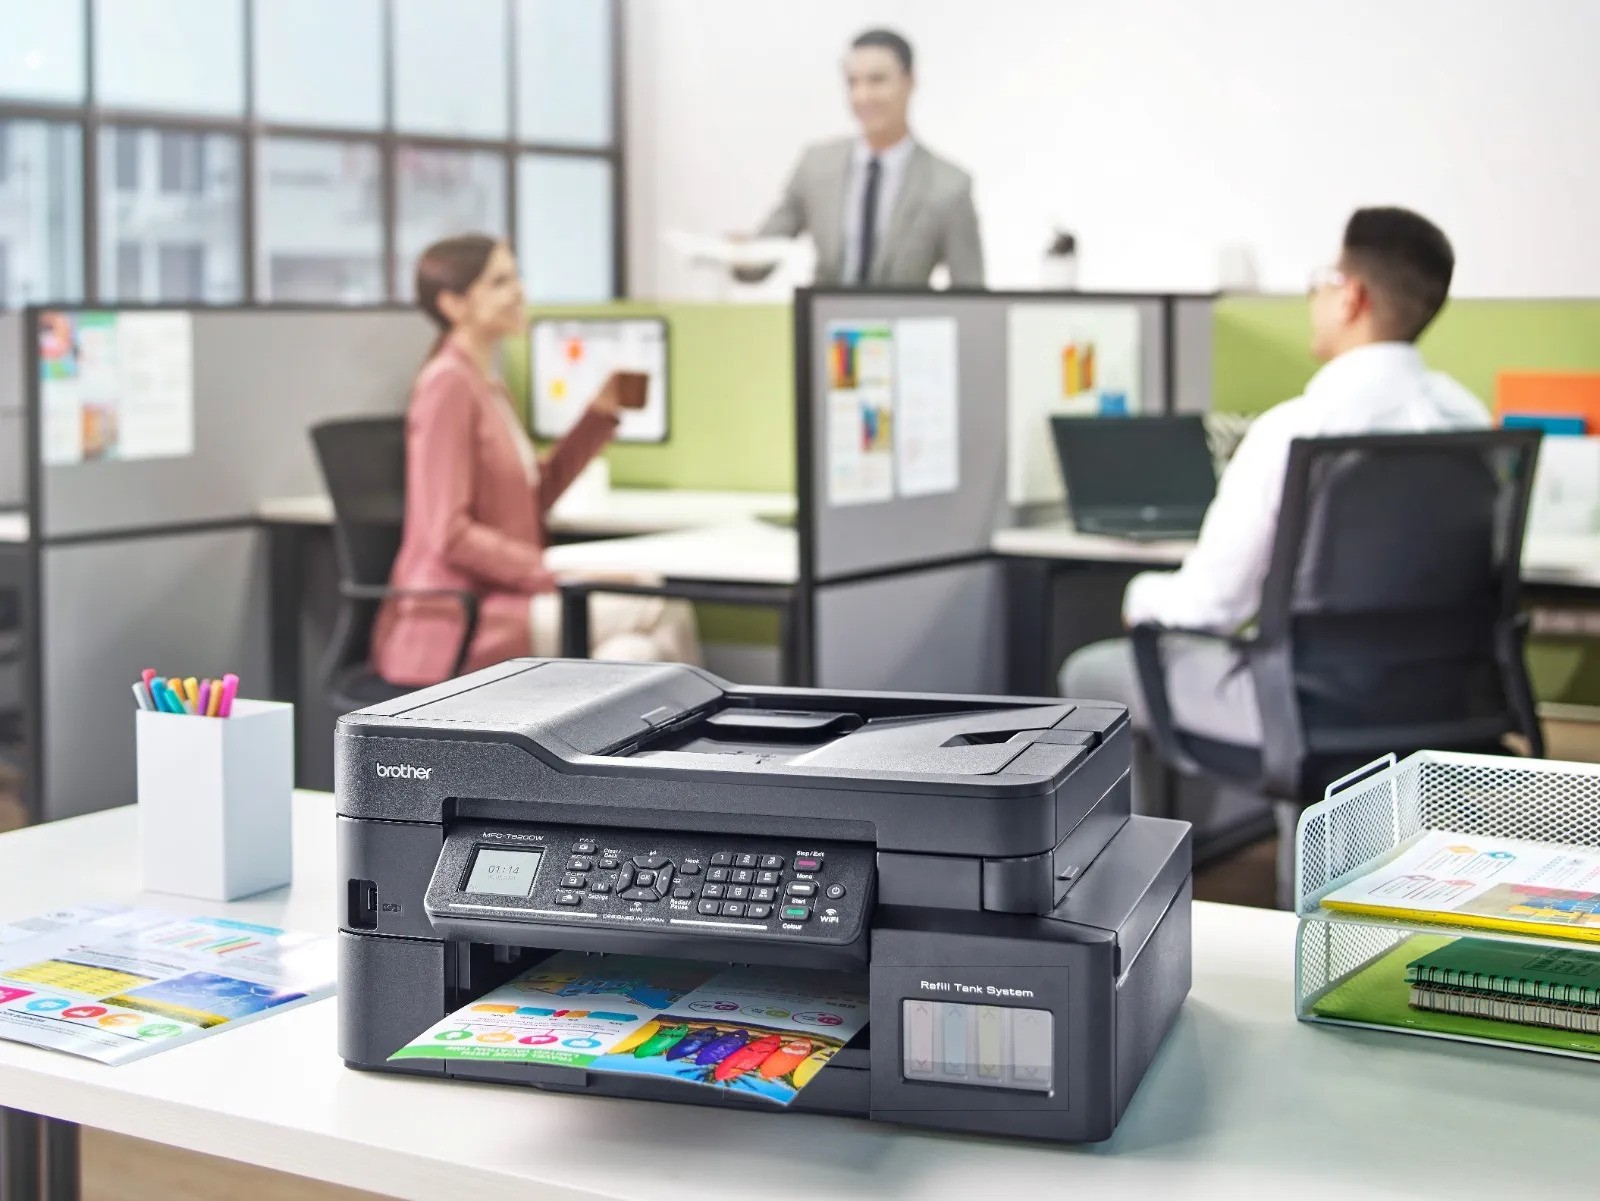
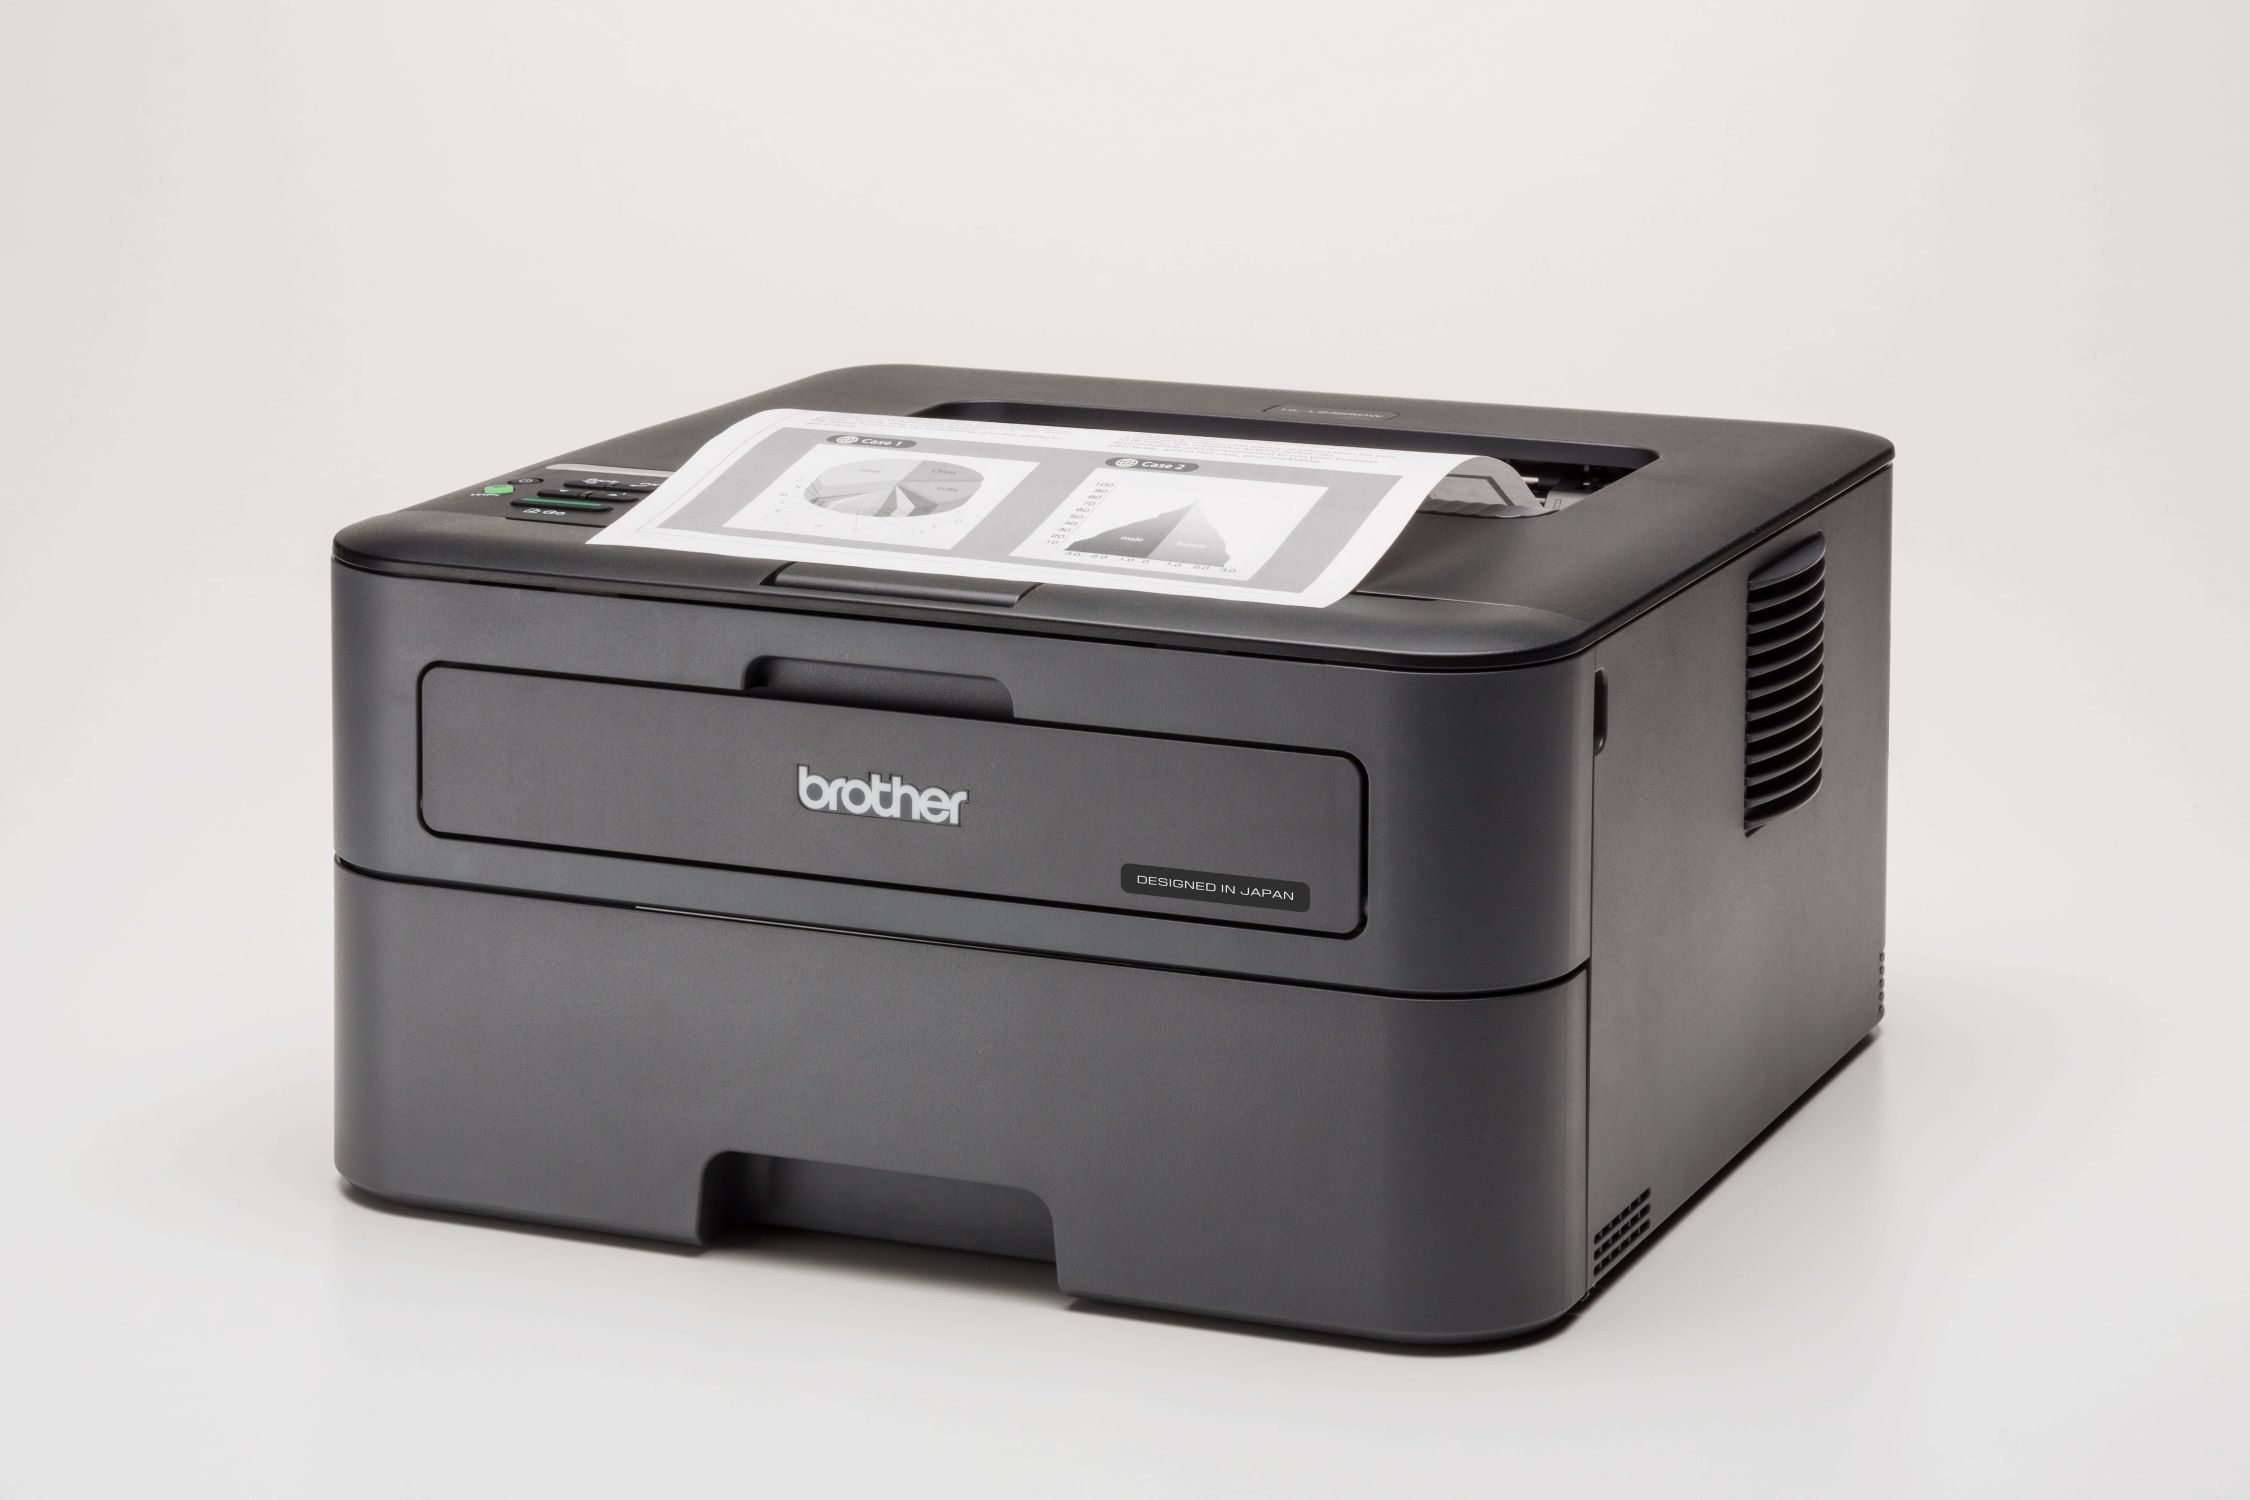
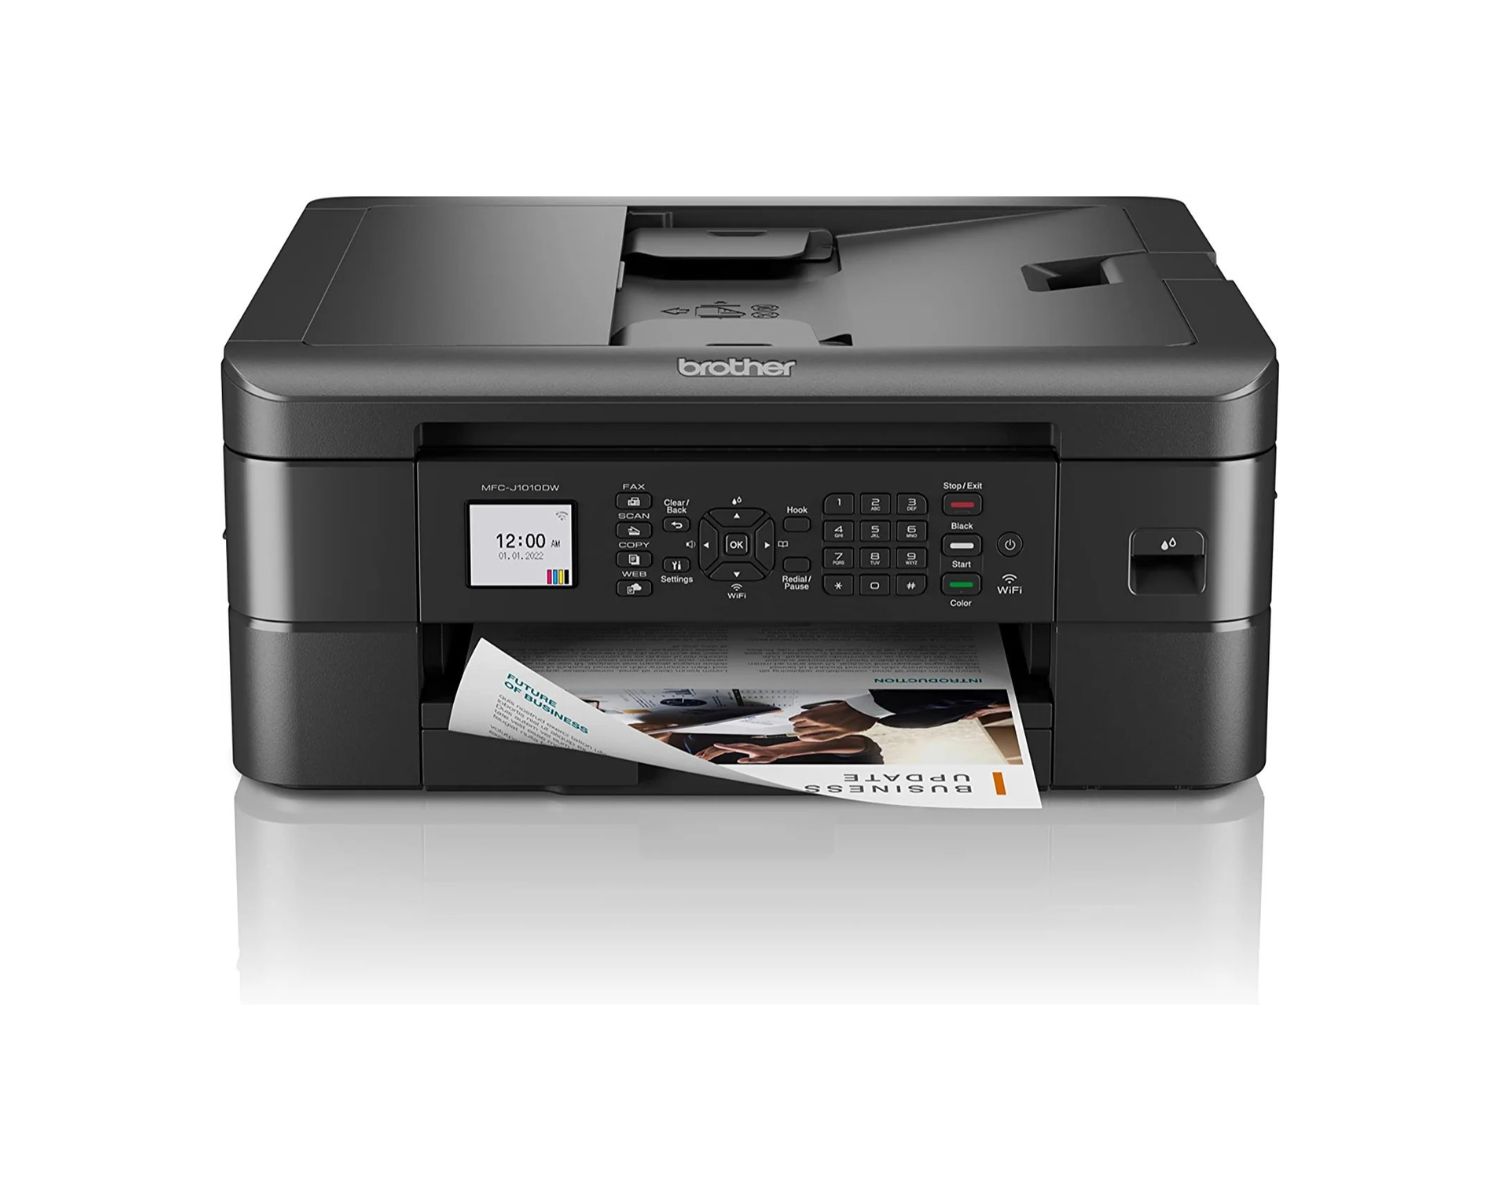
Welcome to the world of smart home devices, where convenience and innovation seamlessly intertwine to elevate your living space. One of the most remarkable additions to this realm is the Brother printer, a reliable and versatile device that seamlessly integrates into your Mac environment. By following a few simple steps, you can effortlessly install your Brother printer on your Mac, allowing you to unleash its full potential and enjoy the convenience of wireless printing, scanning, and more.
In this comprehensive guide, we will walk you through the process of installing your Brother printer on your Mac with ease. Whether you are a tech-savvy enthusiast or a newcomer to the smart home ecosystem, this article will equip you with the knowledge and confidence to set up your Brother printer and harness its capabilities to streamline your daily tasks.
Let's dive into the world of seamless printing, effortless connectivity, and the boundless possibilities offered by your Brother printer on your Mac. Whether you need to print important documents, scan essential paperwork, or create stunning visuals, your Brother printer is poised to become an indispensable asset in your digital toolkit. Join us as we embark on this journey to unlock the full potential of your Brother printer and seamlessly integrate it into your Mac environment.
Key Takeaways:
- Ensure your Brother printer is compatible with your Mac by checking the official Brother website. This will help you avoid any potential issues and ensure a smooth installation process.
- After downloading and installing the printer driver, add your Brother printer to your Mac’s list of available devices in the “System Preferences.” This final step solidifies the connection and enables seamless printing and scanning functionality.
Read more: How To Find A Printer On A Mac
Step 1: Check Compatibility
Before embarking on the installation process, it is crucial to ensure that your Brother printer is compatible with your Mac operating system. Compatibility is a pivotal factor that determines the seamless integration and optimal functionality of your printer within your Mac environment.
Begin by visiting the official Brother website, where you can access comprehensive information regarding printer models and their compatibility with specific Mac operating systems. Utilize the search function to locate your printer model and verify its compatibility with your Mac OS version. This meticulous approach will help you avoid potential compatibility issues and ensure a smooth installation process.
Furthermore, it is advisable to review the system requirements outlined by Brother for your printer model. Pay close attention to any specific software or driver requirements that may be essential for seamless integration with your Mac. By meticulously checking compatibility and system requirements, you can preemptively address any potential obstacles and proceed with confidence towards the installation process.
By confirming the compatibility of your Brother printer with your Mac operating system, you lay a solid foundation for a successful installation experience. This proactive approach empowers you to proceed with the installation process knowing that your printer is fully compatible with your Mac, setting the stage for a seamless and efficient integration of your Brother printer into your digital ecosystem.
Step 2: Download the Printer Driver
With the compatibility of your Brother printer confirmed, the next crucial step in the installation process is to download the printer driver tailored for your specific printer model and Mac operating system. The printer driver serves as the essential communication link between your printer and Mac, enabling seamless functionality and efficient performance.
Begin by navigating to the official Brother website’s “Support” or “Downloads” section, where you can access a comprehensive repository of printer drivers and software. Utilize the search functionality to locate the specific printer driver for your model, ensuring that it corresponds to your Mac operating system version. The website’s intuitive interface simplifies the process of identifying and selecting the appropriate driver, streamlining your journey towards seamless printer integration.
Once you have identified the correct printer driver for your Brother printer and Mac, initiate the download process, ensuring that you save the file in a location easily accessible on your Mac. Depending on your internet connection speed, the download may conclude swiftly, bringing you one step closer to unlocking the full potential of your Brother printer within your Mac environment.
As the printer driver download nears completion, take a moment to review any accompanying documentation or instructions provided by Brother. These resources may offer valuable insights into the installation process and provide essential guidance for maximizing the functionality of your printer. By familiarizing yourself with the documentation, you can enhance your understanding of the printer driver and its role in facilitating seamless communication between your Brother printer and Mac.
By downloading the appropriate printer driver for your Brother printer and Mac, you pave the way for a streamlined installation process, positioning your printer for optimal performance and seamless integration with your Mac. This pivotal step lays the groundwork for harnessing the full spectrum of features and capabilities offered by your Brother printer within your Mac ecosystem.
When installing a Brother printer on a Mac, make sure to download the correct driver from the Brother website. Follow the on-screen instructions for a smooth installation process.
Step 3: Install the Printer Driver
With the printer driver downloaded and ready for deployment, the next critical phase of the installation process involves installing the driver on your Mac. This pivotal step establishes the fundamental connection between your Brother printer and Mac, laying the groundwork for seamless printing, scanning, and other essential functionalities.
Locate the downloaded printer driver file on your Mac, typically residing in the designated download folder or the location specified during the download process. Double-click on the driver file to initiate the installation wizard, which will guide you through the essential steps to install the driver on your Mac.
Follow the on-screen prompts presented by the installation wizard, carefully reviewing each step to ensure a thorough and accurate installation of the printer driver. Throughout the process, maintain a keen eye for any additional settings or options that may enhance the functionality or performance of your Brother printer within your Mac environment.
As the installation progresses, the driver will seamlessly integrate with your Mac’s operating system, establishing the vital communication channel required for your printer to interact harmoniously with your Mac. Once the installation is complete, take a moment to review any accompanying documentation or instructions provided by Brother, as they may contain valuable insights or tips for optimizing the performance of your printer.
Upon successful installation of the printer driver, your Brother printer is poised to become an integral component of your Mac ecosystem, ready to deliver exceptional printing and scanning capabilities with unparalleled convenience and efficiency. This pivotal step solidifies the foundation for seamless integration and sets the stage for harnessing the full potential of your Brother printer within your Mac environment.
Step 4: Add the Printer to your Mac
As the printer driver installation concludes, the final crucial step in the process of integrating your Brother printer with your Mac involves adding the printer to your Mac’s list of available devices. This step solidifies the connection between your Mac and the Brother printer, enabling effortless printing and scanning functionality within your digital ecosystem.
Commence by accessing the “System Preferences” on your Mac, typically located in the dock or accessible through the Apple menu. Within the “System Preferences,” navigate to the “Printers & Scanners” or “Print & Fax” section, where you can initiate the process of adding your Brother printer to your Mac.
Click on the “+” (Add) button within the “Printers & Scanners” or “Print & Fax” window to commence the printer addition process. Your Mac will initiate a search for available printers, and upon detecting your Brother printer, it will present it as an option for addition to your Mac.
Select your Brother printer from the list of available devices, ensuring that it corresponds to the precise model you have installed. Subsequently, proceed to add the printer to your Mac, finalizing the integration process and establishing a seamless connection between your Mac and the Brother printer.
Following the successful addition of your Brother printer to your Mac, take a moment to configure any additional settings or preferences that align with your specific printing and scanning requirements. This may include designating the default printer, adjusting print quality settings, or configuring scanning preferences to optimize the functionality of your Brother printer within your Mac environment.
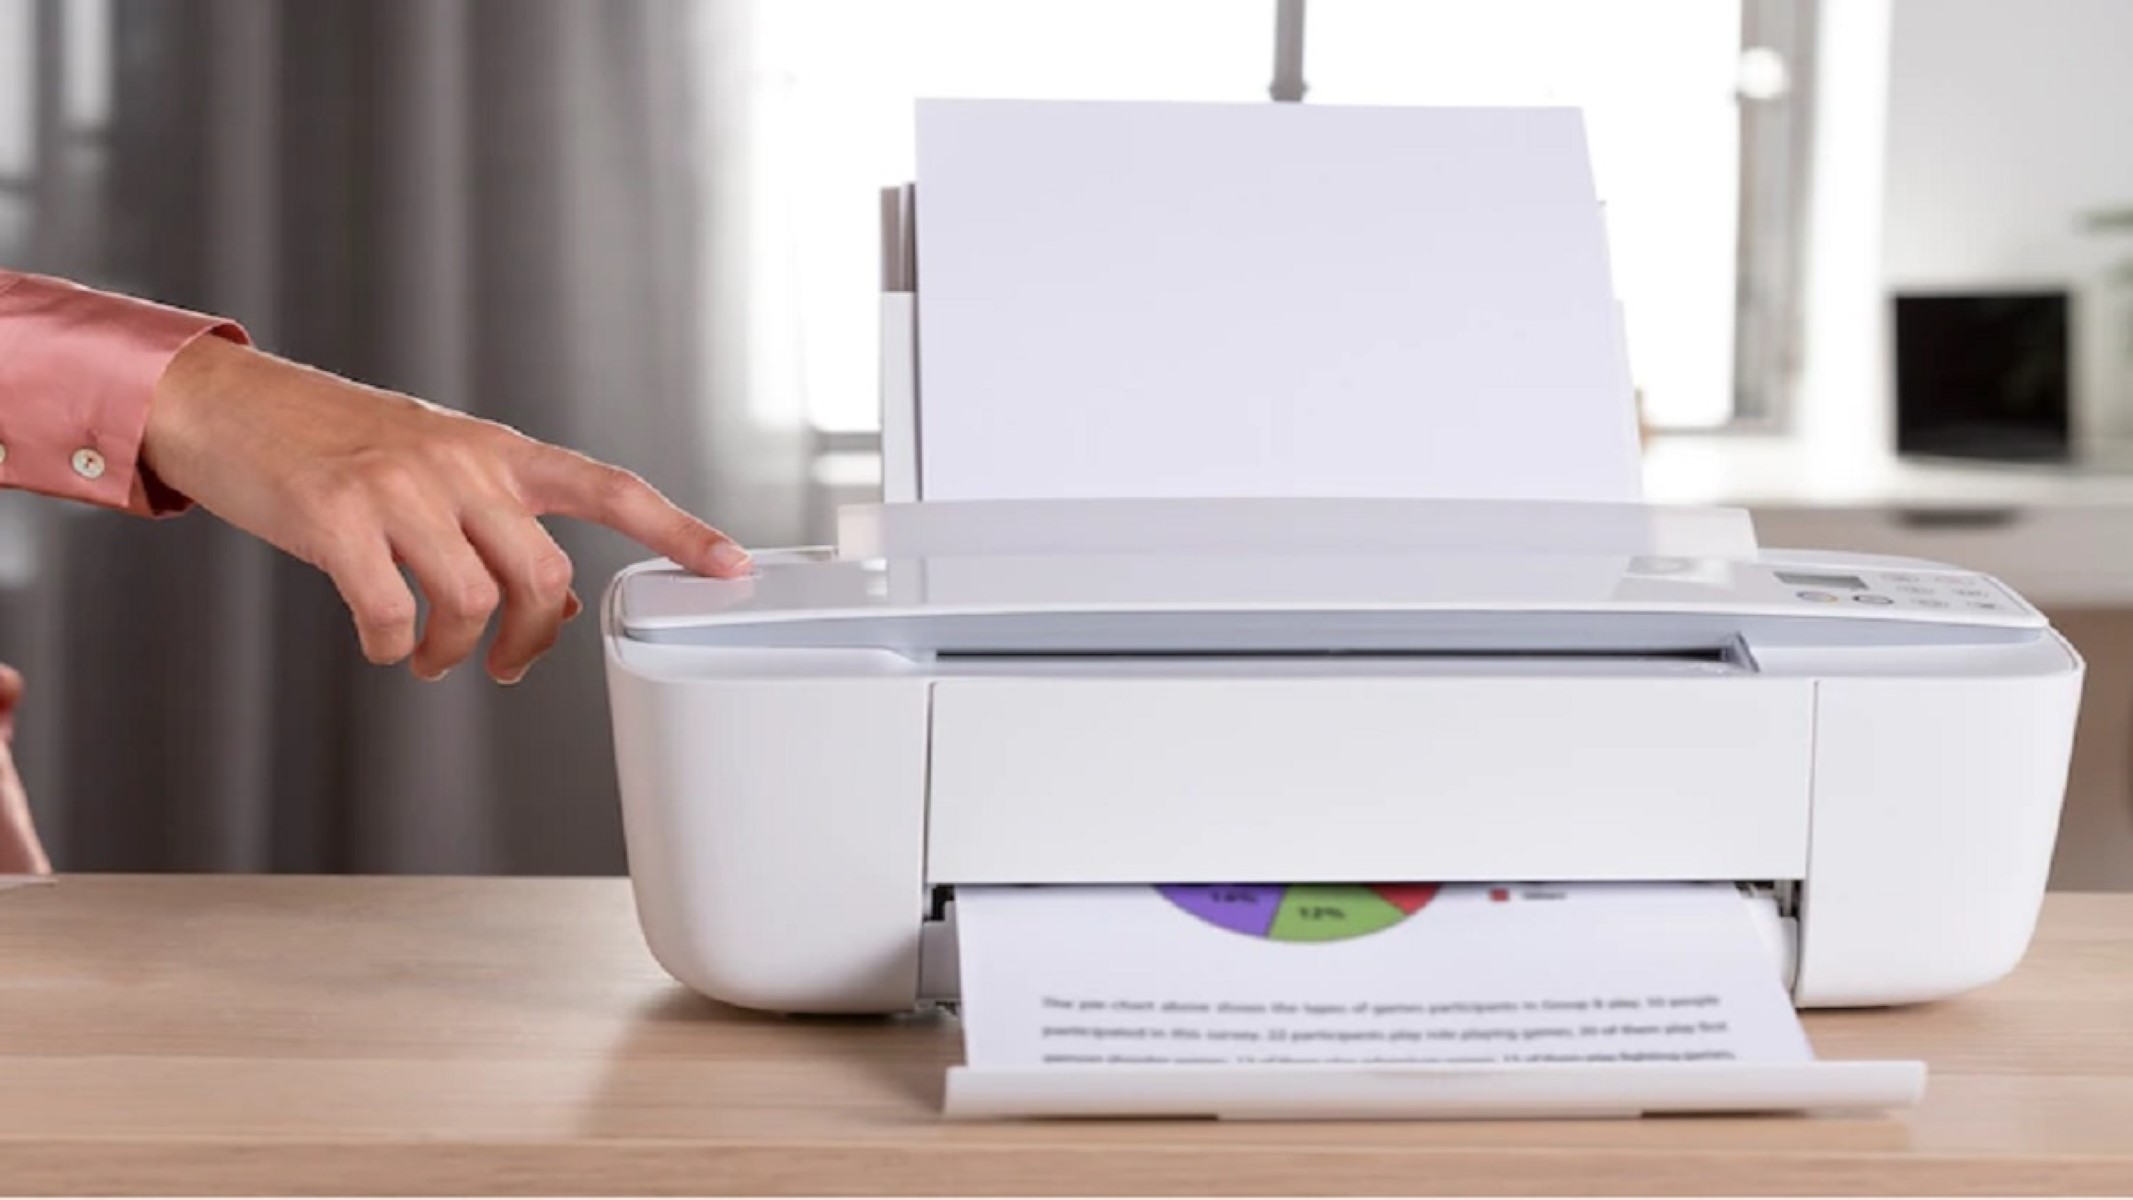
With the successful addition and configuration of your Brother printer on your Mac, you have completed the integration process, unlocking the full spectrum of printing and scanning capabilities offered by your Brother printer within your Mac ecosystem. Your Brother printer is now primed to deliver exceptional performance, seamless connectivity, and unparalleled convenience, empowering you to embark on a journey of effortless productivity and creativity.
Read more: How To Remove Printer On Mac
Conclusion
Congratulations! By following the comprehensive steps outlined in this guide, you have successfully installed your Brother printer on your Mac, unlocking a world of seamless printing, scanning, and digital productivity. The integration of your Brother printer into your Mac environment heralds a new era of convenience, efficiency, and versatility, empowering you to harness the full potential of your printer within your smart home ecosystem.
With meticulous attention to compatibility, the download and installation of the printer driver, and the seamless addition of your Brother printer to your Mac, you have laid a solid foundation for a harmonious and productive relationship between your printer and Mac. This integration not only streamlines your daily tasks but also enriches your digital experience, providing a gateway to effortless document management, vibrant visual creations, and the fulfillment of your printing and scanning needs.
As you embark on this journey with your Brother printer and Mac, remember to explore the diverse features and capabilities offered by your printer, from wireless printing and scanning to advanced settings that cater to your specific preferences. Embrace the convenience of printing from any corner of your home, the seamless connectivity with your Mac devices, and the remarkable efficiency that your Brother printer brings to your digital world.
Furthermore, stay attuned to the latest updates and resources offered by Brother, as they may enhance the functionality of your printer and introduce new possibilities for digital creativity and productivity. By remaining informed and engaged, you can continue to elevate your printing and scanning experiences, leveraging the innovative technology at your disposal to enrich your smart home environment.
With your Brother printer seamlessly integrated into your Mac, you are poised to embark on a journey of enhanced productivity, creativity, and convenience, reaping the rewards of a harmonious fusion between cutting-edge technology and the seamless functionality of your Mac ecosystem.
Embrace the boundless possibilities that await as you embark on this exciting chapter with your Brother printer on your Mac, where every document, image, and creative endeavor is effortlessly transformed into reality with the touch of a button.
Frequently Asked Questions about How To Install A Brother Printer On A Mac
Was this page helpful?
At Storables.com, we guarantee accurate and reliable information. Our content, validated by Expert Board Contributors, is crafted following stringent Editorial Policies. We're committed to providing you with well-researched, expert-backed insights for all your informational needs.


0 thoughts on “How To Install A Brother Printer On A Mac”