Home>Technology>Smart Home Devices>How To Connect To A Brother Printer

Smart Home Devices
How To Connect To A Brother Printer
Modified: April 23, 2024
Learn how to easily connect your smart home devices to a Brother printer for seamless printing and convenience. Follow our step-by-step guide for a hassle-free setup.
(Many of the links in this article redirect to a specific reviewed product. Your purchase of these products through affiliate links helps to generate commission for Storables.com, at no extra cost. Learn more)
Introduction
Welcome to the world of Brother printers, where seamless connectivity and high-quality printing converge. Brother printers are renowned for their reliability, advanced features, and user-friendly interfaces, making them a popular choice for both home and office use. Whether you have a Brother inkjet, laser, or all-in-one printer, connecting it to your network is the key to unlocking its full potential.
In this comprehensive guide, we will walk you through the step-by-step process of connecting your Brother printer to your network. By the end of this article, you will have the knowledge and confidence to effortlessly set up your Brother printer and start printing from any device on your network.
So, grab your favorite beverage, get comfortable, and let's embark on this journey to seamless printing connectivity with your Brother printer.
Key Takeaways:
- Connecting your Brother printer to your network is as easy as powering it on, selecting your wireless network, and installing the printer drivers. Once set up, you can enjoy wireless printing from any device on your network.
- By following the simple steps outlined in this guide, you can seamlessly integrate your Brother printer into your network and devices, unlocking the convenience and flexibility of wireless printing for all your printing needs.
Read more: How To Connect Macbook To Brother Printer
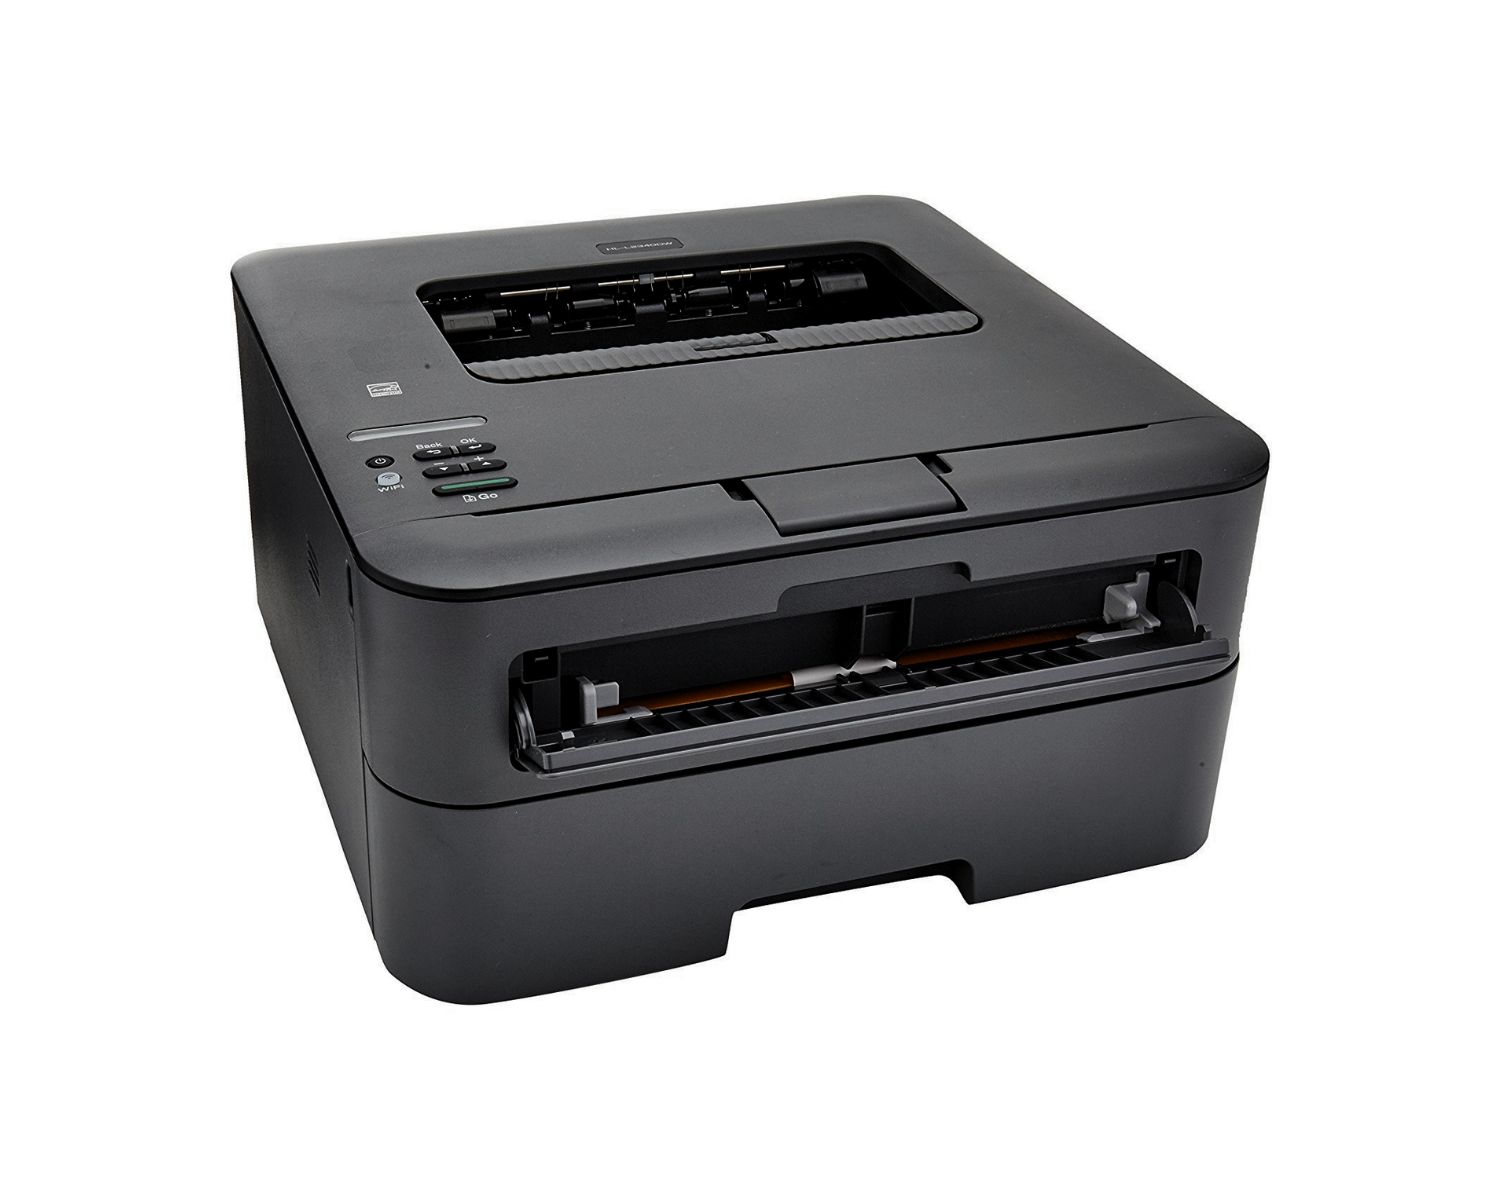
Step 1: Power on the Brother Printer
The first step in connecting your Brother printer to your network is to ensure that the printer is powered on and ready to be set up. Follow these simple instructions to power on your Brother printer:
- Locate the Power Button: Depending on the model of your Brother printer, the power button may be located on the front panel or the top of the printer. Look for the power symbol or the word “Power” to identify the button.
- Press the Power Button: Once you have located the power button, press it to turn on the printer. You may need to hold the button for a few seconds until the printer’s display lights up or the power indicator illuminates.
- Wait for Initialization: After powering on the printer, allow it a few moments to initialize. During this time, the printer will perform a self-check and prepare for the next steps in the setup process.
- Check the Display: If your Brother printer has a display screen, ensure that it is showing the default or standby screen. This indicates that the printer has successfully powered on and is ready for the next steps.
Once your Brother printer is powered on and ready, you are one step closer to connecting it to your network and enjoying the convenience of wireless printing. With the printer powered on, you can proceed to the next step of connecting it to your network.
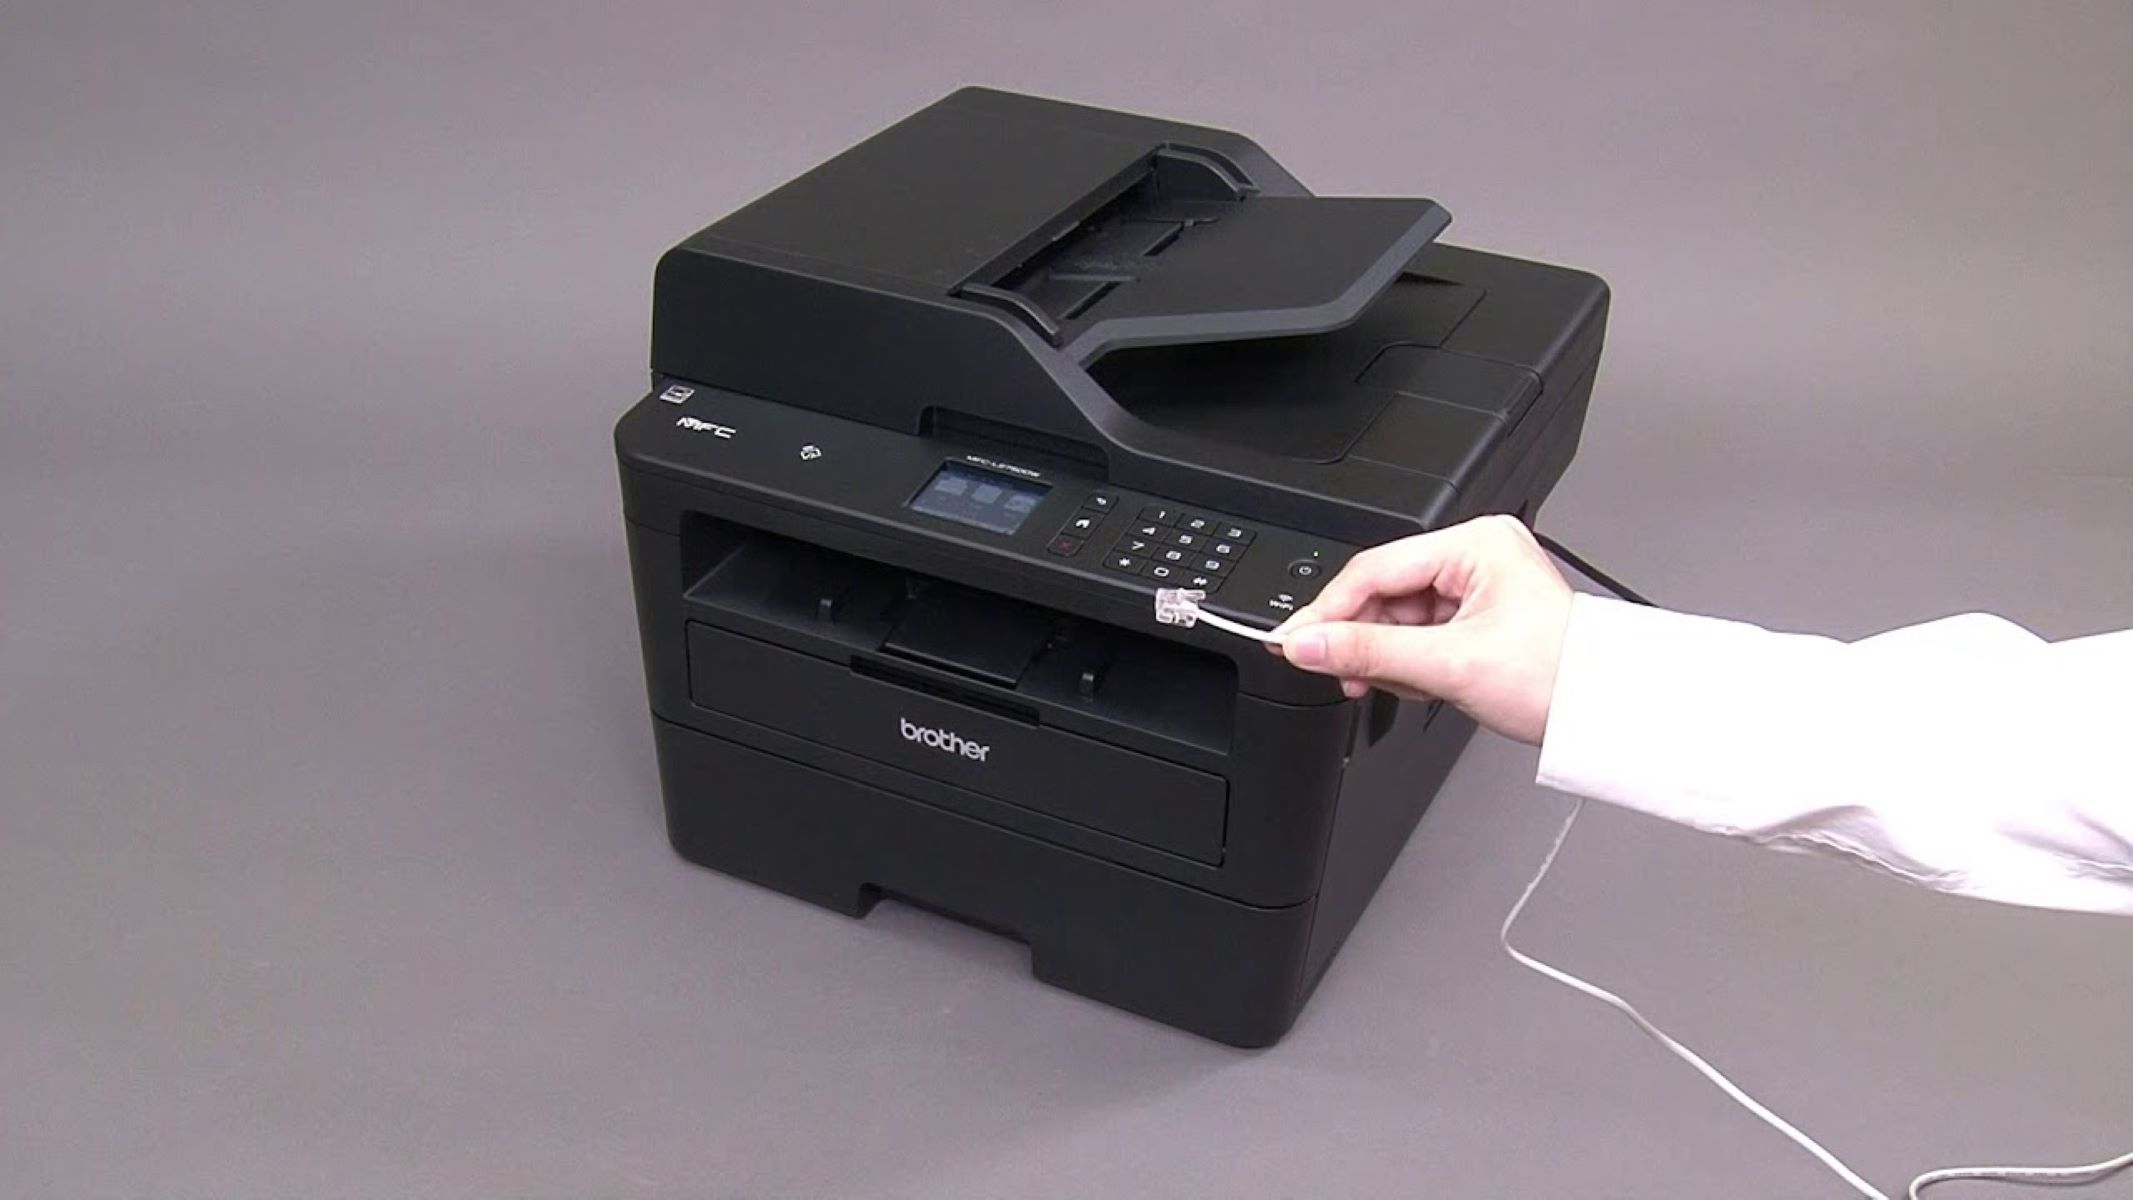
Step 2: Connect the Printer to the Network
Now that your Brother printer is powered on, it’s time to establish a connection to your wireless network. Follow these steps to seamlessly connect your printer to the network:
- Access the Printer’s Network Settings: On the printer’s control panel, navigate to the network settings or wireless setup menu. Depending on the model, this may involve pressing the “Menu” button and selecting “Network,” “Wireless,” or “Setup.”
- Choose the Wireless Network: Within the network settings, select the option to set up a wireless connection. The printer will scan for available wireless networks. Once the list of networks is displayed, select your home or office network from the available options.
- Enter the Network Password: If your wireless network is secured with a password (as is often the case), you will be prompted to enter the network password or passphrase. Use the printer’s keypad or touchscreen to input the password, taking care to ensure accuracy.
- Confirm the Connection: After entering the network password, the printer will attempt to connect to the wireless network. Once the connection is established, the printer will display a confirmation message or indicator light to signify a successful connection.
- Verify the Connection: To ensure that the printer is successfully connected to the network, you can print a network configuration or status report from the printer’s control panel. This report will provide details about the printer’s network settings and connectivity status.
With the printer now connected to your wireless network, it is ready to receive print jobs from any device on the same network. This seamless connectivity eliminates the need for physical cables and allows for convenient printing from laptops, desktops, smartphones, and tablets. Your Brother printer is now primed for the next steps in the setup process.
Step 3: Install Brother Printer Drivers
With your Brother printer successfully connected to your network, the next crucial step is to install the necessary printer drivers on your computer or mobile device. The printer drivers enable your device to communicate with the printer and send print jobs effectively. Follow these steps to install the Brother printer drivers:
- Visit the Brother Support Website: Open a web browser on your computer or mobile device and navigate to the official Brother support website. Here, you can find the latest drivers and software for your specific printer model.
- Enter Your Printer Model: Use the search or navigation features on the Brother support website to locate the drivers for your printer model. Enter the model number or select your printer from the provided options to access the relevant downloads.
- Download the Printer Drivers: Once you have identified the correct printer model, download the appropriate printer drivers for your operating system. Brother provides drivers for various operating systems, including Windows, macOS, and mobile platforms.
- Run the Driver Installation: Locate the downloaded driver file on your computer and run the installation program. Follow the on-screen prompts to install the printer drivers, ensuring that you select the wireless or network connection option when prompted.
- Complete the Installation: Once the driver installation is complete, restart your computer to finalize the setup. This ensures that the newly installed drivers are fully integrated into your operating system and ready to facilitate seamless printing.
By installing the Brother printer drivers on your computer or mobile device, you establish a direct link between your device and the printer, enabling smooth and efficient printing. The installed drivers enable your device to recognize and communicate with the Brother printer over the network, empowering you to send print jobs with ease.
With the printer drivers successfully installed, your device is now equipped to interact with the Brother printer, bringing you one step closer to enjoying the convenience of wireless printing.
Make sure your Brother printer is connected to the same Wi-Fi network as your computer. Use the printer’s control panel to connect to the network and install the printer driver on your computer.
Step 4: Add the Printer to Your Device
Now that the Brother printer drivers are installed on your computer or mobile device, it’s time to add the printer to your list of available devices. This process varies slightly depending on the operating system of your device, but the fundamental steps remain consistent. Follow these general guidelines to add the Brother printer to your device:
- Open the Devices and Printers Menu: On a Windows computer, navigate to the Control Panel and access the “Devices and Printers” menu. On a Mac, go to “System Preferences” and select “Printers & Scanners.”
- Select “Add a Printer”: Within the Devices and Printers menu, look for the option to add a new printer. This may be labeled as “Add a Printer” or “Add a Device” depending on your operating system.
- Locate the Brother Printer: Your device will scan for available printers on the network. When the Brother printer appears in the list of available devices, select it to begin the setup process.
- Complete the Setup: Follow the on-screen prompts to complete the setup of the Brother printer on your device. This may involve confirming the printer selection, choosing the appropriate printer drivers, and customizing additional settings.
- Test the Printer: Once the setup is complete, send a test print job to the Brother printer from your device to verify that the connection is successful. This allows you to confirm that your device can communicate with the printer and initiate printing.
Adding the Brother printer to your device establishes a direct link between the two, enabling seamless printing from your computer or mobile device to the Brother printer. With the printer successfully added to your device, you are now poised to enjoy the convenience of wireless printing and the full functionality of your Brother printer.
By following these steps, you have seamlessly integrated the Brother printer into your device’s printing capabilities, unlocking a world of printing possibilities at your fingertips.
Read more: How To Connect Brother Printer To Computer
Step 5: Test the Connection
Now that your Brother printer is connected to your network and added to your device, it’s time to put the connection to the test. By sending a test print job to the printer, you can ensure that the setup is successful and that your device can communicate with the printer effectively. Follow these steps to test the connection to your Brother printer:
- Select a Document to Print: Open a document, image, or webpage on your device that you would like to print using the Brother printer. This can be a test page, a document from your word processor, or any content that you wish to print.
- Choose the Brother Printer: Within the printing options of your device, ensure that the Brother printer is selected as the designated printing device. This confirms that your device recognizes the Brother printer as an available printing option.
- Initiate the Print Job: Click the “Print” button or option on your device to initiate the print job. This sends the printing data to the Brother printer and prompts it to begin the printing process.
- Verify the Printout: Once the print job is initiated, monitor the Brother printer to ensure that it receives and processes the printing data. The printer should begin printing the selected document, producing a clear and accurate printout.
- Review the Print Quality: Examine the printed output from the Brother printer to ensure that the quality and clarity meet your expectations. This allows you to confirm that the printer is functioning correctly and that the connection is stable.
By testing the connection to your Brother printer, you can confirm that the setup process has been successful and that your device can effectively communicate with the printer. This step provides assurance that you can rely on the wireless connection to facilitate seamless printing from your device to the Brother printer.
With the successful completion of the test print job, you have validated the connection between your device and the Brother printer, affirming that the setup process has been executed effectively. You are now ready to harness the full potential of your Brother printer for all your printing needs.
Conclusion
Congratulations! You have successfully connected your Brother printer to your network, installed the necessary drivers, added the printer to your device, and tested the connection, paving the way for seamless wireless printing. By following the step-by-step process outlined in this guide, you have empowered yourself to enjoy the convenience and efficiency of printing from any device on your network.
Connecting your Brother printer to your network opens up a world of possibilities, allowing you to effortlessly print documents, photos, and more from your computer, laptop, smartphone, or tablet. The wireless connectivity eliminates the constraints of physical cables and provides the flexibility to print from anywhere within the network’s range.
With the printer drivers installed and the printer added to your device, you have established a direct and reliable connection between your device and the Brother printer. This connection enables seamless communication, ensuring that your print jobs are transmitted and executed with precision and speed.
By testing the connection and verifying the printout, you have confirmed that the setup is successful and that your device can effectively communicate with the Brother printer. This assurance sets the stage for uninterrupted printing and a smooth user experience, enhancing your productivity and convenience.
As you embark on your printing journey with your Brother printer, remember that the connectivity process is designed to simplify and streamline your printing tasks. Should you encounter any challenges or have additional printing needs in the future, you can refer back to this guide for guidance and support.
Embrace the freedom of wireless printing and the reliability of your Brother printer, knowing that you have the knowledge and capability to harness its full potential. With your printer seamlessly integrated into your network and devices, you are ready to embark on a seamless printing experience, bringing your digital content to life with the touch of a button.
Now, go forth and unleash the power of wireless printing with your connected Brother printer!
Frequently Asked Questions about How To Connect To A Brother Printer
Was this page helpful?
At Storables.com, we guarantee accurate and reliable information. Our content, validated by Expert Board Contributors, is crafted following stringent Editorial Policies. We're committed to providing you with well-researched, expert-backed insights for all your informational needs.

0 thoughts on “How To Connect To A Brother Printer”