Home>Technology>Smart Home Devices>How To Clean A Brother Laser Printer
Smart Home Devices
How To Clean A Brother Laser Printer
Modified: August 17, 2024
Learn how to properly clean your Brother laser printer for optimal performance and longevity. Discover the best practices for maintaining smart home devices.
(Many of the links in this article redirect to a specific reviewed product. Your purchase of these products through affiliate links helps to generate commission for Storables.com, at no extra cost. Learn more)
Introduction
In the era of modern technology, printers have become an essential part of our daily lives, aiding us in producing high-quality documents, images, and more. Among the myriad of printers available, Brother laser printers stand out for their reliability, efficiency, and exceptional performance. However, to maintain their optimal functionality and prolong their lifespan, regular cleaning and maintenance are crucial.
Cleaning a Brother laser printer is a simple yet vital task that can prevent issues such as smudged prints, paper jams, and toner smears. By following a few straightforward steps, you can ensure that your printer continues to deliver crisp, professional-looking documents.
In this comprehensive guide, we will walk you through the process of cleaning your Brother laser printer, providing detailed instructions and valuable tips to help you achieve optimal results. From gathering the necessary supplies to reassembling the printer, each step is designed to streamline the cleaning process and enhance the overall performance of your printer.
So, let's delve into the world of printer maintenance and discover the best practices for keeping your Brother laser printer in pristine condition. Whether you're a seasoned printer enthusiast or a novice looking to extend the life of your device, this guide is tailored to equip you with the knowledge and skills needed to maintain a clean and efficient printer. Let's embark on this journey to ensure that your Brother laser printer continues to produce high-quality prints for years to come.
Key Takeaways:
- Regularly cleaning your Brother laser printer with simple supplies like cloths, alcohol, and compressed air can prevent print quality issues and prolong its lifespan, ensuring crisp, professional-looking documents.
- By following a few straightforward steps, such as safely removing and reinstalling the toner cartridge, you can maintain a clean and efficient Brother laser printer, ready to produce high-quality prints for years to come.
Step 1: Gather the Necessary Supplies
Before embarking on the cleaning process, it’s essential to gather the required supplies to ensure a thorough and effective cleaning of your Brother laser printer. Here’s a list of the necessary supplies you will need:
- Clean, lint-free cloths or wipes: These will be used to wipe down the exterior and interior of the printer, as well as the toner cartridge.
- Isopropyl alcohol: This is an effective cleaning agent for removing toner residue and other contaminants from the printer’s interior and exterior surfaces.
- Cotton swabs: These are useful for reaching small crevices and areas that are difficult to clean with cloths or wipes.
- Toner vacuum or toner-specific cleaning kit: If toner spills or residue are present, a toner vacuum or specialized cleaning kit can help safely remove these particles without spreading toner further.
- Compressed air: Used to blow away dust and debris from hard-to-reach areas, such as paper trays and feed rollers.
- Protective gloves: It’s advisable to wear gloves to prevent direct contact with toner and cleaning chemicals.
- Trash can or plastic bag: To dispose of any waste material, such as used cloths or toner cleaning sheets.
By ensuring that you have these supplies on hand, you’ll be well-prepared to tackle the cleaning process efficiently and safely. With the necessary tools at your disposal, you can proceed with confidence, knowing that your printer will receive the care it deserves.
Step 2: Turn Off the Printer and Unplug It
Before initiating the cleaning process, it is imperative to power off the Brother laser printer and disconnect it from the electrical outlet. This precautionary measure ensures your safety and prevents any potential damage to the printer during the cleaning procedure.
To begin, locate the power button on the printer and switch it off. Once the printer is powered down, gently unplug the power cord from the electrical outlet. It’s crucial to allow the printer to cool down for a few minutes before proceeding with the cleaning to avoid any risk of burns from hot components inside the printer.
By turning off and unplugging the printer, you minimize the risk of electrical hazards and safeguard the internal components from accidental damage. This simple yet crucial step sets the stage for a safe and effective cleaning process, ensuring that you can work on the printer without any electrical or thermal concerns.
Remember, safety should always be a top priority when handling electronic devices, and by adhering to these precautions, you can proceed with confidence and peace of mind as you prepare to clean your Brother laser printer.
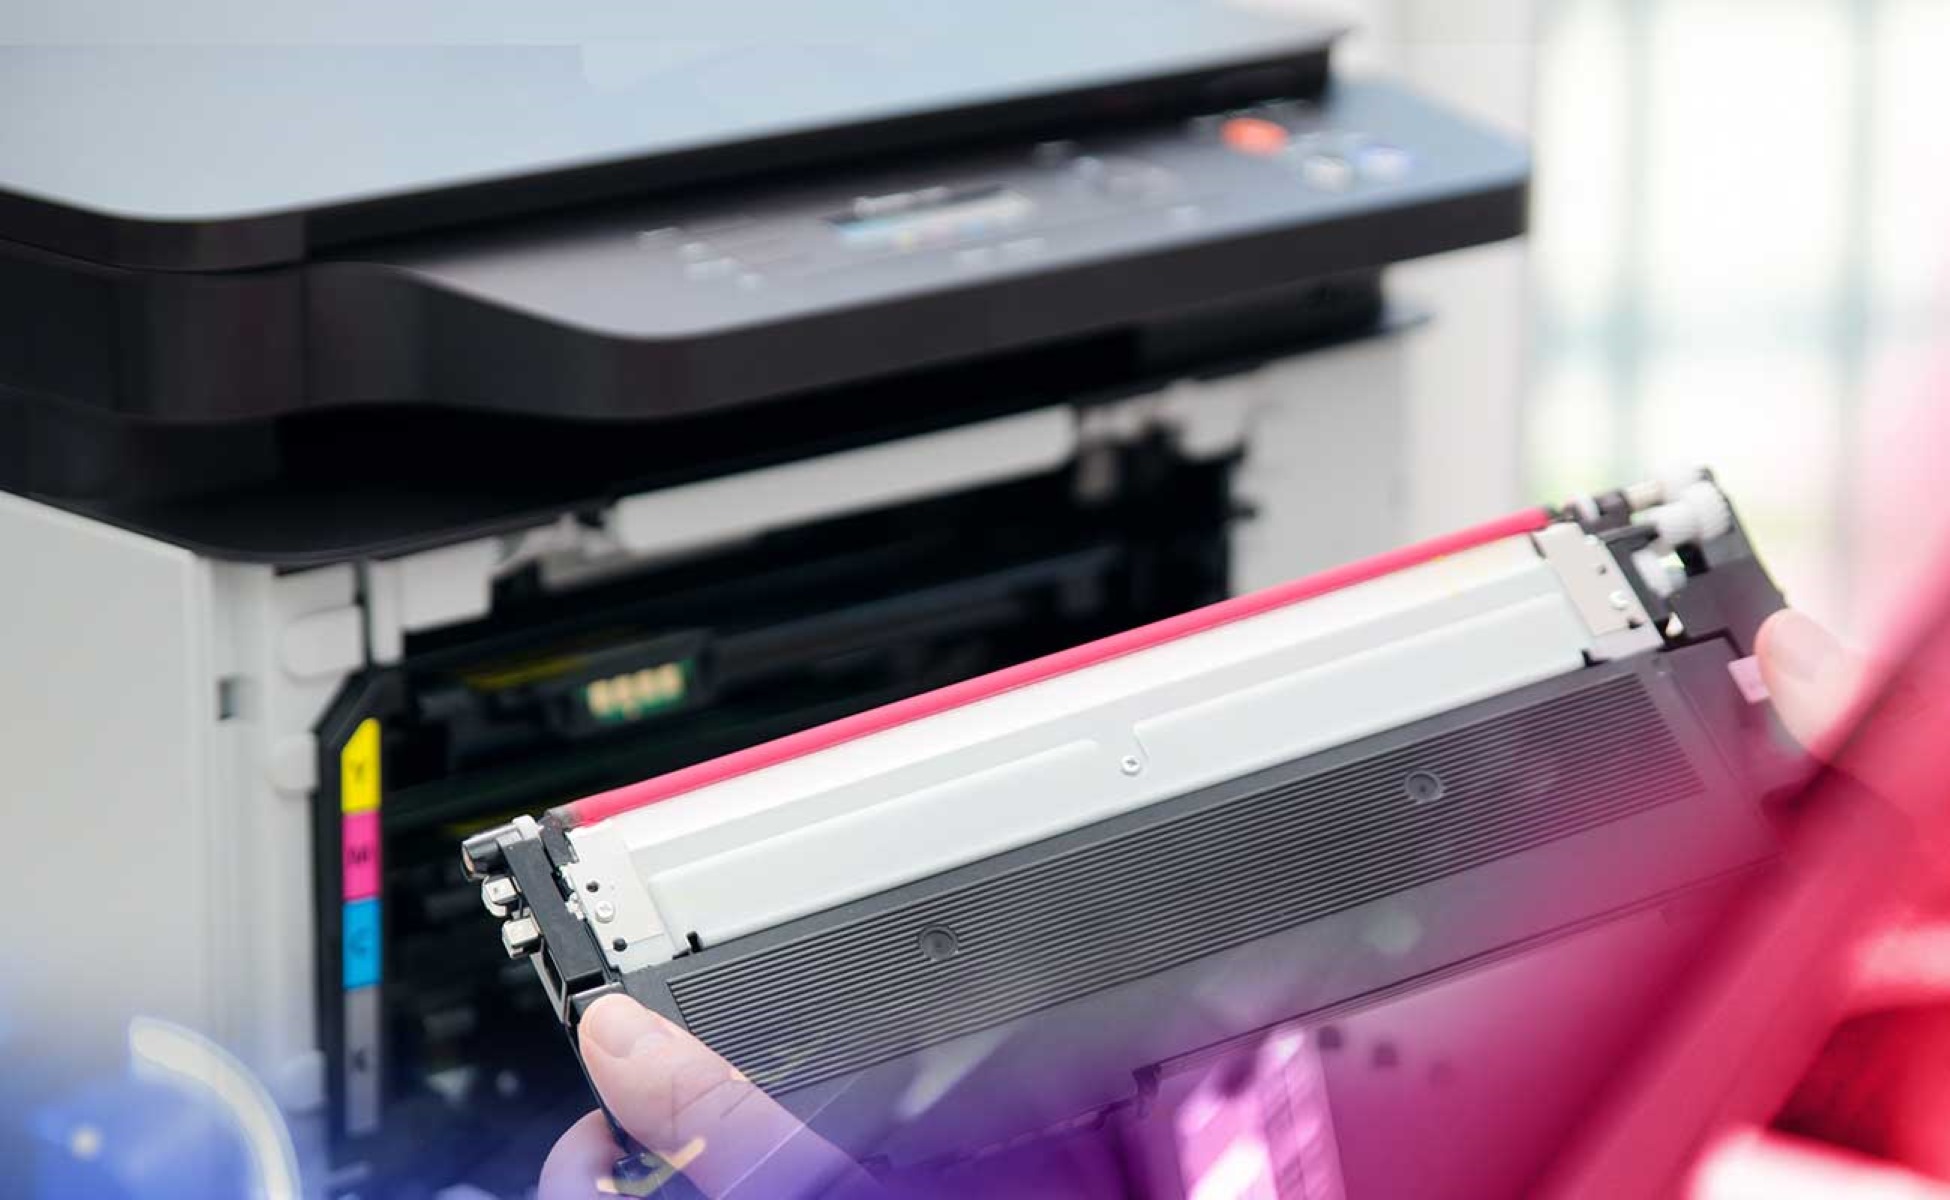
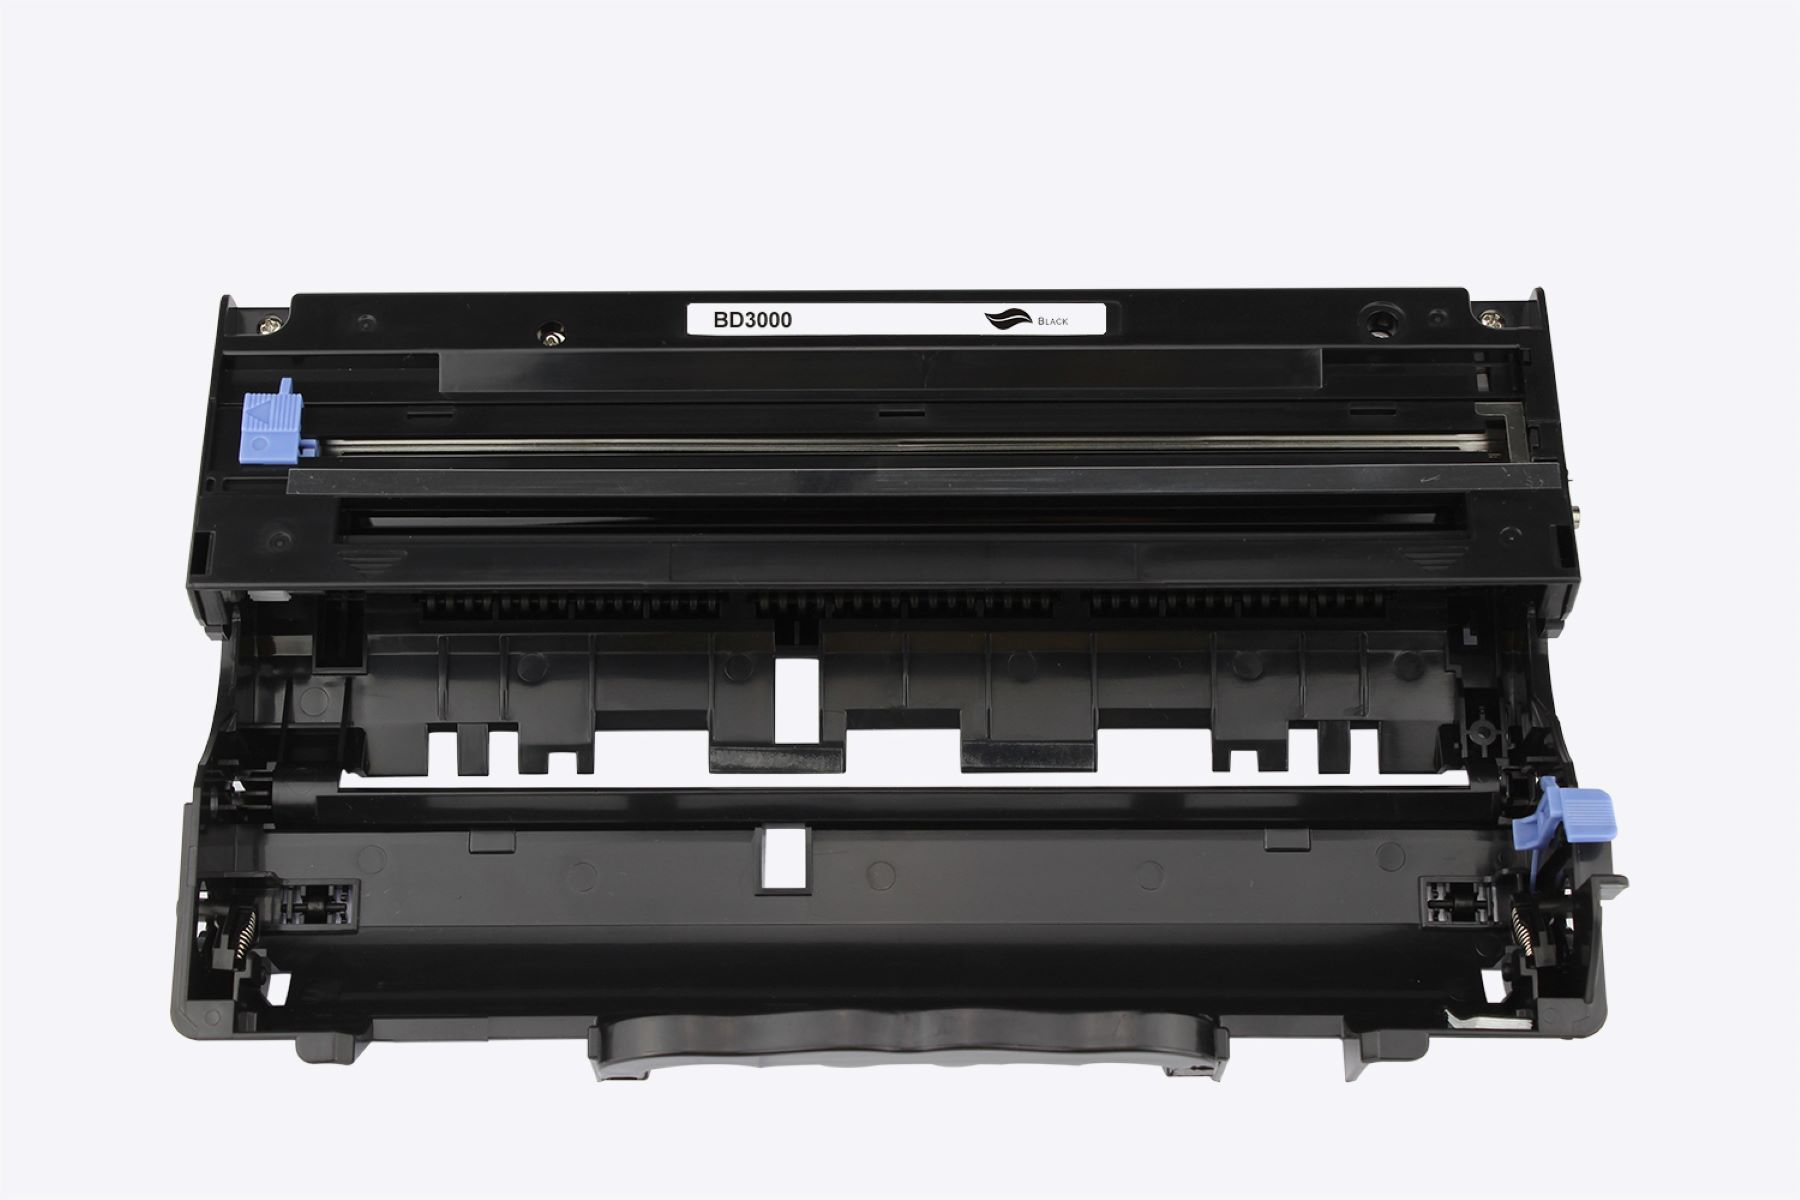
Step 3: Open the Printer and Remove the Toner Cartridge
With the printer safely powered off and unplugged, it’s time to access the interior of the printer to begin the cleaning process. Open the printer’s main cover or access panel, following the manufacturer’s instructions for your specific model of Brother laser printer. This step may involve pressing a release button or lever to open the printer’s cover, providing access to the toner cartridge and internal components.
Once the printer is open, locate the toner cartridge, which is typically situated inside the printer’s main compartment. Carefully remove the toner cartridge by following the guidelines outlined in the printer’s manual. This may involve gently pressing a release button or lever to disengage the cartridge from its slot. Handle the toner cartridge with care to avoid spills and stains, and be mindful of any toner residue that may be present.
After removing the toner cartridge, place it on a flat, stable surface covered with a disposable cloth or paper to prevent any toner from coming into contact with surrounding areas. This precautionary measure ensures that any loose toner particles or spills are contained, minimizing the risk of creating a mess during the cleaning process.
By safely removing the toner cartridge, you gain access to the interior of the printer, allowing you to proceed with the thorough cleaning of both the cartridge and the internal components of the printer. This step sets the stage for a comprehensive cleaning process, ensuring that every aspect of the printer receives the attention it needs to maintain optimal performance and print quality.
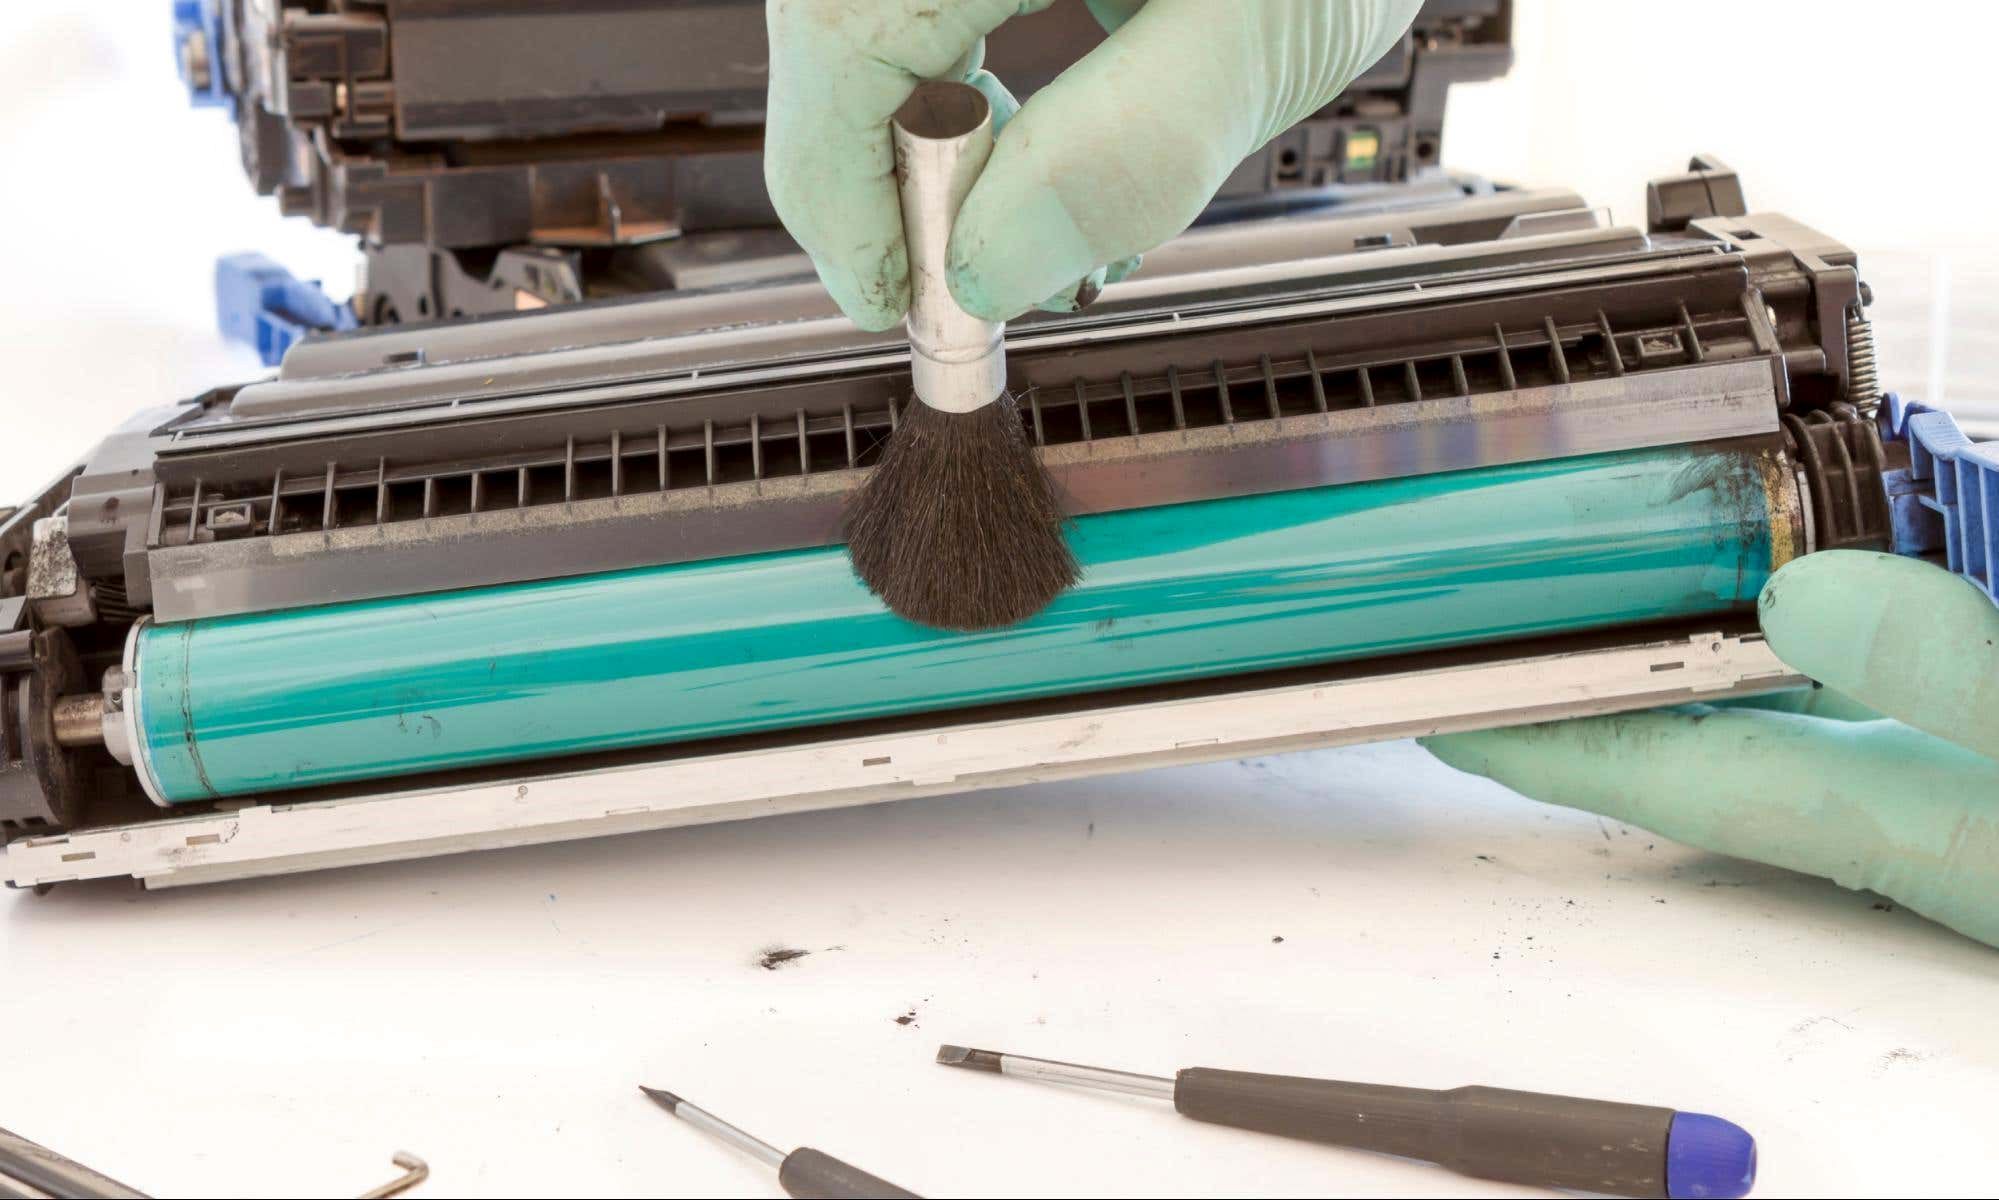
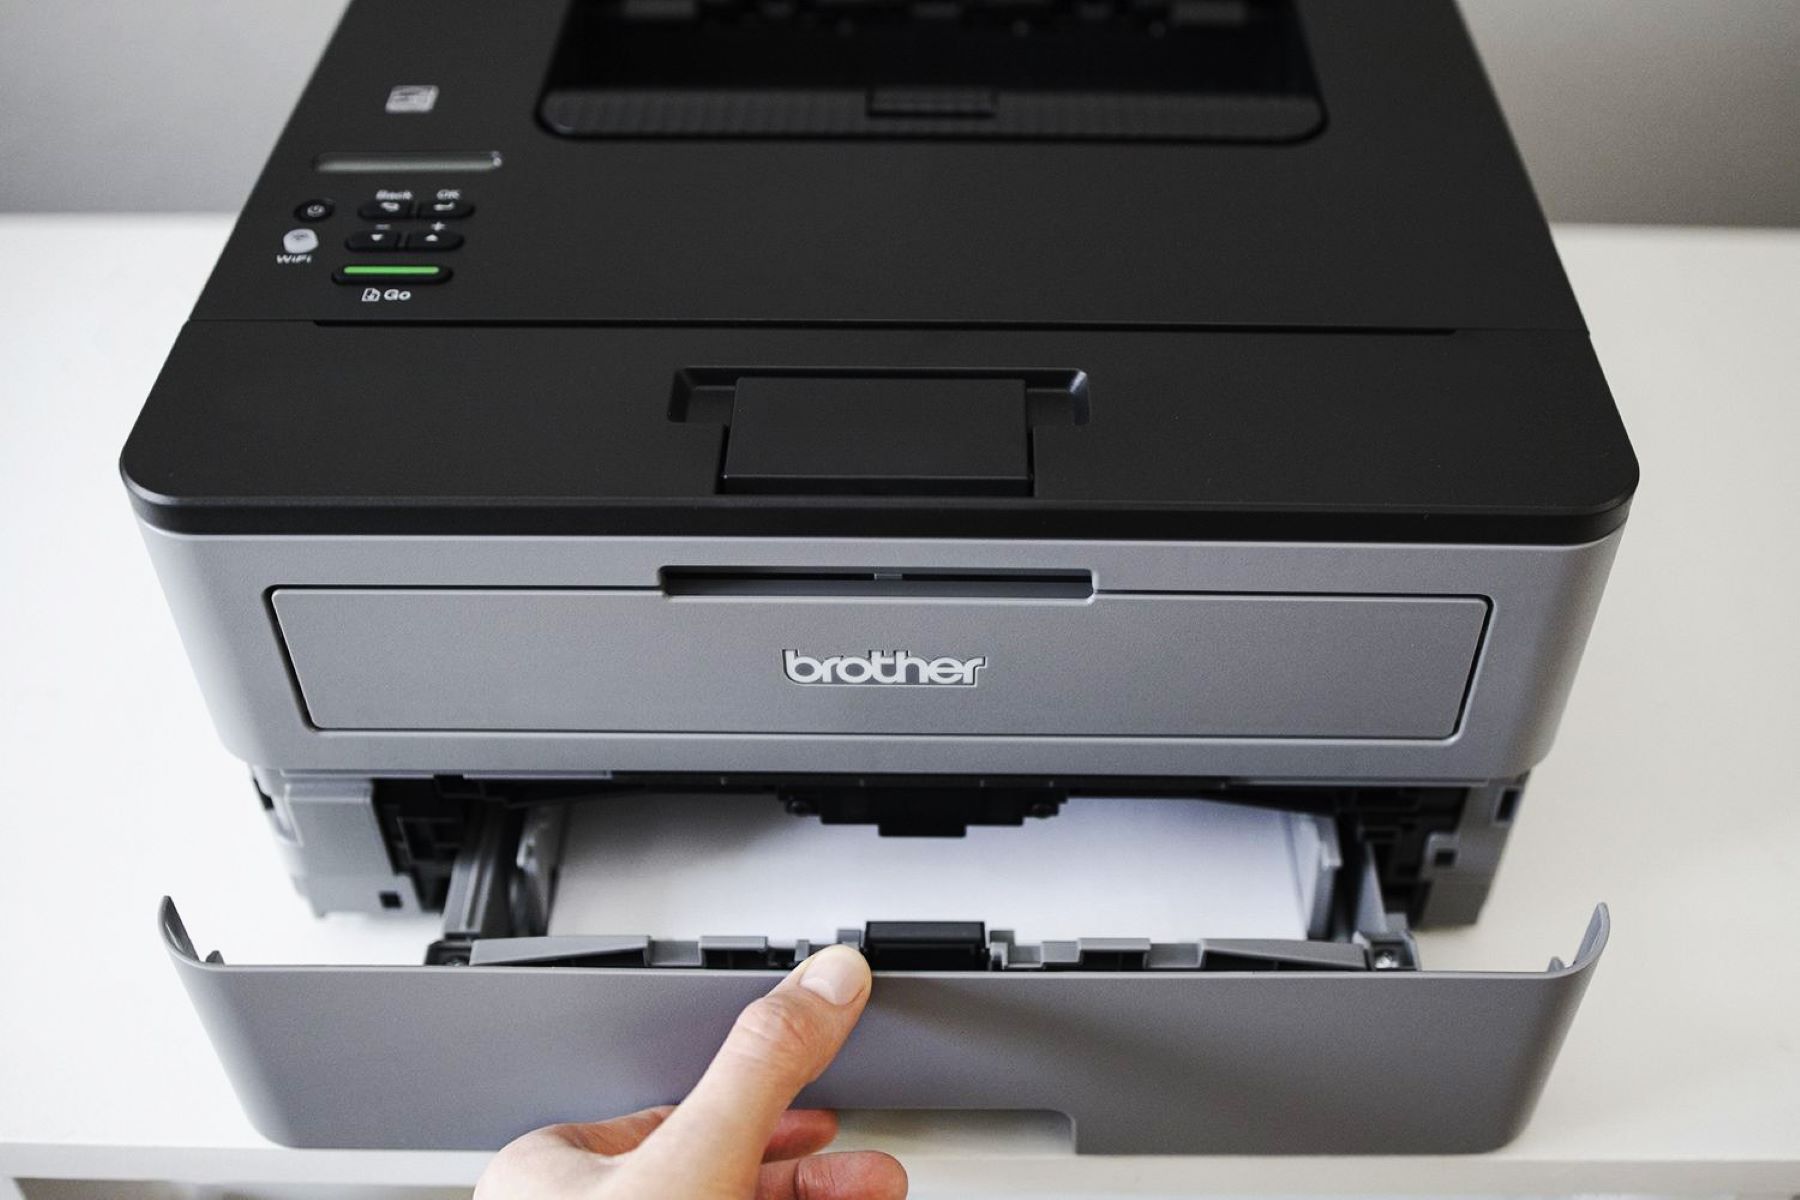
Step 4: Clean the Inside of the Printer
With the toner cartridge safely removed, it’s time to focus on cleaning the interior of your Brother laser printer. The interior components, including the paper path, rollers, and toner cavity, can accumulate dust, toner residue, and debris over time, potentially affecting print quality and overall performance. By following these steps, you can effectively clean the interior of the printer:
- Remove Loose Debris: Use a small, handheld vacuum or compressed air to gently remove loose debris, dust, and toner particles from the interior of the printer. Pay special attention to areas around the toner cavity, paper path, and feed rollers, ensuring that any accumulated debris is thoroughly removed.
- Clean the Rollers: Using a lint-free cloth lightly dampened with isopropyl alcohol, carefully clean the paper feed rollers and any accessible printer rollers. This helps remove paper dust and residue that can accumulate on the rollers, potentially causing paper feed issues and print quality problems.
- Clean the Toner Cavity: If visible toner residue is present in the toner cavity, use a dry, lint-free cloth to gently wipe away the excess toner. Avoid using liquid cleaners inside the toner cavity, as they can spread toner particles and potentially damage the printer.
- Inspect for Residual Debris: After cleaning, visually inspect the interior of the printer for any residual debris or stubborn contaminants. Use cotton swabs lightly dampened with isopropyl alcohol to carefully clean hard-to-reach areas and remove any remaining debris.
By meticulously cleaning the interior components of your Brother laser printer, you can eliminate accumulated debris and toner residue, ensuring that the printer operates smoothly and produces high-quality prints. This proactive maintenance approach helps preserve the longevity and performance of your printer, allowing you to enjoy consistently crisp and clear printouts for various applications.
To clean a Brother laser printer, use a dry, lint-free cloth to wipe the exterior and remove any dust or debris. Use a small vacuum to clean the interior and toner area. Avoid using liquid cleaners or compressed air.
Read more: How To Clean A Laser Printer
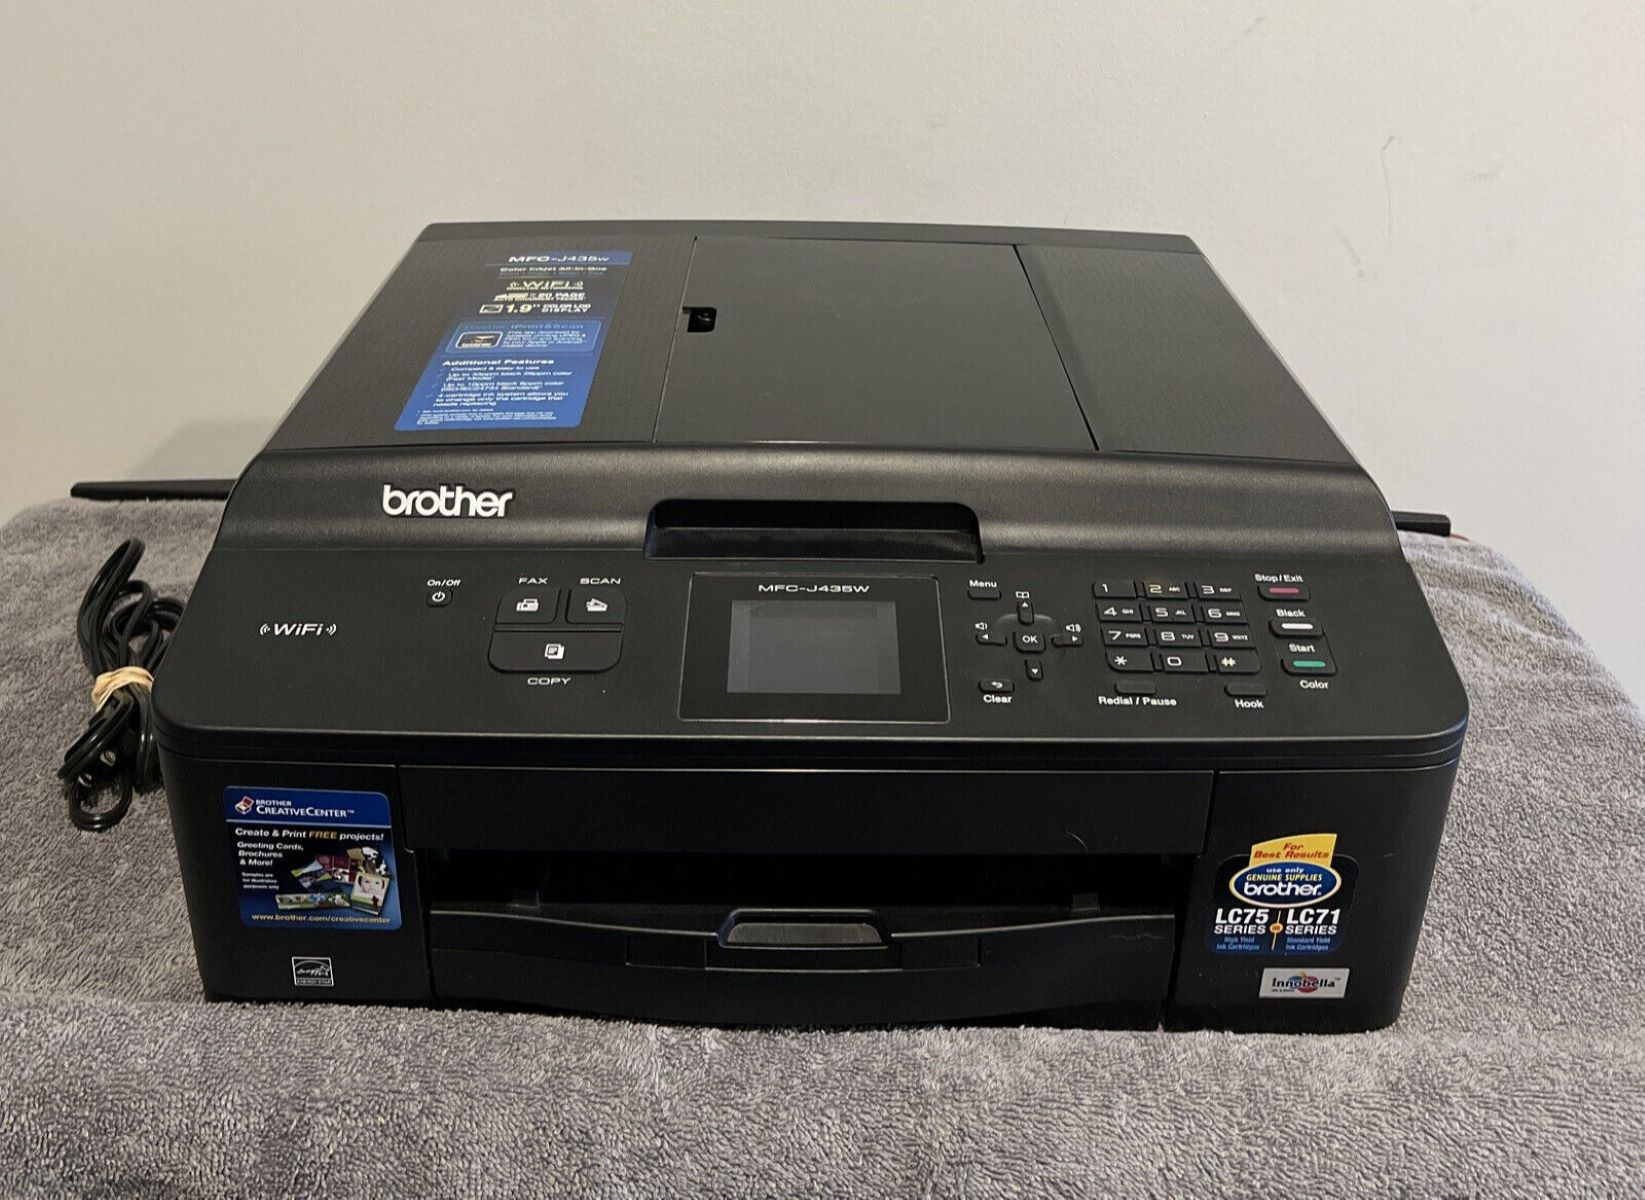
Step 5: Clean the Outside of the Printer
While focusing on the internal components is crucial, it’s equally important to maintain the exterior of your Brother laser printer. Over time, the exterior surfaces can accumulate dust, fingerprints, and other blemishes that detract from the printer’s professional appearance. Here’s how to effectively clean the outside of your printer:
- Wipe Down the Exterior: Using a clean, lint-free cloth or wipes lightly dampened with water or a mild, non-abrasive cleaner, gently wipe down the exterior surfaces of the printer. This helps remove dust, smudges, and other surface contaminants, restoring the printer’s appearance.
- Focus on Control Panels and Displays: Pay special attention to the control panels, buttons, and displays, ensuring that they are thoroughly cleaned and free from any residue that may affect their functionality or visibility.
- Clean the Document Feeder and Scanner Glass: If your printer is equipped with a document feeder or scanner, use a clean, lint-free cloth lightly dampened with water to carefully clean the feeder rollers and the scanner glass. This helps maintain optimal scanning and document feeding performance.
- Inspect and Polish: After cleaning, inspect the exterior surfaces for any remaining blemishes or streaks. Use a dry, lint-free cloth to gently polish the surfaces, ensuring a clean and professional appearance.
By dedicating attention to the exterior cleanliness of your Brother laser printer, you not only enhance its visual appeal but also demonstrate a commitment to maintaining the device in top condition. A clean and well-maintained printer reflects professionalism and care, setting the stage for consistently reliable performance and professional-quality prints.
Step 6: Reinstall the Toner Cartridge
After completing the interior and exterior cleaning of your Brother laser printer, it’s time to reinsert the toner cartridge, ensuring that it is securely positioned for optimal functionality. Follow these steps to successfully reinstall the toner cartridge:
- Inspect the Toner Cartridge: Before reinstalling the toner cartridge, carefully inspect it for any signs of damage or leaks. Ensure that the cartridge is clean and free from any residual toner or debris.
- Align and Insert: Align the toner cartridge with its designated slot inside the printer, following the manufacturer’s instructions for proper alignment. Insert the cartridge firmly, ensuring that it securely clicks into place.
- Secure the Cover: If applicable, close the printer’s main cover or access panel, securing it in place according to the manufacturer’s guidelines. Ensure that the cover is properly closed to prevent any potential issues during the printer’s operation.
- Power On the Printer: Once the toner cartridge is reinstalled and the printer’s cover is secured, plug the printer back into the electrical outlet and power it on. Allow the printer to complete its startup process, ensuring that it is ready for regular use.
By carefully reinstalling the toner cartridge, you ensure that the printer’s essential consumable component is correctly positioned, allowing for seamless printing operations and optimal toner usage. This step marks the completion of the cleaning process, setting the stage for your Brother laser printer to deliver professional-quality prints with enhanced reliability and performance.
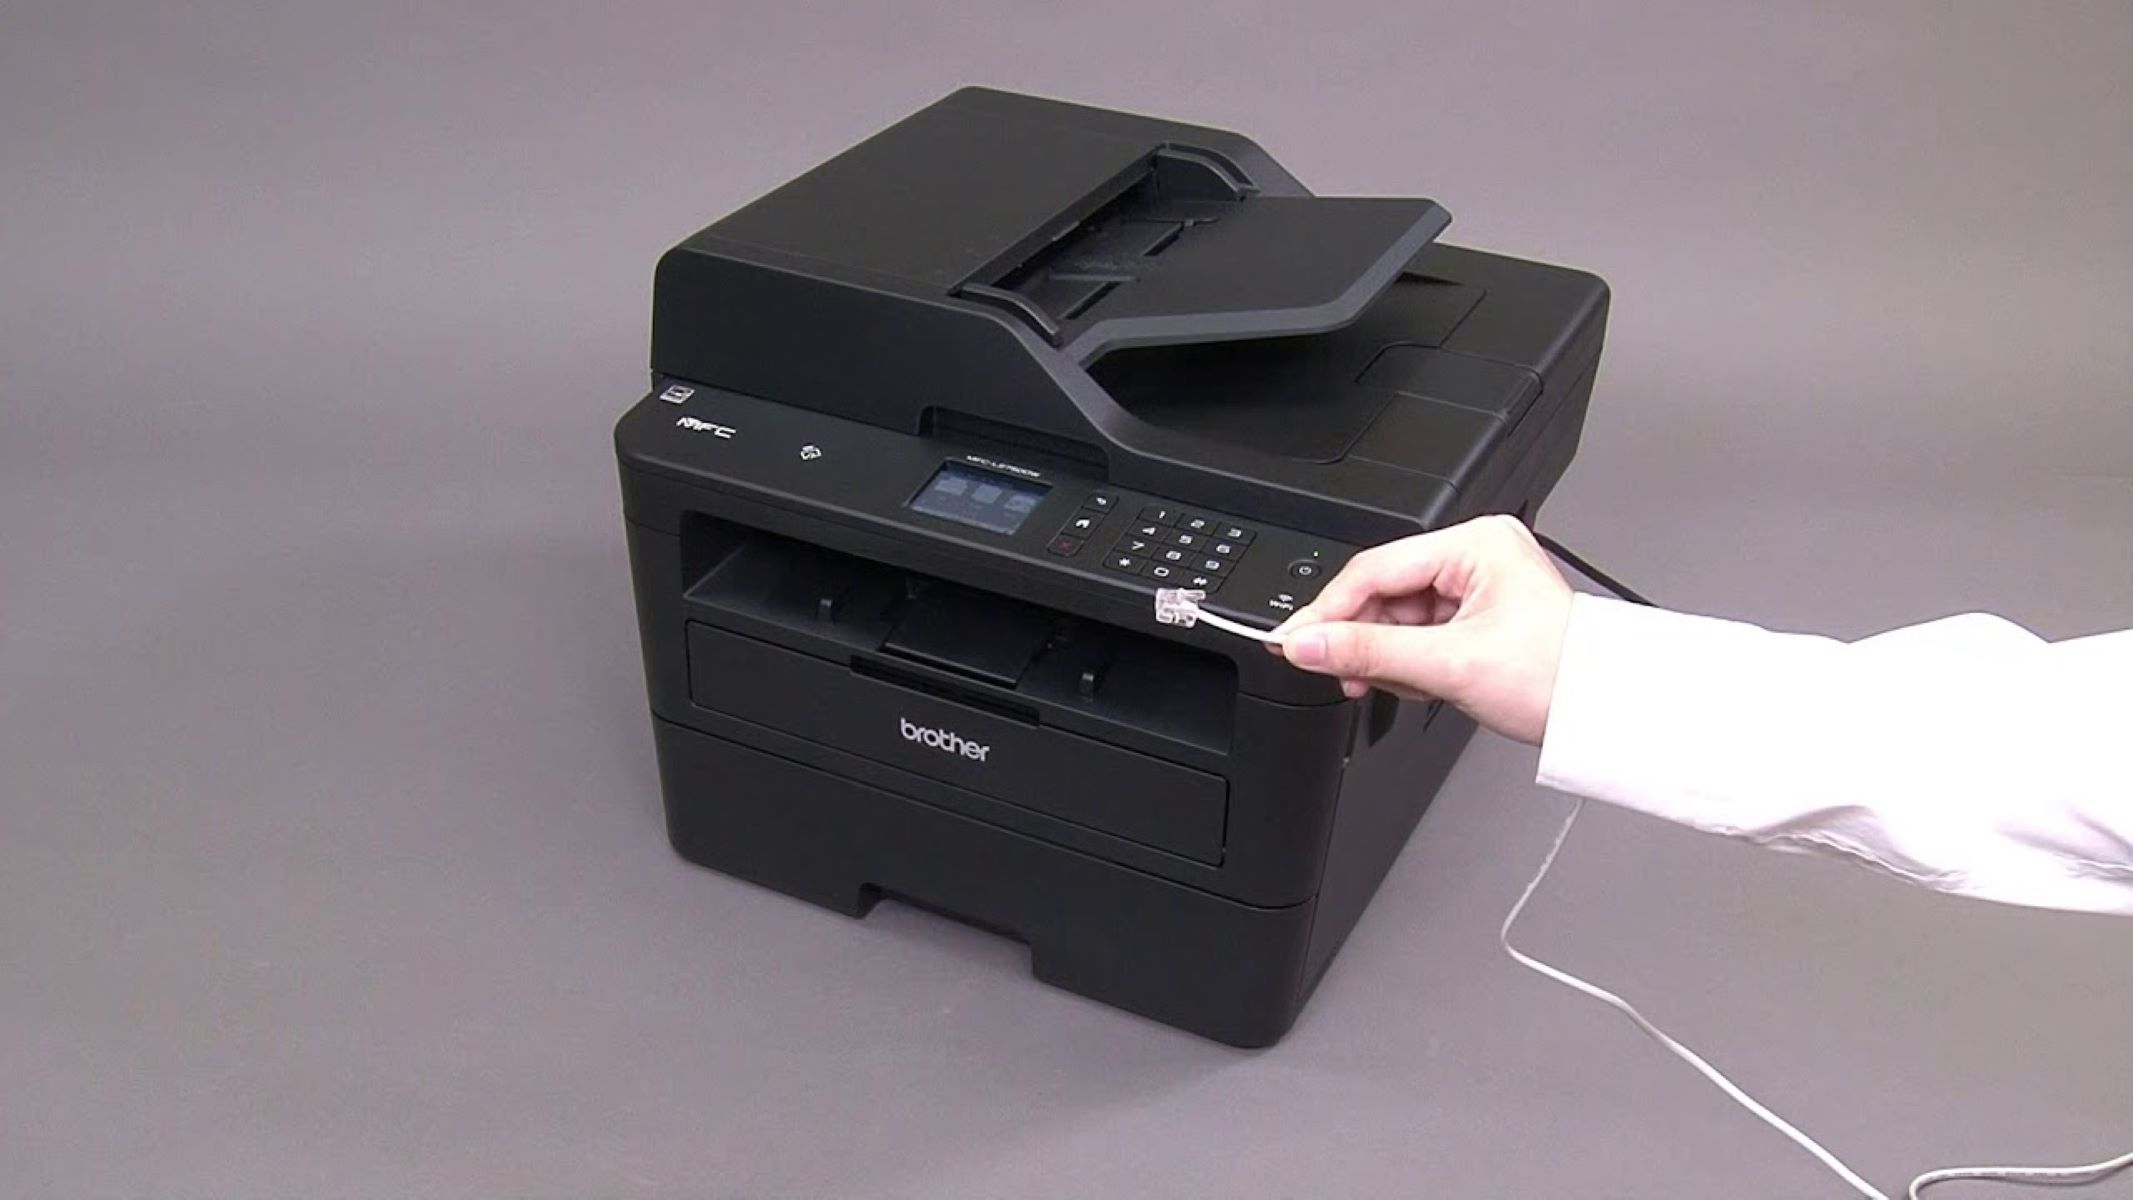
Step 7: Plug in the Printer and Turn It On
With the cleaning process complete and the toner cartridge securely reinstalled, it’s time to power up your Brother laser printer and prepare it for regular use. Follow these essential steps to safely plug in the printer and turn it on:
- Connect the Power Cord: Gently plug the power cord back into the electrical outlet, ensuring that it is securely connected. Verify that the power cord is free from damage and that the outlet is in good working condition.
- Power On the Printer: Locate the printer’s power button and switch it on. Allow the printer to complete its startup sequence, initializing its components and preparing for regular printing tasks.
- Perform Test Prints: Once the printer is powered on, consider performing a test print to ensure that it is functioning as expected. This allows you to verify the print quality and overall performance following the cleaning process.
- Monitor for Normal Operation: Observe the printer as it powers on and during the initial printing tasks, ensuring that it operates smoothly and without any unusual noises or error messages.
By carefully plugging in the printer and powering it on, you complete the cleaning process and transition the printer back to its regular operational state. This final step ensures that your Brother laser printer is ready to produce high-quality prints with enhanced clarity and reliability, reflecting the benefits of thorough maintenance and attention to detail.
Conclusion
Cleaning your Brother laser printer is a fundamental aspect of its maintenance, contributing to its longevity, print quality, and overall performance. By following the comprehensive steps outlined in this guide, you’ve taken proactive measures to ensure that your printer remains in optimal condition, capable of delivering professional-grade prints for various applications.
Regular cleaning not only enhances the visual appeal of your printer but also minimizes the risk of print quality issues, paper jams, and component malfunctions. By dedicating time to this essential maintenance task, you’ve demonstrated a commitment to preserving the functionality and reliability of your Brother laser printer.
Remember to incorporate a regular cleaning schedule into your printer maintenance routine, ensuring that the interior and exterior surfaces, as well as the toner cartridge, receive the attention they need to perform at their best. By doing so, you can enjoy consistent print quality and prolonged printer lifespan, ultimately maximizing the value and utility of your Brother laser printer.
As you embark on the journey of printer maintenance, consider integrating these cleaning practices into your overall office or home maintenance routine. By maintaining a clean and well-functioning printer, you contribute to a productive and professional environment, where high-quality prints are readily available whenever needed.
With these insights and a proactive approach to printer care, you are well-equipped to uphold the performance and reliability of your Brother laser printer, ensuring that it continues to meet your printing needs with precision and excellence.
Frequently Asked Questions about How To Clean A Brother Laser Printer
Was this page helpful?
At Storables.com, we guarantee accurate and reliable information. Our content, validated by Expert Board Contributors, is crafted following stringent Editorial Policies. We're committed to providing you with well-researched, expert-backed insights for all your informational needs.

0 thoughts on “How To Clean A Brother Laser Printer”